Adding a New Source and Target Pair
- 11 Mar 2024
- Print
- PDF
Adding a New Source and Target Pair
- Updated on 11 Mar 2024
- Print
- PDF
Article Summary
Share feedback
Thanks for sharing your feedback!
How to add a new Source and Target pair?
You can use a locally mounted NTFS/ReFS volume, an SMB/NFS network share or just a folder on the volume/share as a source.
You can not set a folder as a source if its parent folder is already paired with a target.
In the Wasabi Cloud NAS Configuration, select Wasabi Cloud NAS in the left panel.
Click Add Source.

Select the appropriate folder or the drive you want to replicate to a target bucket in Wasabi. You can also create a new folder and use that as the source.
Next, add the Wasabi target information:

Enter a name for the target
Select the appropriate region (this auto populates the Server URL)
Enter the access and secret key (If you are using an existing target, you can select it to auto populate the keys)
Click List Buckets and select a bucket from the list to pair it with the newly added source.
Alternatively, click on Create Bucket, select the appropriate region and enter a Bucket Name. When done, click OK.
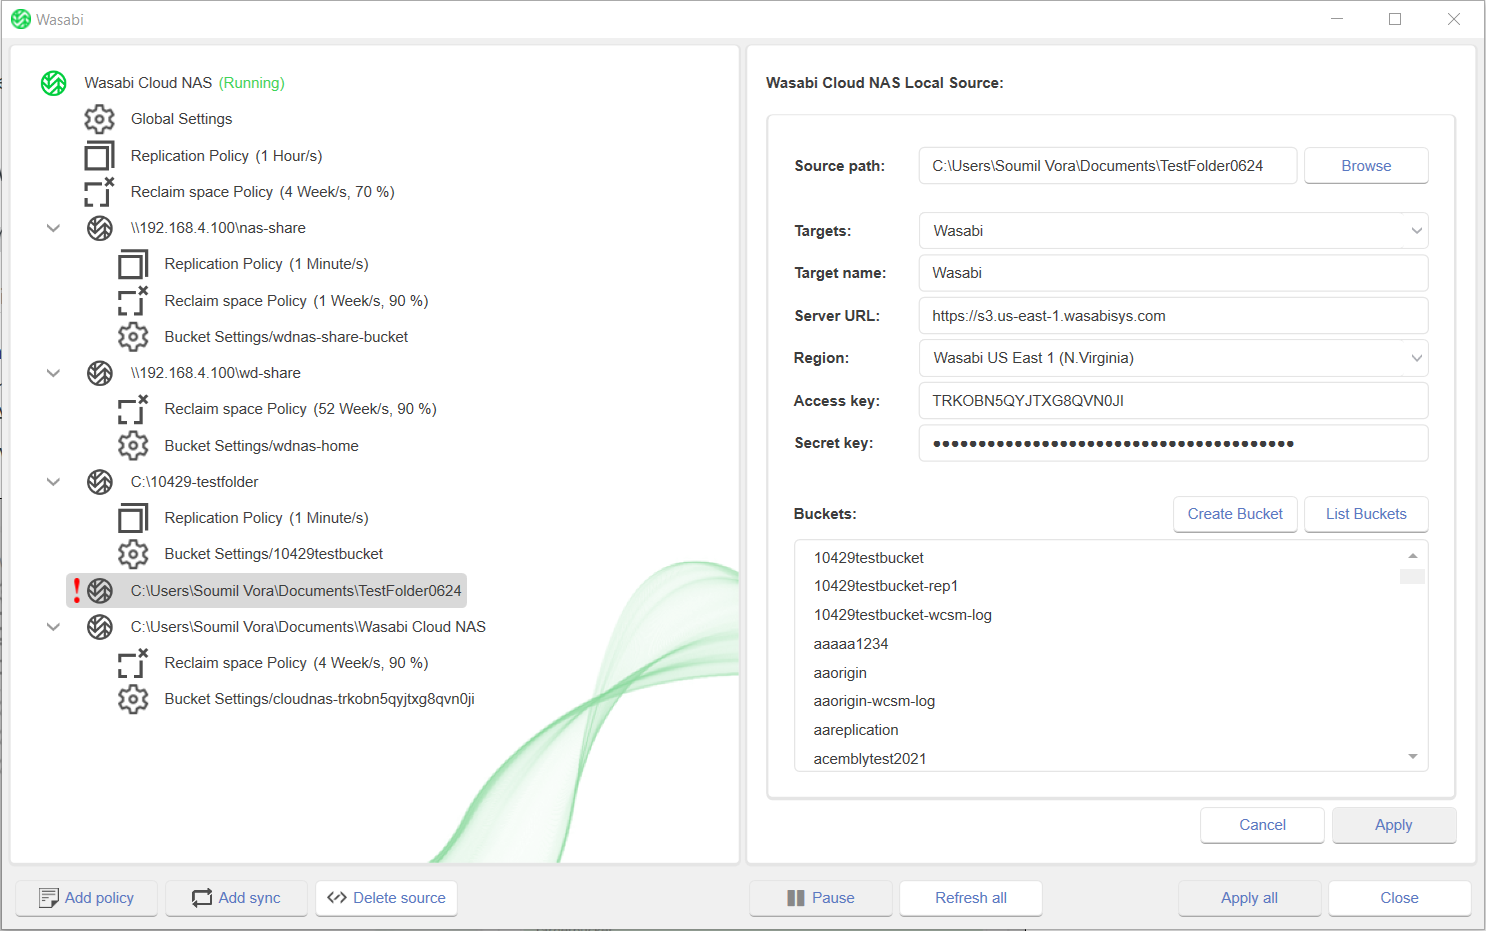
Click Apply to apply the changes.
Optionally, you can enable Bucket Versioning or Compliance on the bucket, through the Bucket Settings.
When you enable Compliance on the bucket, Cloud NAS automatically sets the corresponding local folder/drive to WORM, so you will not be able to make edits or delete files in the local folder. If you edit a file, it will force you to save it as a new file. Therefore, you should not enable versioning and compliance together with Cloud NAS.

Click Apply when done.
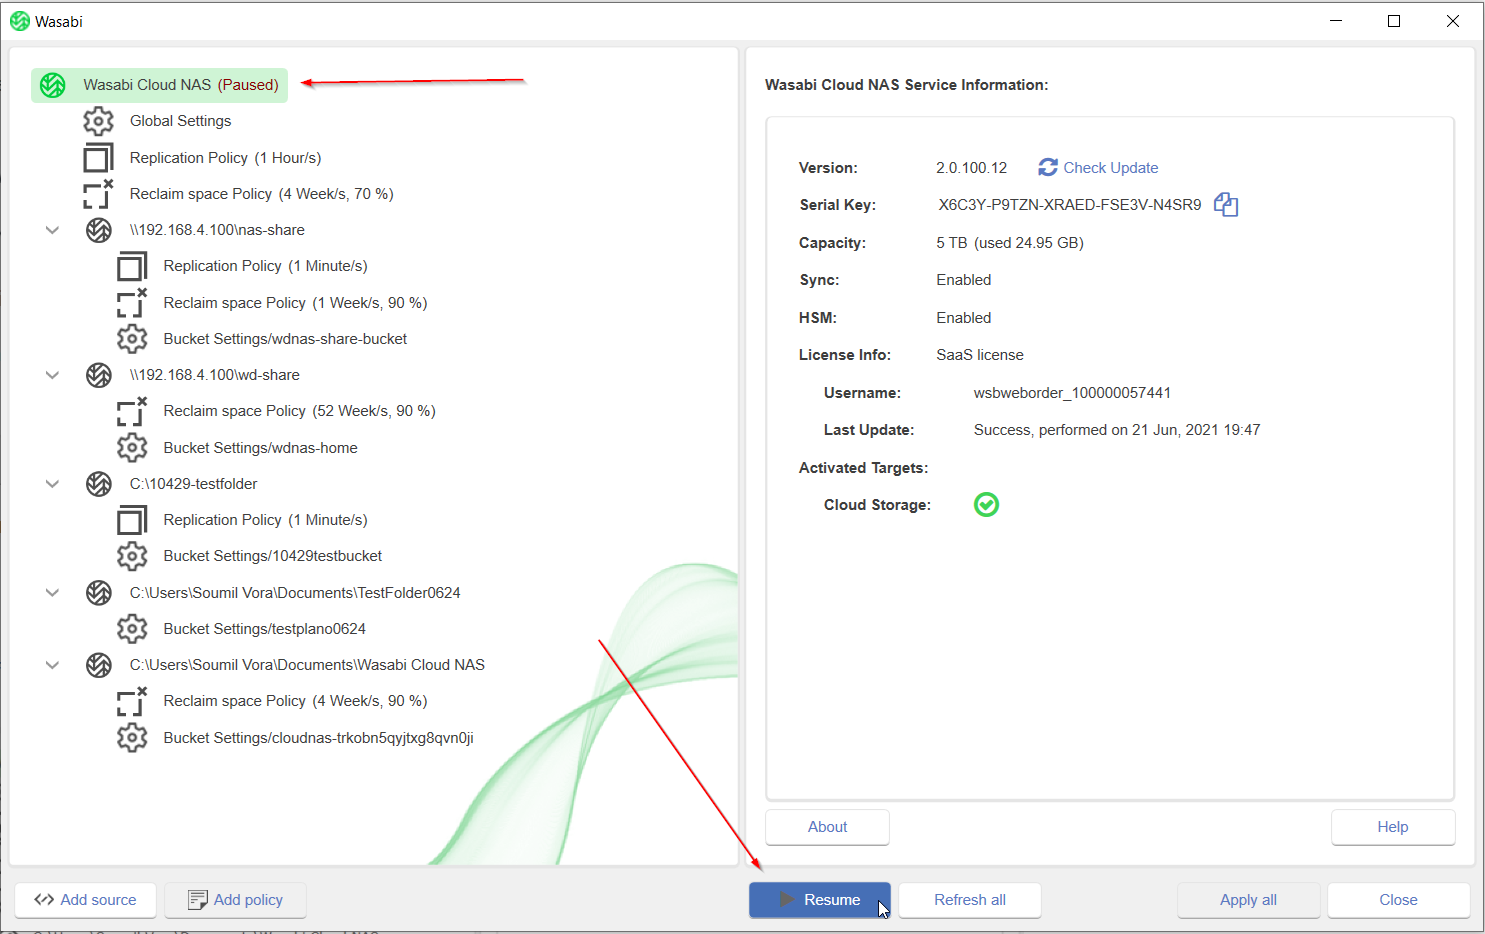
Be sure to hit Resume (first click Wasabi Cloud NAS on the left panel at the top, and then Resume at the bottom).
This completes the steps to configure a new source-target pair on Wasabi Cloud NAS.