How do I backup Elastic Cloud Snapshots to Wasabi?
Elastic Cloud is a hosted version of Elasticsearch that has been tested and verified to work with Wasabi. This article details how to backup Elastic Cloud snapshots to Wasabi for secure, offsite hot cloud storage.
This solution was tested with Elastic Cloud version 8.15.1 deployed on Linux, although the operating system details are hidden from users.
Prerequisites
- Active Wasabi Cloud Storage account
- Wasabi bucket without Object Lock or Versioning
- Wasabi access keys
- Active Elastic Cloud subscription
- Access to the Wasabi console and Elastic Cloud console
Store Wasabi Access Keys in Elastic Cloud
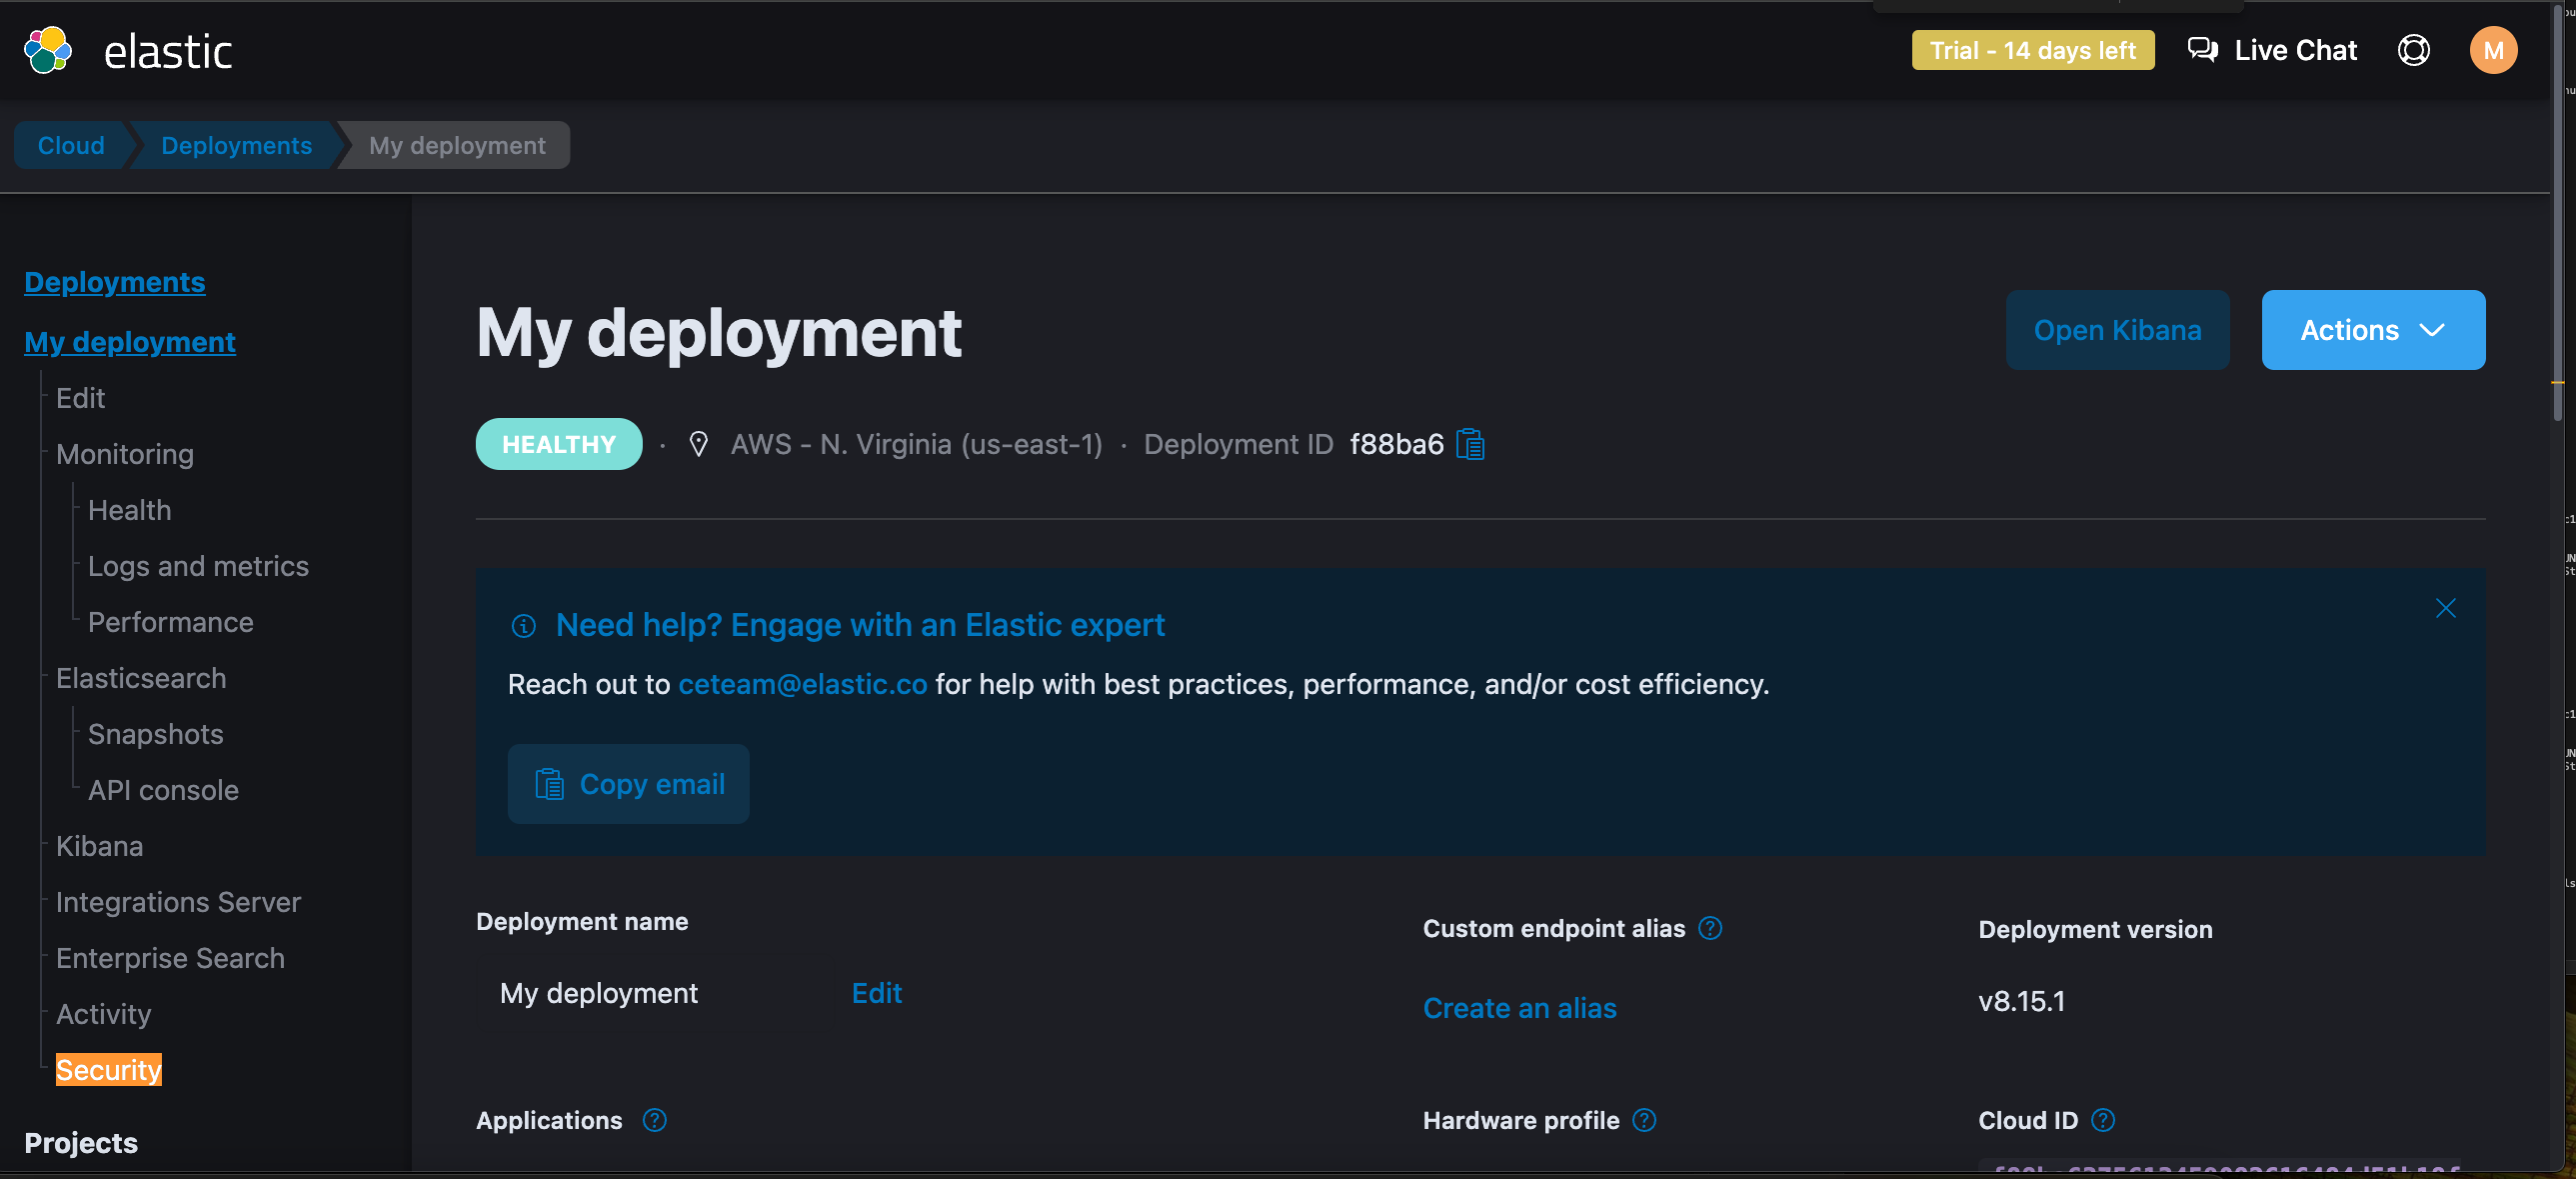
On the Elastic Cloud console, navigate to your deployment and select Security from the menu on the left side of the screen. The deployment used in the example below is labeled "My deployment." It is recommended to use the Wasabi keys of a sub-user instead of the root user and assign the sub-user programmatic-only access, not console. See 3—Creating a User Account and Access Key for details.
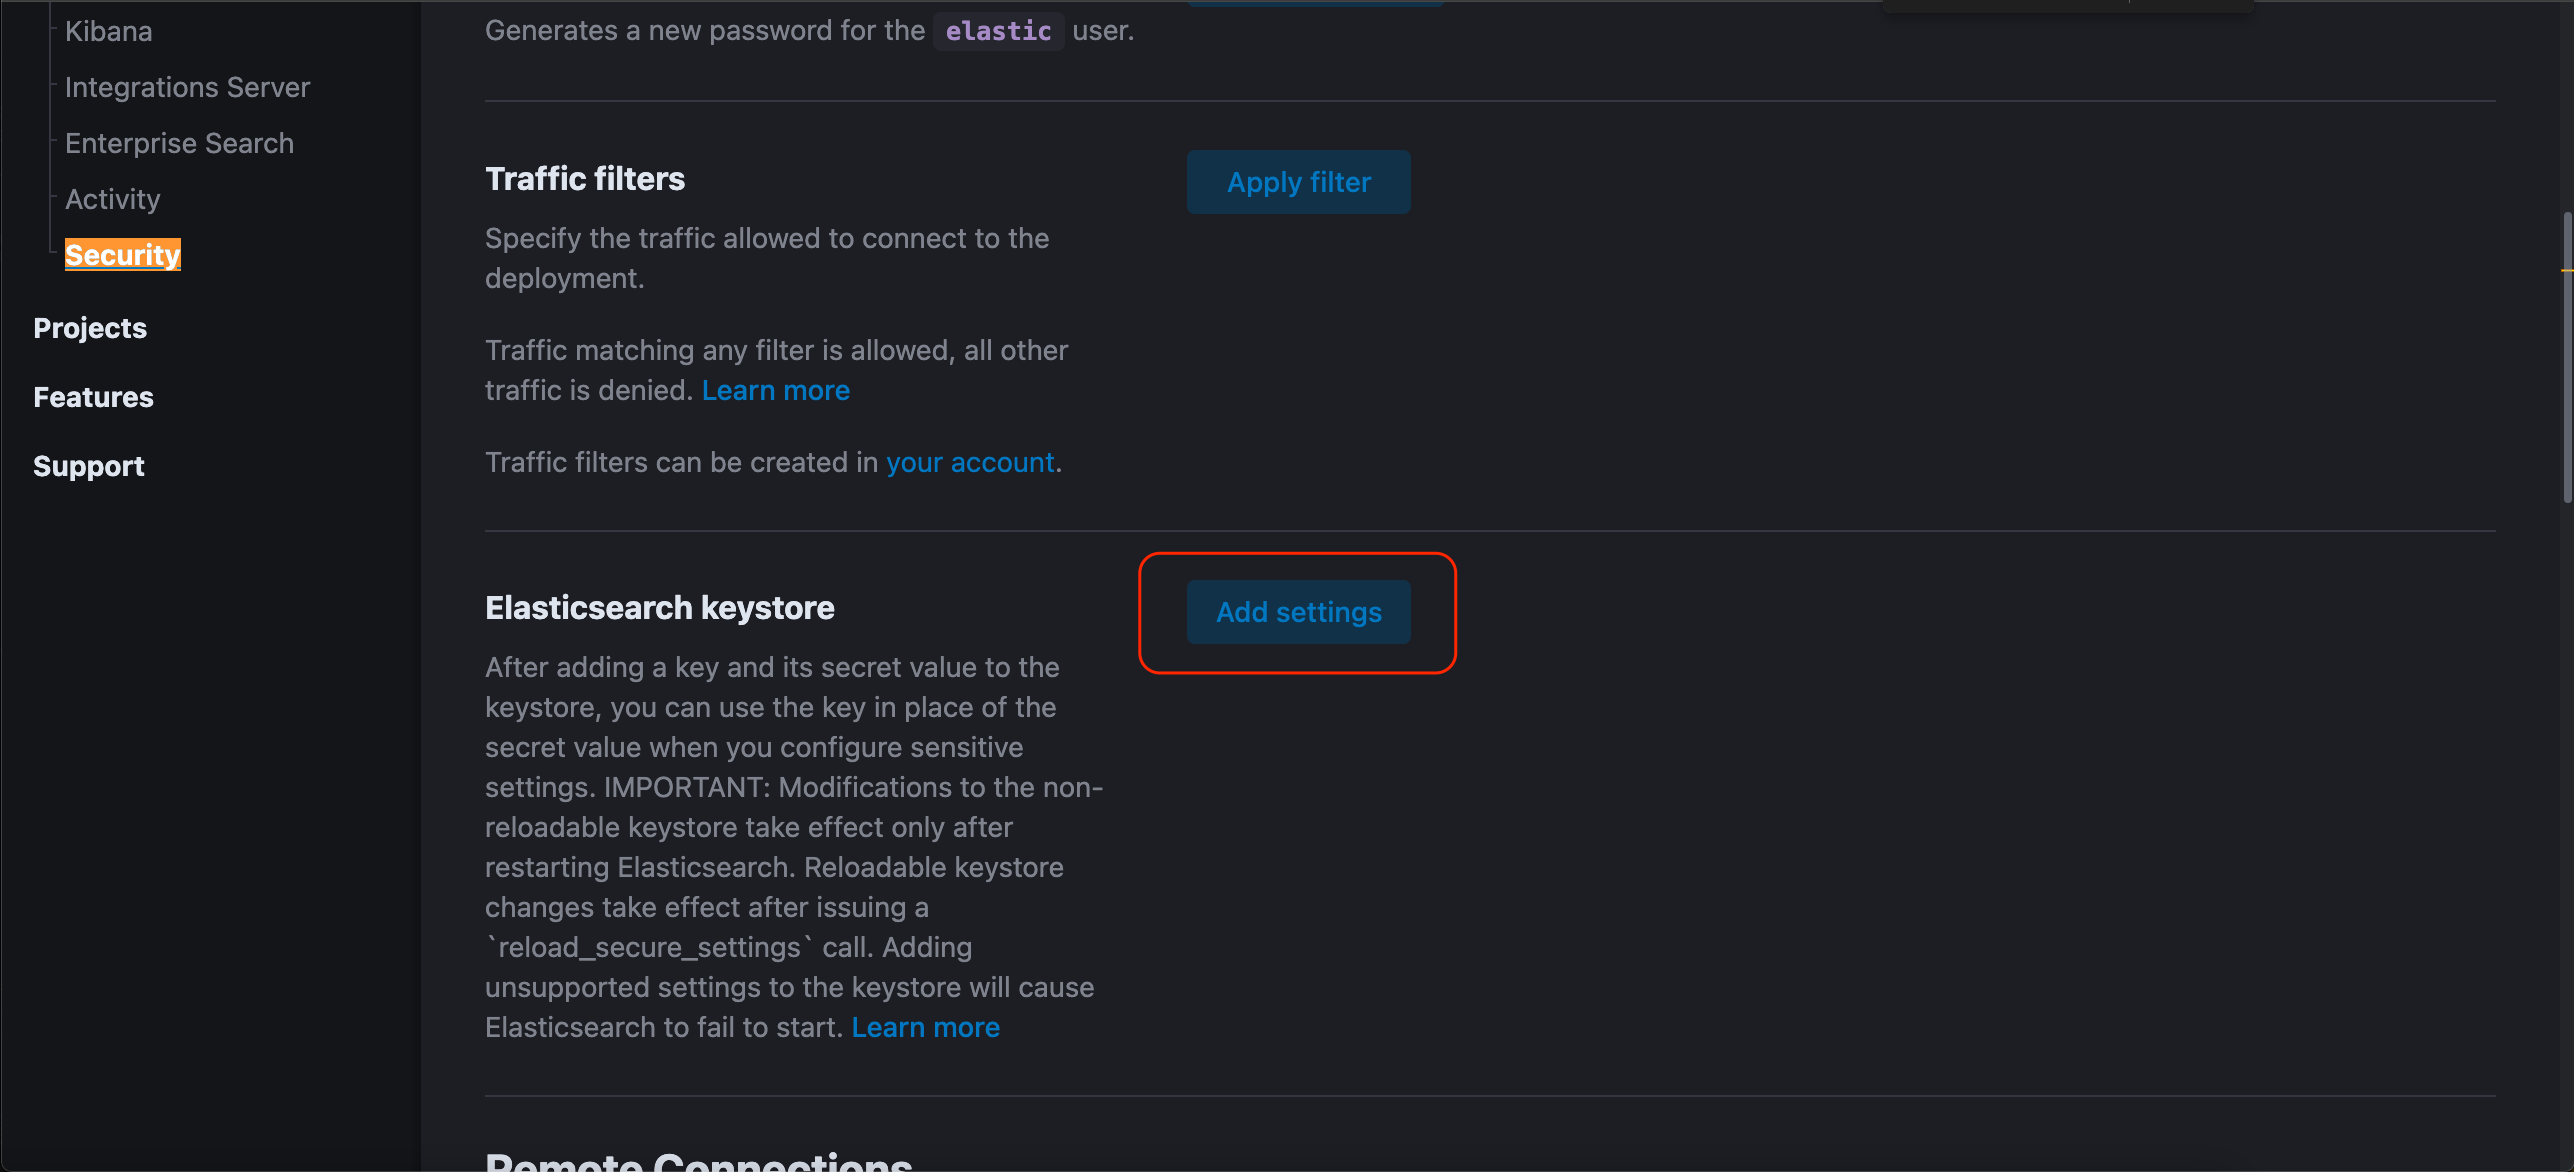
 Scroll down to the Elastic keystore click Add settings.
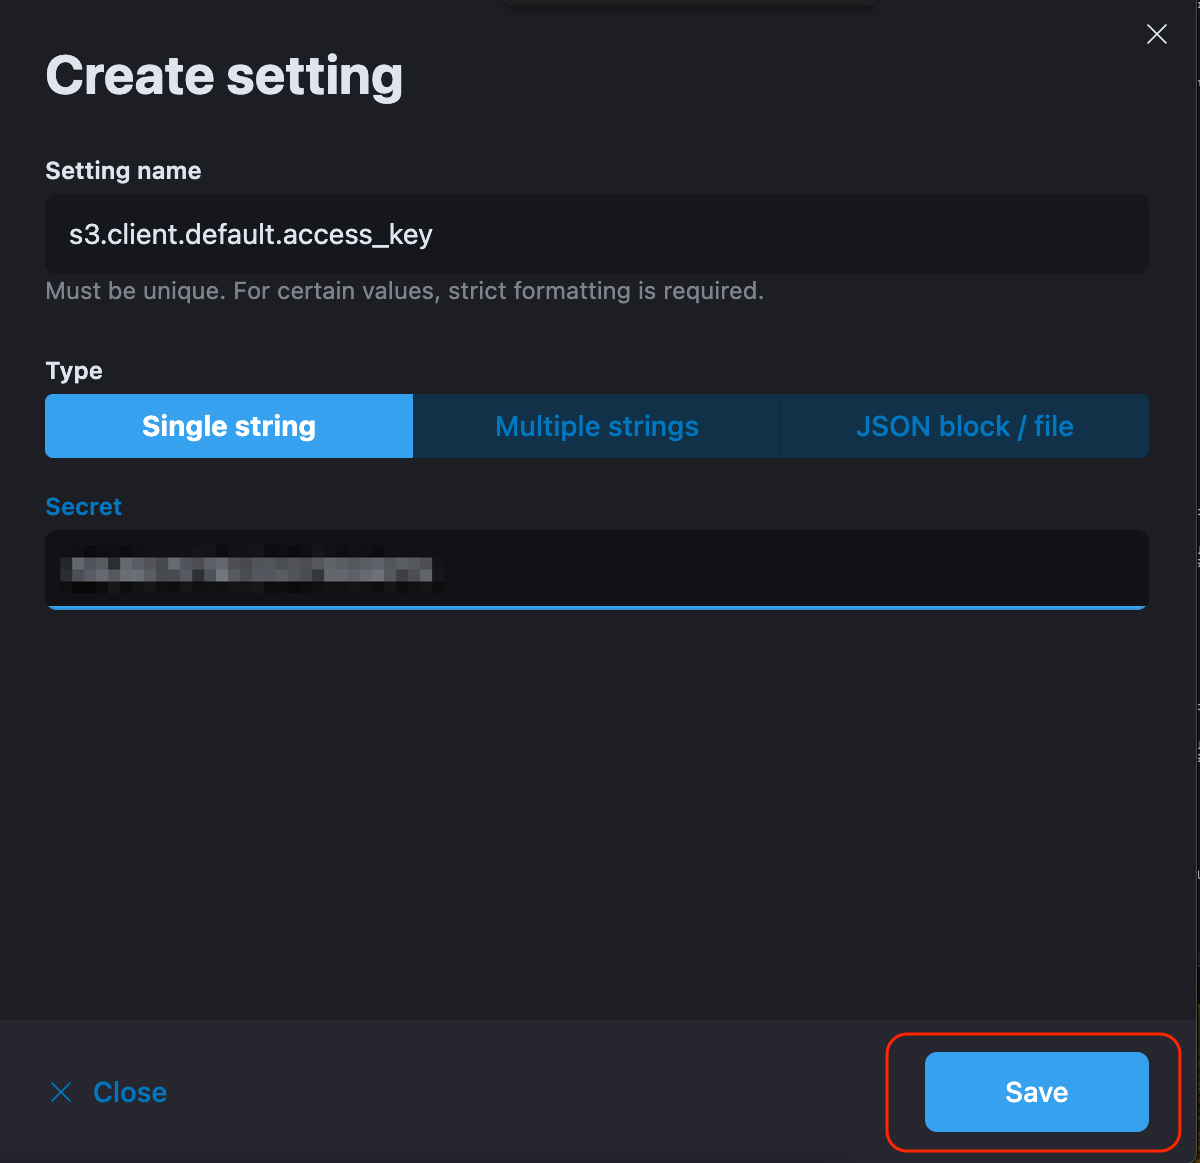
Under Setting name, enter the following:
s3.client.default.access_key
For the Secret, enter your Wasabi access key. Click Save.
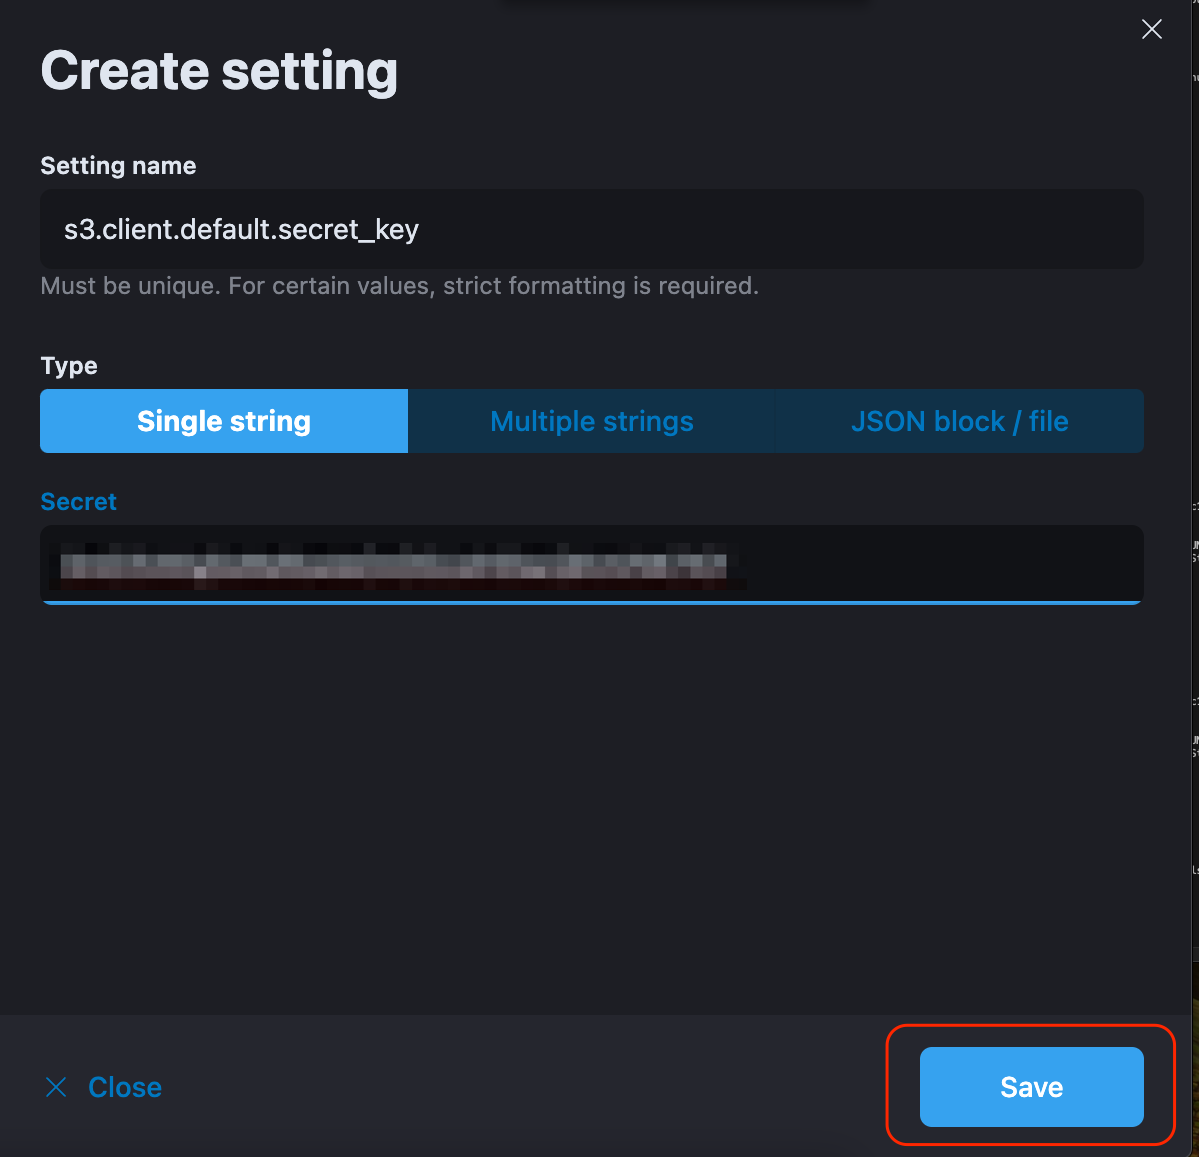
Click Add setting.
Under Setting name, enter the following:
s3.client.default.secret_key
For the Secret, enter your Wasabi secret key. Click Save.
The access and secret key settings will now appear under Security keys.

Create a Snapshot Wasabi Repository
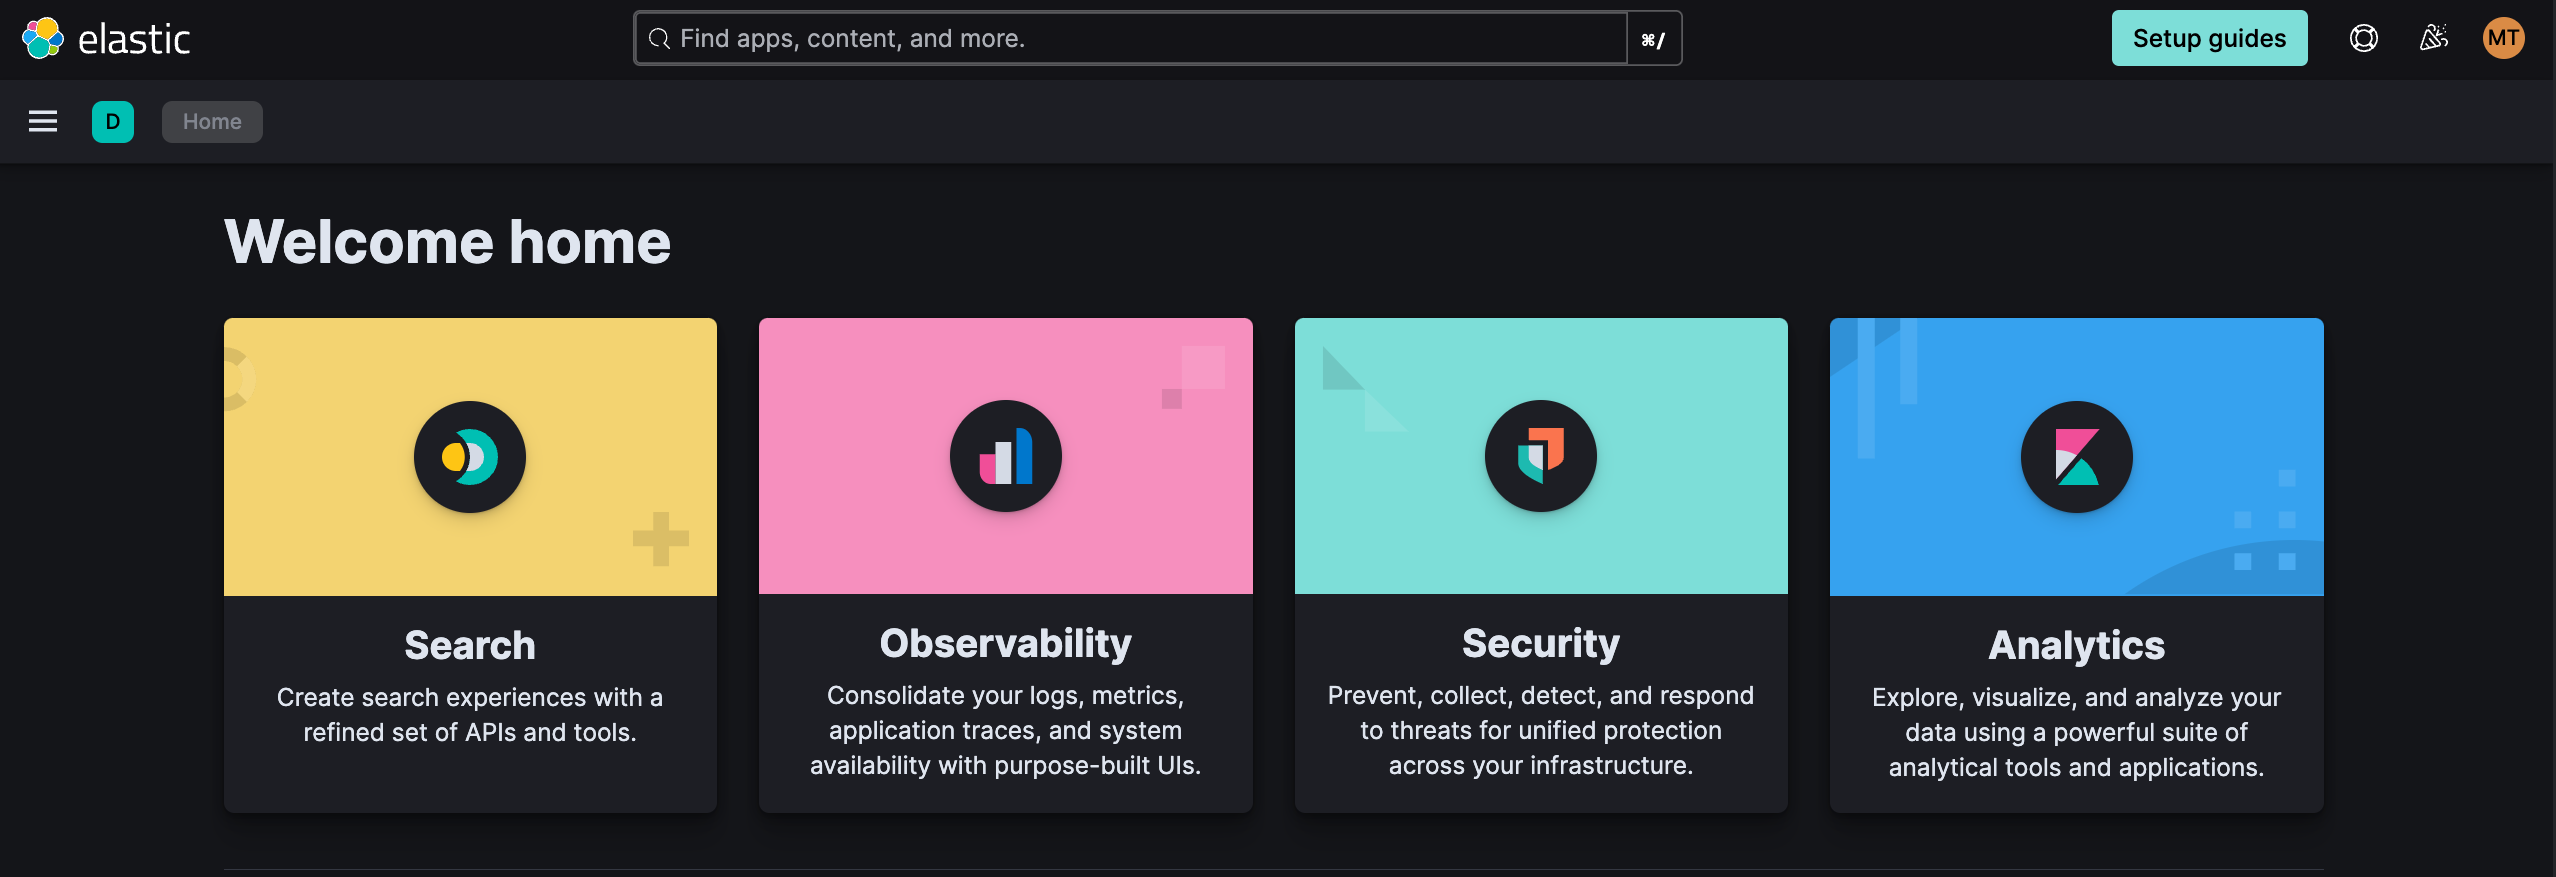
Navigate to the home screen on the Elastic Cloud console.
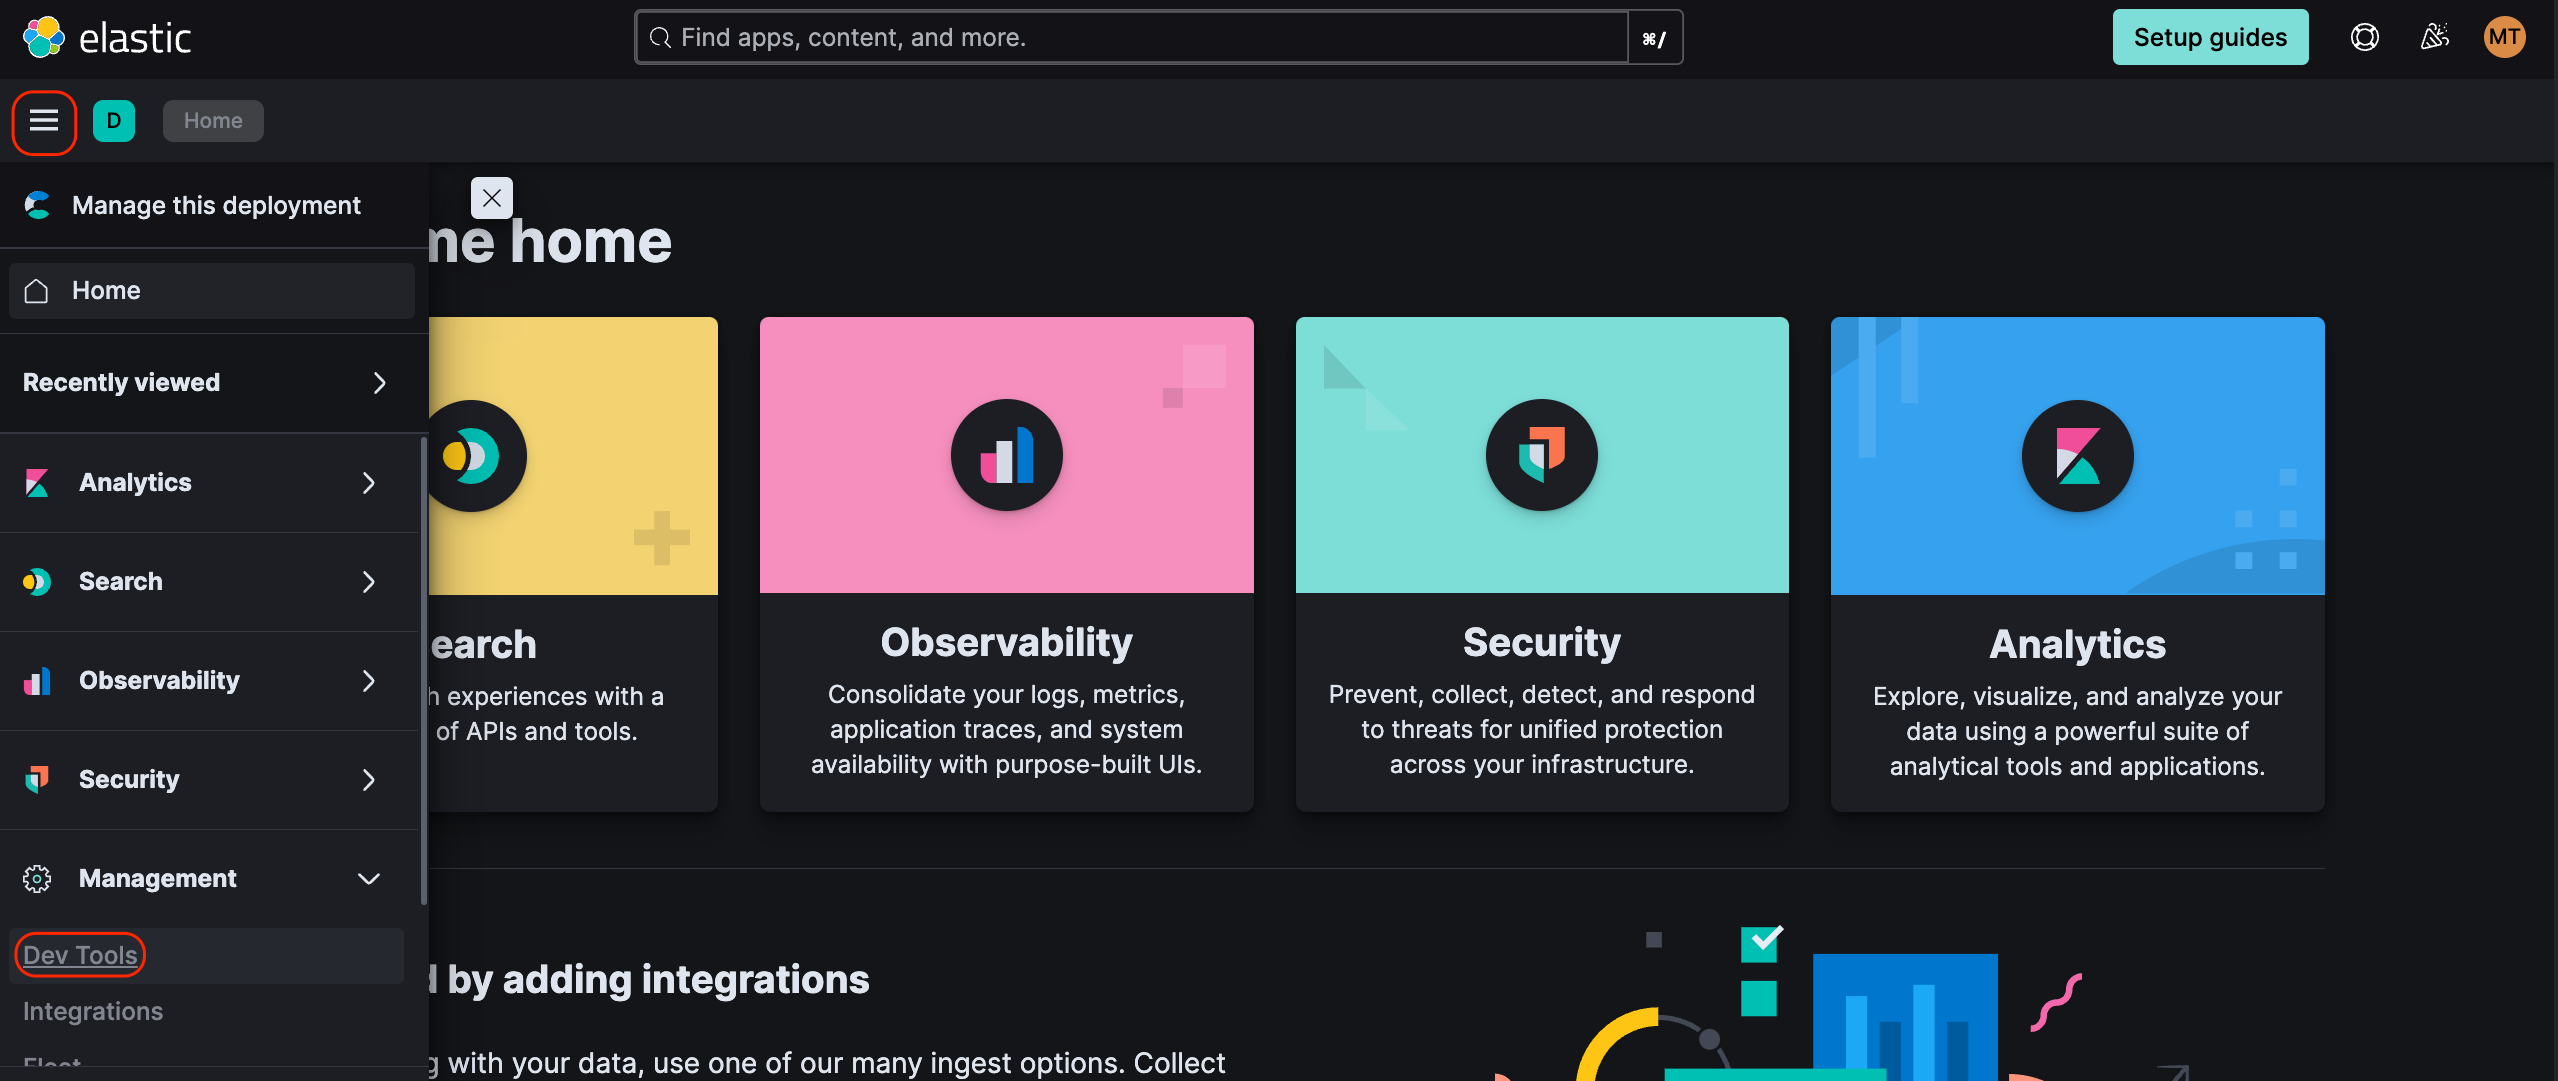
 Select the menu (3 horizontal bars at the top left of the screen). Under Management click Dev Tools.
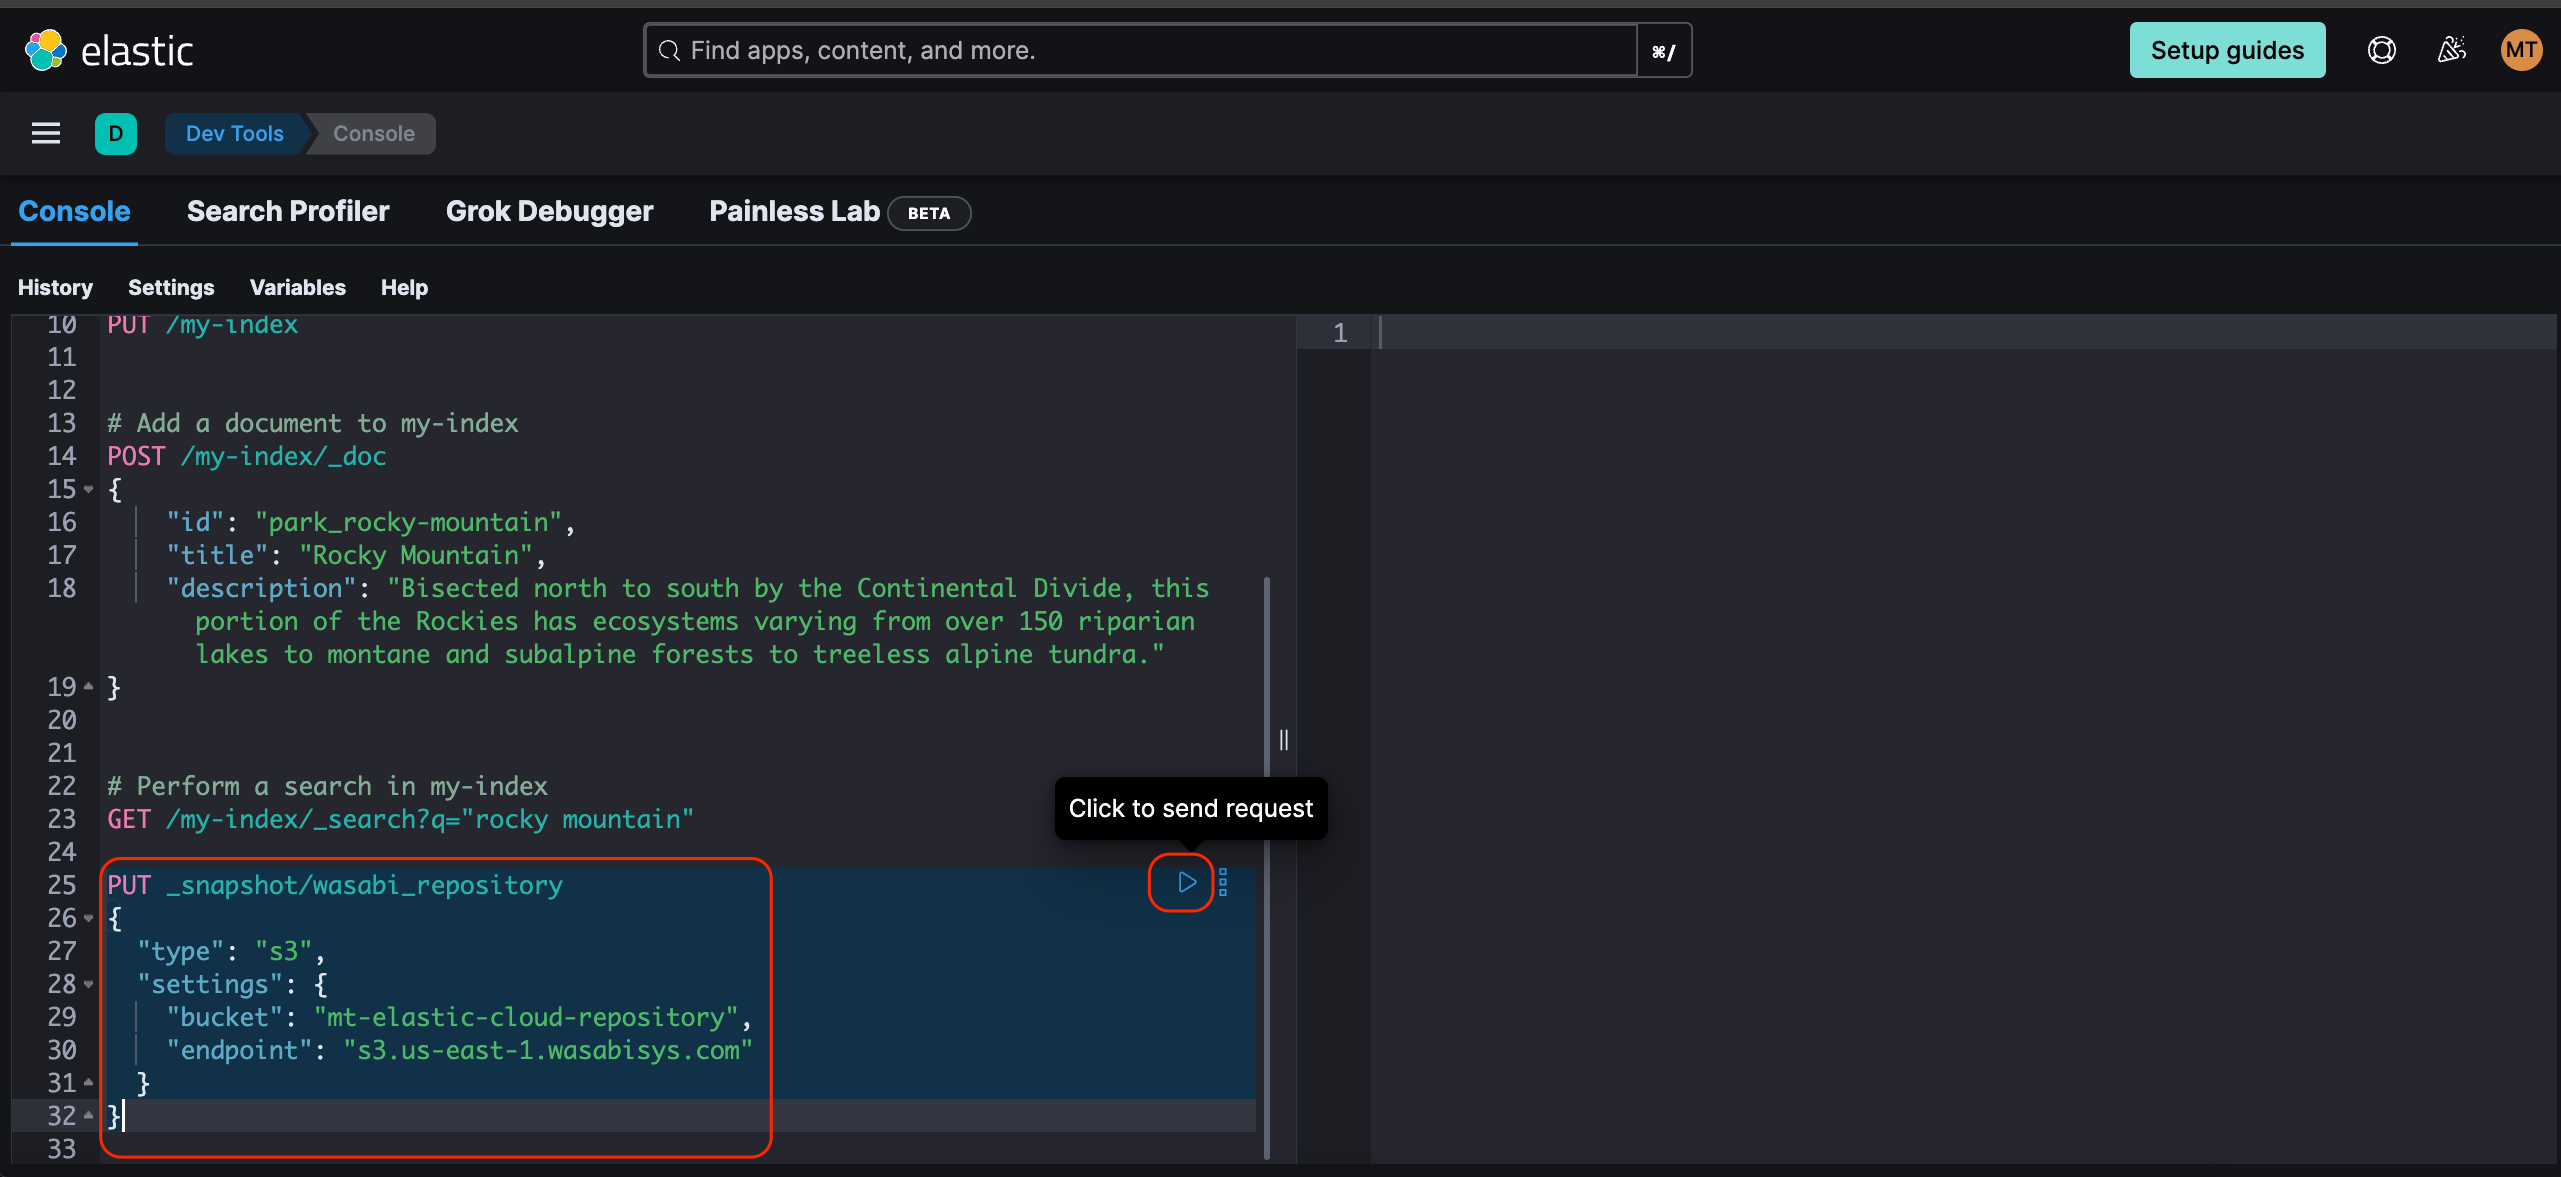
Under the Console section, copy and paste the following JSON document into the bottom of the document. Replace "mt-elastic-cloud-repository" with the name of your Wasabi bucket, and use the domain name for the Wasabi region your bucket is located in for the endpoint.
PUT _snapshot/wasabi_repository
{
  "type": "s3",
  "settings": {
    "bucket": "mt-elastic-cloud-repository",
    "endpoint": "s3.us-east-1.wasabisys.com"
  }
}
Highlight the pasted text and press the "play" triangle image to send the request.
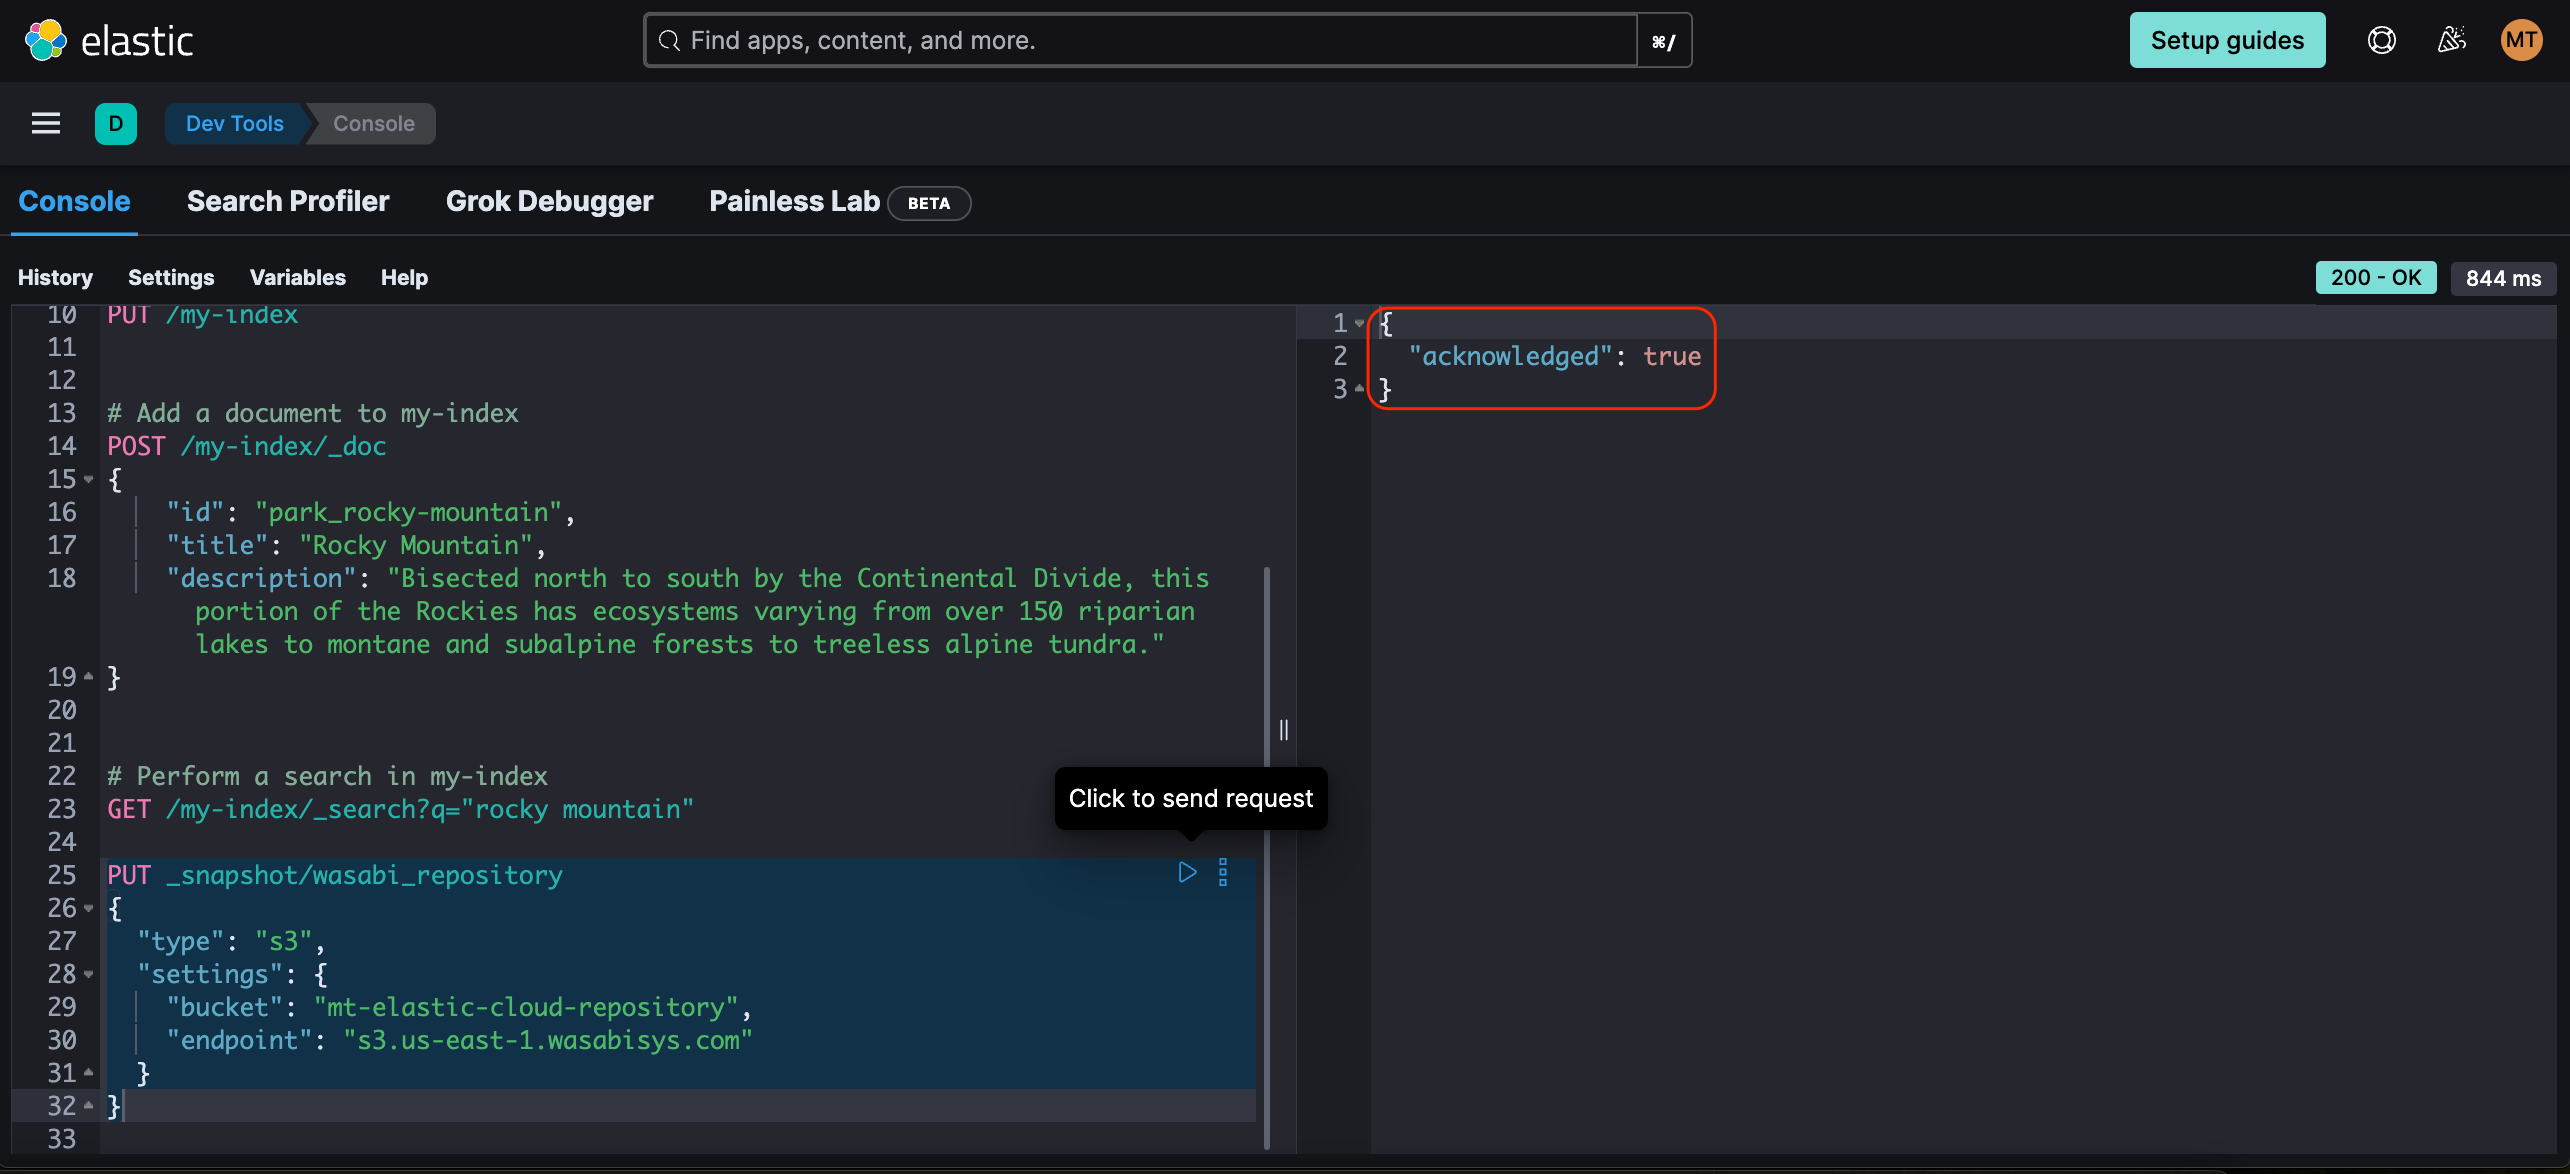
Verify that "acknowledged": true is displayed in the results section on the right-hand side of the screen.
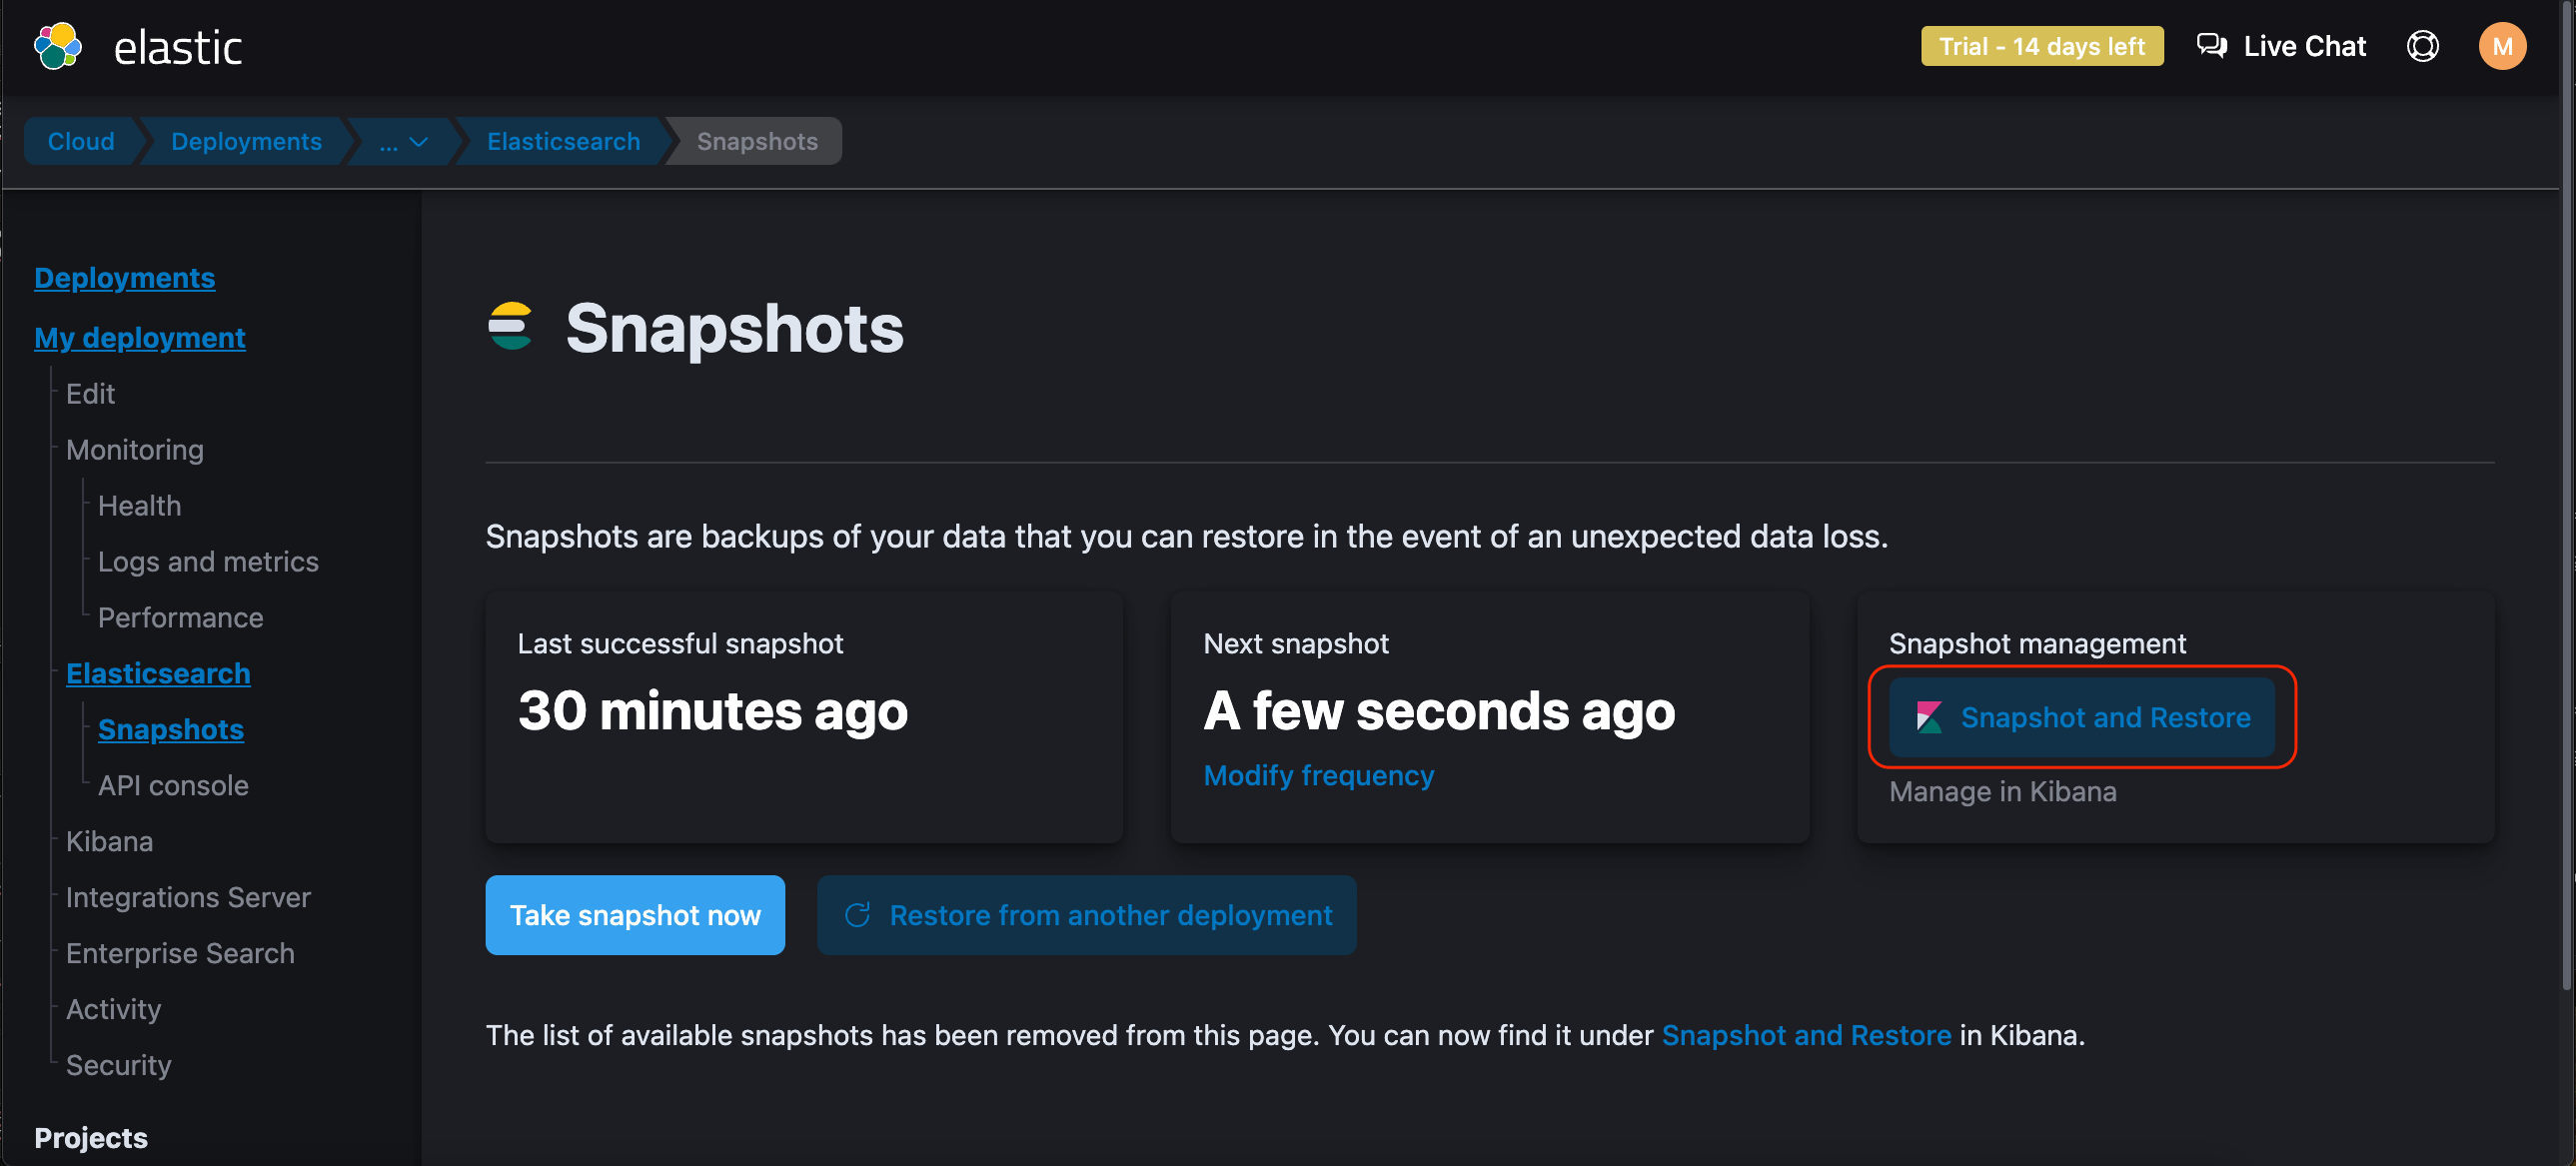
Navigate to your deployment on the Elastic Cloud console and click Snapshots under Elasticsearch. Click Snapshot and Restore.
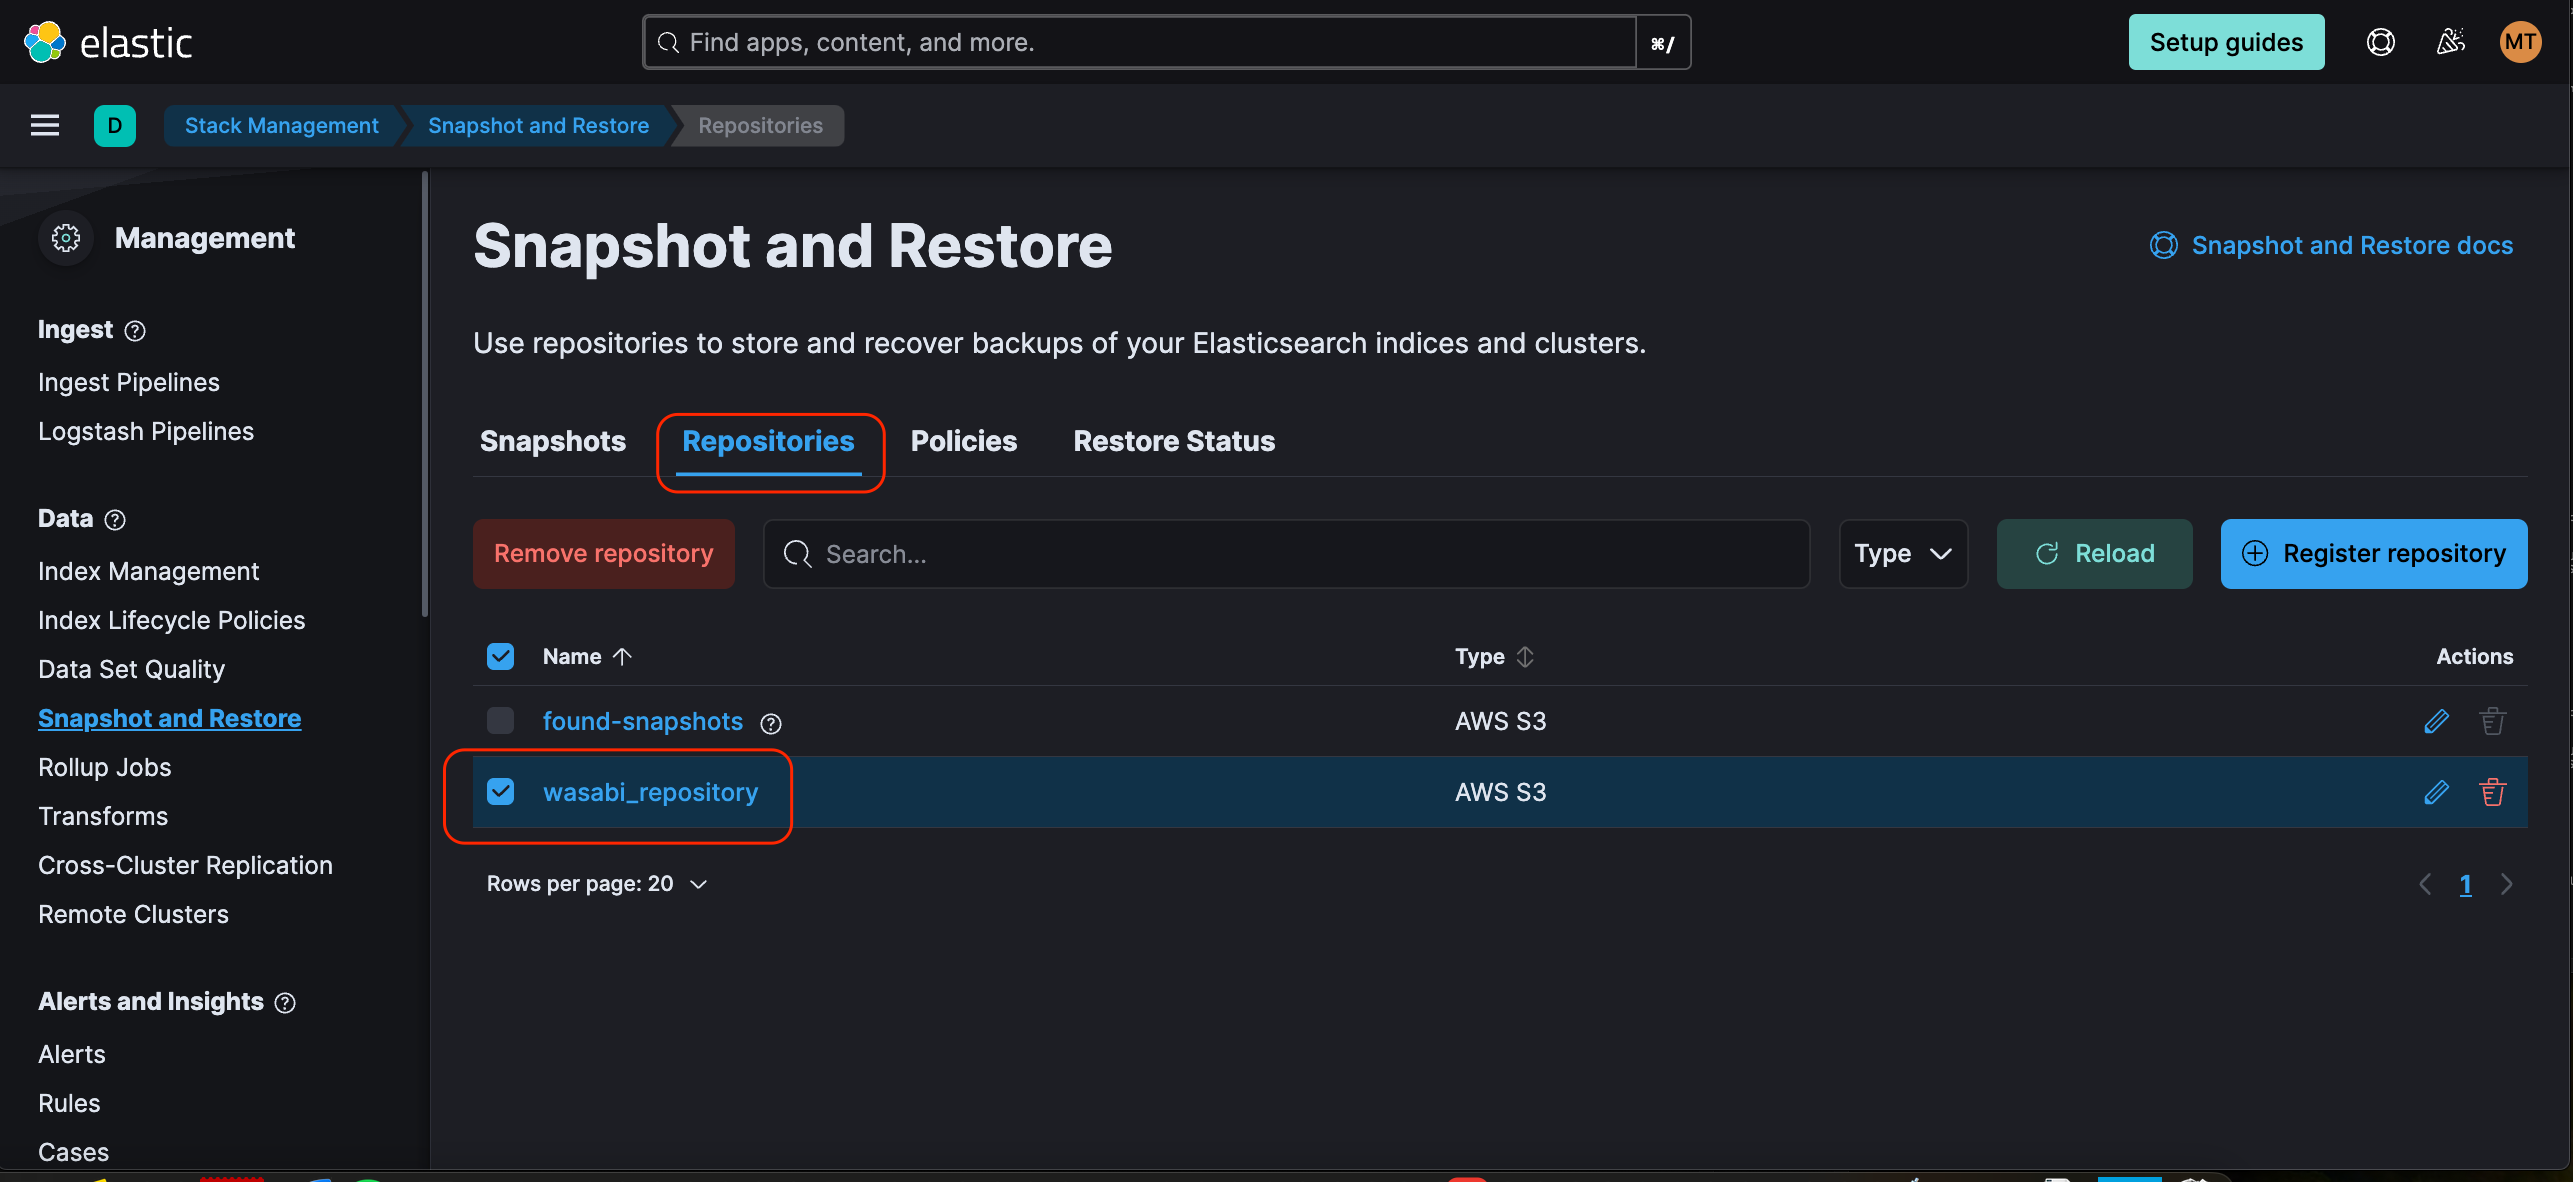
Click on Repositories and then on wasabi_repository.
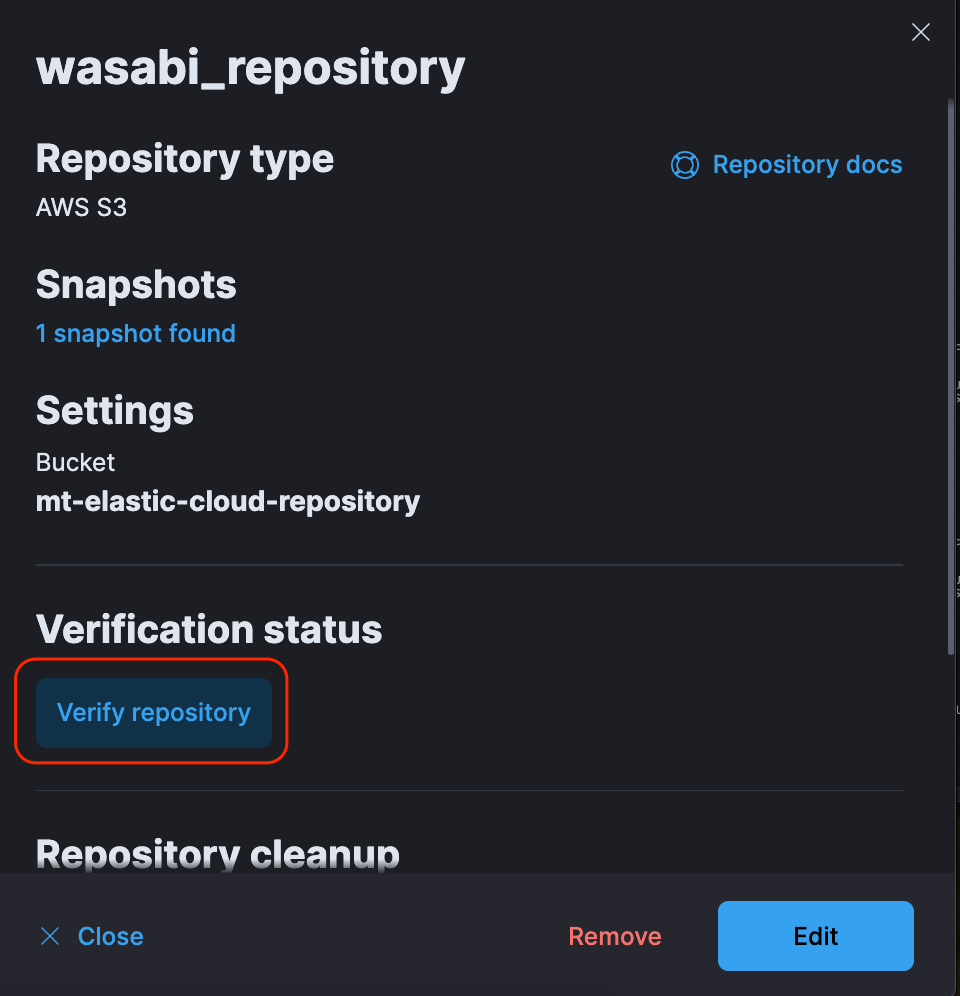
Click Verify Repository.
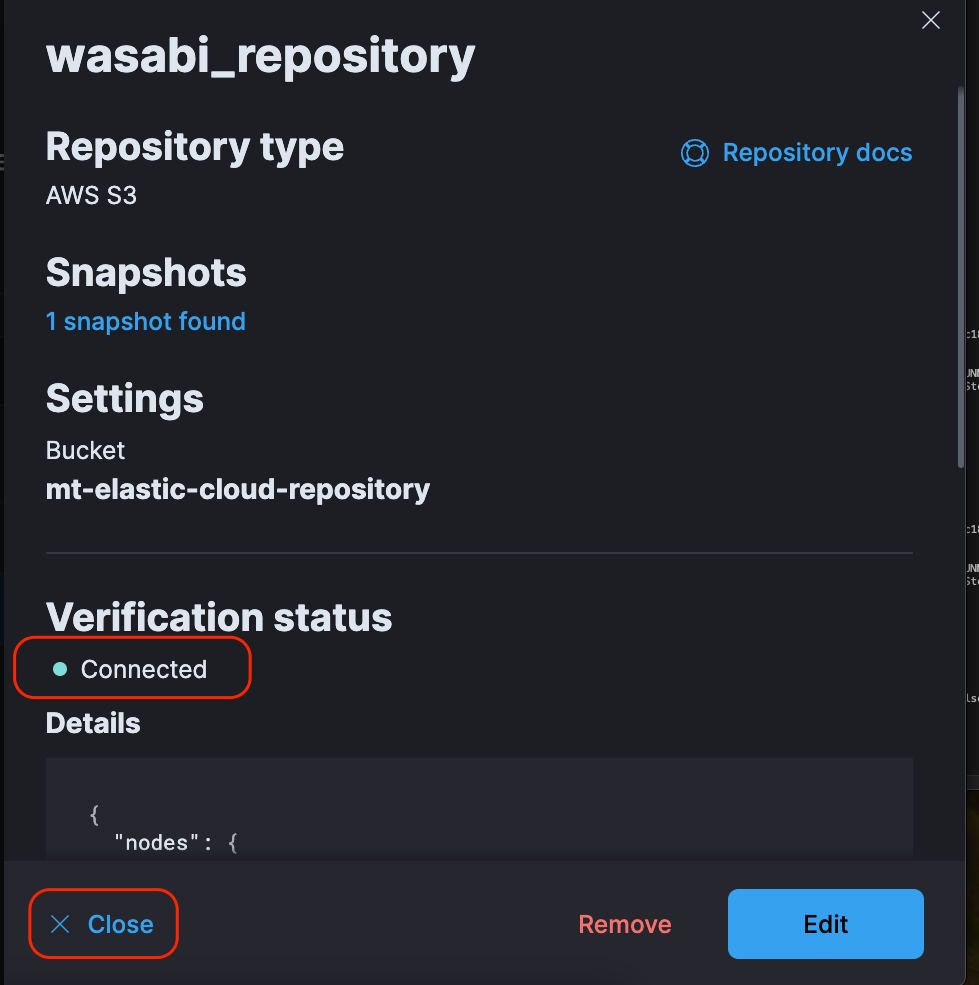
Ensure the Verification status shows Connected. Click Close.
Create a Policy to Backup Snapshots to Wasabi
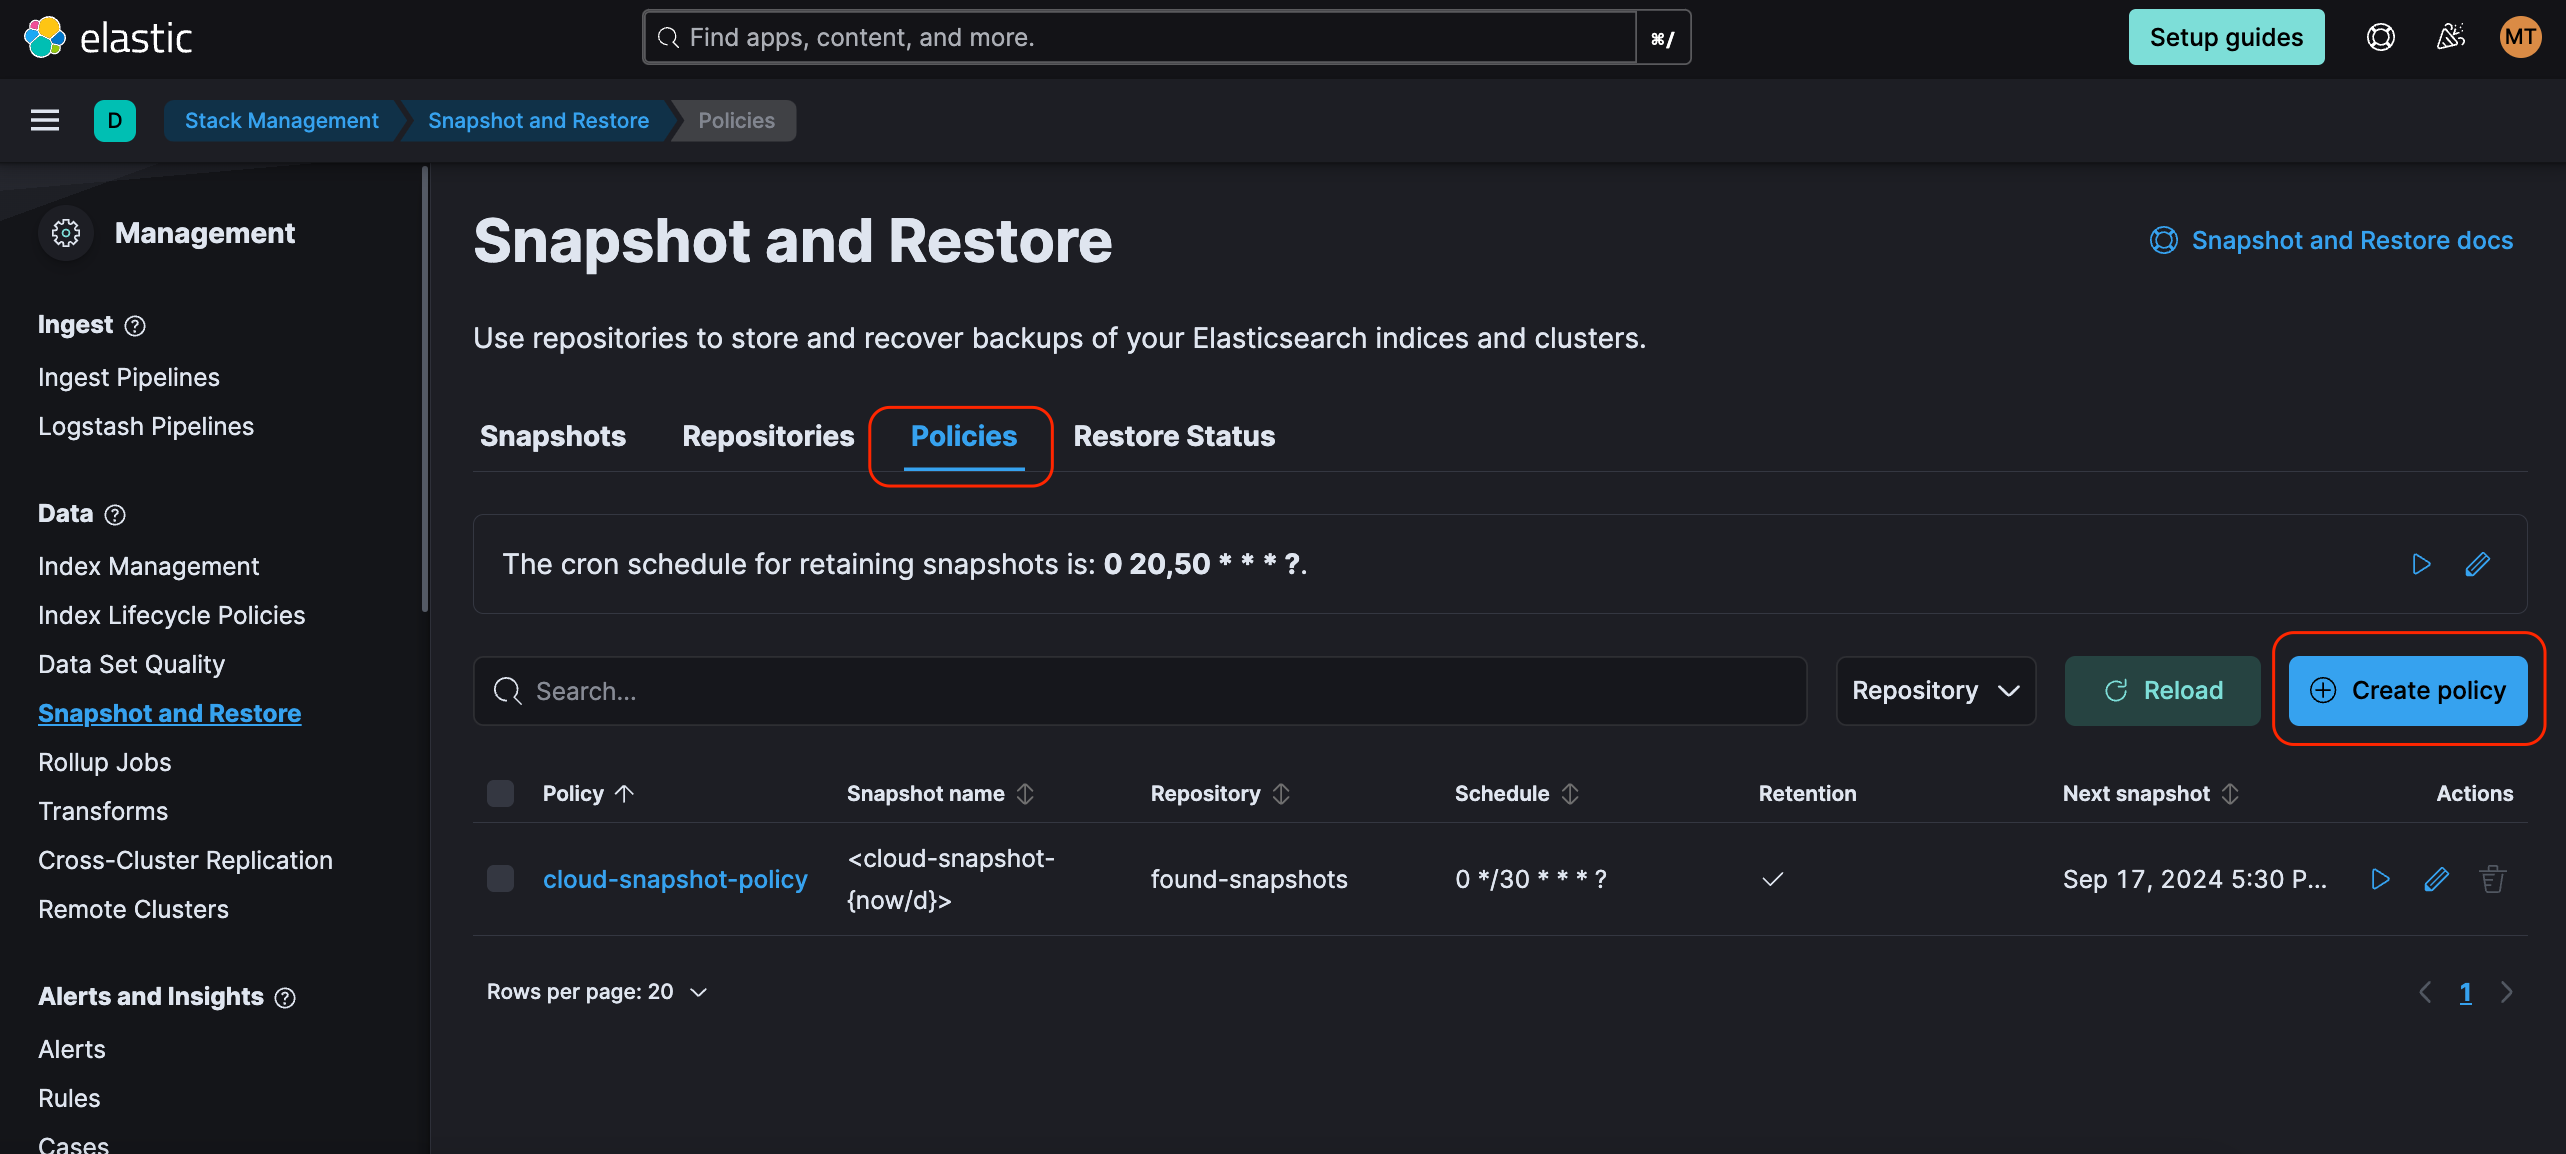
Click Policies and Create Policy.
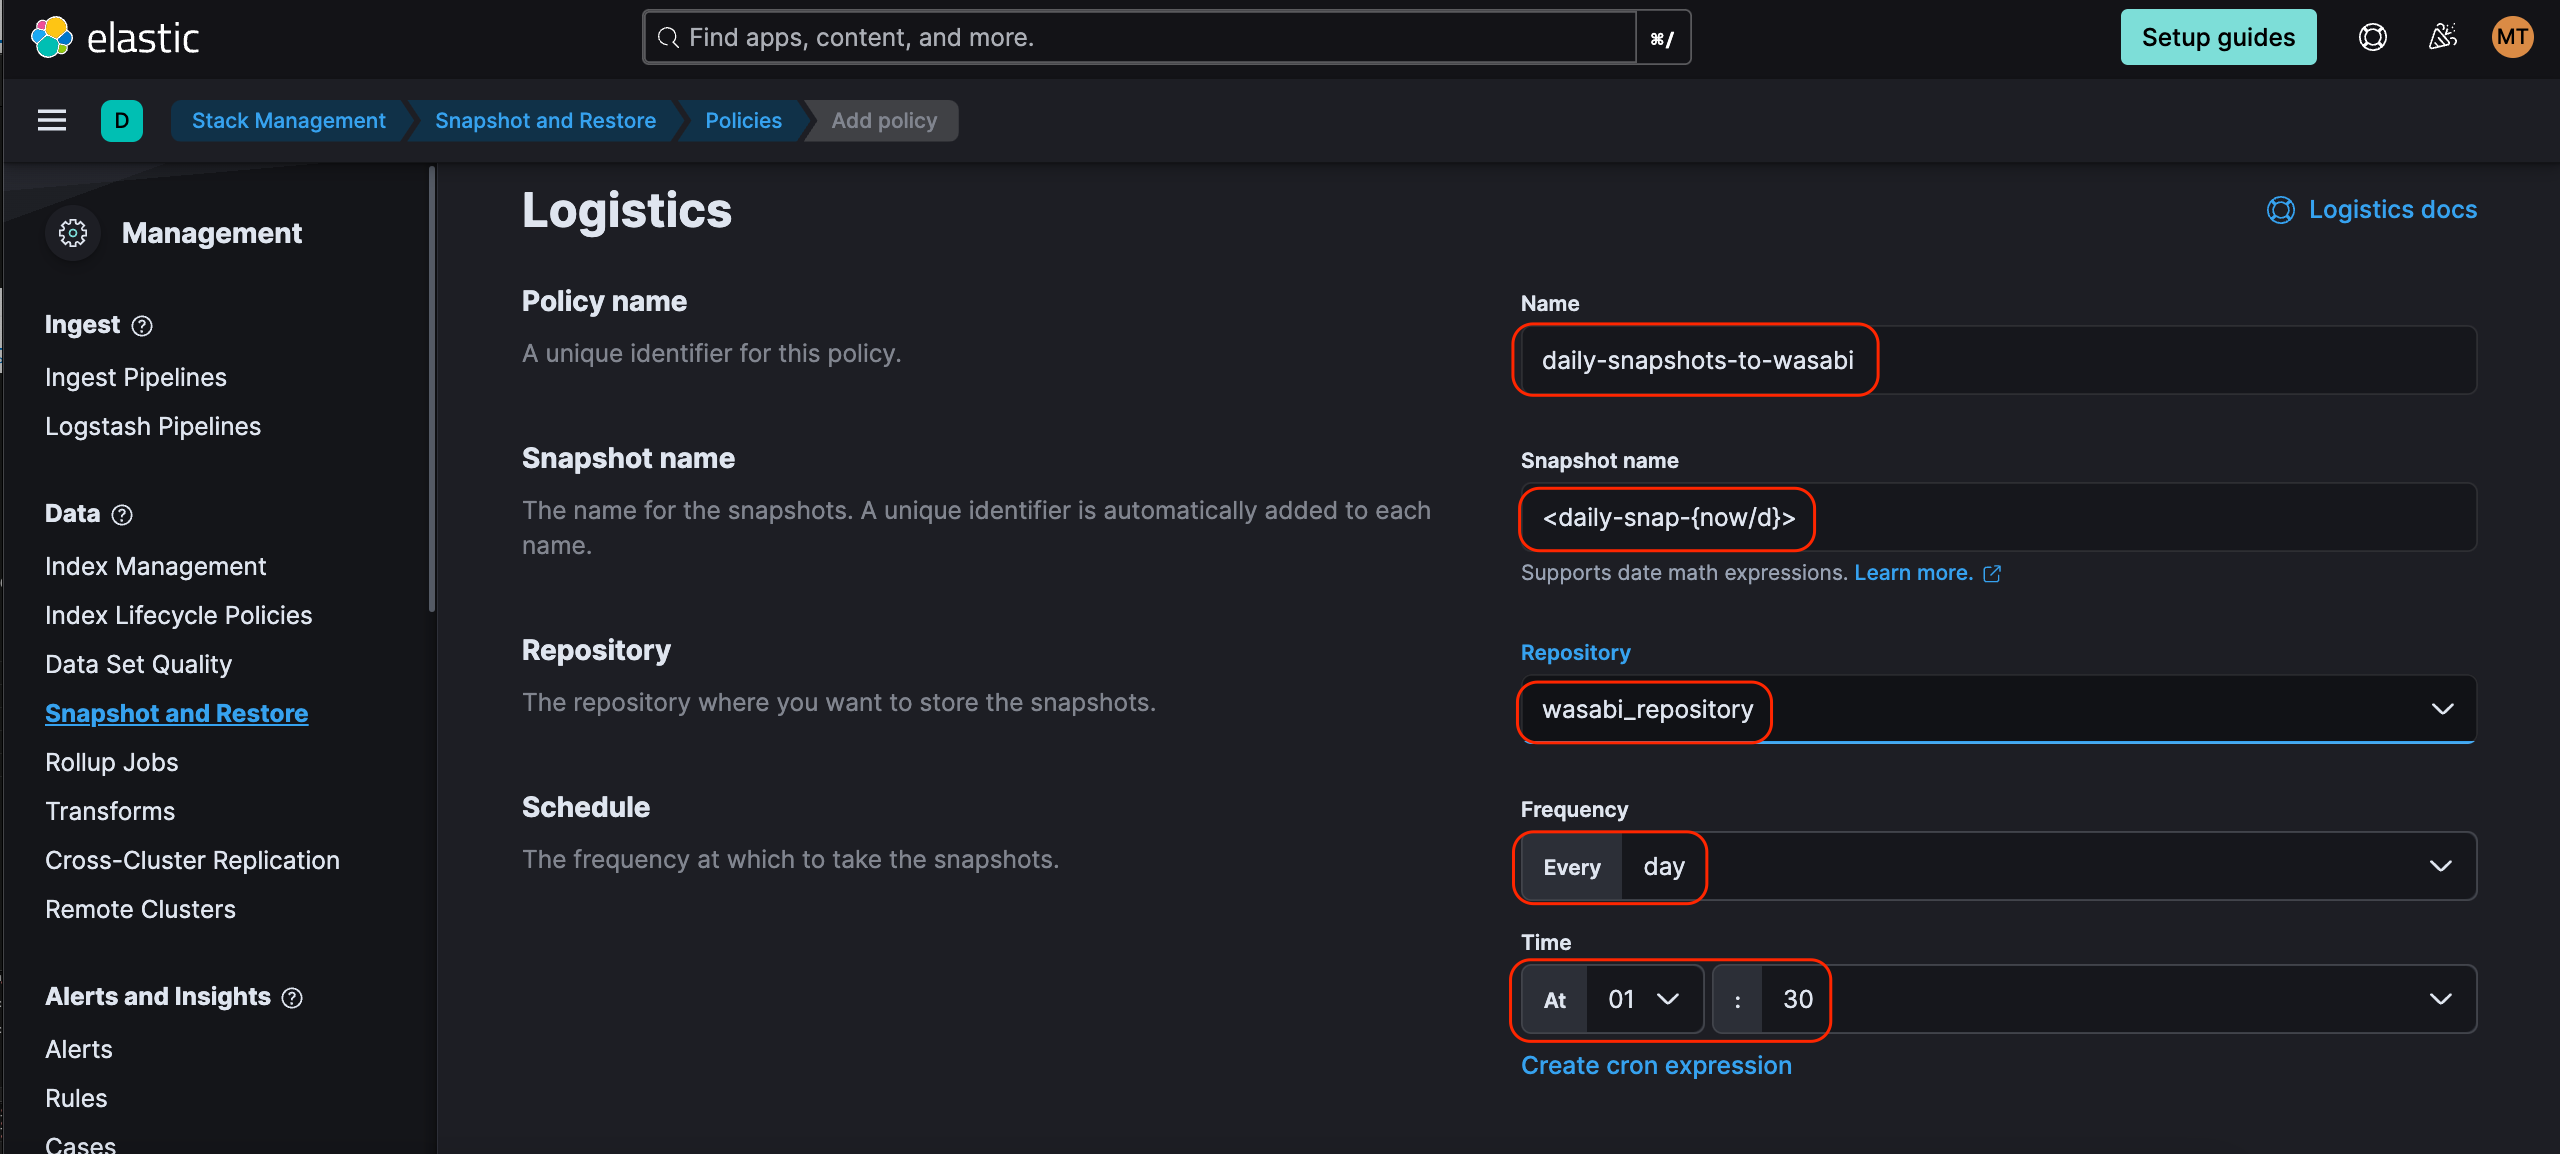
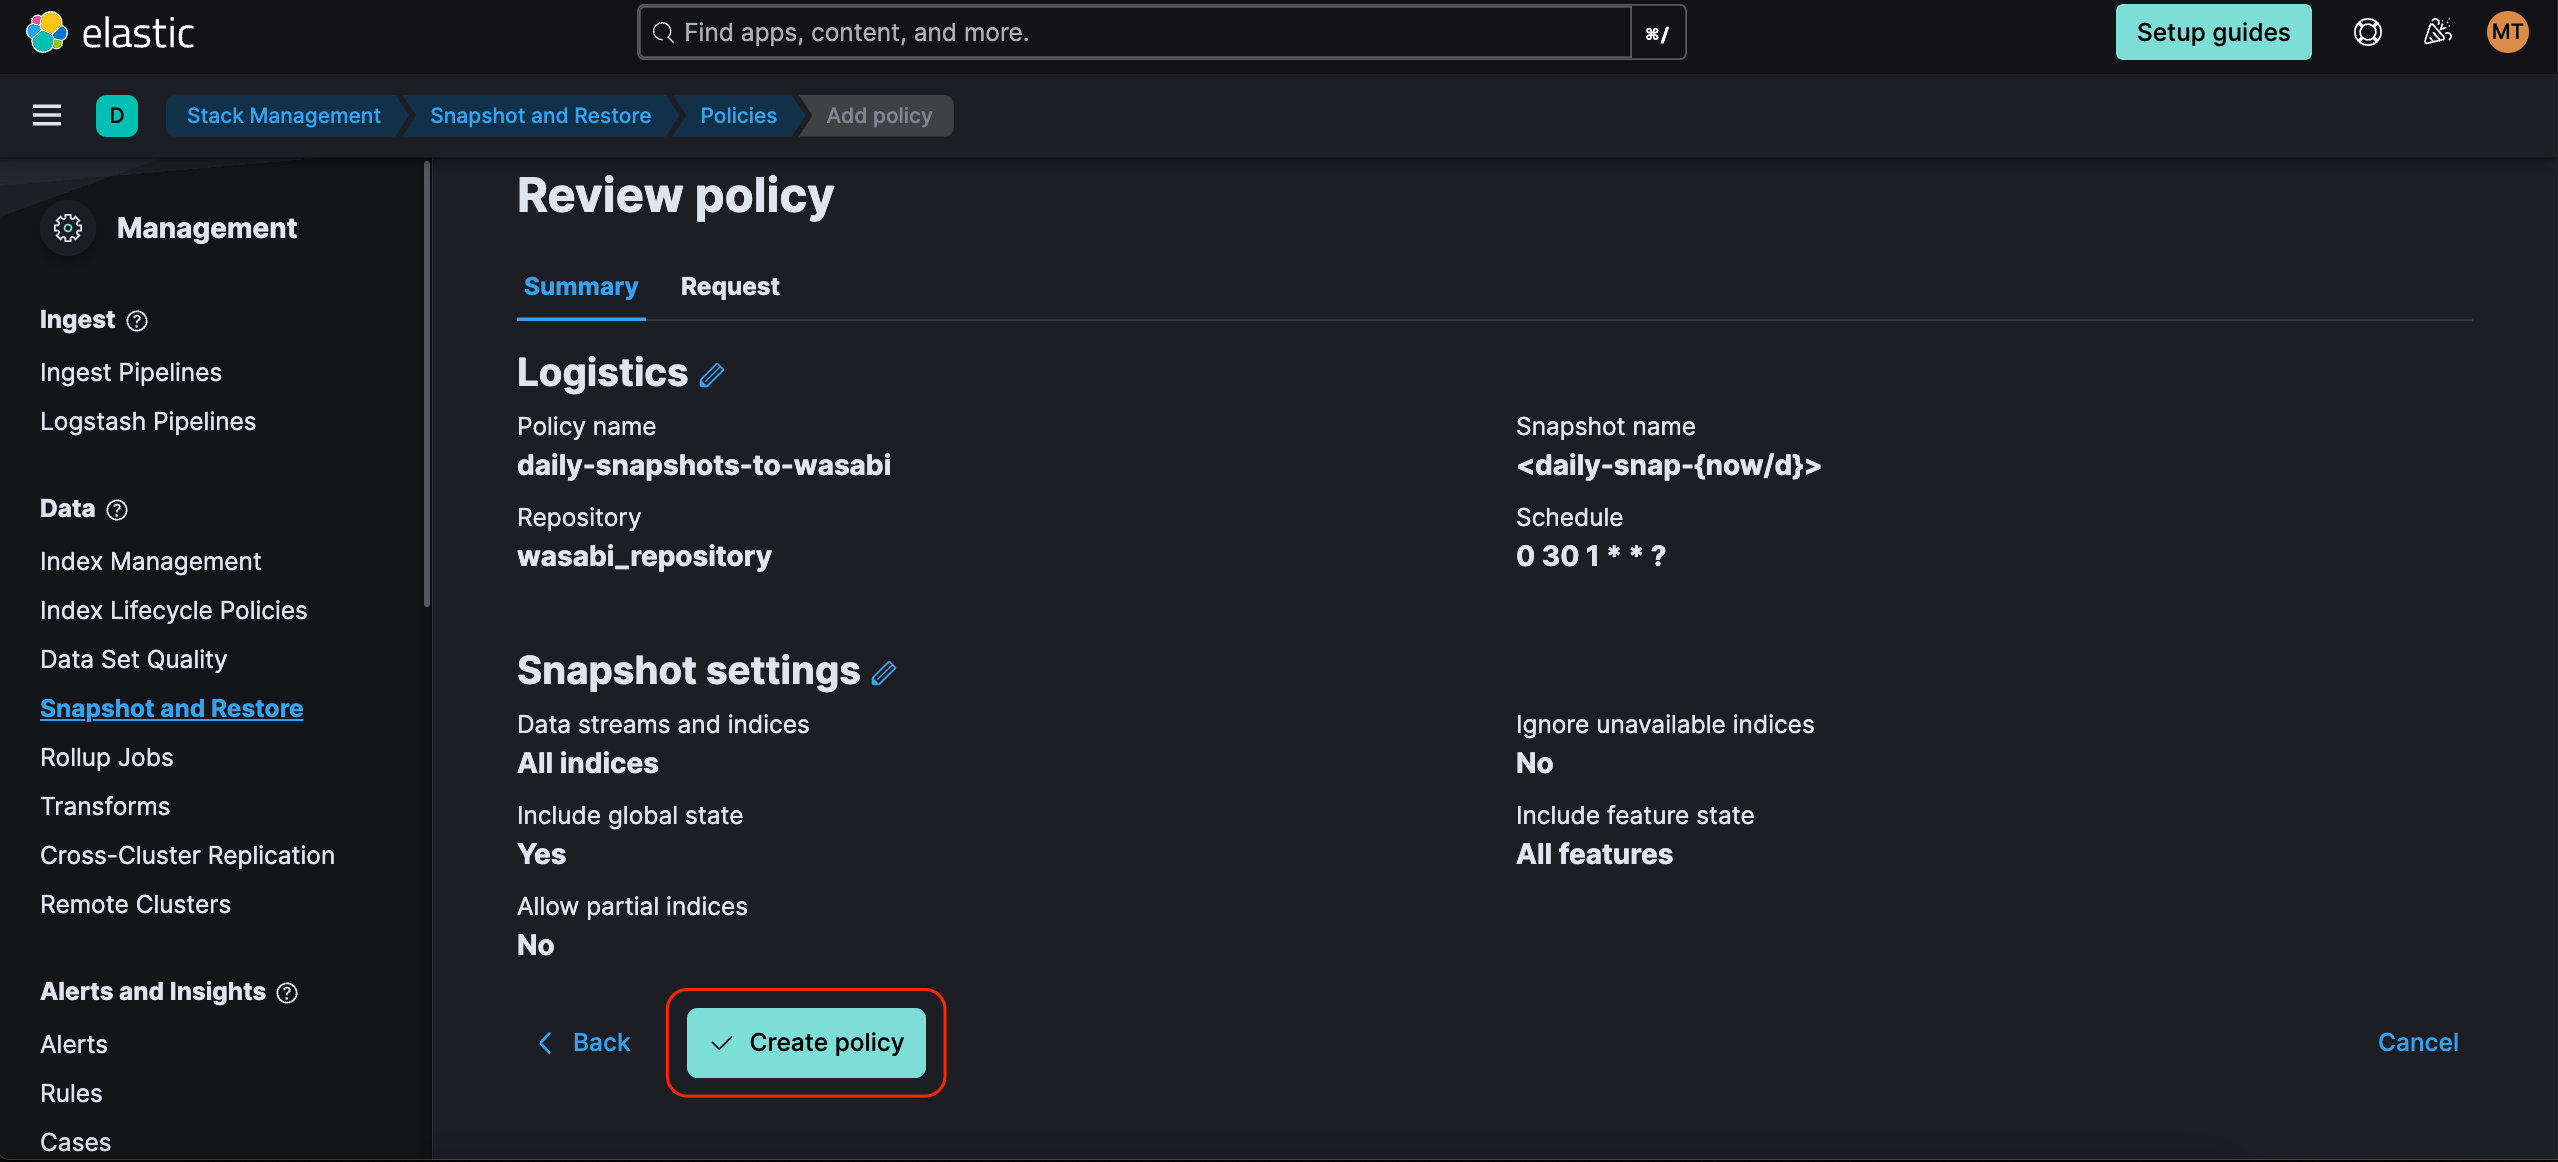
Enter a name for the policy, a Snapshot name, Frequency, and Time that meet the needs of your backup requirements. In the example below, the following was used for the Snapshot name:
<daily-snap-{now/d}>Select wasabi_repository from the drop-down Repository menu.
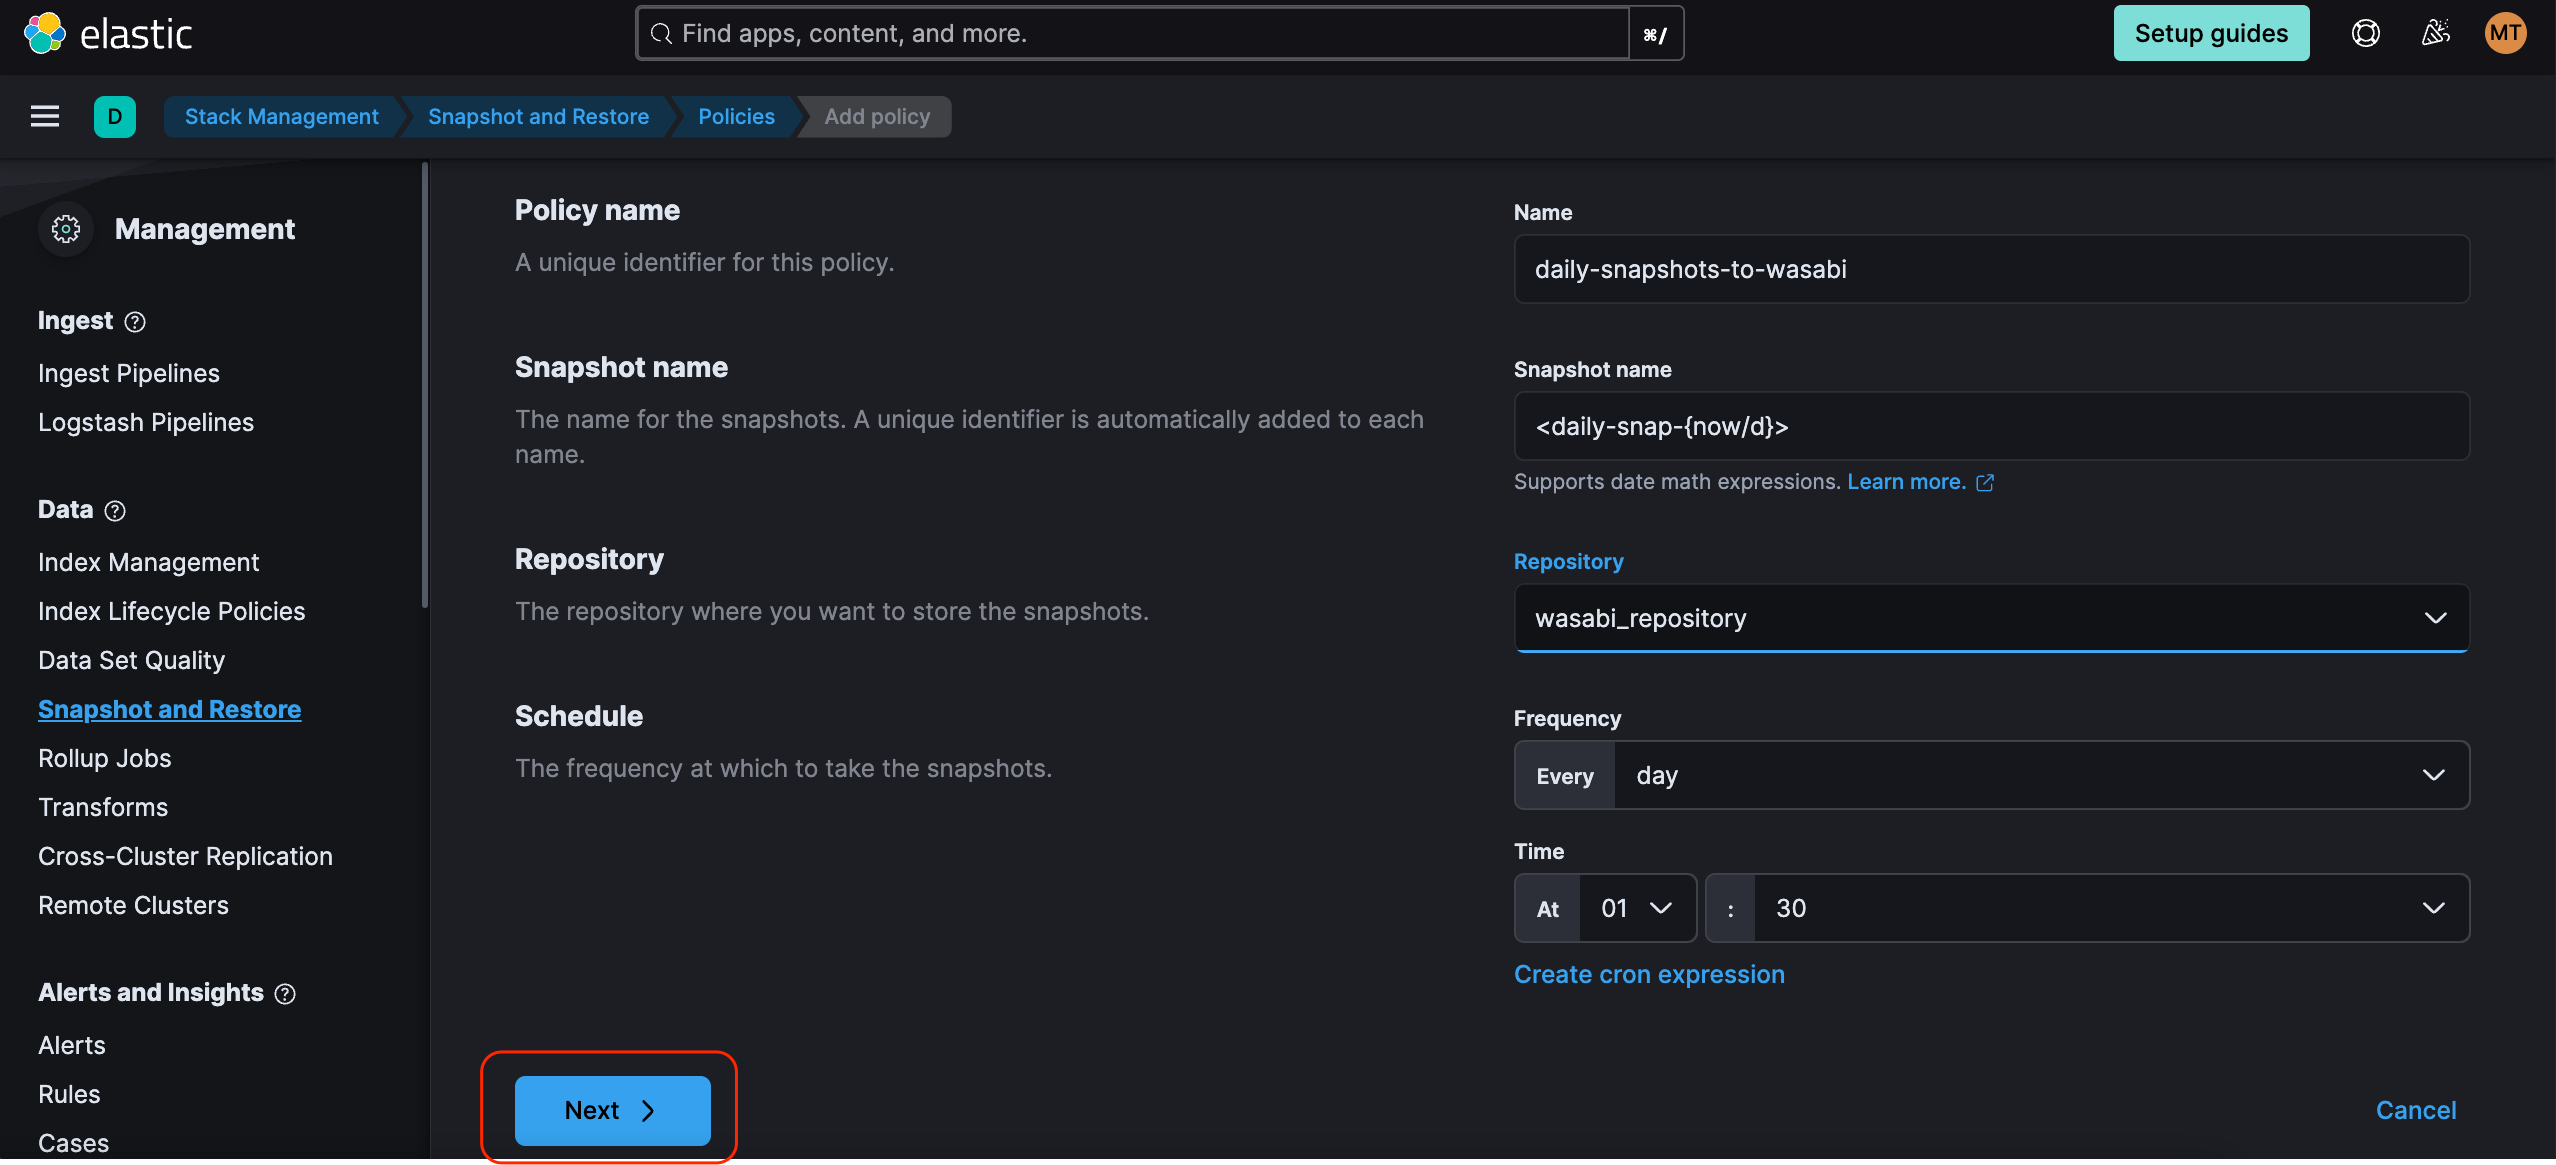
Click Next.
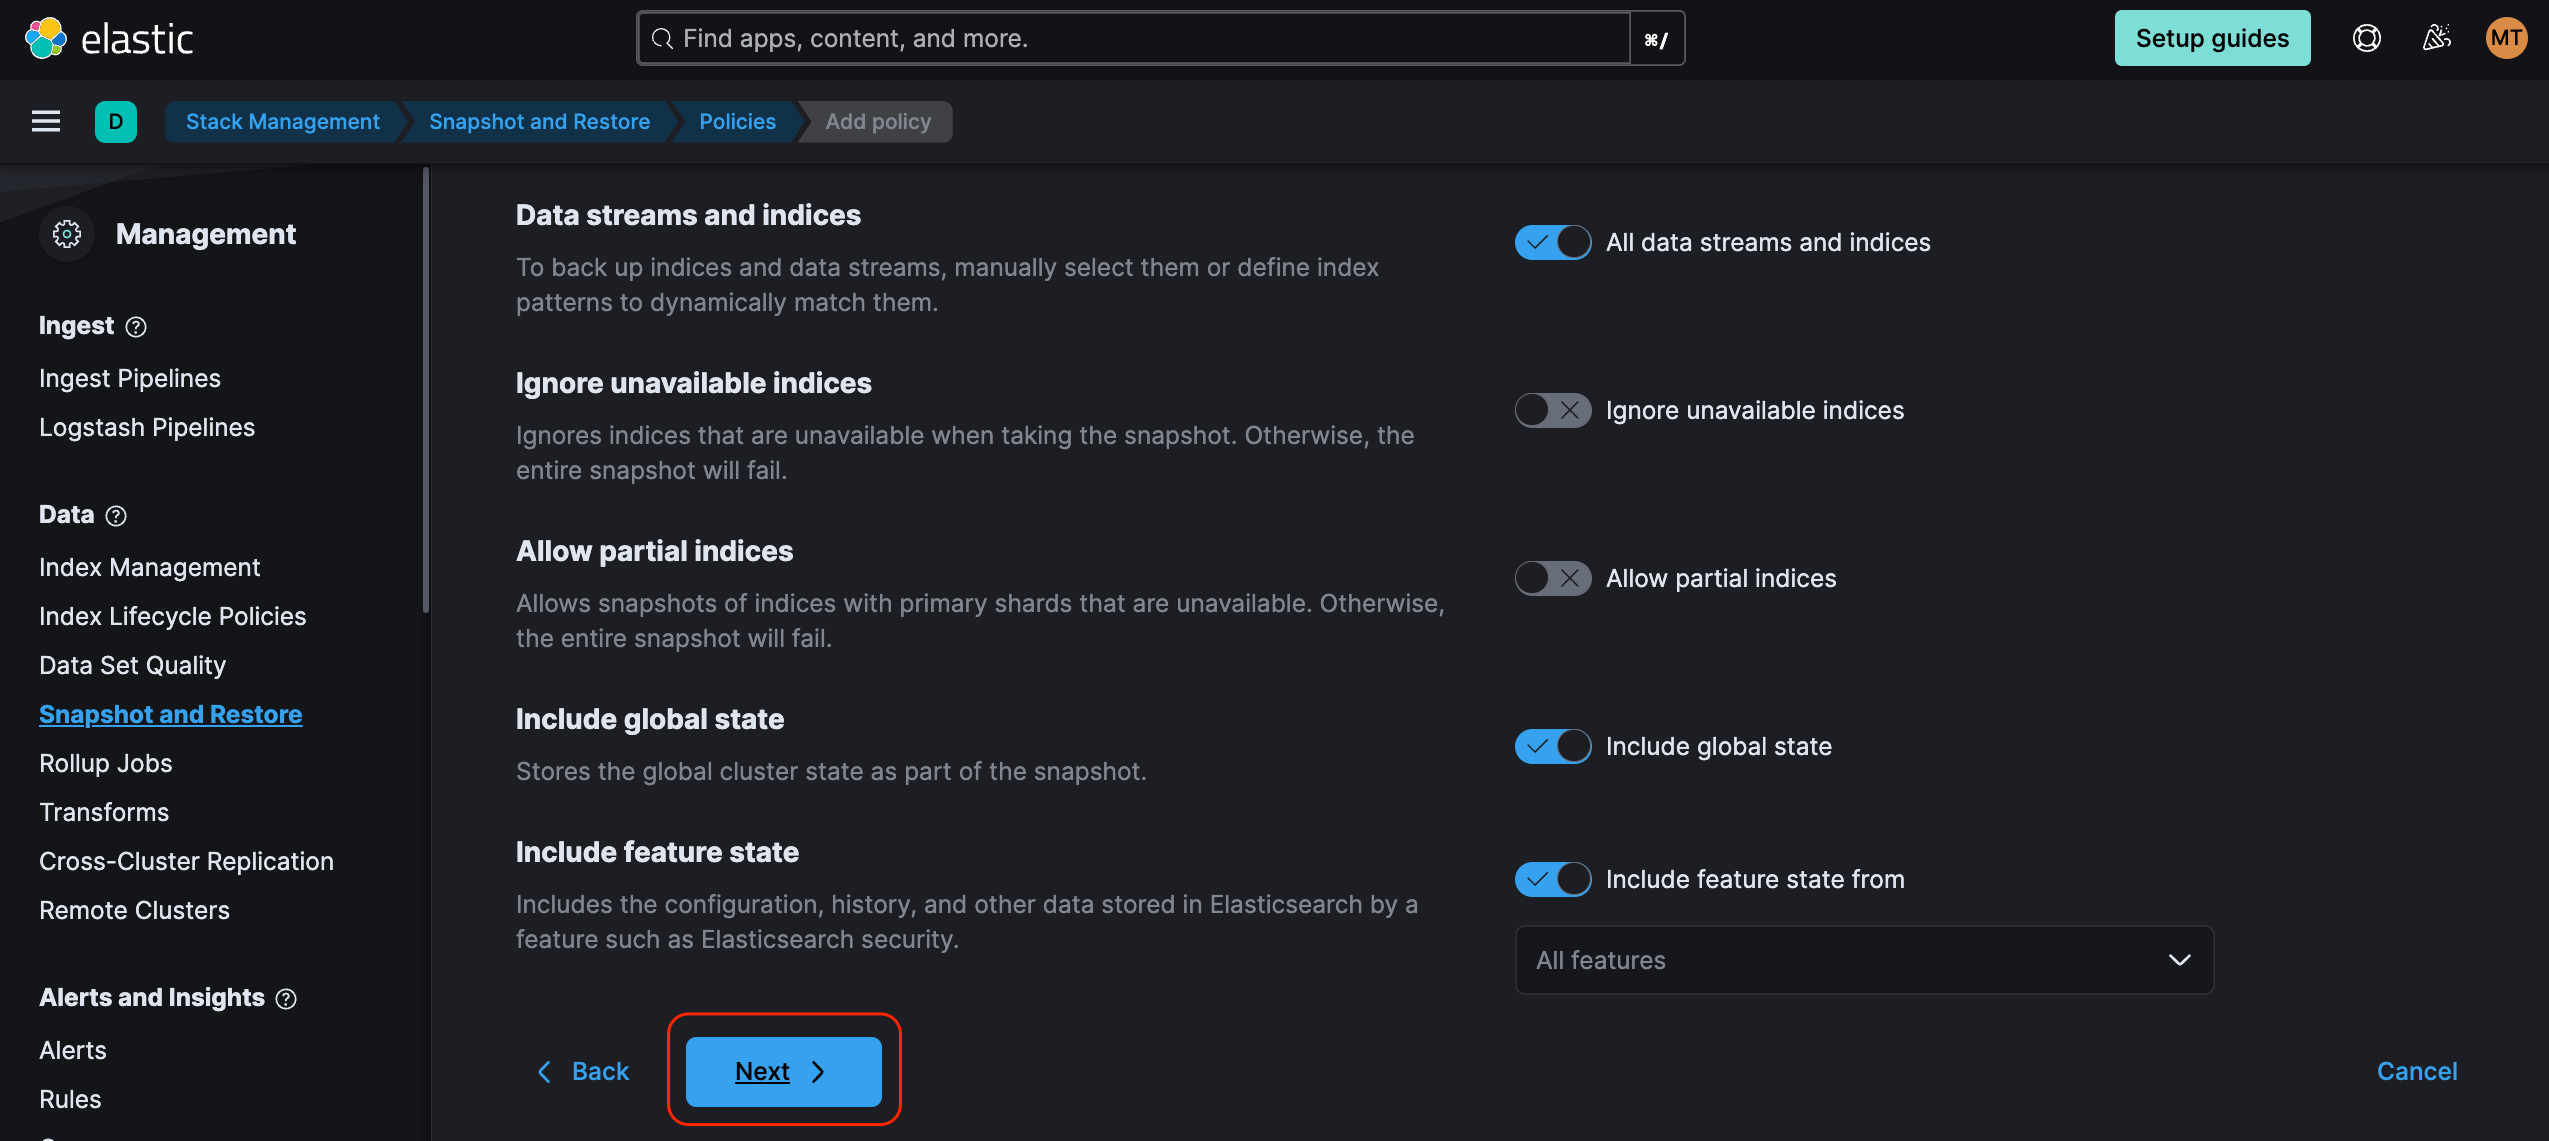
Select the appropriate options for your organization and click Next.
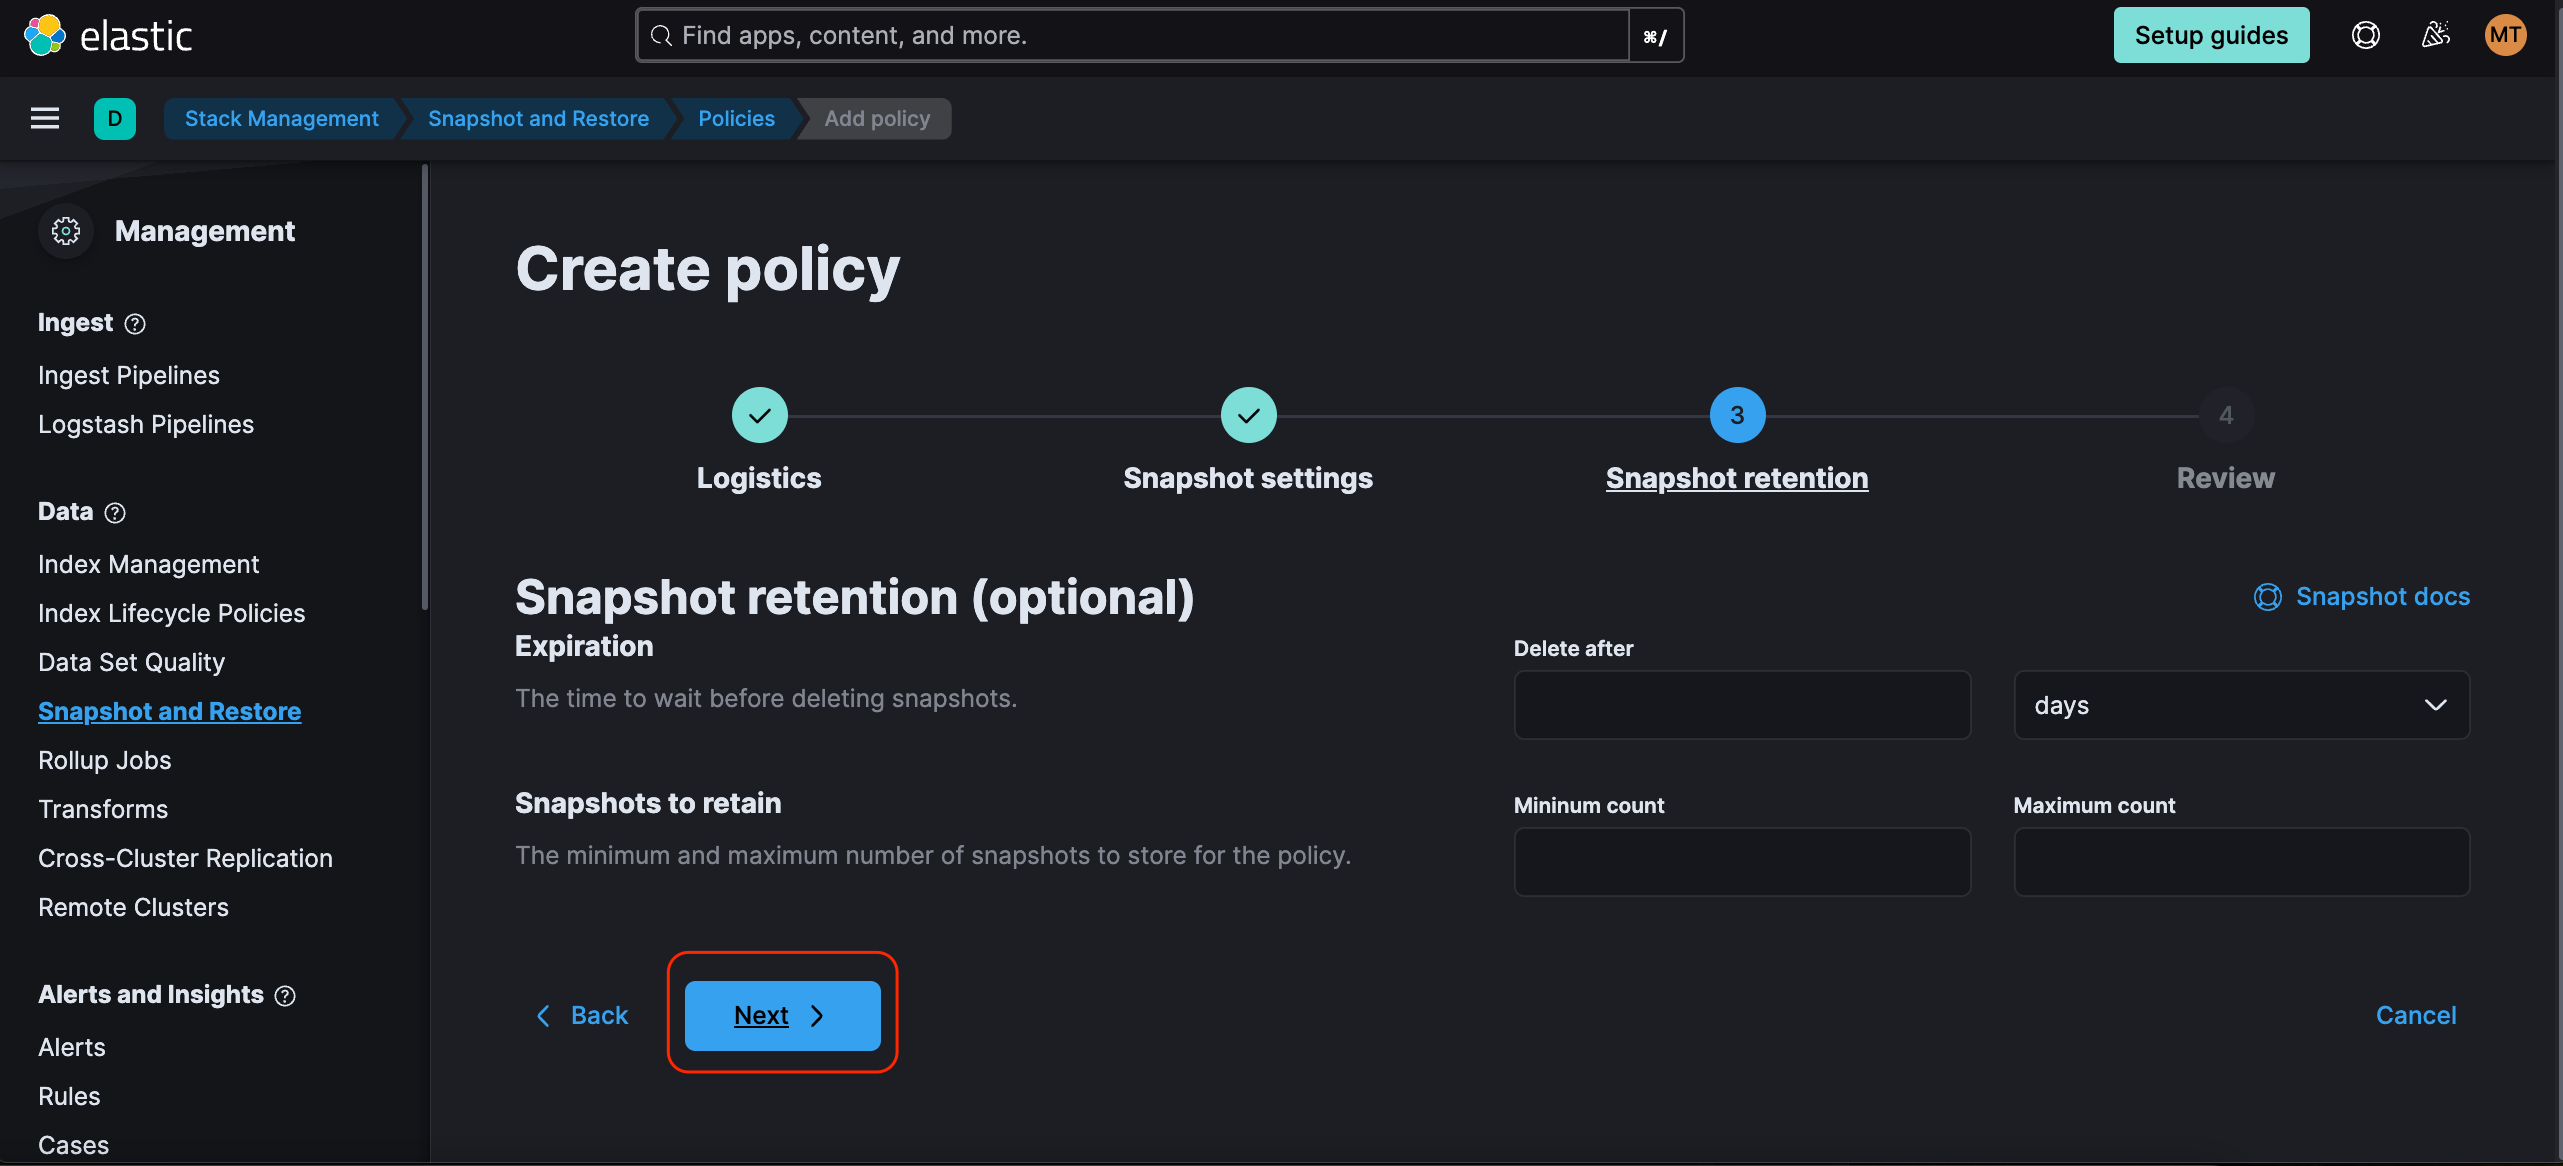
Enter the appropriate Snapshot retention options and click Next.
Click Create Policy.
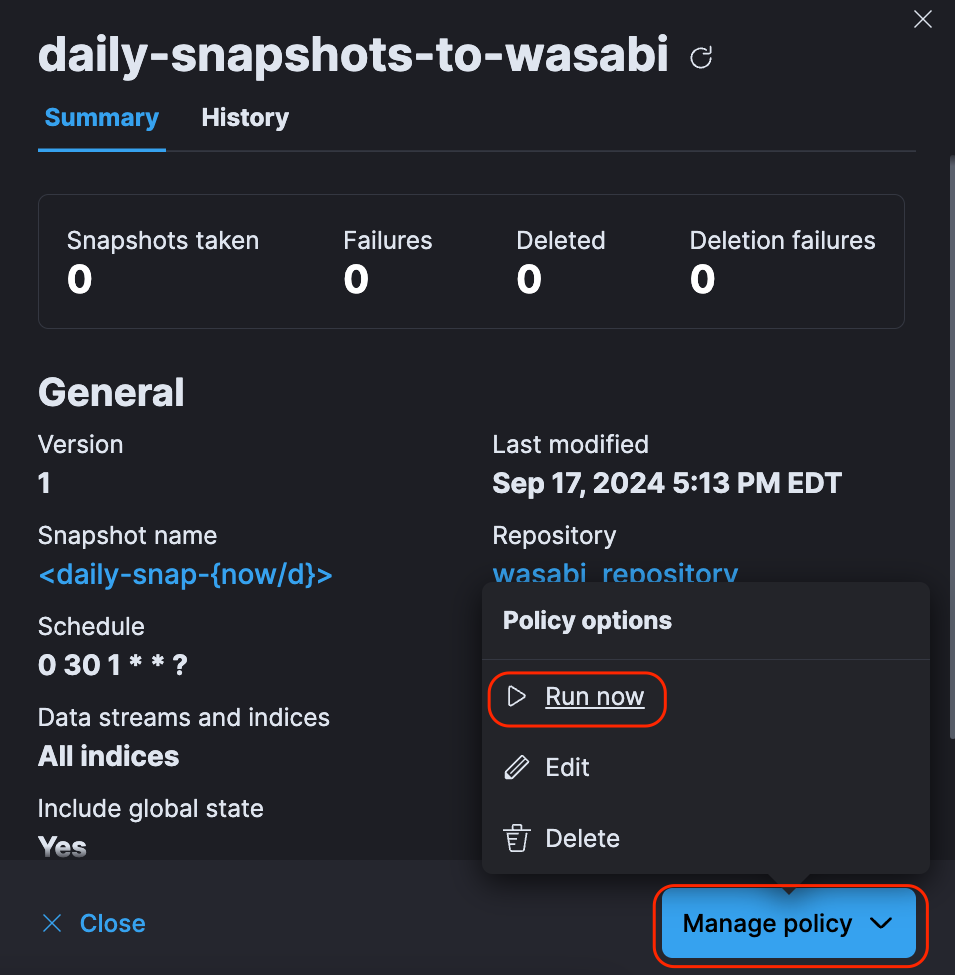
Click Manage policy and Run now.
Click Run policy.

After the policy runs, a new snapshot will appear.

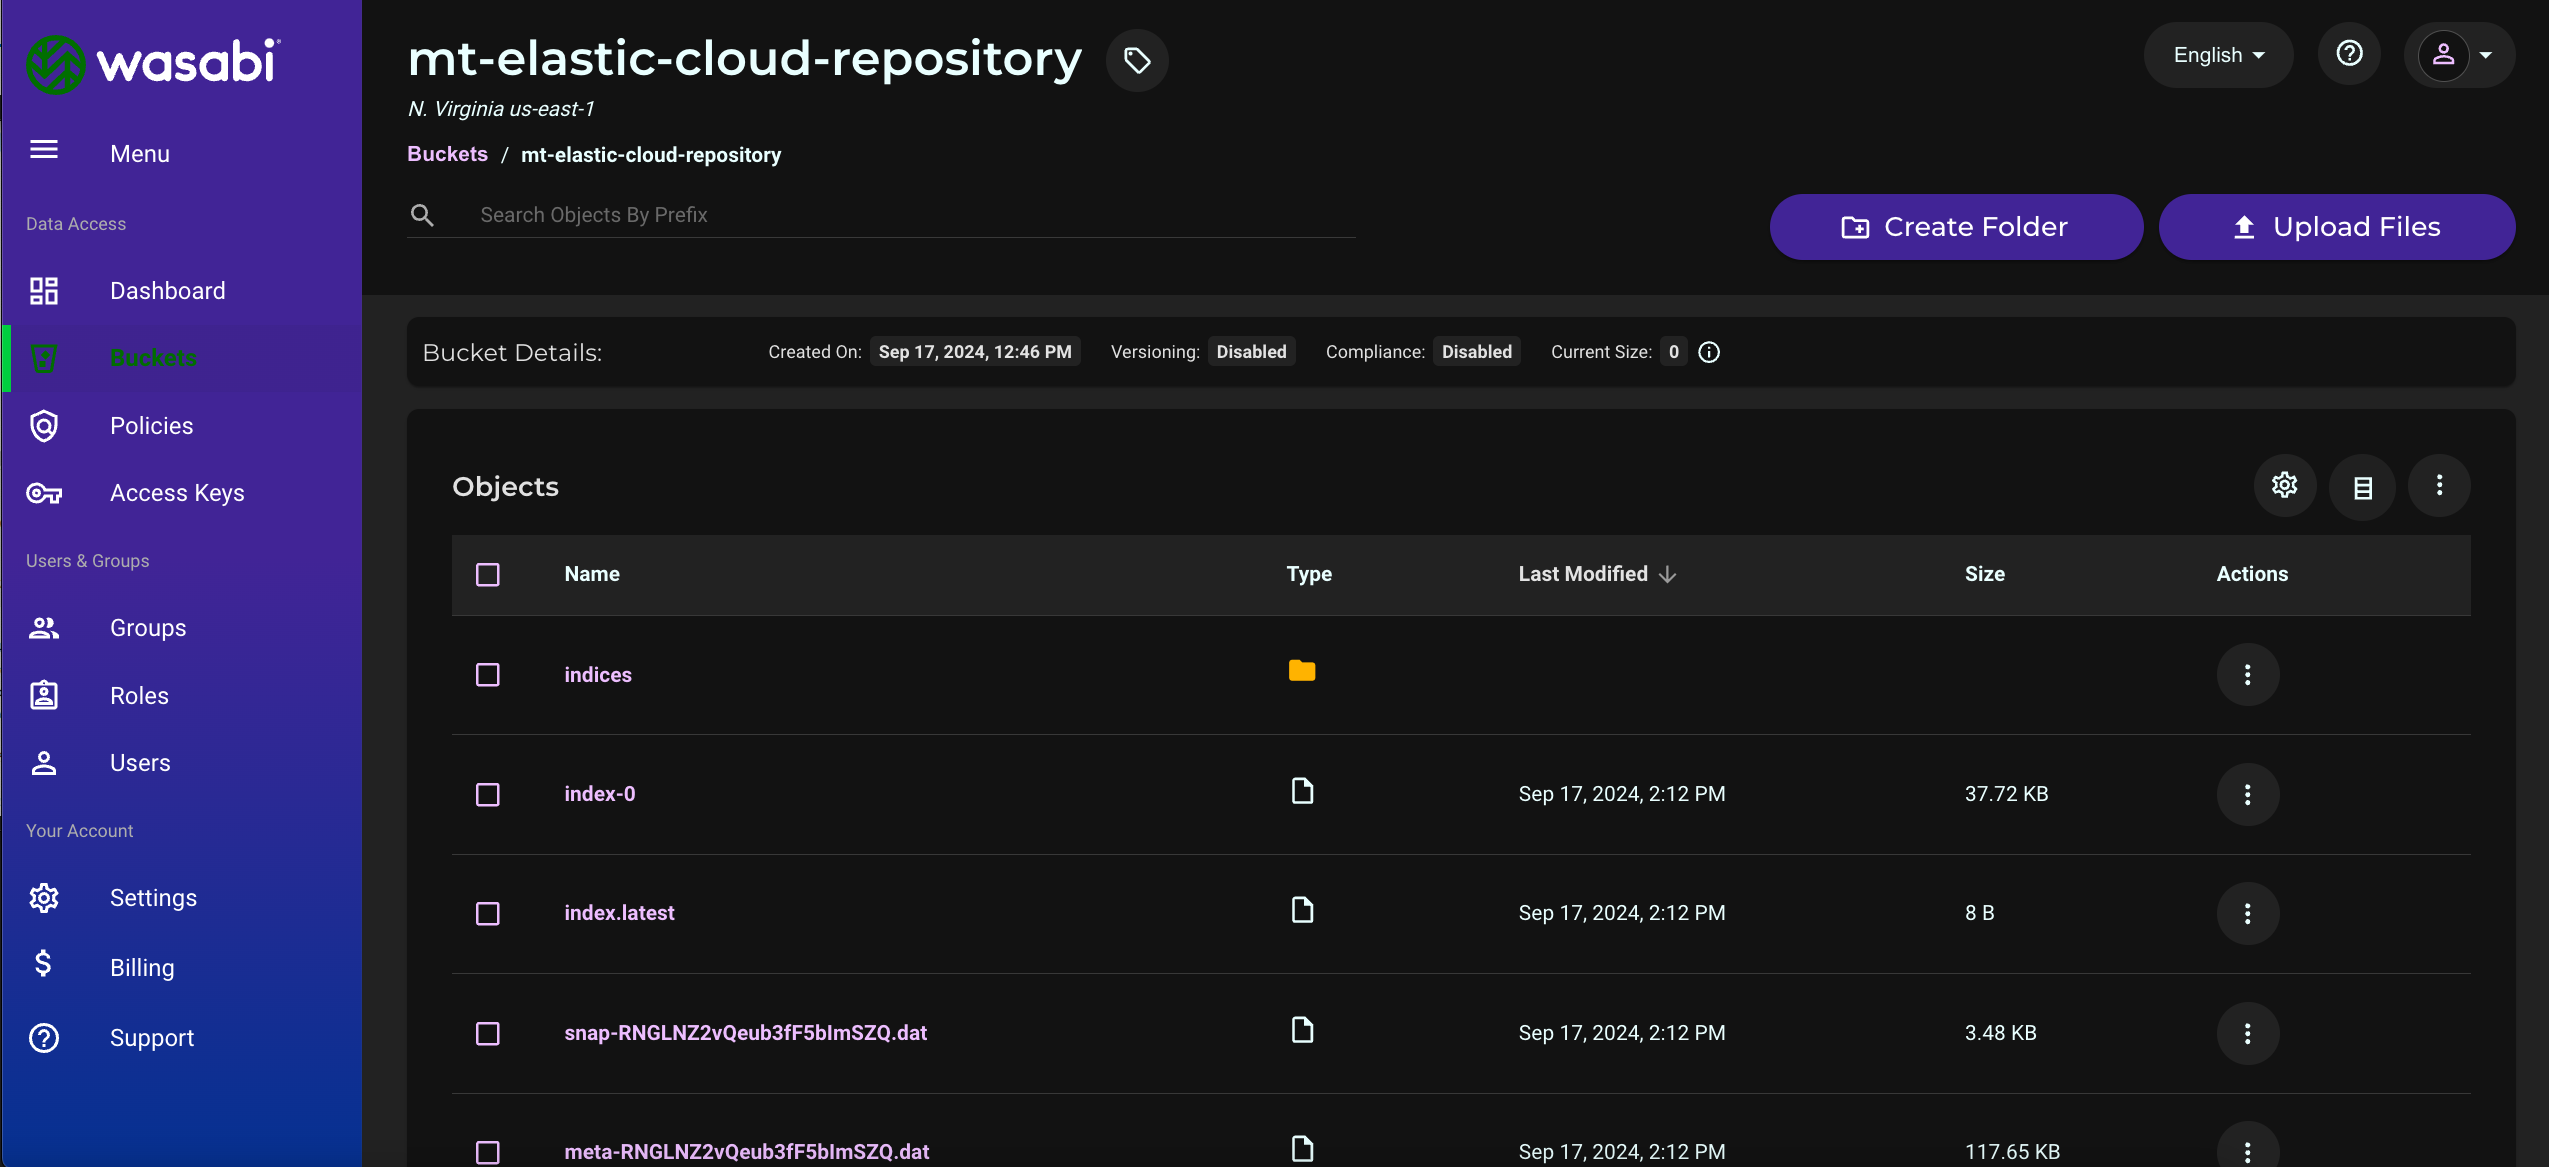
Verify the snapshot data appears in your Wasabi bucket using the Wasabi Console.
Appendix A - Multiple Wasabi Repositories
If you have a need for multiple Wasabi Repositories, proceed with this appendix after completing the steps above.
Add your Wasabi access and secret keys with the new client name. Repeat the Store Wasabi Access Keys in Elastic Cloud section above, except with the following modifications:
s3.client.<client_name>.access_key
s3.client.<client_name>.secret_key
For example, if you have a client named "demo", use the following:
s3.client.demo.access_key
s3.client.demo.secret_key
Next, repeat the Create a Snapshot Wasabi Repository section above with the following JSON doc. Change the bucket name, endpoint to match your bucket's location, and the client name to match the name of your client. You can use "wasabi_new_repo" for the name of your repository or create your own name.
PUT _snapshot/wasabi_new_repo
{
  "type": "s3",
  "settings": {
    "bucket": "mt-elastic-cloud-repository",
    "endpoint": "s3.us-east-1.wasabisys.com",
    "client": "demo"
  }
}
Continue with the Create a Snapshot Wasabi Repository and Create a Policy to Backup Snapshots to Wasabi sections above using the new repository name.