Bocada has been validated for use with Wasabi. This AI-enabled solution allows MSPs and IT teams to monitor backup status and storage utilization across their entire backup infrastructure, gaining crucial insight into their data protection landscape. For more information about Bocada, see the Bocada Cloud Support Portal.
Requirements
Wasabi Hot Cloud Storage Account
Wasabi bucket (see Creating a Bucket)
Be sure to note your storage region service URL, and Access and Secret Key, as you will need these for later steps.
Backup Server of Your Choice (see Which backup, inventory, storage & ticketing applications does Bocada Cloud support?)
Bocada Cloud License and Dashboard Access (see Compare Bocada Editions)
Configuring Wasabi with Bocada and Reviewing Storage Utilization
This configuration example discusses the use of Wasabi's us-east-2 storage region. Use the region your bucket(s) are located in. For a list of regions, see Service URLs for Wasabi's Storage Regions.
Log in to your Bocada Console.
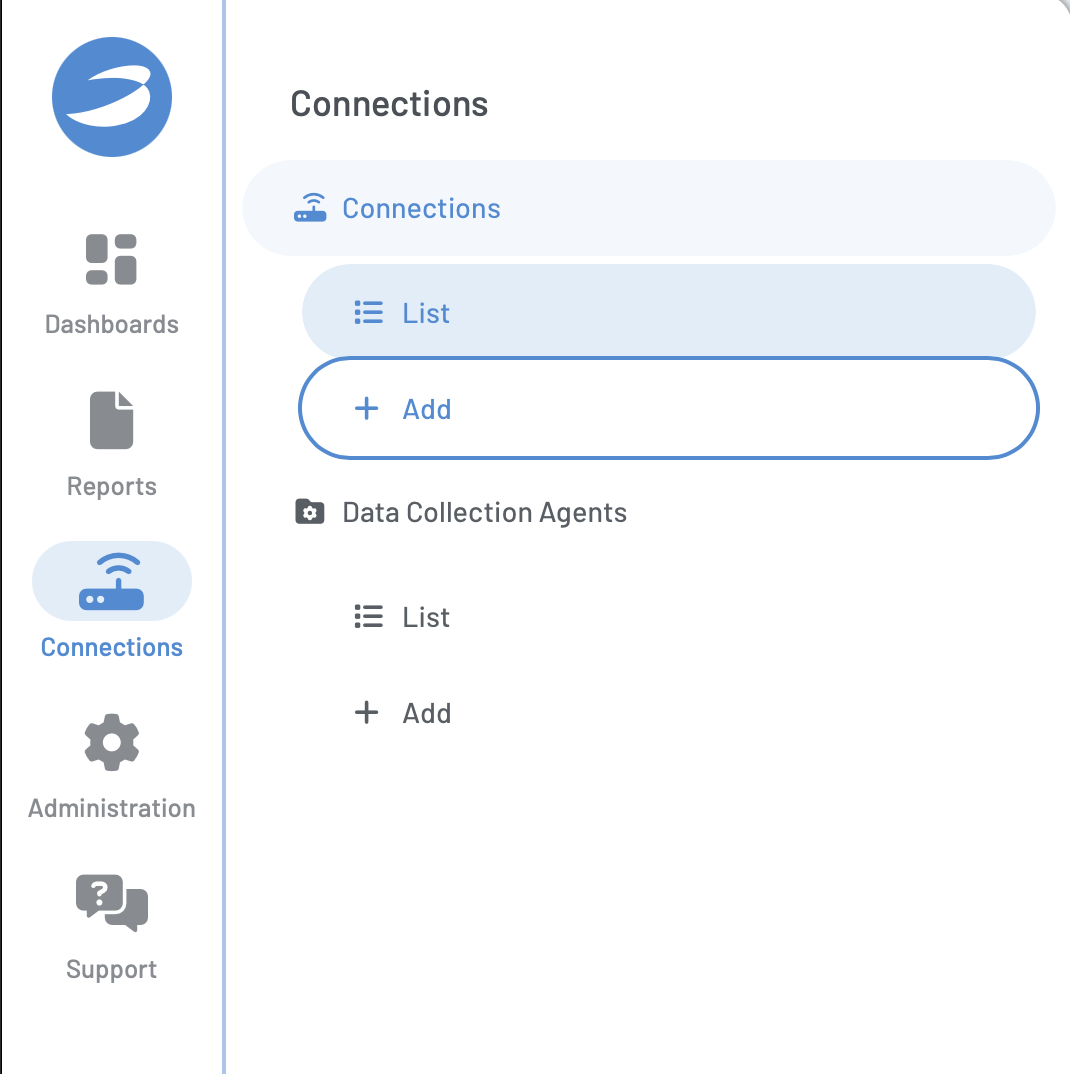
Hover over the Connections tab on the lefthand panel, then click + Add under Connections.
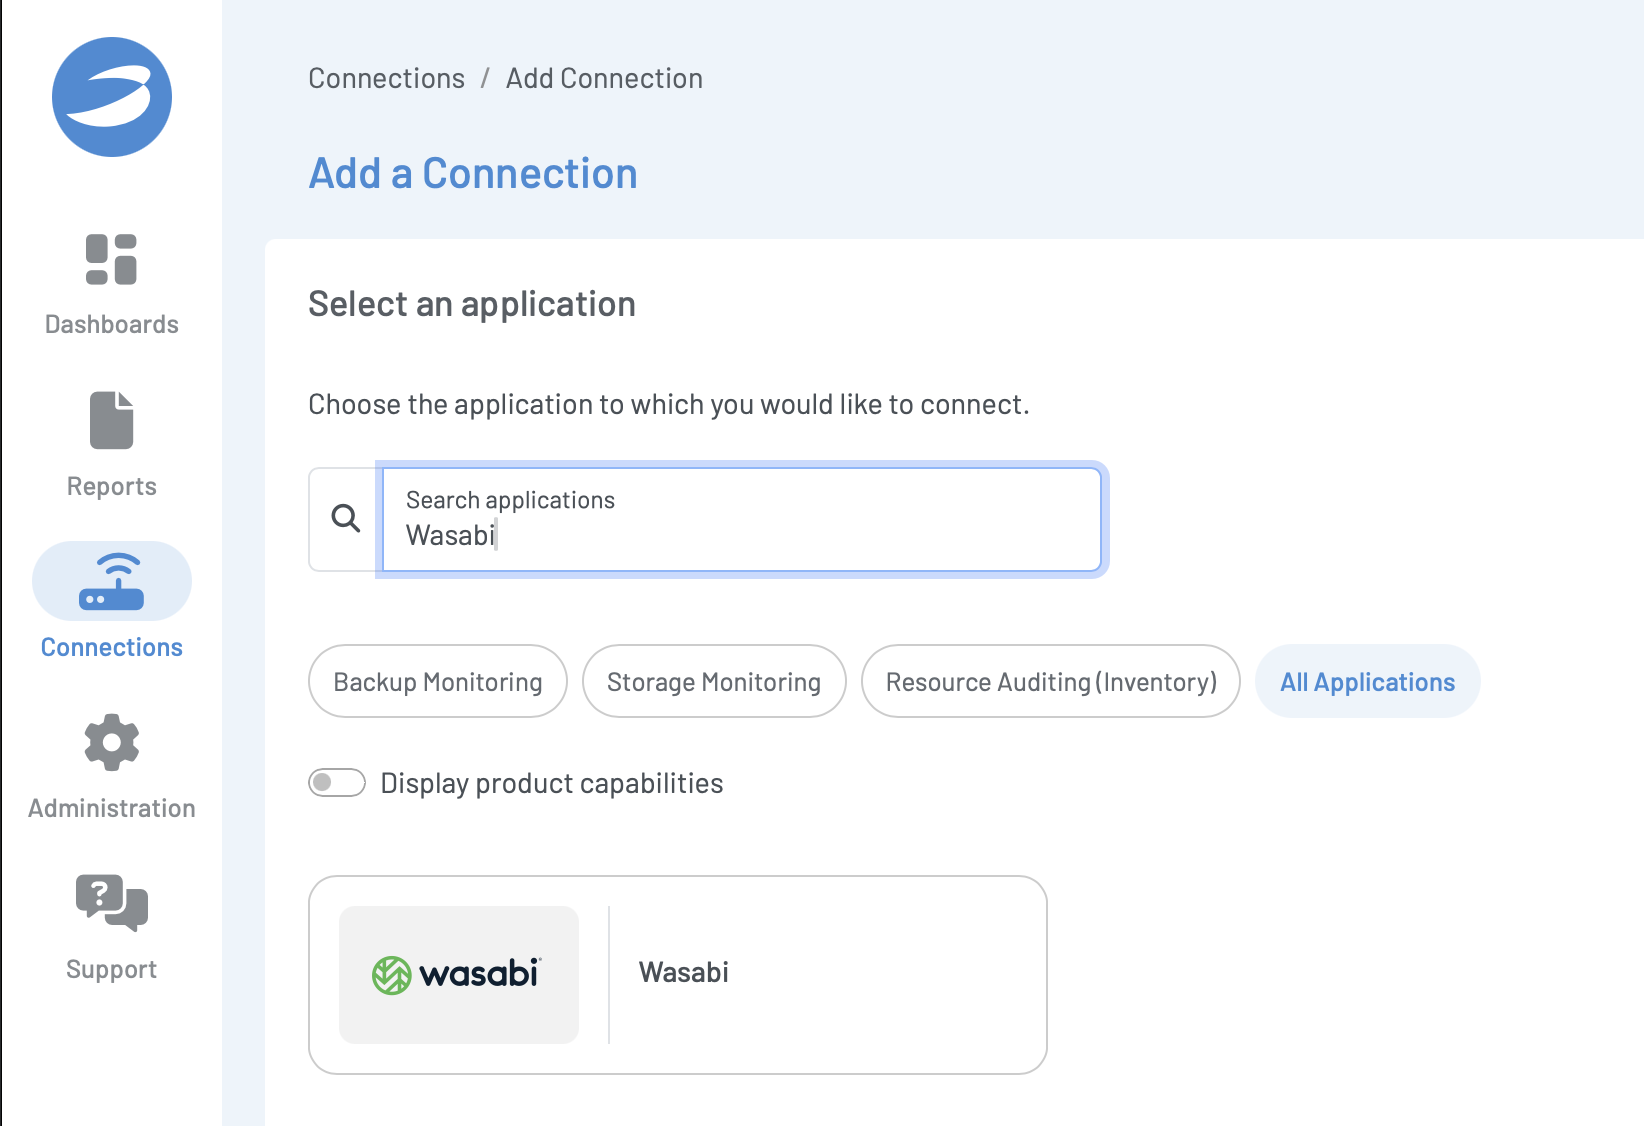
Enter Wasabi in the search box, then click the Wasabi tile that appears.
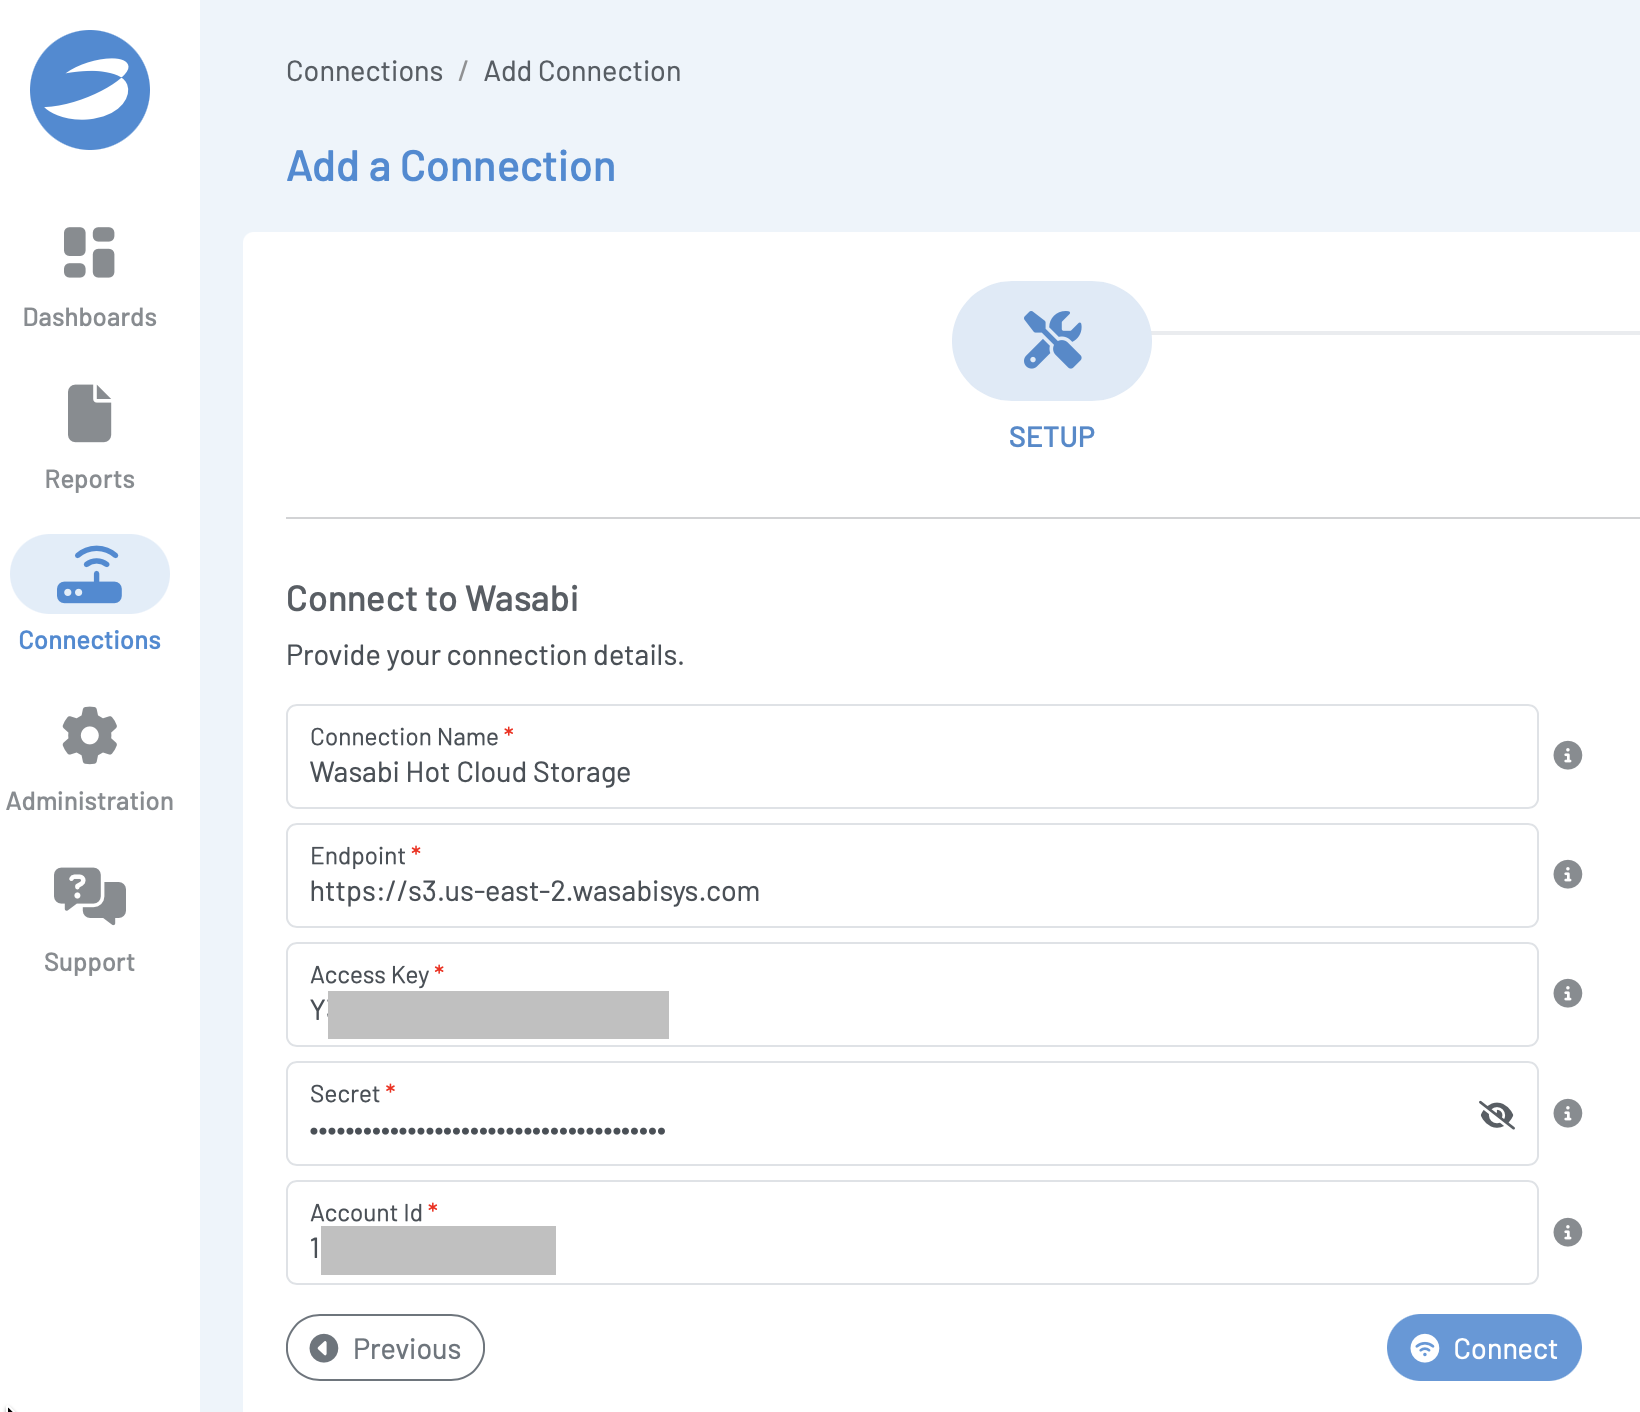
Input the following information.
A descriptive name for your connection.
Wasabi endpoint URL. This example uses “https://s3.us-east-2.wasabisys.com”. Note that the URL must include “https://”.
Your Wasabi Access Key.
Your Wasabi Secret Key.
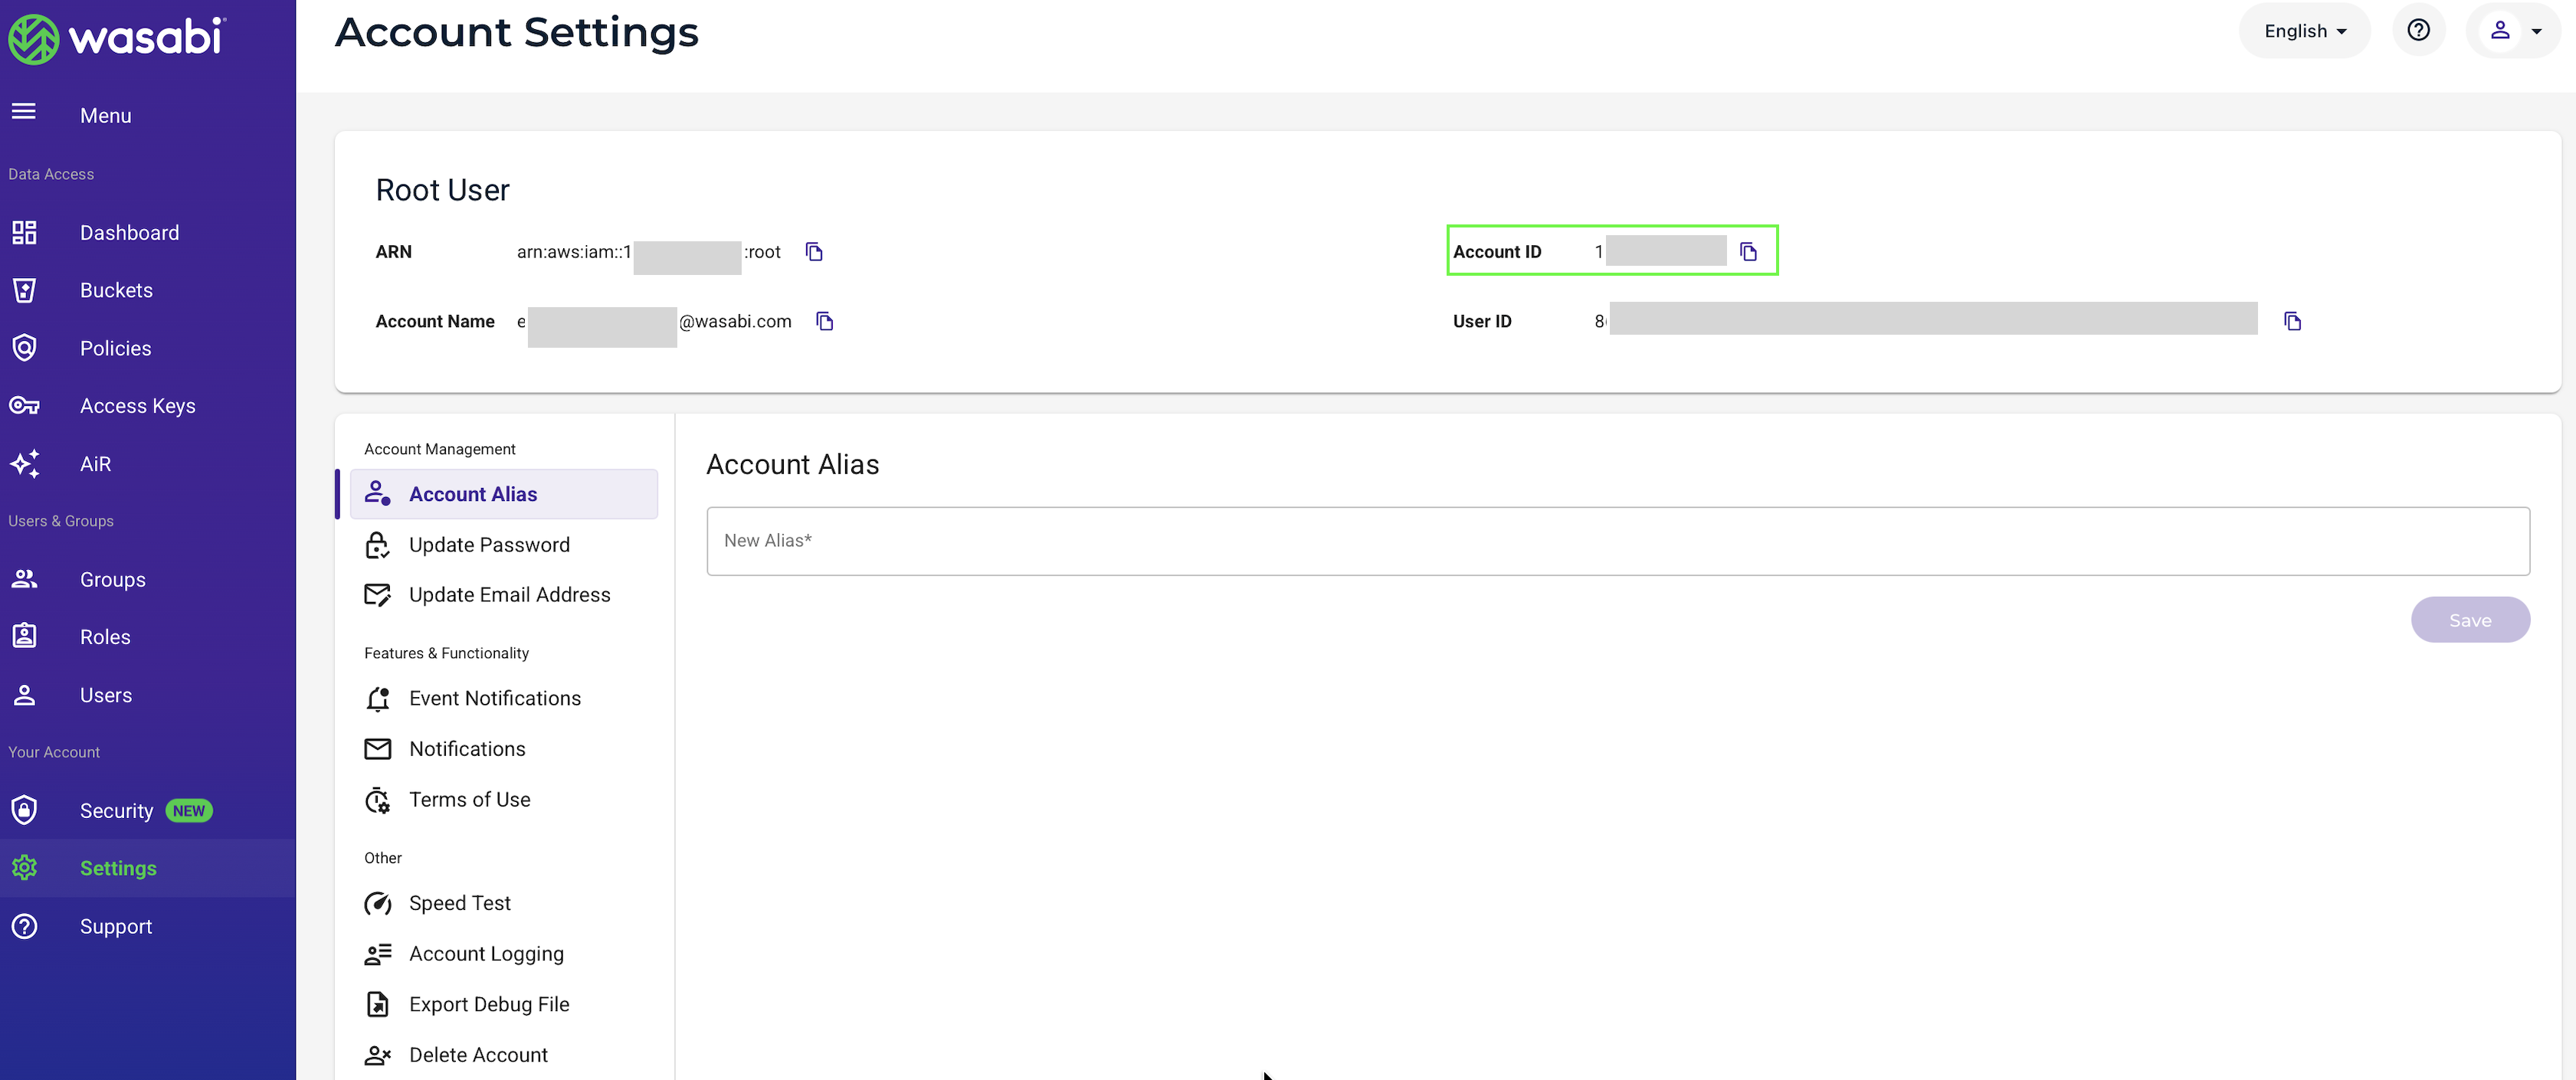
Your Wasabi Account ID. This can be found on the Settings page of your Wasabi Storage Console, as shown below.
Click Connect.
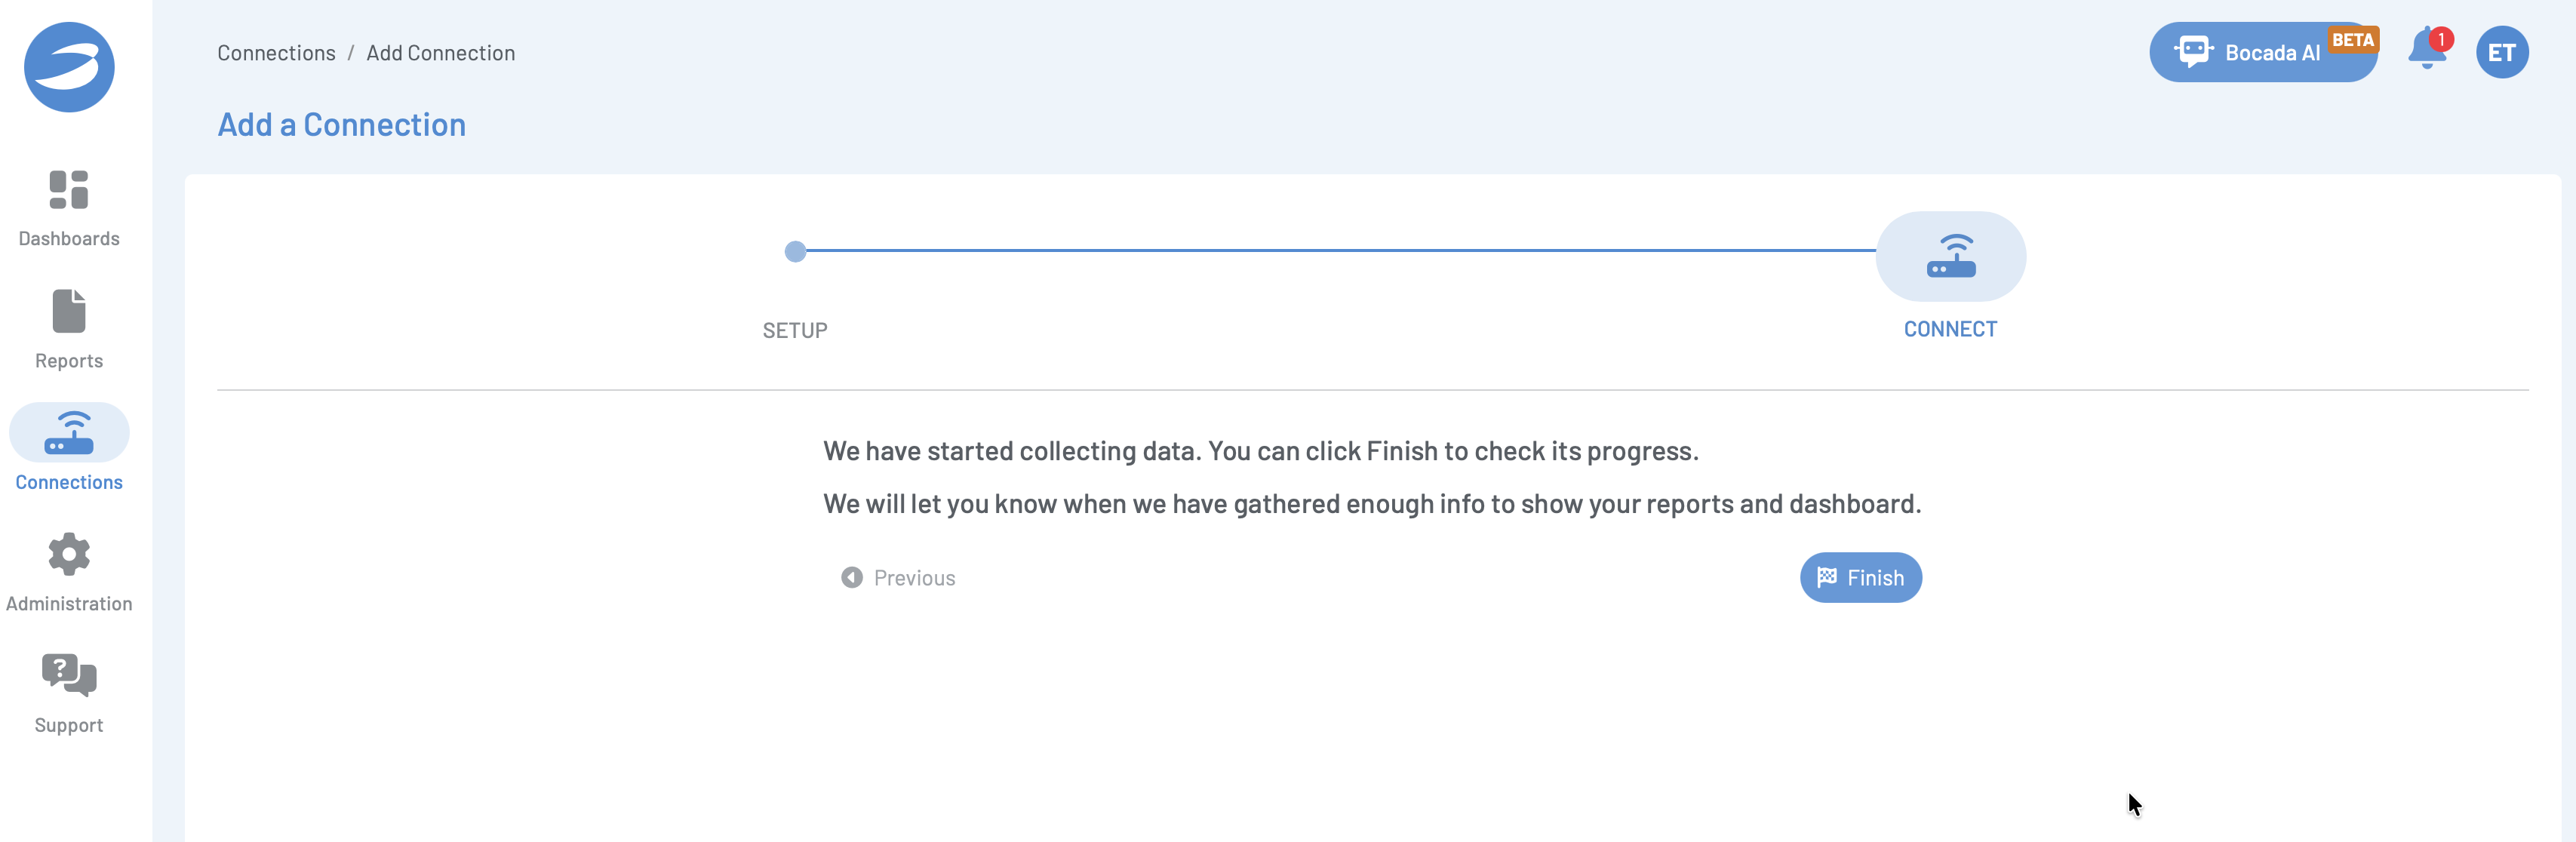
Bocada will begin collecting usage data, this step will take some time to complete as Bocada enumerates your buckets. Click Finish.
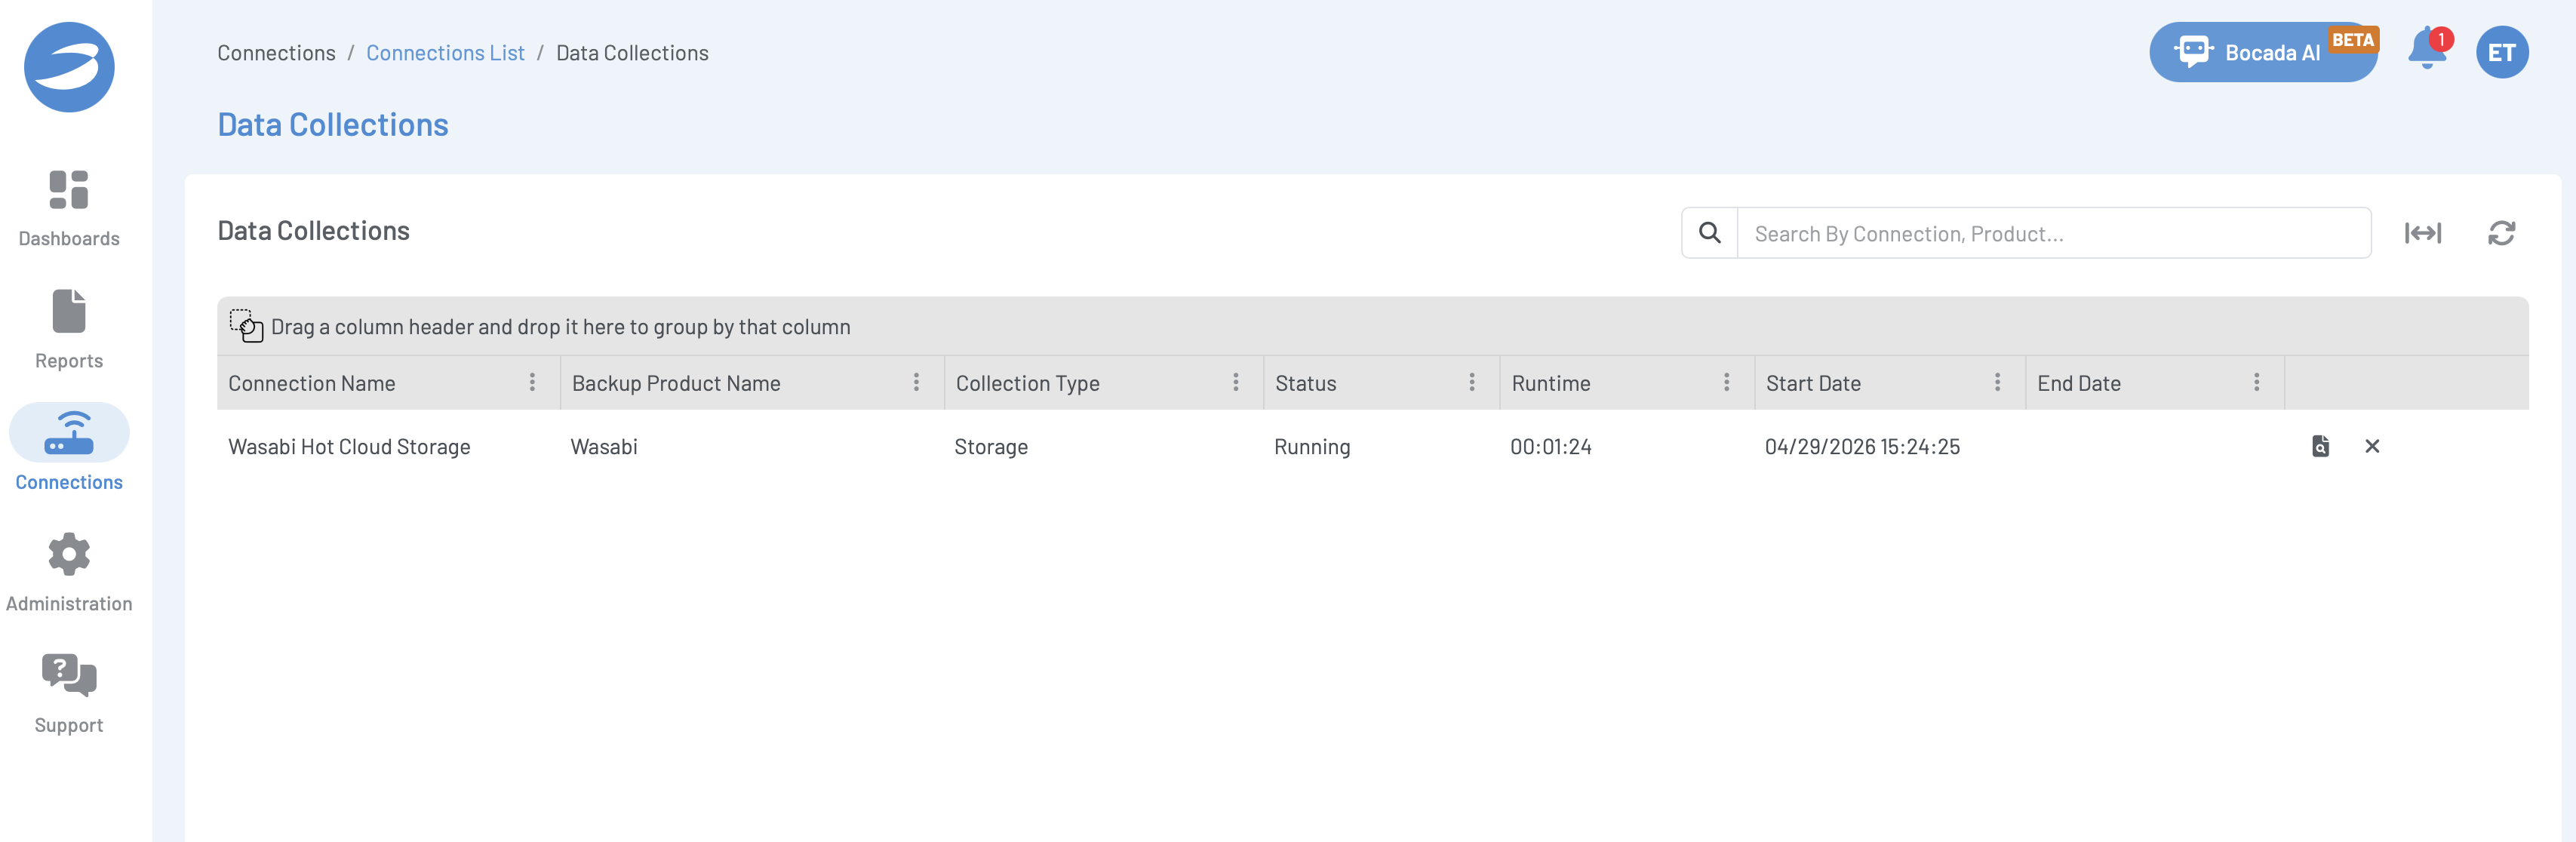
While the data collection is running, you can watch progress via the Data Collections page.
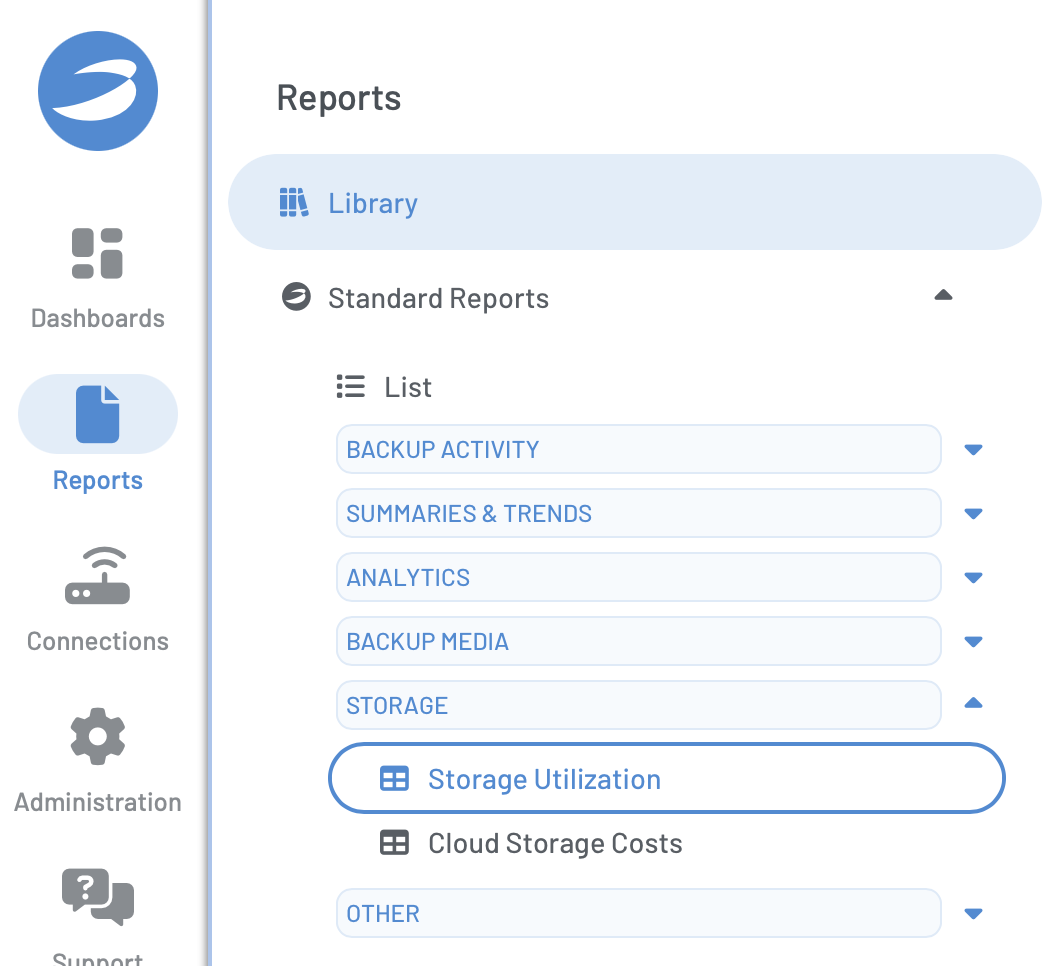
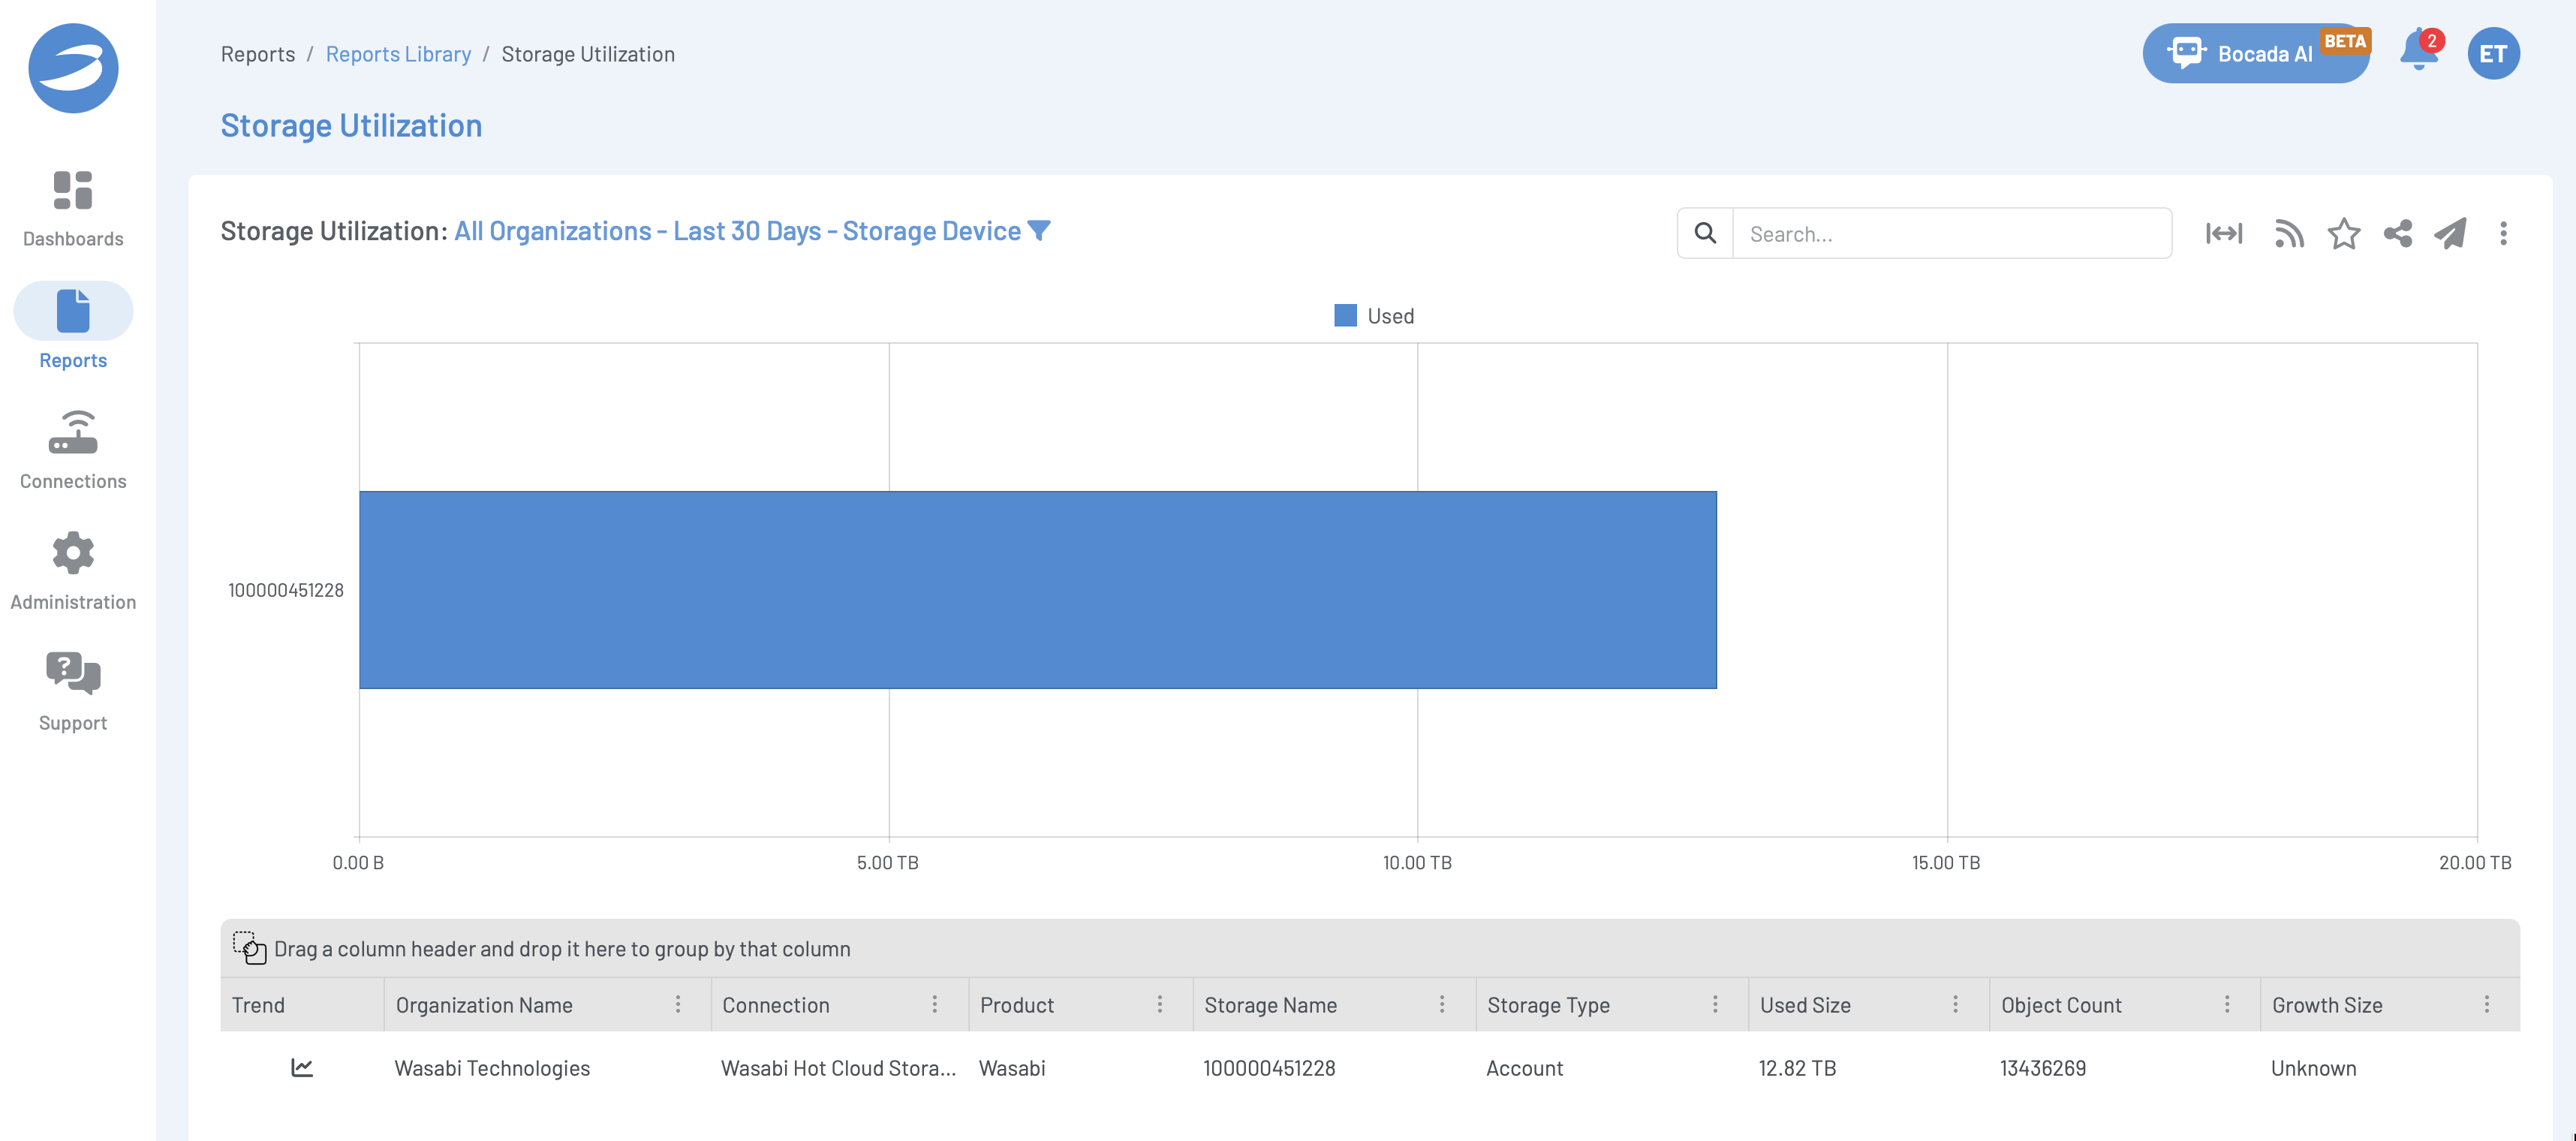
Once the data collection has completed, you can review the report for storage utilization by clicking Reports, Standard Reports, Storage, then Storage Utilization.
By default, you will see the total storage utilization on the account.
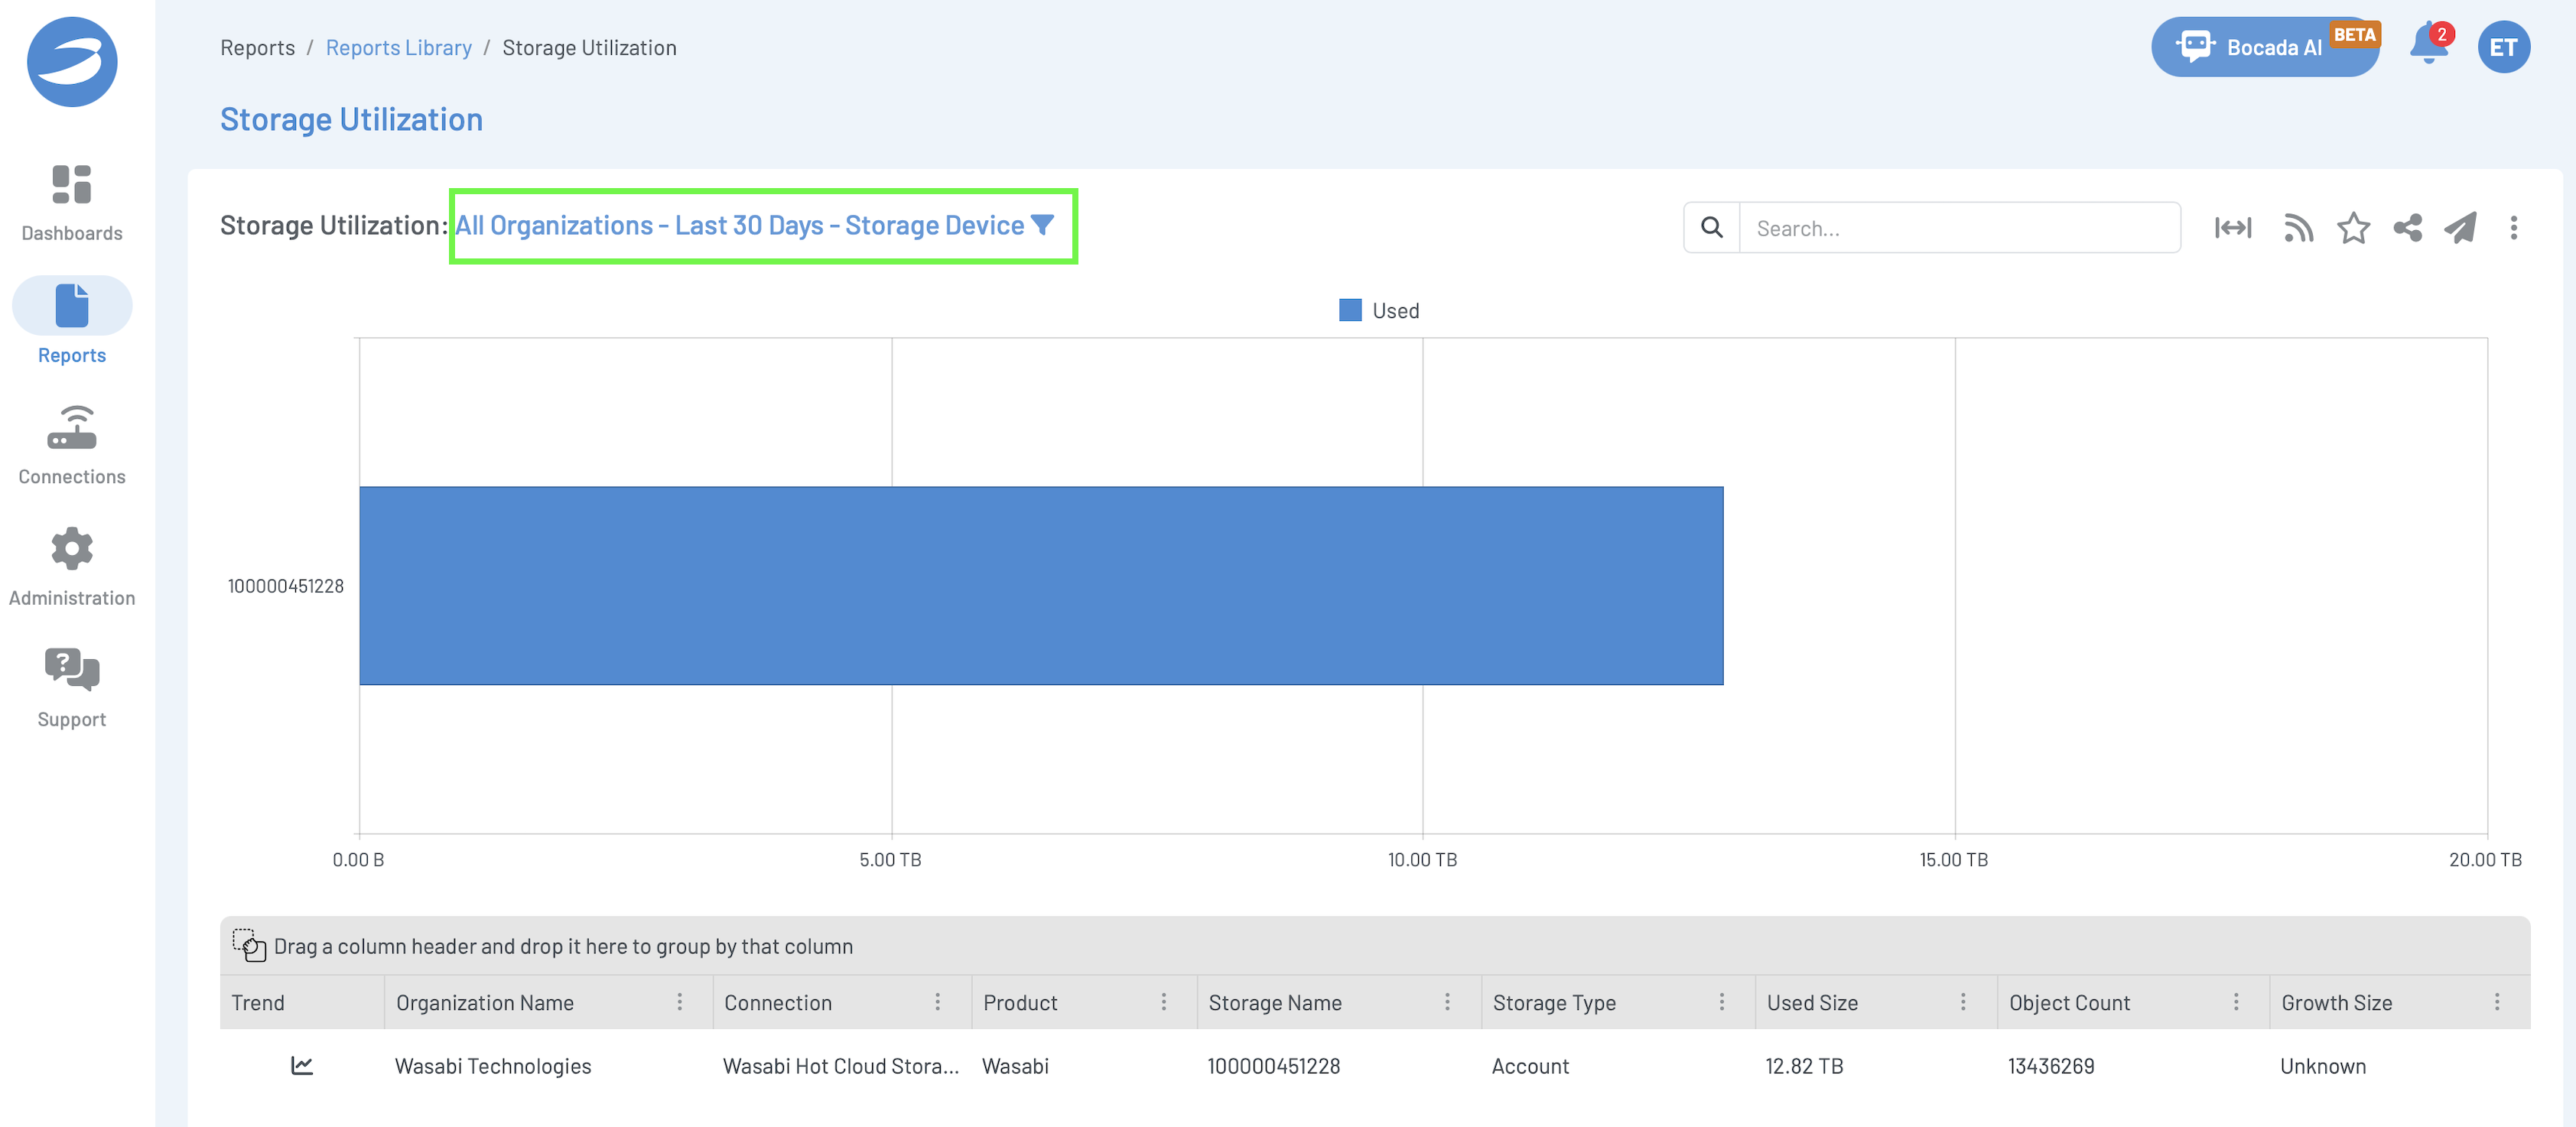
To access bucket-level storage utilization, click All Organizations - Last 30 Days - Storage Device.
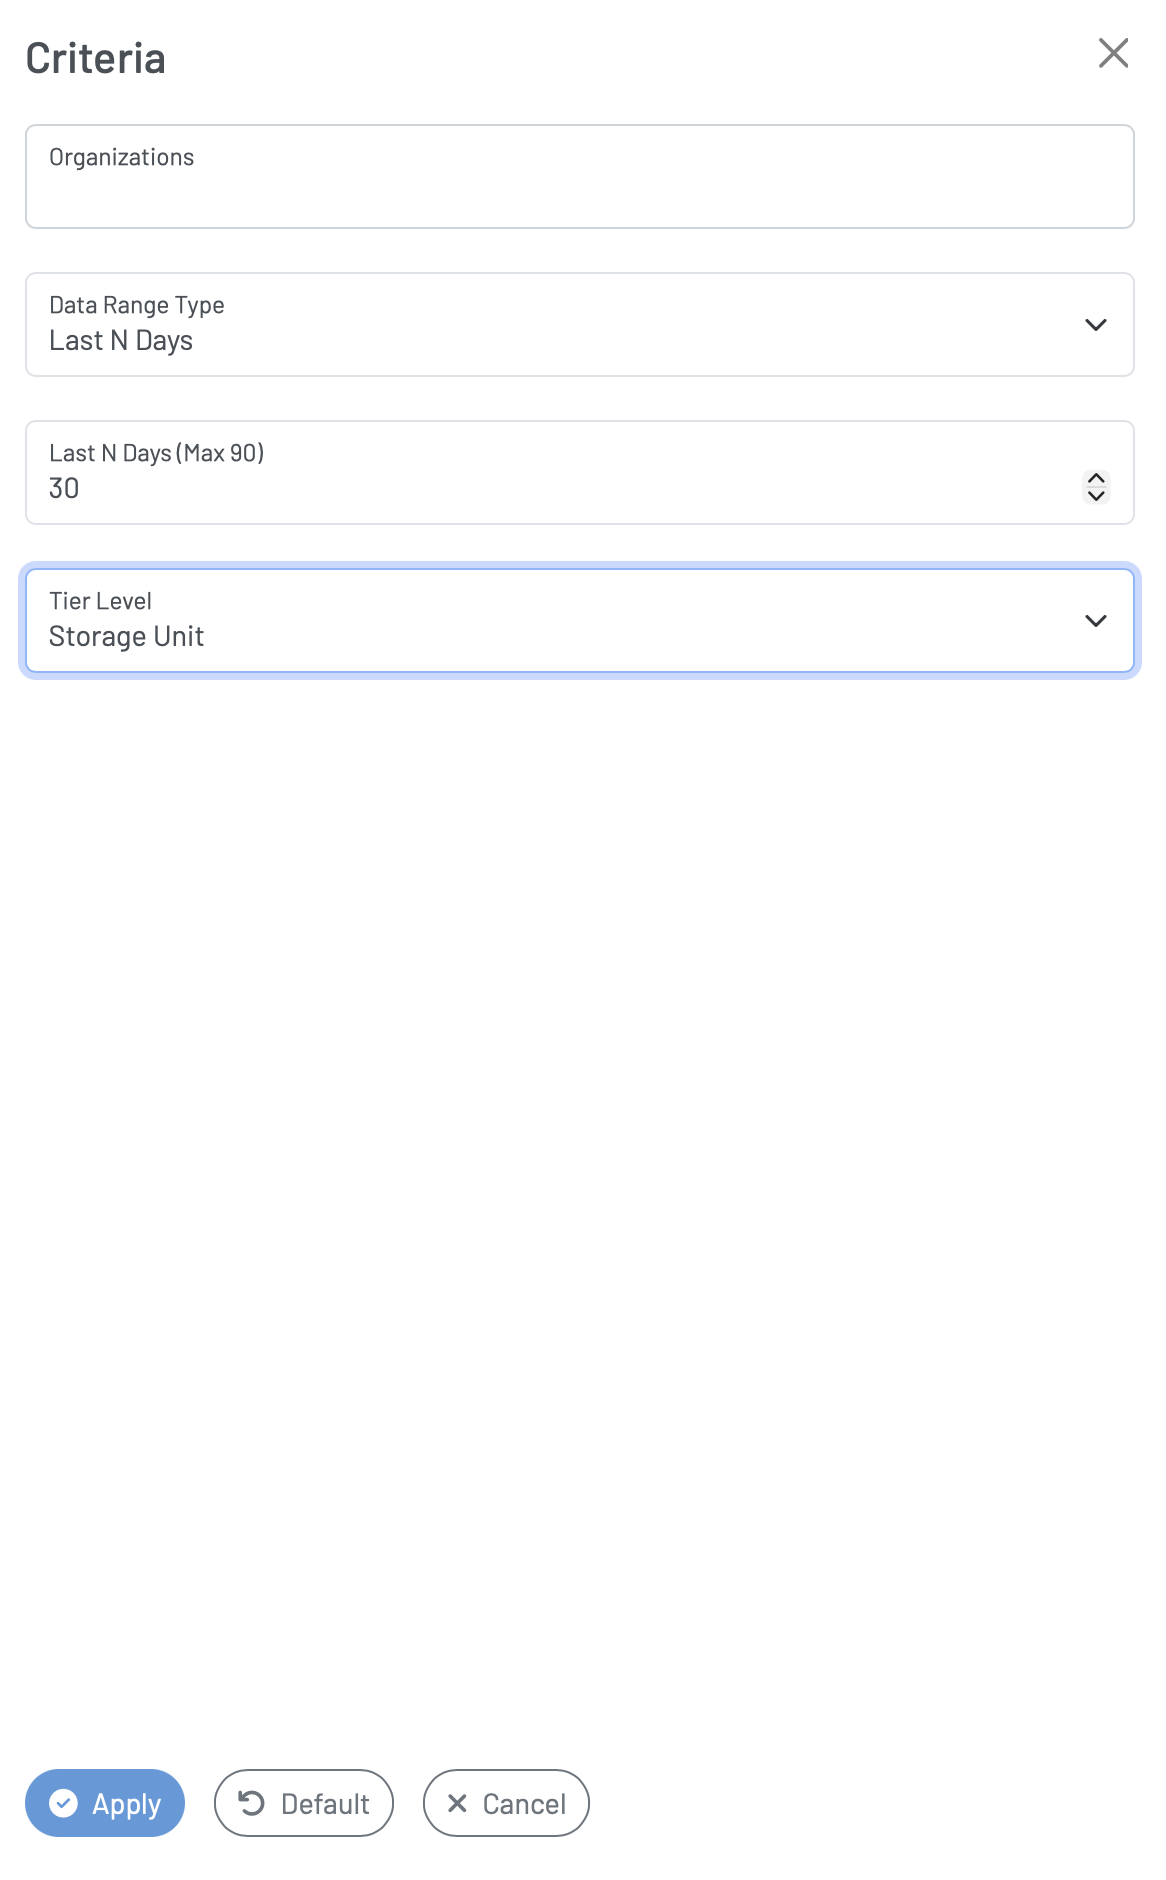
In the pop-up menu that appears, click the Tier Unit drop-down and select Storage Unit. Click Apply.
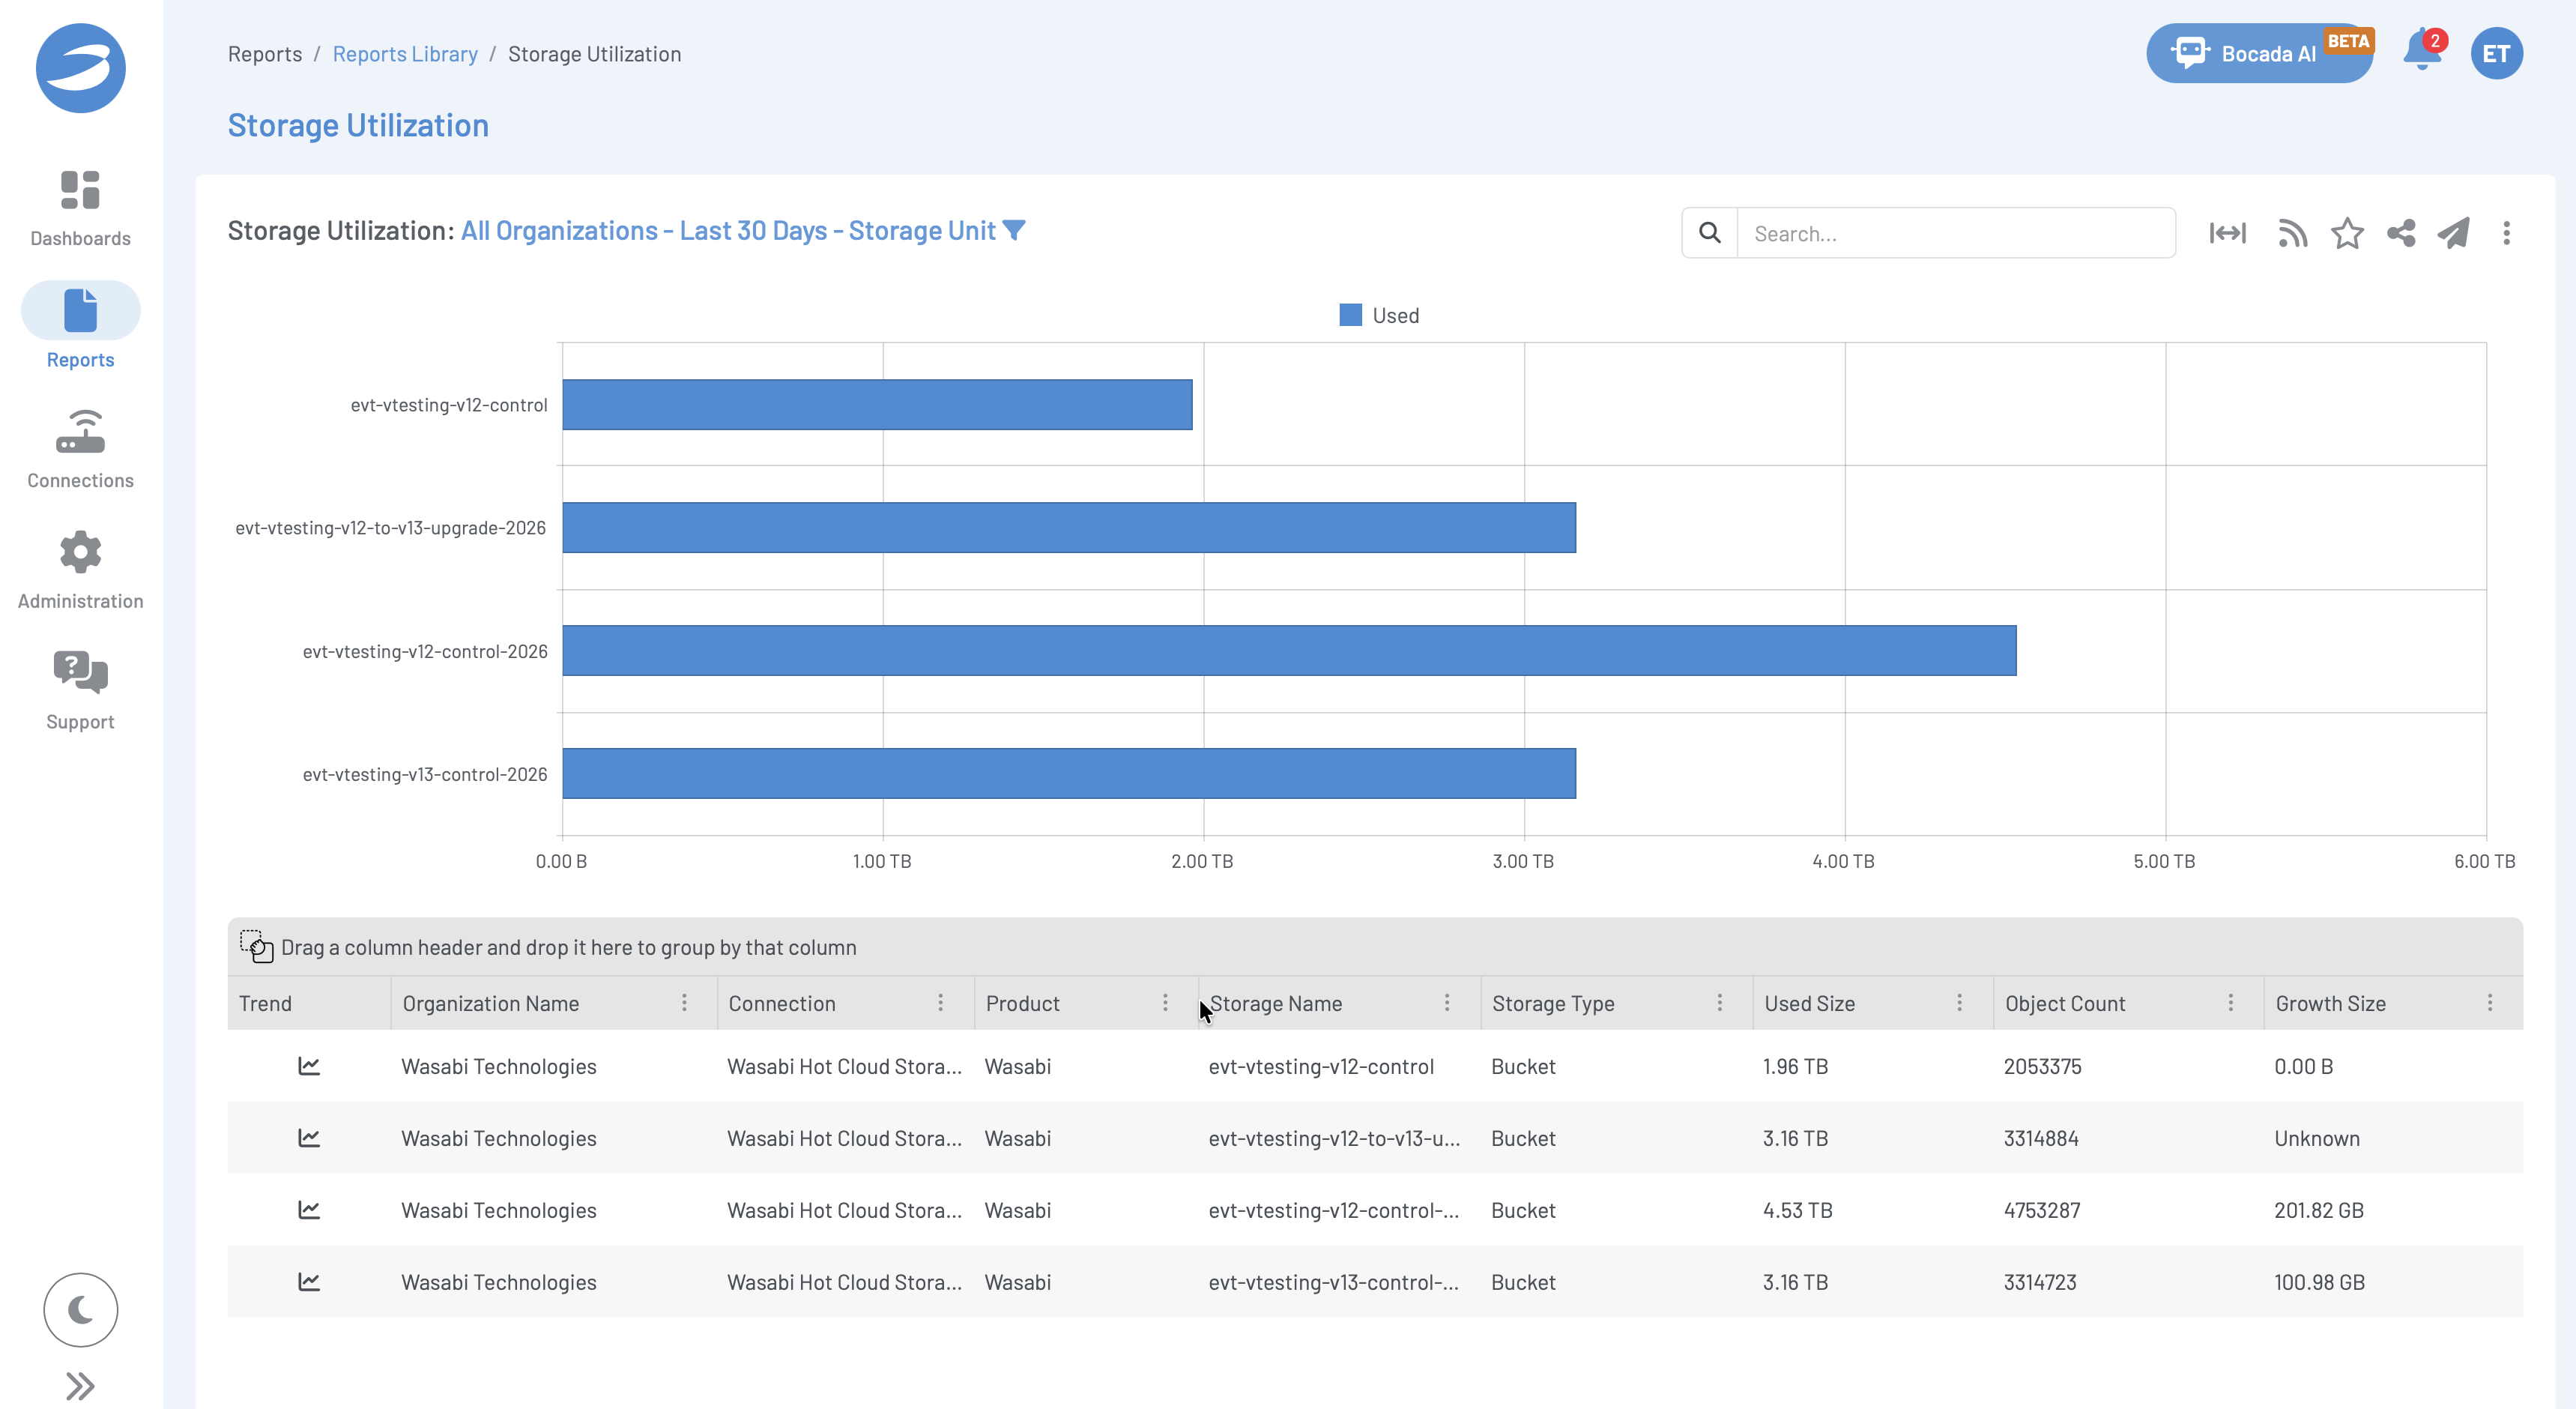
You will now see storage per bucket in the report.
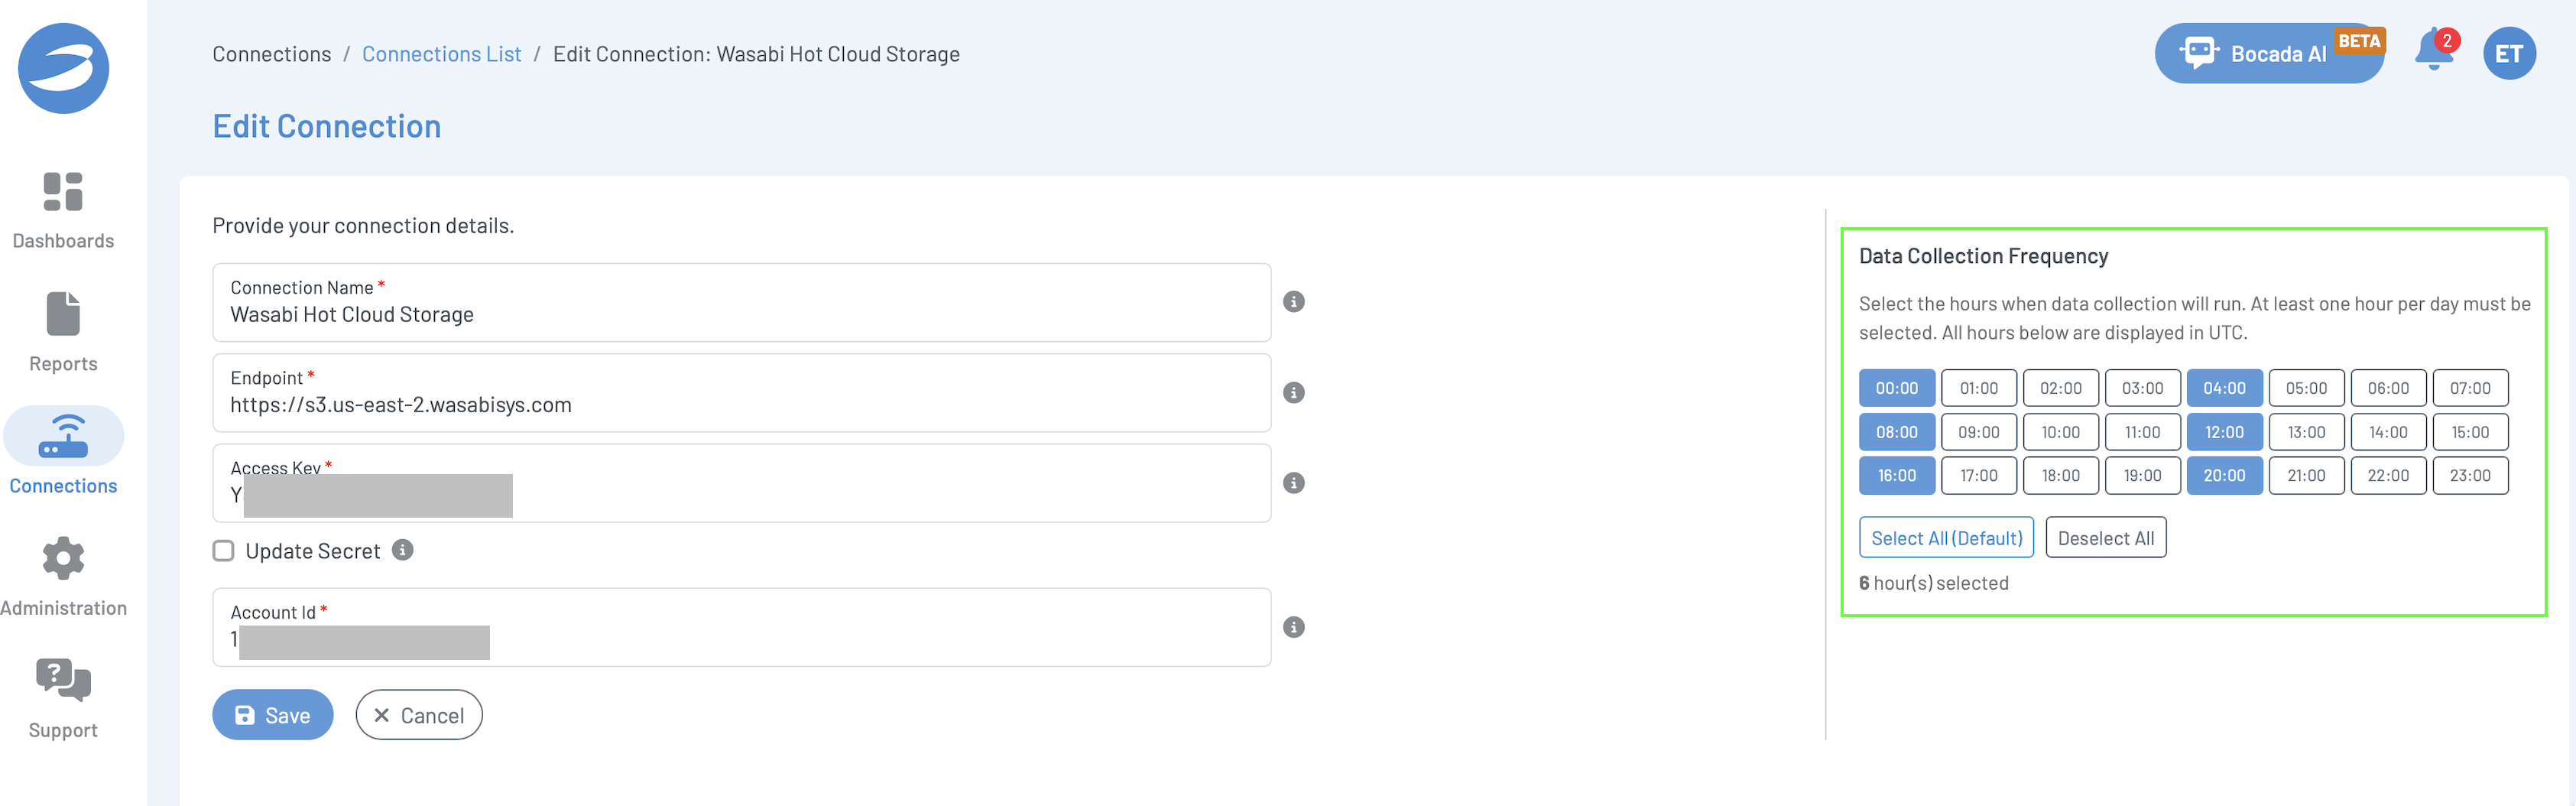
Setting the Data Collection Schedule
Log in to your Bocada Cloud Dashboard. Click Connections.
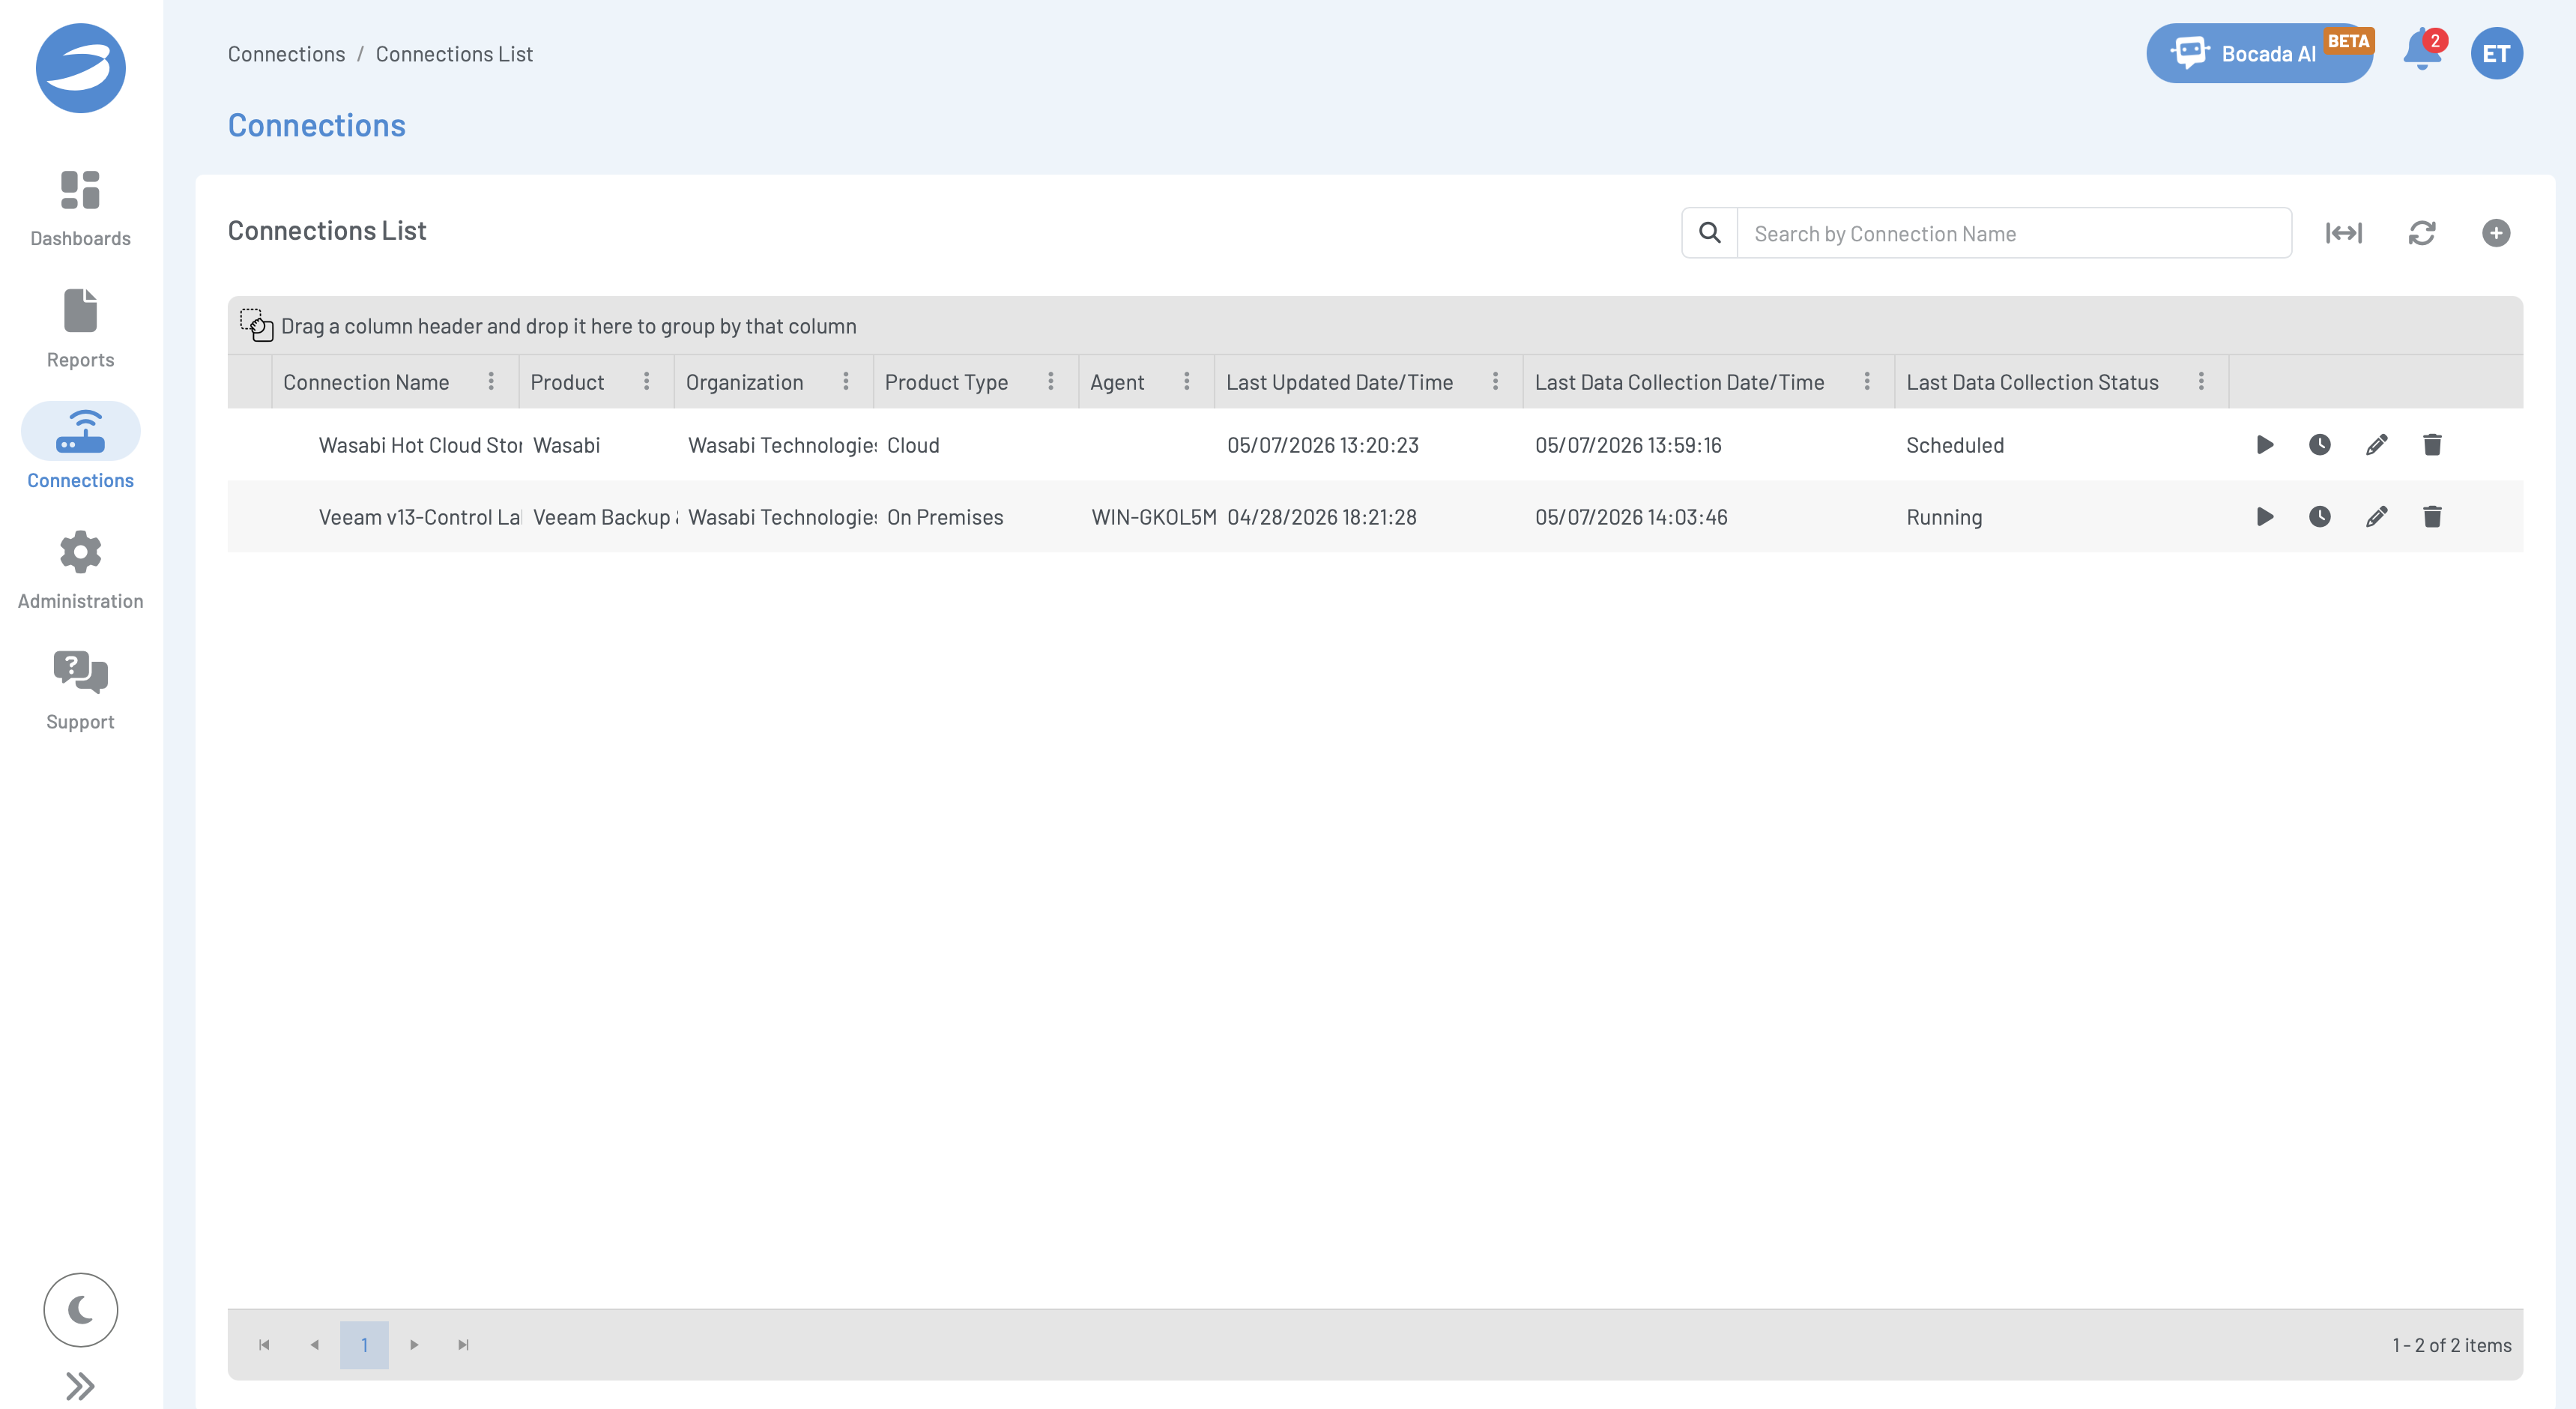
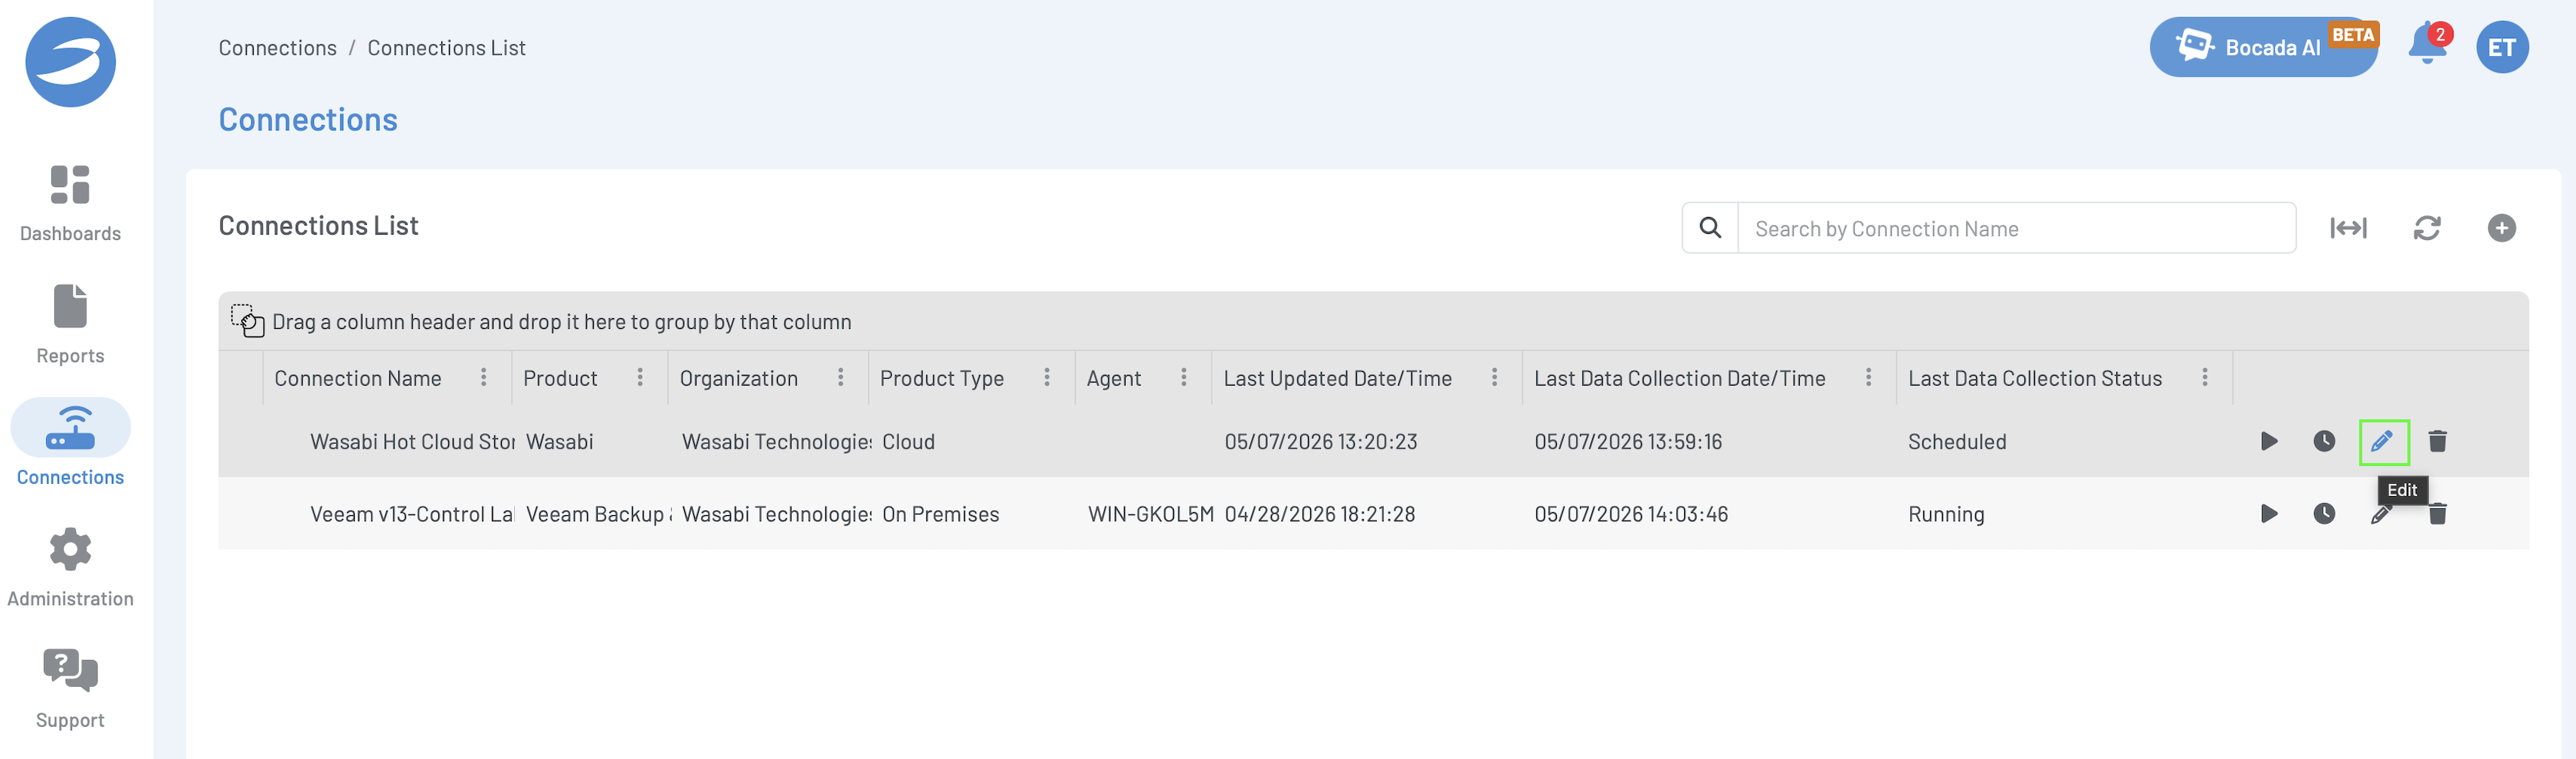
Click the pencil icon to edit the parameters of the Wasabi Connector.
Here you can adjust the Data Collection Frequency. In this example, the data collection runs every 4 hours. Once you have set a schedule, click Save.