Logging Settings: Setting Administrative Activity and Compliance Bucket Logging
- 15 Apr 2025
- 2 Minutes to read
- Print
- PDF
Logging Settings: Setting Administrative Activity and Compliance Bucket Logging
- Updated on 15 Apr 2025
- 2 Minutes to read
- Print
- PDF
Article summary
Did you find this summary helpful?
Thank you for your feedback!
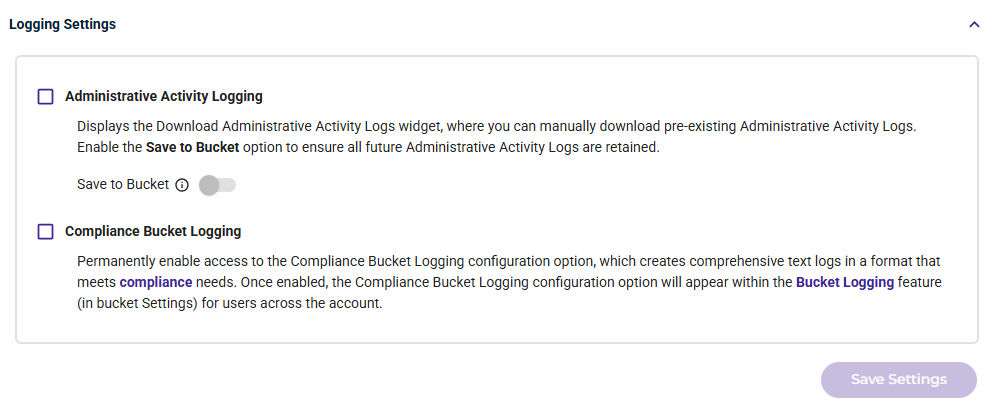
Logging settings include two features:
- Administrative activity logging. You can save log files to a bucket. And, you can manually download pre-existing administrative activity logs as a file. Note that it may take an hour or so for the files to update.
- Compliance bucket logging. You can permanently enable access to the Compliance Bucket Logging confirmation option, which creates comprehensive text logs in a format that meets compliance needs.
To access these features:
- Click Settings on the Wasabi menu. Or, open the account sign-in
 drop-down and click Settings.
 - Open the Logging Settings drop-down.
 drop-down and click Settings.
Setting Administrative Activity Logging
Enabling this feature ensures that all future administrative activity logs are retained.
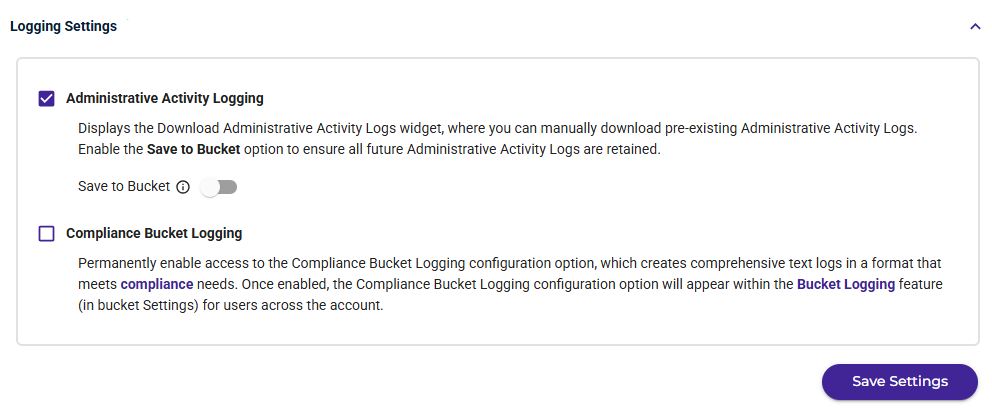
- To enable administrative activity logging, be sure the option is checked.
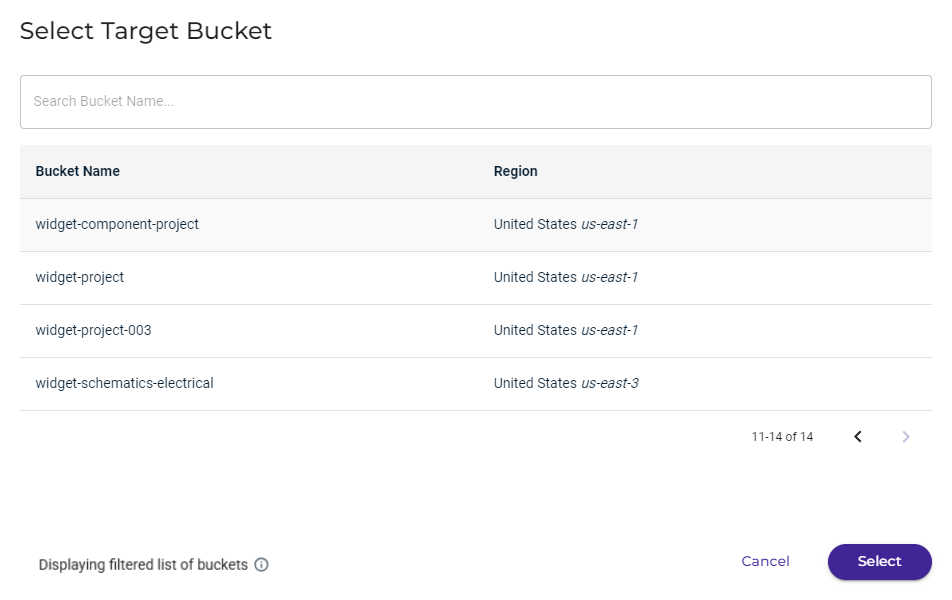
- To ensure all future administrative activity logs are retained, enable the Save to Bucket option. Only bucket that have Object Lock enabled and Compliance Modeconfigured (in bucket Settings) are available as target buckets. You can search for a bucket name in the Search box (such as if a long list of bucket names is displayed).
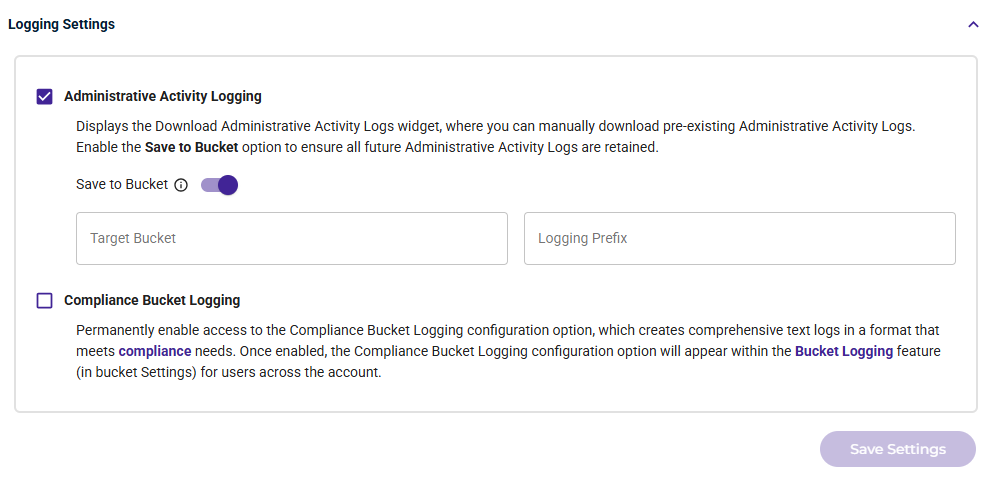
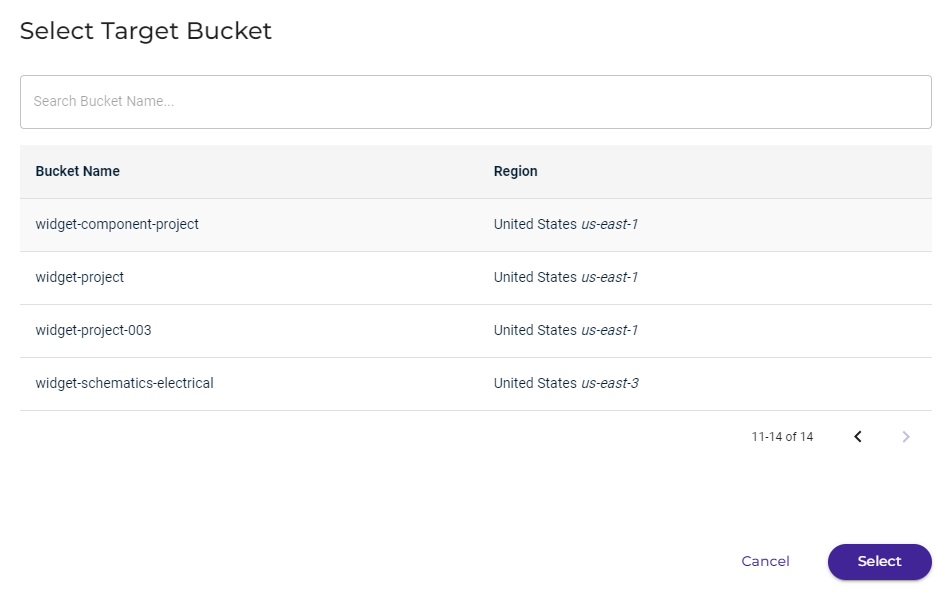
Click in the Target Bucket area and select the bucket in which to store log files. Only buckets with Object Lock enabled and Compliance Mode configured are listed. After you select a target bucket, click Select.
Enter a Logging Prefix to include in the log file name. Each log file will start with the characters you enter.
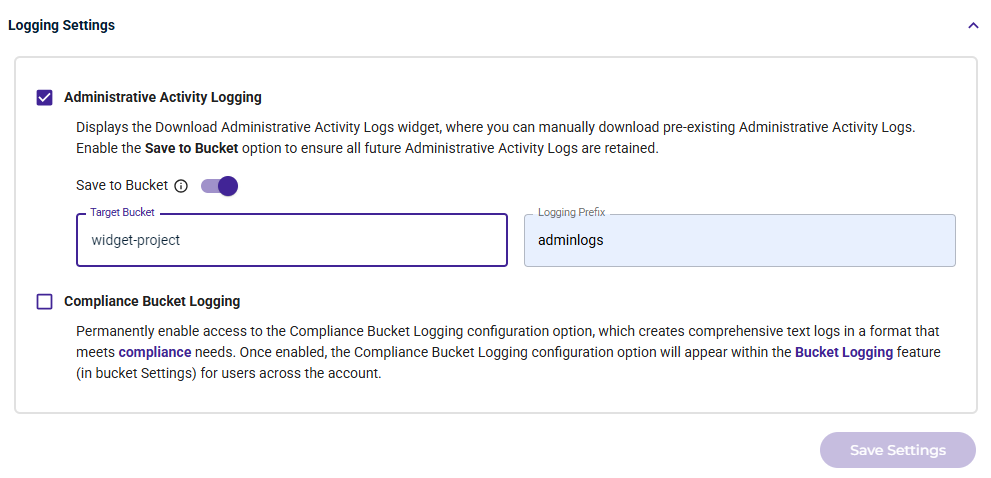
- Click Save Settings to confirm your settings.


Downloading Administrative Logs
When you enable administrative activities logging, an option to download logs will appear toward the bottom of the Account Settings.

To download administrative activities logs to a CSV file:
- Enter a start and end date to collect a maximum of 90 days of logs.
- Click the Logs drop-down to
- Click Download CSV.
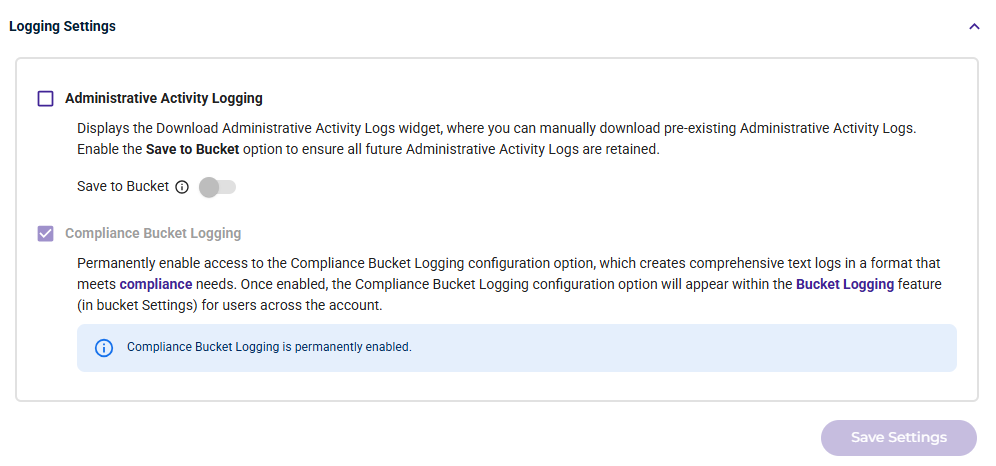
Setting Compliance Bucket Logging
When you enable the Compliance Bucket Logging configuration, an option will appear with the Bucket Logging feature (as described below) for users across the account.
- To enable compliance bucket logging, be sure the option is checked.
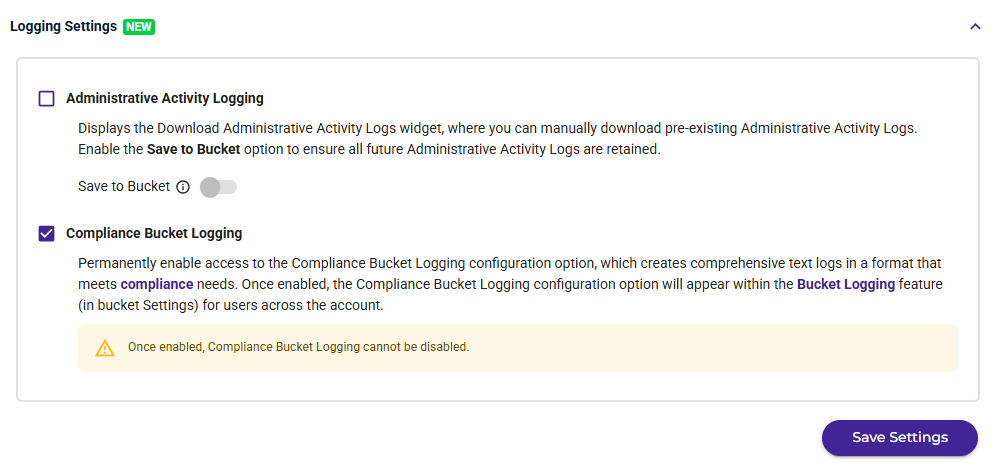
- Click Save Settings.
- A message asks if you are sure you want to permanently enable this option. Once Compliance Bucket Logging is enabled, it cannot be disabled. Type "permanently enable" in the response box if you are sure you want to enable.
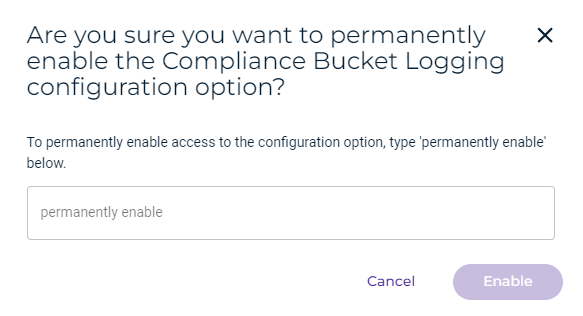
- Click Enable.


Setting Compliance Logging for a Bucket
When compliance bucket logging is enabled, you can set it for a bucket. In the Logging option for bucket Settings, you will see an option to create a comprehensive text log in a format designed to meet compliance needs.
- On the Buckets list, click
 for the desired bucket.
 - Select Settings.
- On the Properties panel, open the Logging drop-down (if it is not already open).
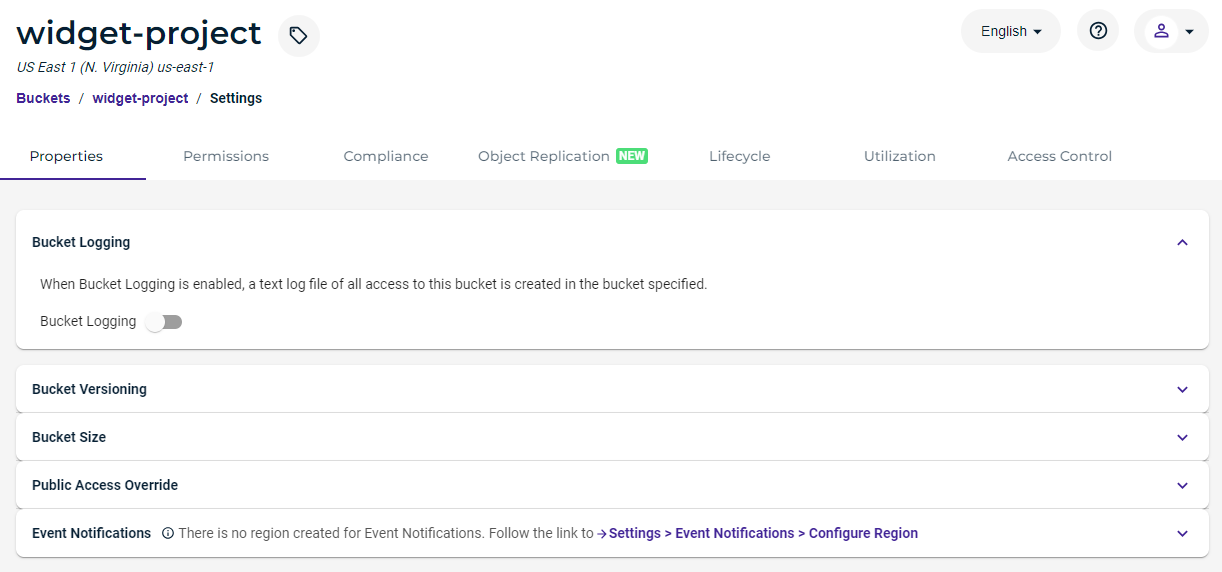
- Slide to enable the Enable Bucket Logging option:
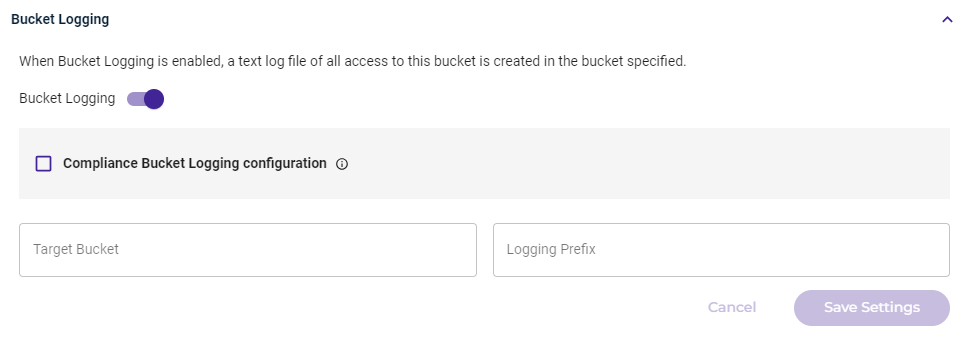
- Click to enable Compliance Bucket Logging.
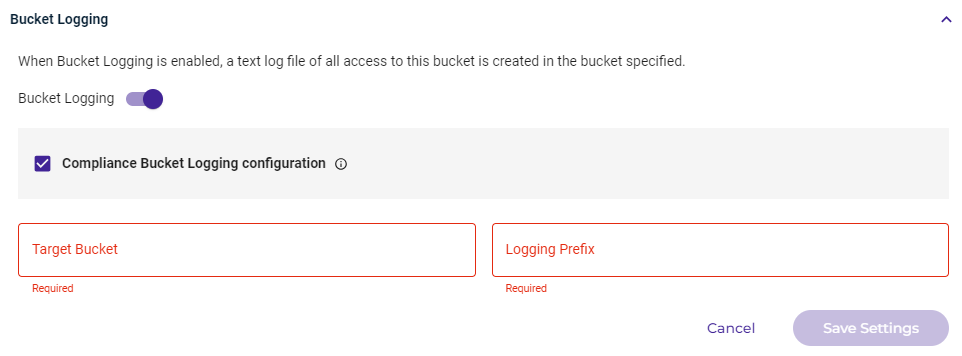
- Click in the Target Bucket area and select the bucket in which to store log files. Then, click Select.
- Enter a Logging Prefix to include in the log file name. Each log file will start with the characters you enter.
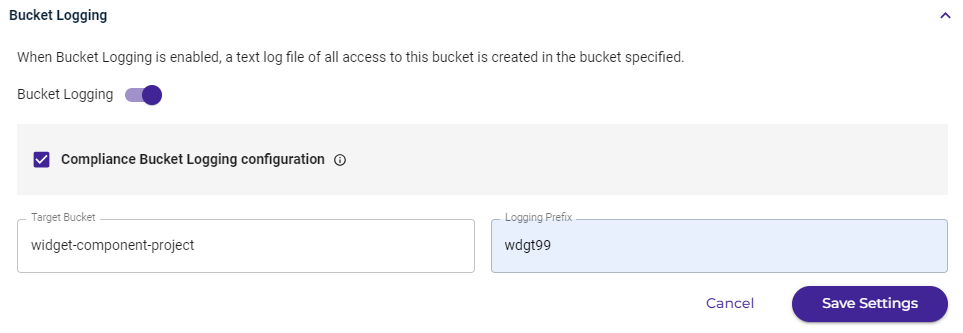
- Click Save Settings to confirm your settings.
 for the desired bucket.