DWS Hybrid is a cloud Digital Evidence/Asset Management application used by Law Enforcement and organizations to catalog and track digital evidence including videos, sound clips, pictures, and documents. DWS Hybrid has been validated for use with Wasabi. For more information, refer to the DWS Hybrid documentation.
Prerequisites
Wasabi Hot Cloud Storage account
Wasabi bucket (see Creating a Bucket)
Be sure to note your bucket name, storage region URL, access key, and secret key, as you will need these for later steps.
DWS Hybrid v 5.0
Hybrid Cloud License (see DWS Hybrid for a quote)
Configuring Wasabi With DWS Hybrid 5.0
Log into Hybrid with a user that has Admin rights.
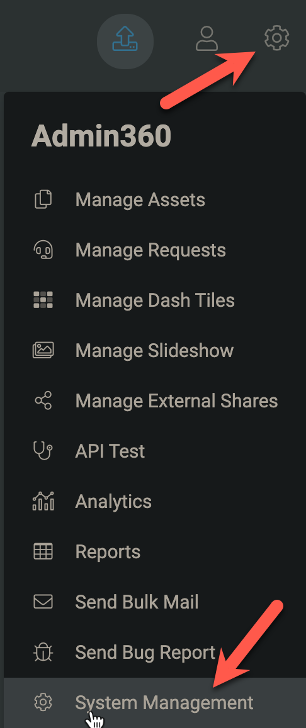
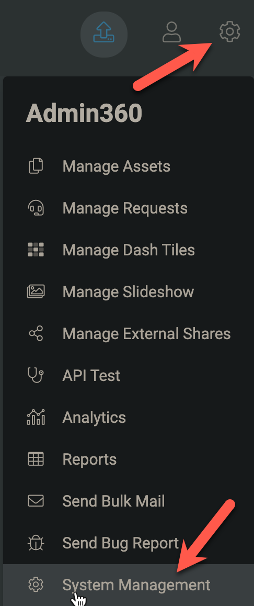
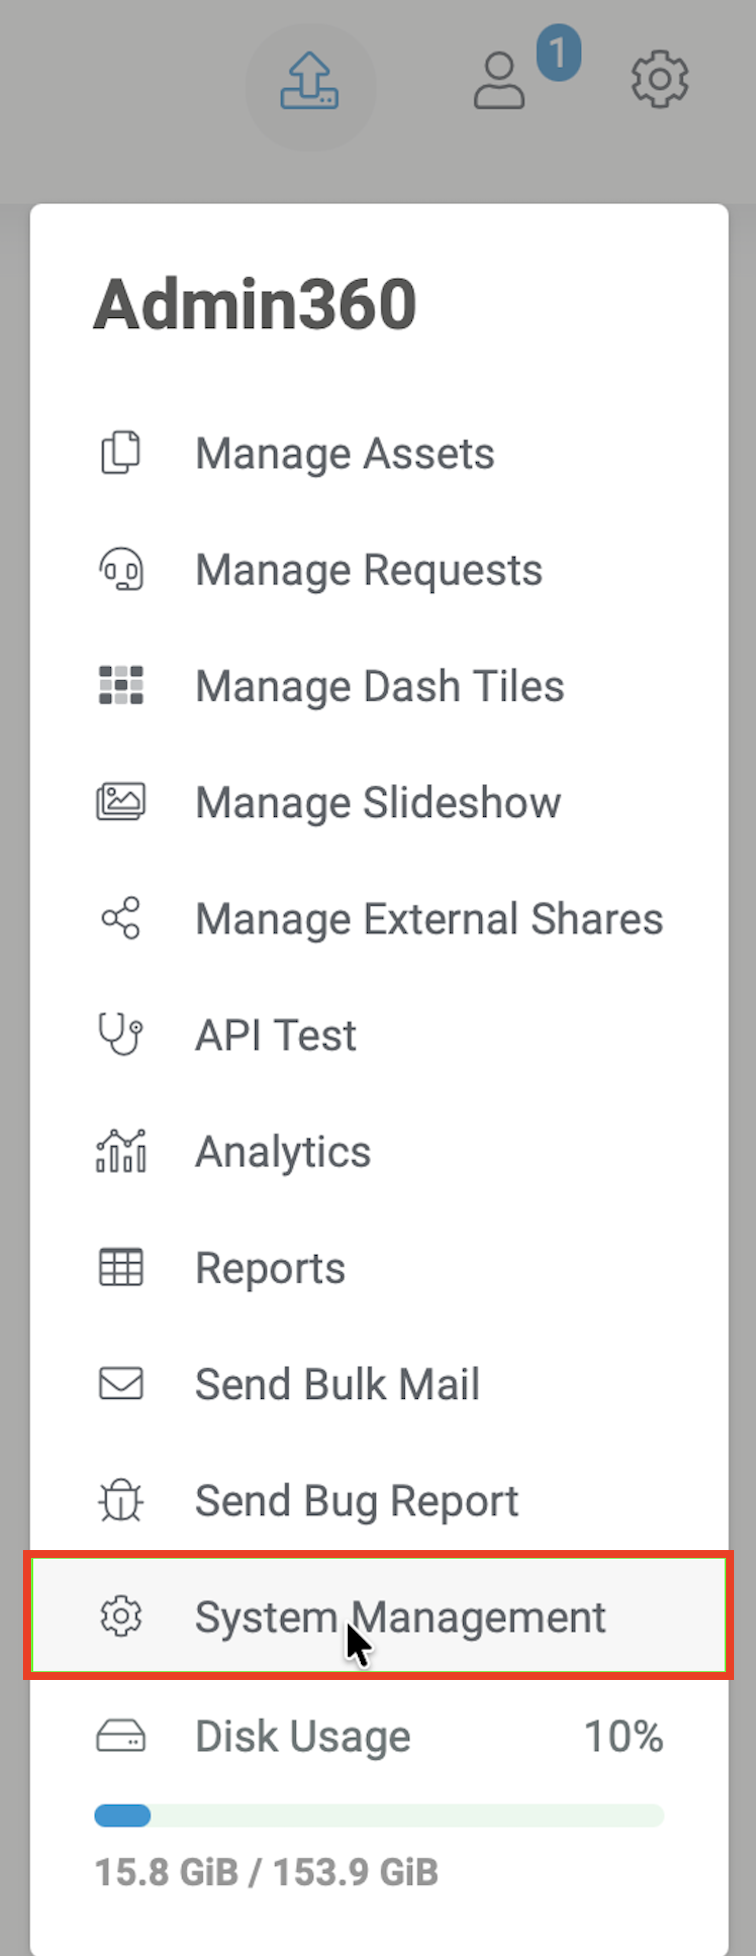
Click Admin Menu (gear icon), then select System Management at the bottom.
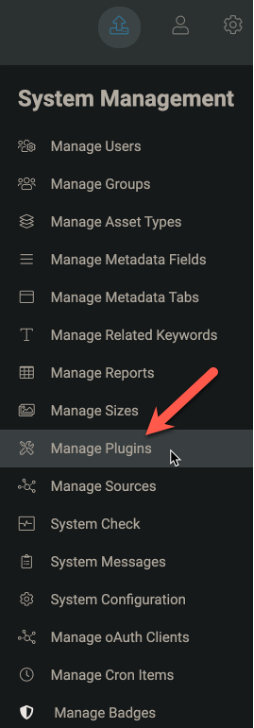
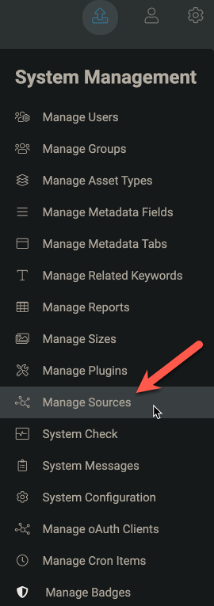
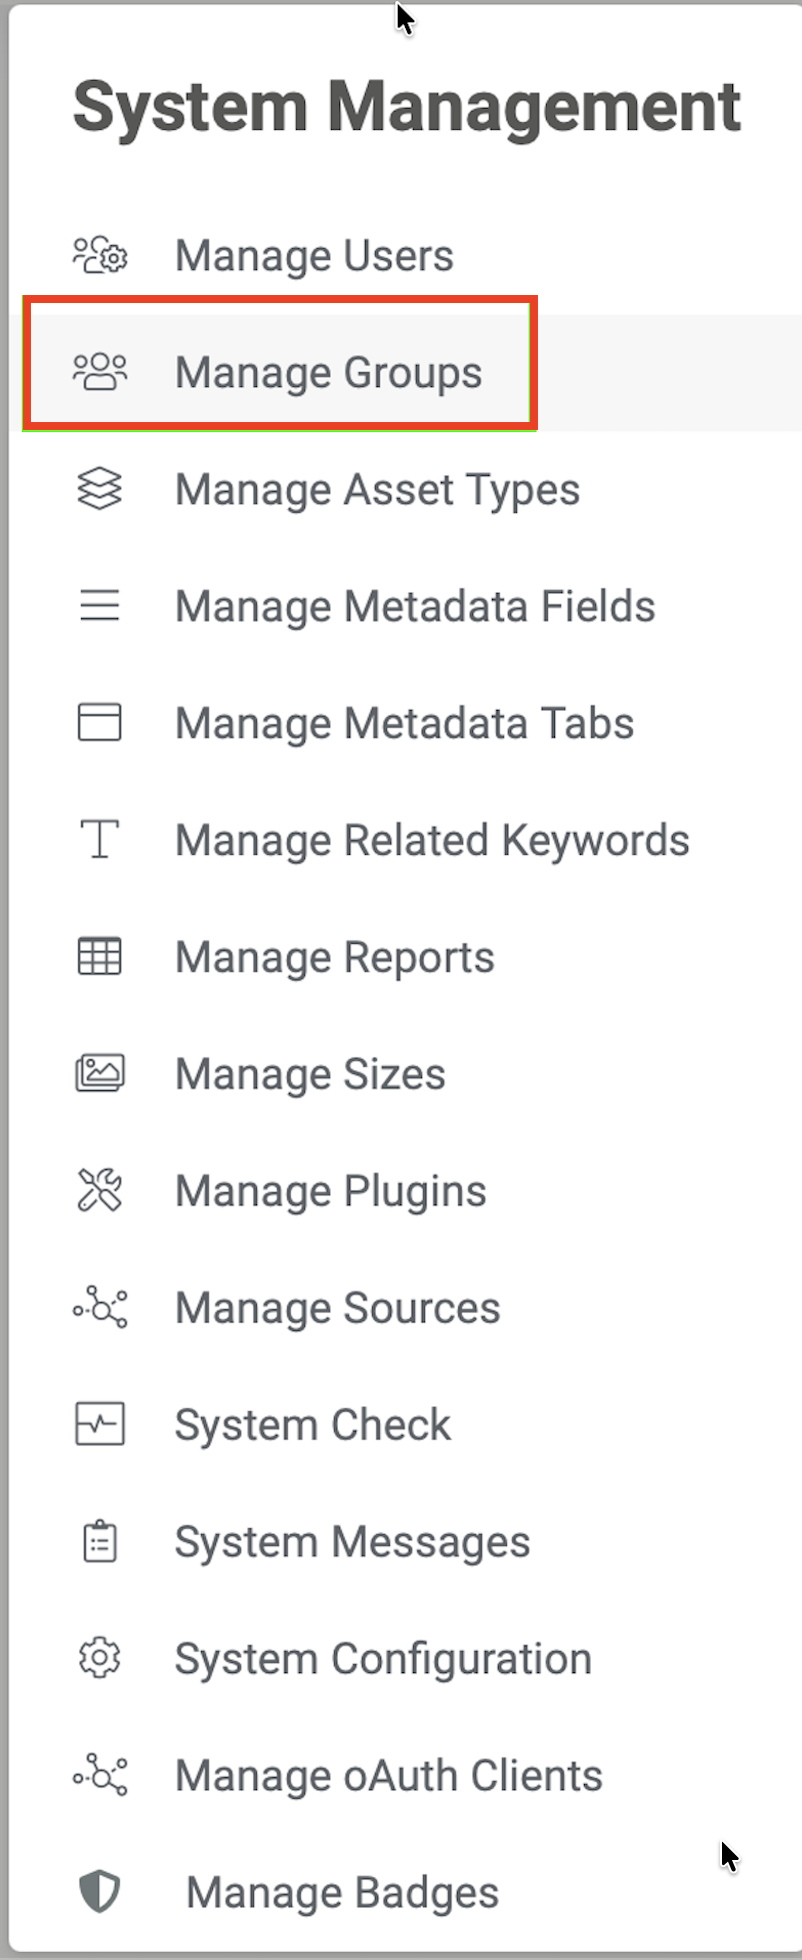
Select Manage Plugins.
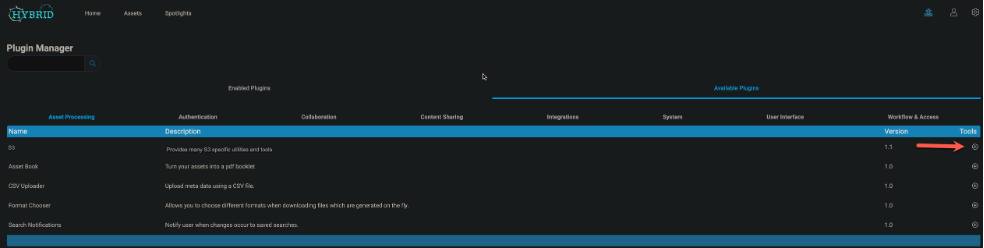
In the Plugin Manager, add the S3 bucket plugin by clicking +.
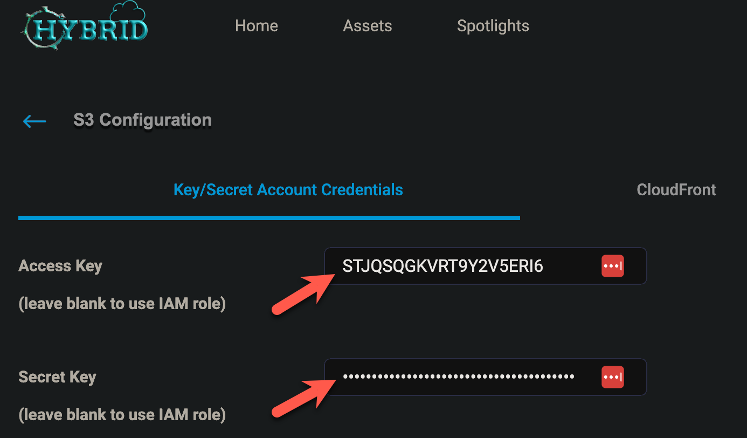
Enter the Access Key and Secret Key that you generated from the Wasabi Console.
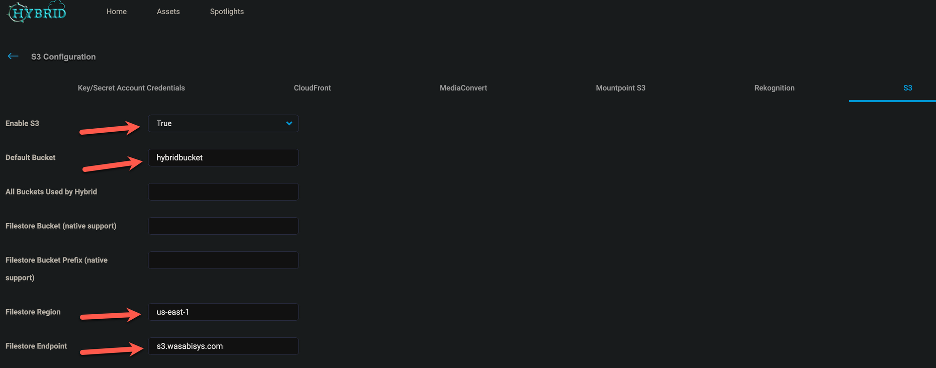
In the S3 Tab:
Set Enable S3 to True.
Enter the Default Bucket name.
Enter your Wasabi region in the Filestore Region.
Enter your Filestore Endpoint.
This configuration example discusses the use of Wasabi's us-east-1 storage region. Use the region your bucket is located in. For a list of regions, see Service URLs for Wasabi's Storage Regions.
After the Plugin has been set up and configured, click Admin Menu (gear icon). Select System Management.
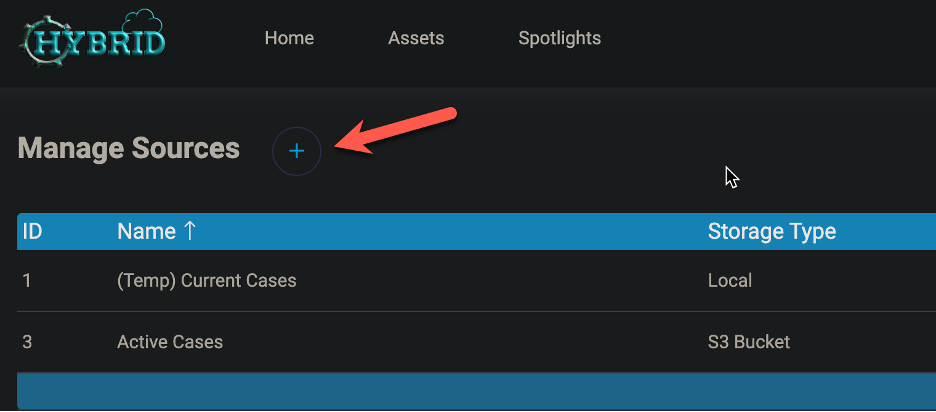
Select Manage Sources.
Click + to add a new Source.
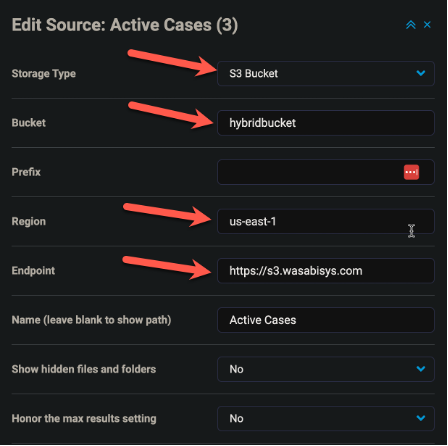
In the Edit Source window:
Under Storage Type, select S3 Bucket from the drop-down.
For the Bucket, input your bucket name.
In the Region field, input your Wasabi bucket region (for example, us-east-1).
For the Endpoint, input your Wasabi Endpoint Service URL (for example, https://s3.wasabisys.com).
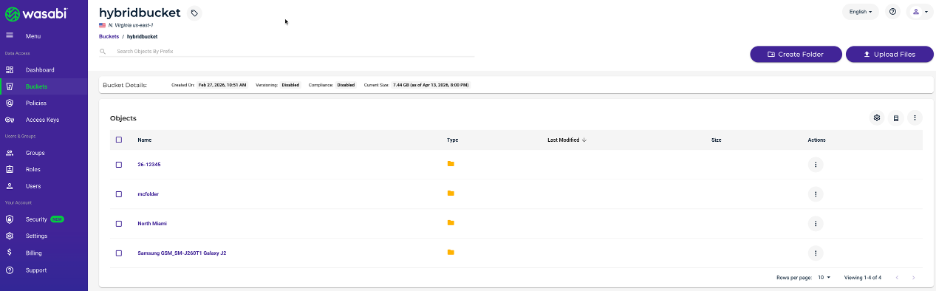
To confirm that the data is being written correctly, log in to the Wasabi Console and browse the destination bucket.
Next, we will create a user and set permissions to enable that user access to the objects in Source (as described below).
Creating a User in DWS Hybrid
Log in to your Hybrid dashboard as an Admin user, then click Admin Menu (gear icon) in the upper right of the screen to access the settings drop-down.

Click System Management.

Click Manage Users on the System Management drop-down.
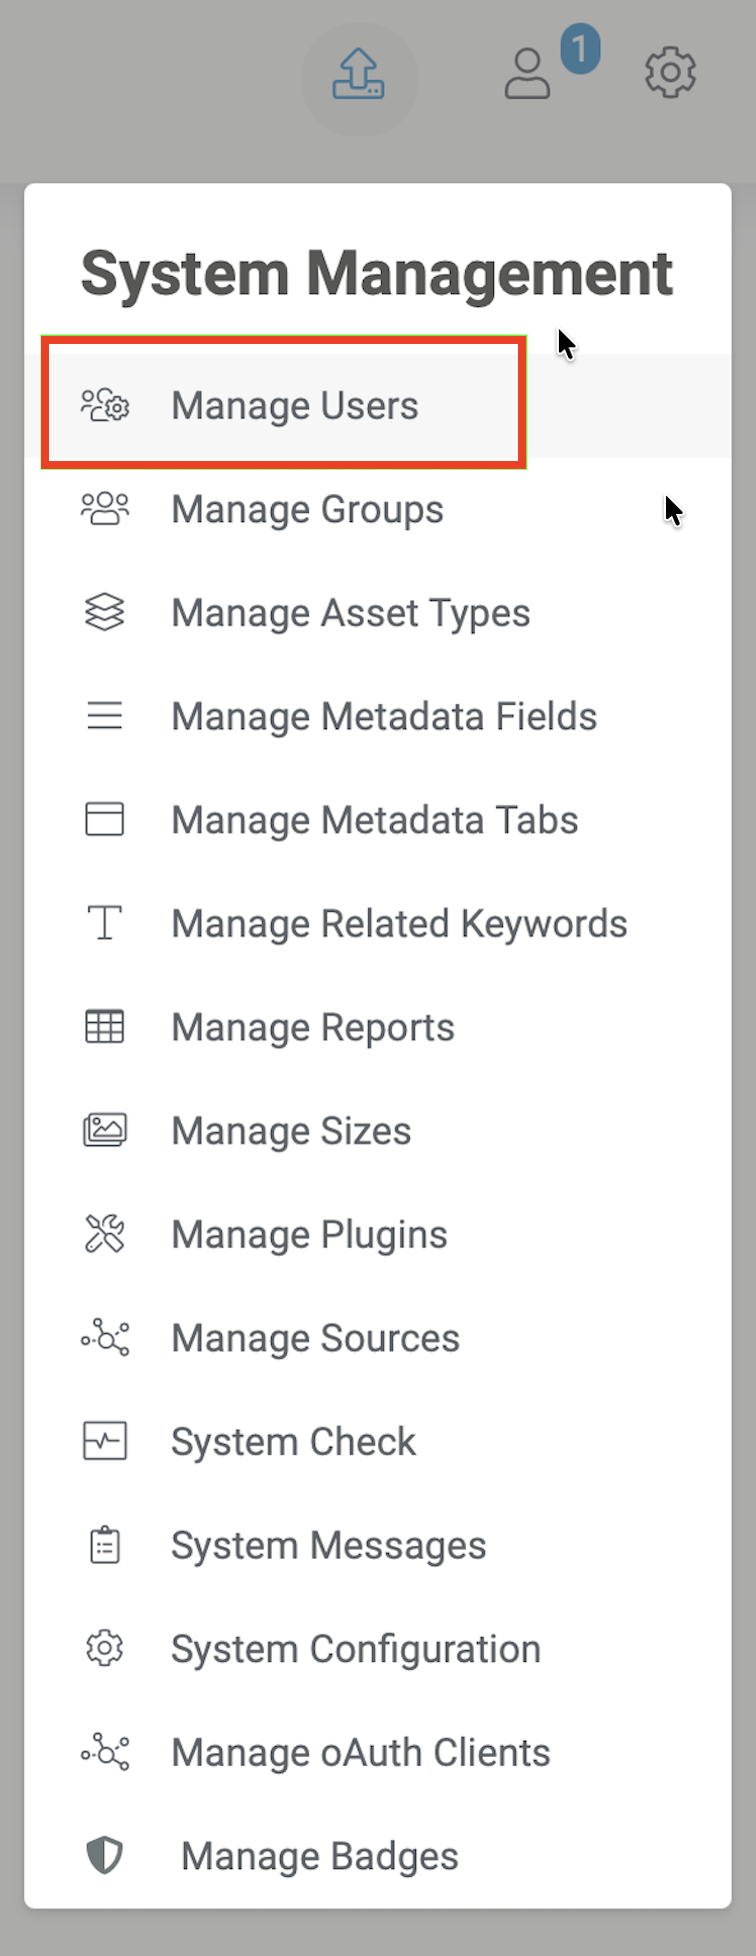
On the Manage Users screen, select the Action menu (three vertical dots) next to the search box.

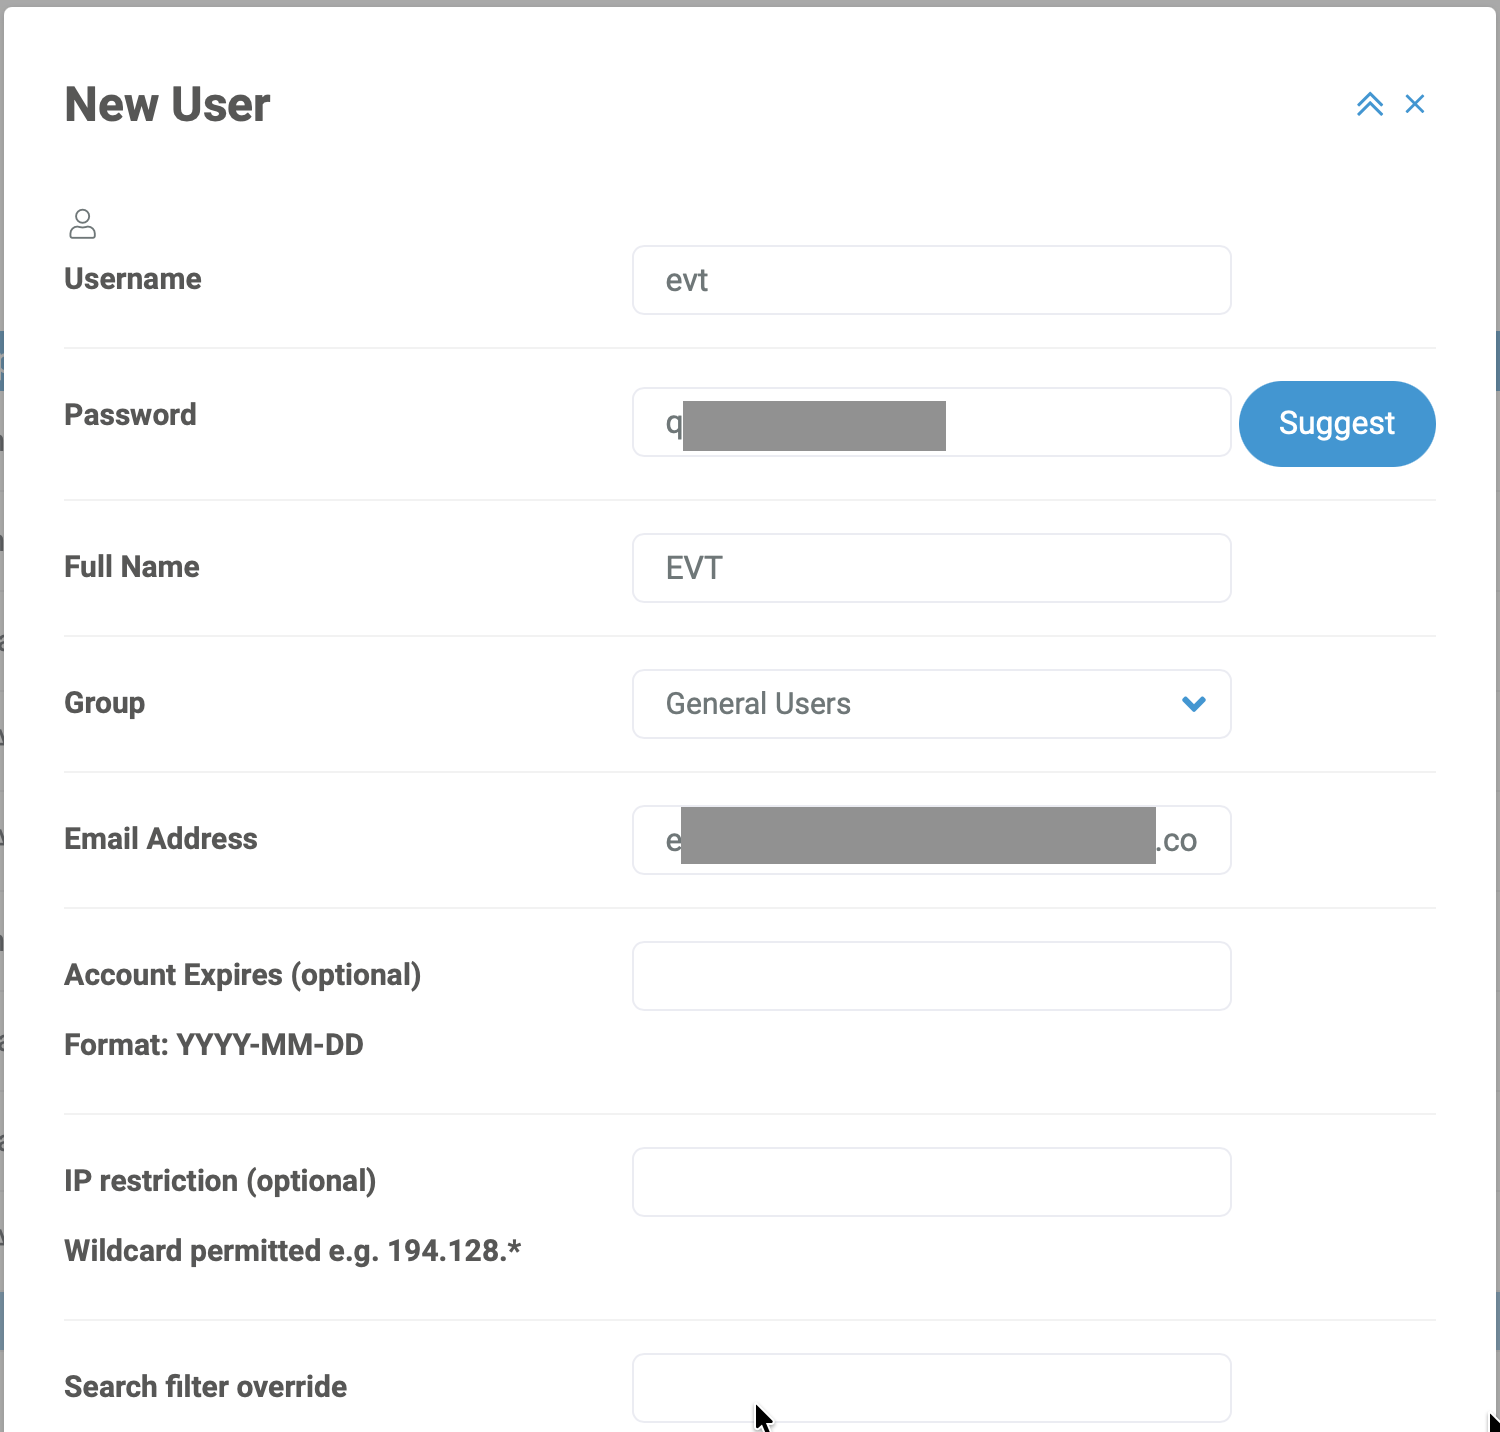
Click New User.

Input the following:
Username of the new user.
An initial password.
The user’s full name.
Choose an appropriate group from the drop-down for role-based access.
The user’s email address.
Optionally, an account expiry date.
Optionally, a specific IP from which the user is allowed to connect.
Optionally, a search filter override.
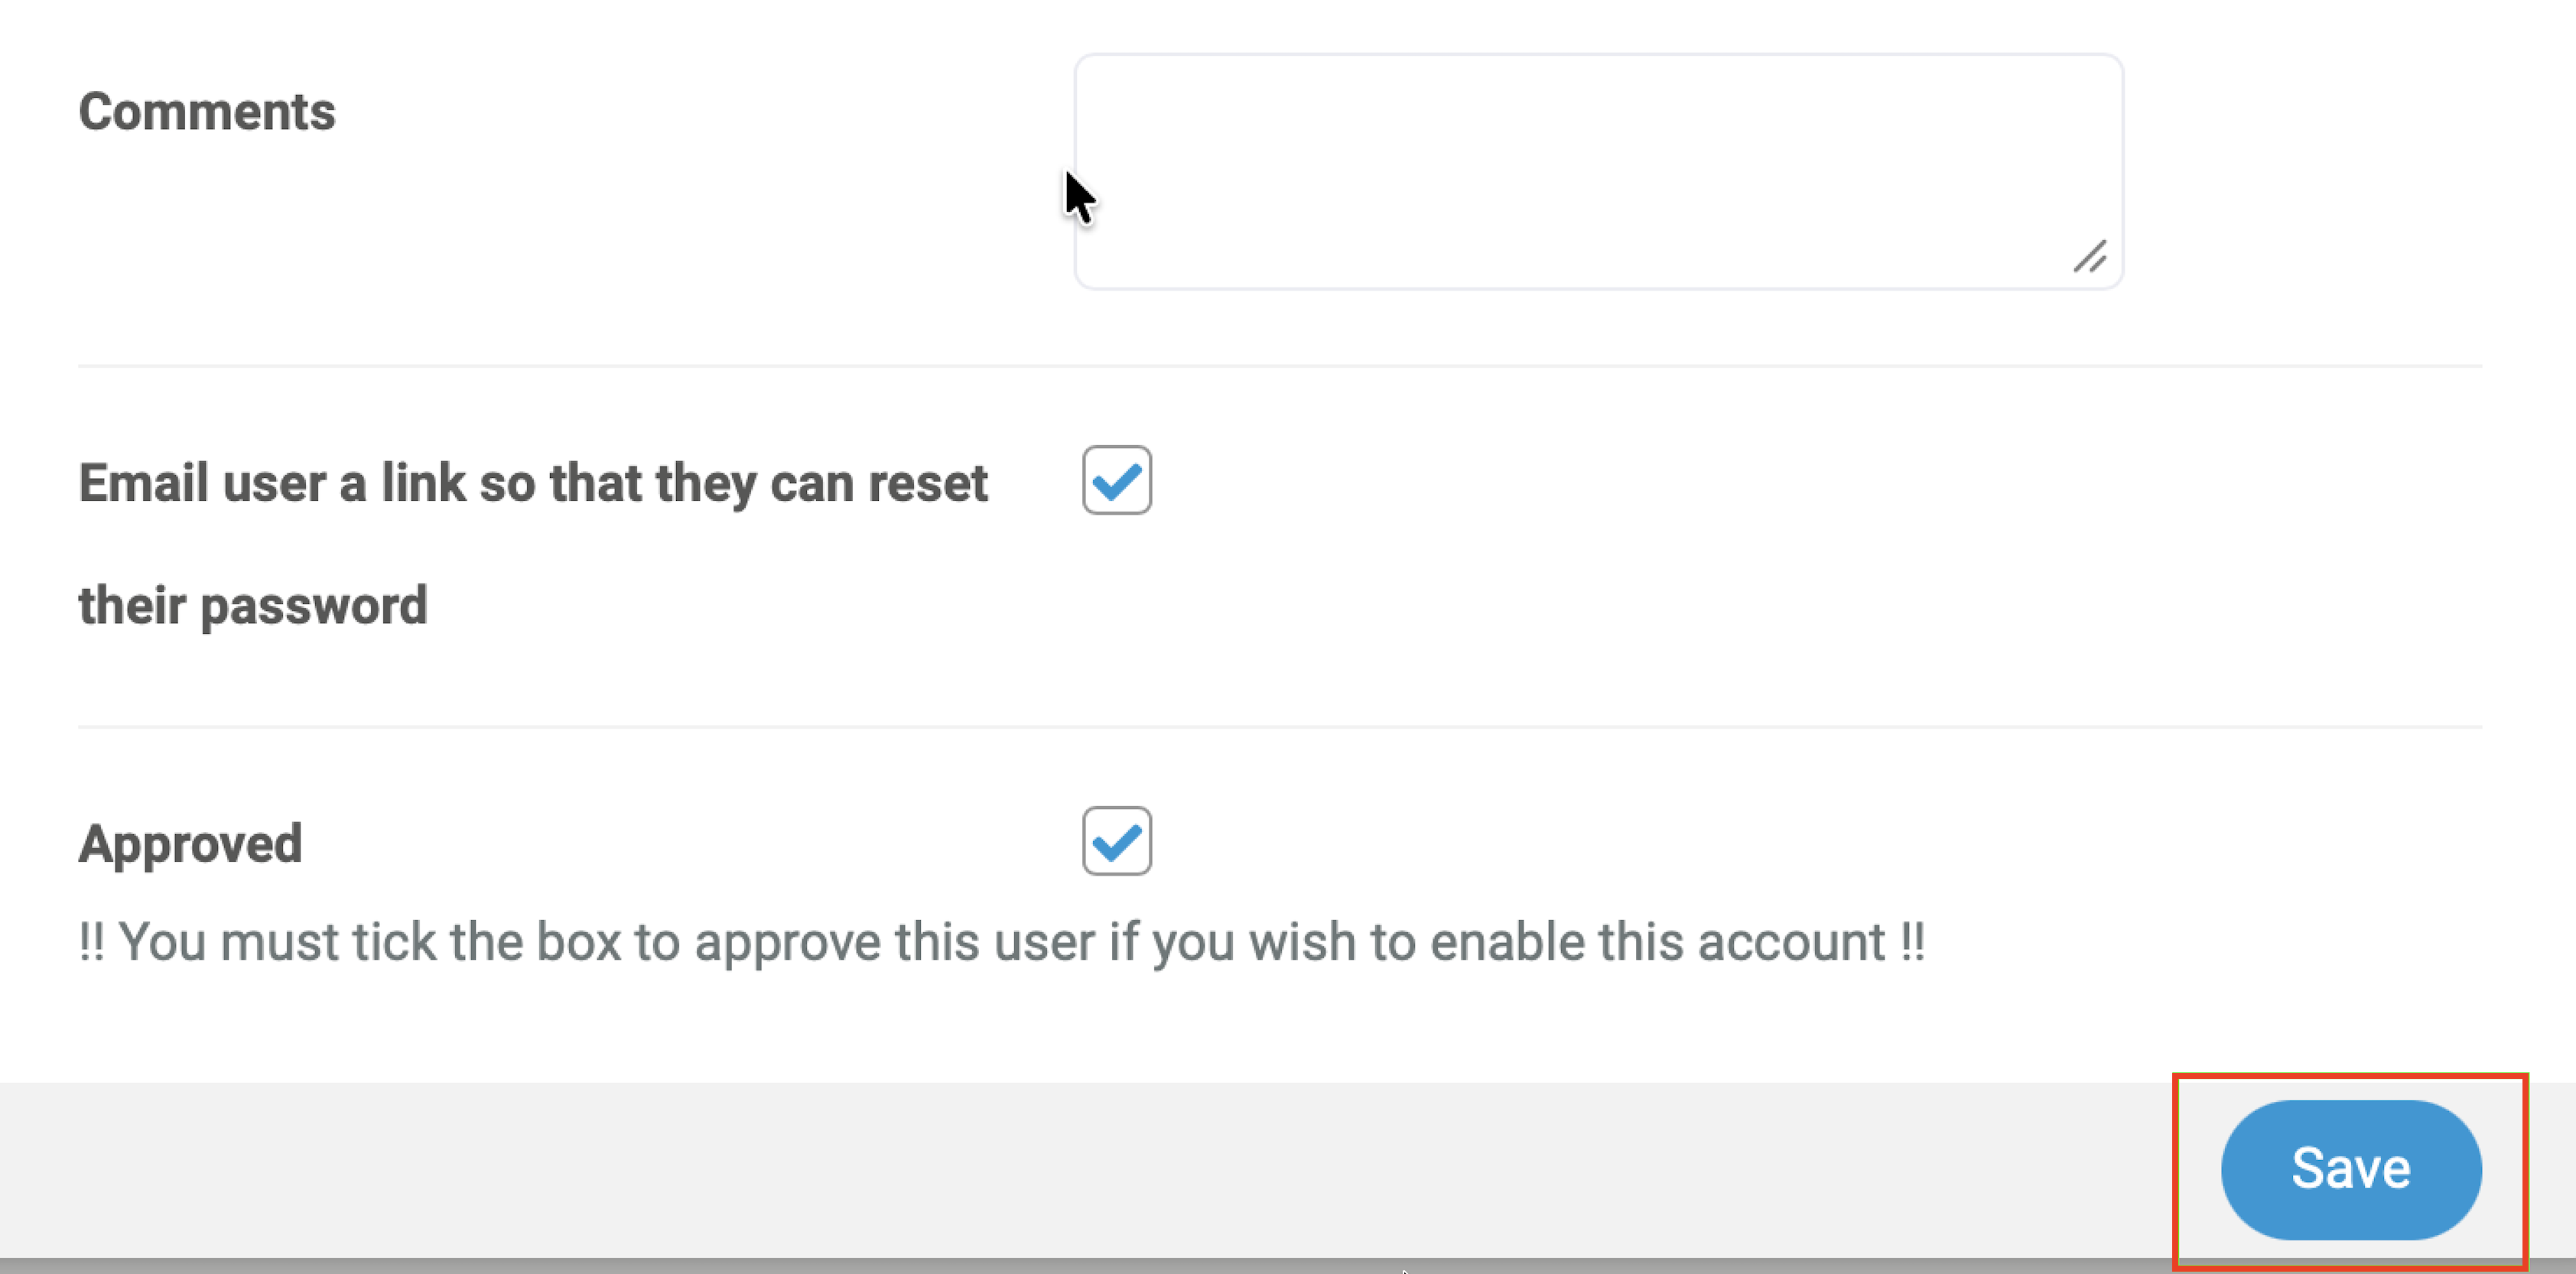
Optionally, any additional comments.
Check the box that will send the new user an email address to reset their password.
Optionally, preapprove the user by checking the Approved box.
Click Save.
The user will receive an email to reset their password and then activate their account.
Setting Permissions Per Source
In order for a user to access a particular data source in Hybrid, permissions must be granted to that user in order to view/edit/upload data to the source.
Log in to Hybrid as an admin user and click Admin Menu (gear icon) to access the settings drop-down.

Click System Management.
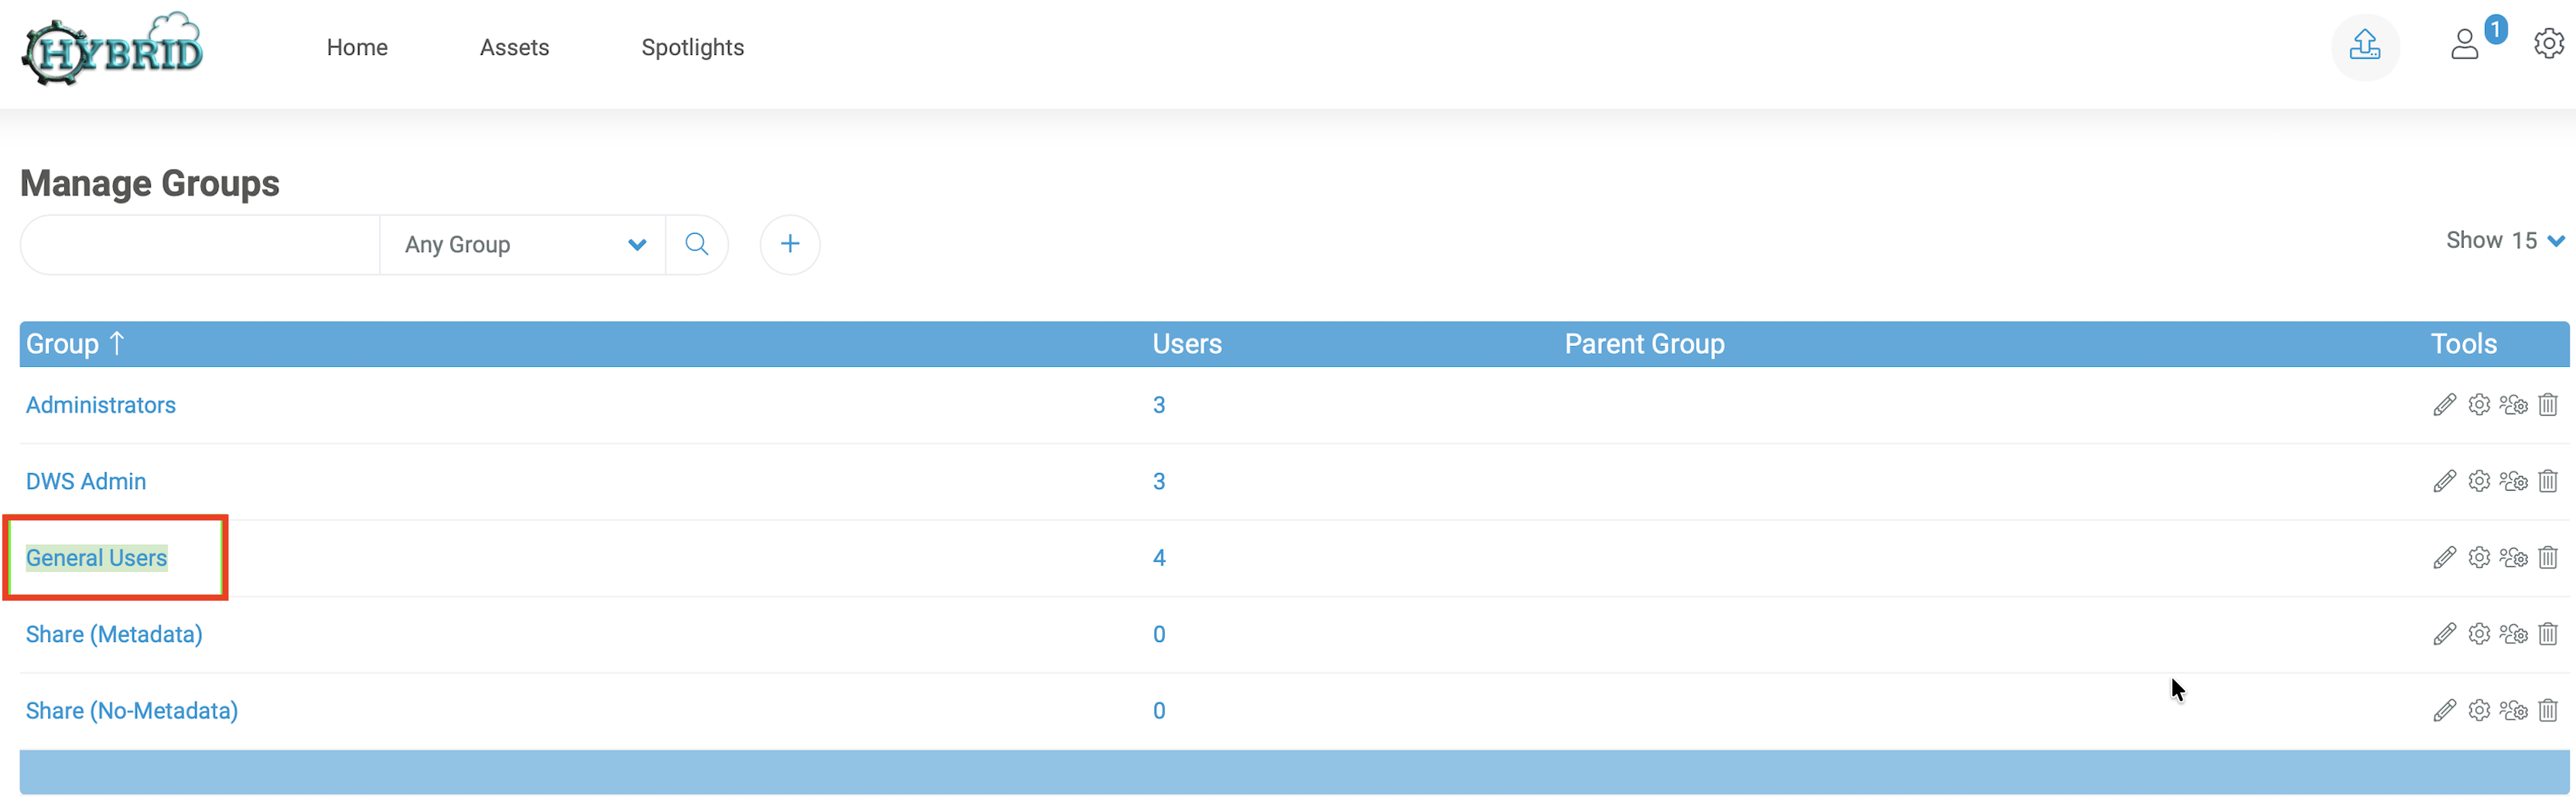
Click Manage Groups.
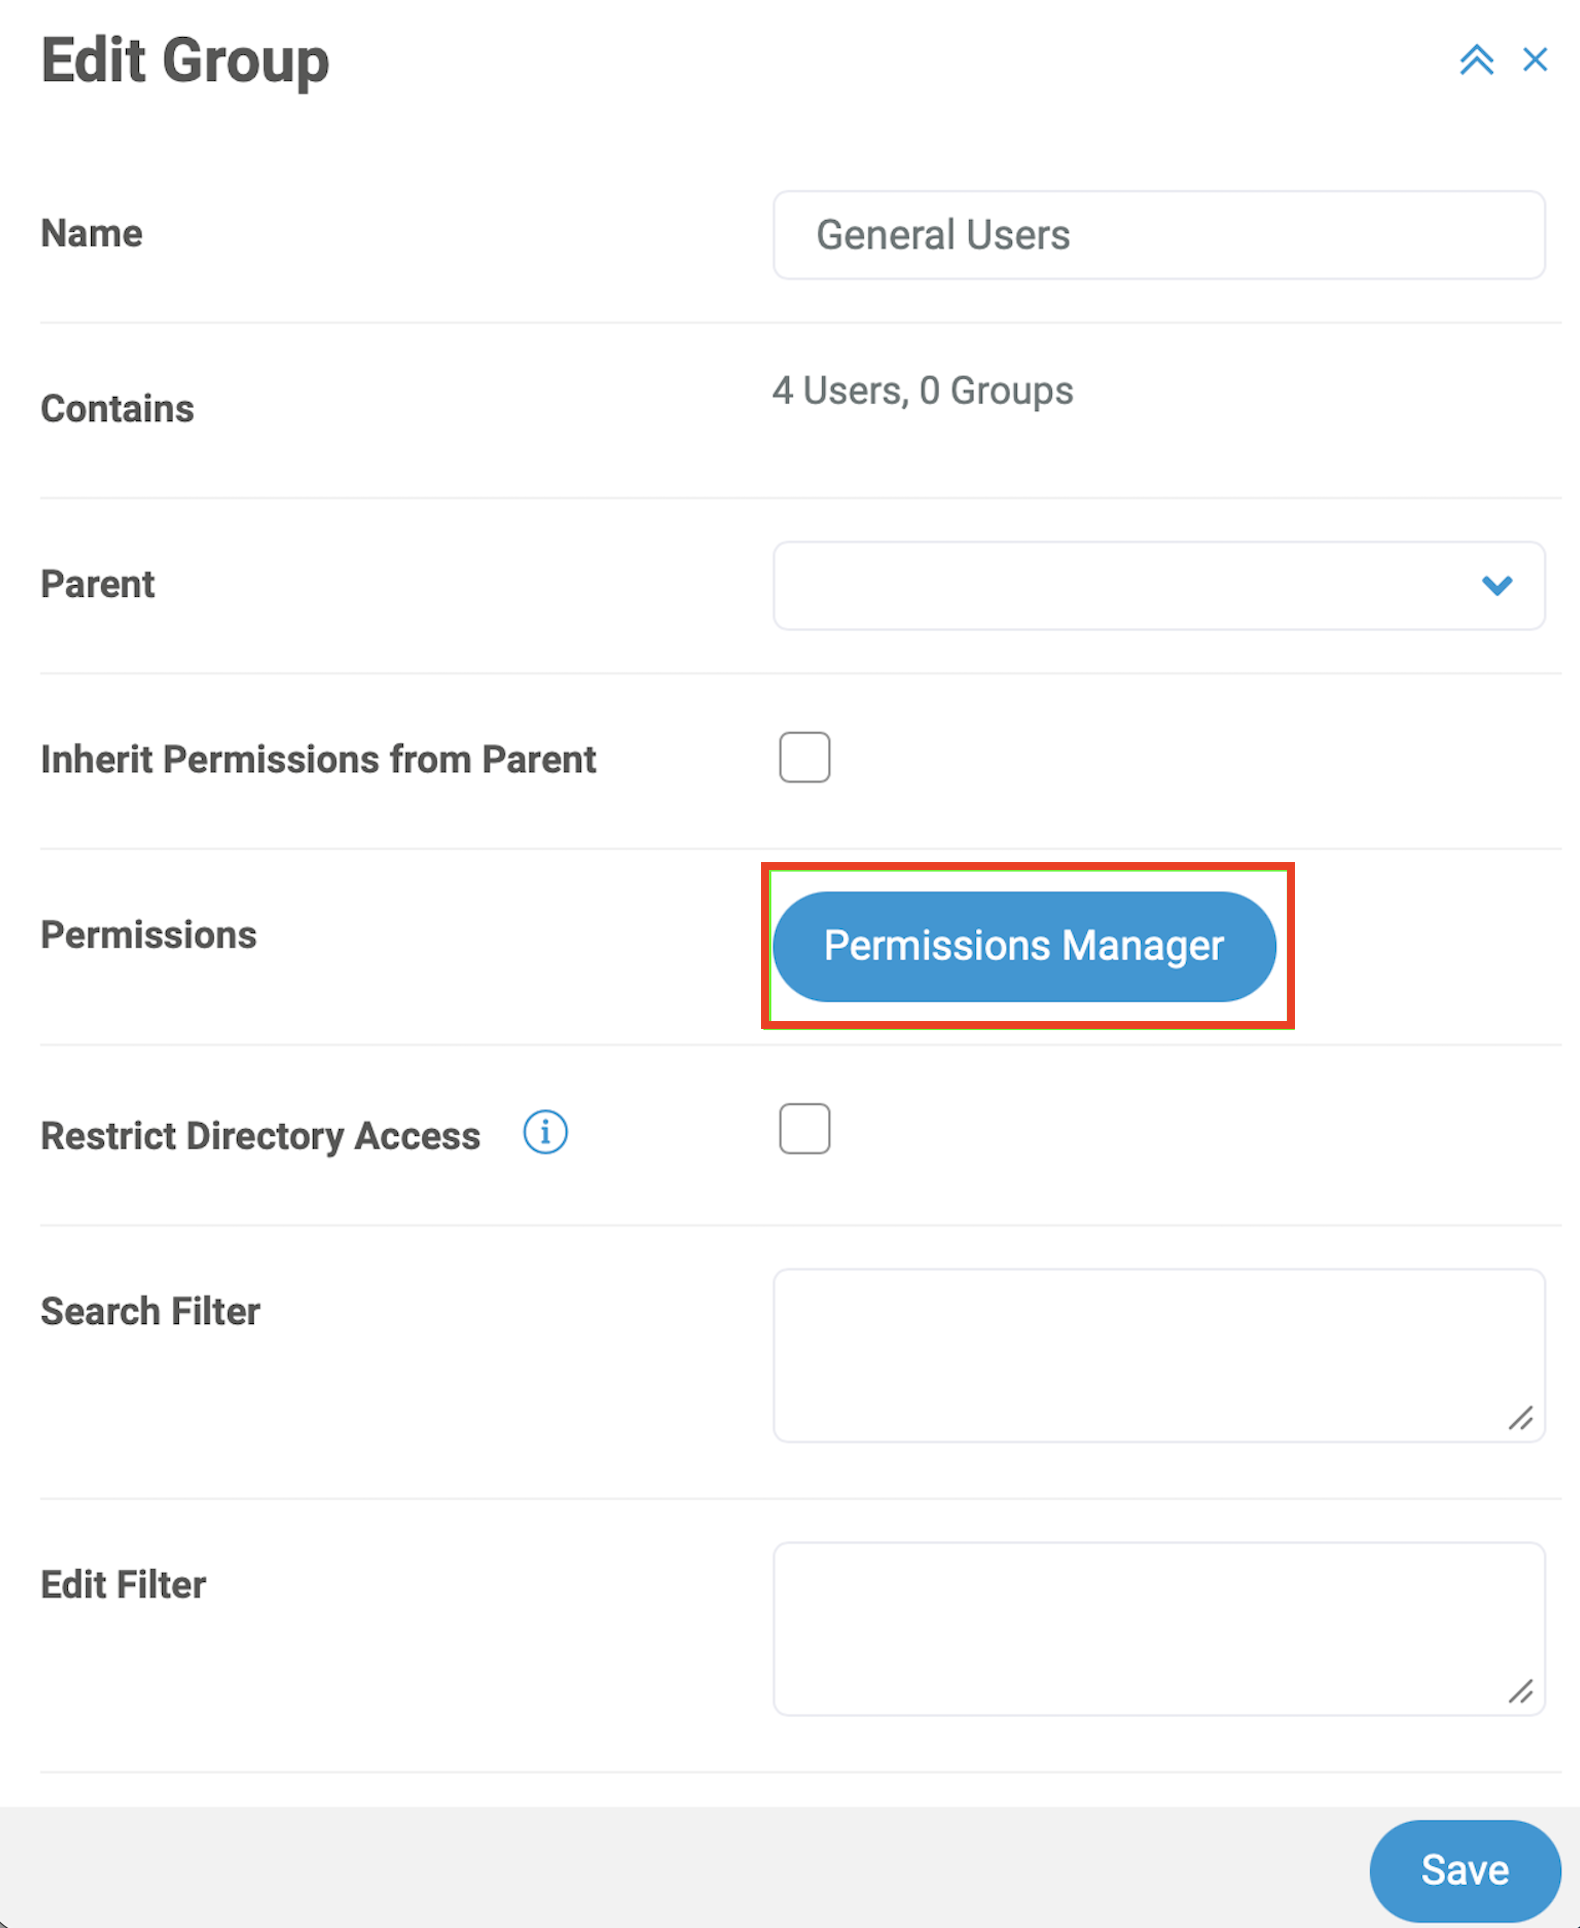
On the Manage Groups screen, select the name of the group to edit (for example, General Users).
Click Permissions Manager on the popup menu.
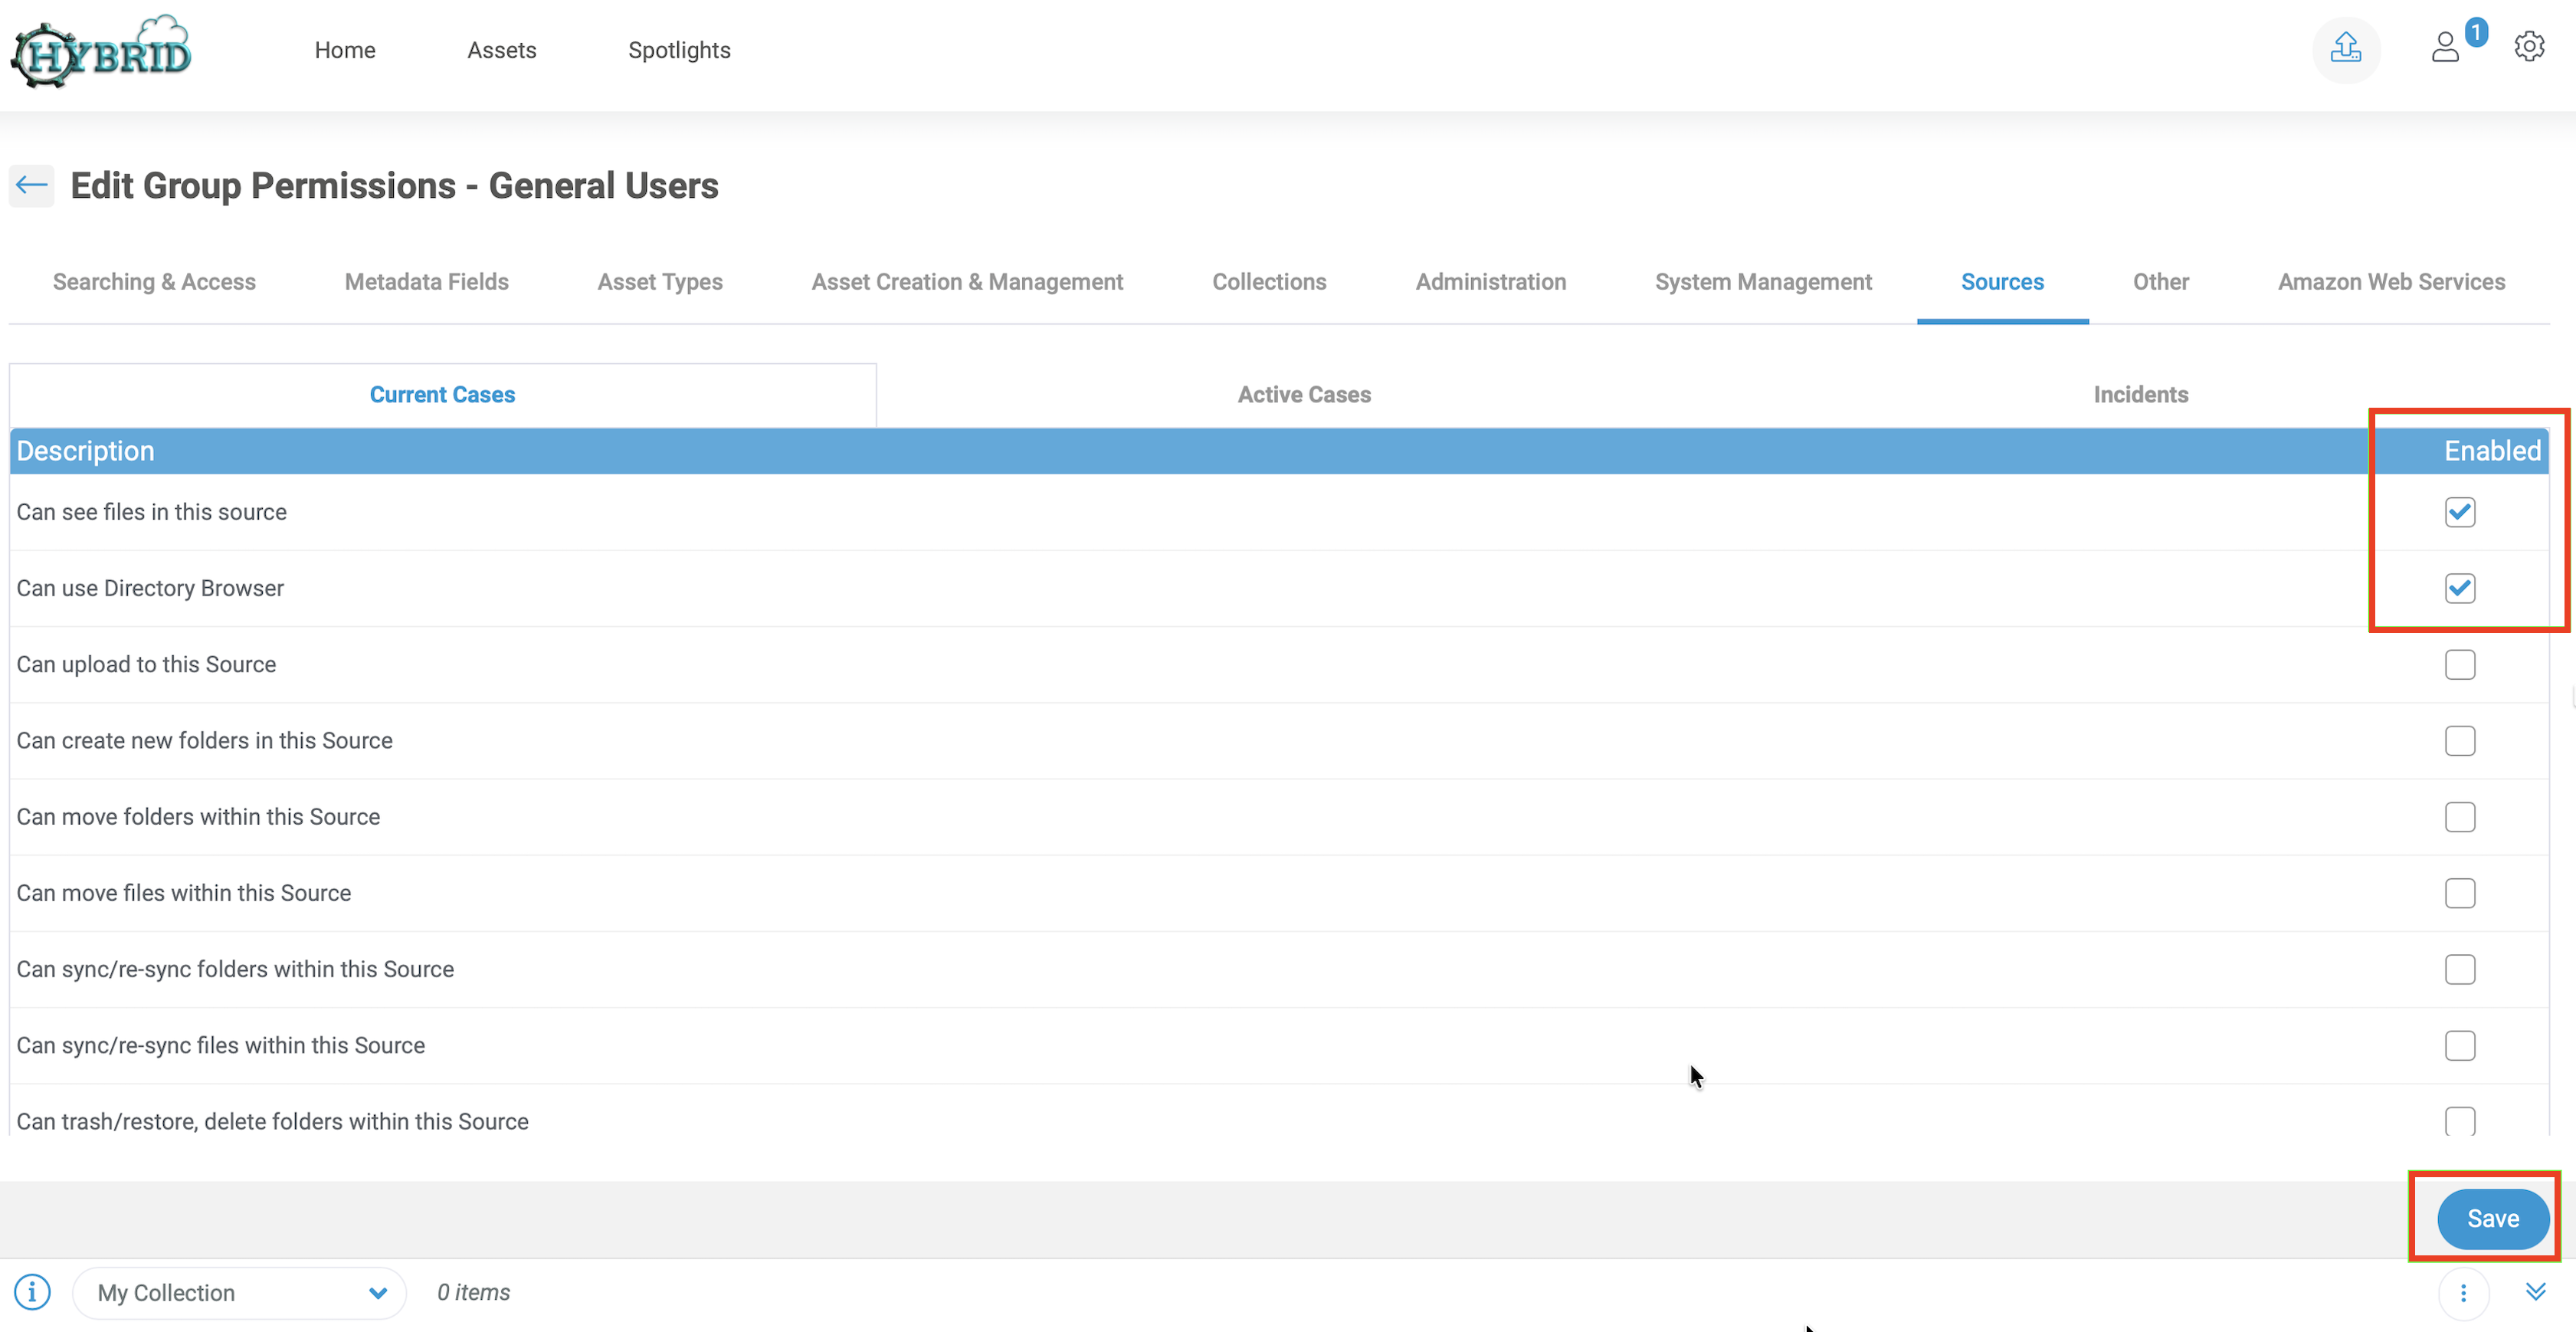
In the permissions manager, select the Sources tab. Select the name of the relevant source (for example, Current Cases) then check the boxes next to the permissions to allow.
Click Save. Typically, a user needs at least the minimum of Can See files in this source and Can use Directory Browser. Depending on your needs, you can enable additional permissions.
When your user logs in, they will now be able to interact with the data in the relevant source.