How do I use Atavium with Wasabi?
Atavium is a data storage solution with integrated user-defined insights & automation, giving organizations unparalleled control over their assets. The Atavium Storage system has been validated for use with Wasabi and combined with an Atavium Data Placement Policy, data storage administrators can tier data directly from Atavium to Wasabi for storage in the cloud.
Creating a Cloud Connection
Create a new Cloud Stor connection on Atavium. This connection provides the details and credentials that Atavium will use to connect to a cloud service.
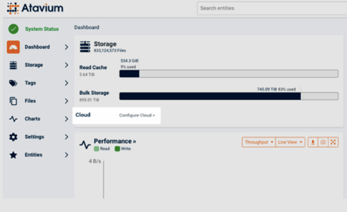
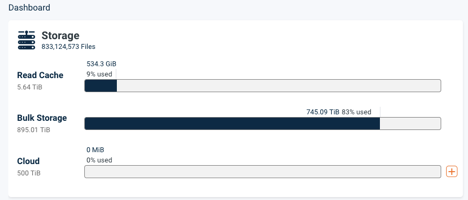
If the Atavium is licensed for Cloud tiering, the option to “Configure Cloud” will appear on the main dashboard as part of the Storage Summary.
If a cloud has already been configured, an orange plus symbol will appear next to the cloud usage bar.
Click the plus button, select Add, and then select Create to display the Create Cloud Stor dialog.
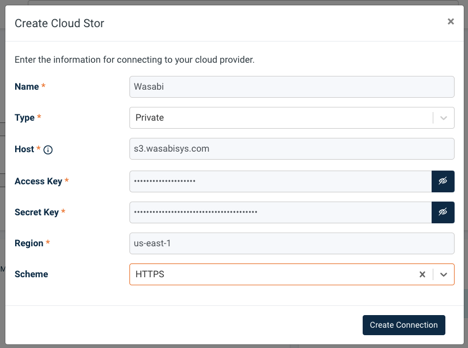
Enter the following information to connect to your cloud provider network and authenticate to the S3-compatible endpoint. The example below uses the East endpoint from Wasabi.
Name
Connection name assigned by the user
Type
Select Private to enter custom connection details
Host
The hostname provided by Wasabi for the region to which you are connecting. This example is for the East endpoint.
Access Key
User Access Key
Secret Key
User Secret Key
Region
The corresponding region endpoint. Use the hostname for the service URL and region values provided here.
Scheme
Select HTTPS to use secure connection to the Wasabi cloud
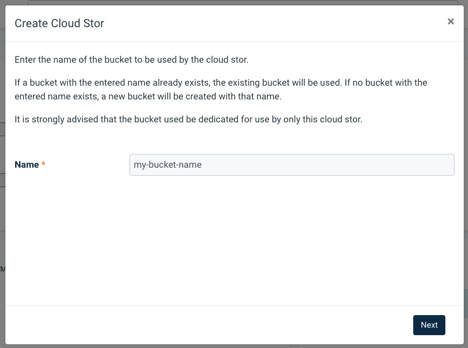
Enter the name of the bucket to use with the cloud connection. The bucket name used can be for an existing bucket or a new bucket. We recommend creating the bucket in advance to control the settings before establishing the Cloud connection.
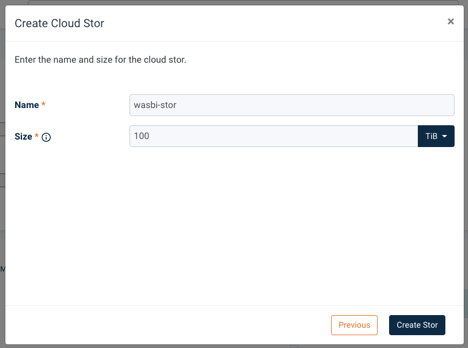
Enter a name for the Cloud Stor to be displayed on Atavium and the size to allocate. The size can be increased at any time and is the maximum amount of data Atavium will send to the cloud.
The new Cloud Storage will now appear in the Storage summary. Once the Stor is associated with a Data Placement Policy, data will begin to be sent to the Wasabi Cloud. For more information on configuring Data Placement Policies, consult the Atavium documentation.