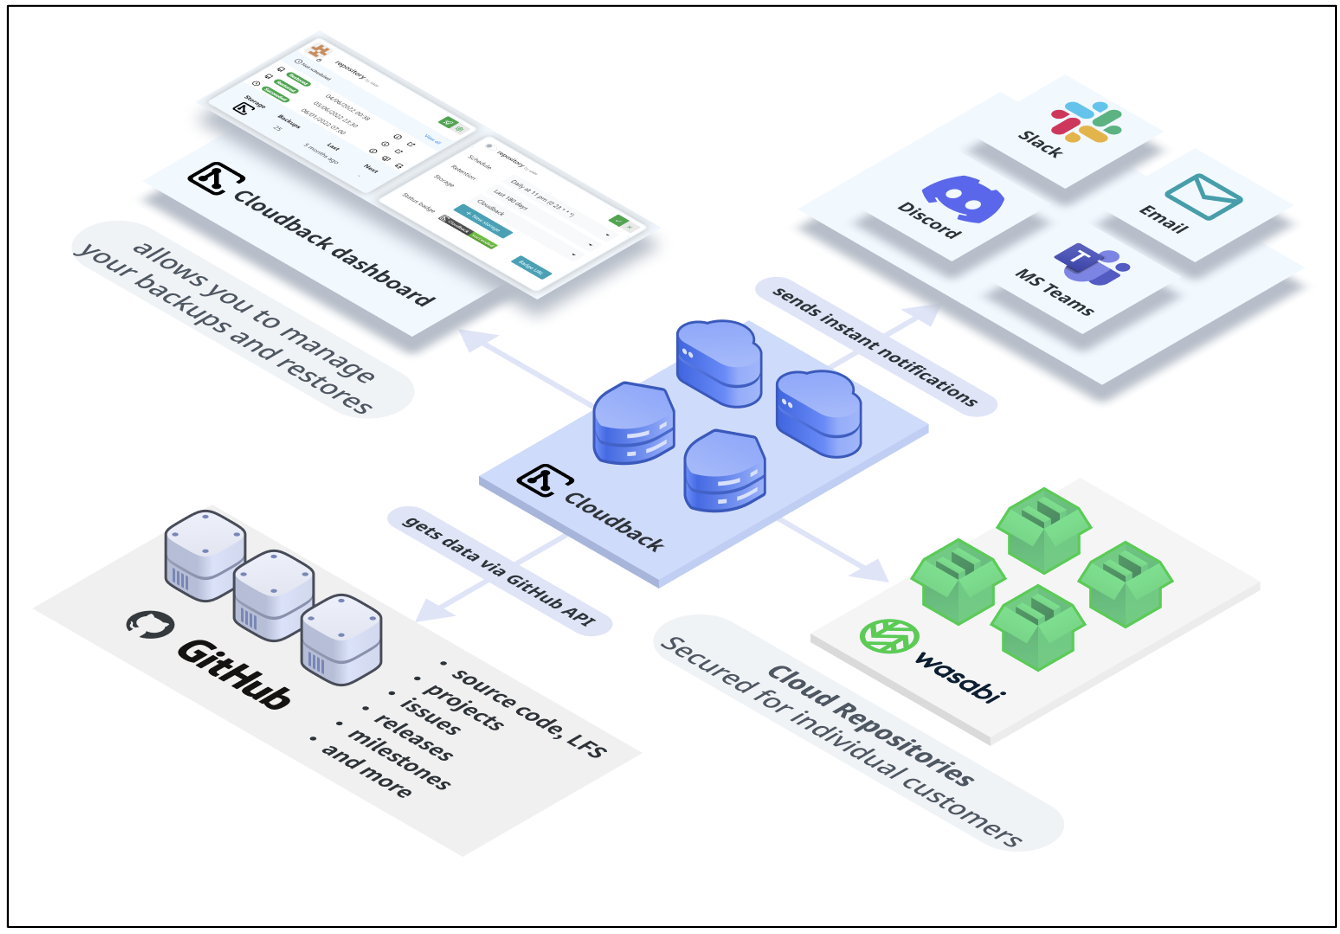
Wasabi has been validated for use with Cloudback. Cloudback is a fully-featured GitHub Backup Solution that supports various backup storages, including Wasabi. To use this product with Wasabi, follow the instructions below.
Reference Architecture
Requirements
A Cloudback account
An active Wasabi account
Configuration
On the Cloudback Dashboard, open the repository settings by clicking on the Settings icon.
.png)
Click + New storage to open the New storage dialog box.
.png)
Enter a new storage name and select Wasabi S3 Bucket: Access Key as the storage provider.
.png)
Navigate to the Wasabi console and create a Wasabi bucket (for more details, review Creating a Bucket).
Return to the Cloudback website and enter the bucket region selected during the Wasabi bucket creation.
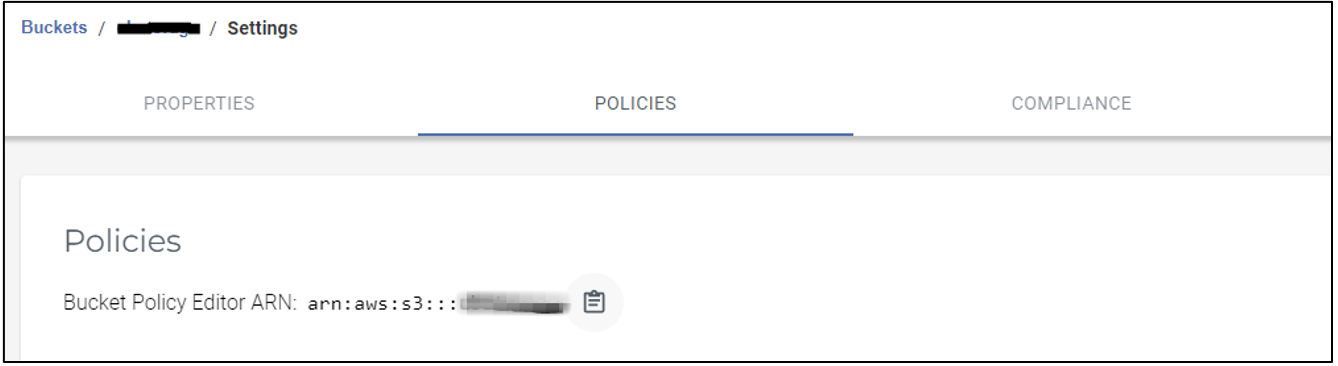
To find Bucket ARN, click Bucket Settings in the Wasabi console and select to the Policies tab.
Copy the Bucket ARN and paste it into the Step 1 section of the New Storage dialog on the Cloudback website.
Enter the Access Key Id and Access Key Secret into the Step 2 section of the New Storage dialog box. Click Test.
.png)
To save your new storage, click Save.
Click Save Changes to apply the changes to your repository.
Once the storage is created, you can use the Bulk Operations menu to assign the newly created storage to a large number of repositories.