Datacore vFilO has been validated for use with Wasabi. More info on the Datacore + Wasabi solution can be found here. The steps below will guide you through the process of connecting vFilO to Wasabi, and applying the policies to move files automatically and transparently to the selected bucket.
1. Login to Datacore vFilO admin portal via browser https://:8443
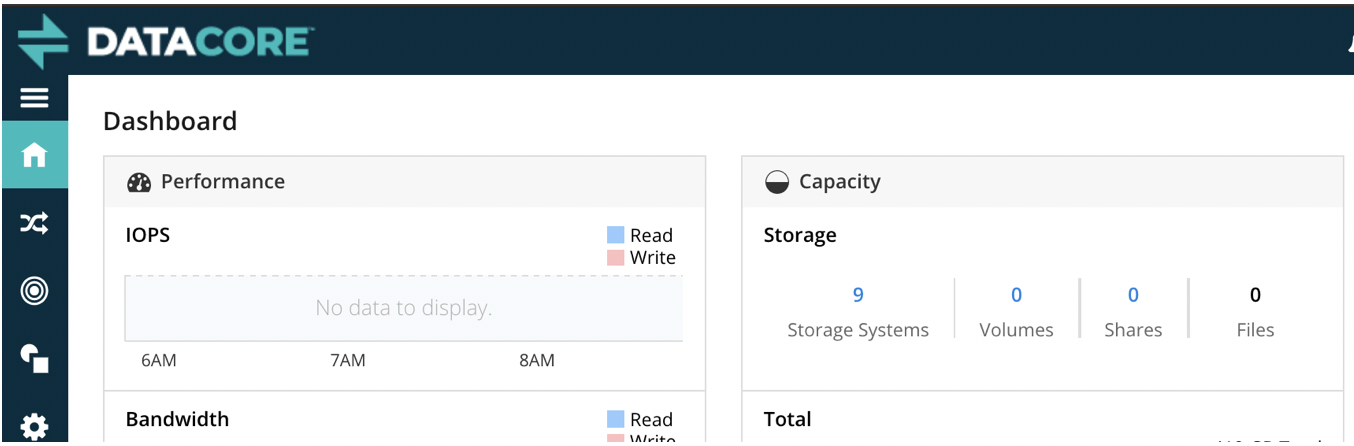
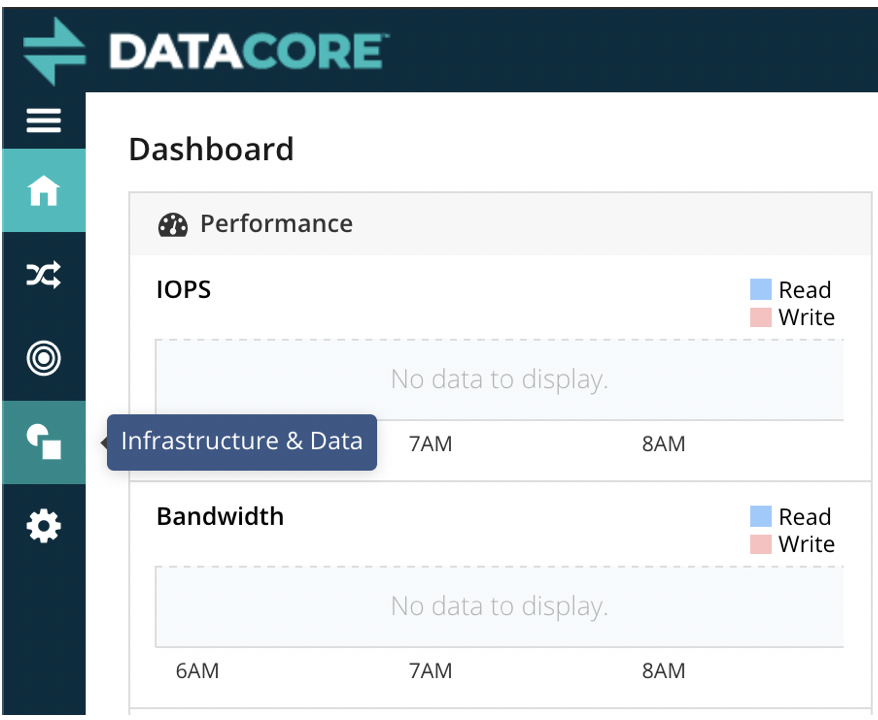
Navigate to Infrastructure & Data tab.
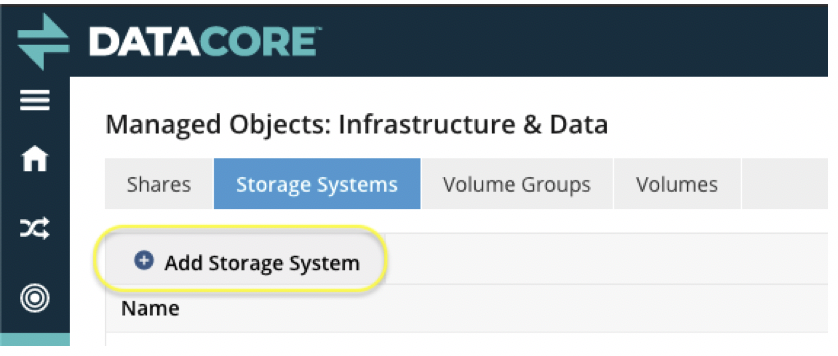
Navigate to Storage Systems. Click Add Storage System.
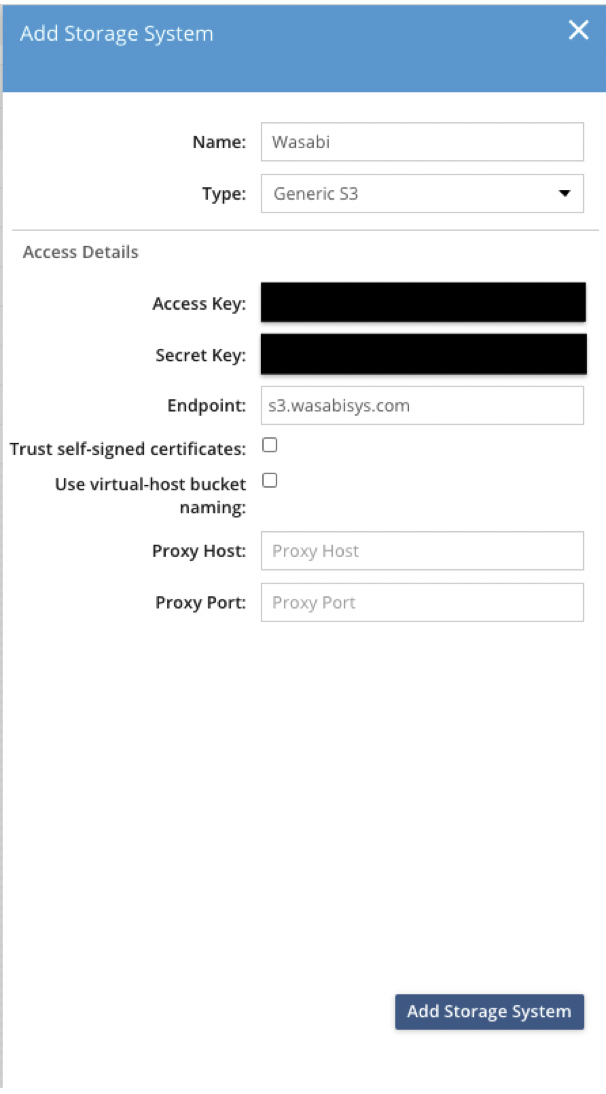
Fill in the files with the appropriate information. Click Add Storage System.
Name - (ex. Wasabi)
Type - choose "Generic S3"
(from the Wasabi web console)
(from the Wasabi web console)
Endpoint - s3.wasabisys.com
Note that this config example discusses the use of Wasabi's us-east-1 storage region. To use other Wasabi storage regions, please use the appropriate Wasabi service URL as described in this article.
Click
 Select an empty bucket from the list, then click Next Step.
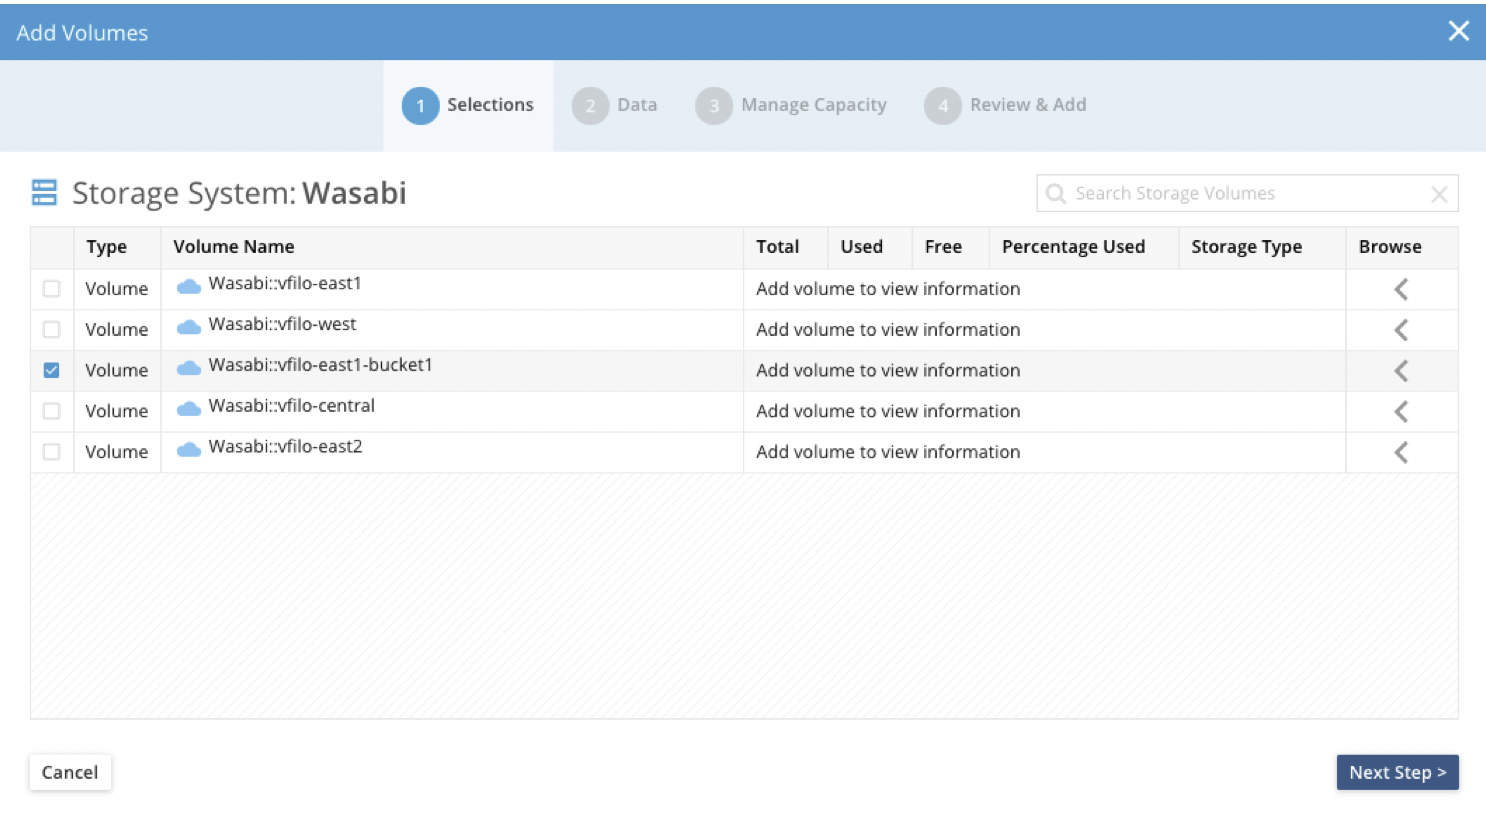
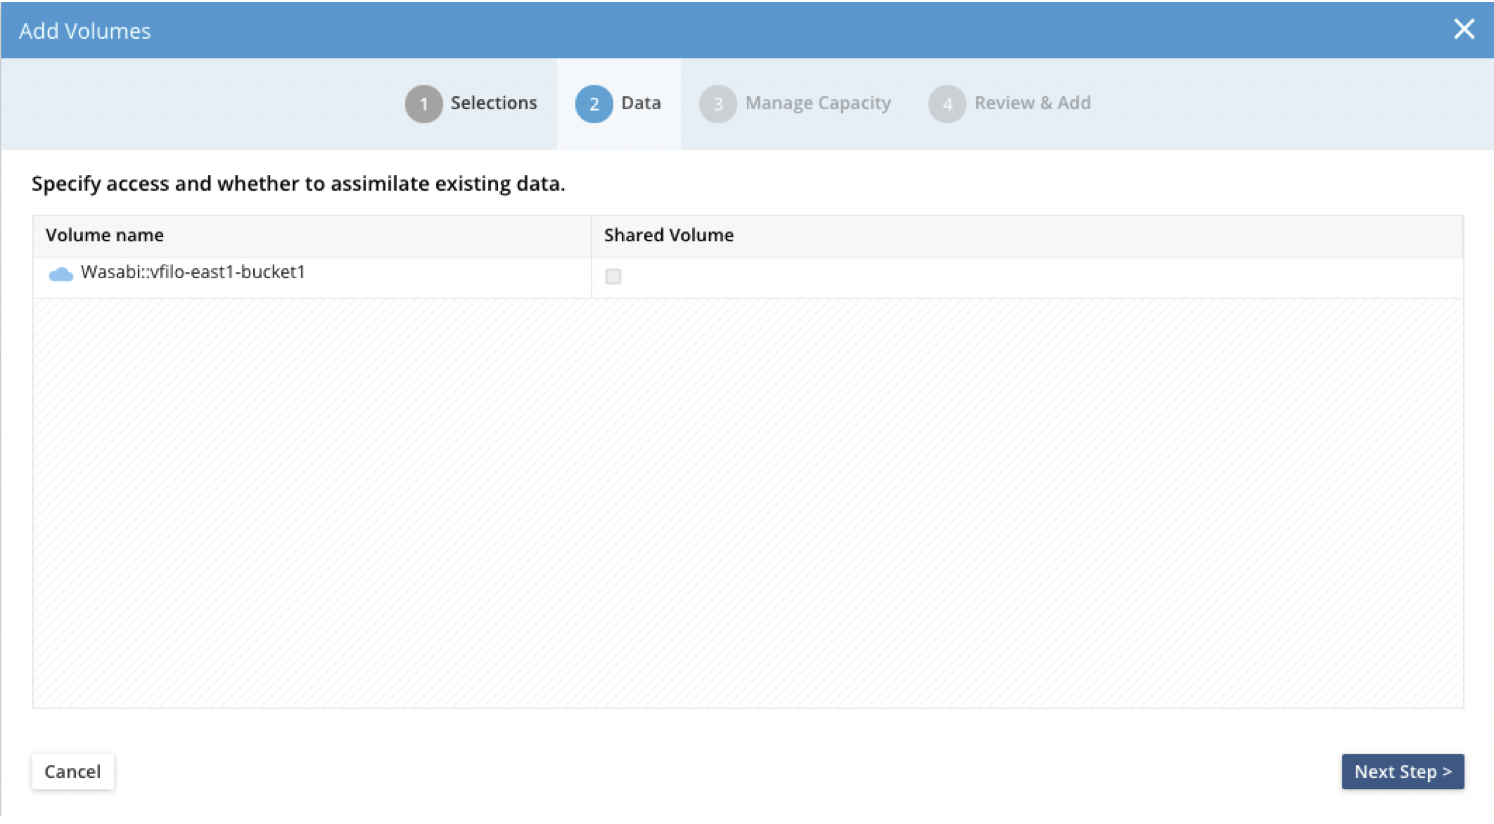
Click Next Step leaving the Shared Volume box unchecked:
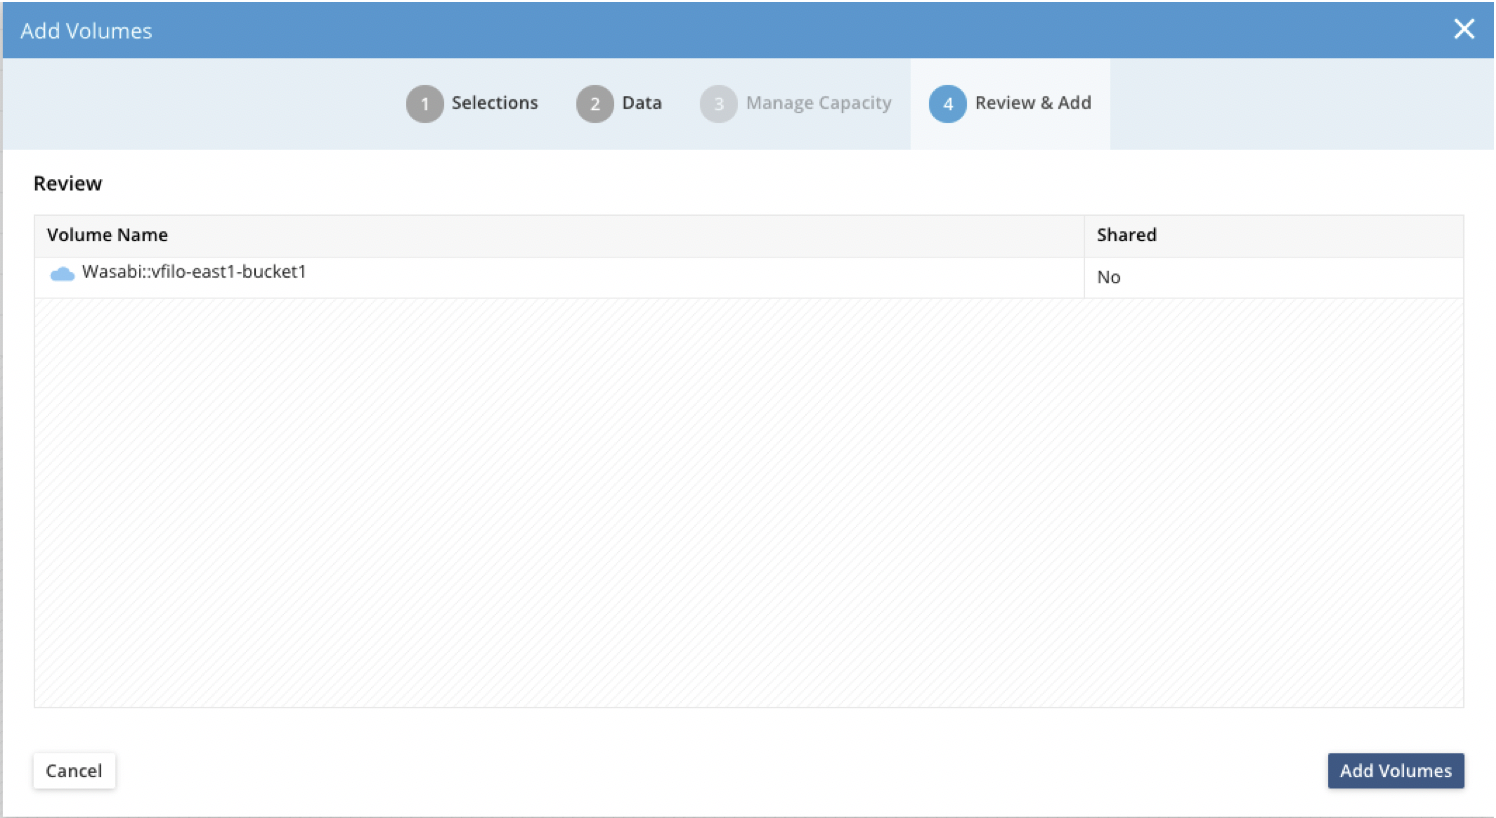
Click Add Volumes after reviewing your selection to create the volume.
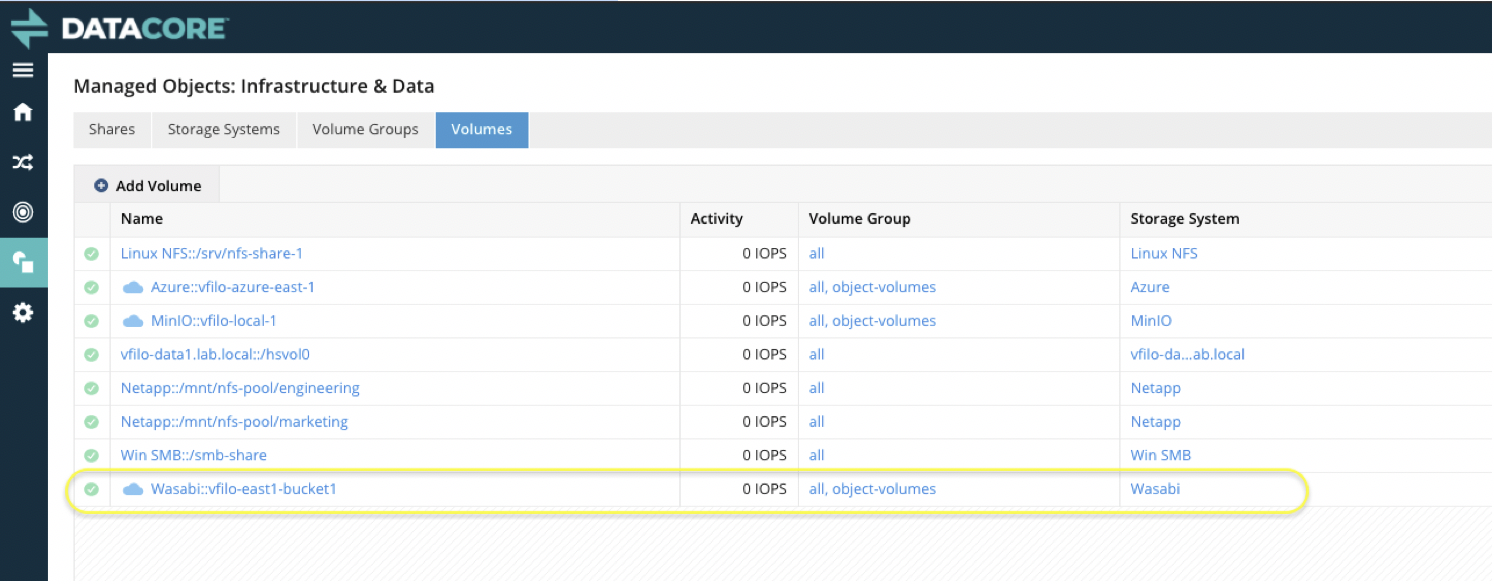
Navigate to Volumes under Infrastructure & Data and check if the new volume is added to the list.
Now that the Wasabi volume is create and available, we can apply the vFilO policy to move files to Wasabi.
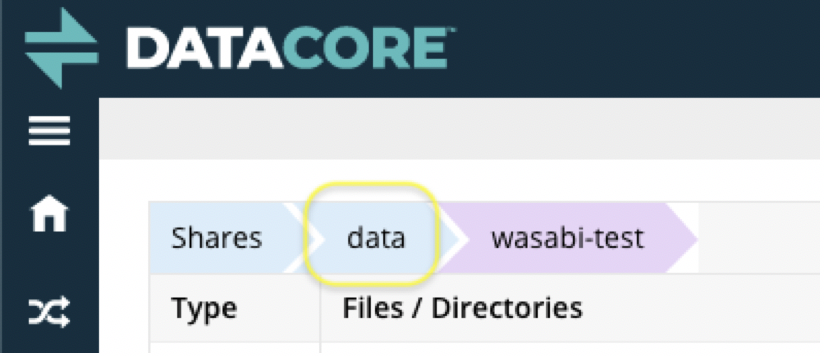
First, navigate to Shares under Infrastructure & Data to see the list of available shares. vFilO policies can be applied at any level: share, folder or even individual files. In this example we will be using the wasabi-test folder under the /data share. By clicking on the /data share, and then wasabi-test folder name, we can explore the folder contents and identify the current location of the files. Notice that files under this folder are located on one of the local volumes.
Now we are going apply a policy to move all the files under this folder to Wasabi. Navigate back to the /data share by using the tabs on the top. Then click on the pencil icon
 next to Objectives on the wasabi-test folder, to edit the objectives for the selected folder.

Scroll to the bottom of the list to find the objective place-on-Wasabi::vfilo-east1-bucket1. Click the checkbox to select, then click Save.
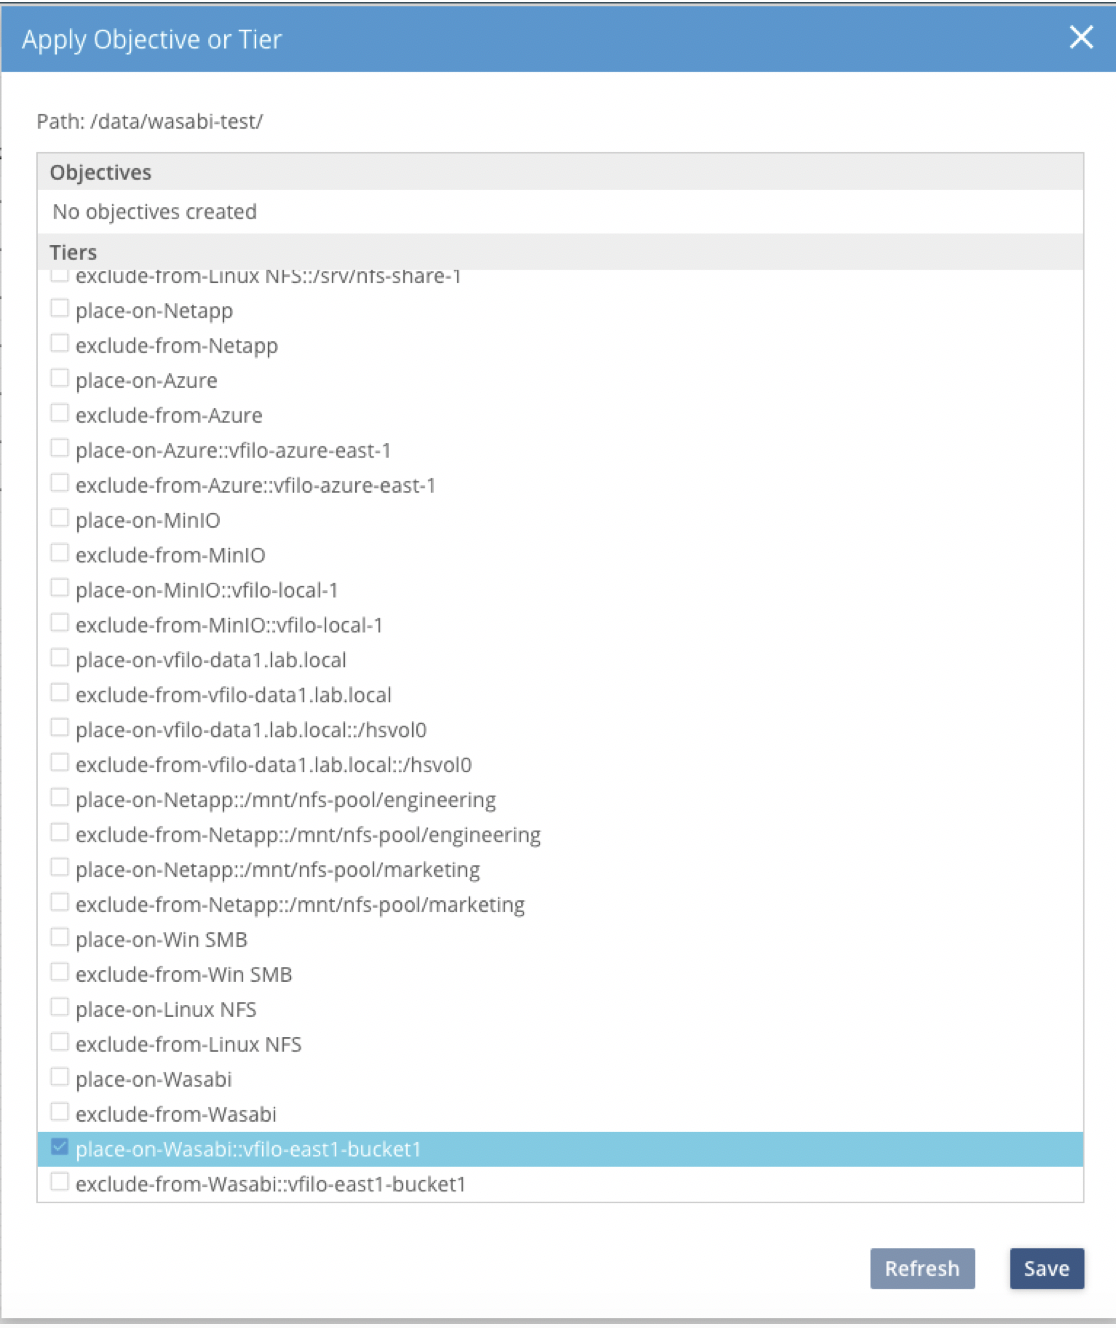
The above action triggers all the data located on the wasabi-test folder to move to the selected Wasabi bucket. All files will be deduplicated, compressed and (optionally) encrypted before sent to Wasabi to maximize bandwidth use and capacity allocated on Wasabi.
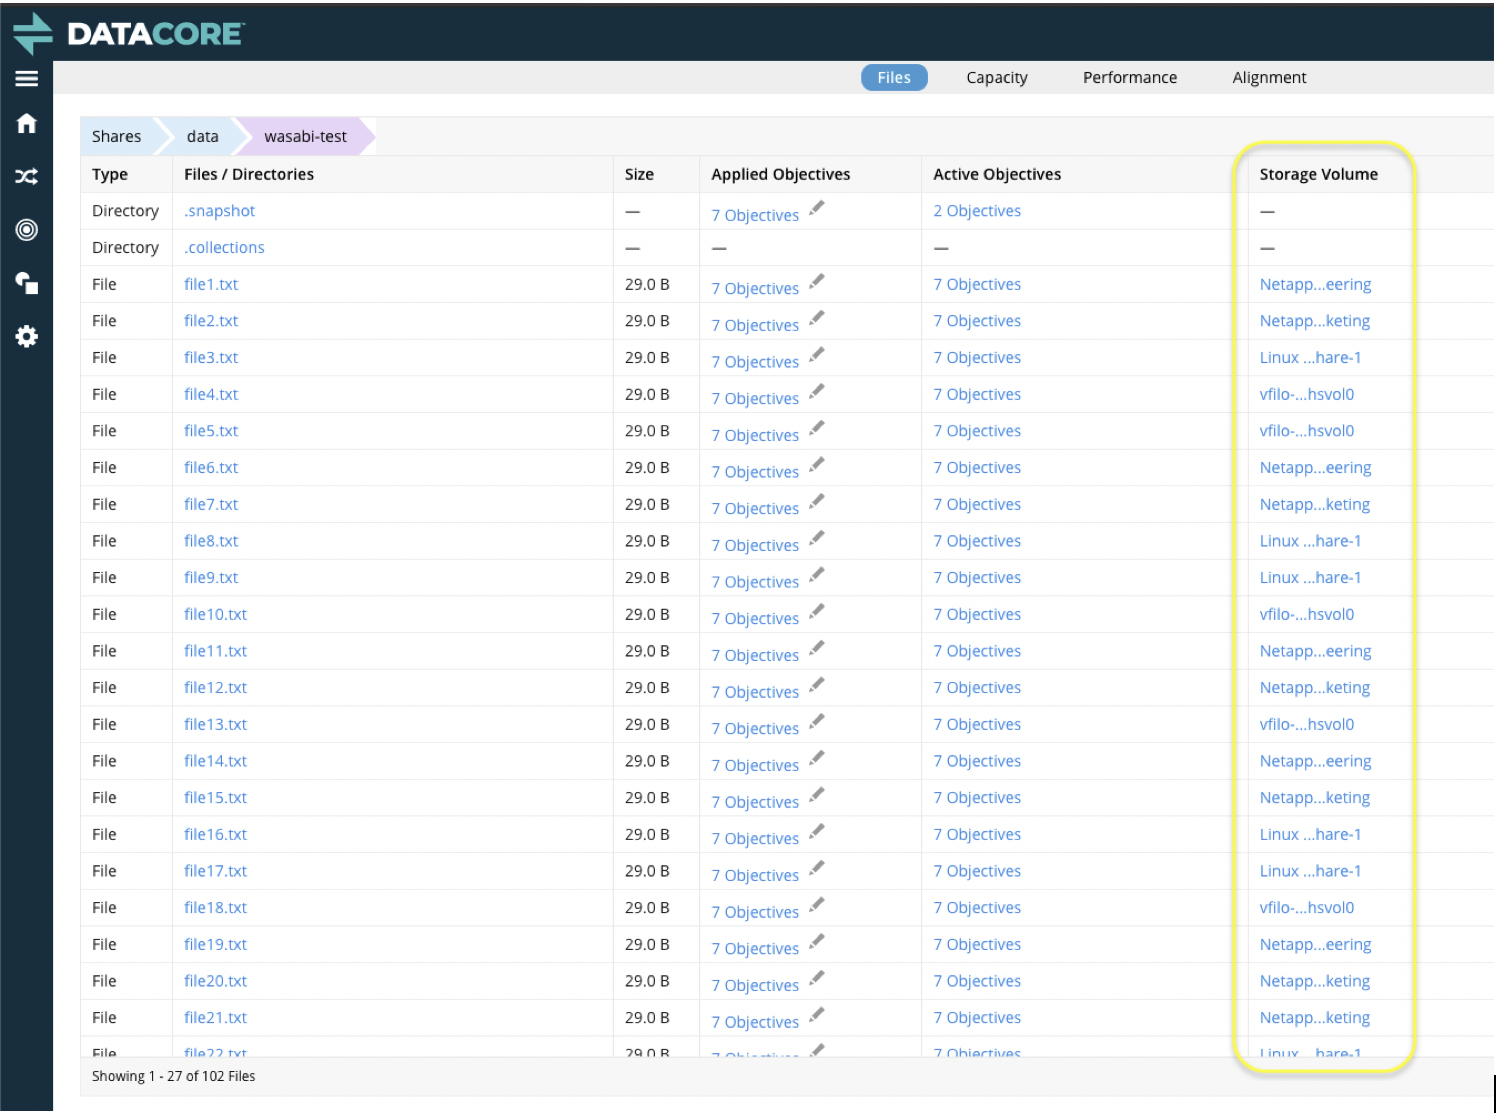
After a few minutes we can navigate to the wasabi-test folder to check the new location of the files, and confirm that they are now stored on Wasabi.
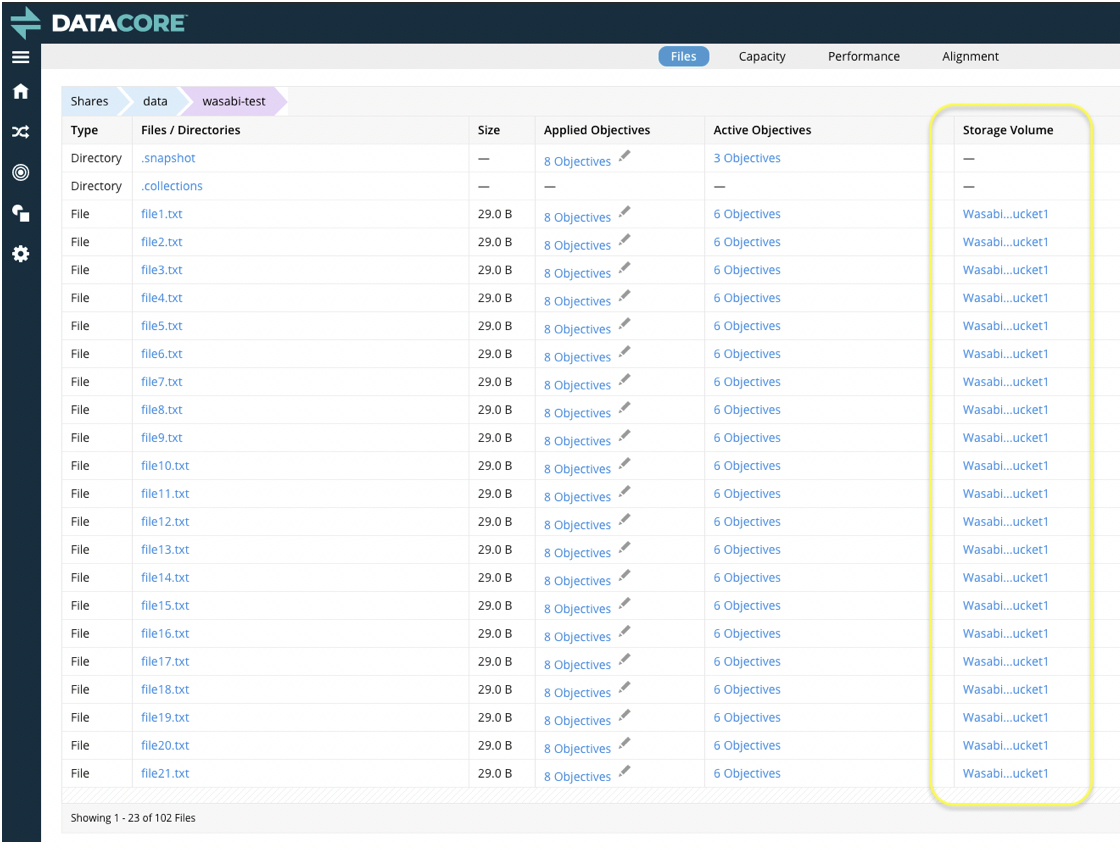
Important to notice that all the files will still be available and visible at the share, even when stored on Wasabi. Any attempts to access the file on the share will trigger vFilO to automatically download the file from Wasabi and re-hydrate it on a local volume. This whole process is instantaneous and completely automated and transparent for the user accessing the files.