Dell's ClarityNow (now DataIQ) is validated for use with Wasabi. The ClarityNow data management software enables the process of data discovery, management, and movement for enterprises with large, unstructured data sets located in various storage technologies (including Wasabi's object based storage).
Prerequisites
Active Wasabi account
ClarityNow installed and running
The S3 scanning functionality requires an aws-sdk package (aws-sdk-1.11.221-0.x86_64.rpm) to
Below are the steps to connect ClarityNow with your Wasabi account.
Before you run the ClarityNow daemon, install the aws sdk package.
rpm -ivh aws-sdk-1.11.221-0.x86_64Store your Wasabi account credentials (access-key and secret access-key) in the credentials file.
mkdir .aws
cd .aws
vi credentials
Enter your keys, as shown in the example below. Save and close the file.
[wasabi]
aws_access_key_id=<******your access key*******>
aws_secret_access_key=<*****your secret-key*******>
Run the ClarityNow service.
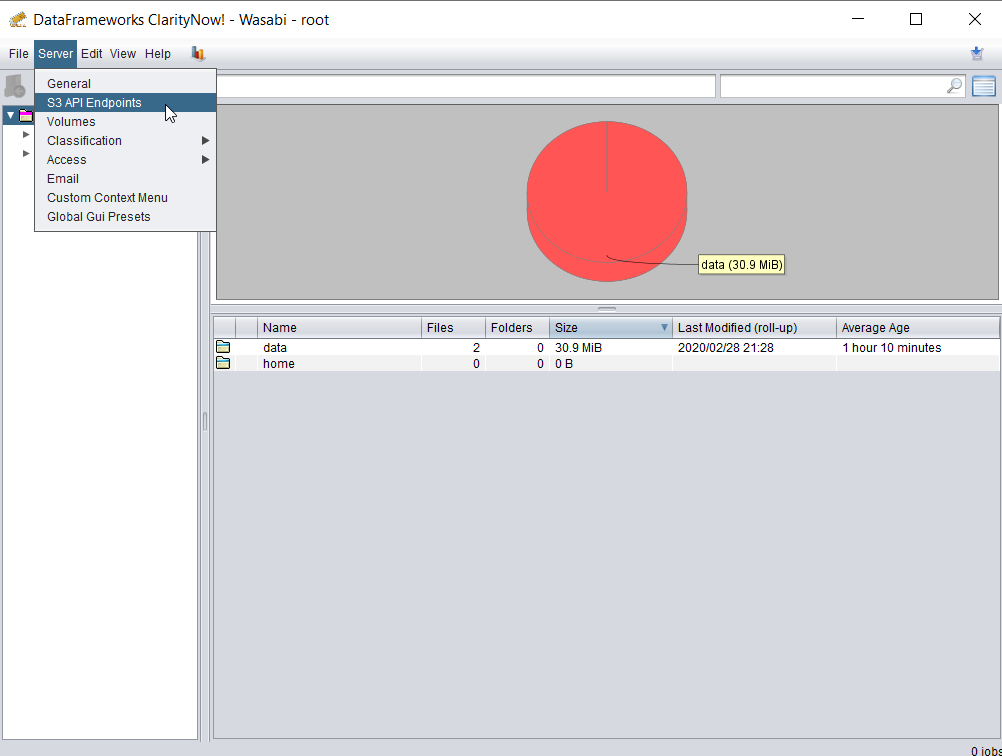
systemctl start claritynowWe will use the GUI to add the rest of the configuration. Log in to the GUI of your ClarityNow server. Click Server and click S3 API Endpoints, as shown below.
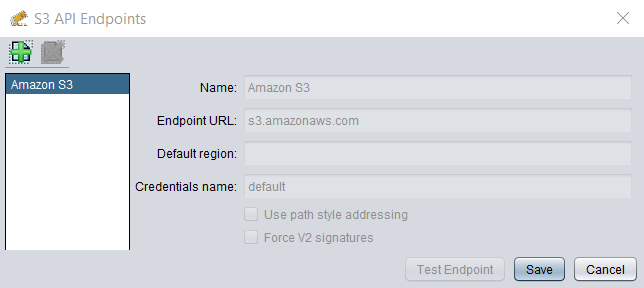
Click the + icon.
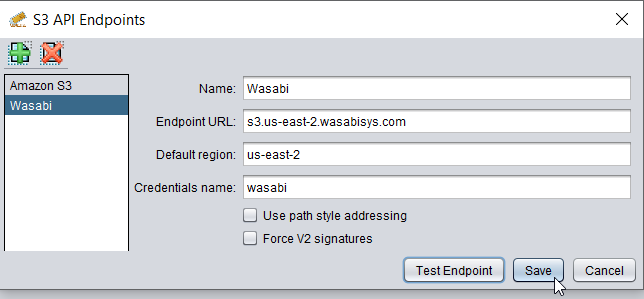
Enter a Name, appropriate Endpoint URL based on your bucket region (review Service URLs for Wasabi's Storage Regions for information on all Wasabi service URLs) and Credentials name (this has to match the profile name under which we stored credentials in Step 2). Click Save when done.
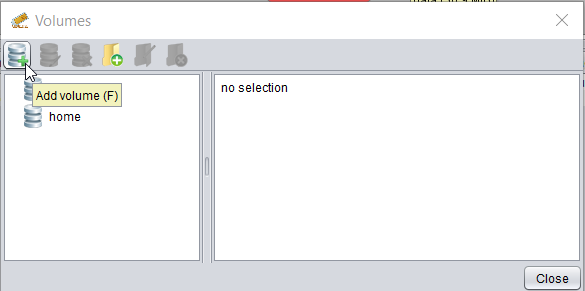
Navigate to the main menu and click Server. Click Volumes.

Click the + icon to add a new Volume.
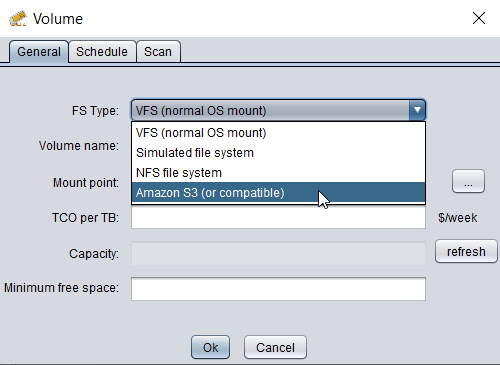
For the FS Type, select AWS S3 (or compatible) from the drop-down list. This will change the settings for Volume to reflect the S3-specific configuration.
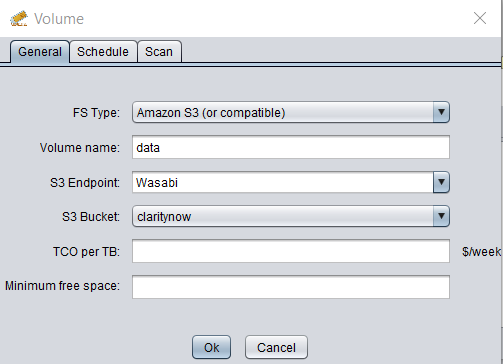
Enter a suitable Volume name. Select the Wasabi S3 Endpoint created from Step 6 and the appropriate S3 Bucket from your Wasabi account (these will be auto-populated upon a successful connection to your Wasabi account). Click Ok.
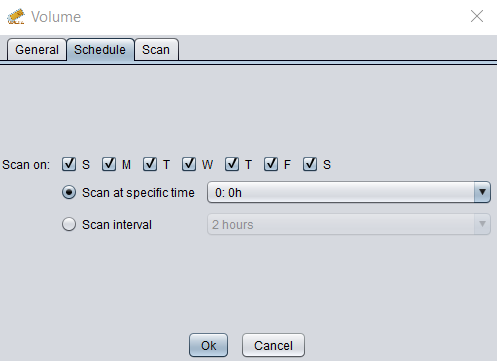
Select the Schedule tab to set your schedule for scanning the bucket.
You have now successfully integrated the ClarityNow data management software with your Wasabi cloud storage account.