Datadobi's DobiMigrate has been validated for use with Wasabi. For more info on how Datadobi and Wasabi work together, visit this page.
Follow steps outlined below to move or copy data to Wasabi.
Prerequisites:
DobiMigrate software installed
An active Wasabi account.
Login to DobiMIgrate.
.png)
Click the Configuration tab and then select Object Storage as shown below.
.png)
Click Add in the bottom right corner to configure your Wasabi storage region.
.png)
Select Wasabi Hot Cloud Storage. Click Next.
.png)
Provide the following and click Next.
Endpoint (the appropriate region-specific Wasabi service endpoint URL)
Access key
Secret access key

Note: This config example discusses the use of Wasabi's us-east-1 storage region. To use other Wasabi storage regions, please use the appropriate Wasabi service URL as described in this article.
Provide a name for your Wasabi connection. Click Next.
.png)
You should now see your Wasabi buckets including the list of proxies that can be used for transfers to/from Wasabi. Select all available proxies. Click Finish.
.png)
Navigate back to the Dashboard. Click Migrations.
.png)
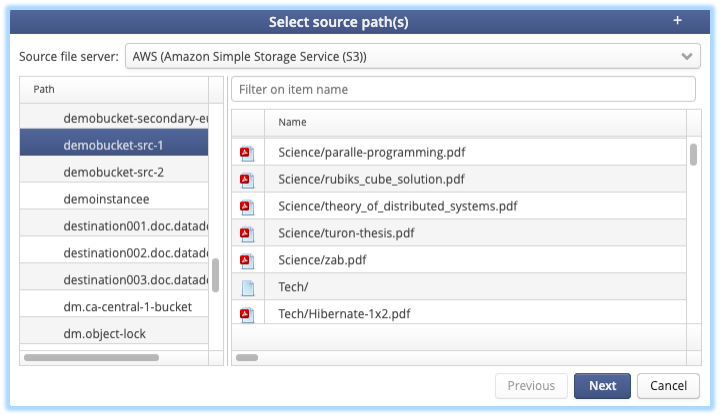
Click New Migration on the bottom right corner to configure a new S3 object migration.

Select the appropriate source file server, for example, AWS S3.
Select the destination bucket on Wasabi. Click Next. This should be an empty bucket.
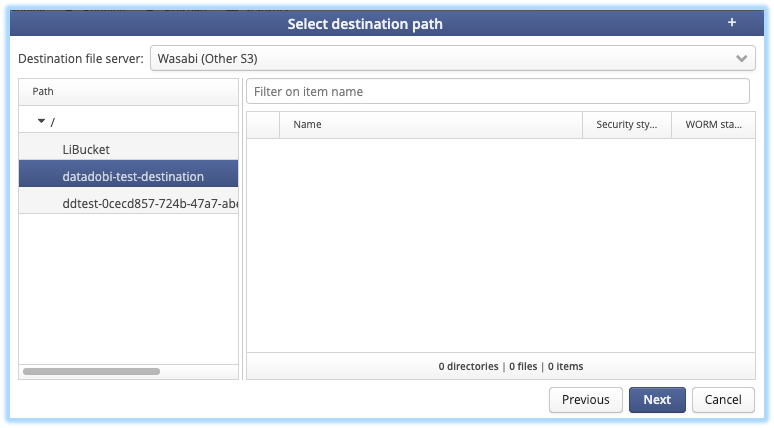
Click Next and Finish on the next 2 windows to confirm the selections and schedule the Migration job. At this point, the dashboard should show the migration job.
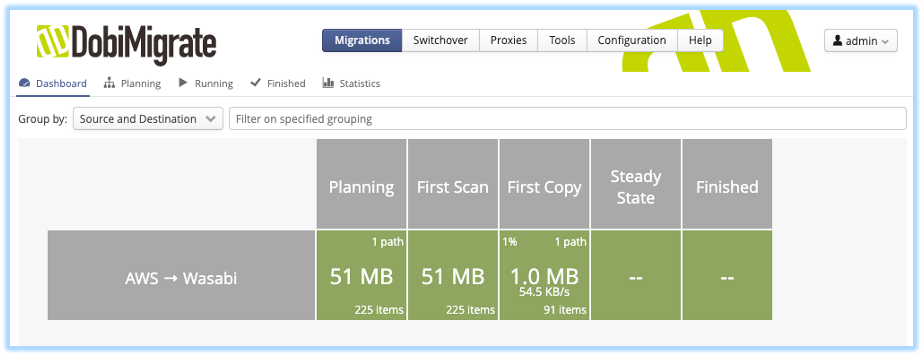
Your source object data will now be migrated to your Wasabi bucket.