DropZone is validated for use with Wasabi. This app is used on a Mac to easily move/copy files to different services quickly. To use this with Wasabi, make sure you are using DropZone 2 or later. Earlier versions of DropZone do not include Amazon S3 support.
Start by downloading DropZone using this link:
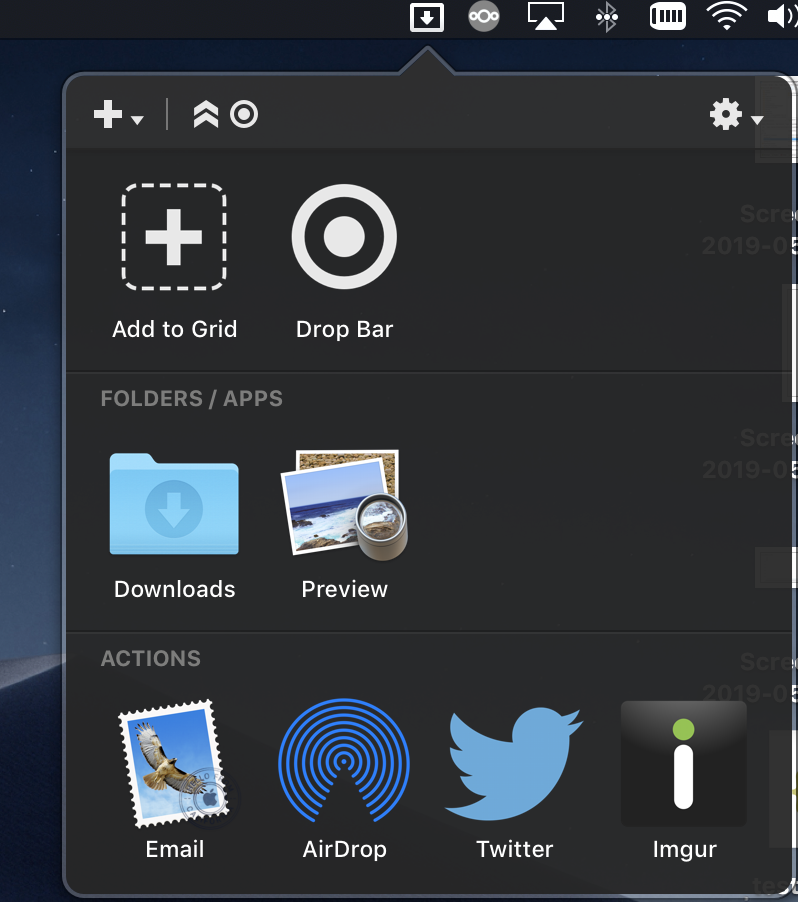
Once downloaded and installed, Open DropZone and click Add a Grid.
Select Amazon S3 to add a Wasabi S3 connection.
.png)
Enter your Wasabi account details.
Name: You can select any name for the connection
Server URL: s3.wasabisys.com
Access Key ID: Wasabi Access Key
Secret: Wasabi Secret Access Key
Bucket Name: Wasabi bucket name
Folder: Directory inside the above-mentioned bucket (optional)
Note that this config example uses Wasabi’s us-east-1 storage region. To use other Wasabi storage regions, please use the appropriate Wasabi service URL as described in this article.
.png)
(Note: Test your connection before adding to make sure your connection to the bucket is successful)
You can add multiple connections from the Same/Different buckets as shown in the screenshot below.
.png)
Share Files with DropZone.
Drag a file onto the menu item and then onto the Wasabi S3 destination to share it.
.png)