Duplicacy has been validated for use with Wasabi. Duplicacy is a cross-platform tool for backing up files to cloud storage services, offering lock-free deduplication, client-side encryption, and a database-less approach through a Web-based GUI.
Requirements
Active Wasabi Cloud Storage account
Wasabi bucket (see Working With Buckets and Objects)
Access& Secret Key Pair (see Creating a User Account and Access Key)
Duplicacy Web Edition (Windows, MacOS, Linux)
Configure Storage
Download the appropriate OS version of the Web Client installer and run the executable.
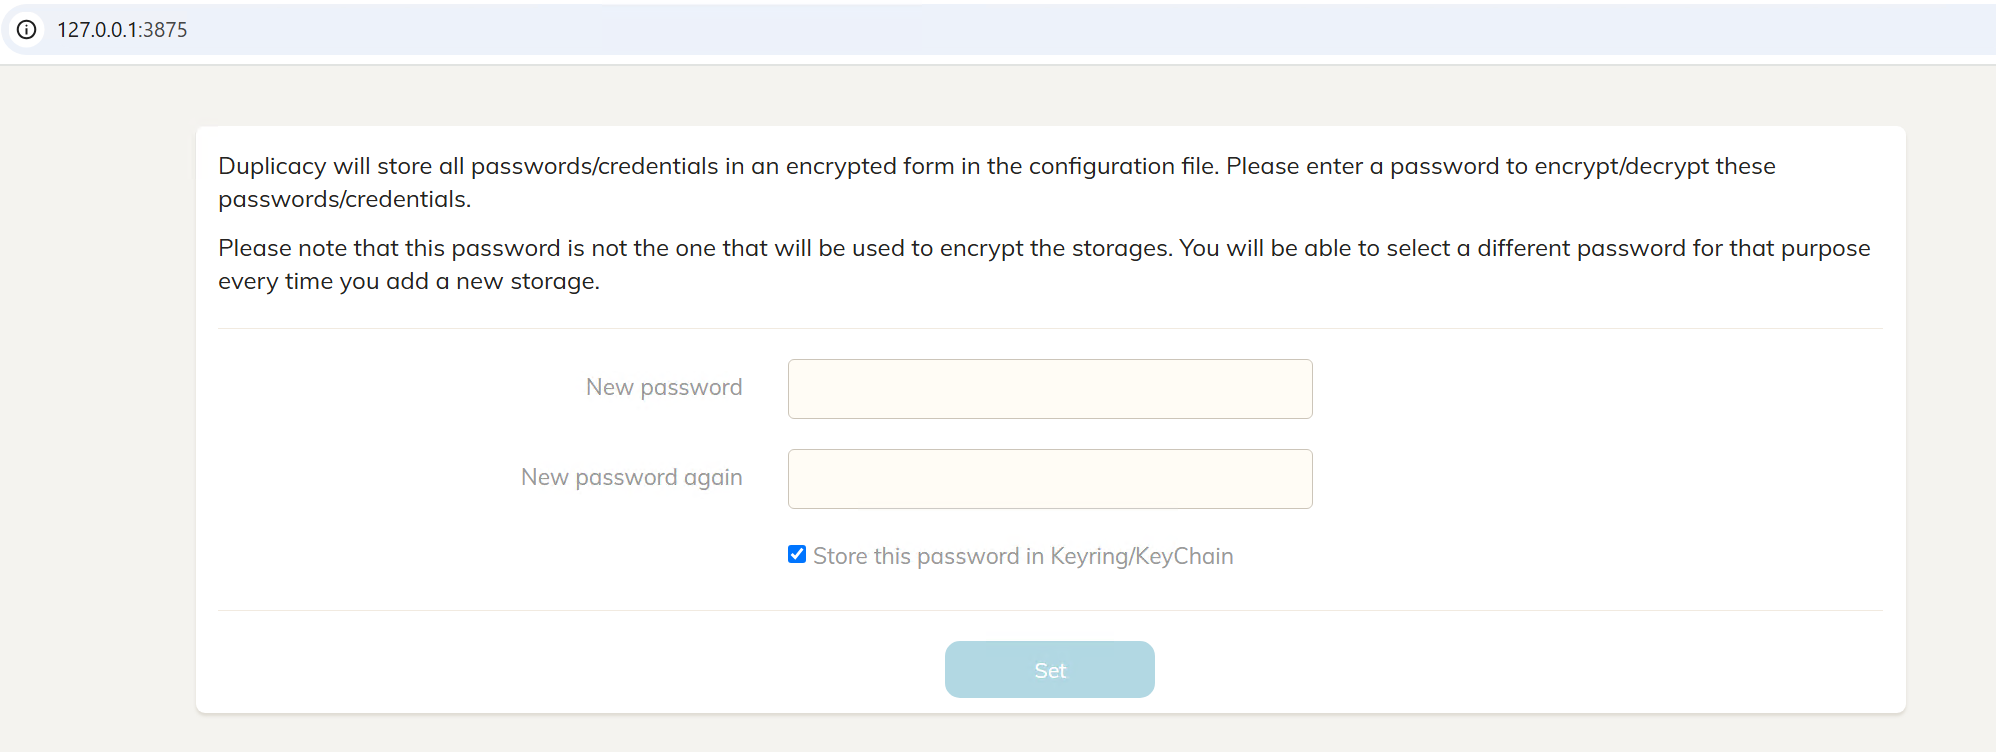
To access the web GUI input the following address 127.0.0.1:3875
You will be prompted to establish a new password.
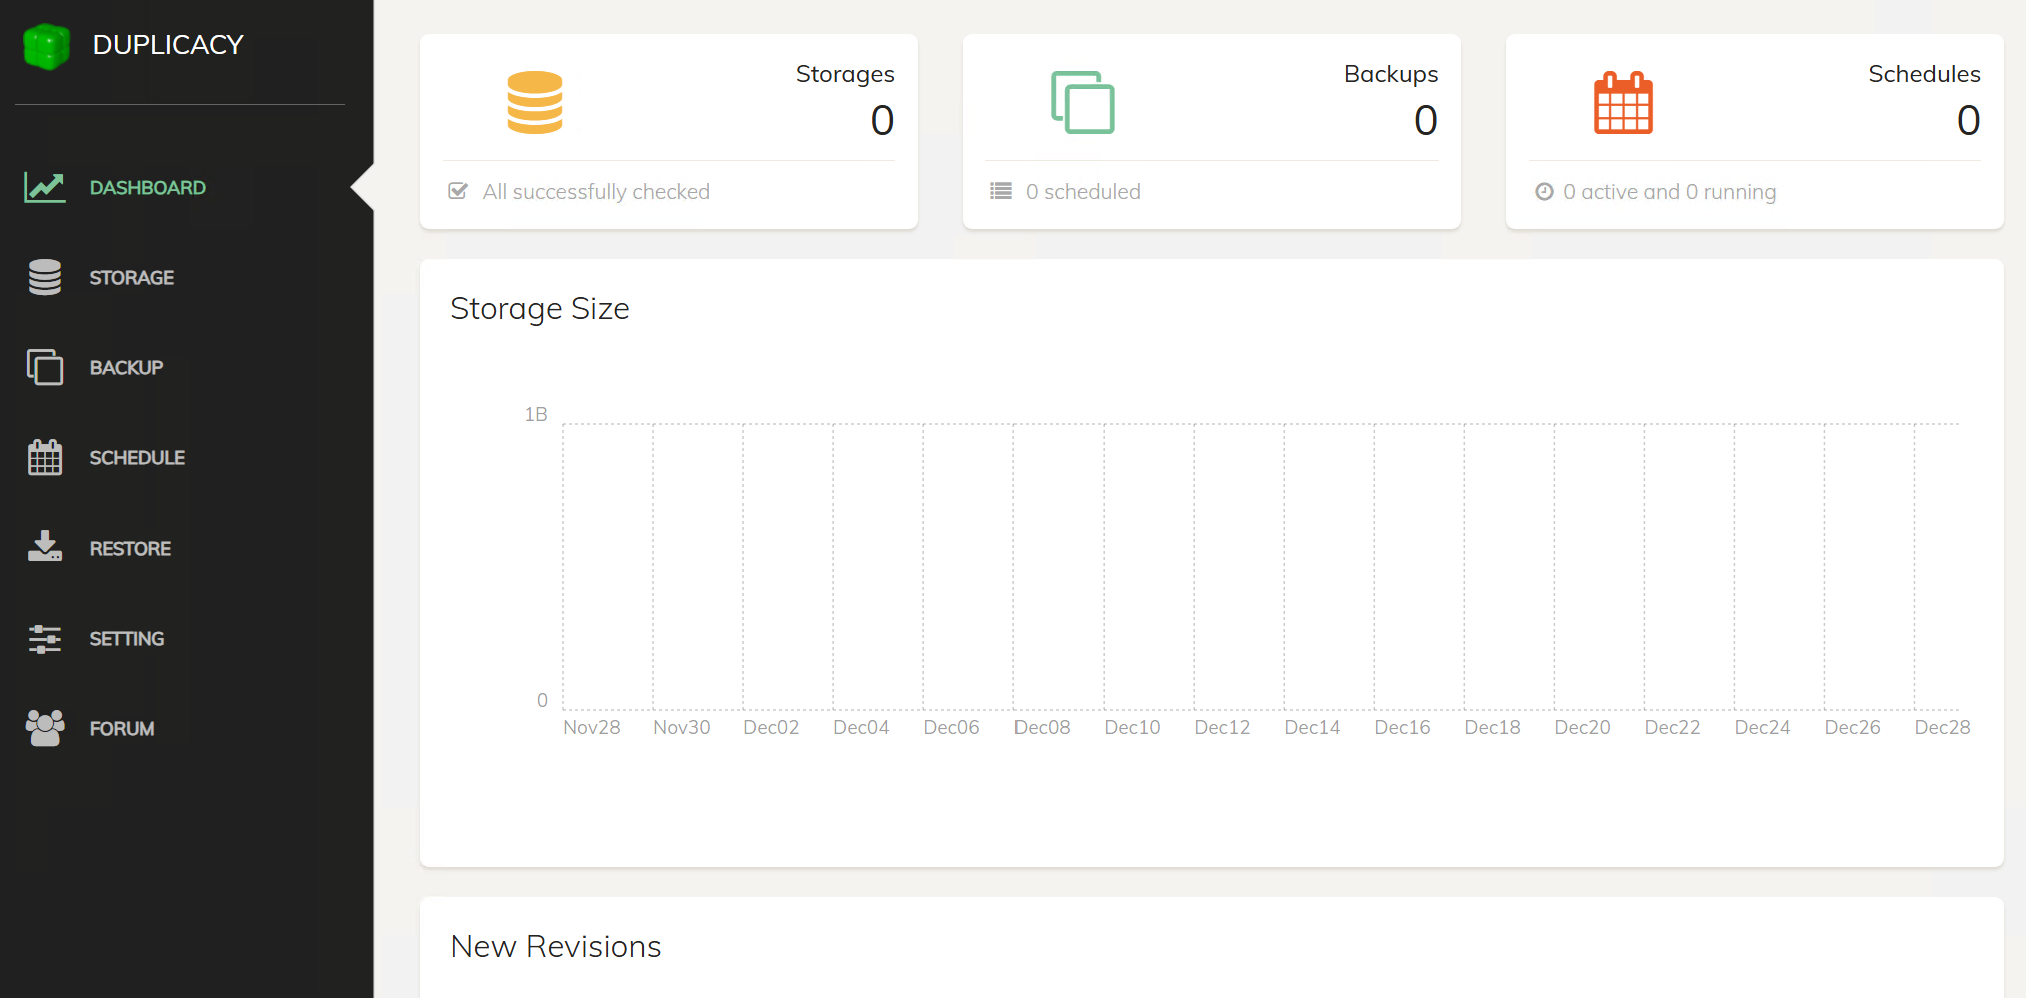
Create a Wasabi storage after logging in.
Click Storage.
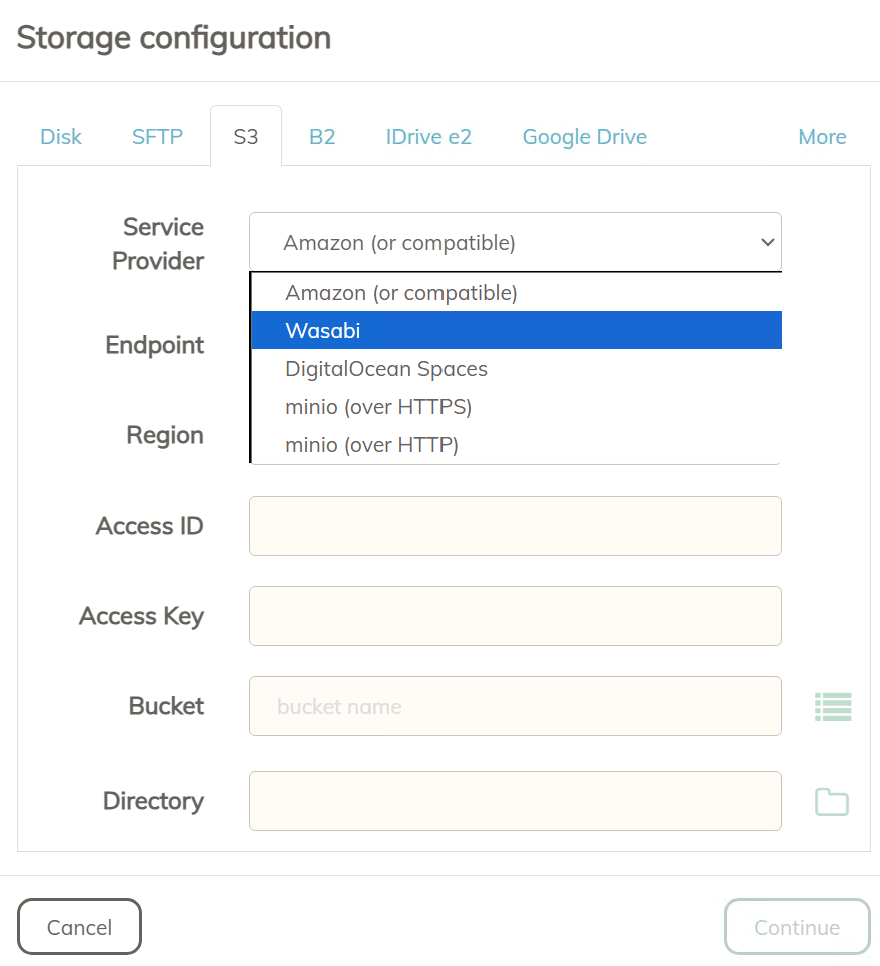
Click S3.
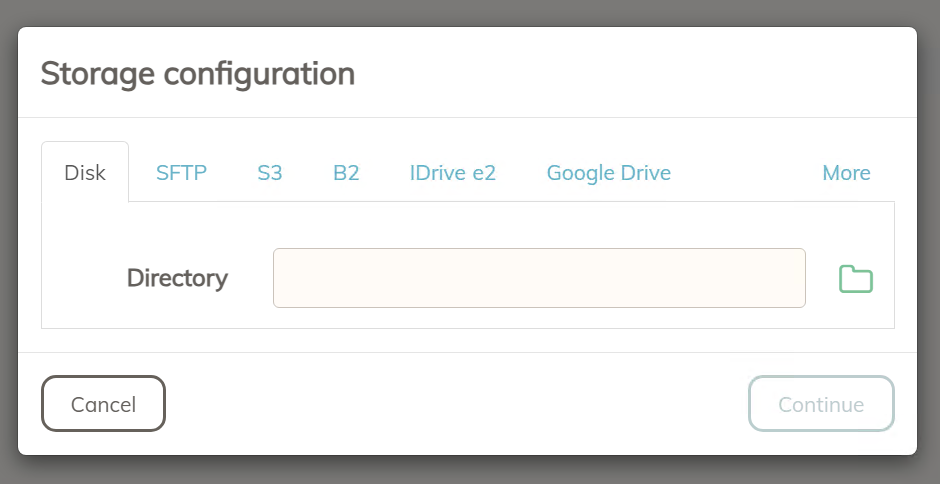
Click on Service Provider and from the drop-down menu, select Wasabi.
Enter the following information.
Endpoint—Specify the Wasabi Service URL
Region—Specify the Wasabi Region
Access ID—Input your Wasabi Access Key
Access Key—Input your Wasabi Secret Key
Bucket—Choose the bucket you created
Directory—Input the folder or directory name you created in the bucket
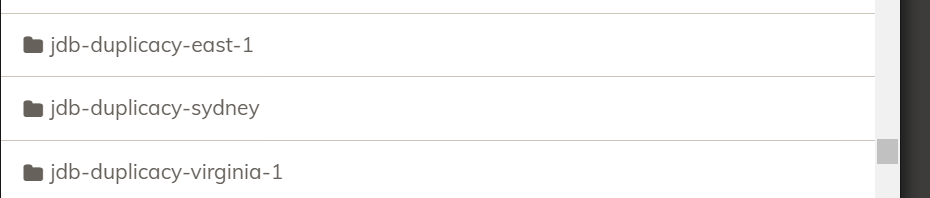
You can validate that your keys are correct by clicking the directory icon. It will populate a list of your buckets to choose from.
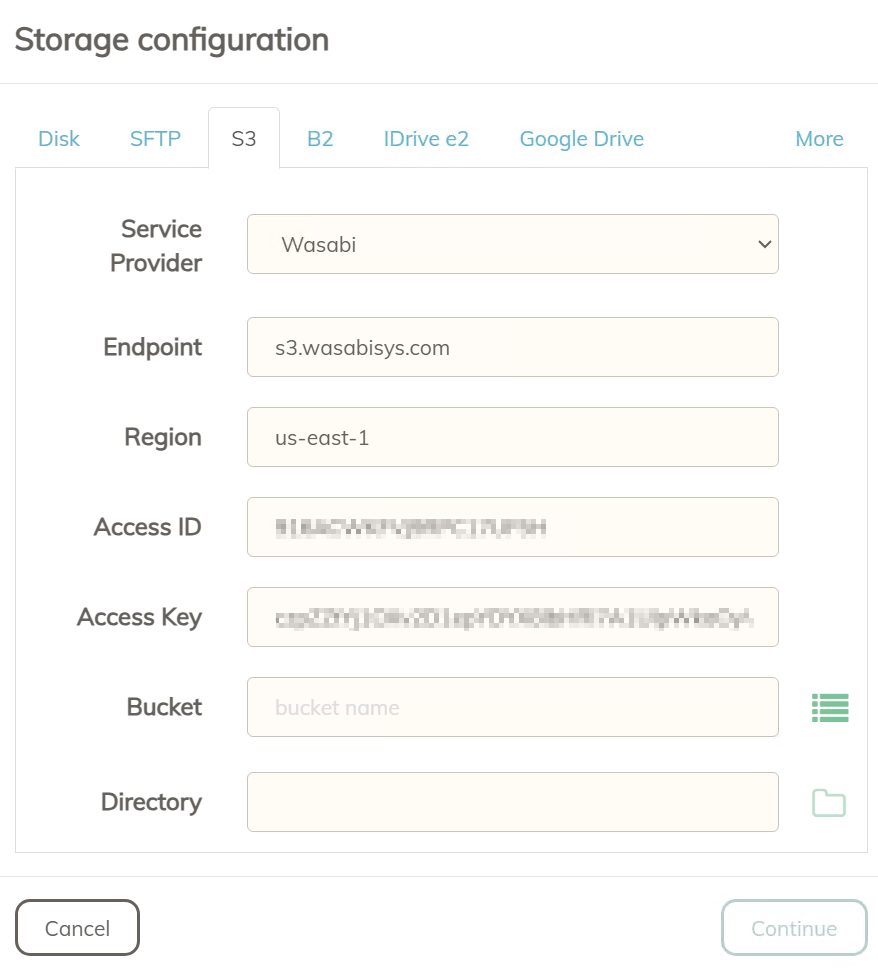
Note that this example discusses the use of Wasabi’s us-east-1 storage region. To use other Wasabi storage regions, use the appropriate Wasabi service URL as described in Service URLs for Wasabi’s Storage Regions.
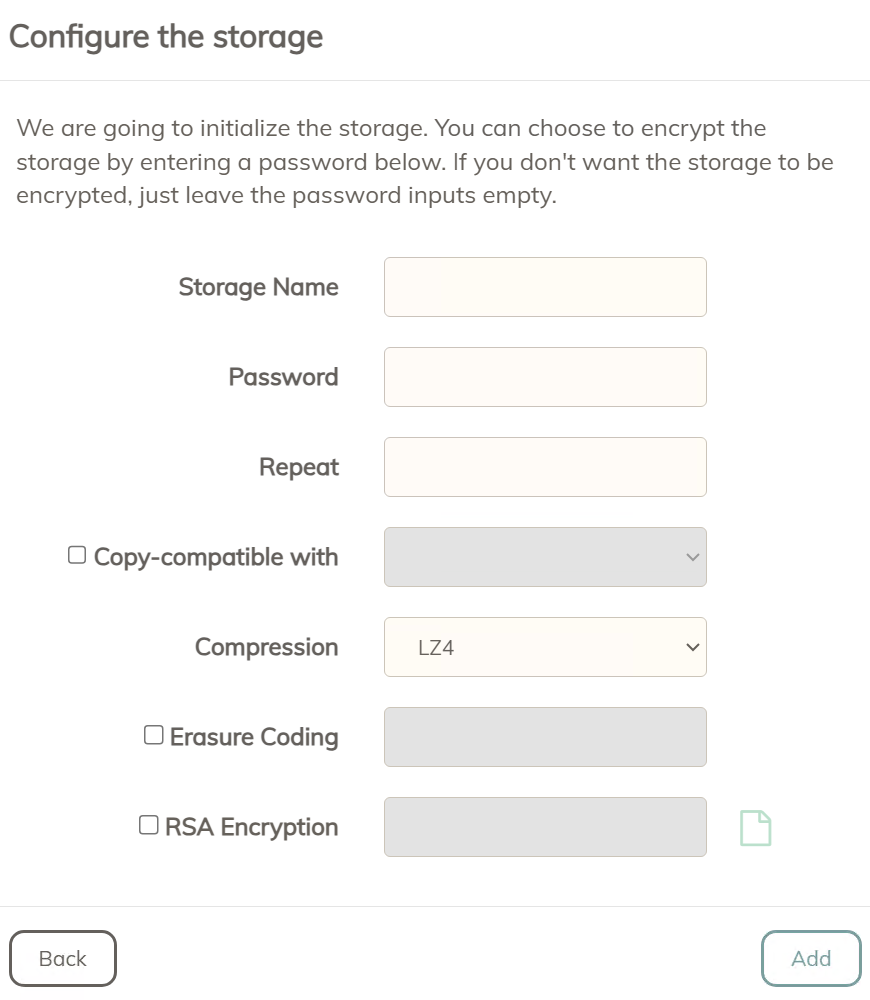
Click Continue. Then choose whether you want to encrypt the storage. If not, you can leave the password blank.
Enter a Storage name, then click Add.
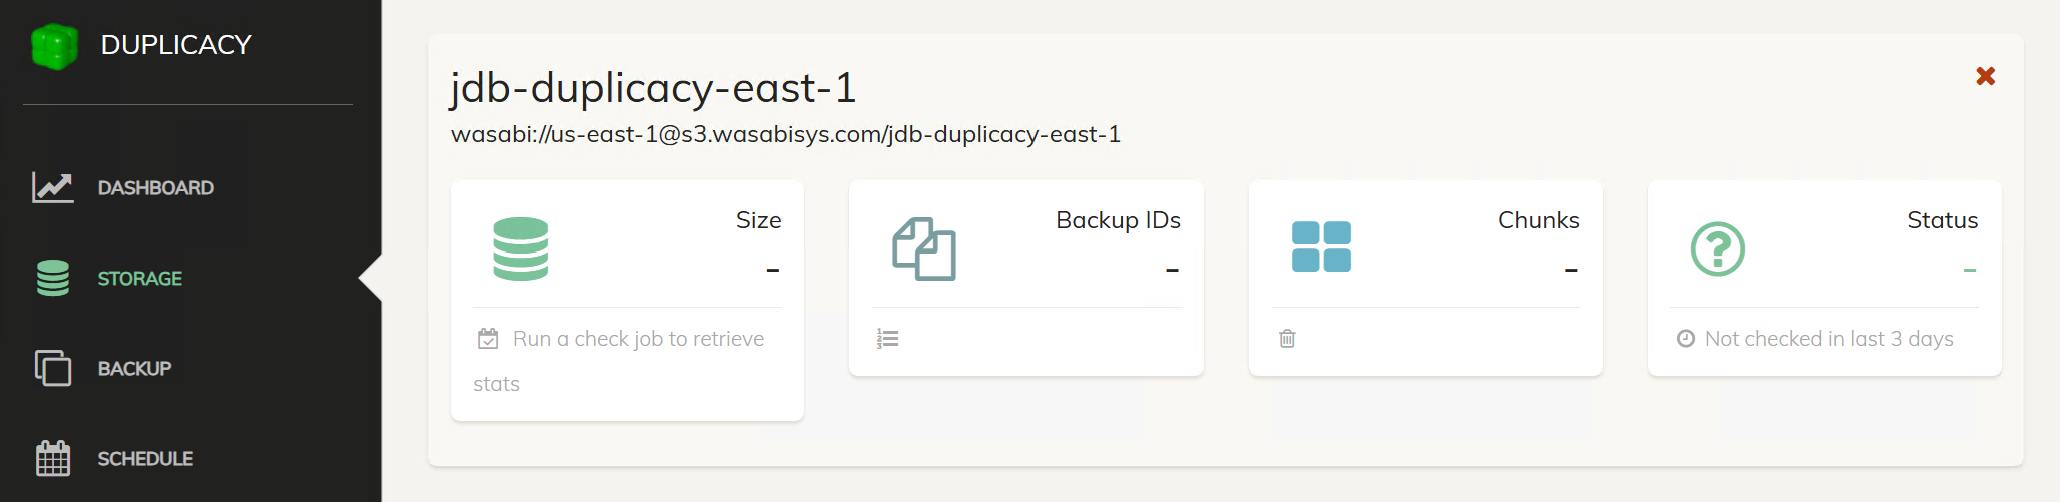
Once created, you will now see it listed in Storage
Backup Job
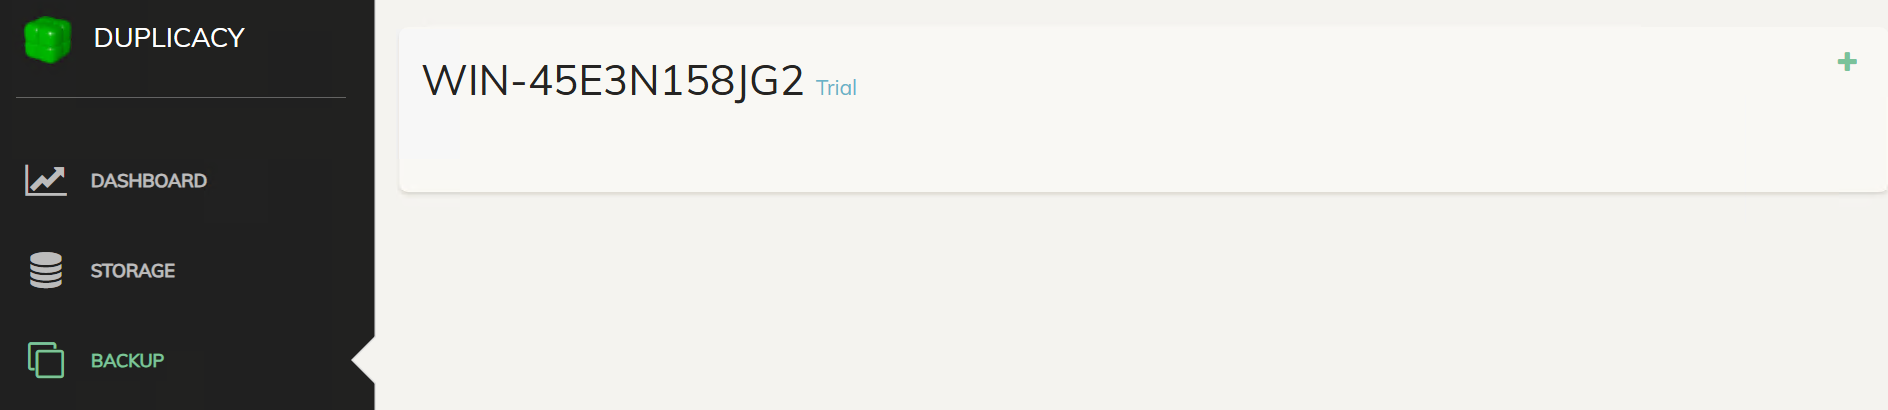
Configure a Backup job by clicking Backup.
Click the + symbol.
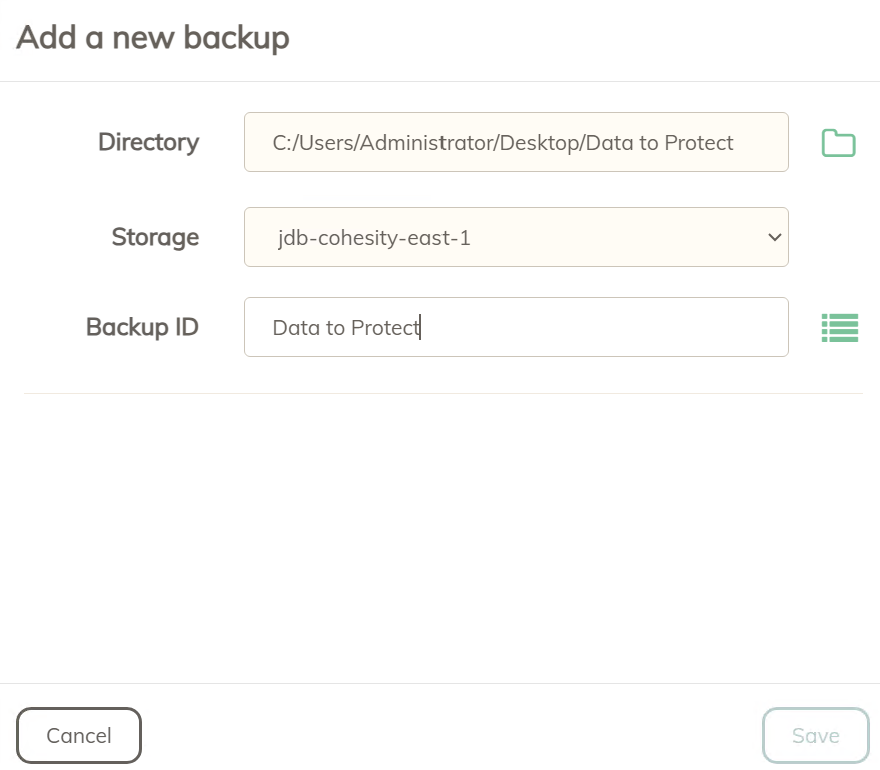
Select the Directory you want to back up and provide a backup ID. Click Save.
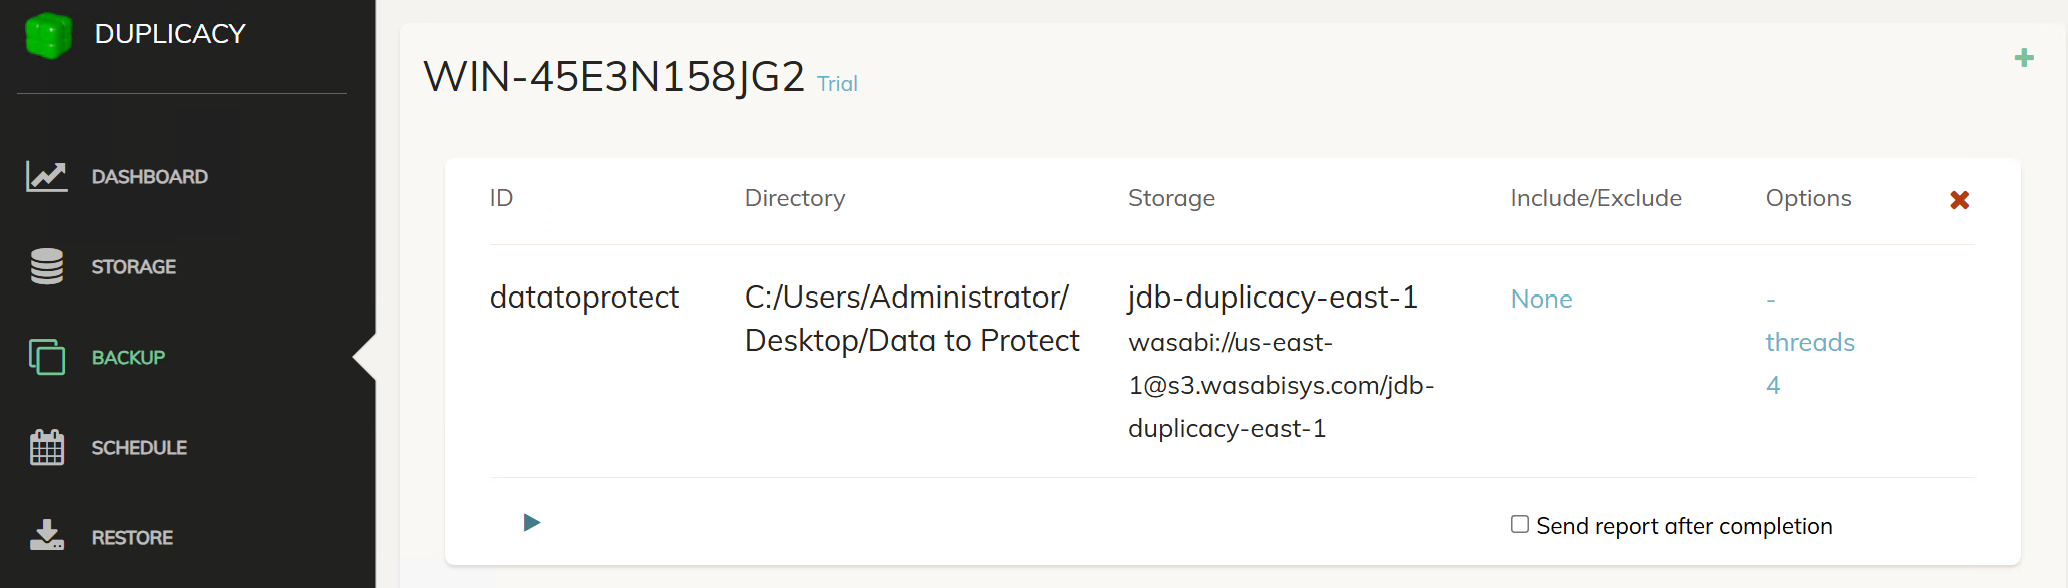
You will now see your backup job listed.
Click Play to run the job and protect the data.
Schedule
You will want to create a Check job and a Backup Job to run against the storage.
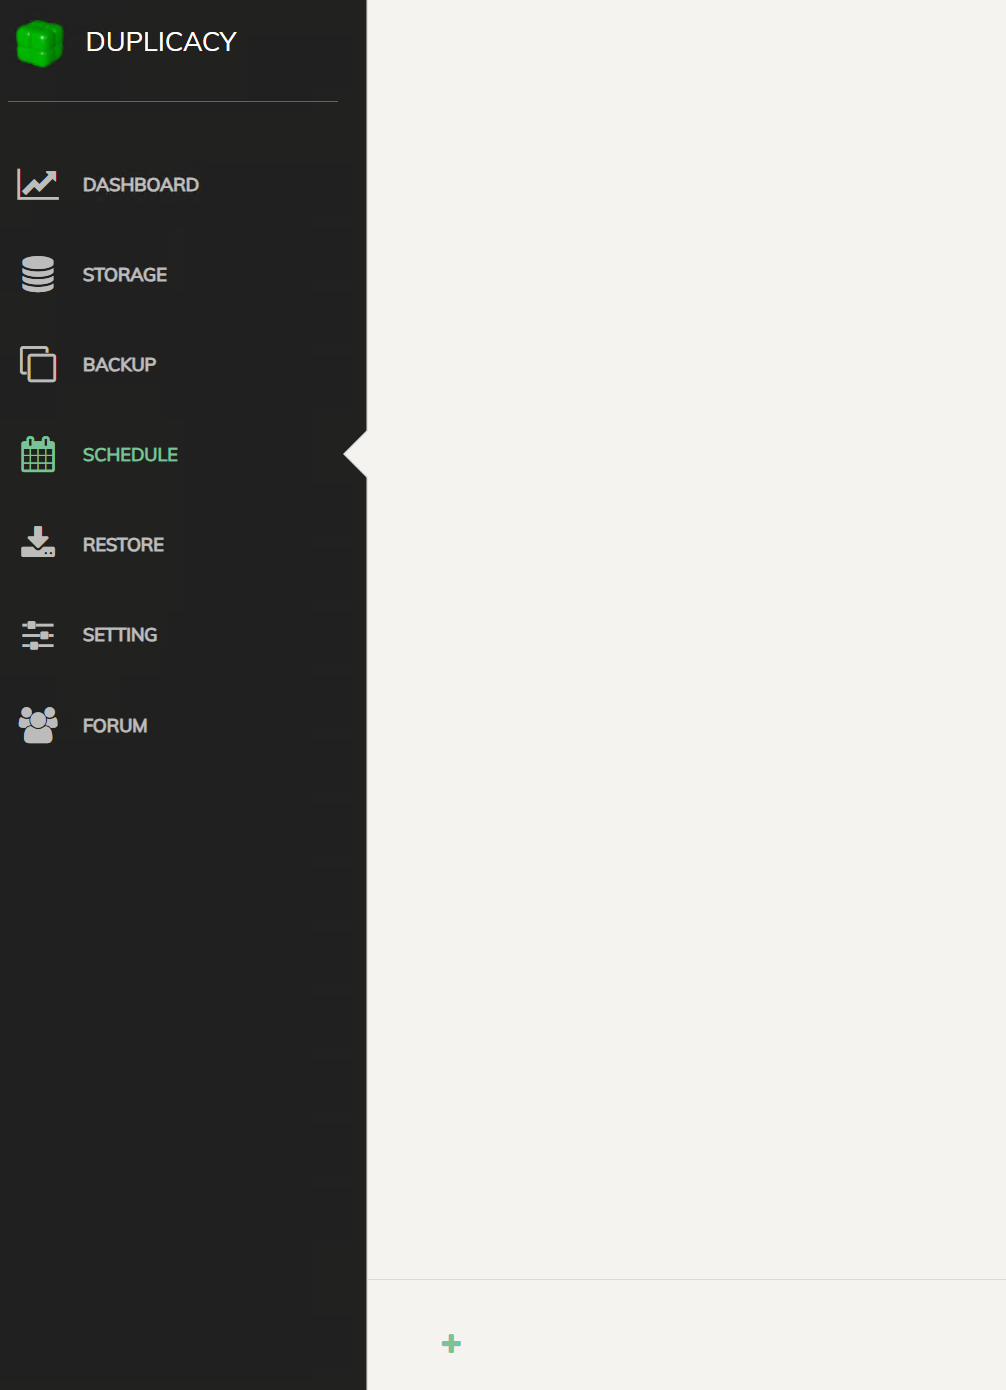
Click Schedule.
Click the + symbol.
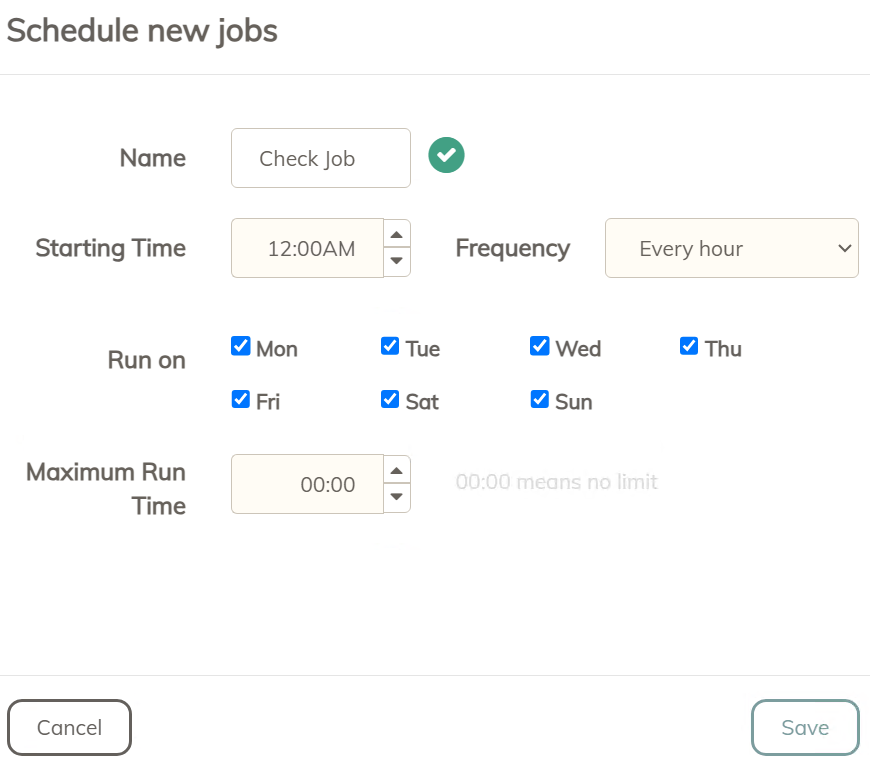
Give the schedule a name, specify when you want it to run. Click Save.
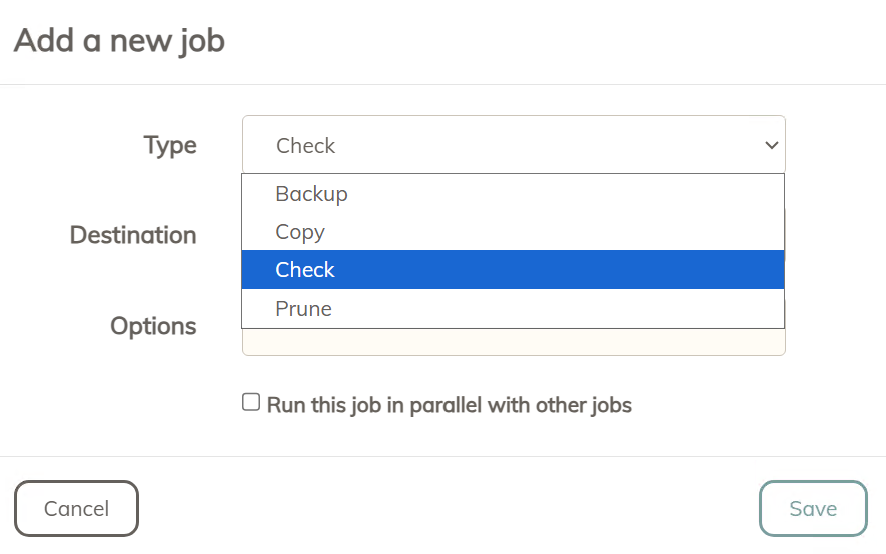
Click the + symbol on the schedule and add a job type.
From the type drop-down menu, select Check.
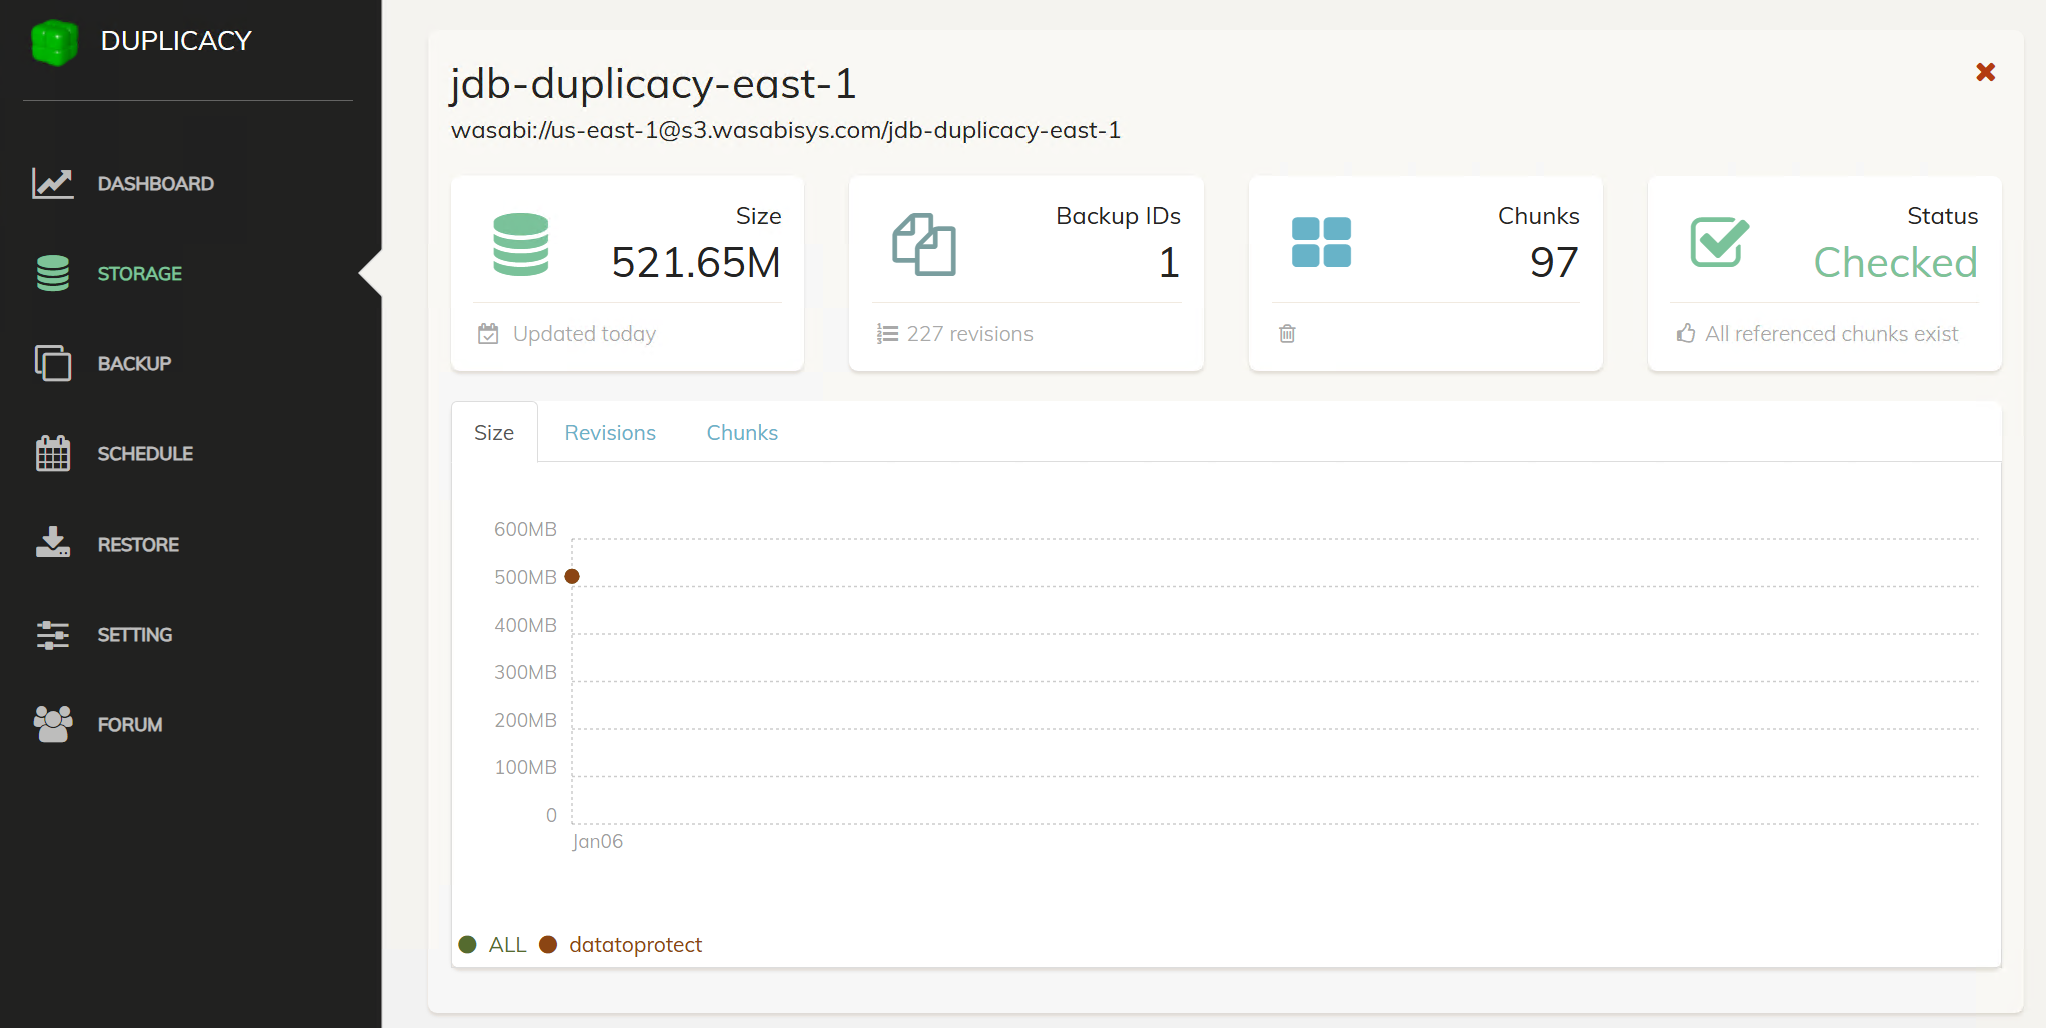
Click Save. Once the job has successfully run, go back to Storage to see the data listed.
Repeat these steps to create the Backup job to back up the data.
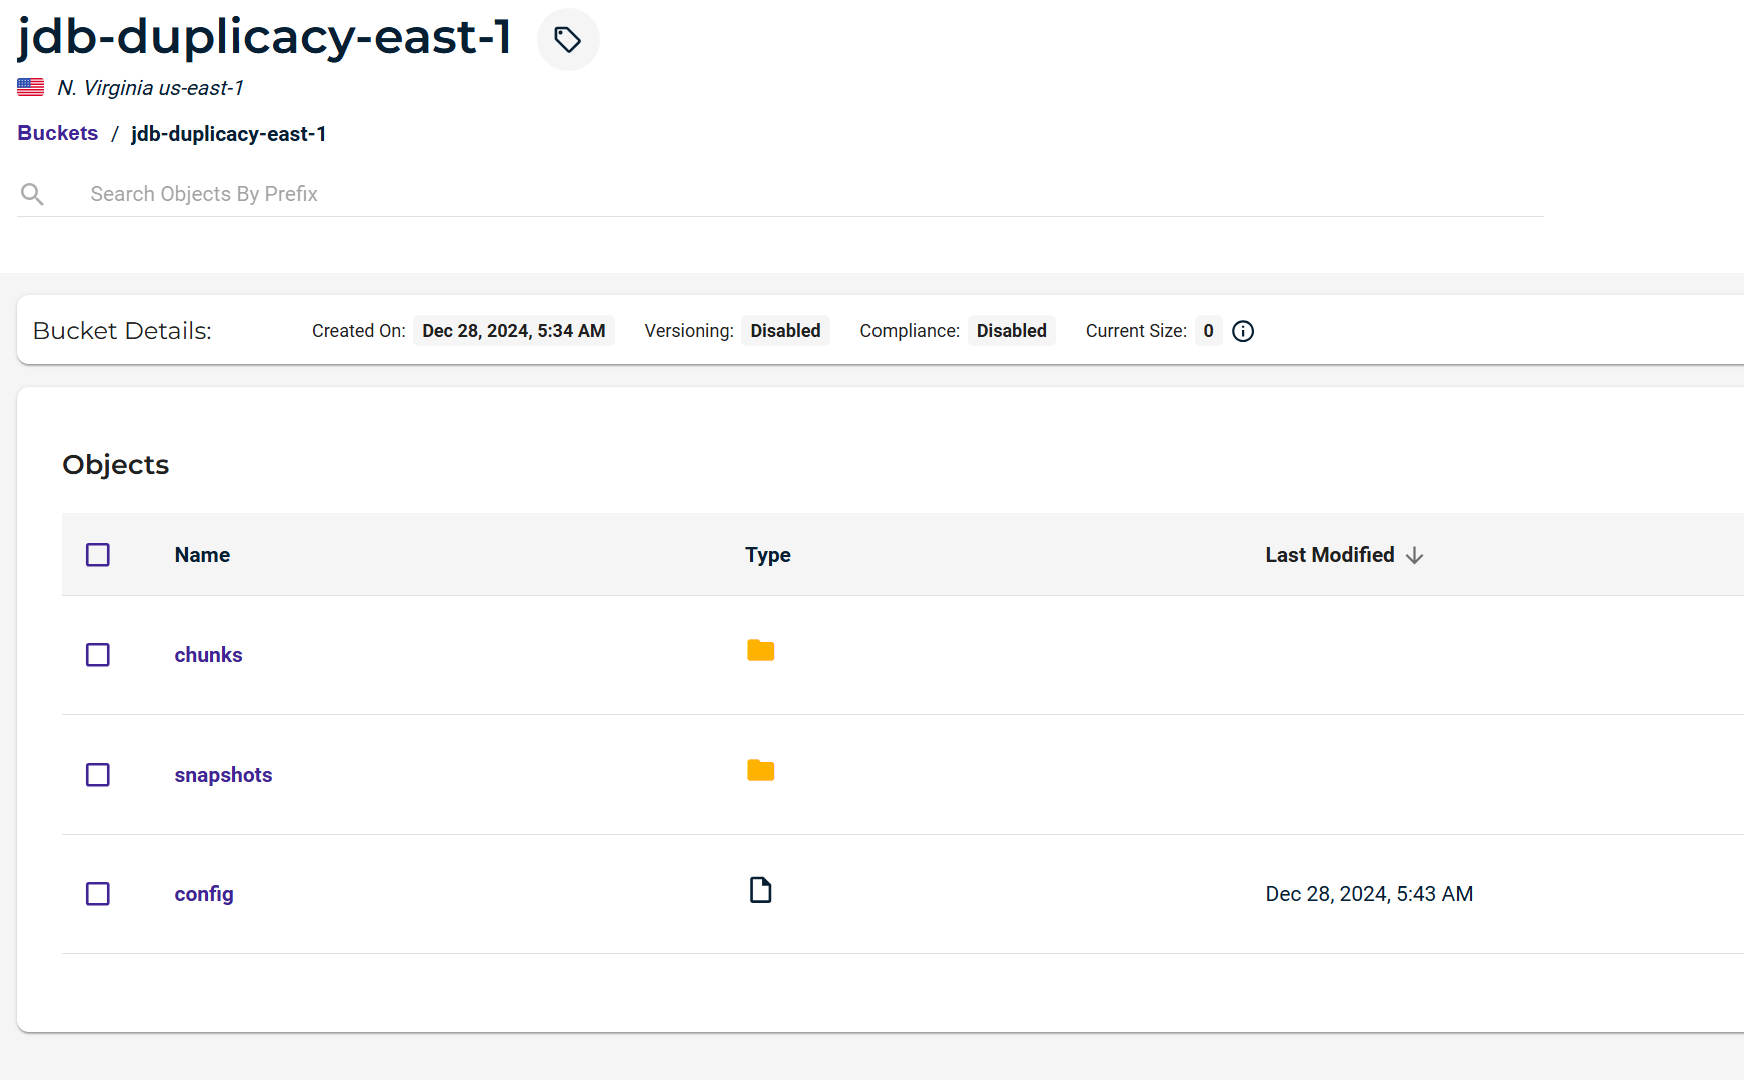
If you log in to your Wasabi Console and go to your bucket, you can also see the data listed there.