Handy Backup fully supports Wasabi storage. Some additional details can be found here. To use Wasabi S3 as the backup destination, you can create a connection to it in the new task wizard.
Note that this config example discusses the use of Wasabi's us-east-1 storage region. To use other Wasabi storage regions, please use the appropriate Wasabi service URL as described in this article.
First, download and install the latest version of Handy Backup. (Note that it has a 30-day free trial period). Then follow these instructions below.
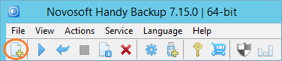
Open Handy Backup. Click New task button on the control panel.
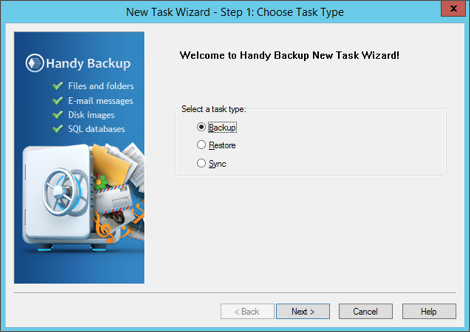
On the Step 1 of the new task wizard, choose a backup task. Click Next.
Select your data to back up on the Step 2. Proceed to the next step.
On the Step 3, select the S3 Cloud plug-in and double-click on it. You will see the new window.
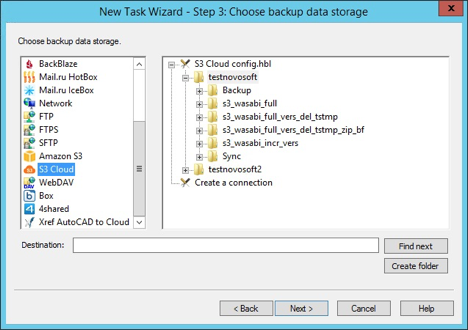
Here, double-click onto the Create a connection string.
In the connection dialog, please enter the following parameters:
Server Name: s3.wasabisys.com (for us-east), s3.us-west-1.wasabisys.com (for us-west), or s3.eu-central-1.wasabisys.com (for eu-central)
Access key: your Wasabi API access key
Secret key: your Wasabi API secret key
Test your connection to be sure that all will work smoothly. If all works, click OK to continue.
Now double-click on the connection name string. Handy Backup will open your Wasabi cloud.
Click OK to continue.
Proceed creating a task step by step as described in the User Manual for Handy Backup.
Note that you can use any options for Wasabi S3 backup without restrictions.
On the final step, give a distinctive name for your task. Complete task setup by clicking Finish.