Iperius Backup is certified for use with Wasabi. You can use Iperius to back up your files, databases and virtual machines to Wasabi Hot Cloud Storage using the S3 protocol using the instructions below.
First, download and install the latest version of Iperius Backup (21-days free trial). Then follow the configuration steps below:
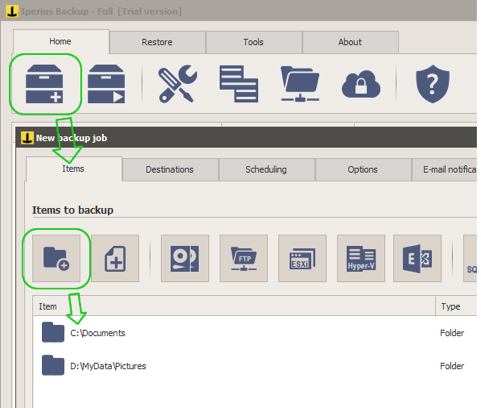
Create a new backup job and add the files, folders and other special items (drive images, ESXi or Hyper-V virtual machines, Exchange mailboxes, SQL Server databases, etc.) you want to back up to your Wasabi account:
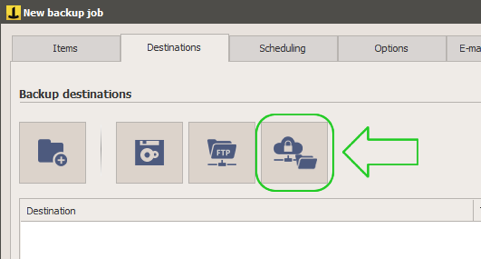
Add a Cloud destination by clicking on the related button (“Destinations” panel).
Add an S3 account, specifying your Wasabi credentials.
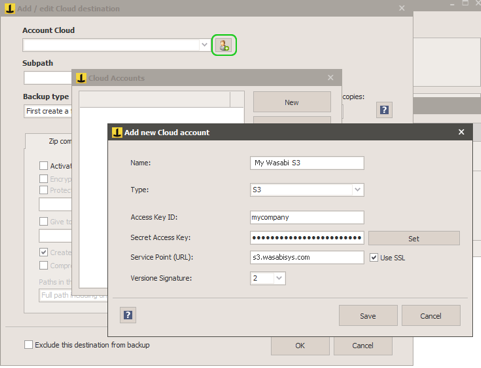
Enter the following parameters:
Service Point (URL): s3.wasabisys.com (for us-east-1 region)
NOTE: This example discusses the use of Wasabi's us-east-1 storage region. To use other Wasabi storage regions, please use the appropriate Wasabi service URL as described here.
Access Key ID: your Wasabi API Access Key
Secret Access Key: your Wasabi API secret key
Check Use SSL and set the signature version to 2.
Click Save to validate the account and have it in the list.
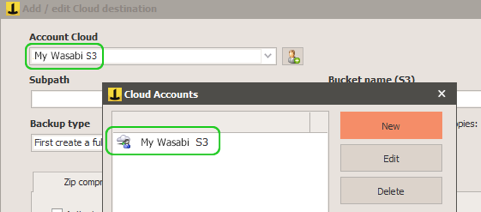
Close this windows and go back to the destination configuration.
Configure the backup parameters for the Wasabi cloud destination:
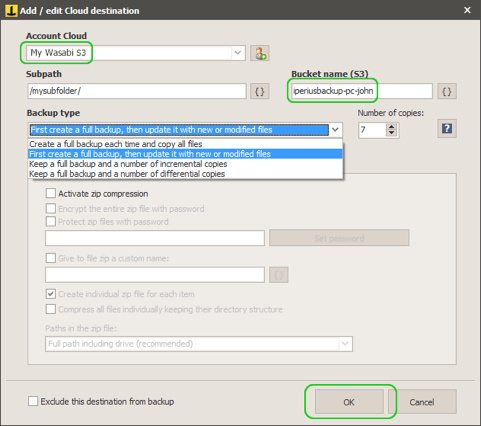
You’ve to select the just created account, then you can specify the bucket name, a subfolder path, the backup type (full, incremental, differential), and may other options (compression, encryption, synchronization, etc.)
Click OK to save the destination and proceed. You can then configure a detailed scheduling to make backup backups and email notifications.
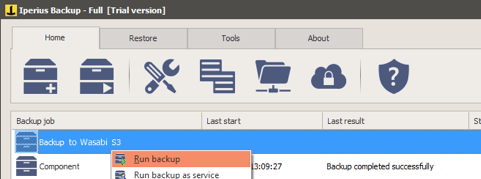
One you saved the backup job, you can immediately run it to make a test: