How do I use JuiceFS with Wasabi?
JuiceFS has been verified for compatibility with Wasabi. To use JuiceFS with Wasabi, follow the configuration steps below. If you do not have JuiceFS already, there is an option to get a free 1 TB trial account at the bottom of this page (https://juicefs.com/?hl=en).
Note that this config example discusses the use of Wasabi's us-east-1 storage region. To use other Wasabi storage regions, please use the appropriate Wasabi service URL as described in this article.
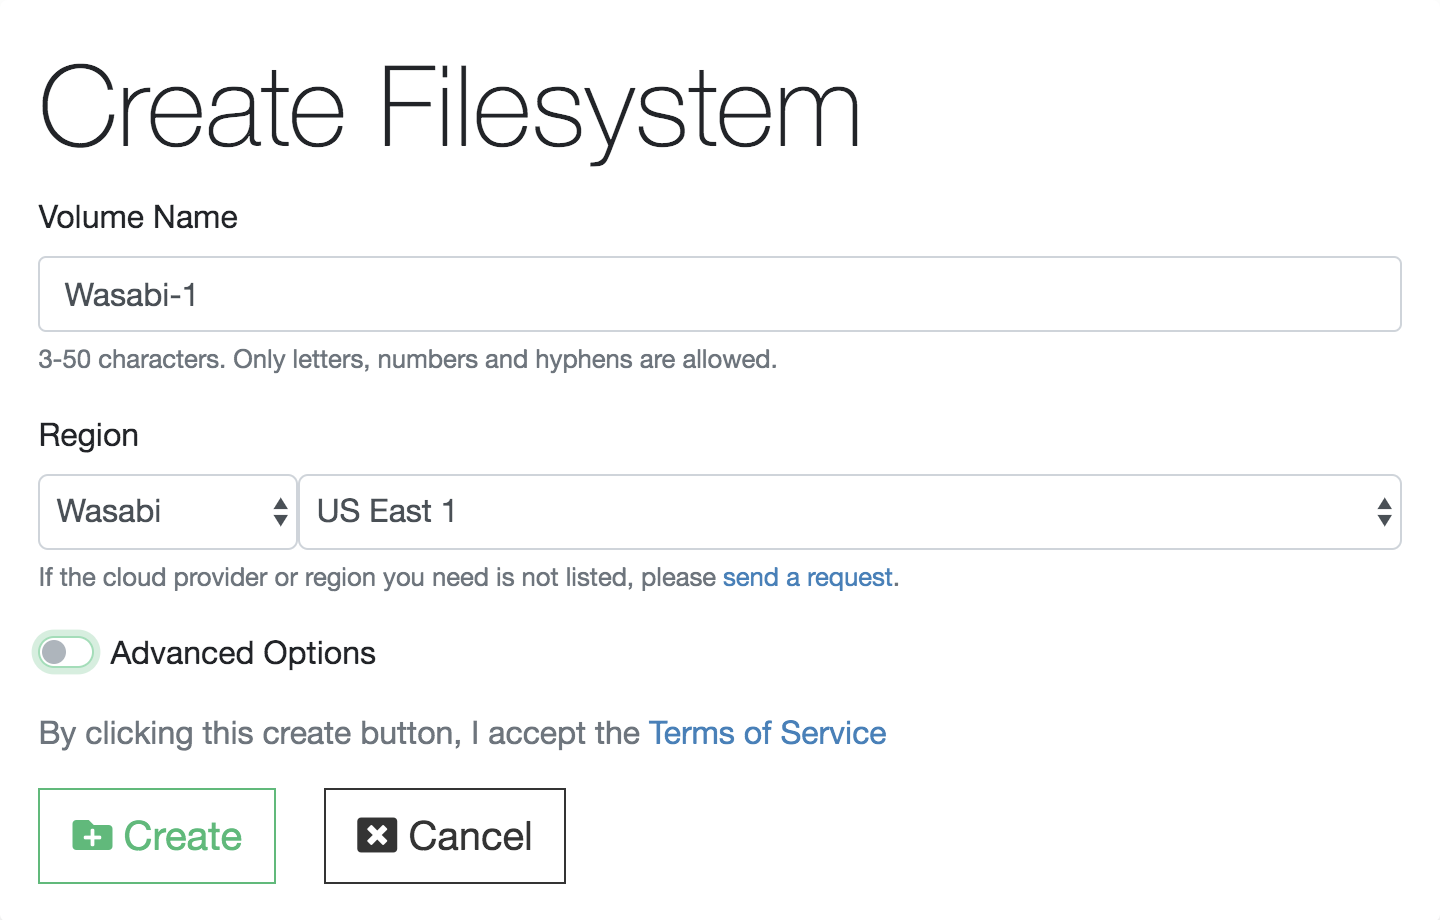
Once you have JuiceFS installed, you can access the JuiceFS web console. On the console, select Create Filesystem. Create a name for the backup. Note that there is a custom Wasabi connector; select the preferred storage region.

When you create a new filesystem, the next page will tell you to install Fuse for MacOS. Make sure you do this otherwise the following steps will not work.

After installing Fuse, you will be prompted to enter the Token given by JuiceFS followed by your Wasabi generated access and secret keys. Wasabi access keys can be generated on the Wasabi web console.
Once this is completed, JuiceFS has already mounted at the /jfs folder. JuiceFS is POSIX-compatible, so you can use it like a local filesystem.
To start, you can try the following commands:
View the capacity info:
df -h /jfsEnter the mount folder:
cd /jfsCreate an empty file:
touch /jfs/README.txtGenerate an 1GB file:
dd if=/dev/zero of=/jfs/tmp/zero bs=1M count=1000 status=progressCopy some tiny files:
rsync -av /usr/share /jfs/tmp/Clean the space:
rm -rf /jfs/tmp