MASV integrates with Wasabi cloud object storage to save incoming files to a Wasabi bucket and send files stored in Wasabi to recipients.
Each integration connects to a specific bucket and uses one transfer direction. To support both directions, create separate Save to Cloud and Send from Cloud integrations. You can create additional integrations for other buckets or storage paths
Wasabi integrations with MASV support MASV Express, a file transfer acceleration technology that allows files to begin downloading while they are still being uploaded. Express reduces turnaround times by up to 5X. Refer to the MASV Express documentation to learn more.
Reference Architecture
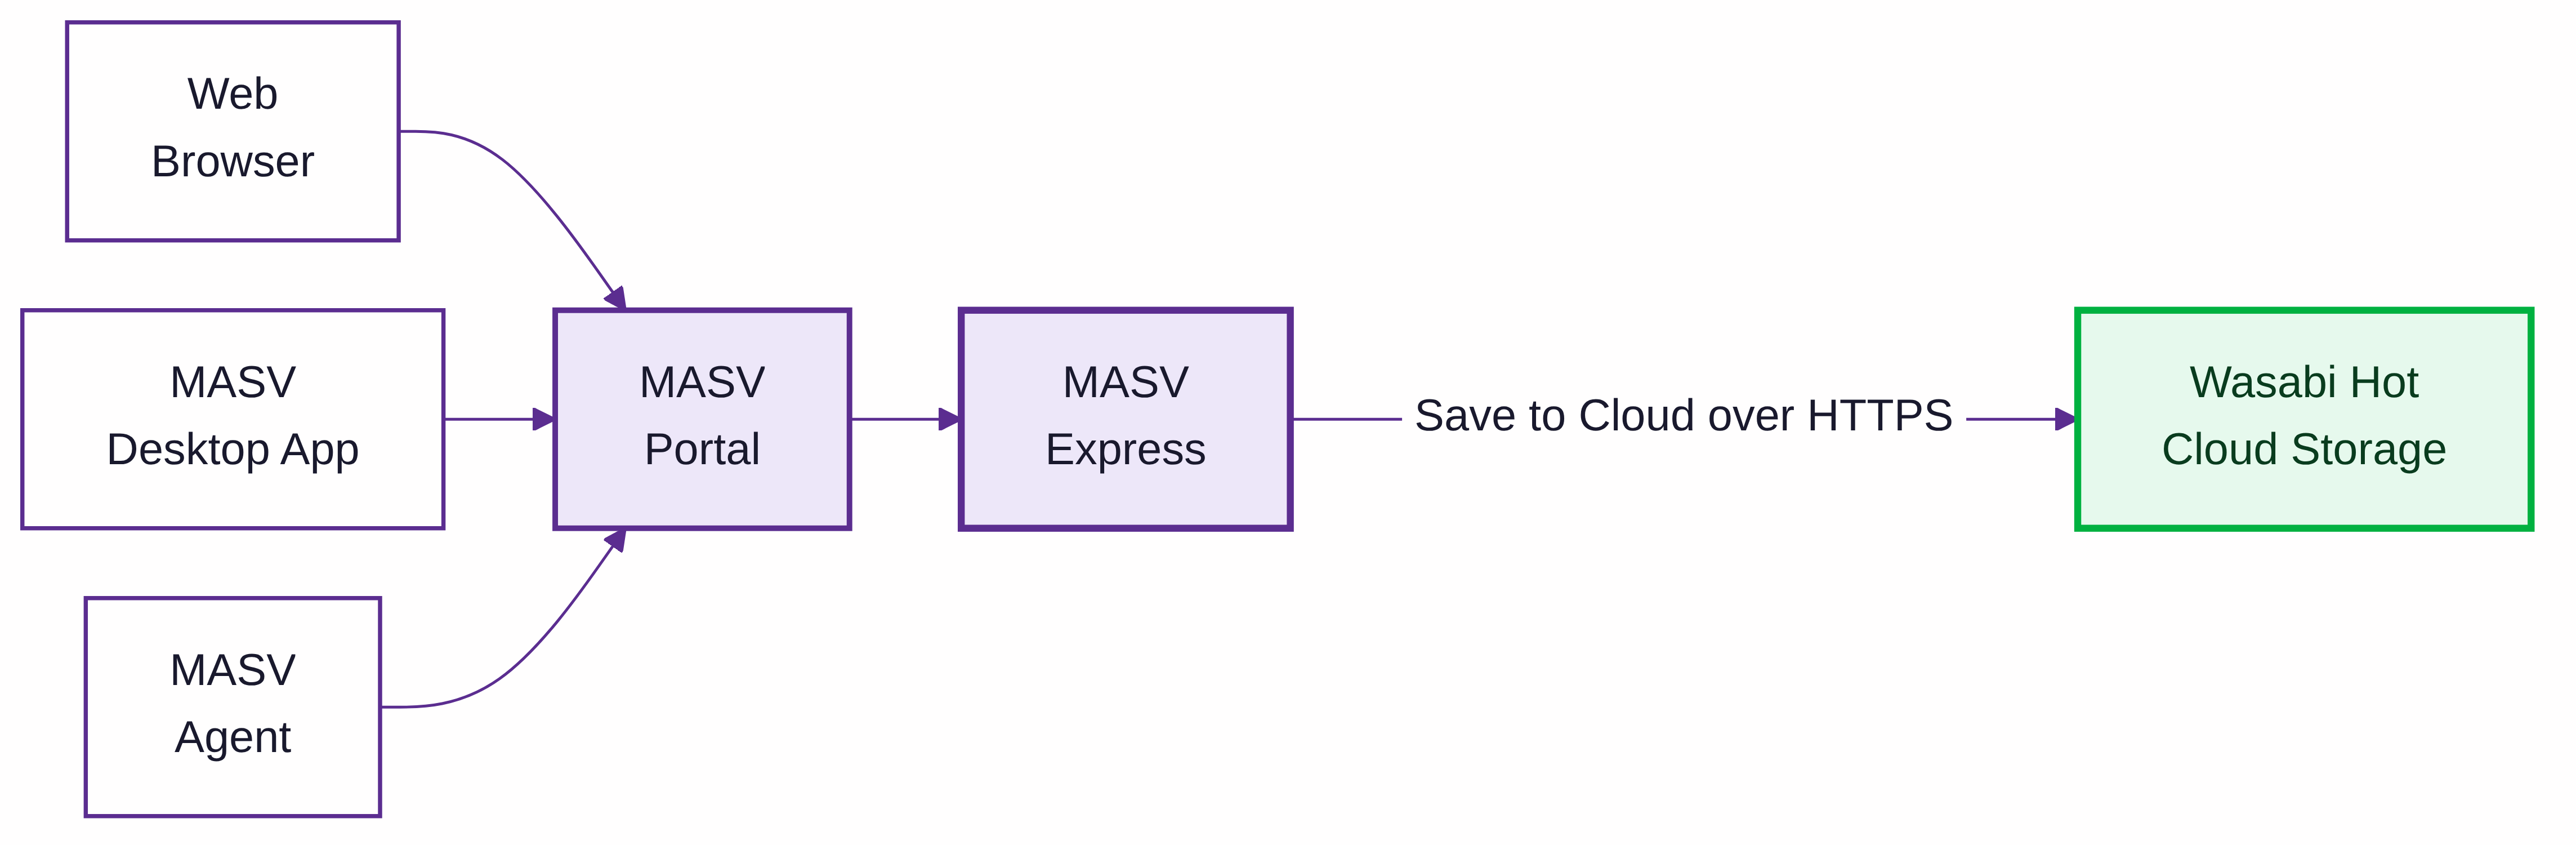
Save to Wasabi—Files uploaded through a MASV Portal (or an existing MASV package) are transferred into a Wasabi bucket.
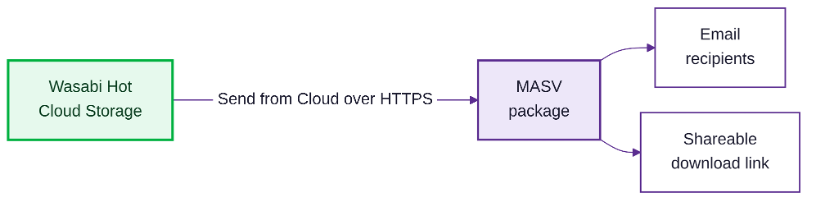
Send from Wasabi—Files selected from a Wasabi bucket are transferred to MASV and made available to recipients.
Requirements
A Wasabi Hot Cloud Storage account
The bucket name, region, and any folder paths you want to use (see Creating a bucket).
A Wasabi access key ID and secret access key, with permissions for the required transfer direction (see Creating a User Account and Access Key).
An active MASV subscription (see MASV Pricing).
A MASV Team Owner, Administrator role to add integrations.
Saving to Wasabi
Use Save to Cloud to transfer files from MASV into Wasabi.
Configuring Wasabi Permissions
In the Wasabi Console, configure a policy for the user associated with the access key. Saving files to Wasabi requires the following actions.
s3:AbortMultipartUploads3:DeleteObjects3:ListBuckets3:GetBucketLocations3:PutObject
The following example permits MASV to save files anywhere in a bucket named my-bucket. Replace my-bucket with your bucket name in both resource entries.
{
  "Version": "2012-10-17",
  "Statement": [
    {
      "Effect": "Allow",
      "Action": [
        "s3:AbortMultipartUpload",
        "s3:DeleteObject",
        "s3:ListBucket",
        "s3:GetBucketLocation",
        "s3:PutObject"
      ],
      "Resource": [
        "arn:aws:s3:::my-bucket",
        "arn:aws:s3:::my-bucket/*"
      ]
    }
  ]
}
Adding the Save to Cloud Integration
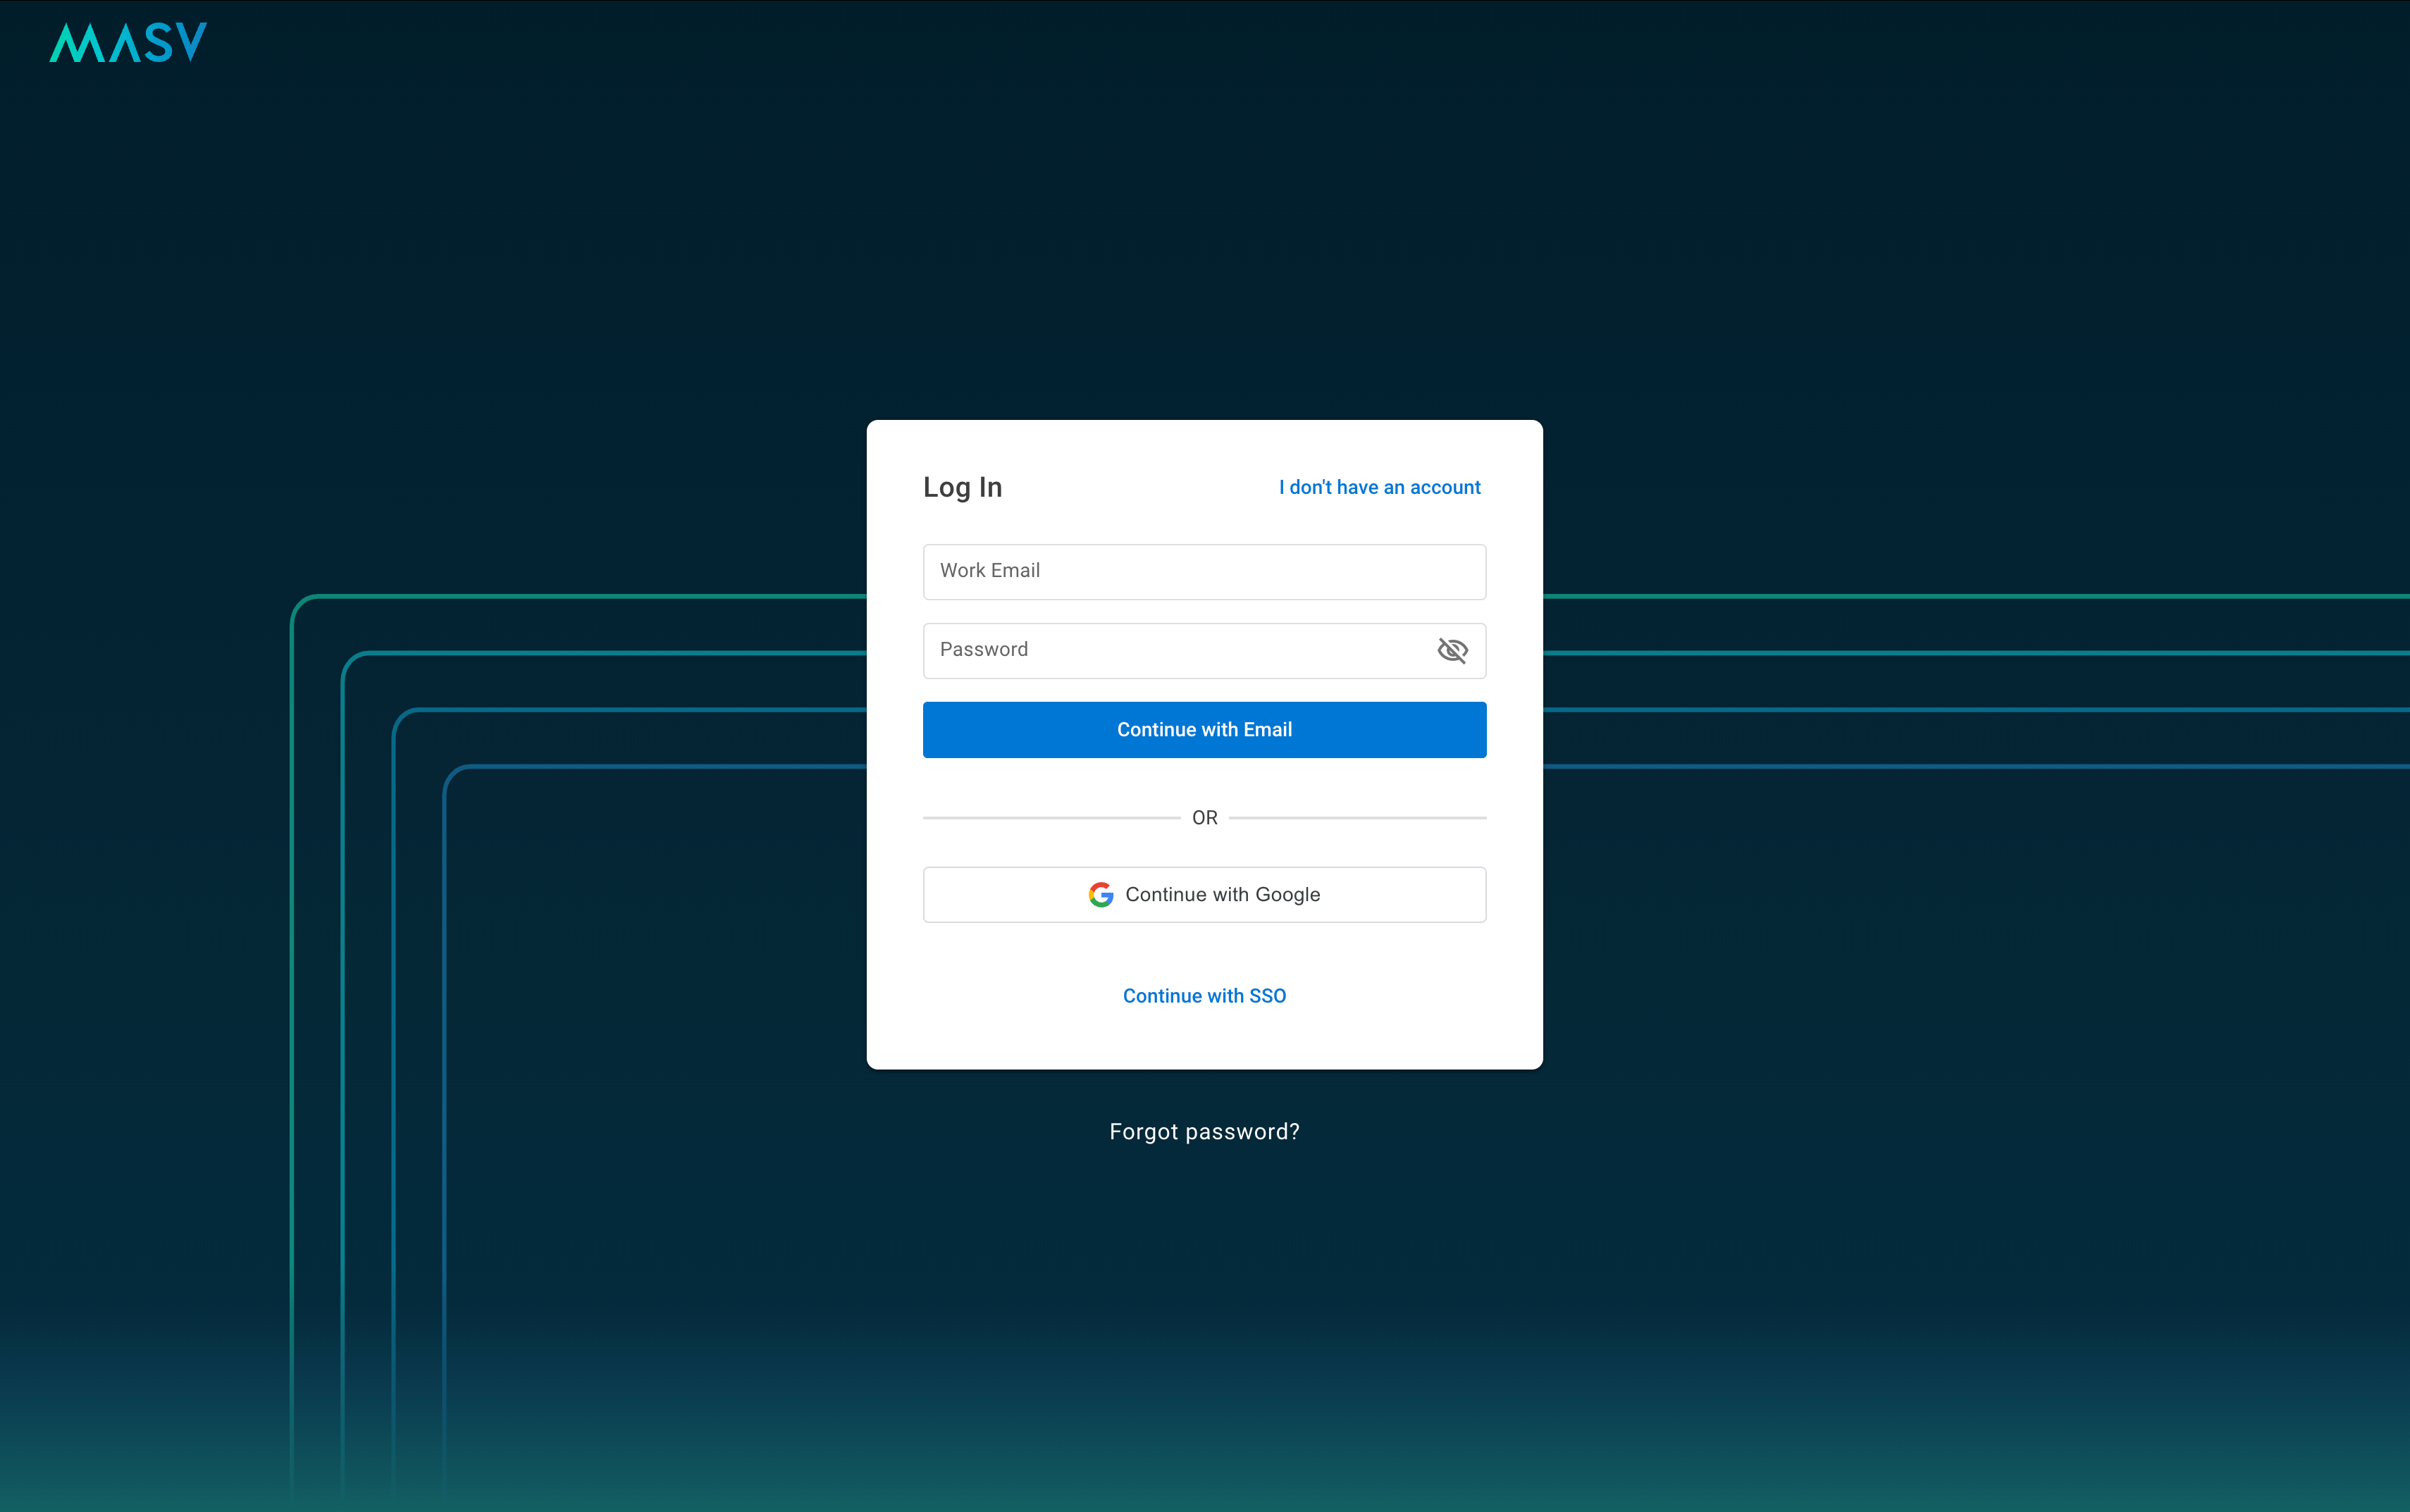
Log in to the MASV Web App.
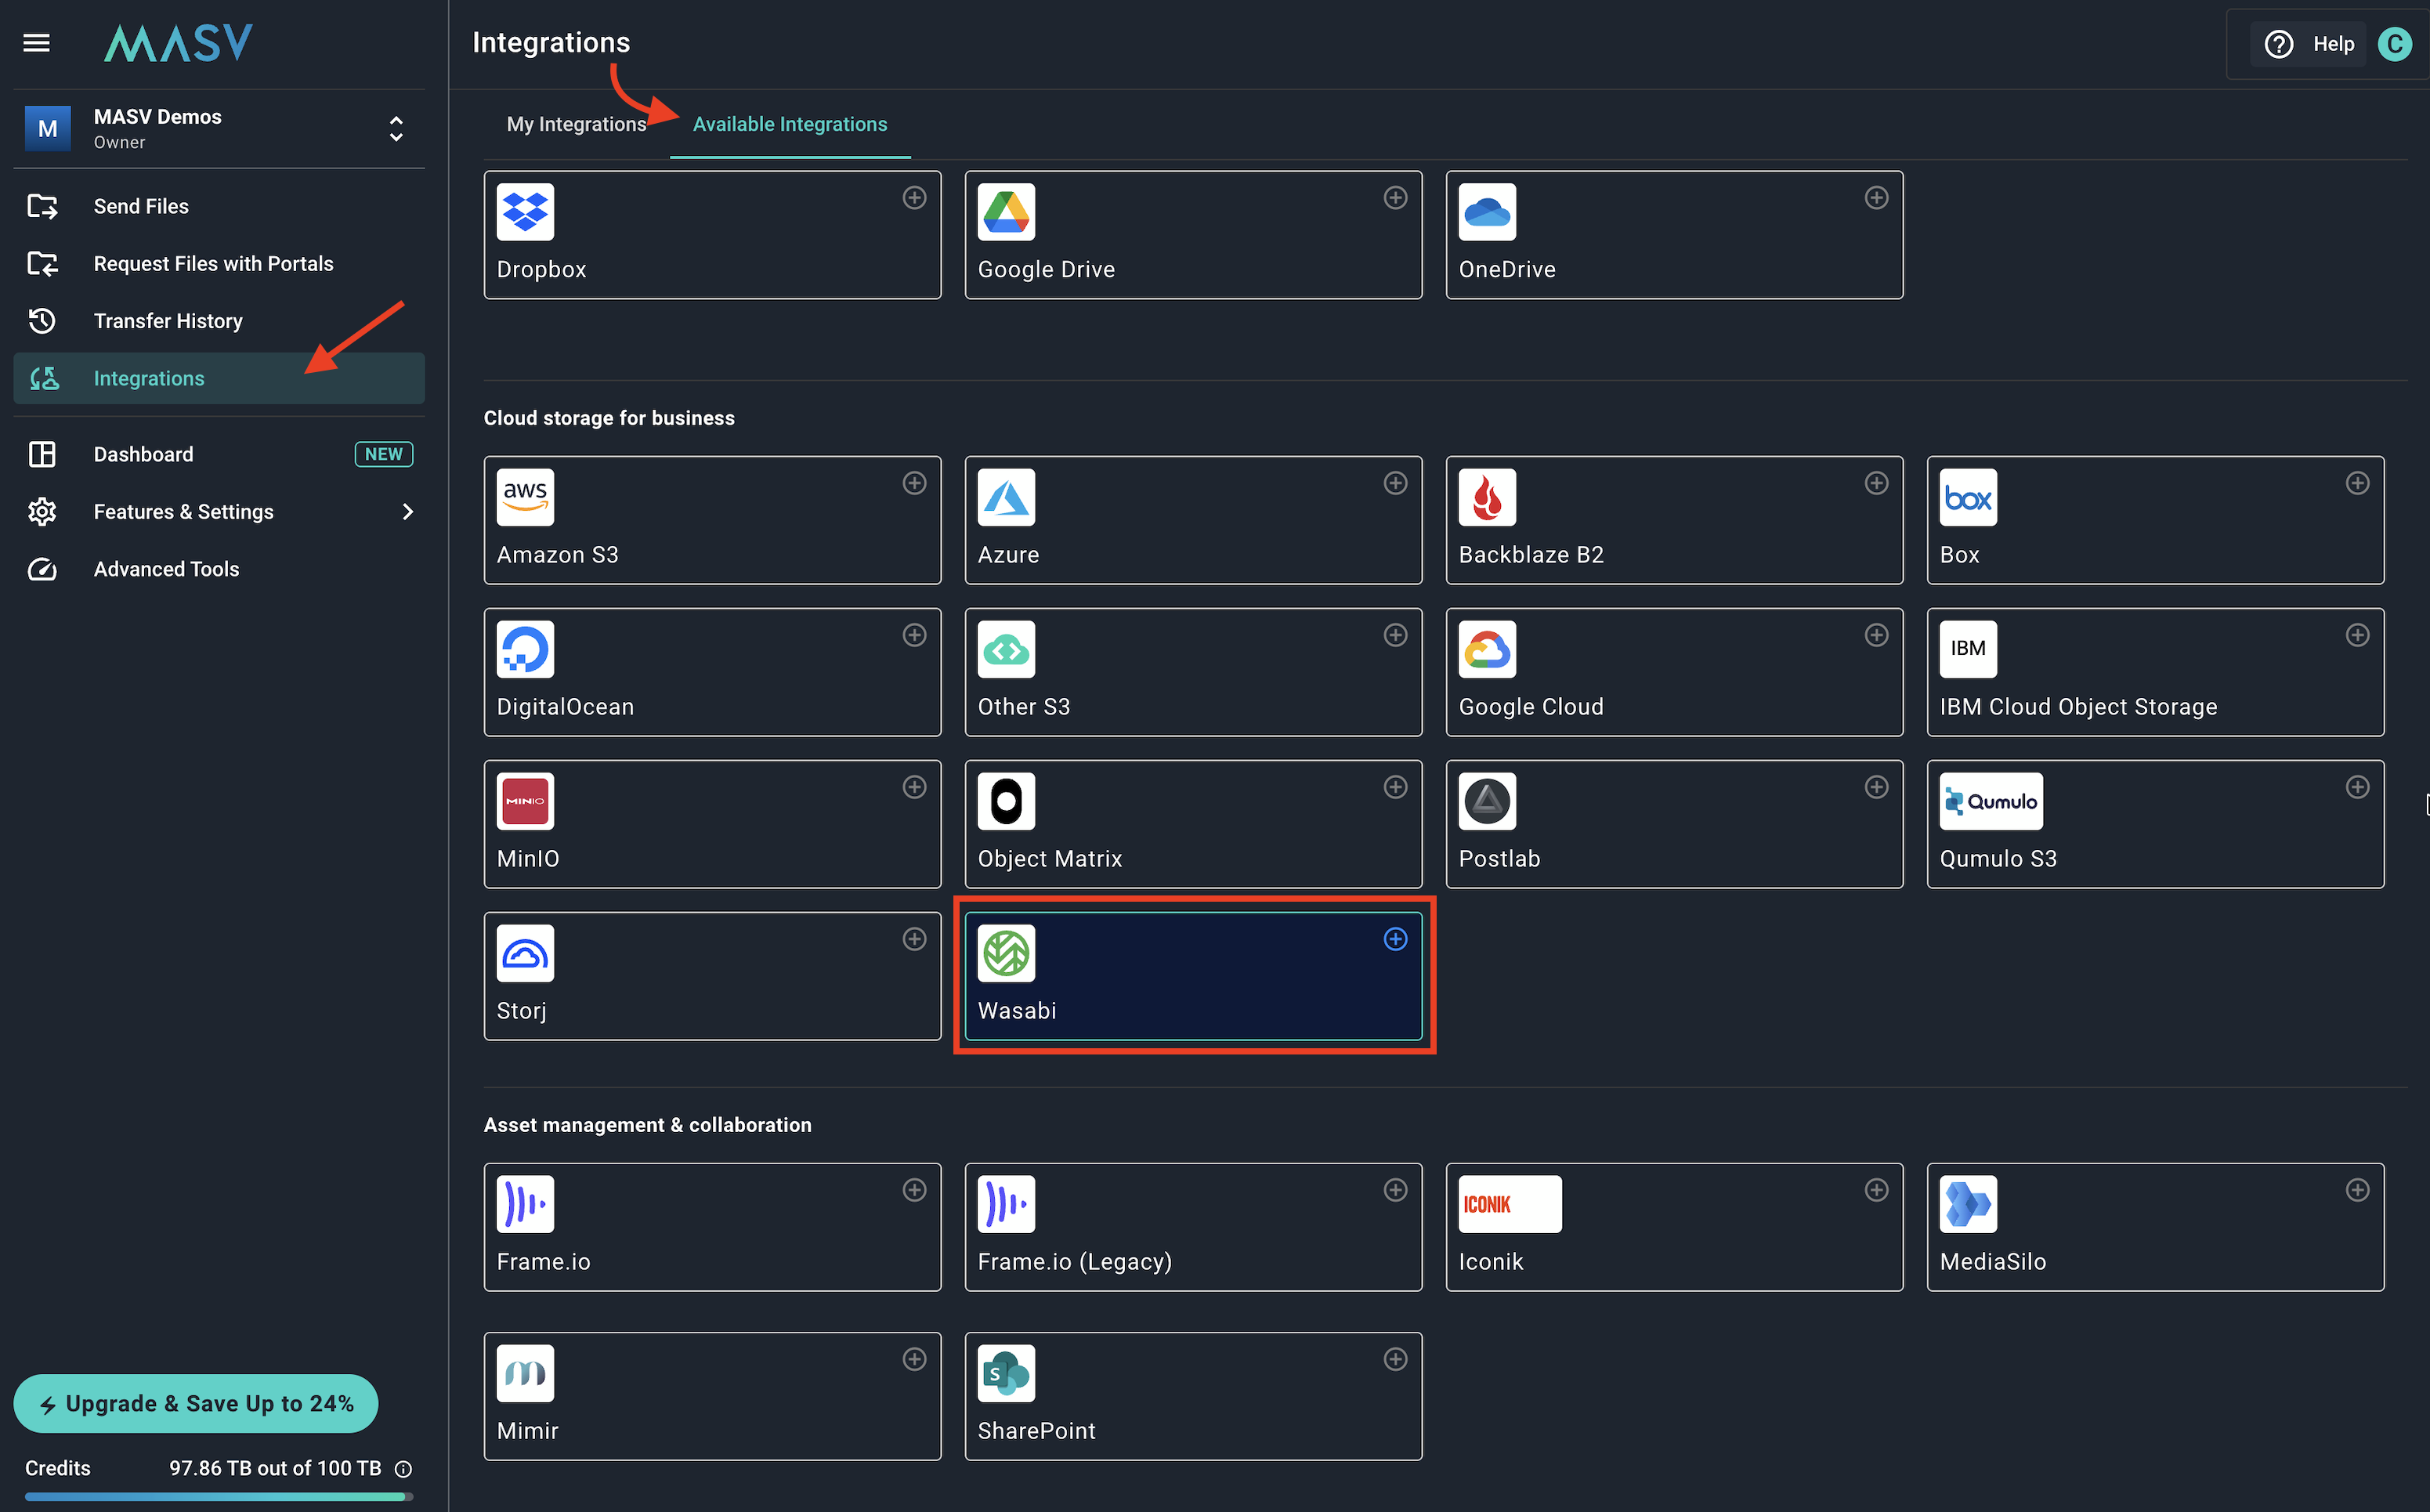
Select Integrations in the left sidebar.
Select the Available Integrations tab.
Under the Cloud storage for business section, select Wasabi.
In Add Integration, input the following information.
Connection Name—A descriptive name, such as Wasabi - Save - second-unit. This appears in My Integrations.
Bucket—Your Wasabi bucket name.
Access Key ID—Your Wasabi access key ID.
Secret Access Key—The corresponding secret access key.
Region—The region containing your bucket.
Transfer Direction—Save to Cloud.
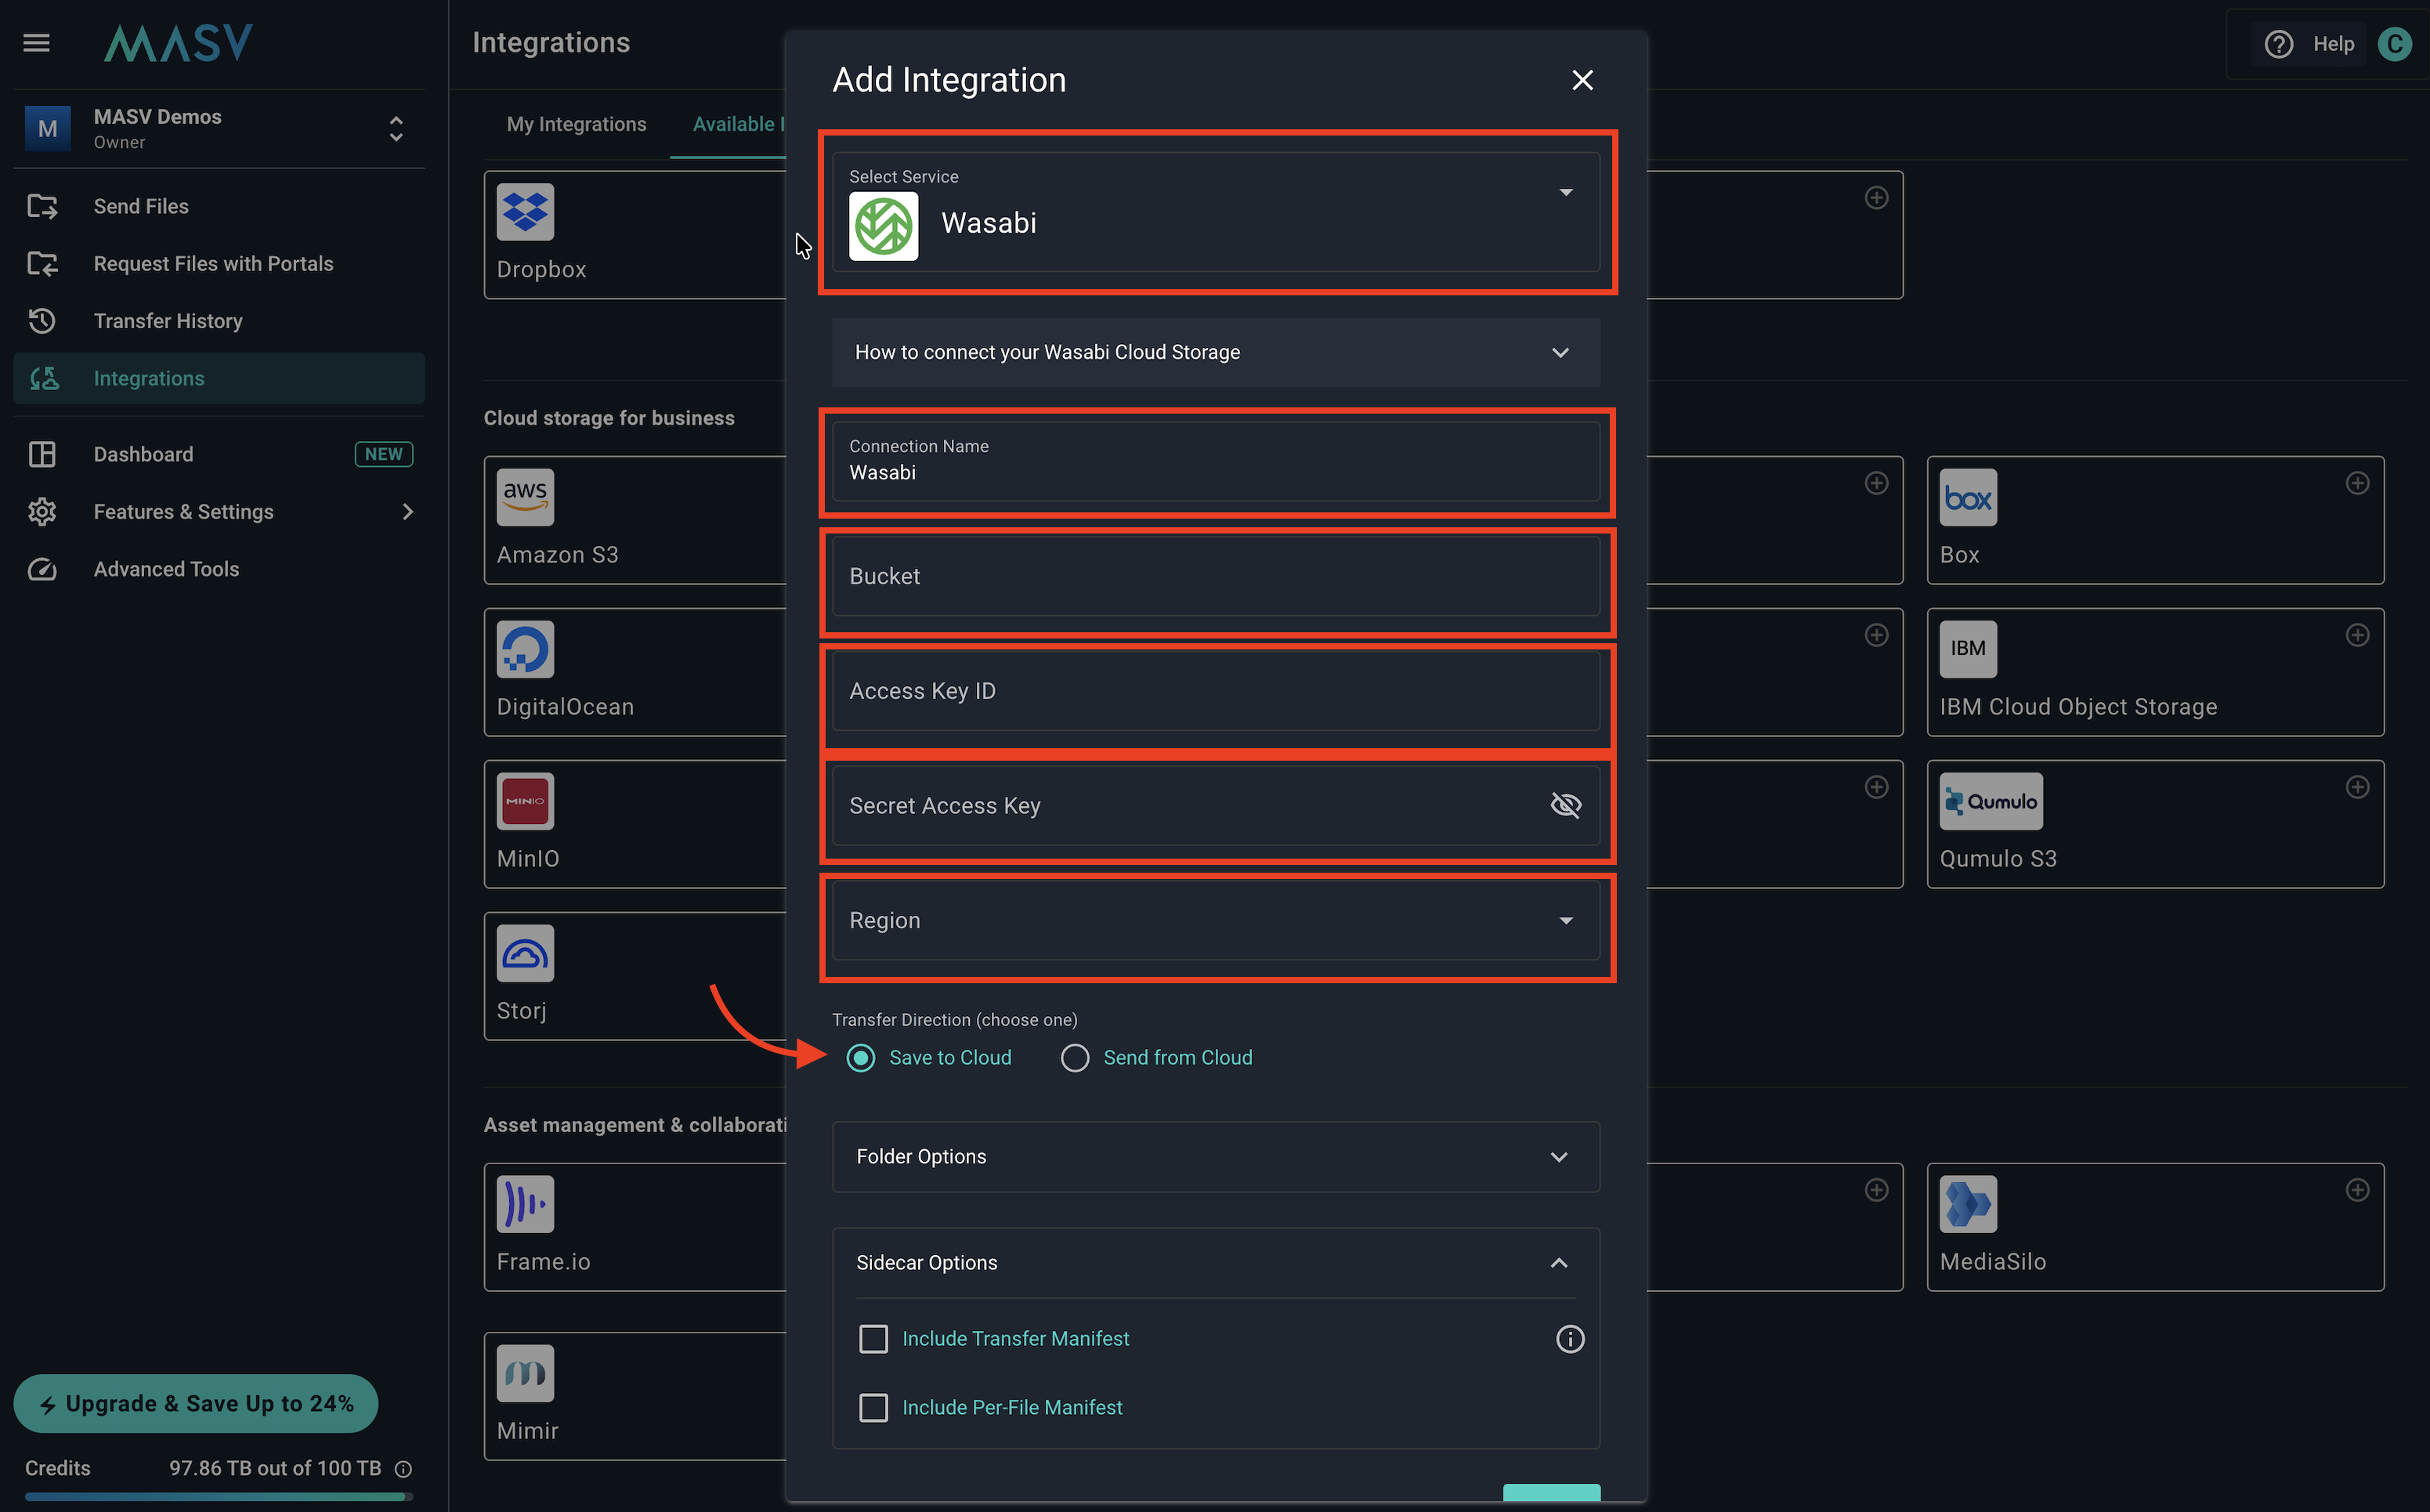
Optionally, configure folder and sidecar settings.
Folder Options
Target Subdirectory—Enter an optional path relative to the bucket, such as incoming/project-a. You can edit this path later.
Save directly in upload/target directory—Select this checkbox to deliver files without creating a package name directory. Clear it to place the files in a directory named after the package.
Sidecar Options (Sidecar files contain information about the transfer or its files.)
Include Transfer Manifest—Adds a JSON file containing transfer metadata, file paths, other file information, and a list of transferred files.
Include Per-File Manifest—Generates a separate JSON metadata file for each transferred file. Choose the .JSON extension, which is the default, or .MASV.
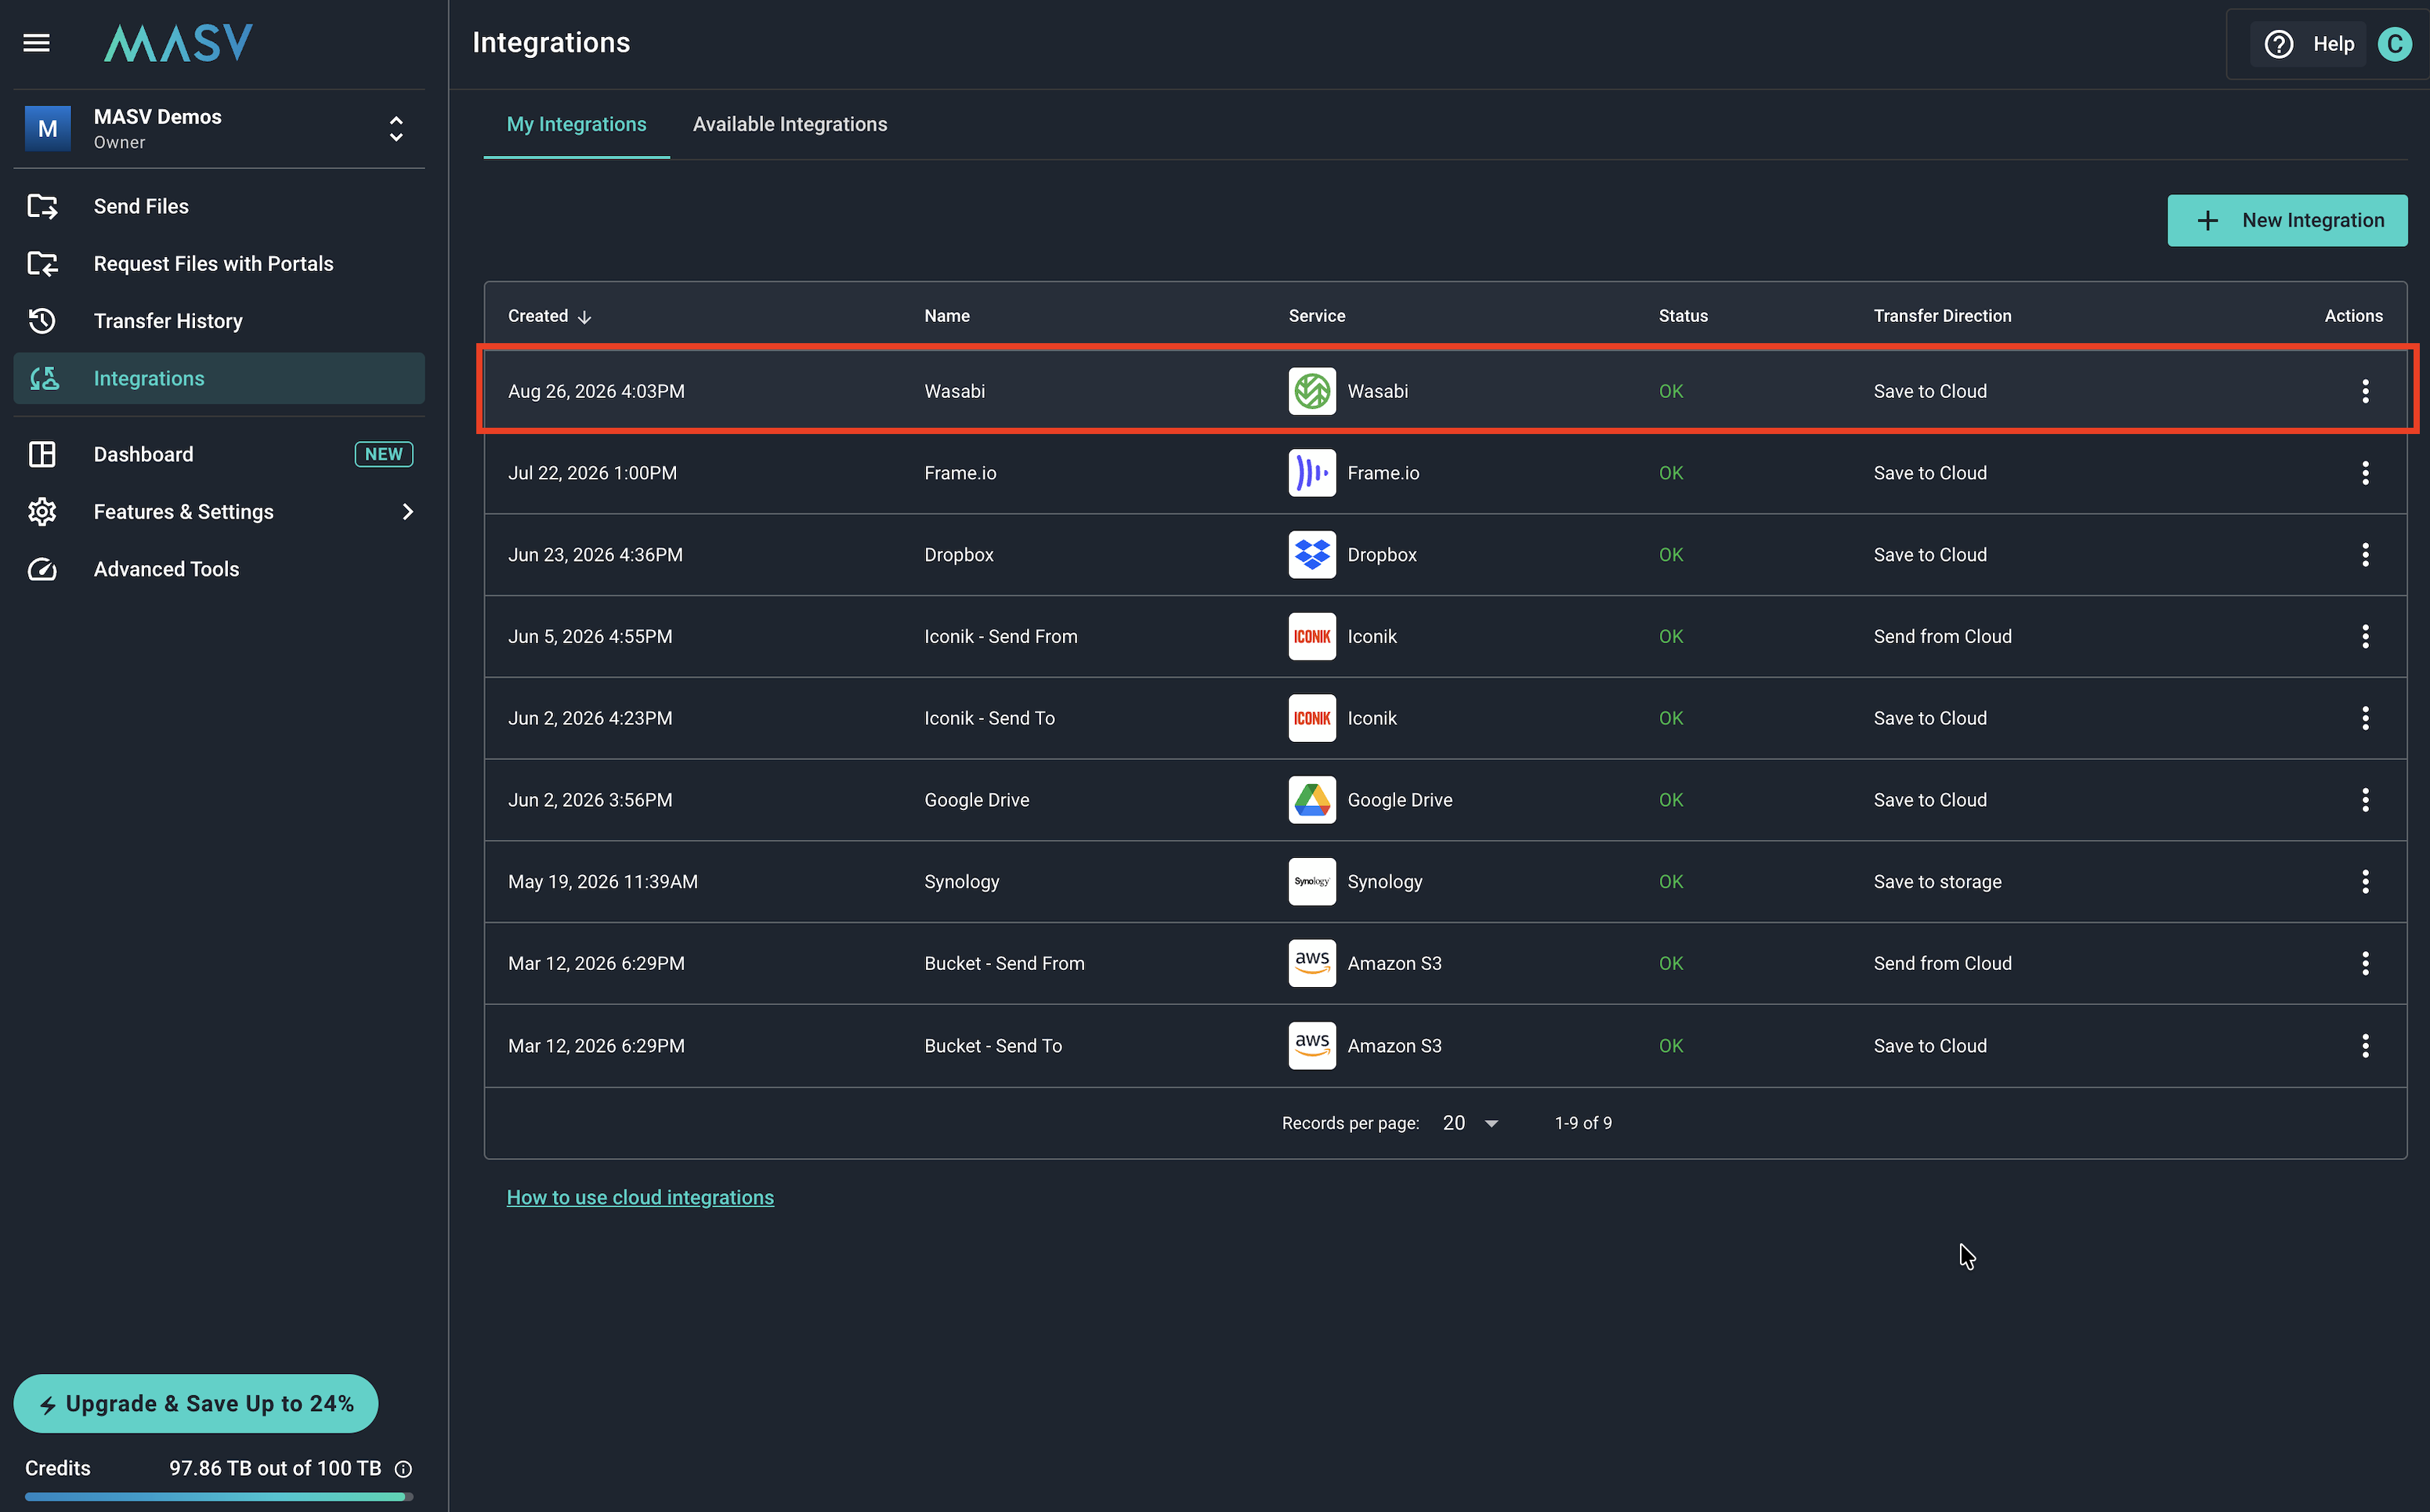
Select Connect. Refresh the integrations page and verify that the connection appears in My Integrations with the Status column reporting OK.
Automatically Saving Portal Uploads to Wasabi
Connect your Save to Cloud integration to a MASV Portal to automatically deliver incoming files to Wasabi. For more information, see How to create a portal in MASV.
In the MASV Web App, from the sidebar, select Request Files with Portals.
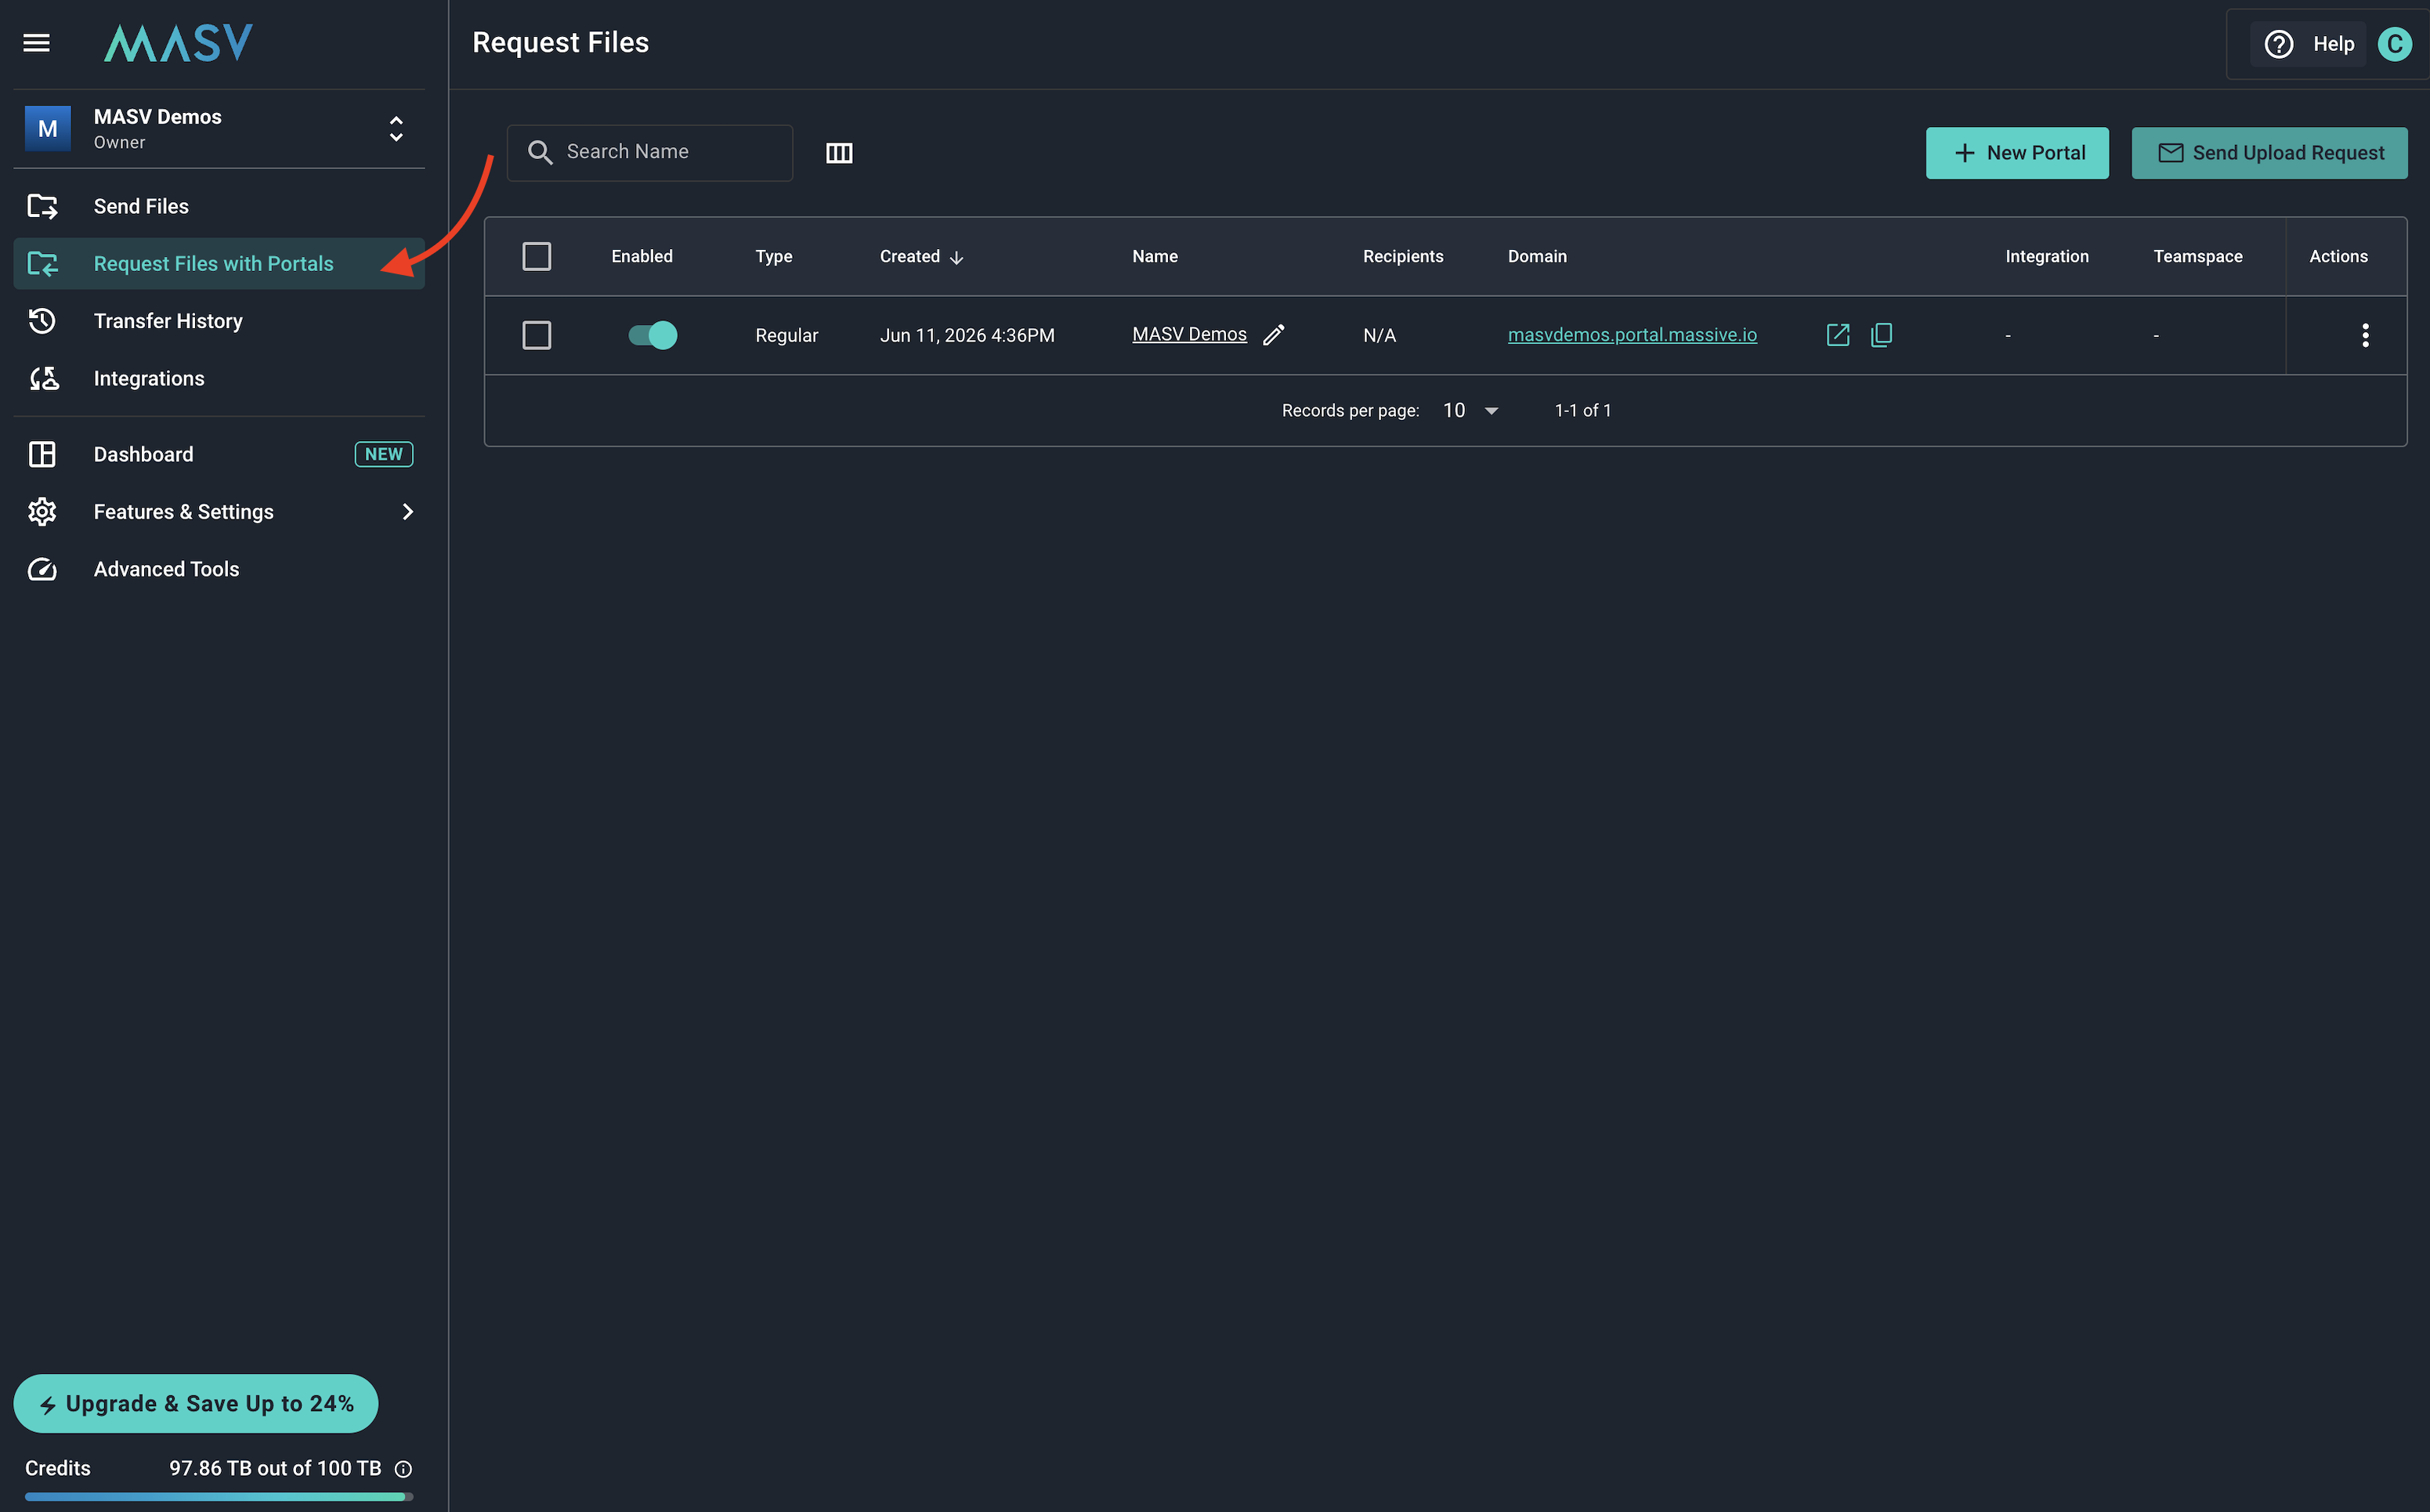
Select the relevant portal. In the Actions column, select Edit from the menu.
Select the Integrations tab.
Click the toggle to enable the Wasabi Save to Cloud connection.
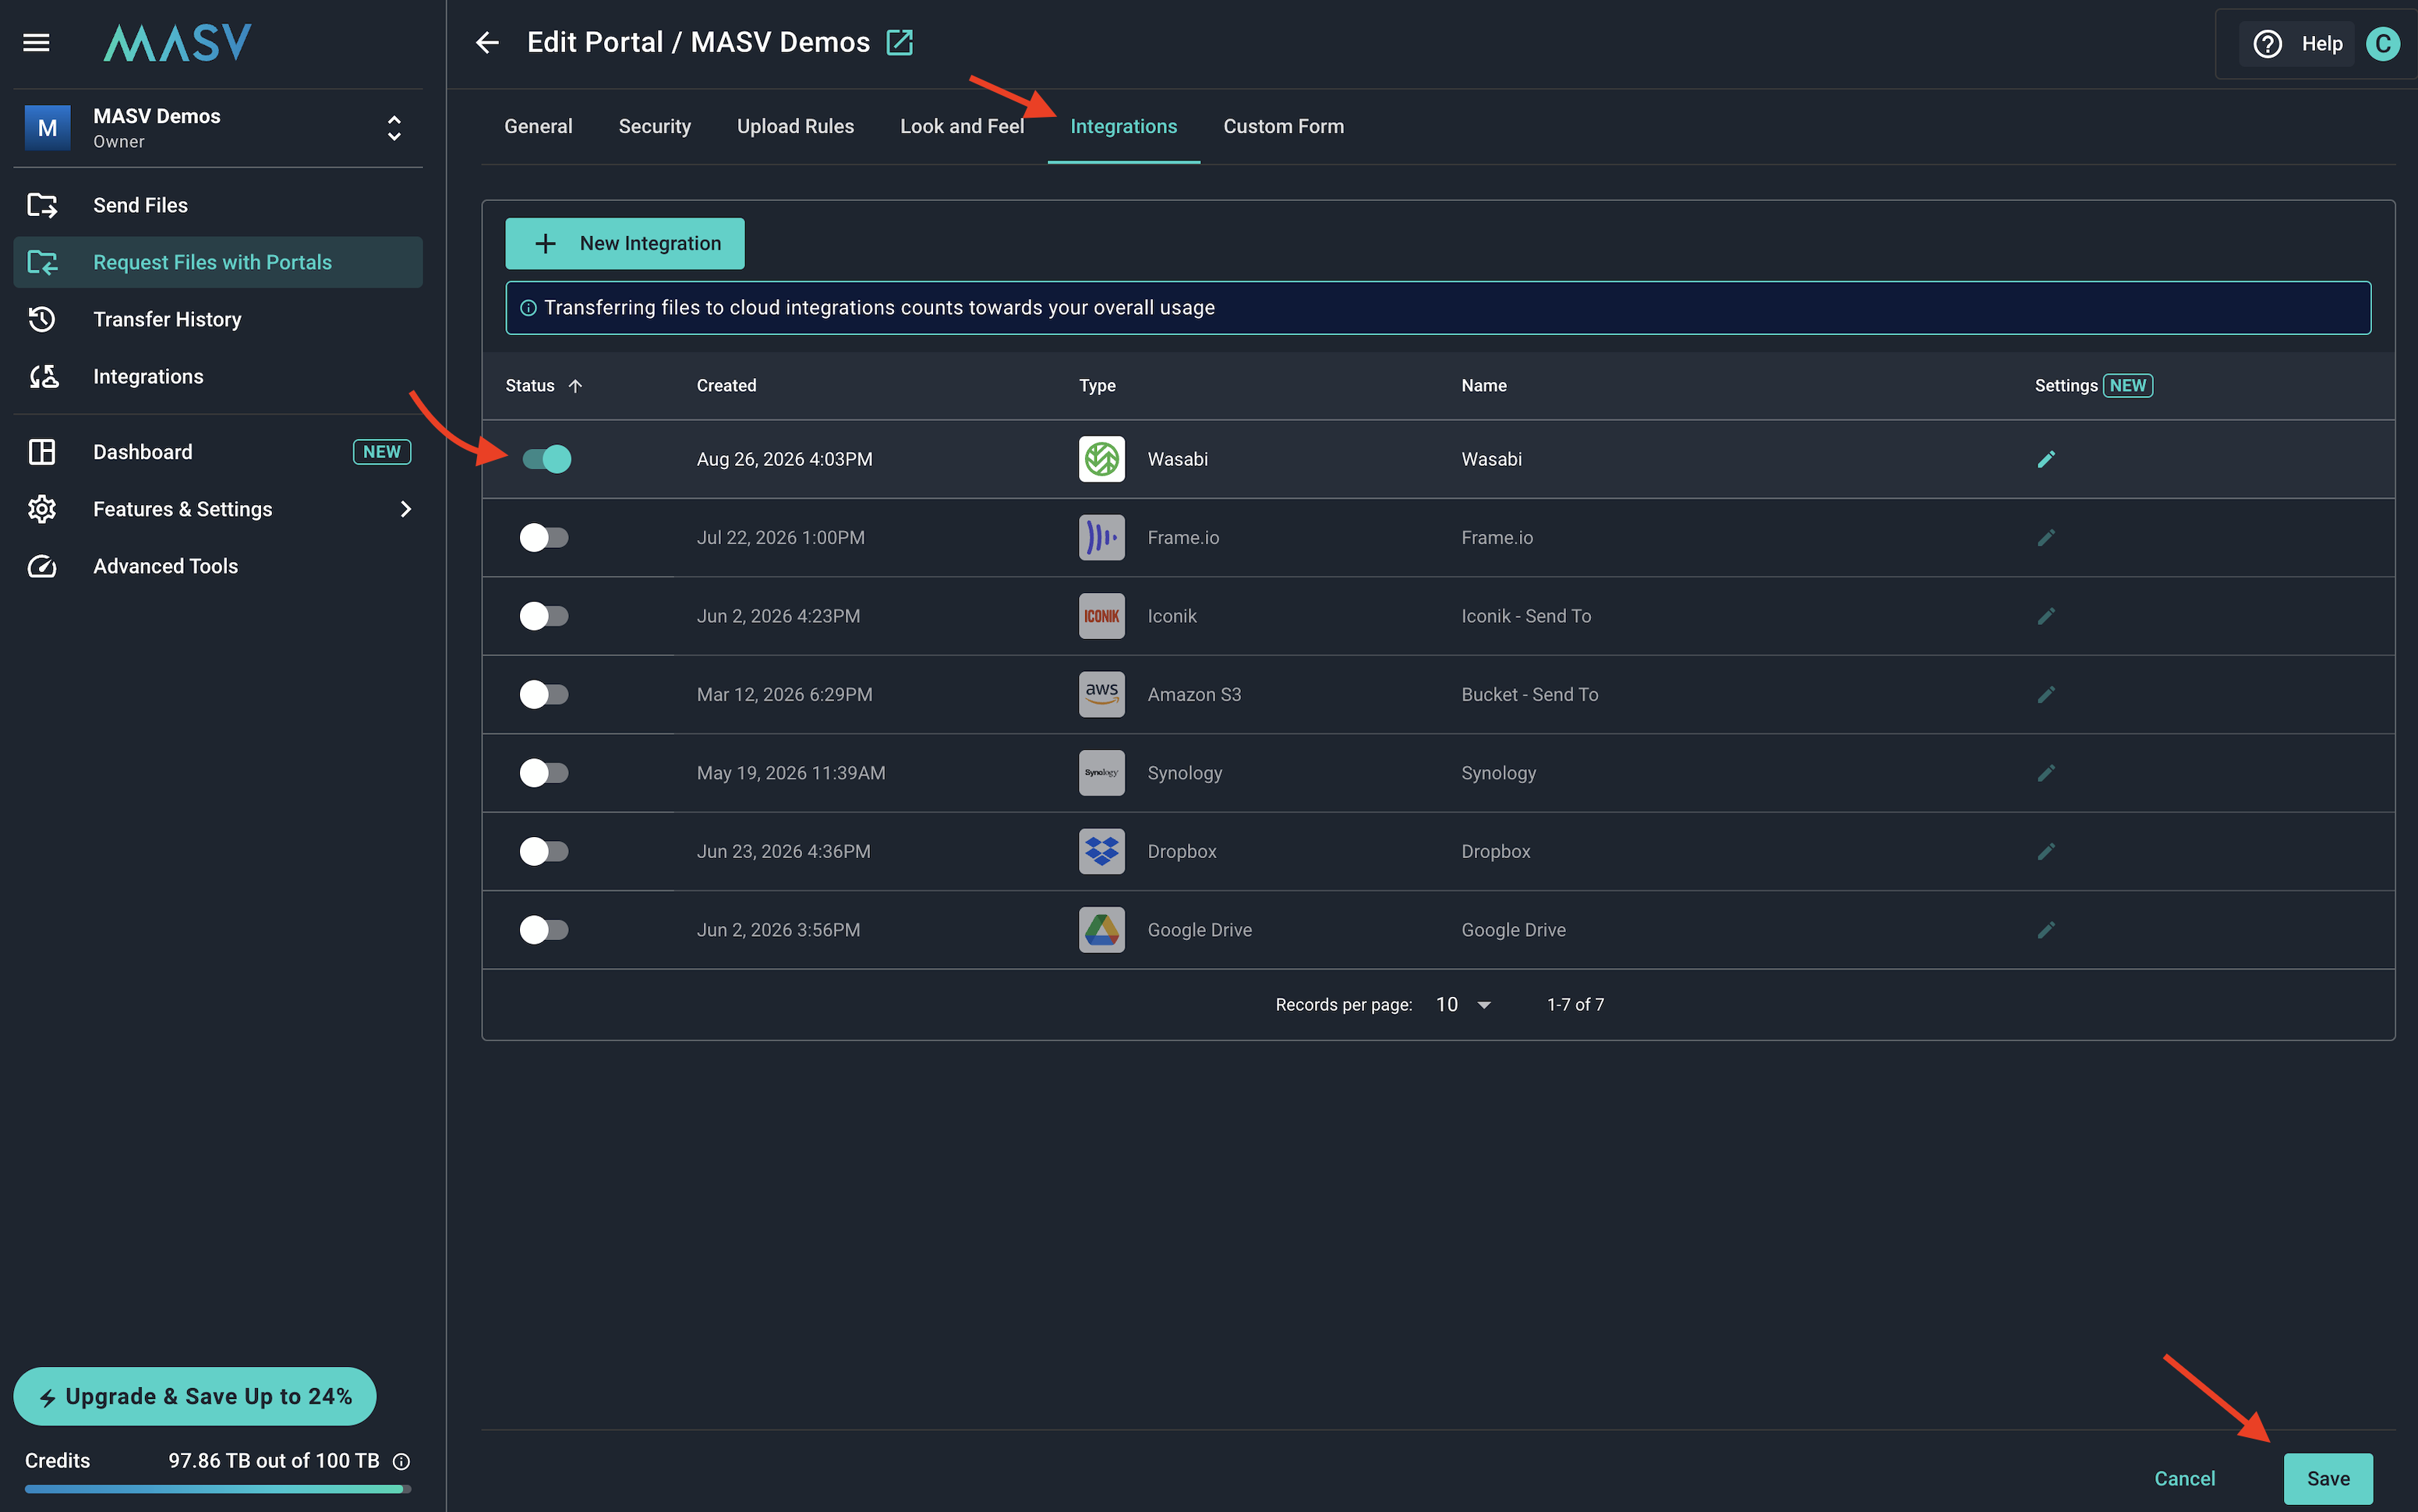
Optionally, select the integration’s Settings and enter a Subdirectory. This is appended to the integration’s destination path. Select OK.
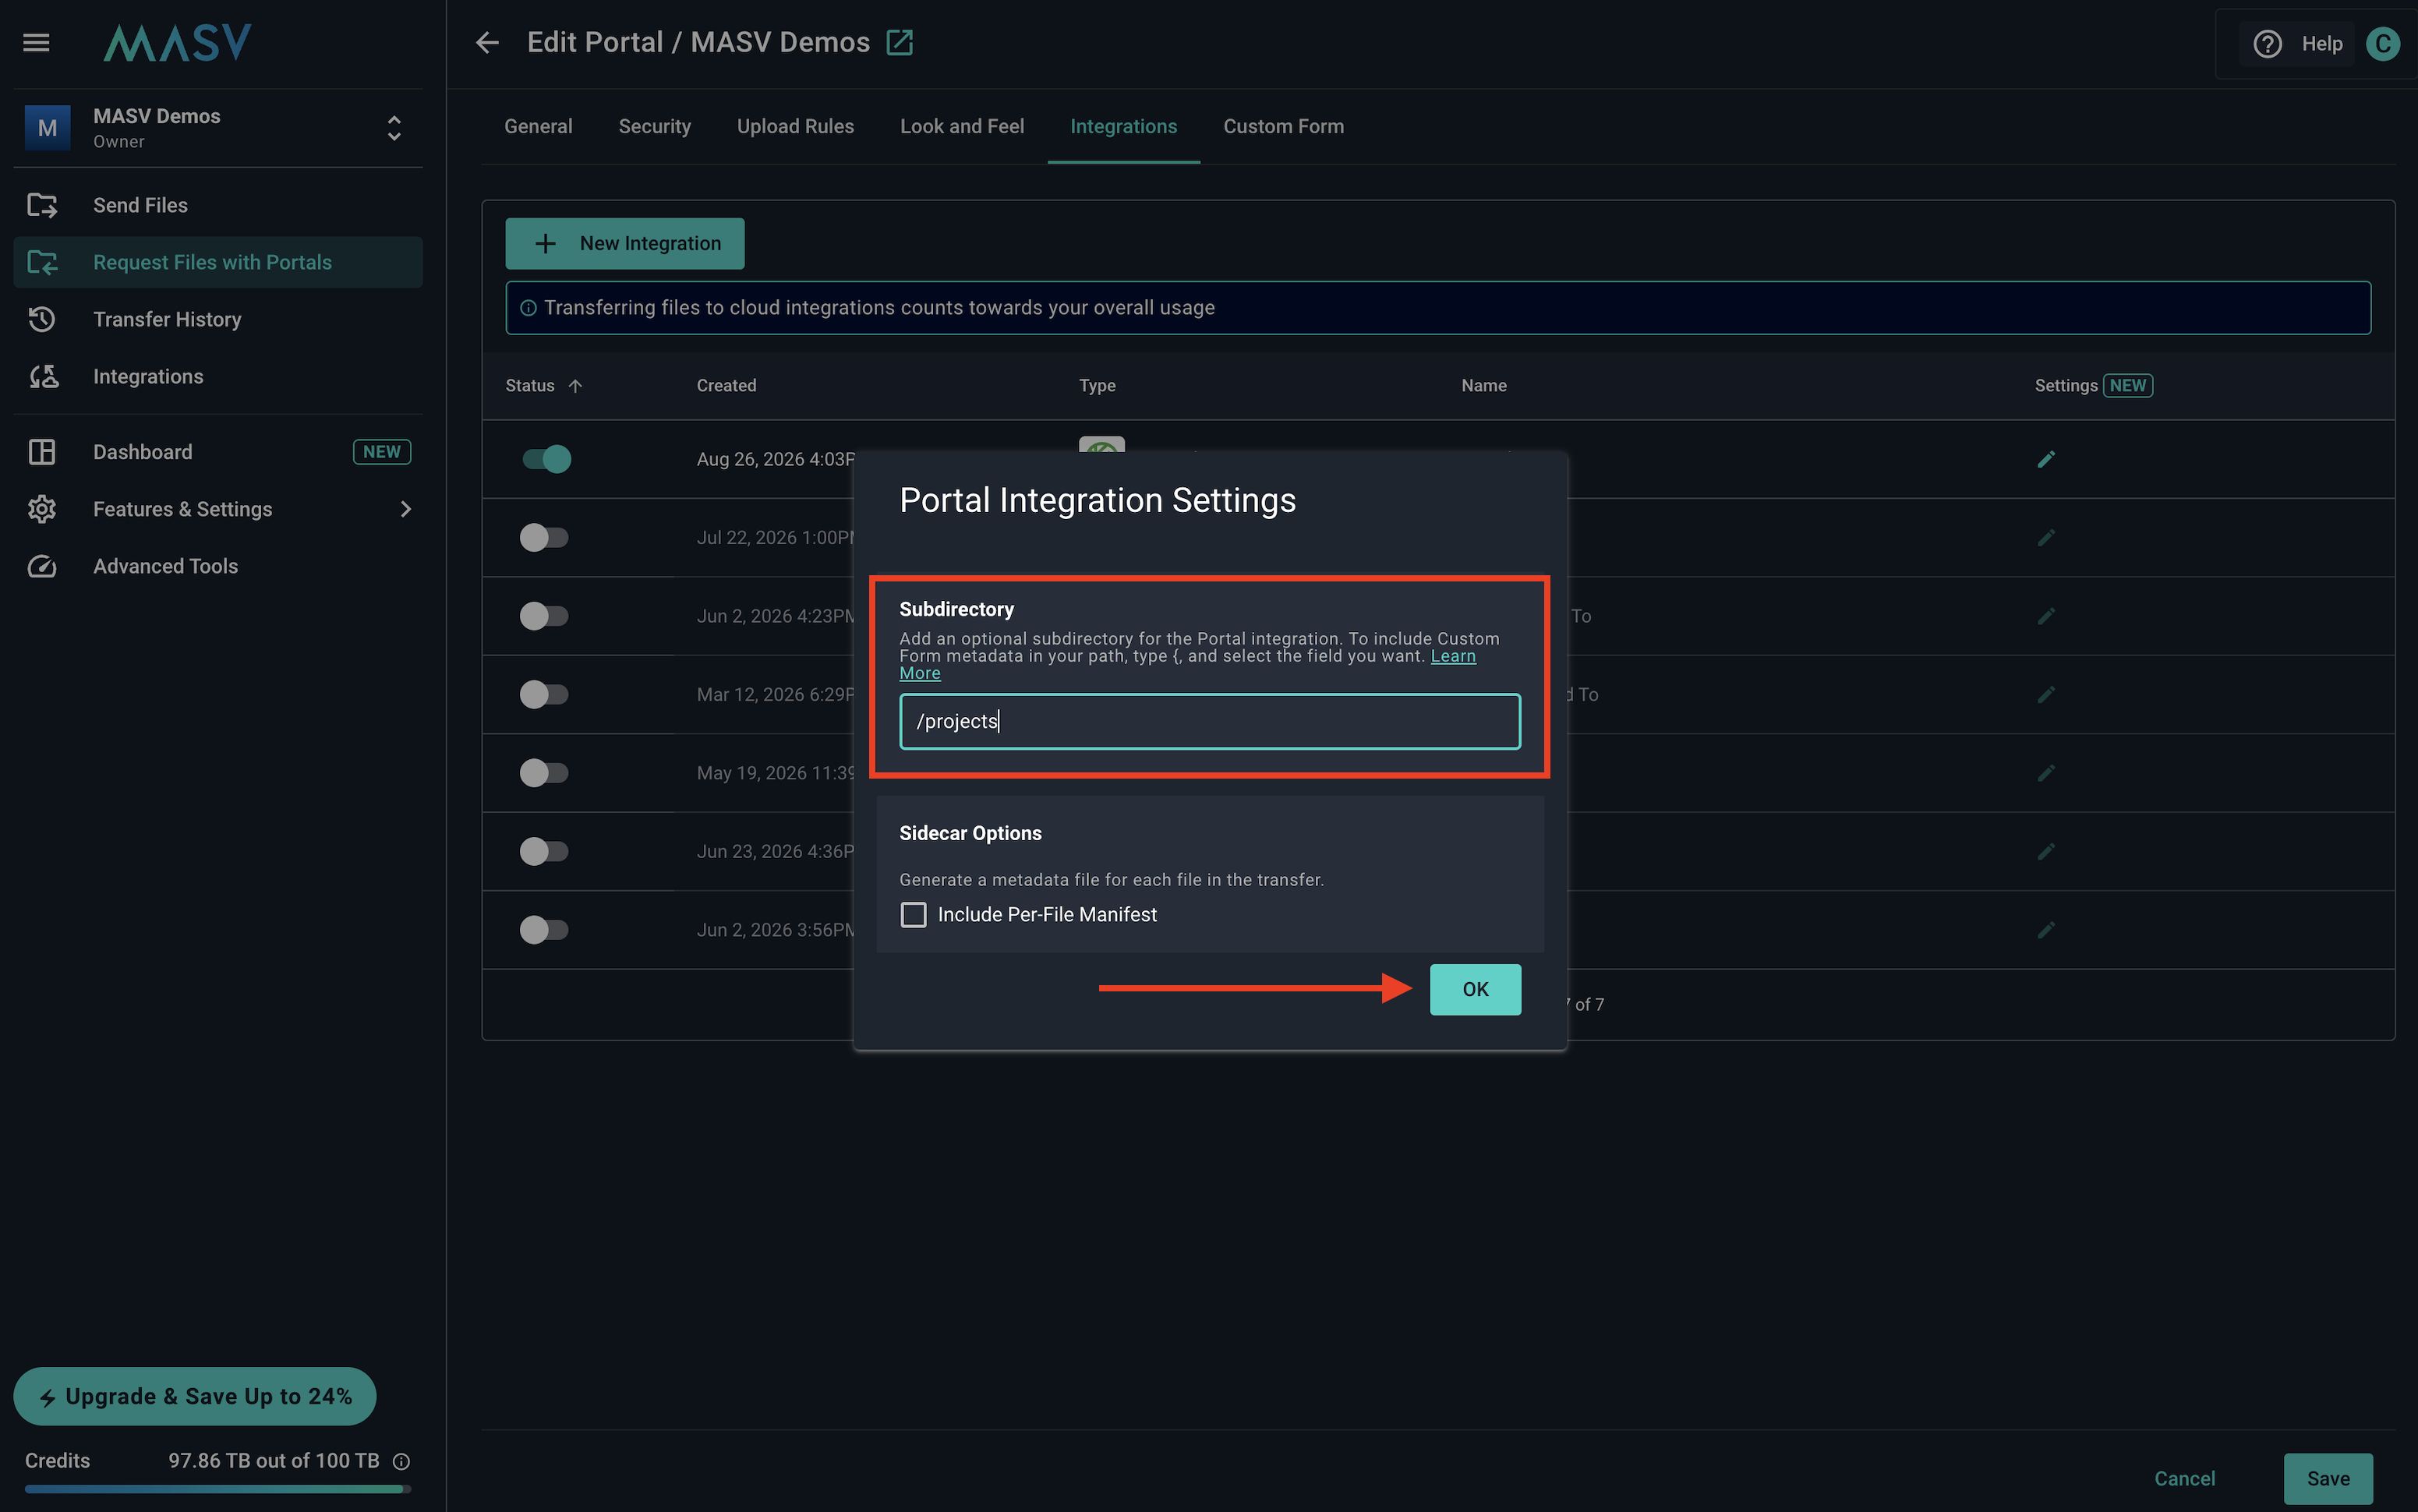
Click Save at the bottom of the Edit Portal page.
Subsequent uploads through this portal are automatically transferred to Wasabi using the configured destination. You can connect the integration to additional portals as needed. For more details, see How to use MASV Portals to send files to integrations.
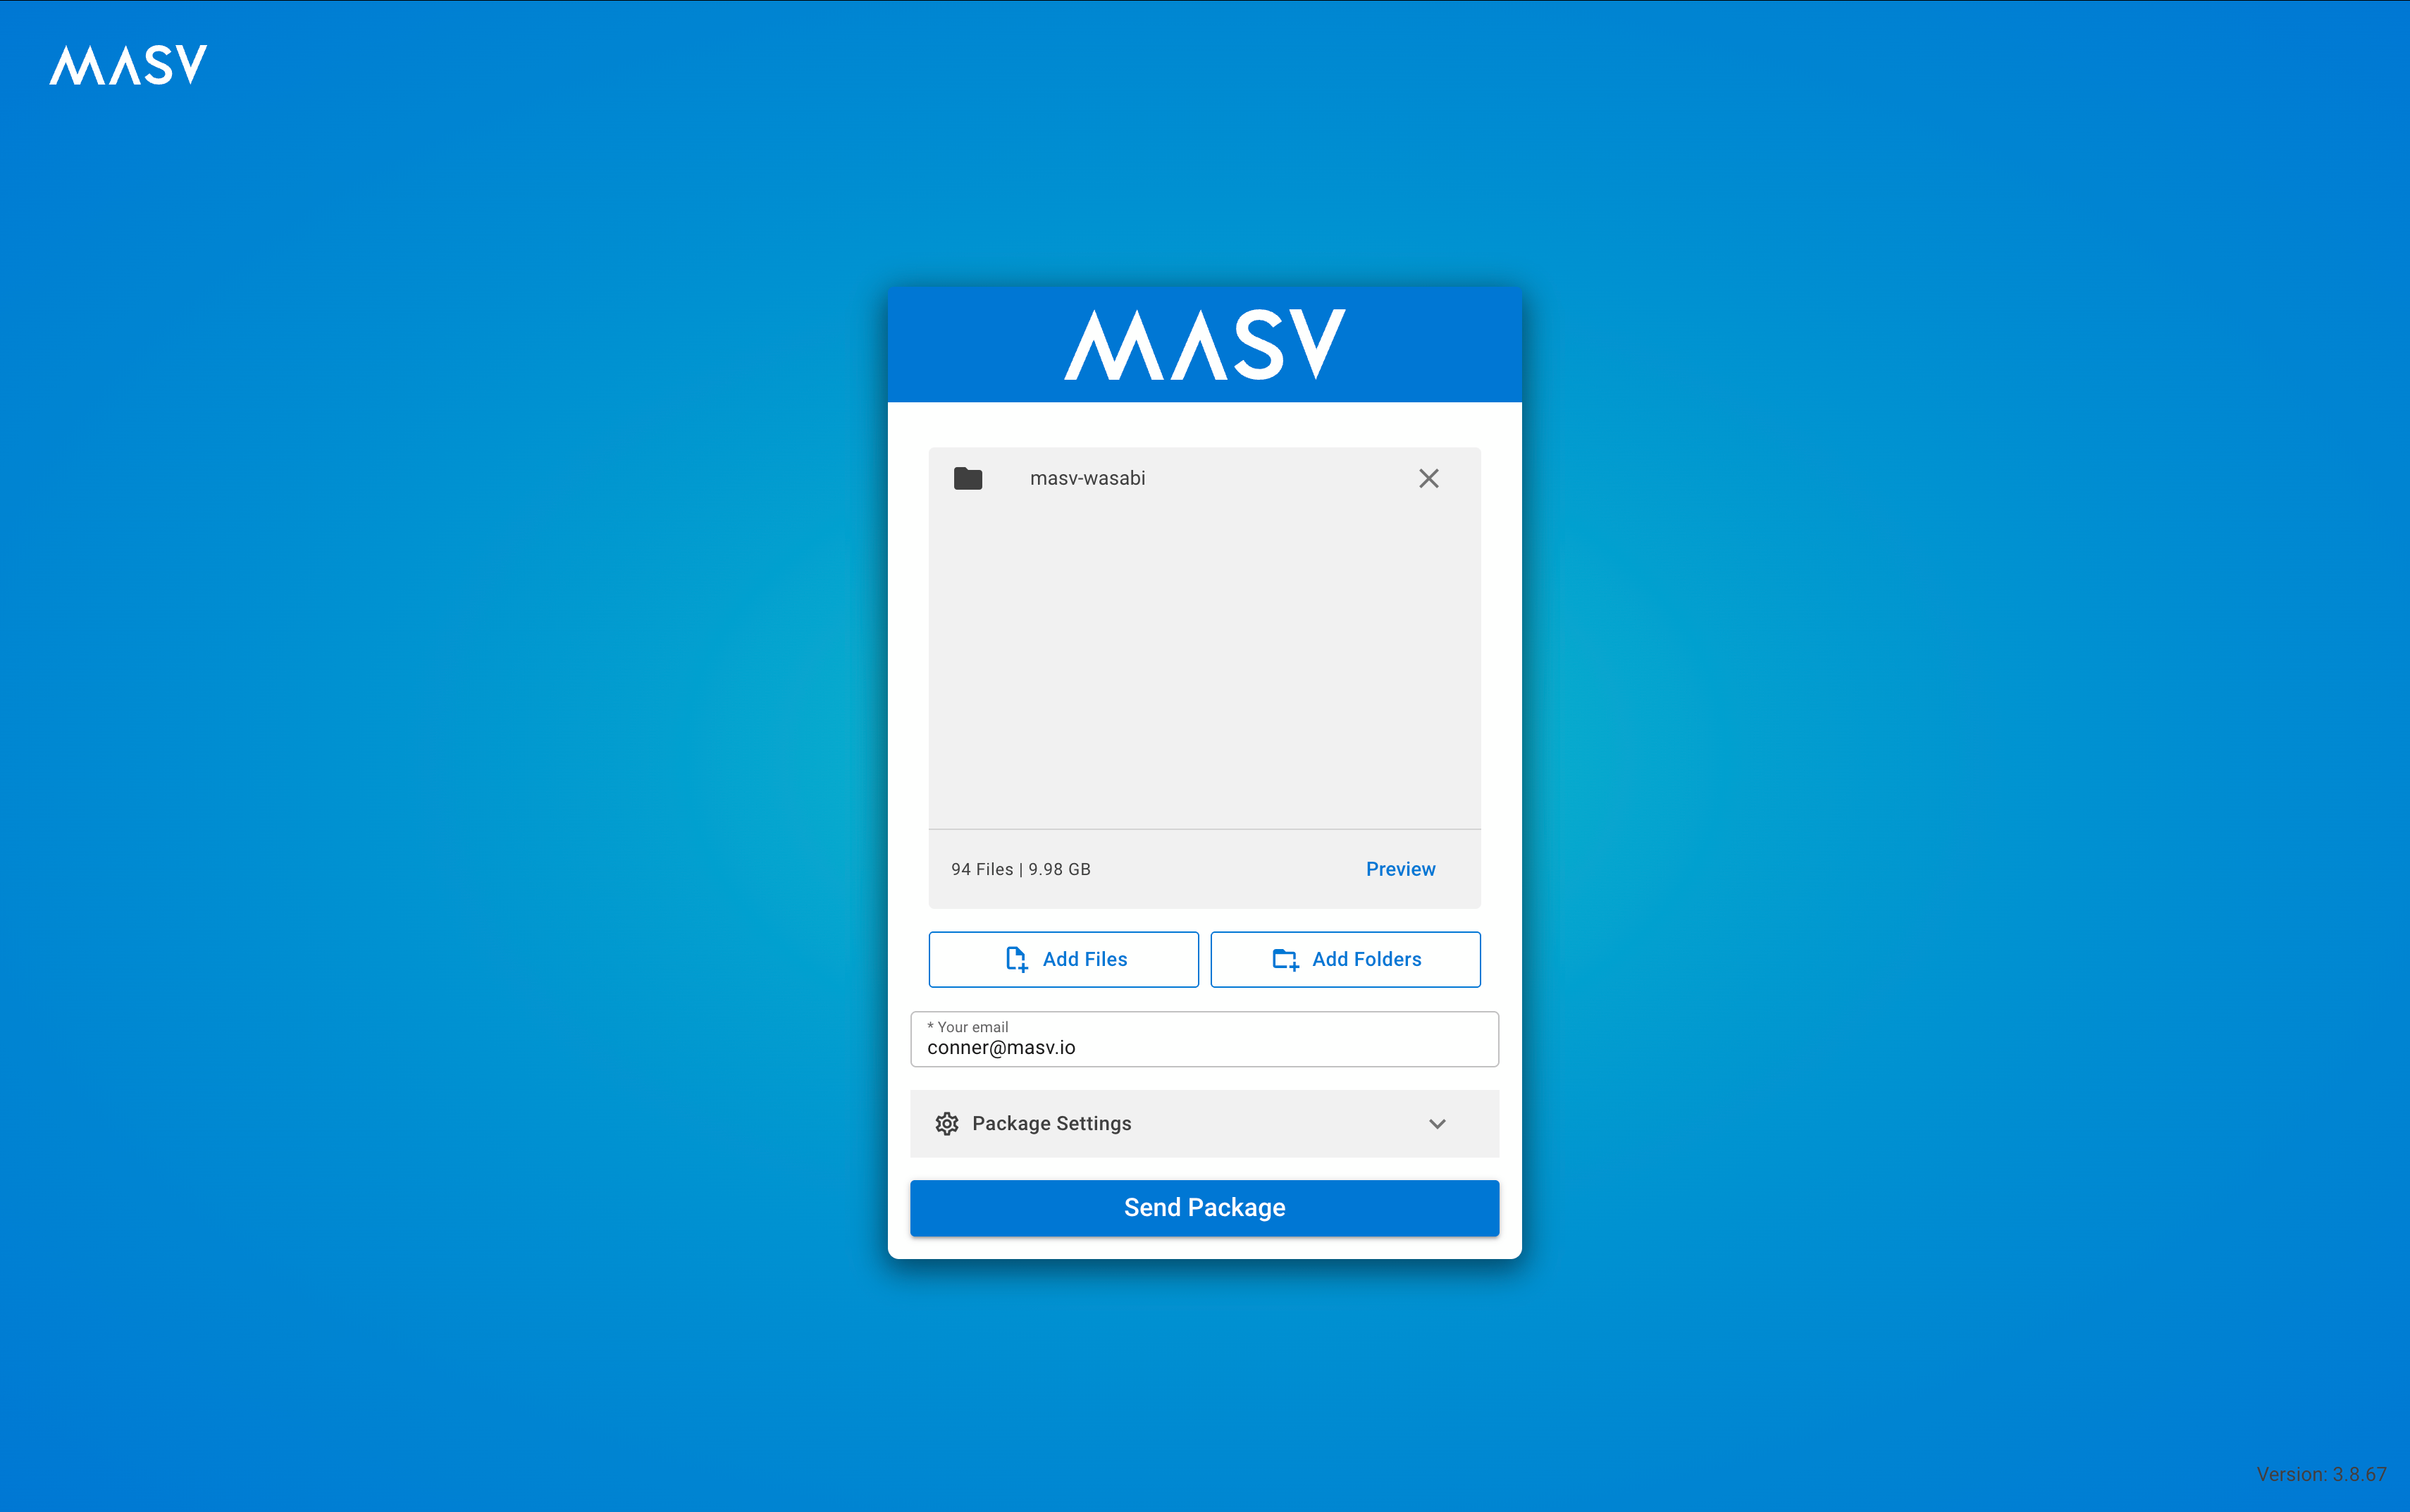
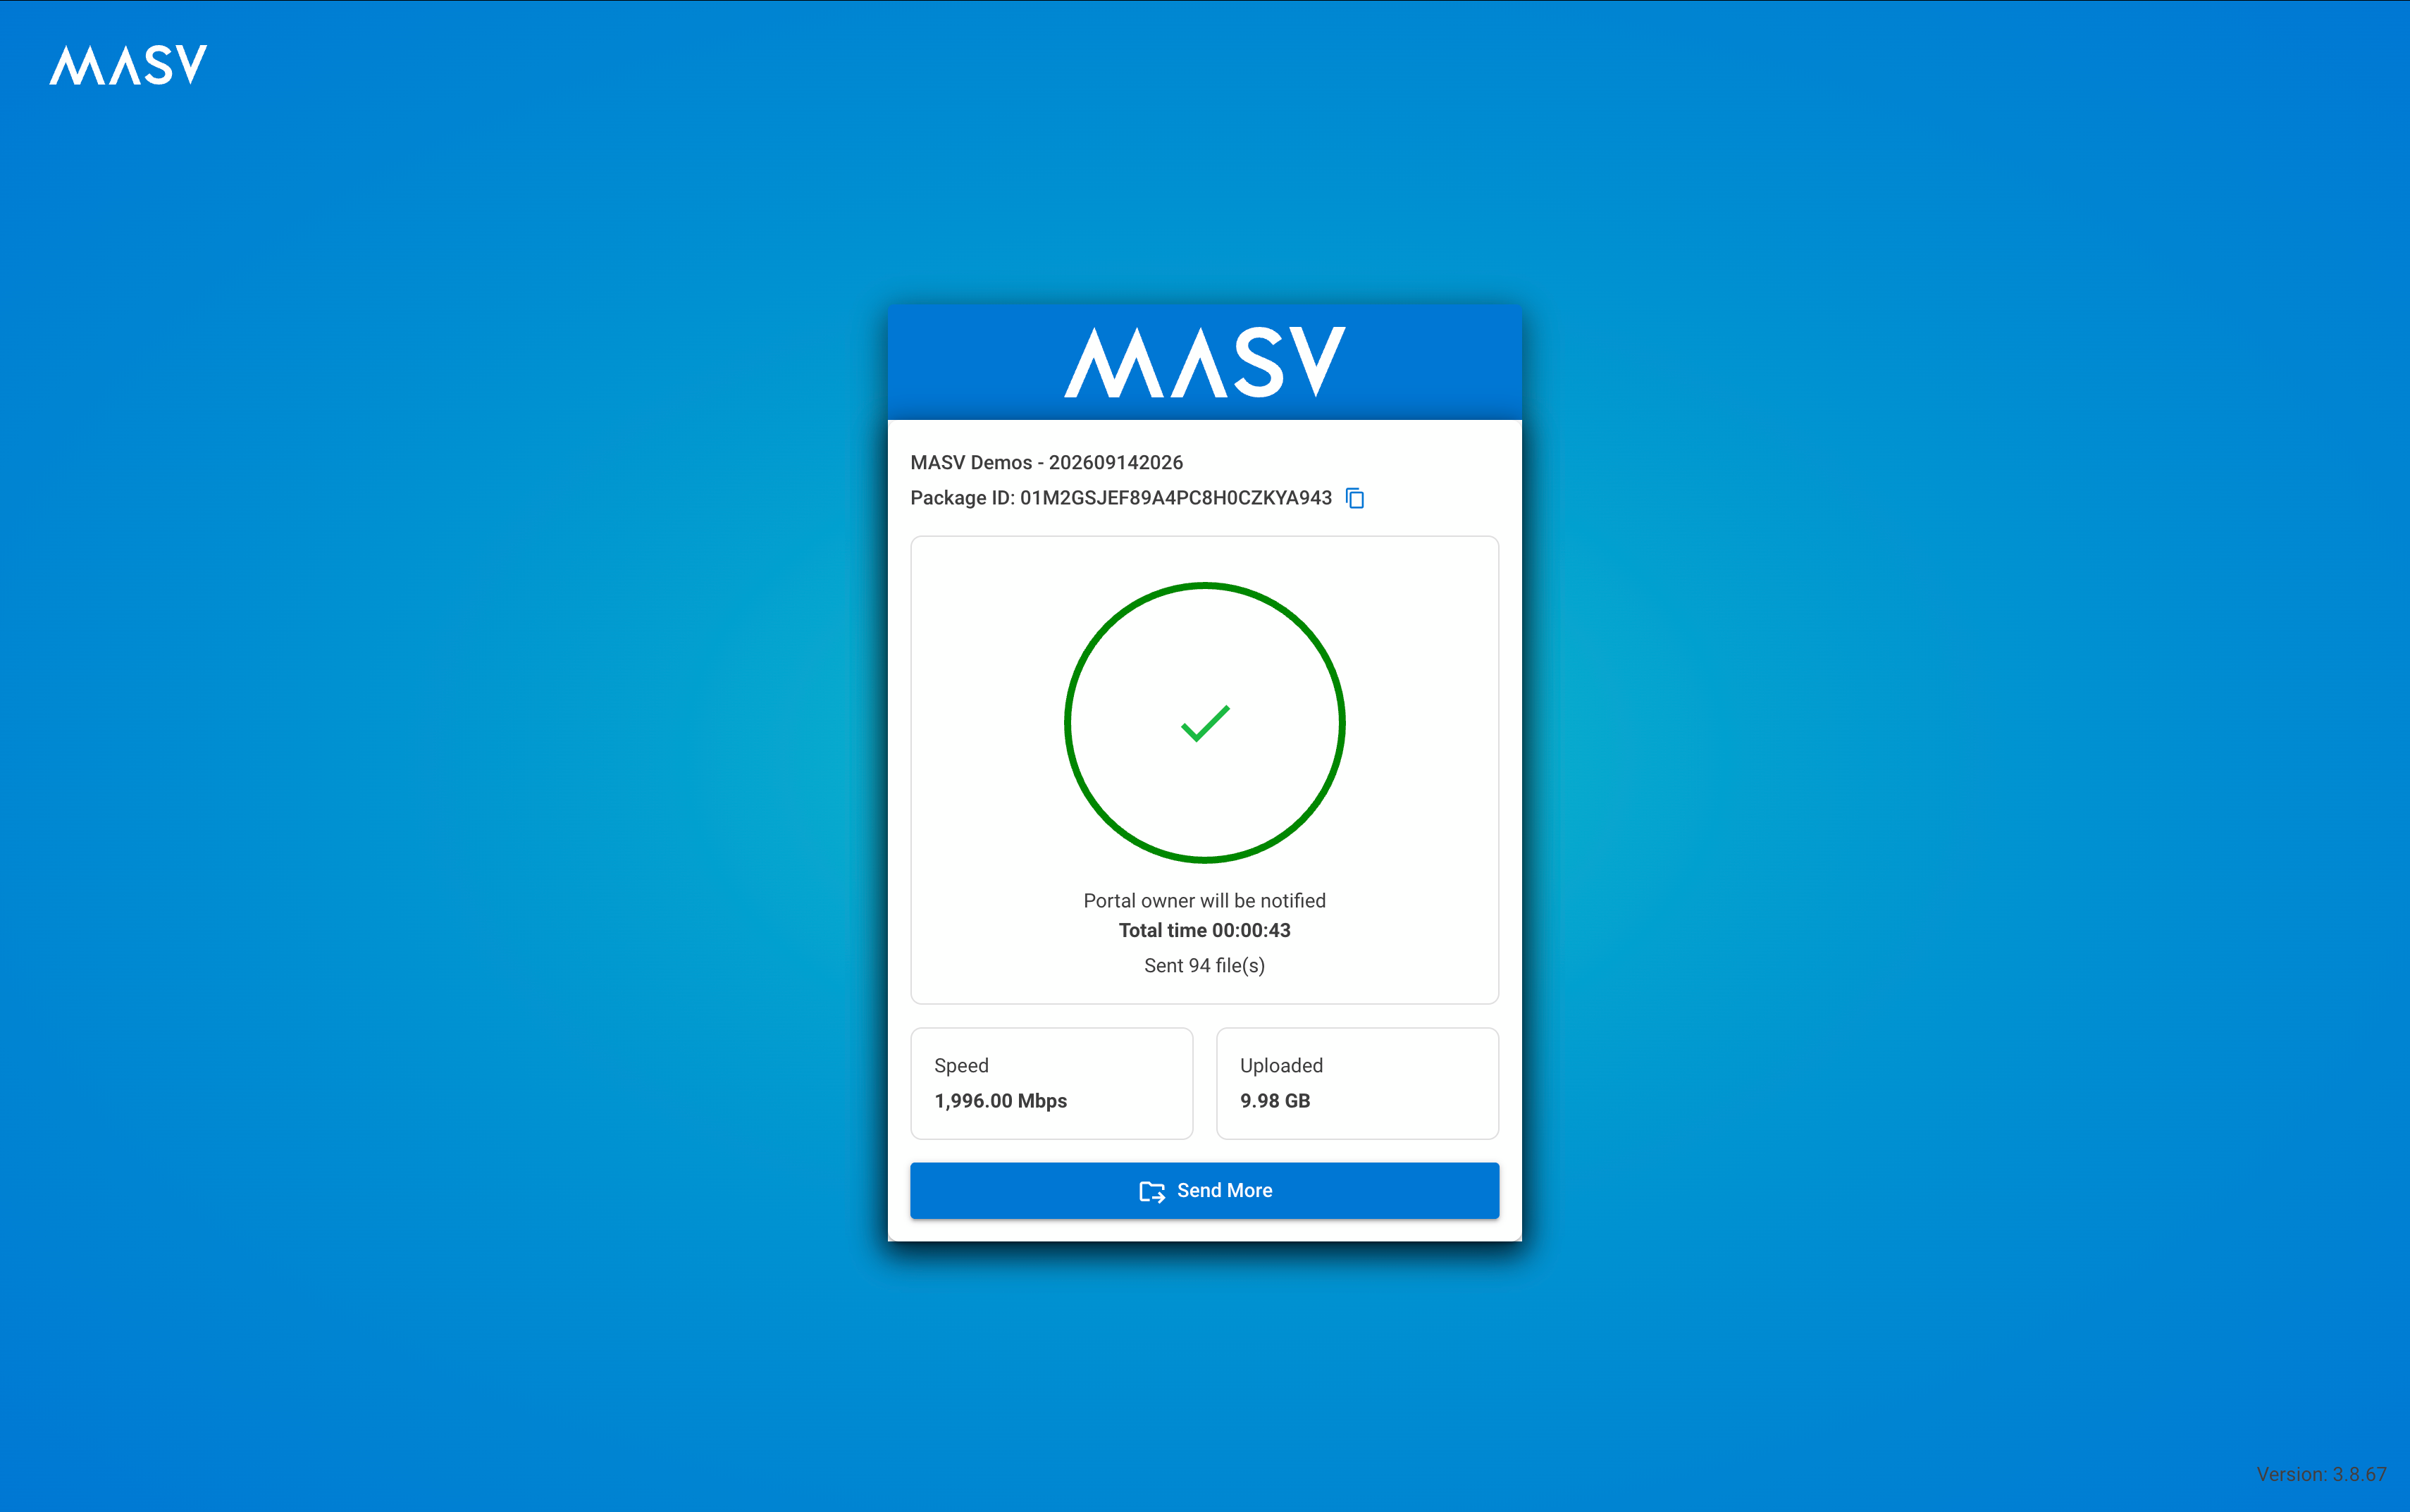
Saving an Existing MASV Package to Wasabi
In the MASV Web App, select Transfer History.
Select either the Sent or Received tab.
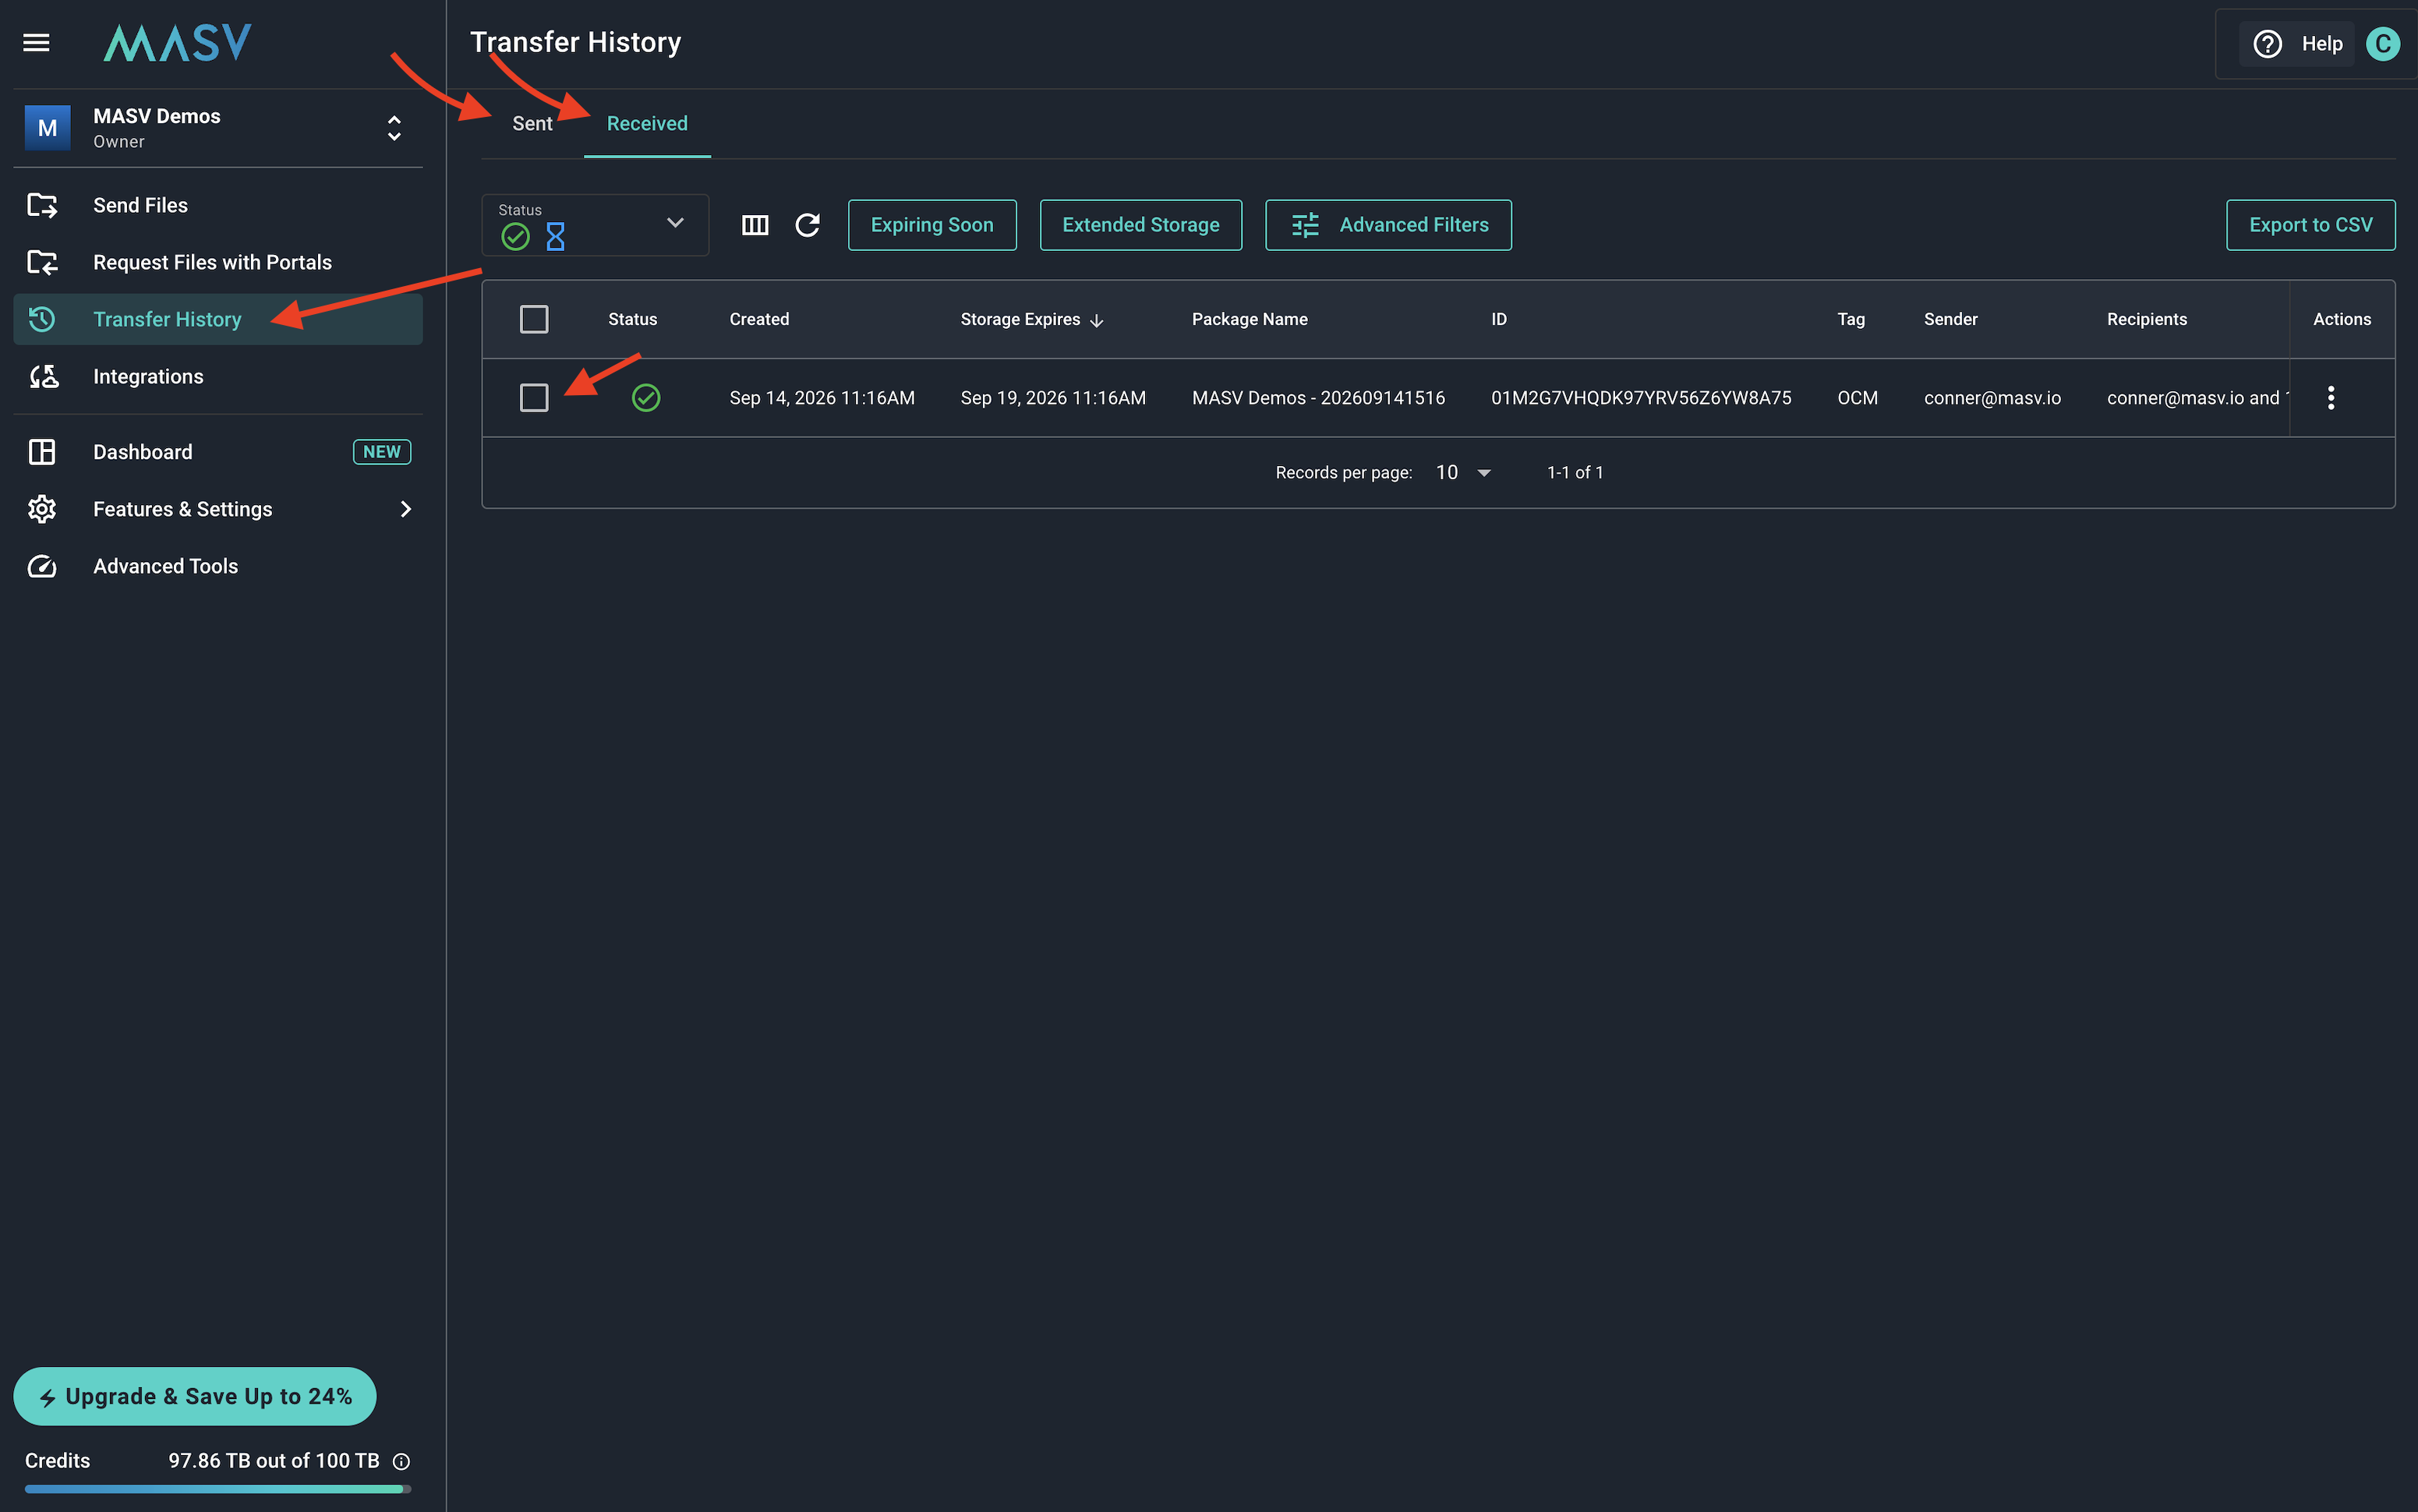
Select an unexpired package to open the corresponding Package Details page.
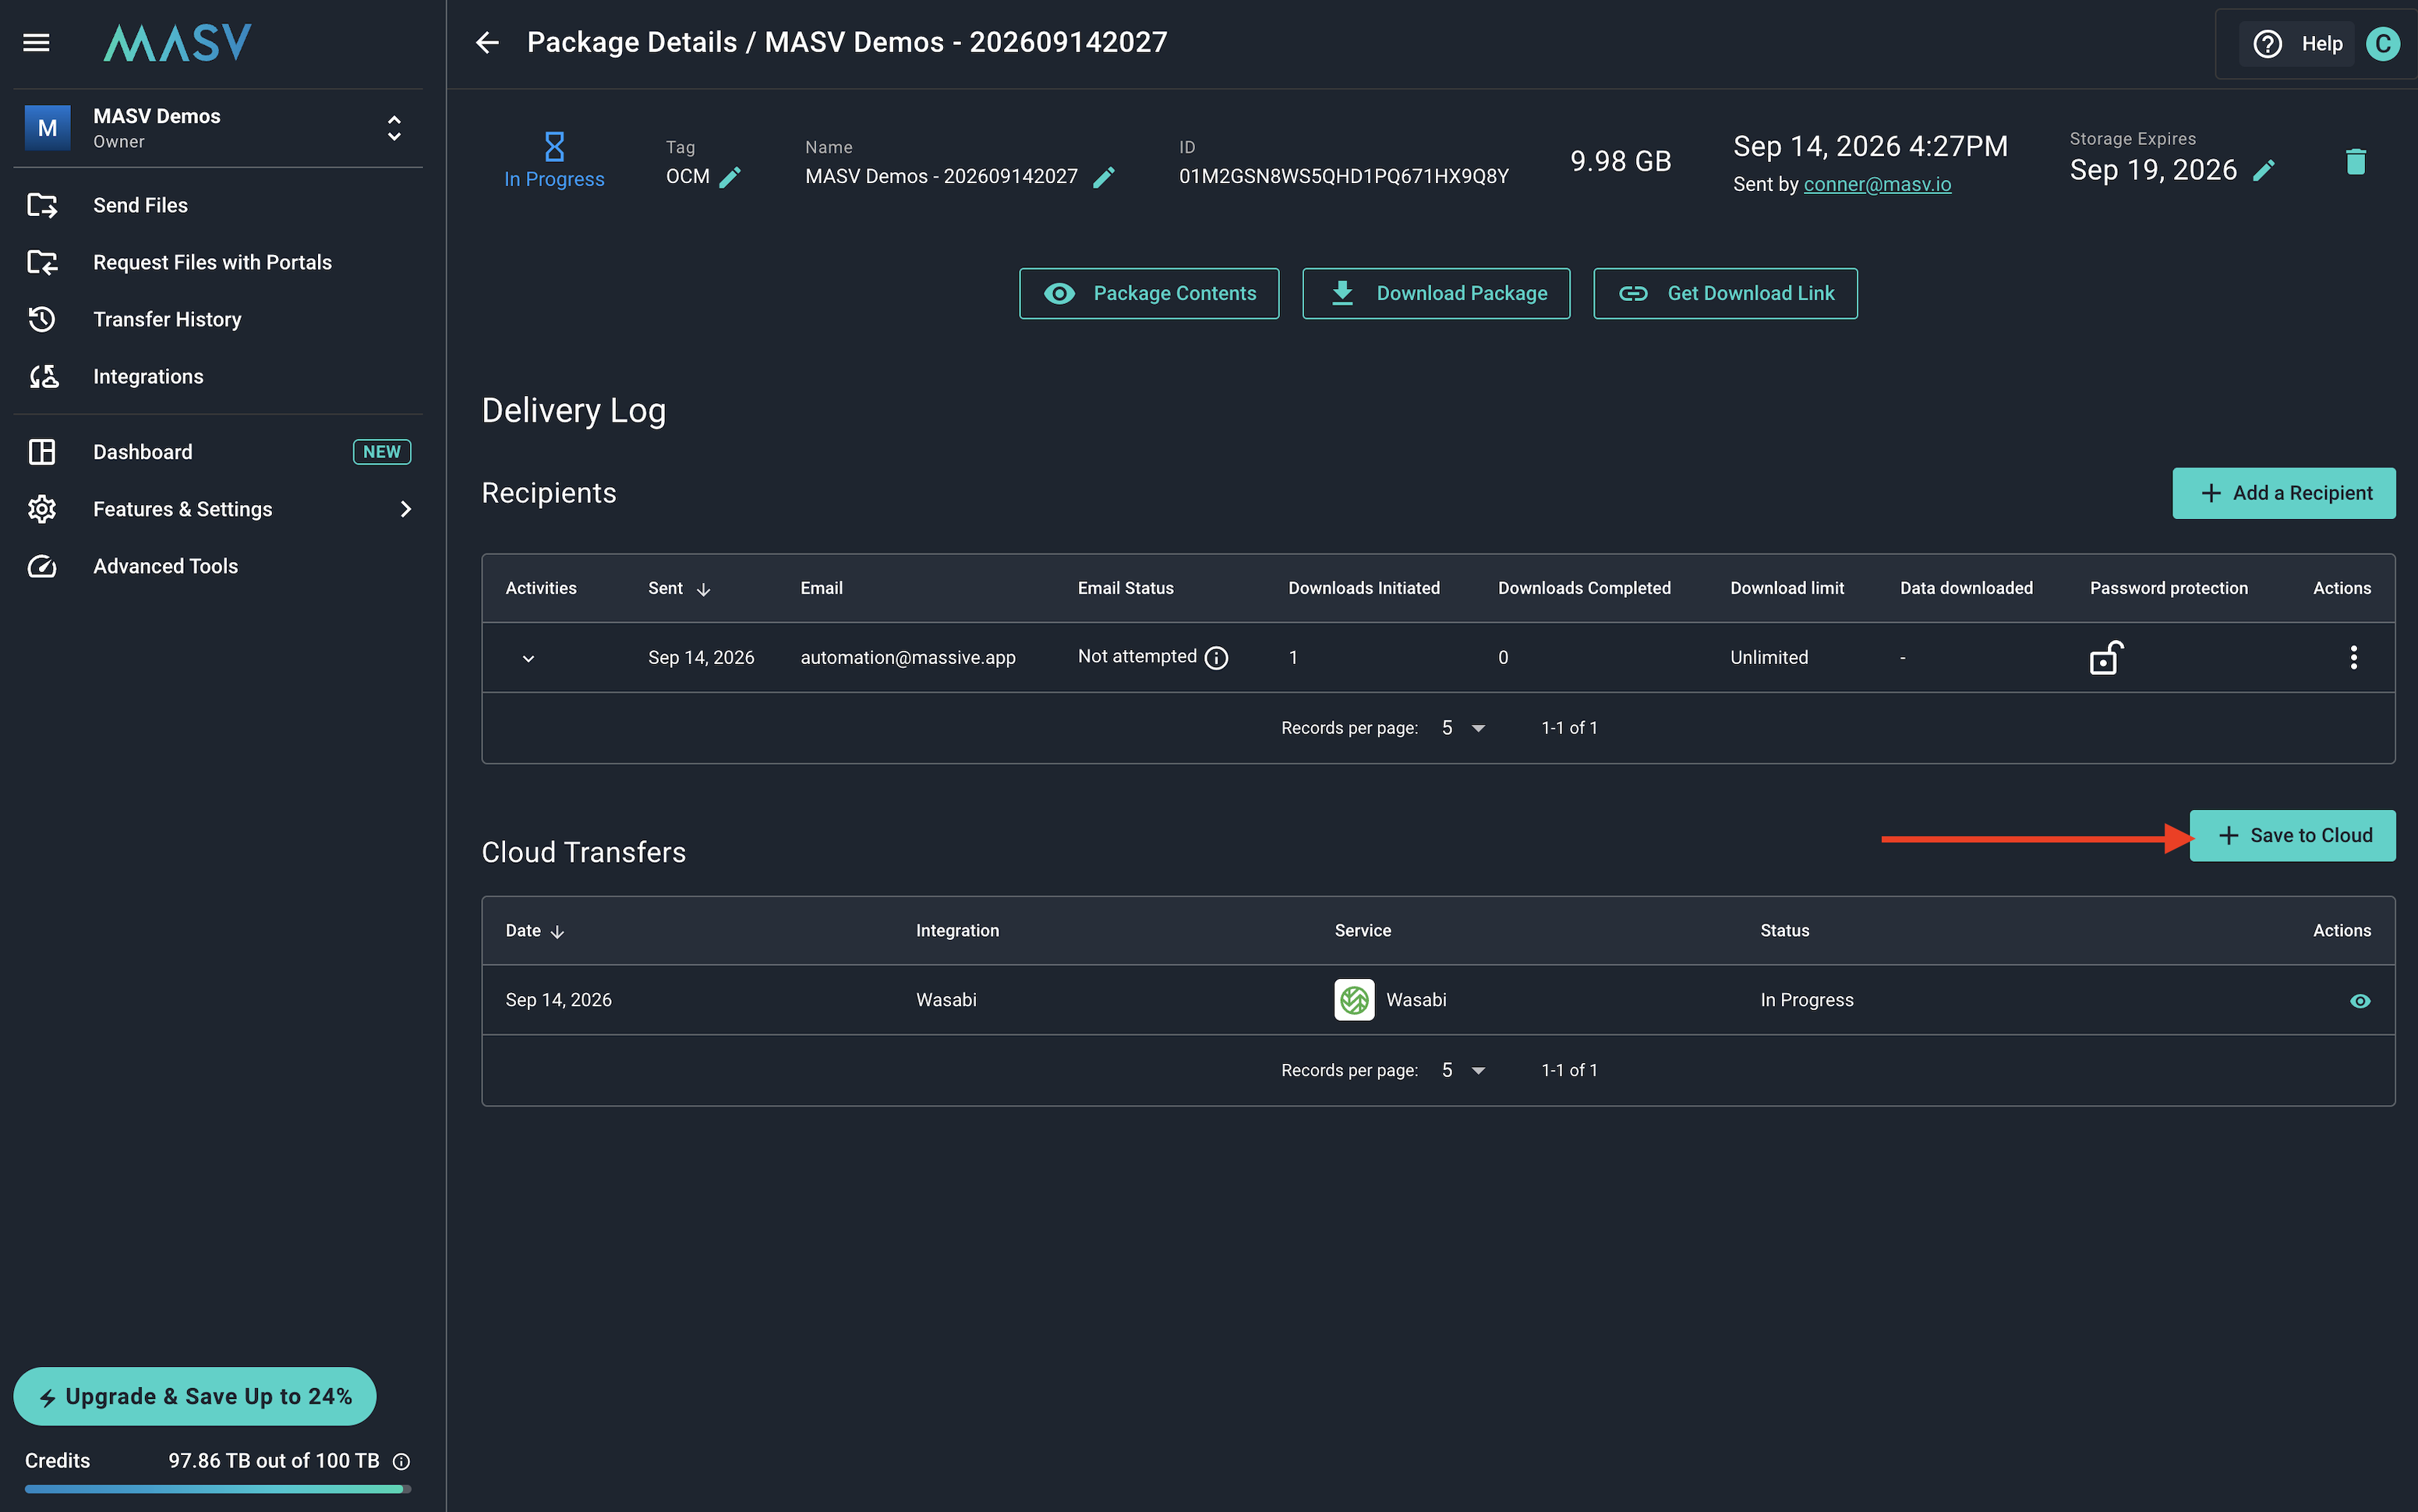
Select + Save to Cloud.
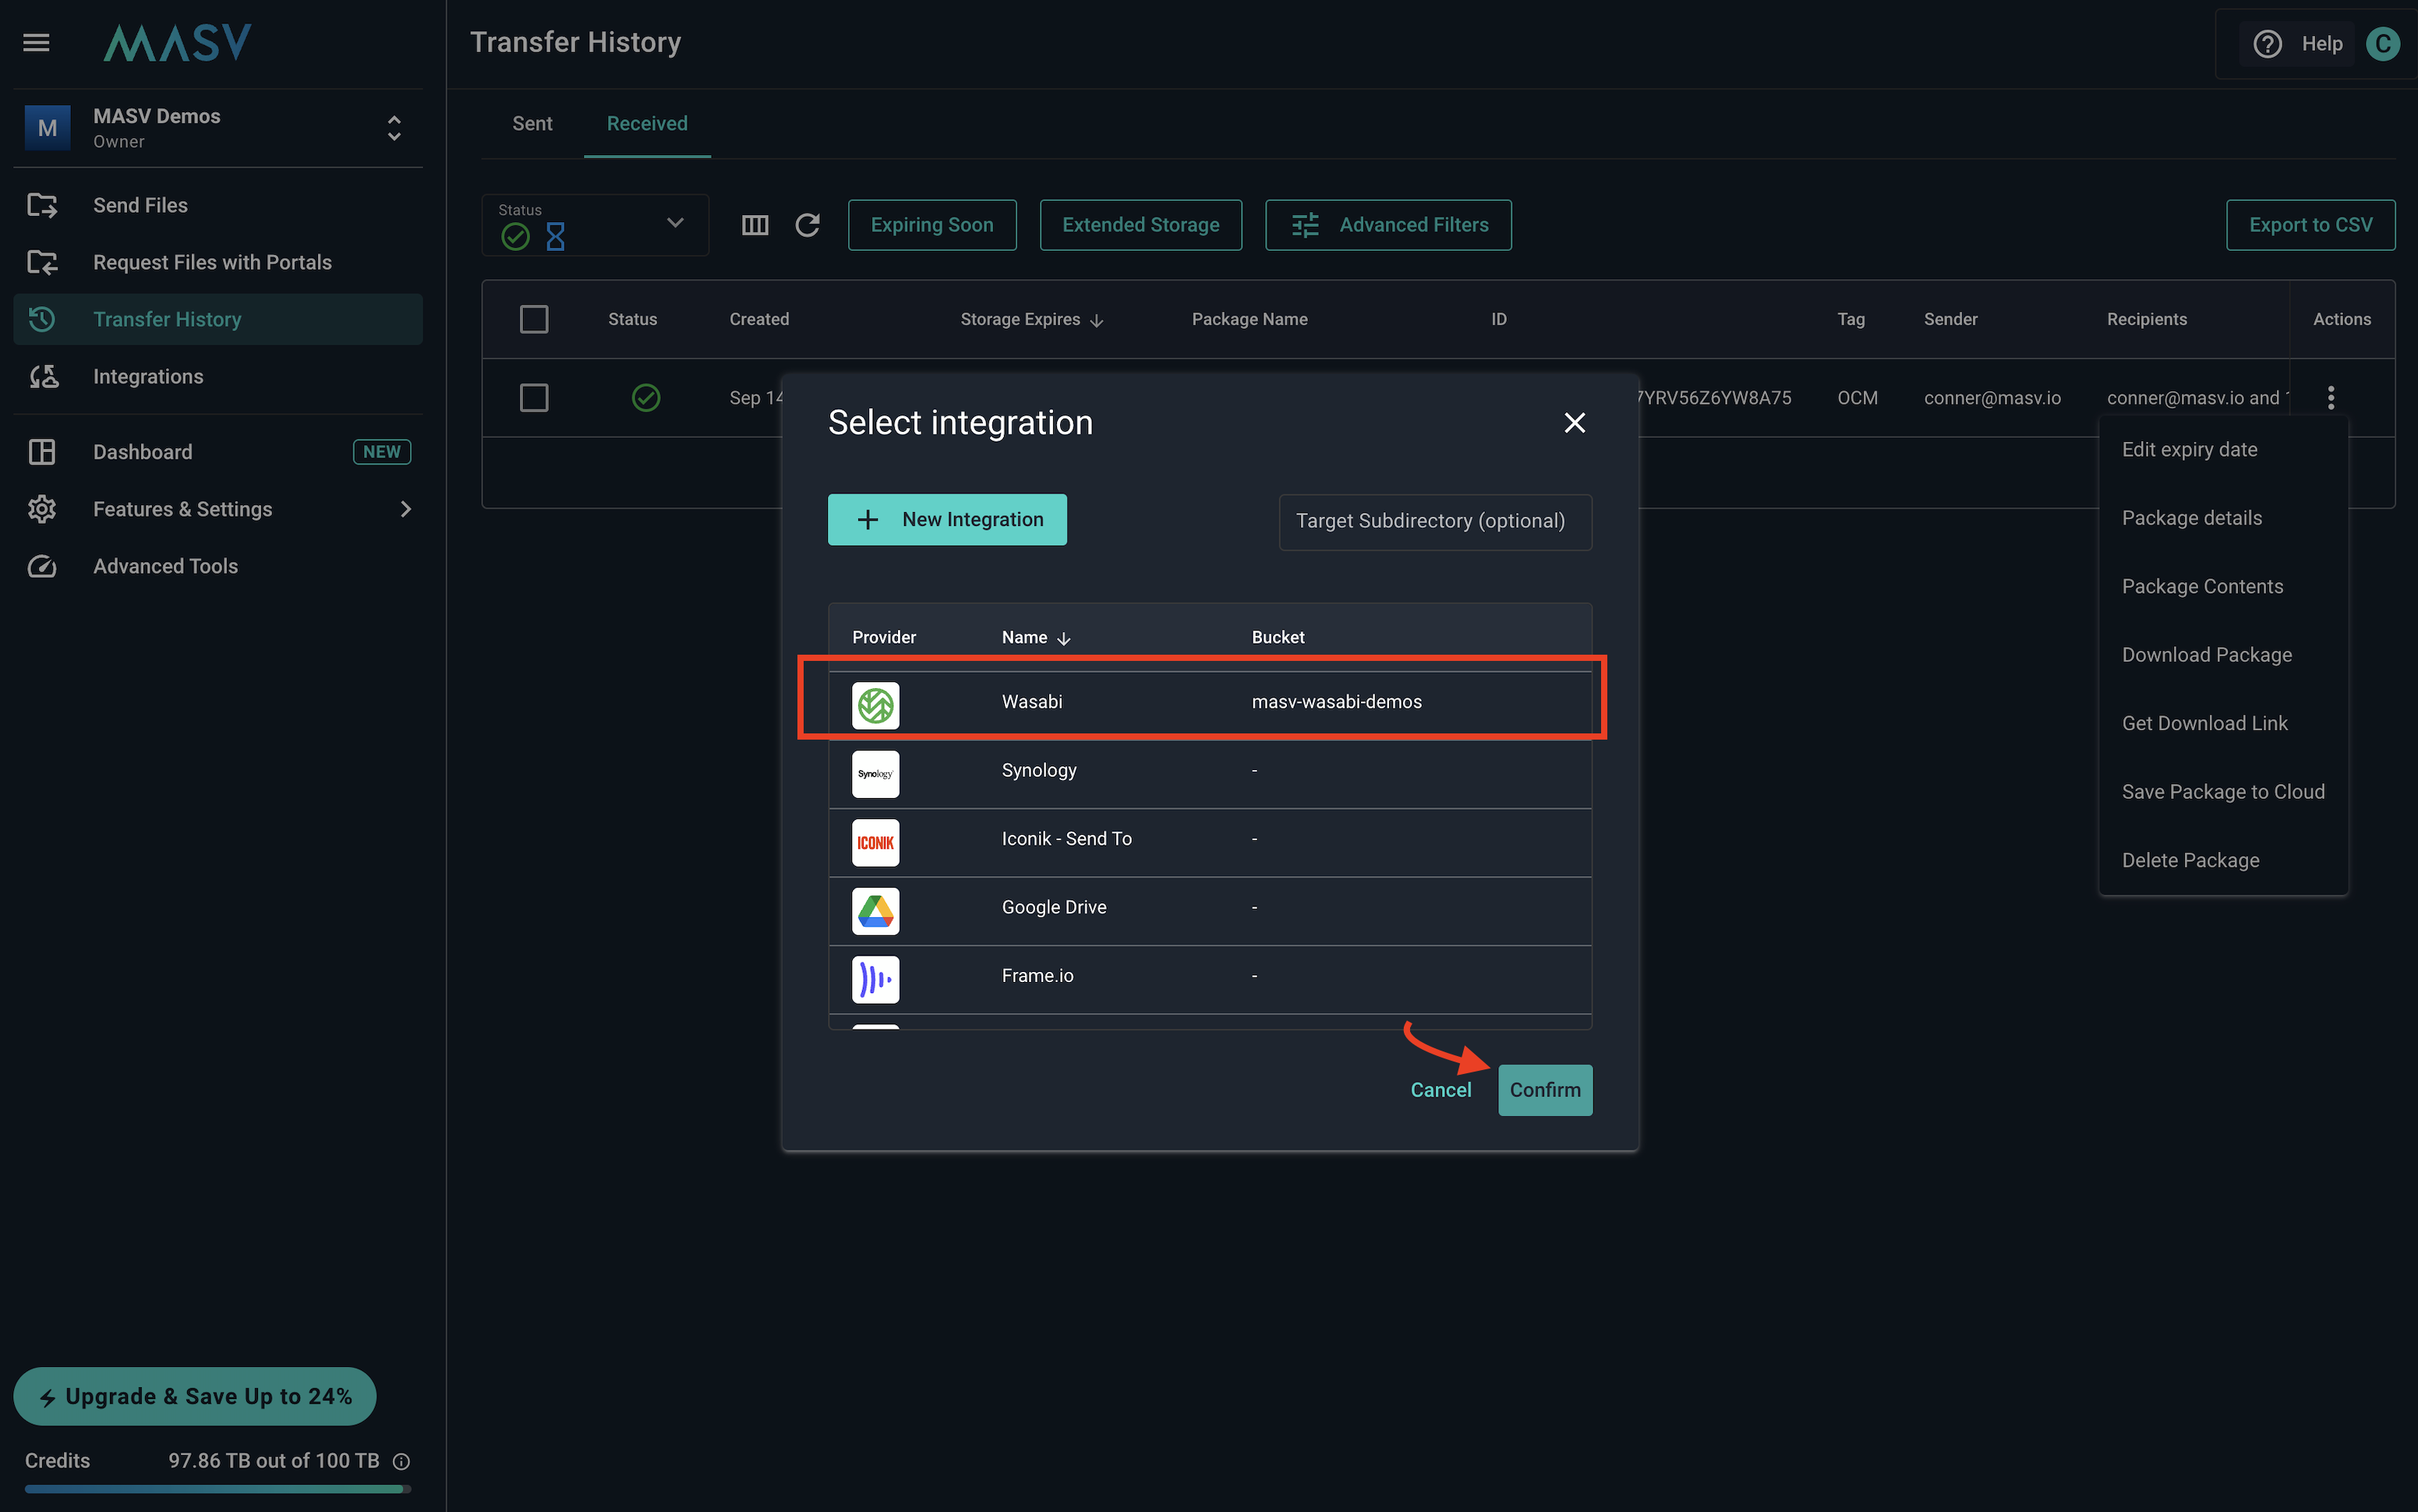
On the Select Integration window, choose your Wasabi Save to Cloud integration.
Click Confirm to start the transfer.
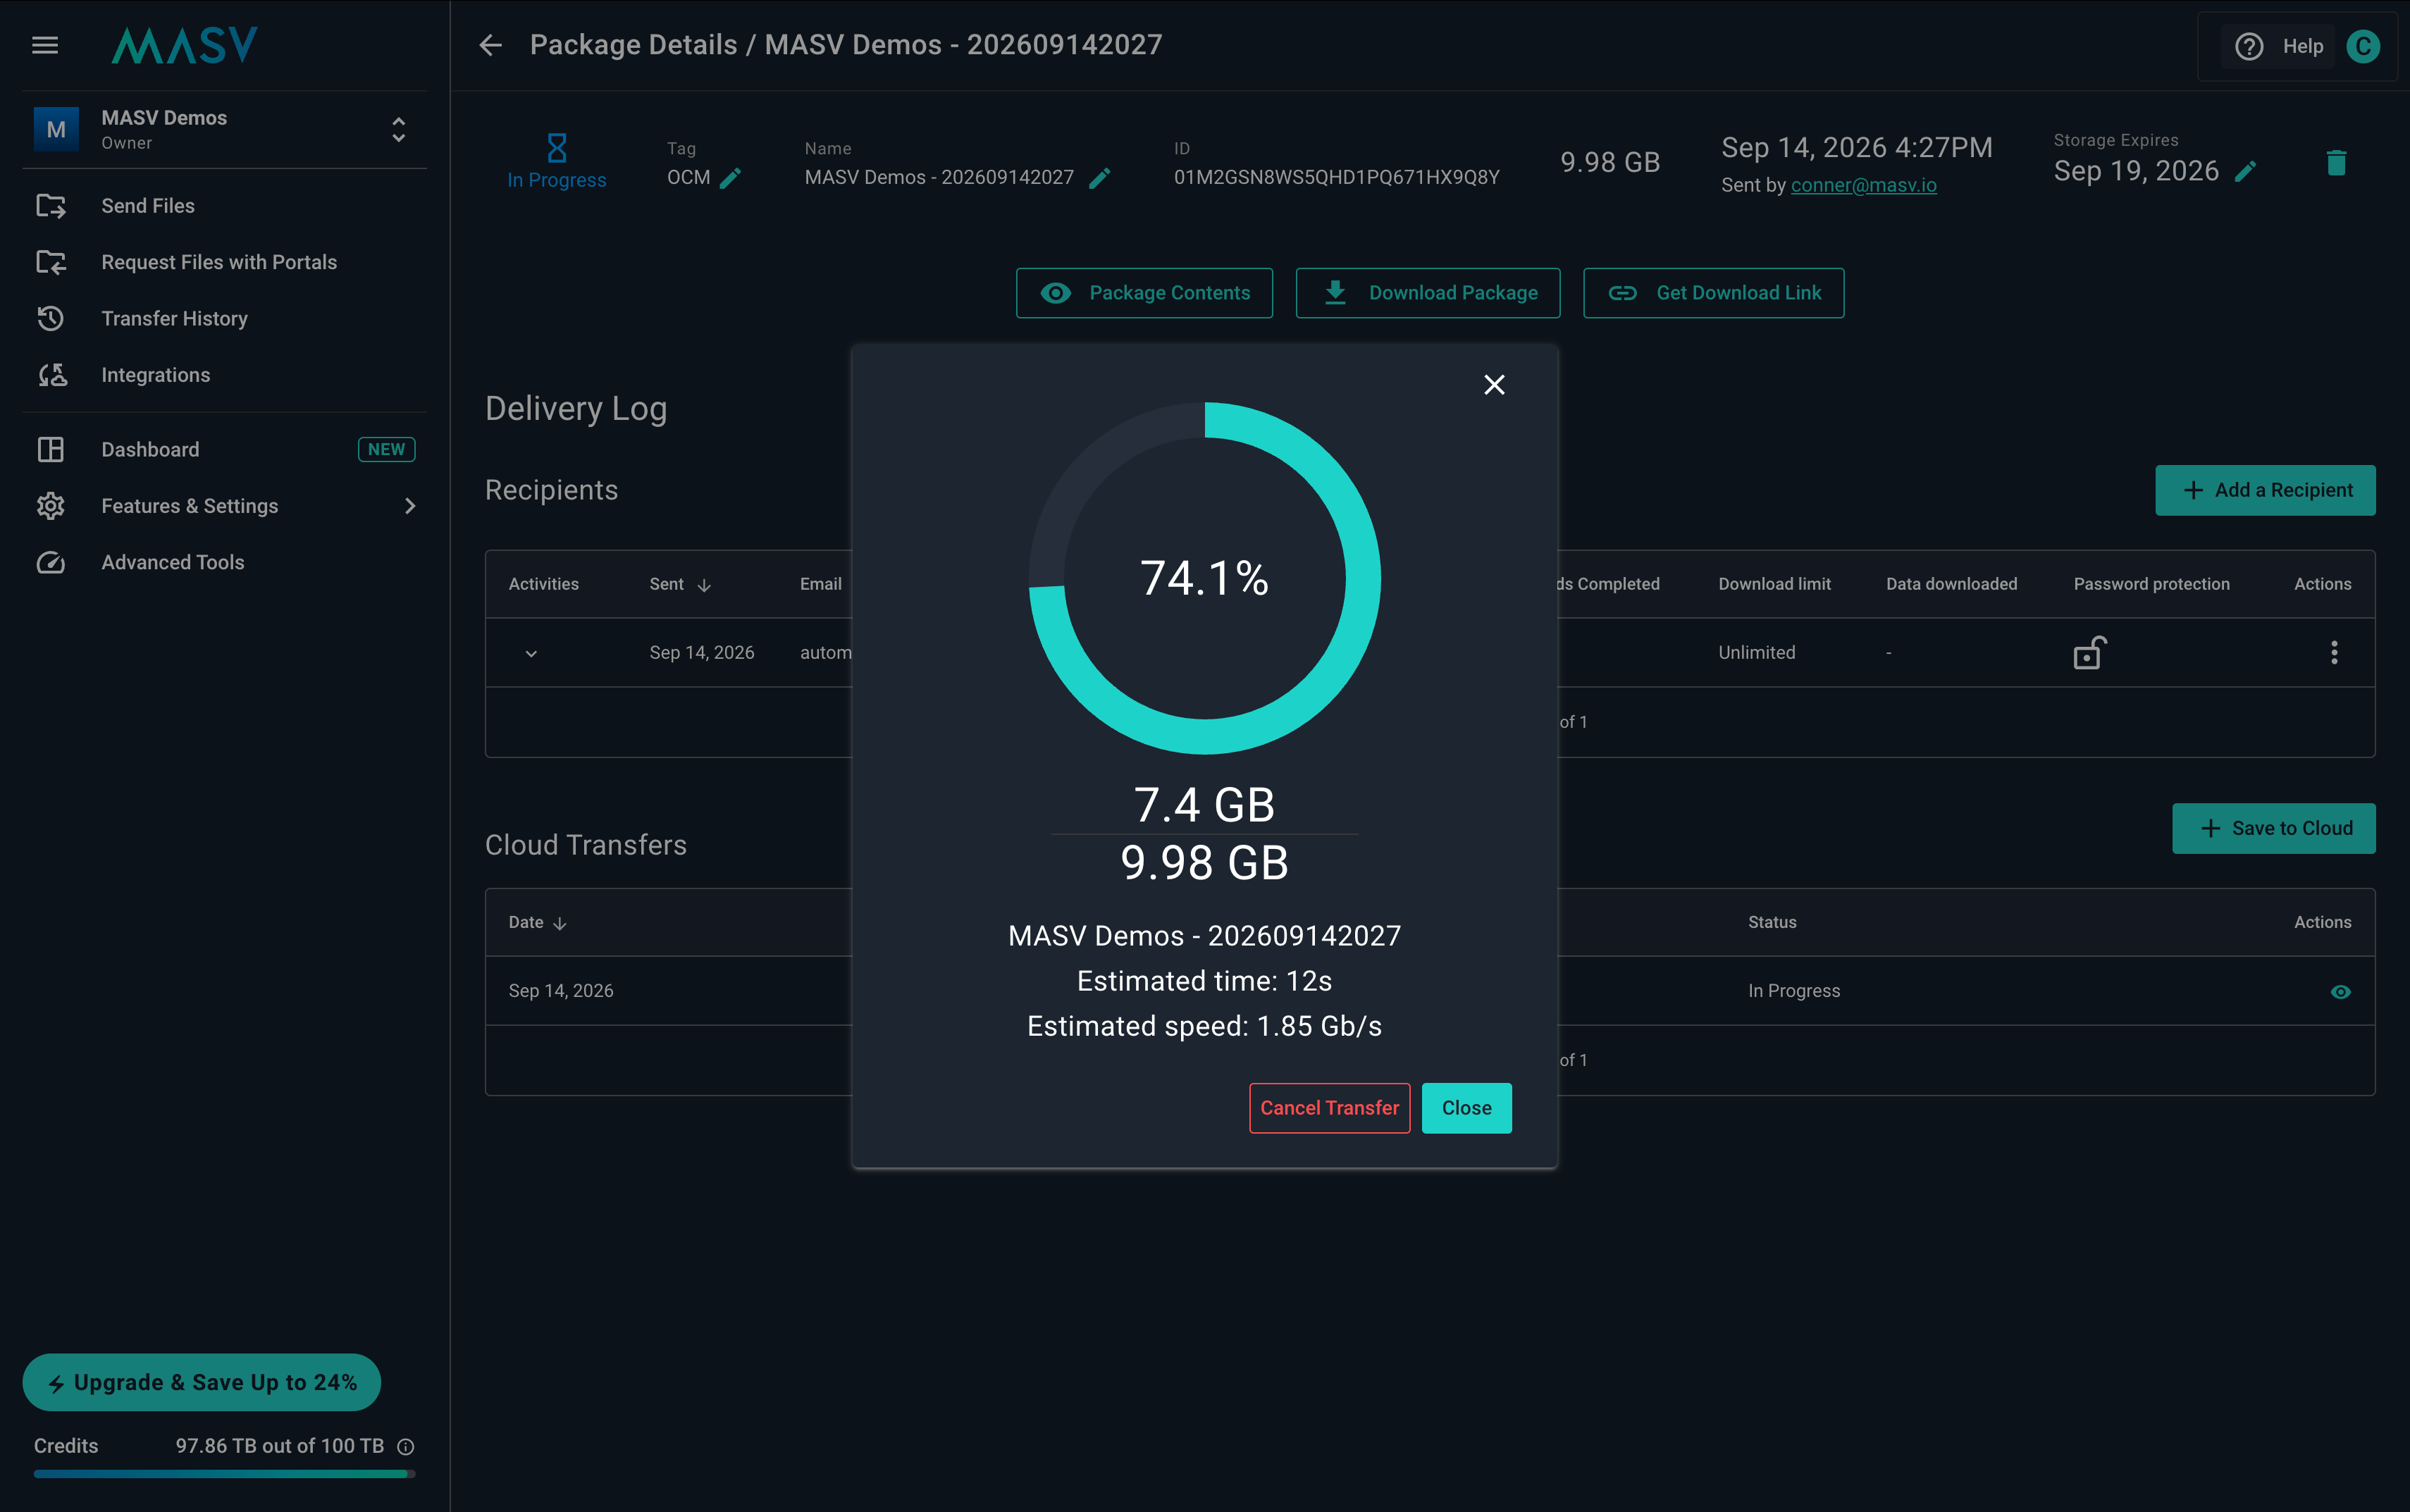
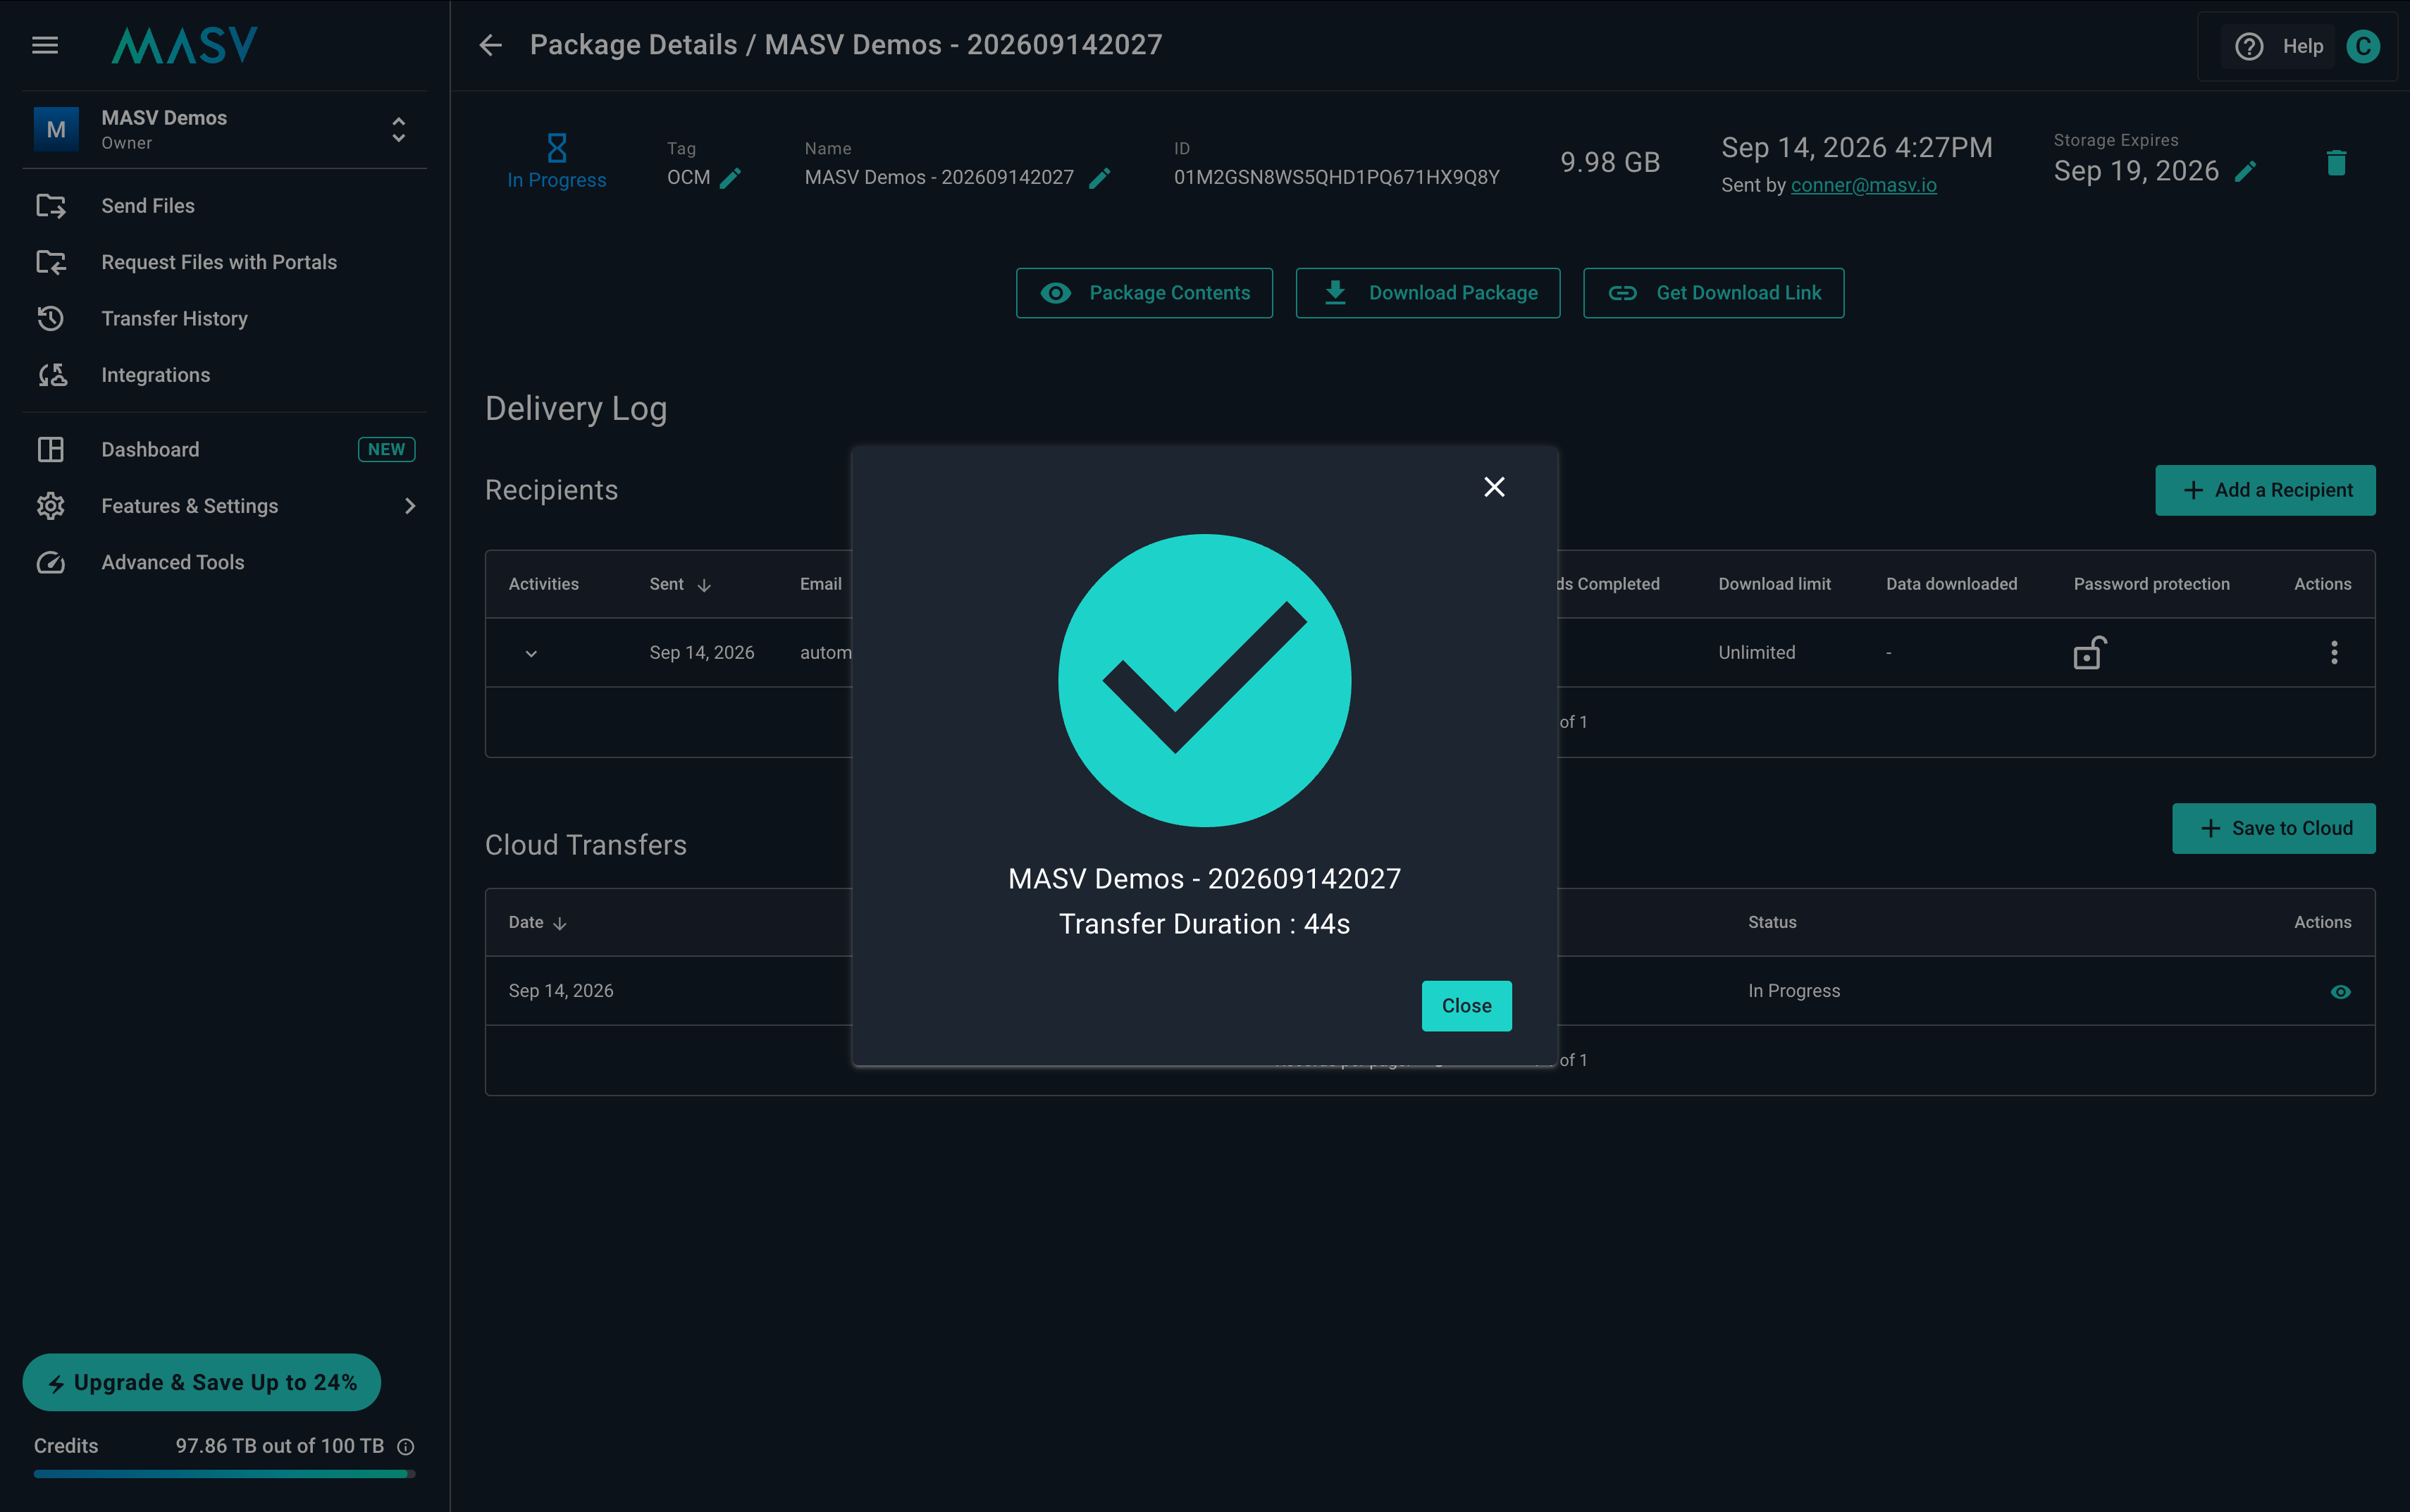
MASV transfers the package into the configured Wasabi destination. For more details, see Send packages alread in MASV.
Sending From Wasabi
Use Send from Cloud to select files in Wasabi and send them through MASV.
Configuring Wasabi Permissions
The access key used for this direction must allow:
s3:GetObjects3:ListBucket
Adding the Send From Cloud Integration
Log in to the MASV Web App.
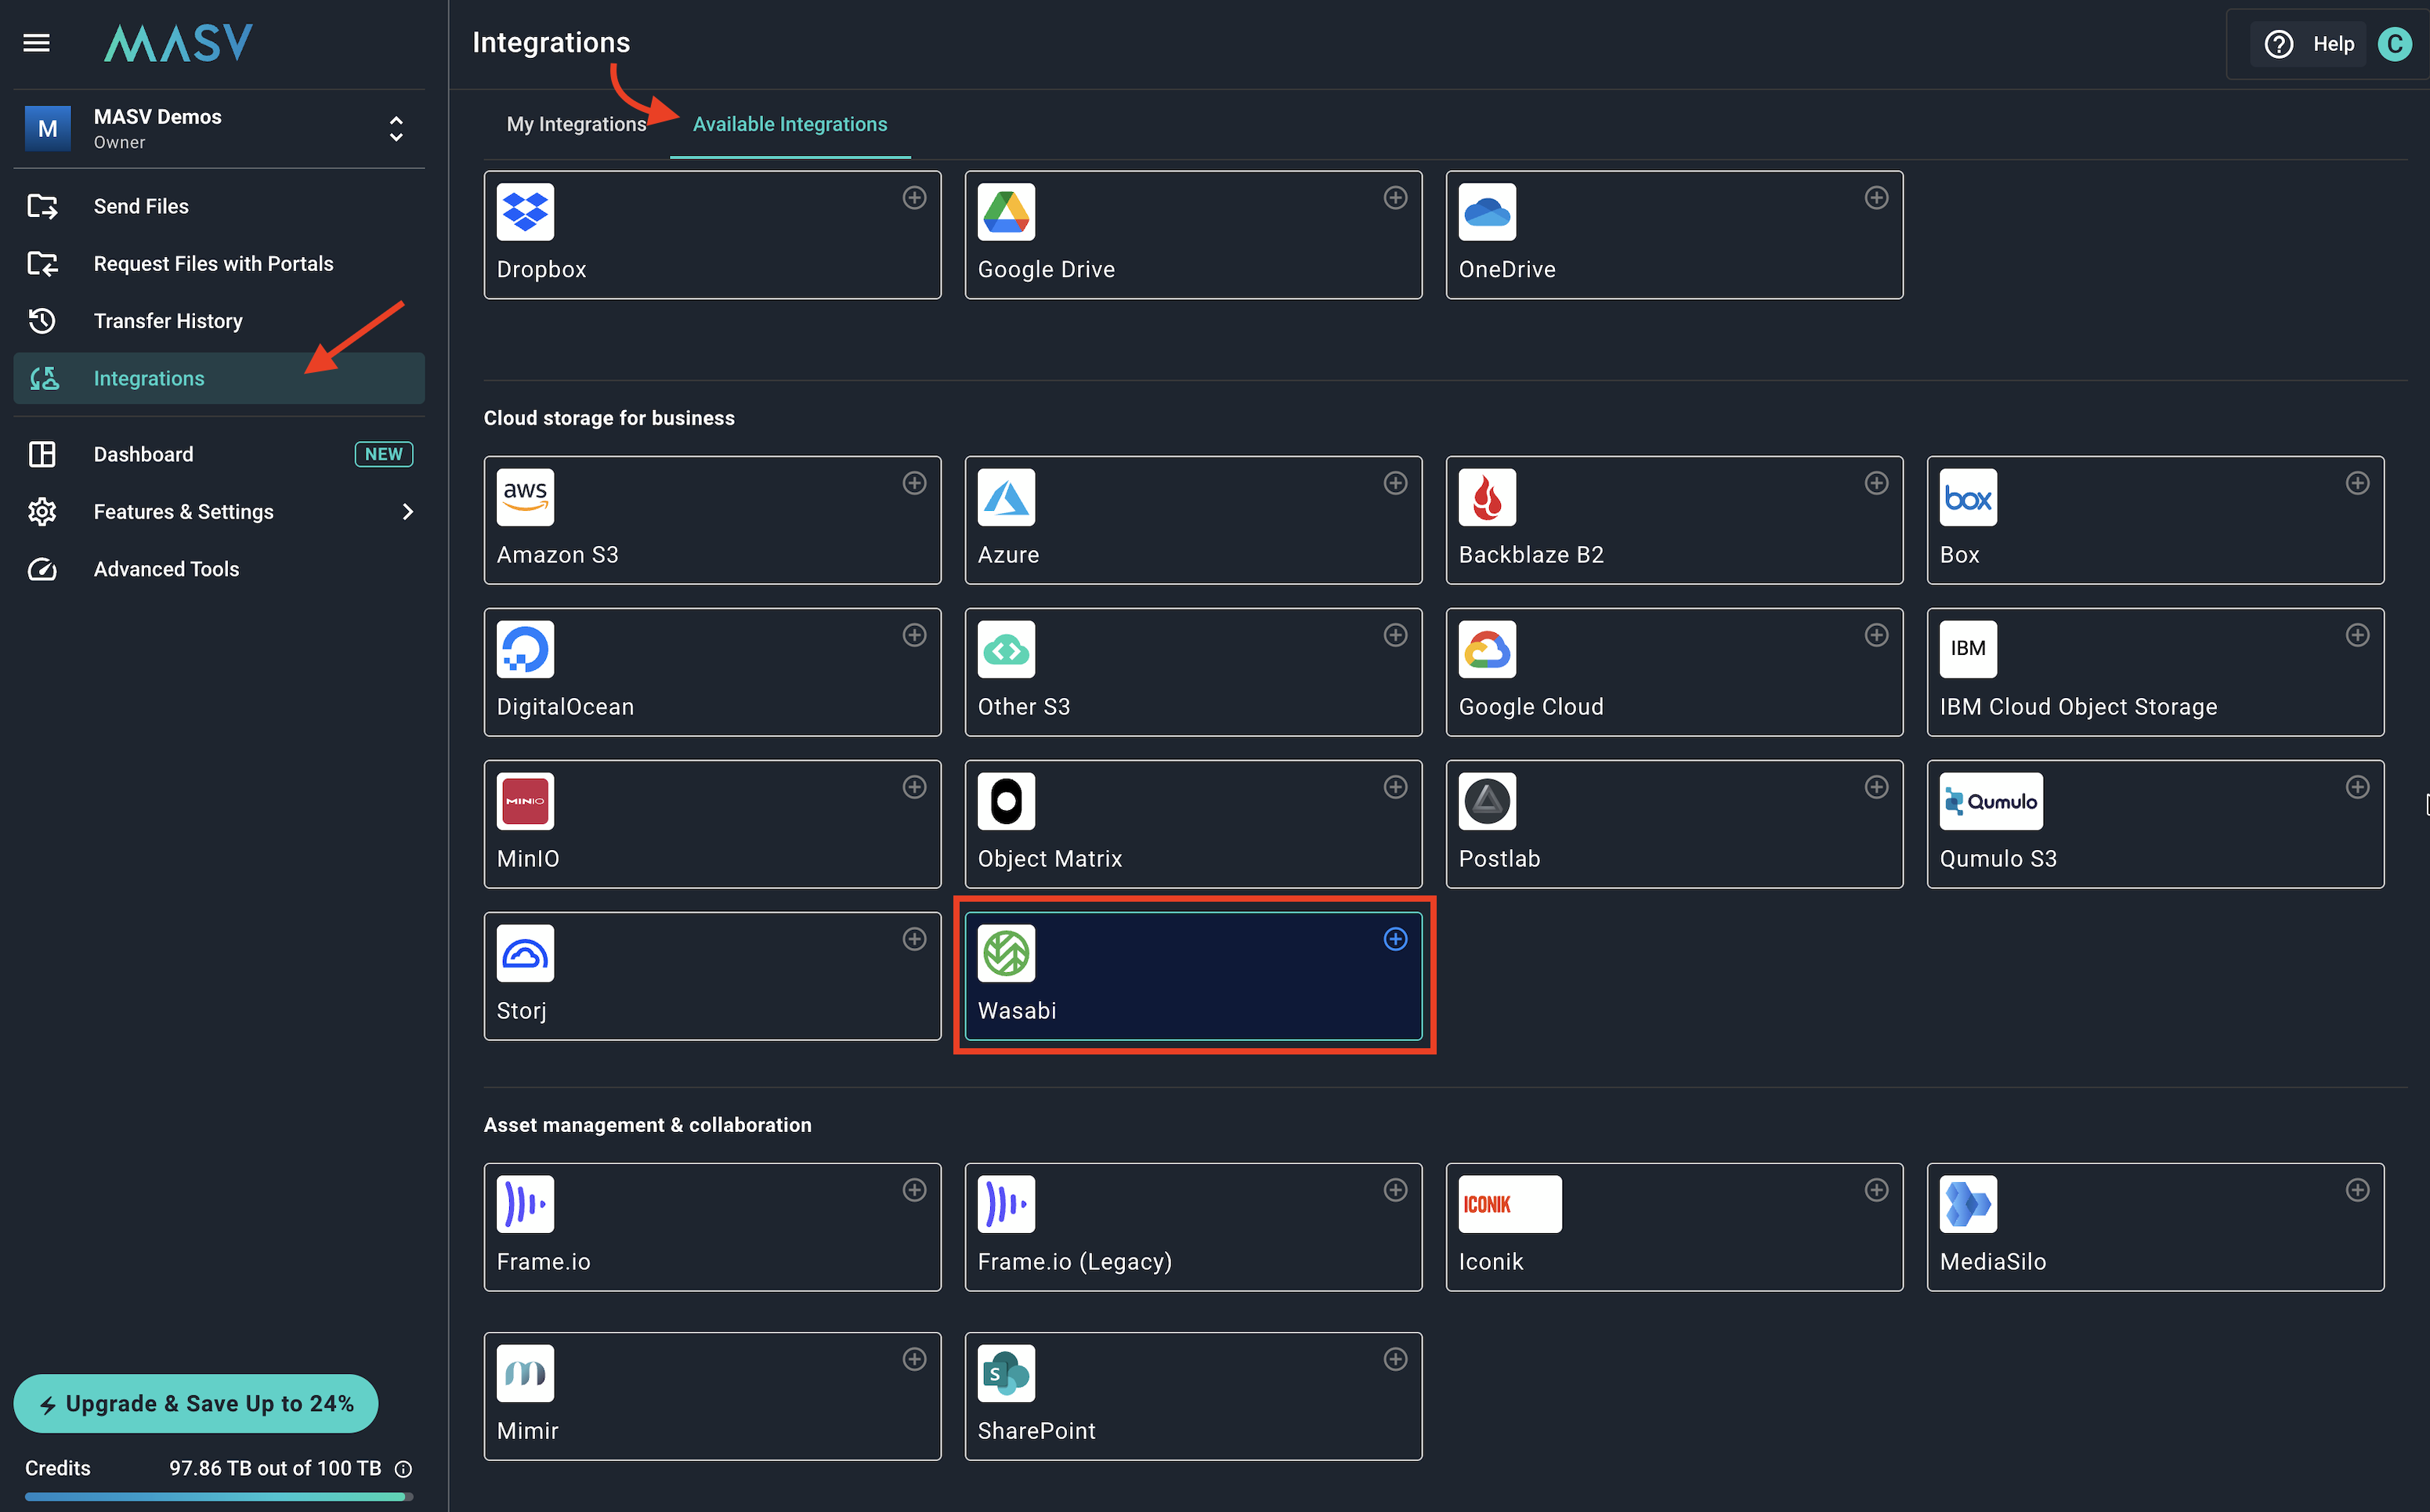
Select Integrations.
Select the Available Integrations tab.
In the Cloud storage for business section, select Wasabi.
In Add Integration, input the following information.
Connection Name—A descriptive name, such as Wasabi - Save - second-unit. This appears in My Integrations.
Bucket—Your Wasabi bucket name.
Access Key ID—Your Wasabi access key ID.
Secret Access Key—The corresponding secret access key.
Region—The region containing your bucket.
Transfer Direction—Send from Cloud.
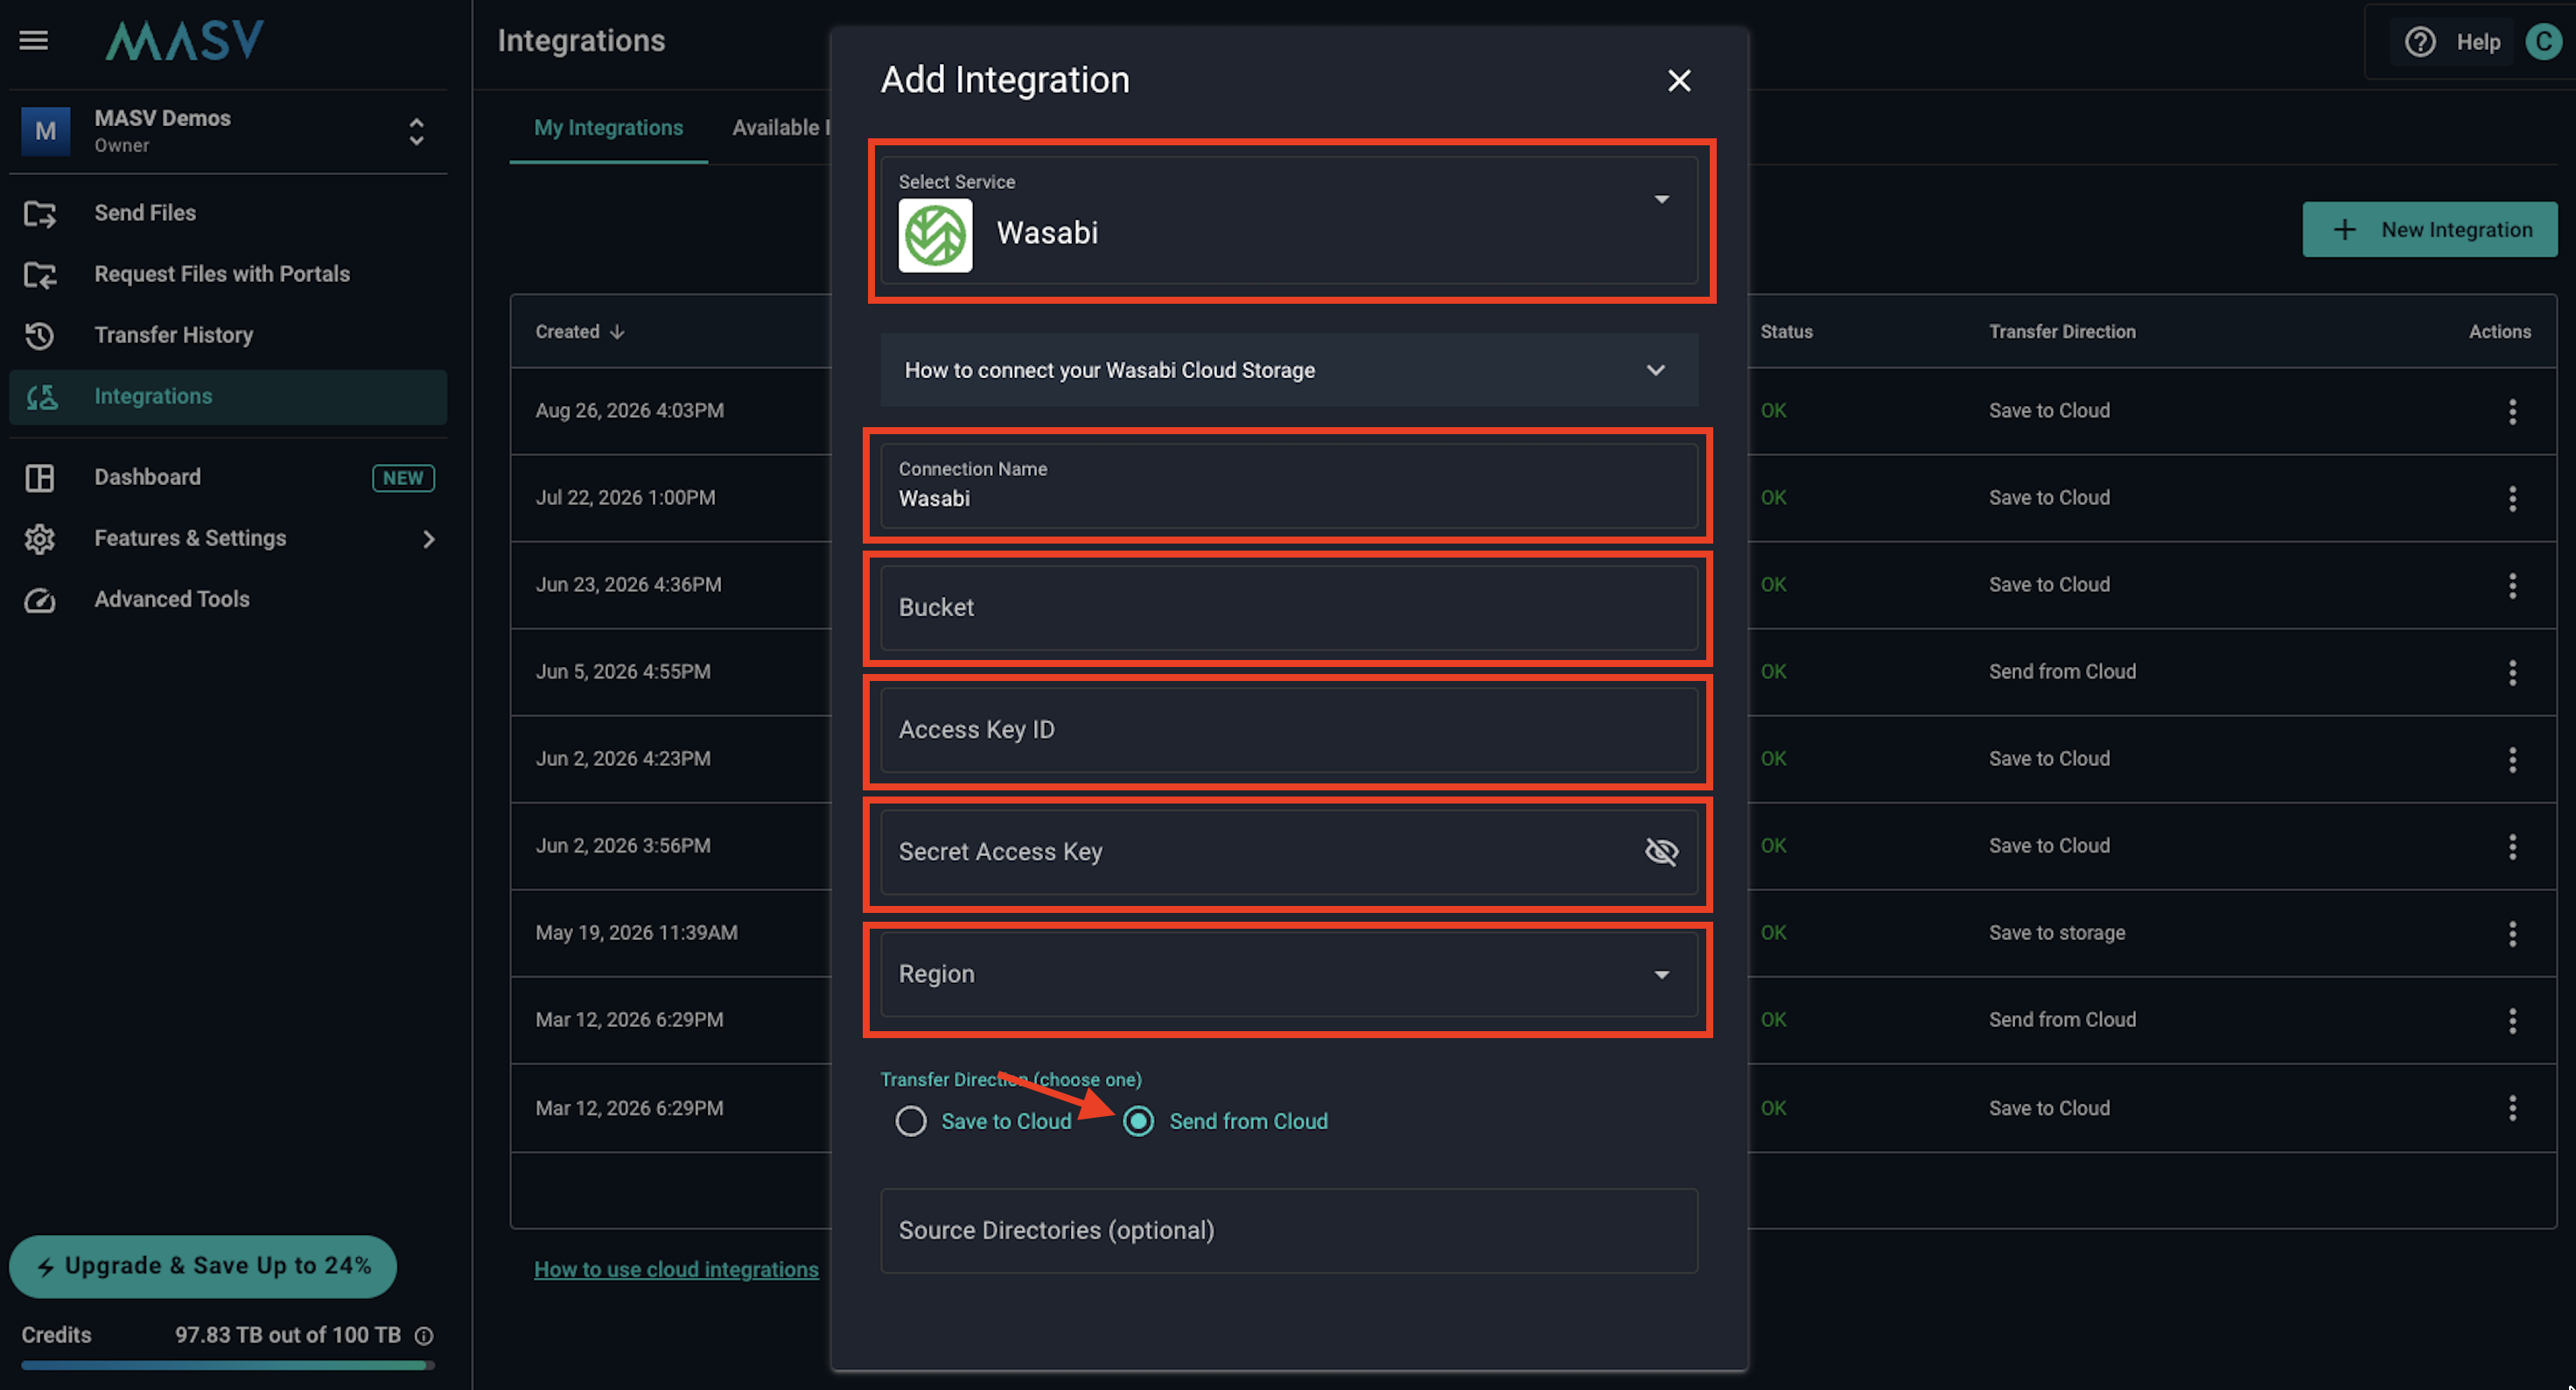
Optionally, configure Source Directories. Enter a relative folder path to limit the integration to that location. For example, enter
location-ato use that folder. You can edit this setting later. The location must be permitted by the Wasabi policy.Click Connect. Refresh the integrations page and verify that the connection appears in My Integrations with the Status column reporting OK.
Send Files Stored in Wasabi
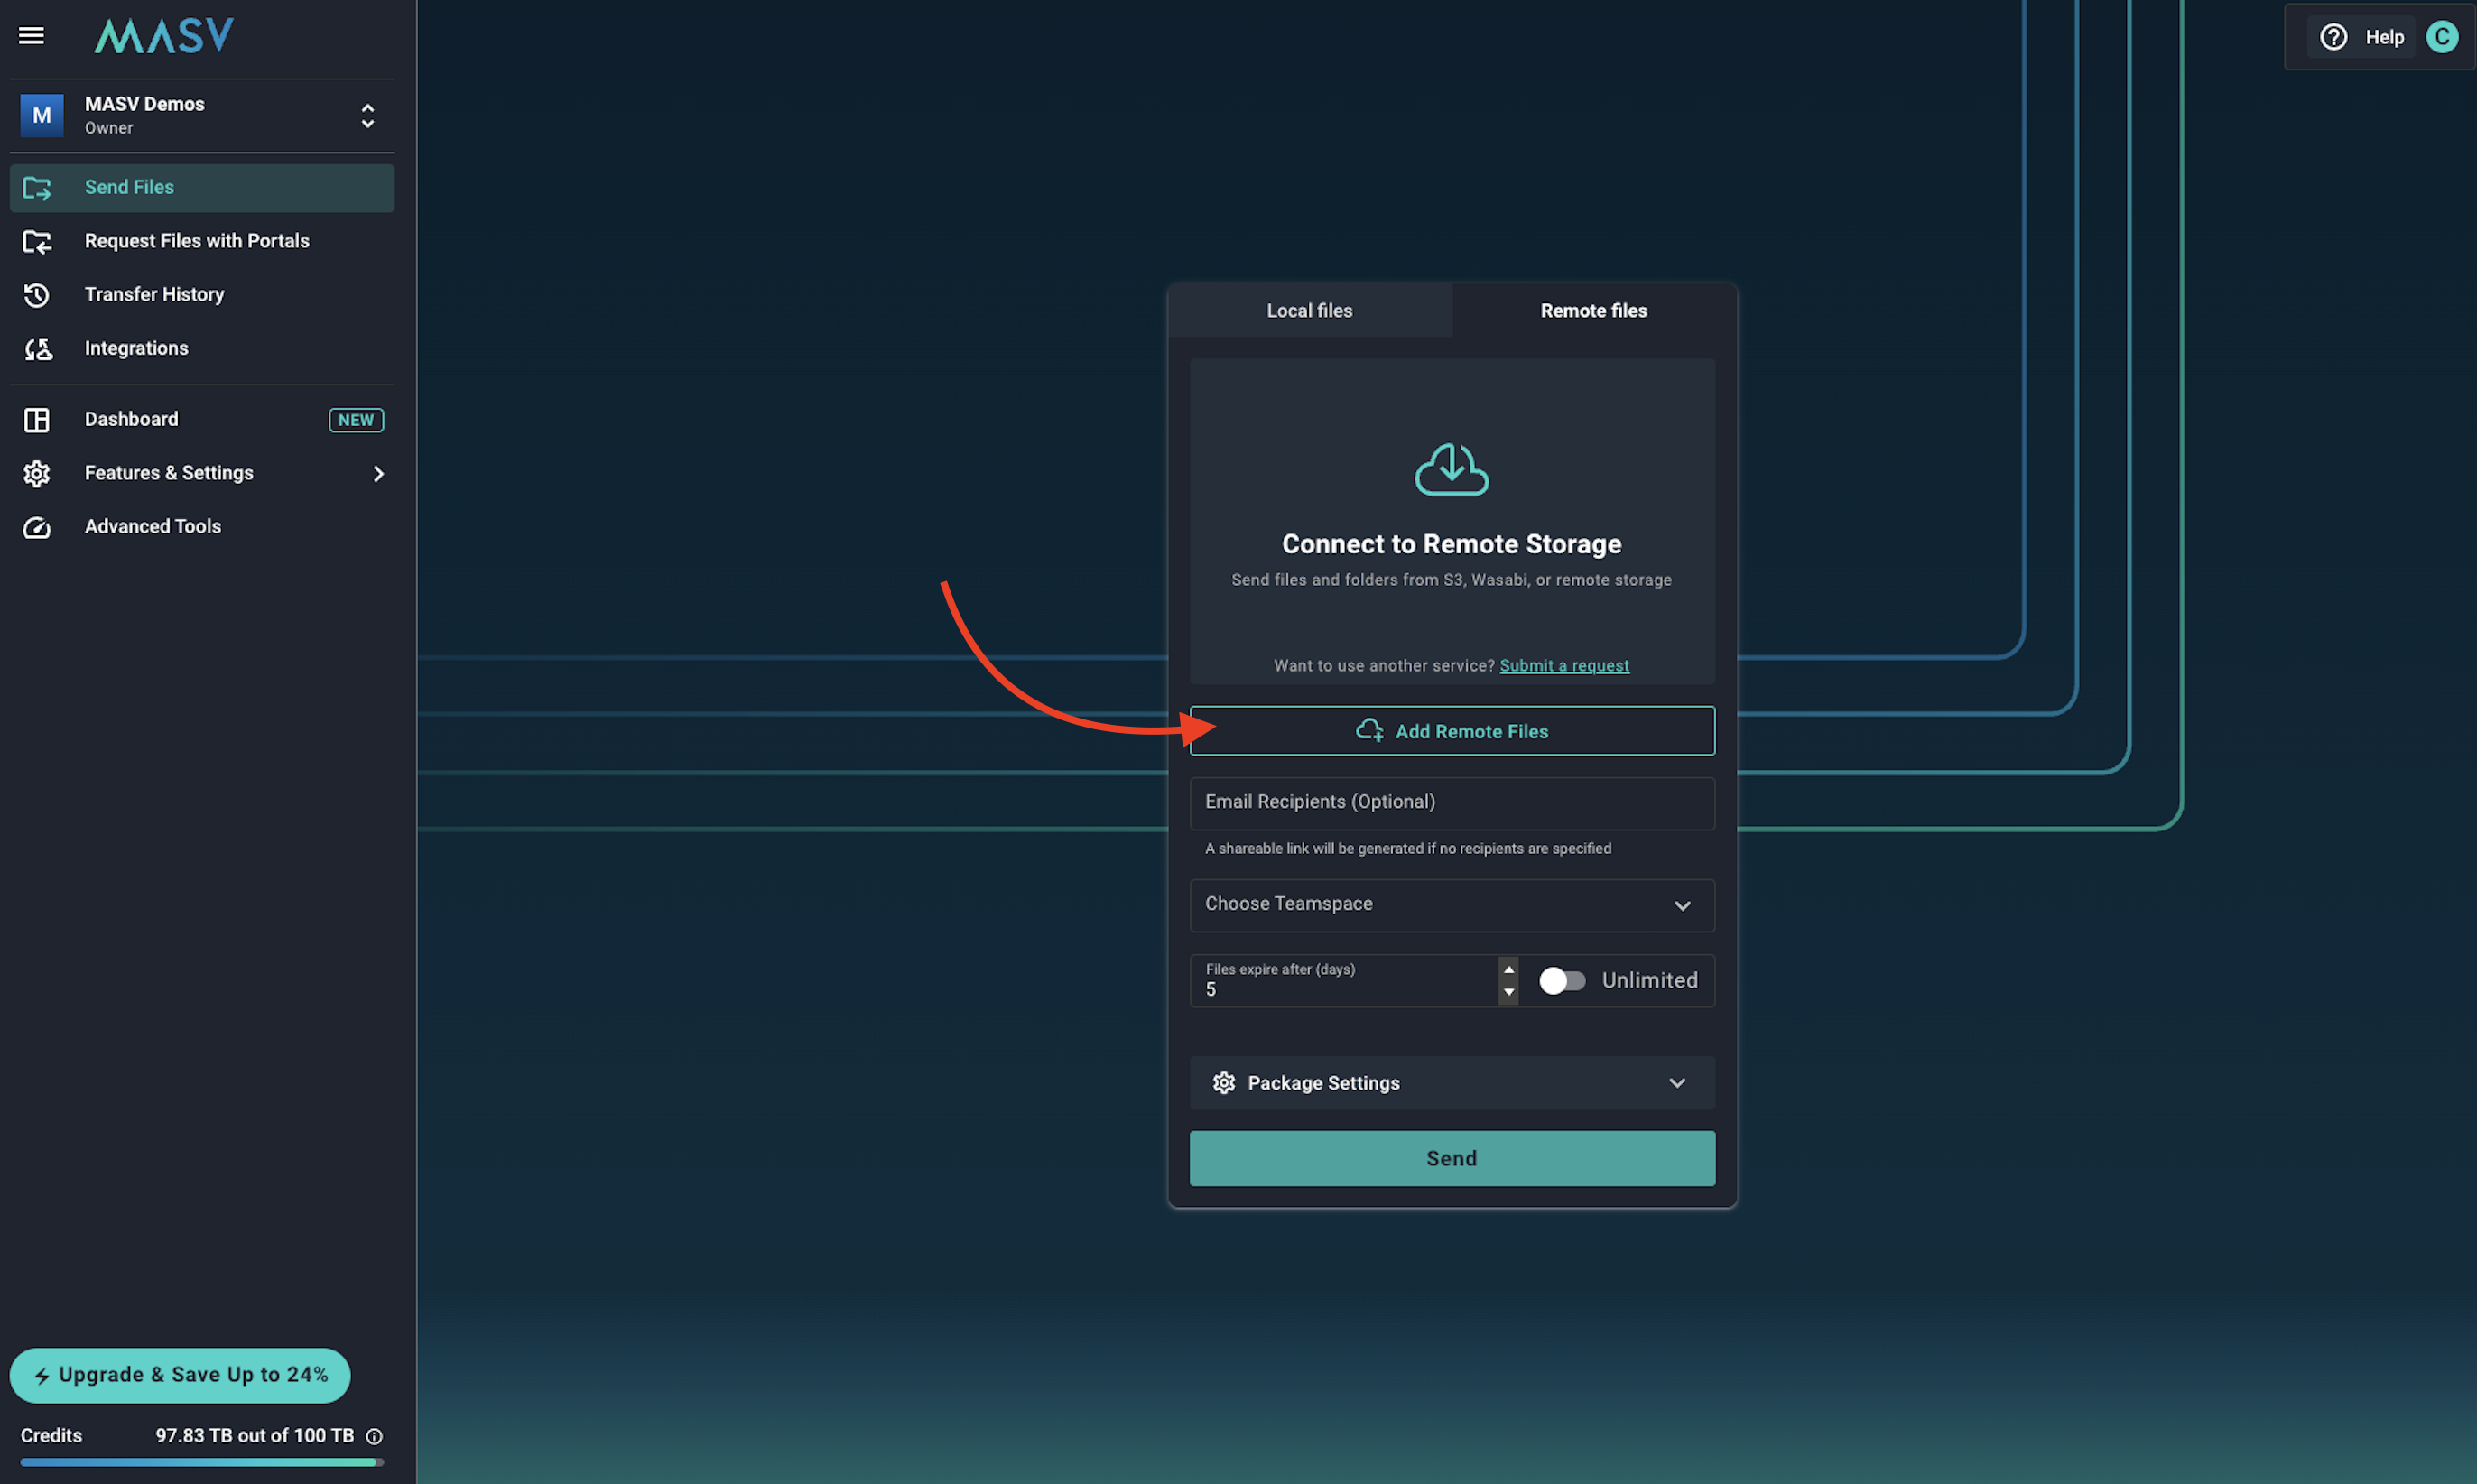
In the MASV Web App, from the sidebar, select Send Files.
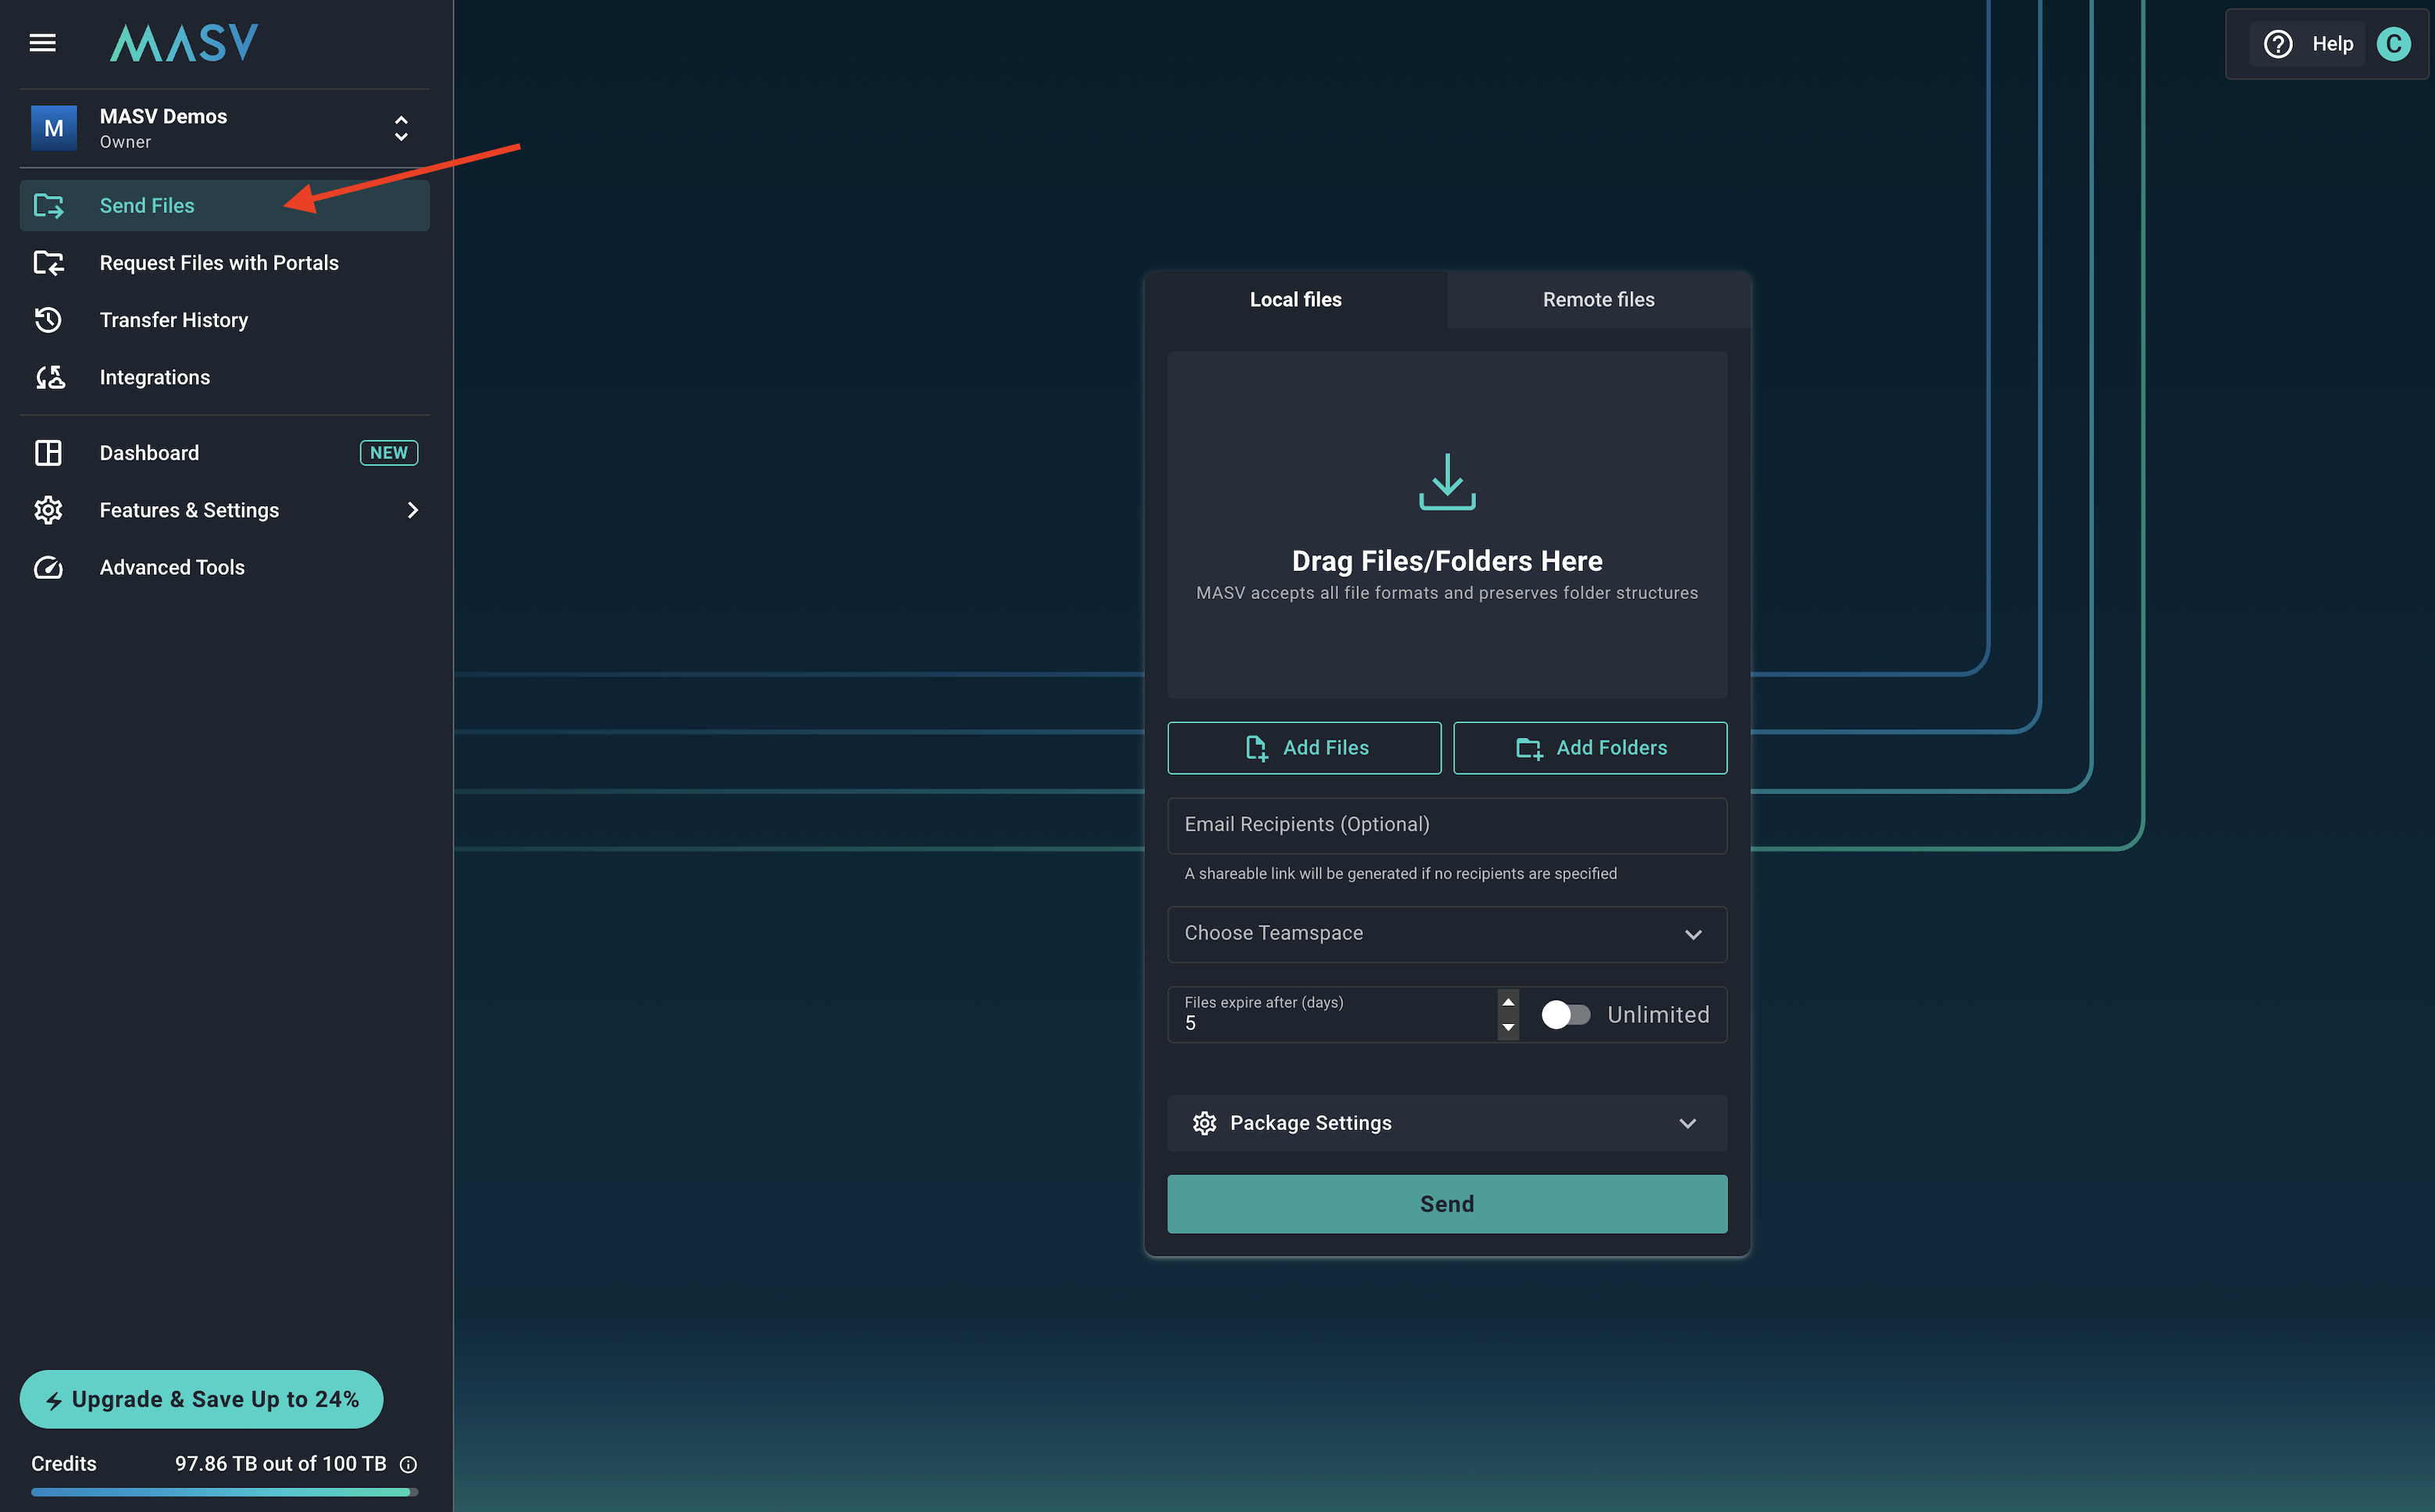
On the Send card, select the Remote files tab.
Select Add Remote Files.
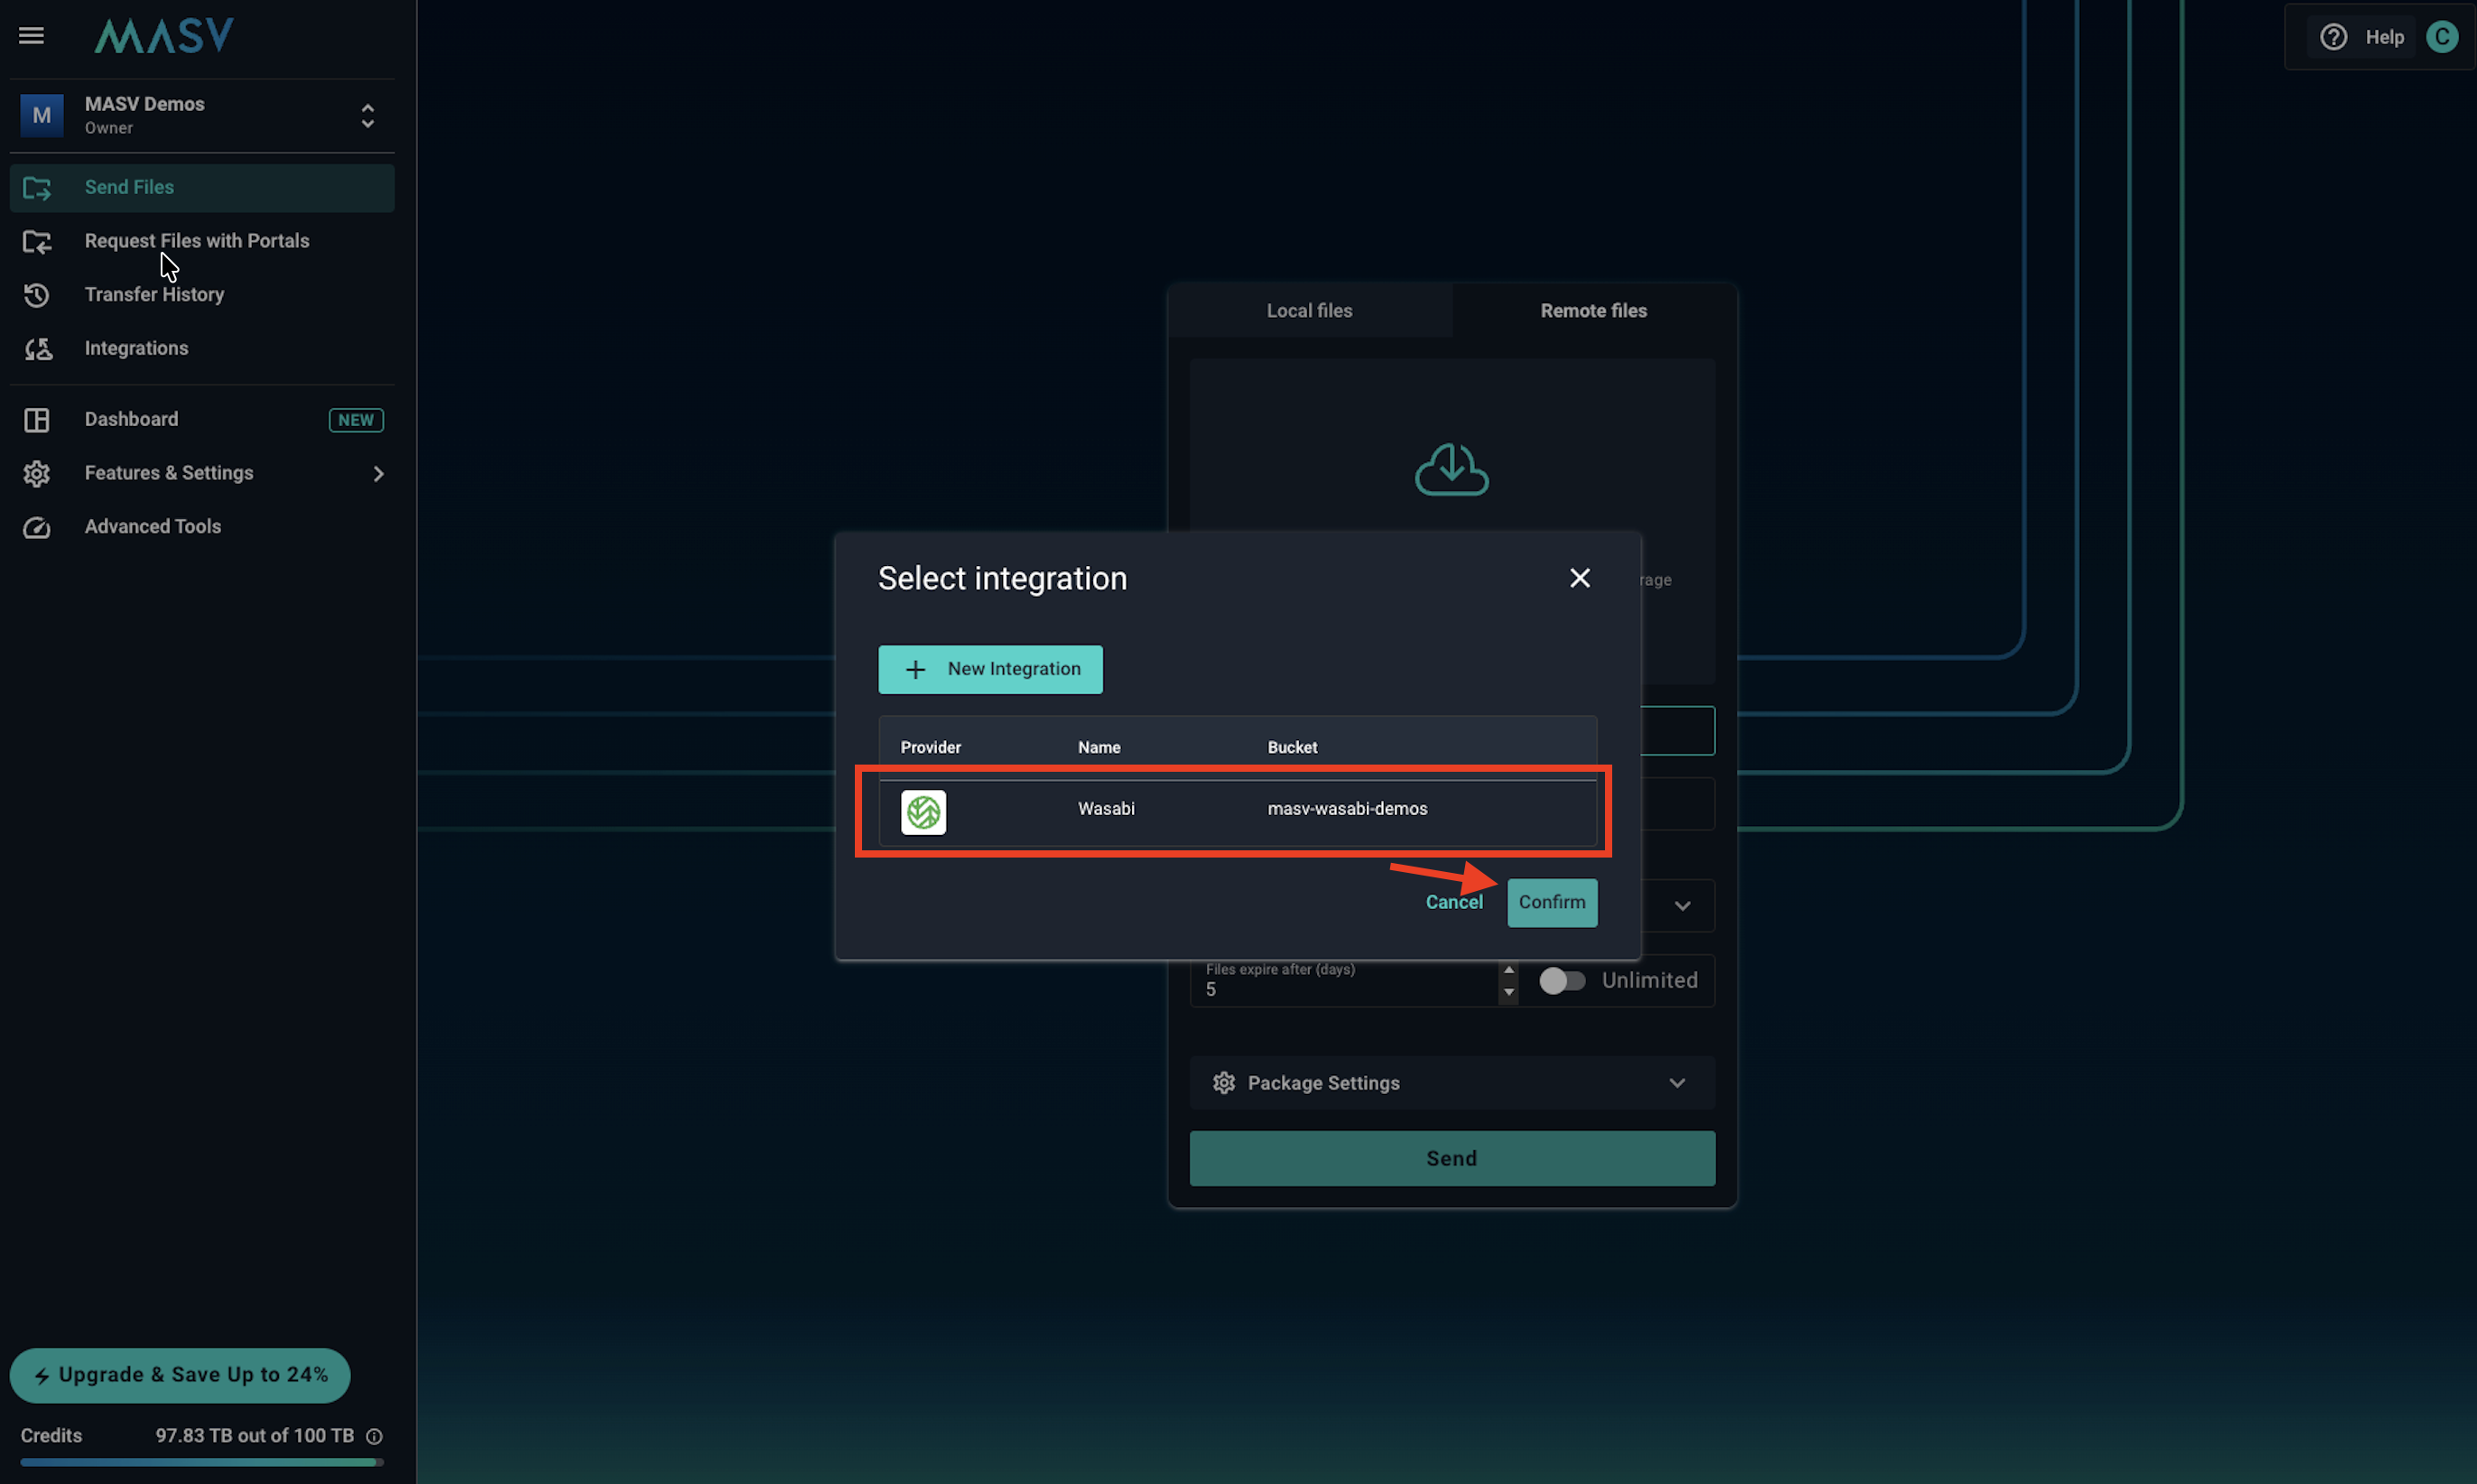
In the Select integration window, select your Wasabi Send from Cloud integration.
Click Confirm.
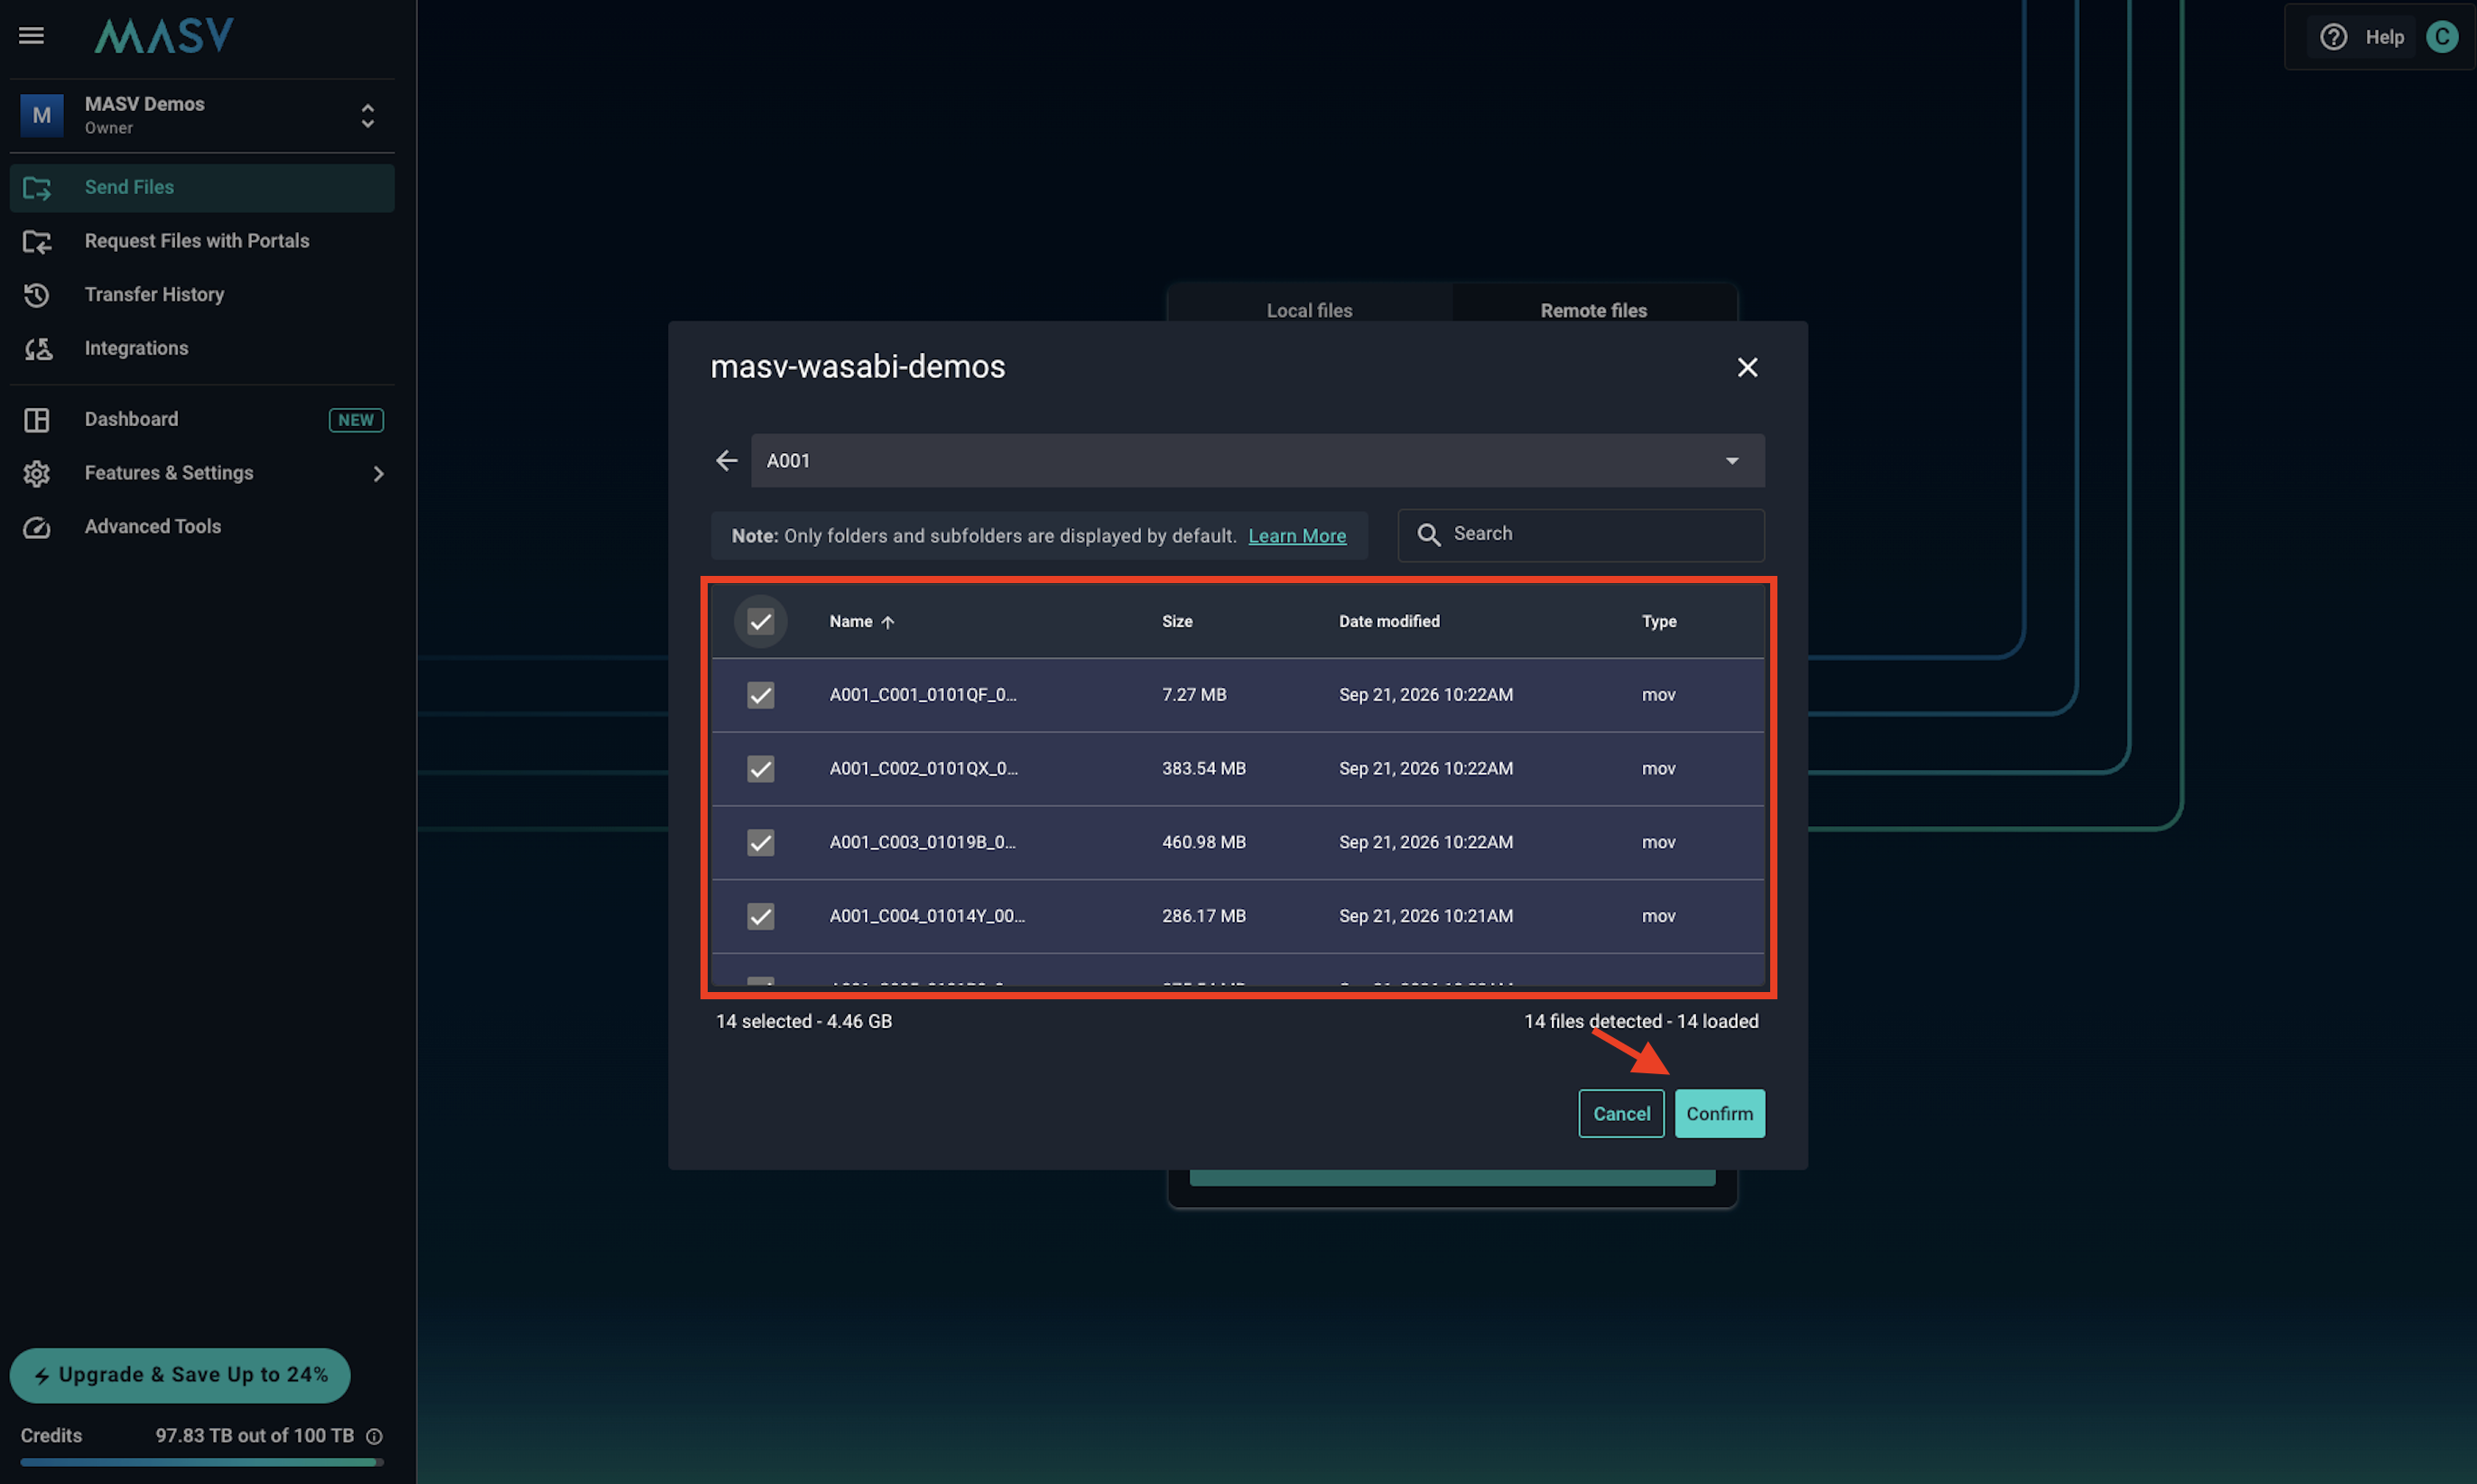
Browse to the content in which to send, select the corresponding checkboxes, and click Confirm. Use Load Contents to display files inside a directory.
On the Send card, enter email recipients and set any of the optional settings for the package.
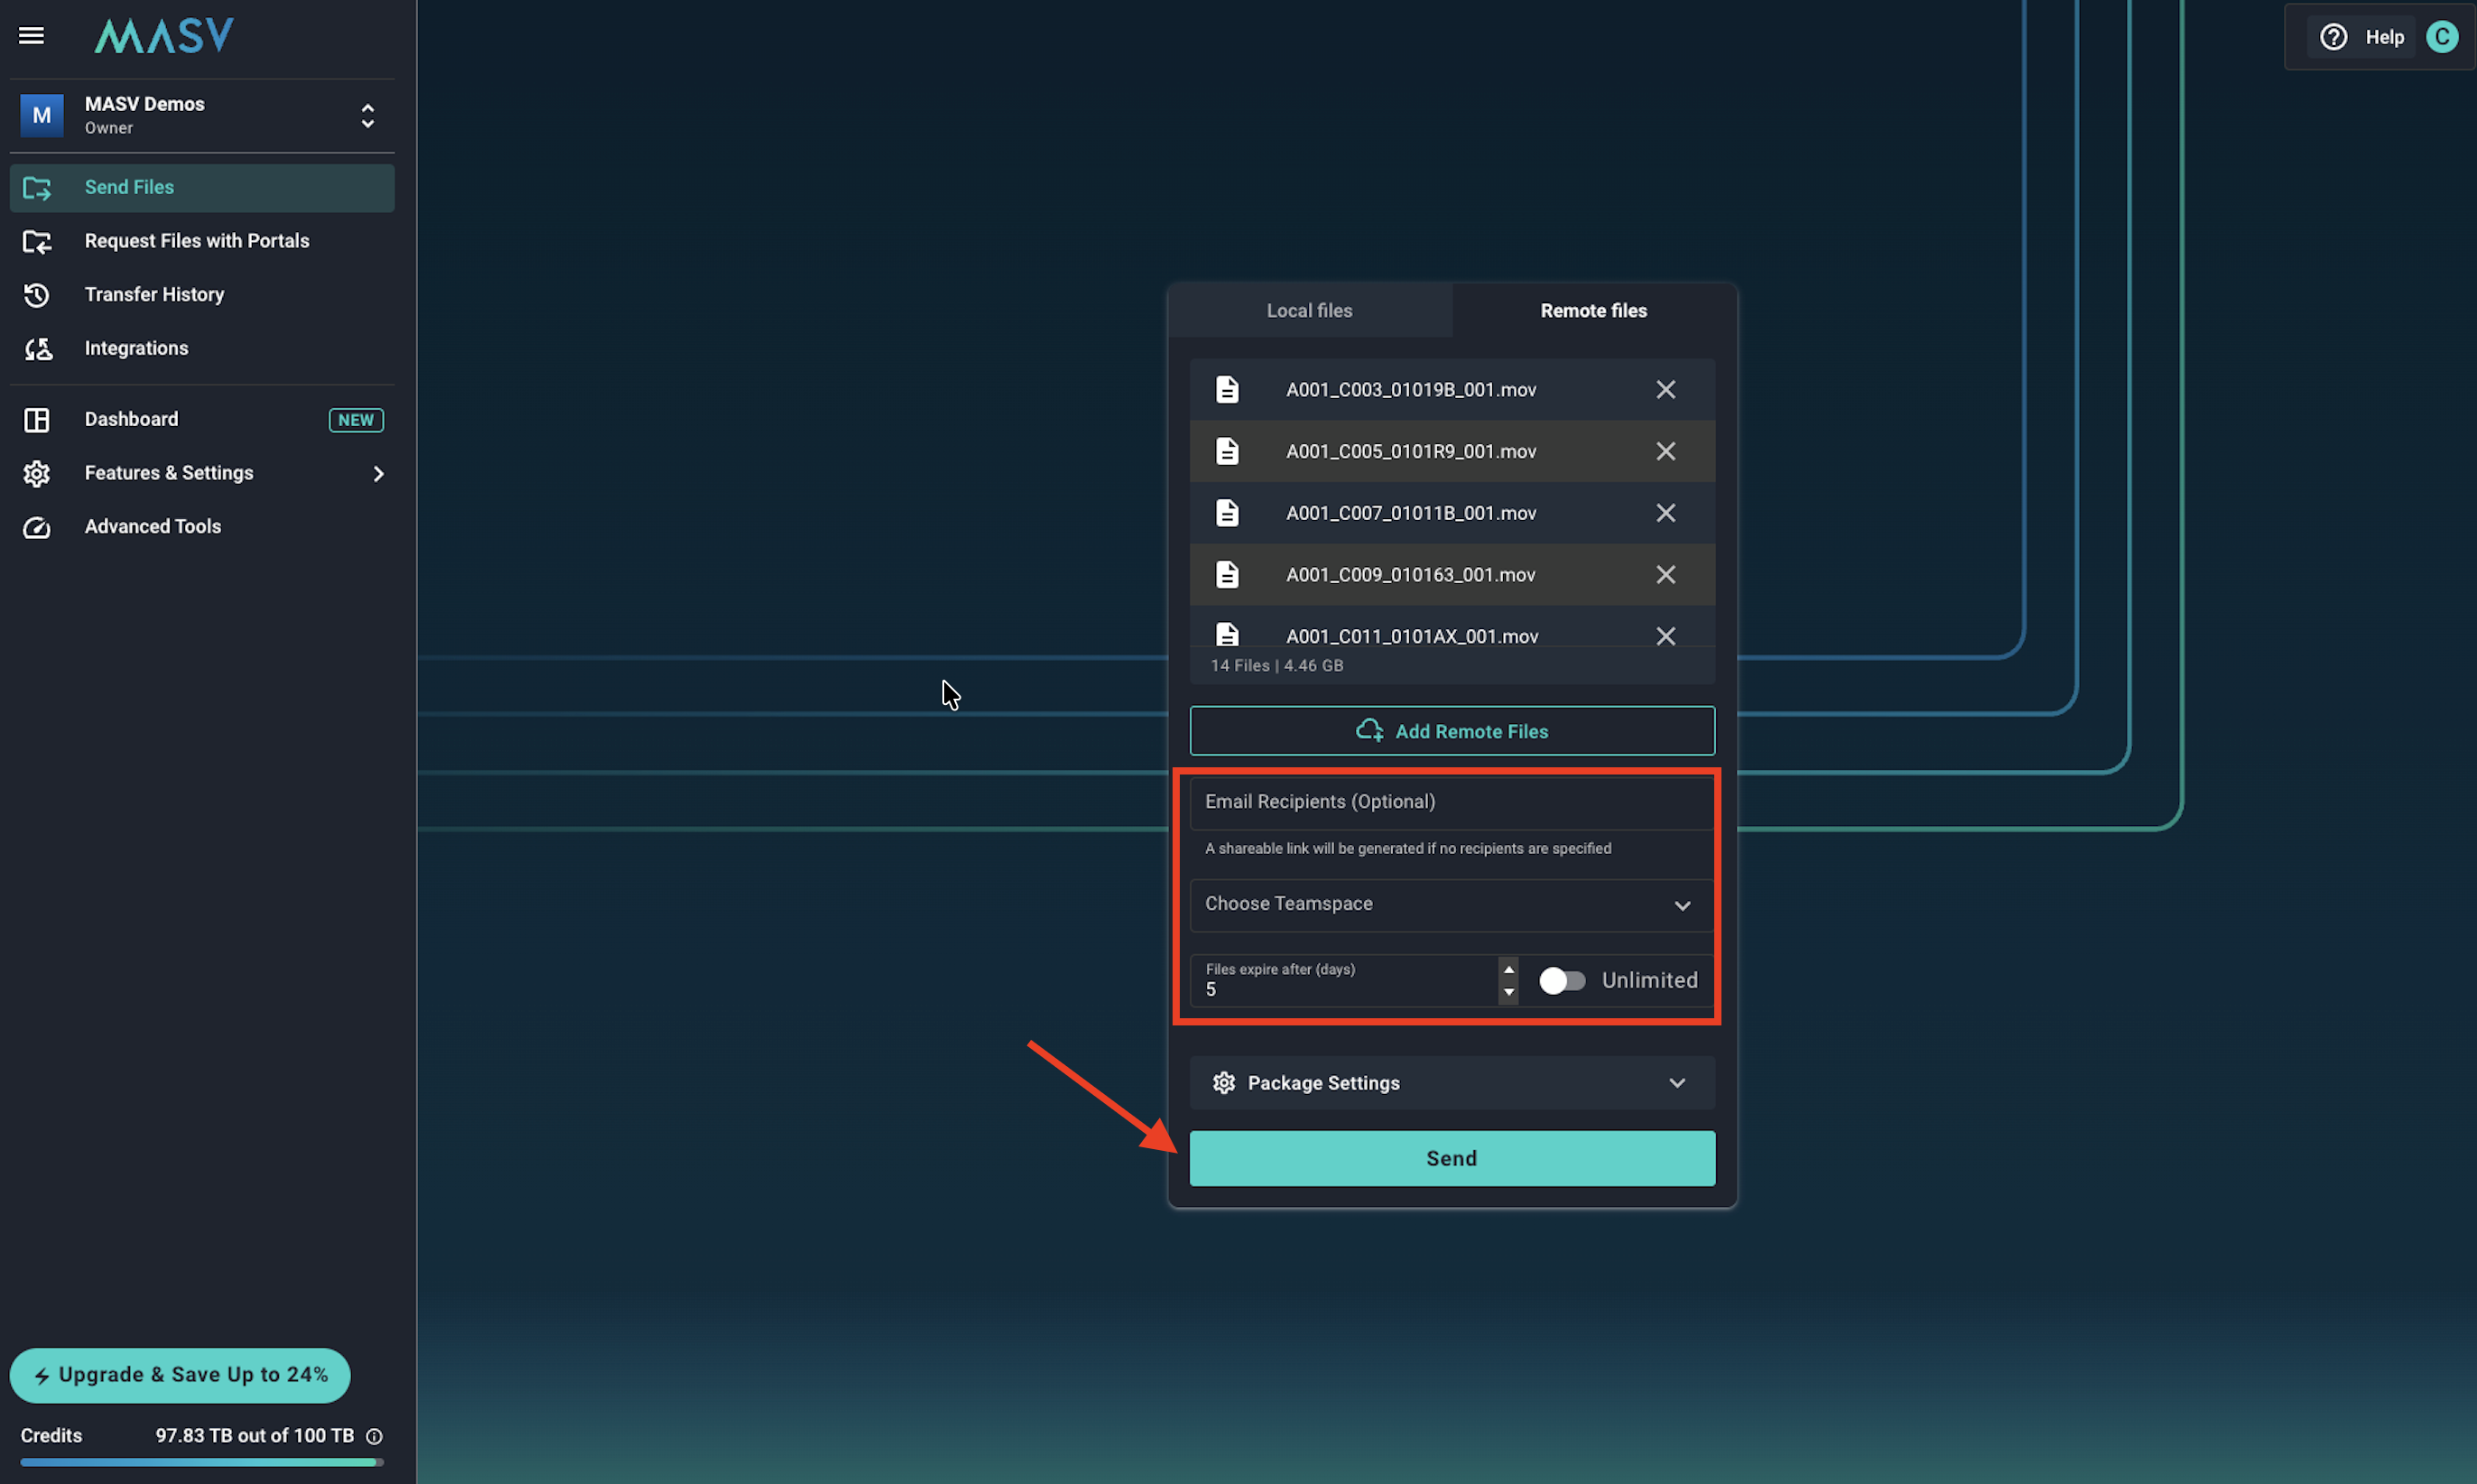
Click Send.
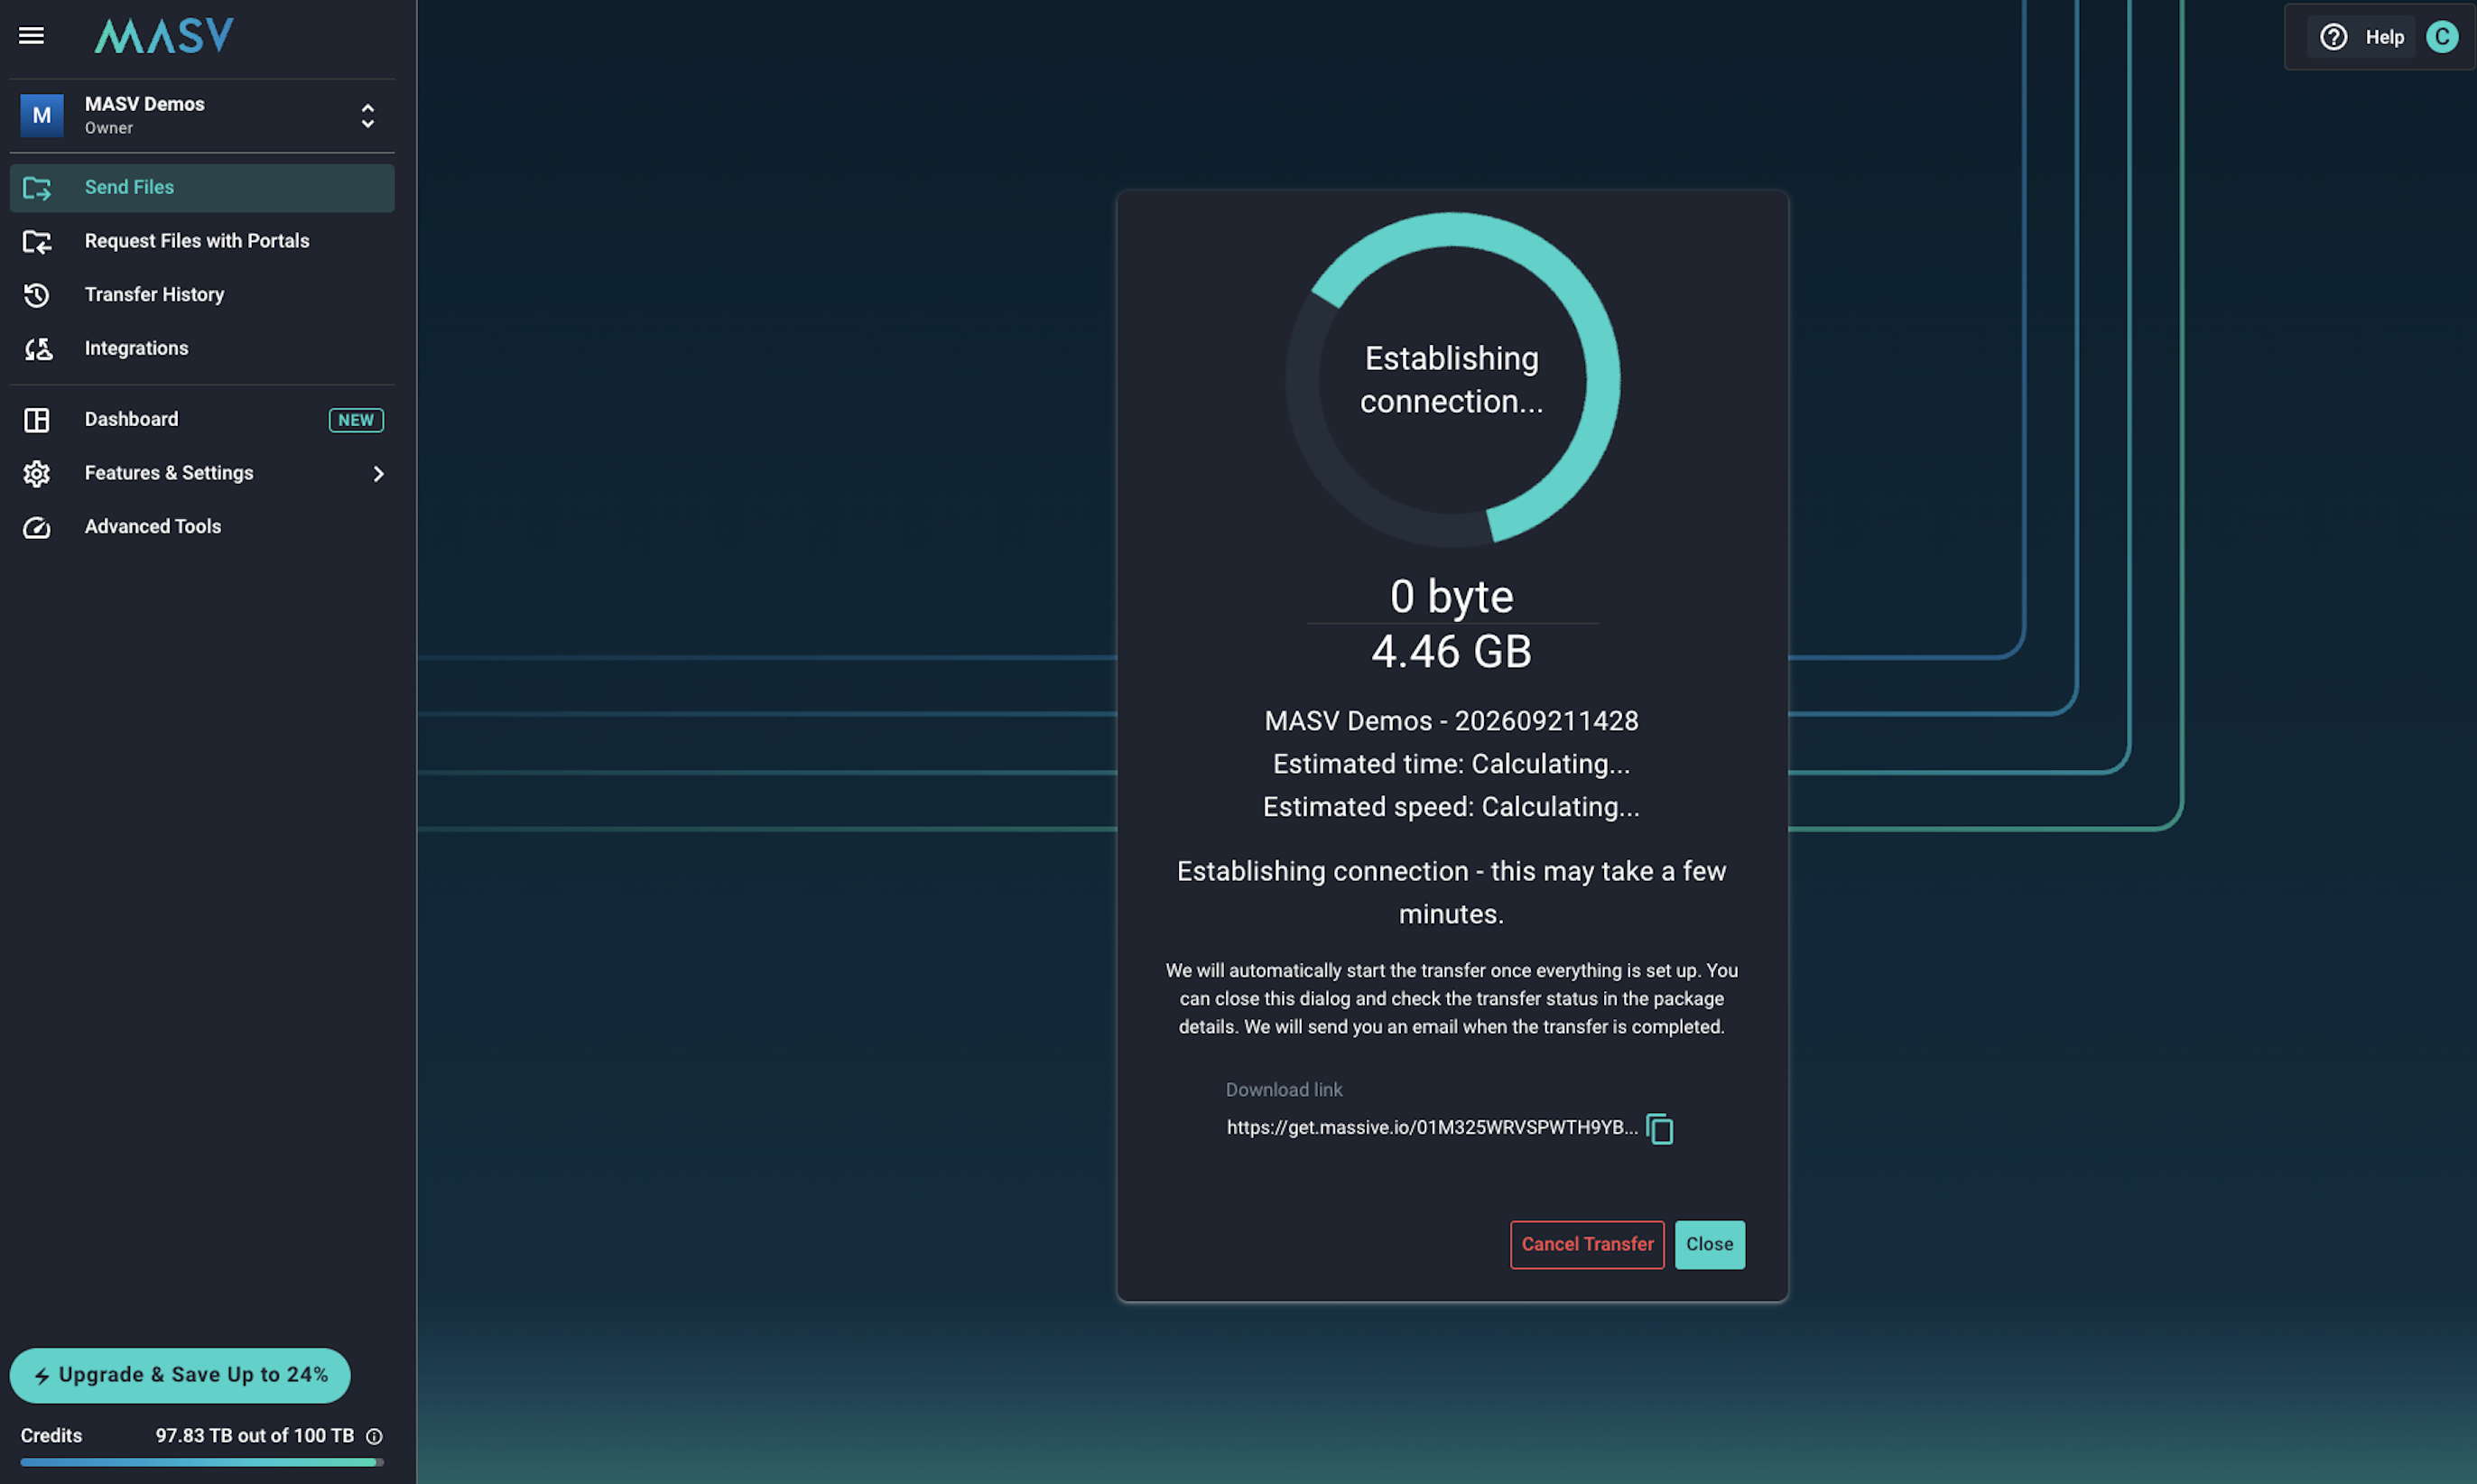
You can omit adding email recipients and copy the generated (“shareable”) download link to share it, but you lose the ability to track the downloads via recipient email address.
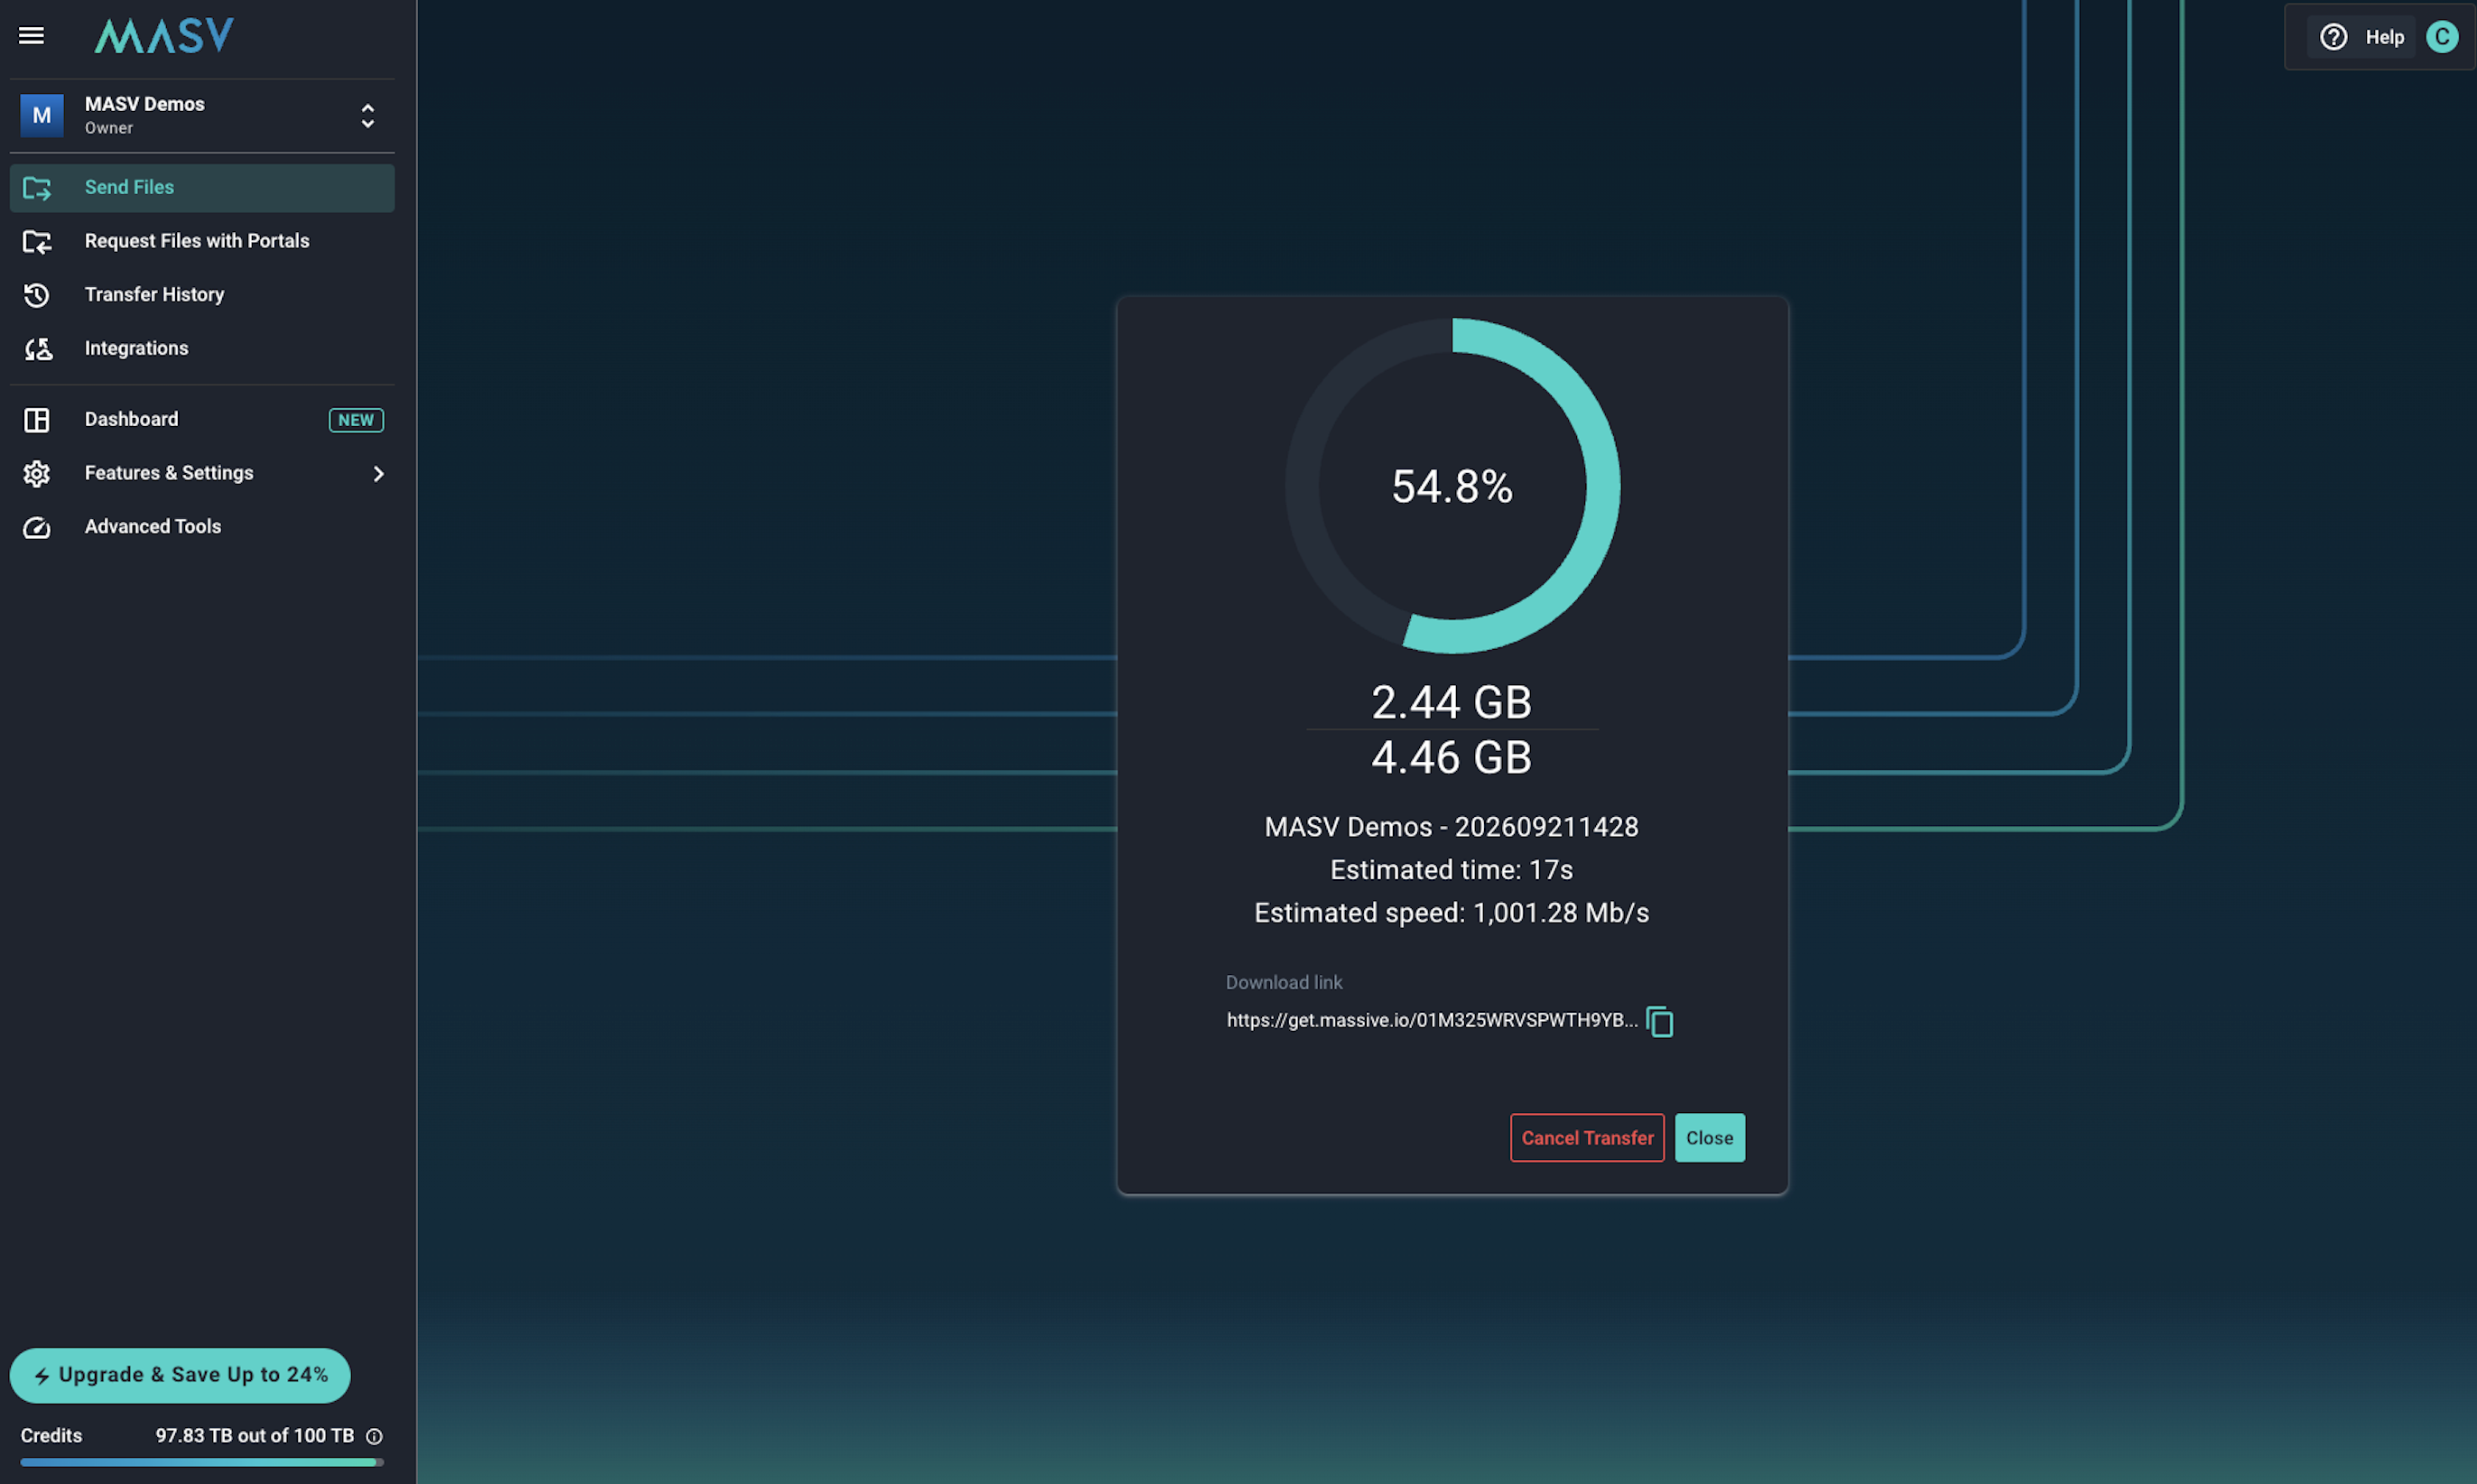
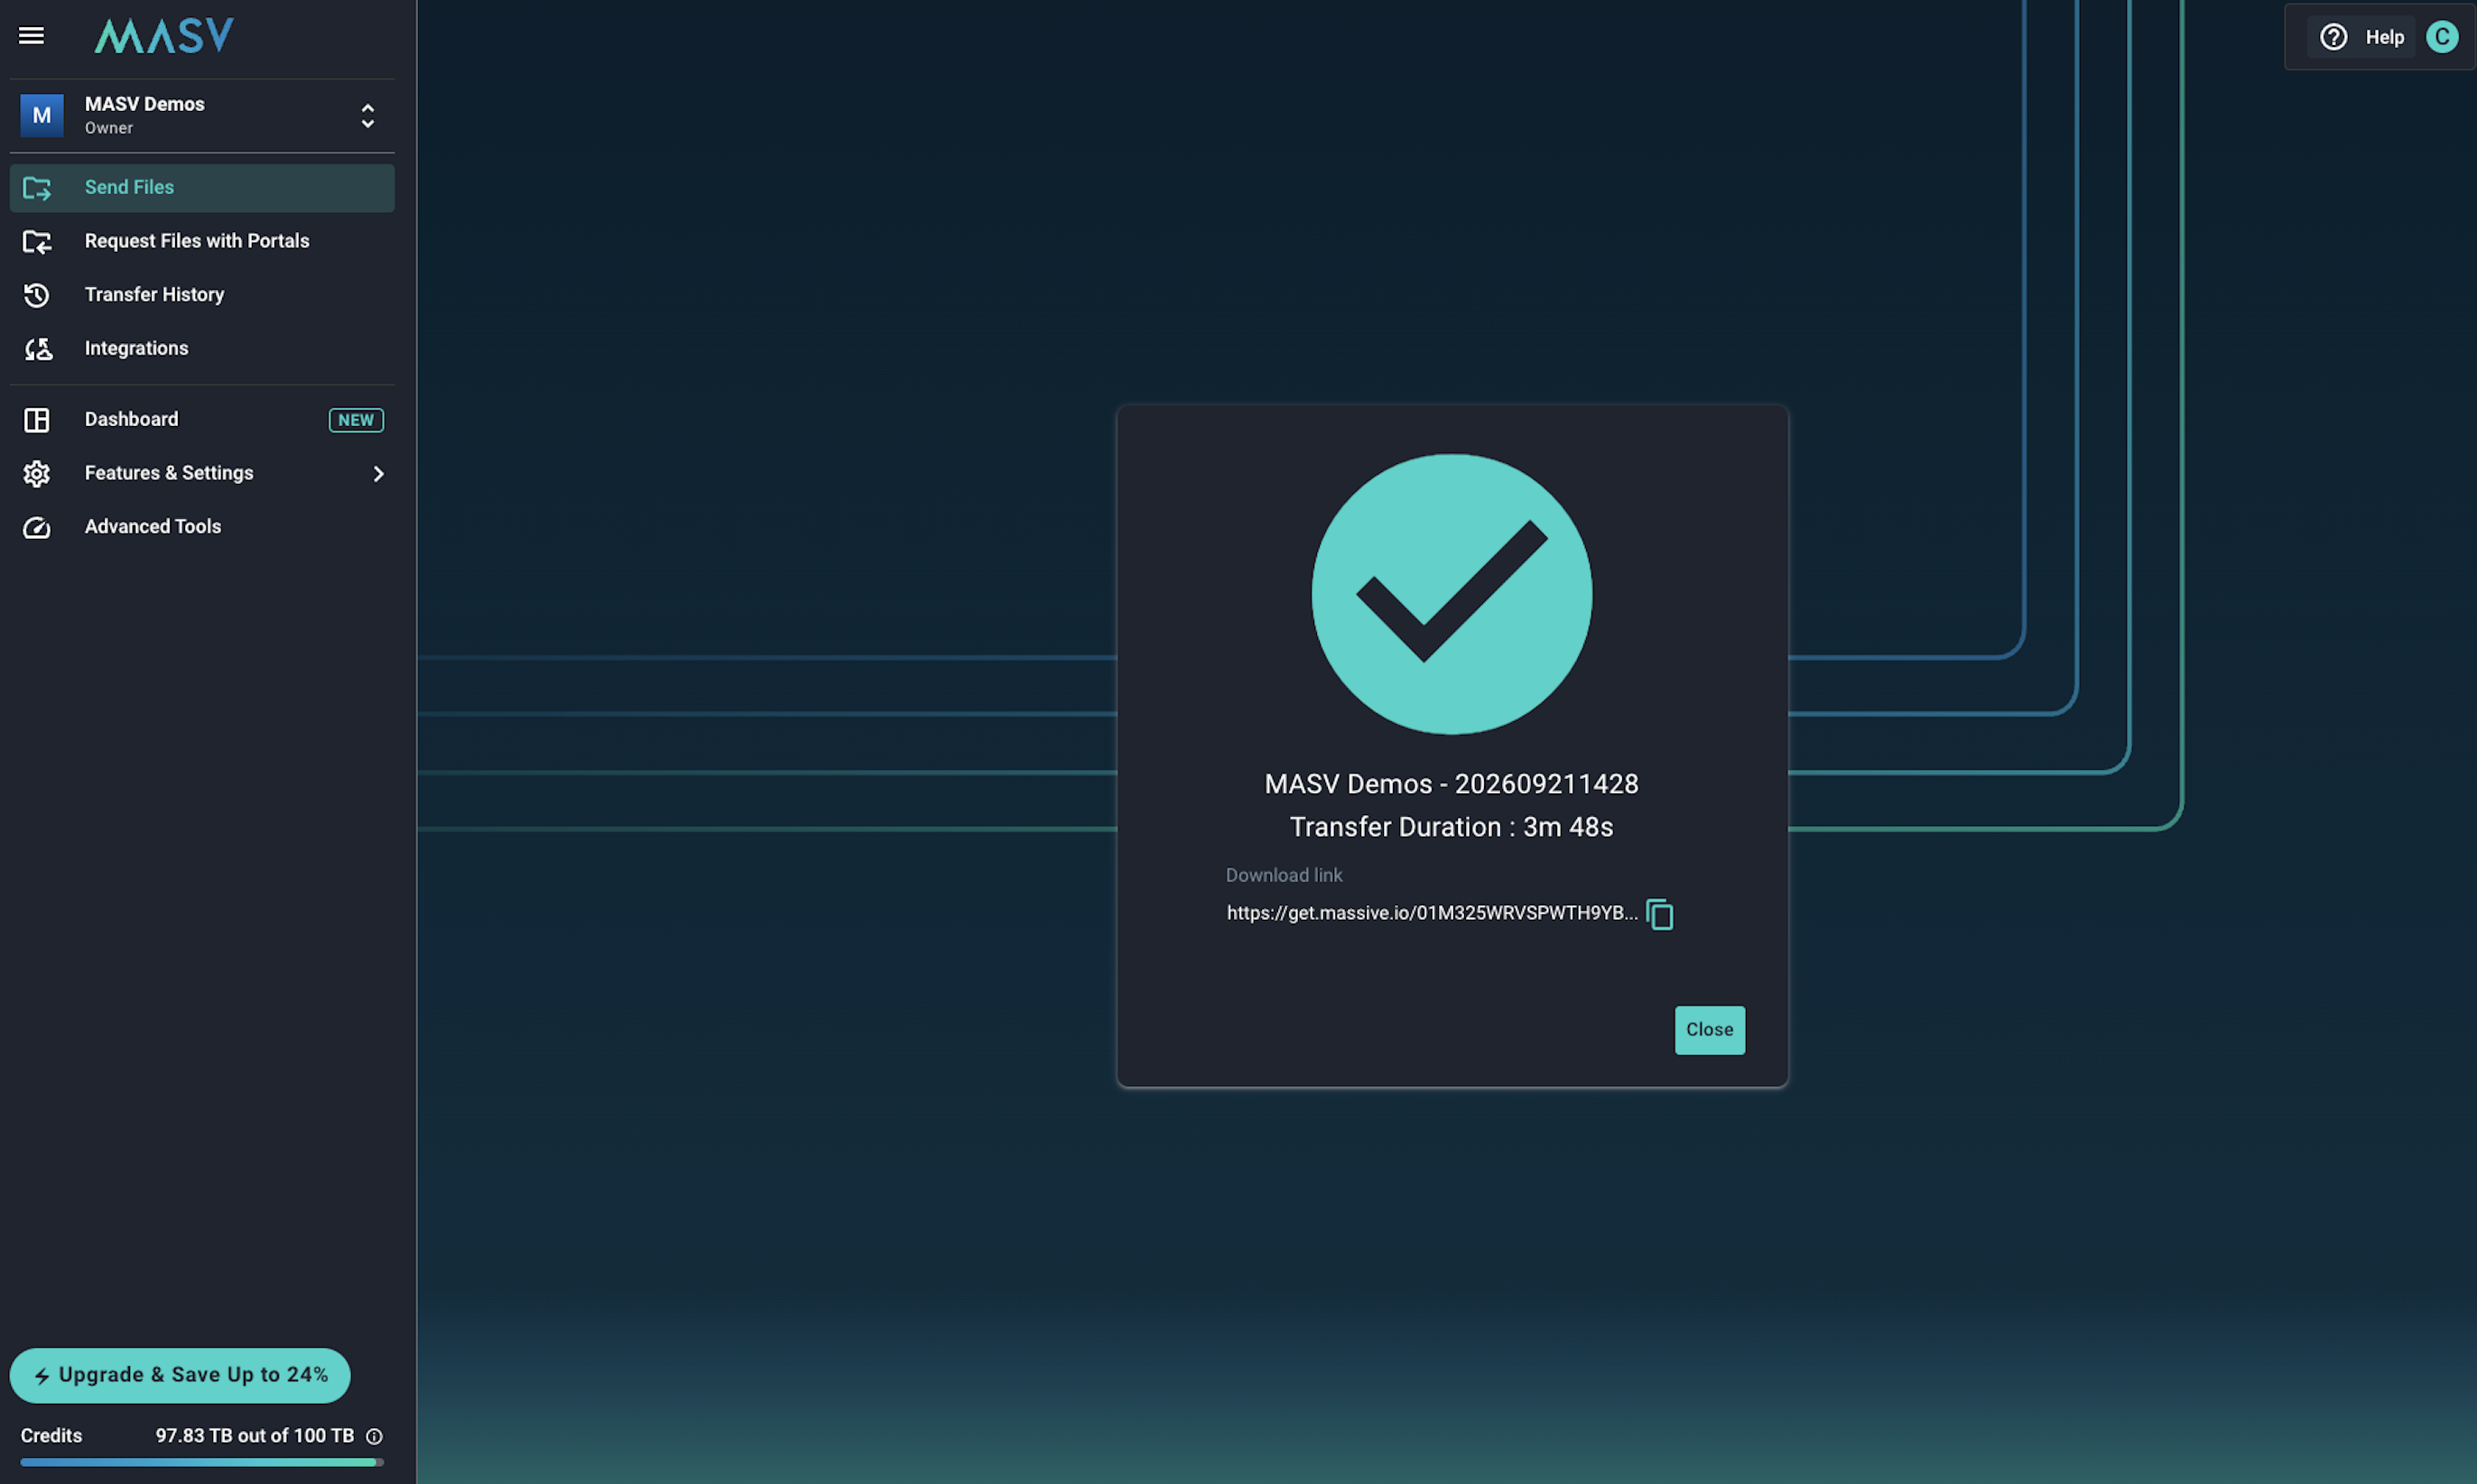
MASV displays progress while transferring the selected content from Wasabi. For more information about sending files, see Send files from integrated cloud and on-premises storage devices.
Monitoring the Transfer
In the MASV Web App, from the sidebar, select Transfer History.
Do one of the following.
Select the Received tab for packages submitted through a portal.
Select the Sent tab for packages sent with MASV.
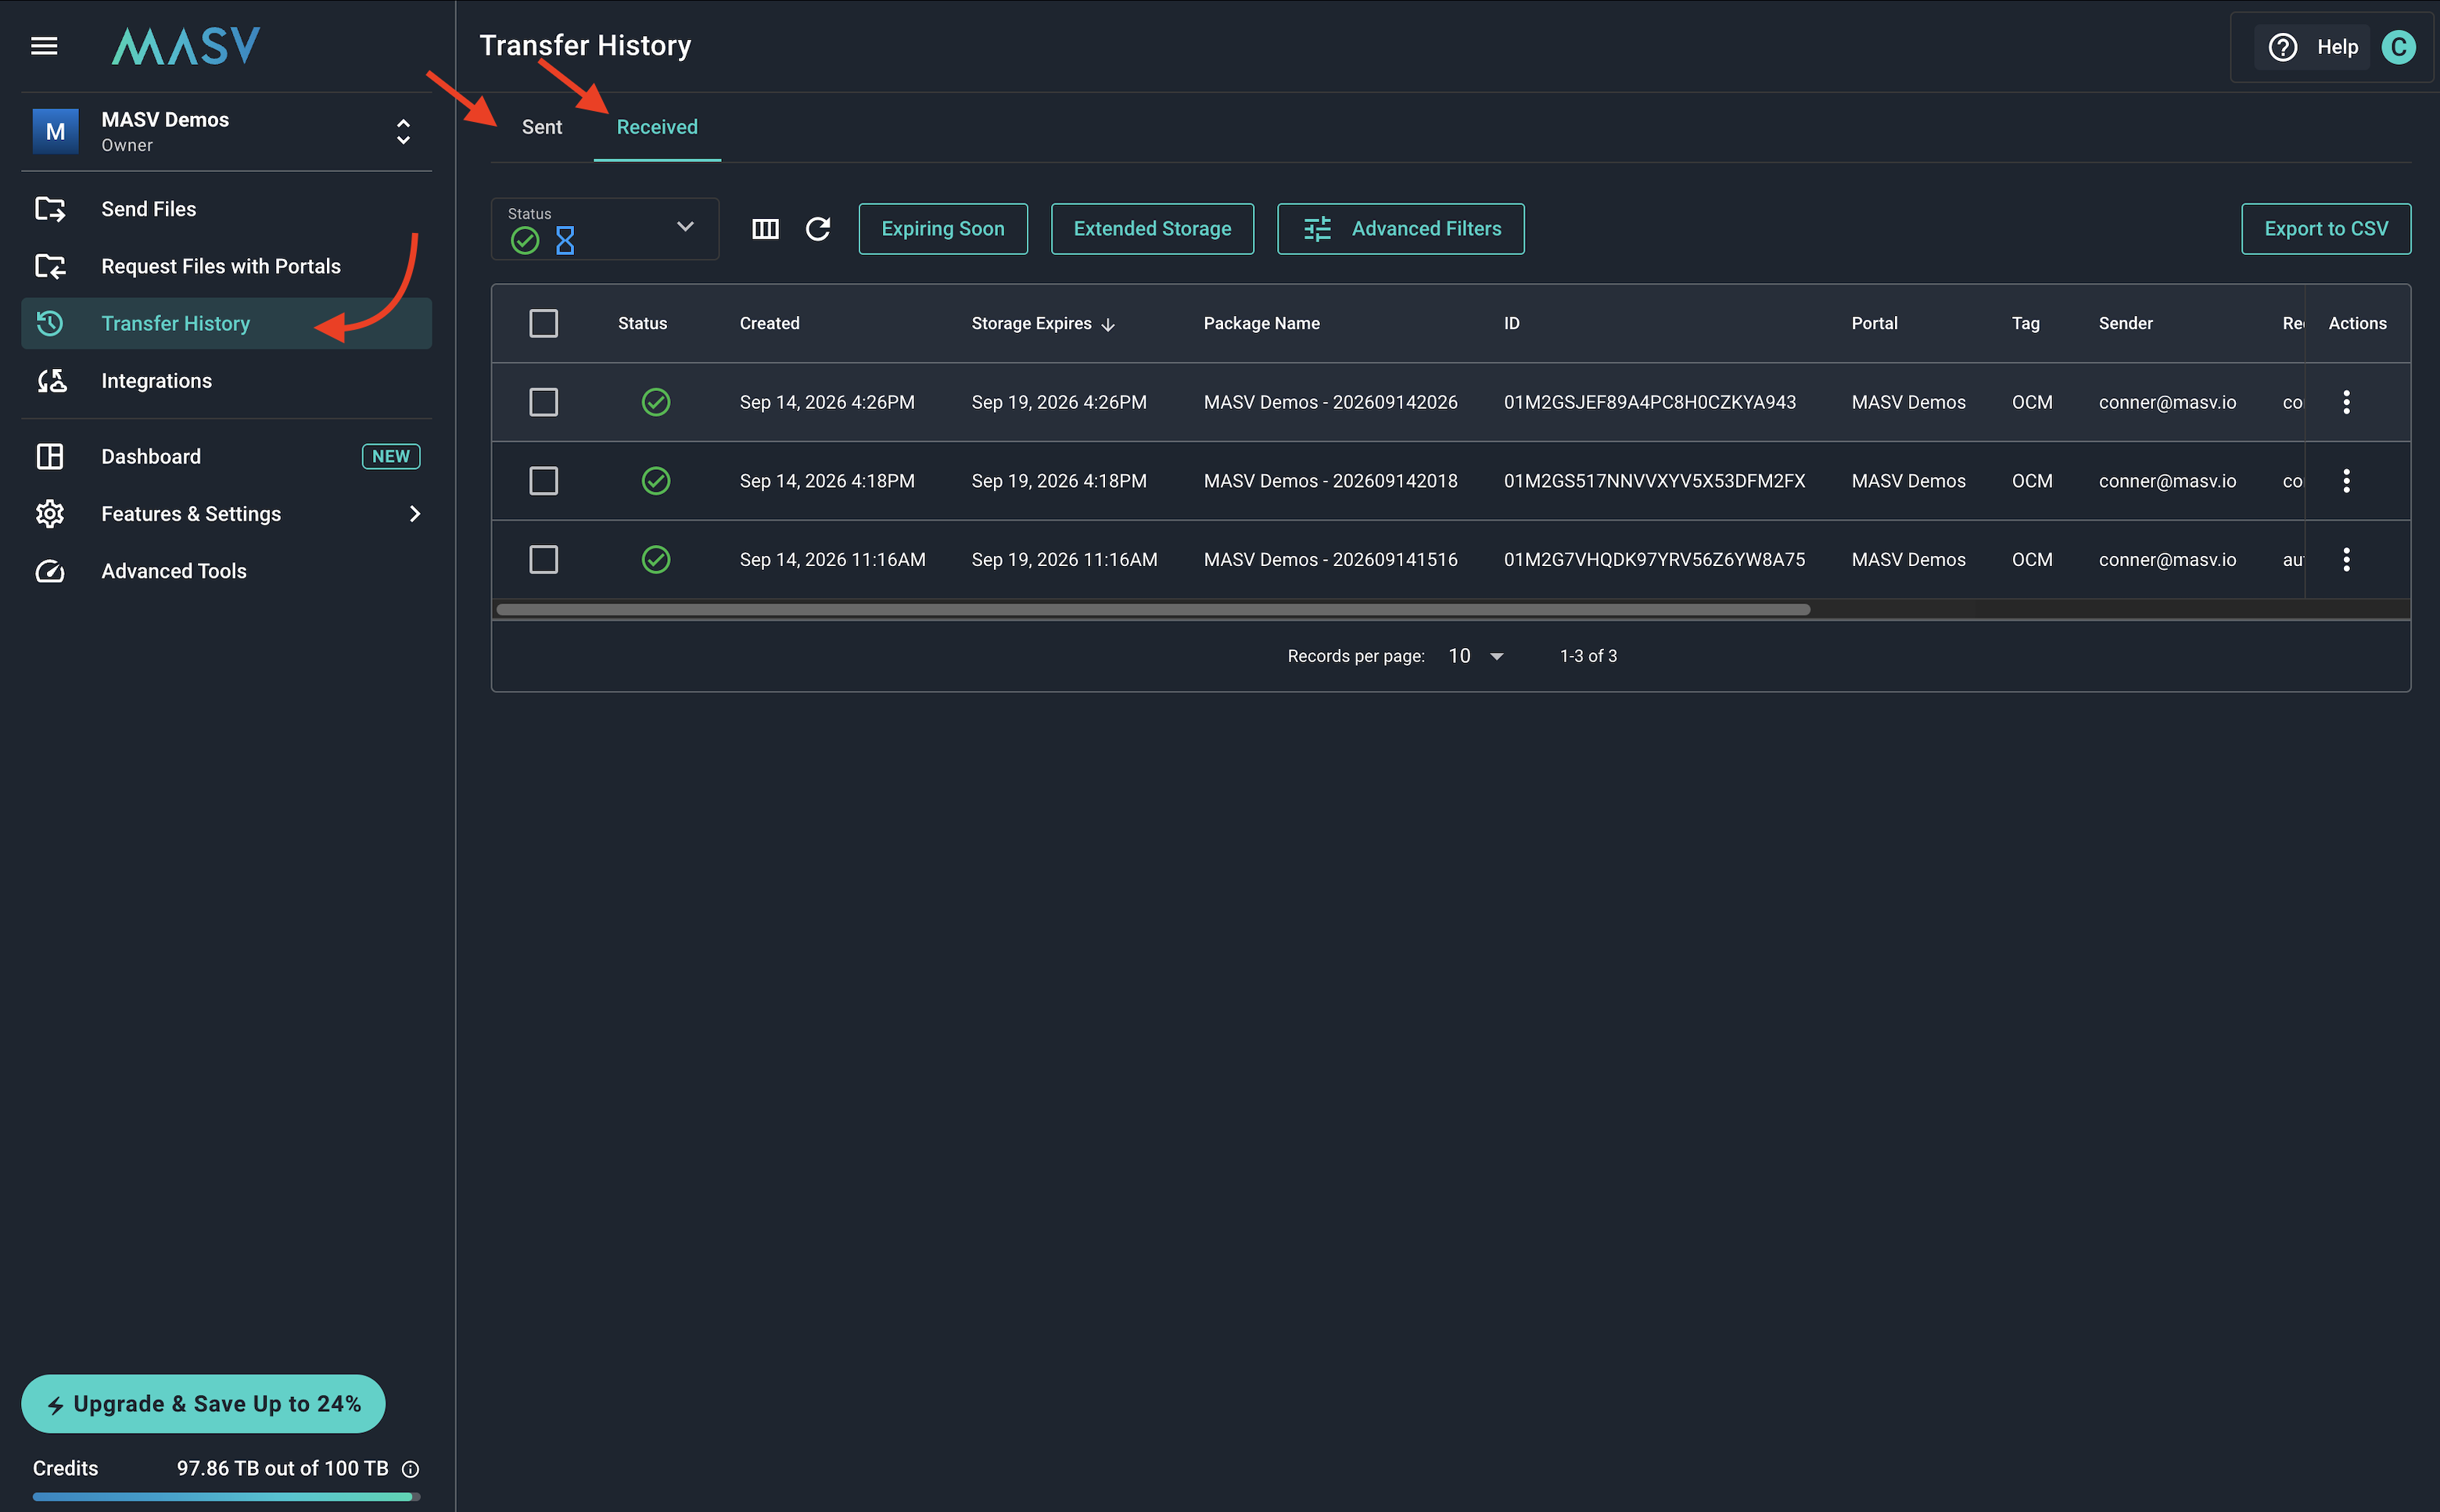
Locate the package and select it to view the corresponding Package Details page to review delivery status.
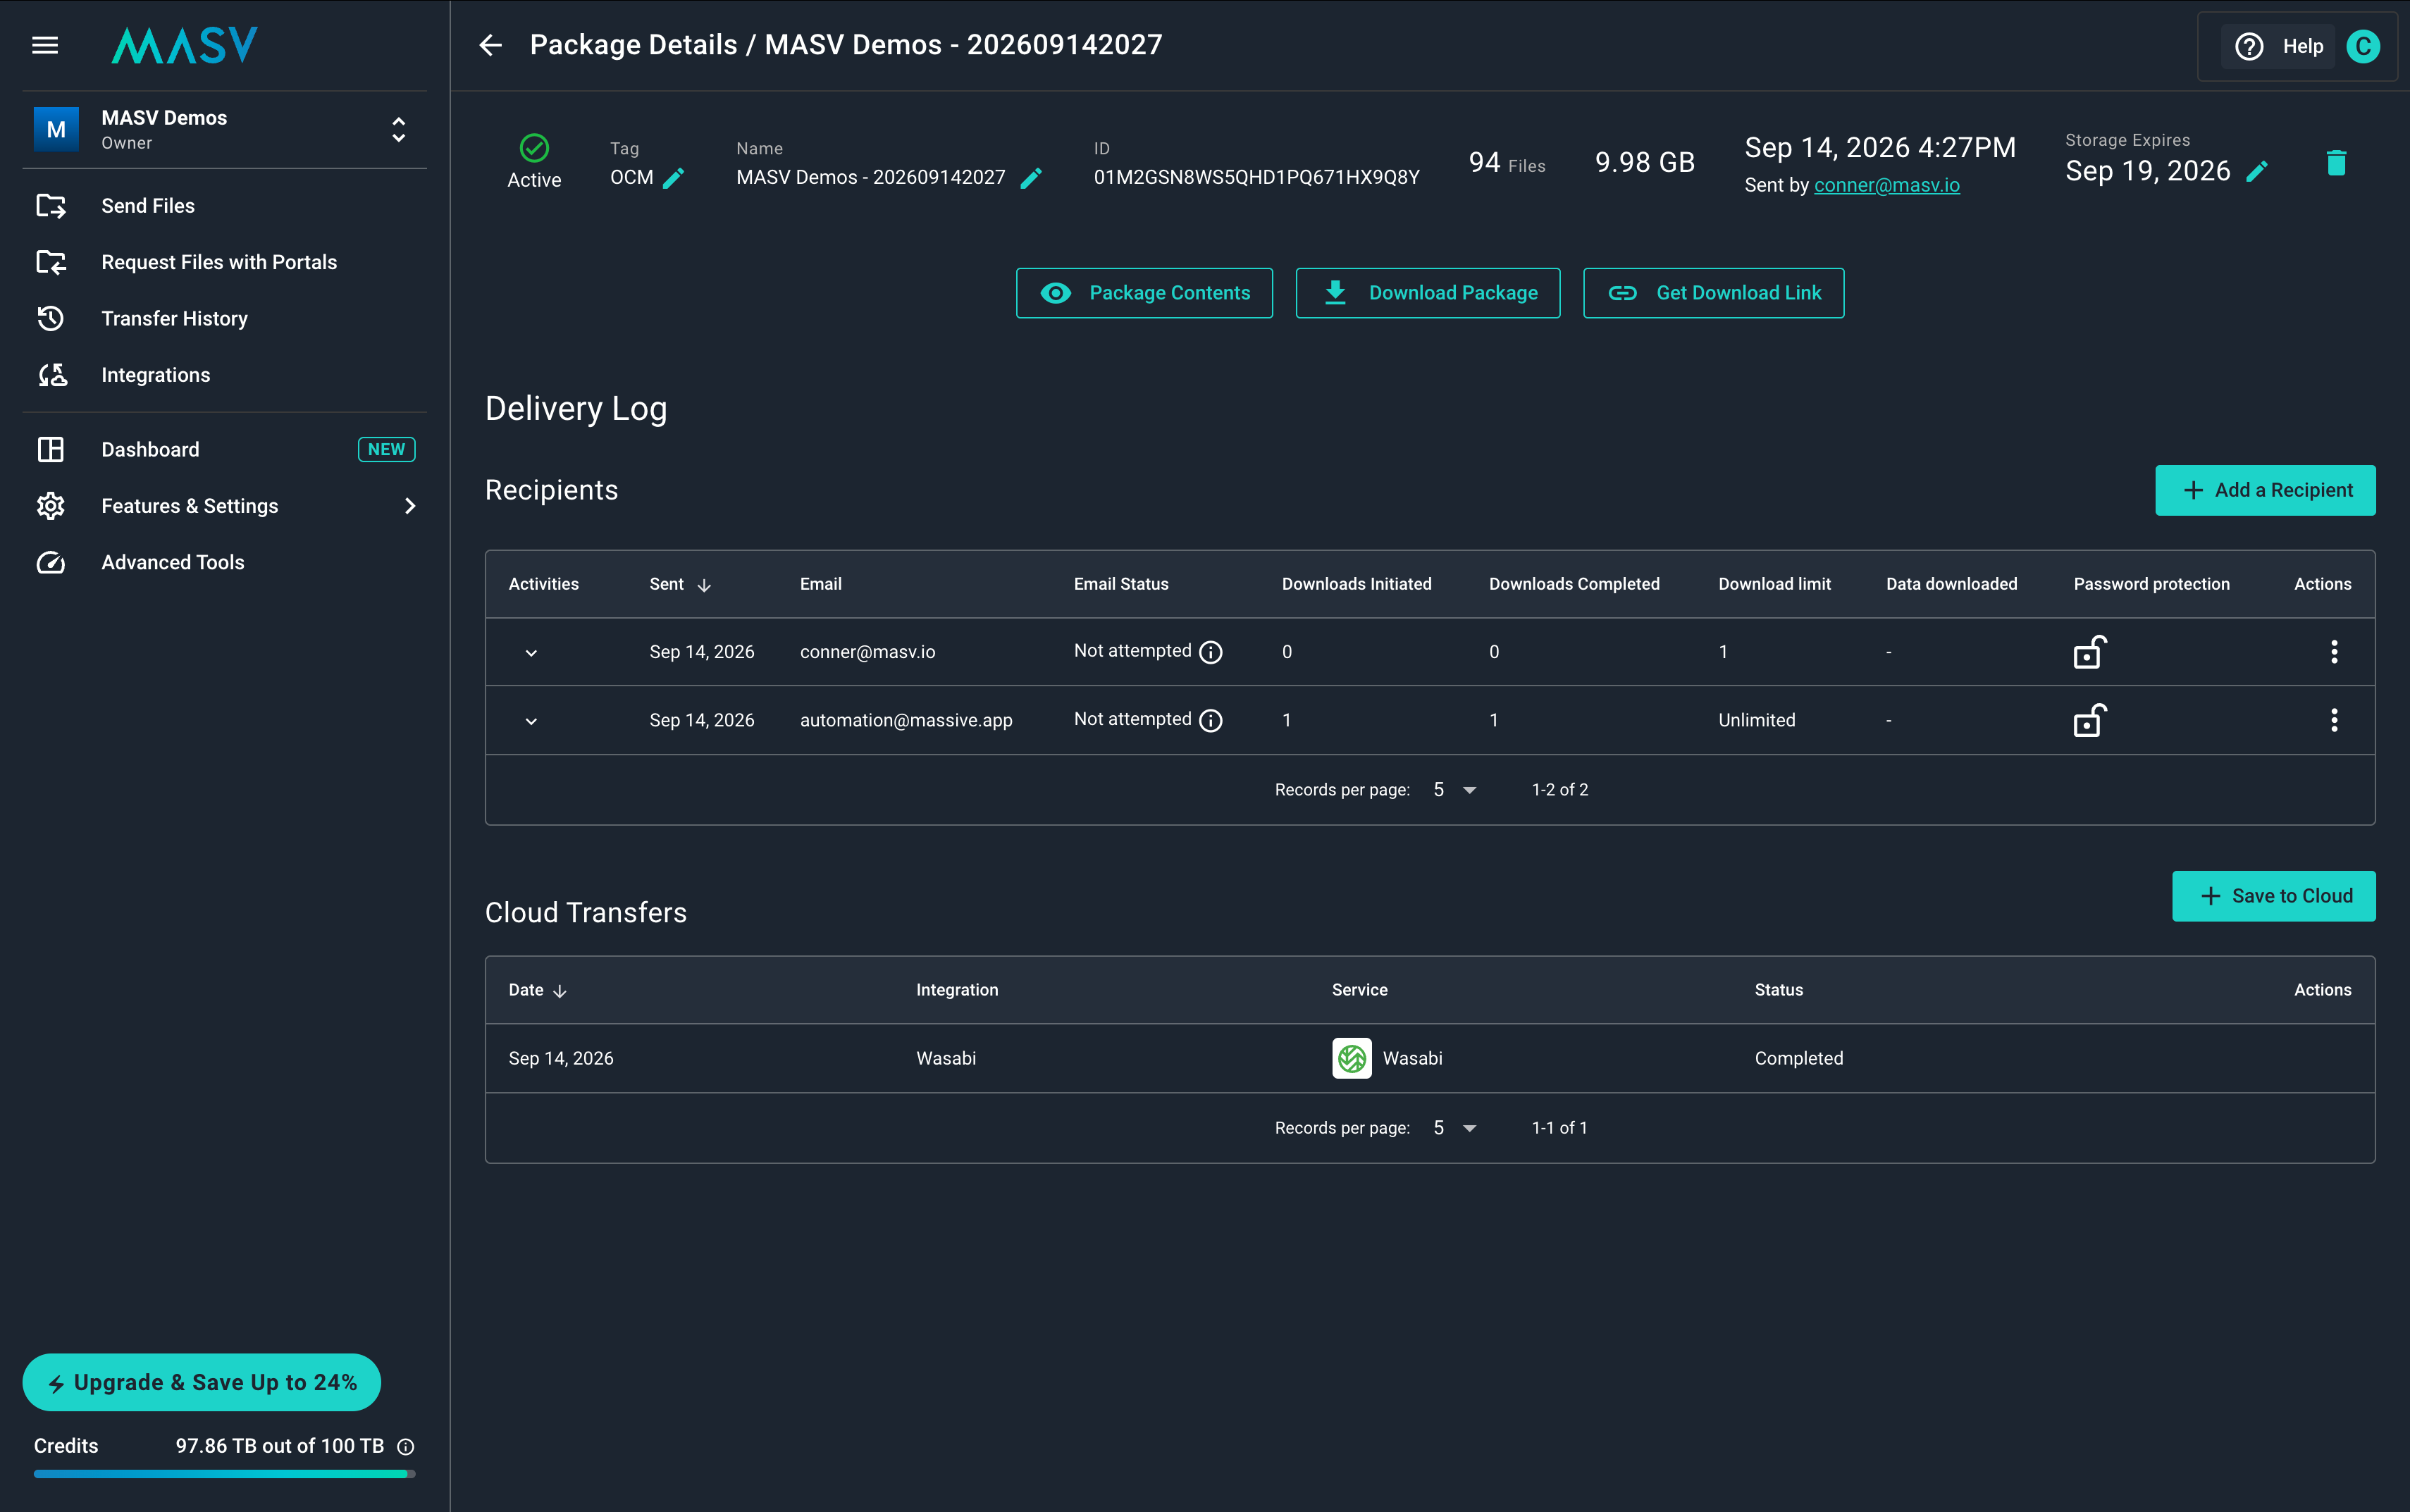
After the transfer to Wasabi completes, check the configured destination in the Wasabi Console to confirm that the files are present. MASV provides email notifications for successful and failed cloud deliveries (see How to manage MASV email notifications). Slack notifications are also available when configured for your MASV Team (see HHow to add MASV notifications to Slack).