NetApp Cloud Sync can be used with Wasabi by following the configuration instructions below. NetApp does not currently offer a Wasabi or ‘generic’ S3 choice as a target component (Wasabi is working with NetApp to resolve this). As an alternative approach, these config guidelines use the IBM Storage target (another S3-compatible storage service) and it works fine. This document assumes that the user has a NetApp Cloud Sync account along with a publicly-accessible NFS or CIFS share.
This example exports an NFS share as a source but you can also use a CIFS share.
Please Note: The data restoration process is handled by your specific backup software application. As there are many potential variables that will affect your unique environment, it is strongly recommended that you seek the guidance of your backup software's technical support team in the event that you encounter difficulty, or have application-specific inquiries.
To use NetApp Cloud Sync with Wasabi:
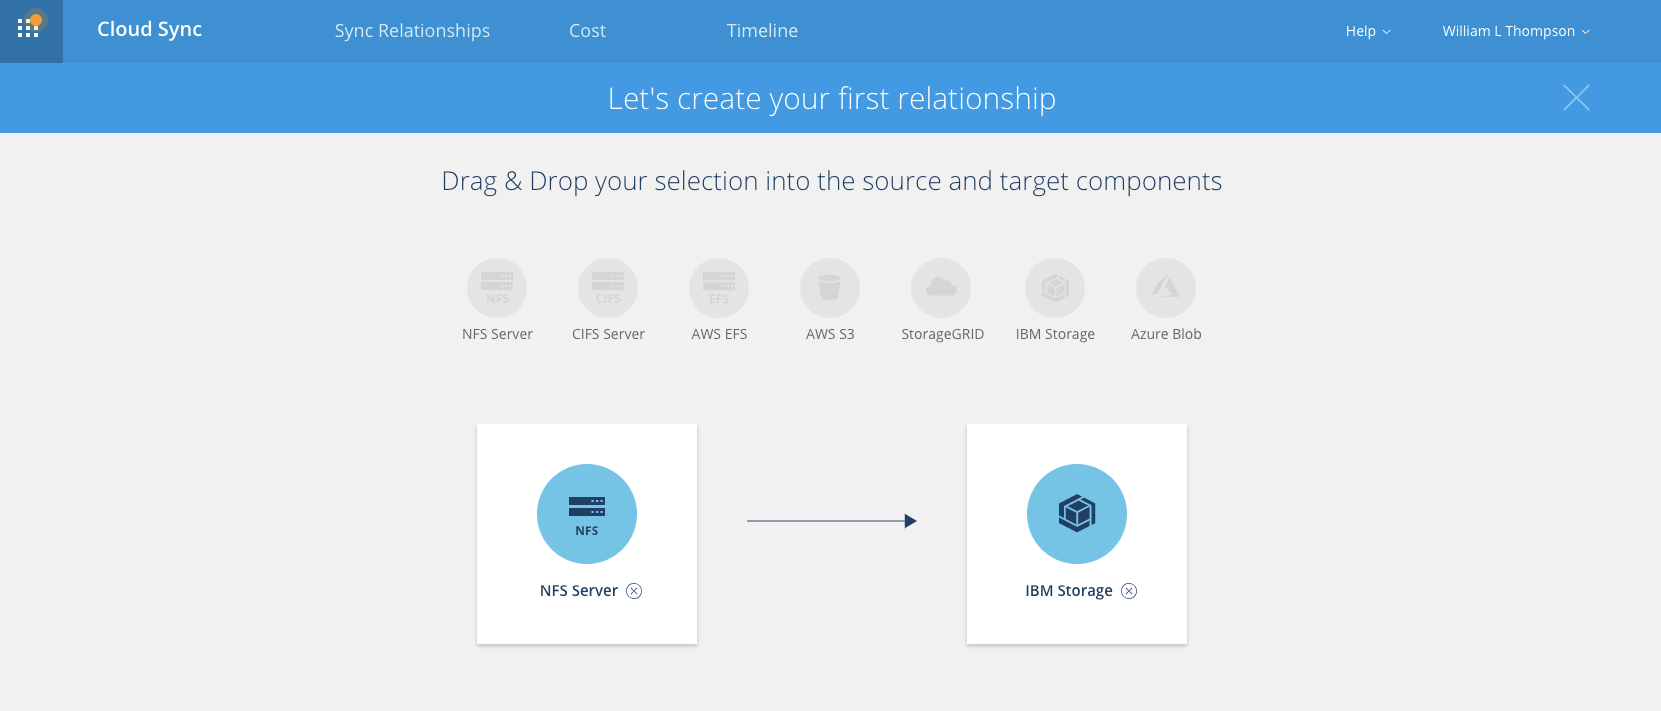
Log into your Cloud Sync account to create your first relationship.
Drag the NFS Server icon to the the Source area and the IBM Storage icon to the Target area as shown below. Click Continue.
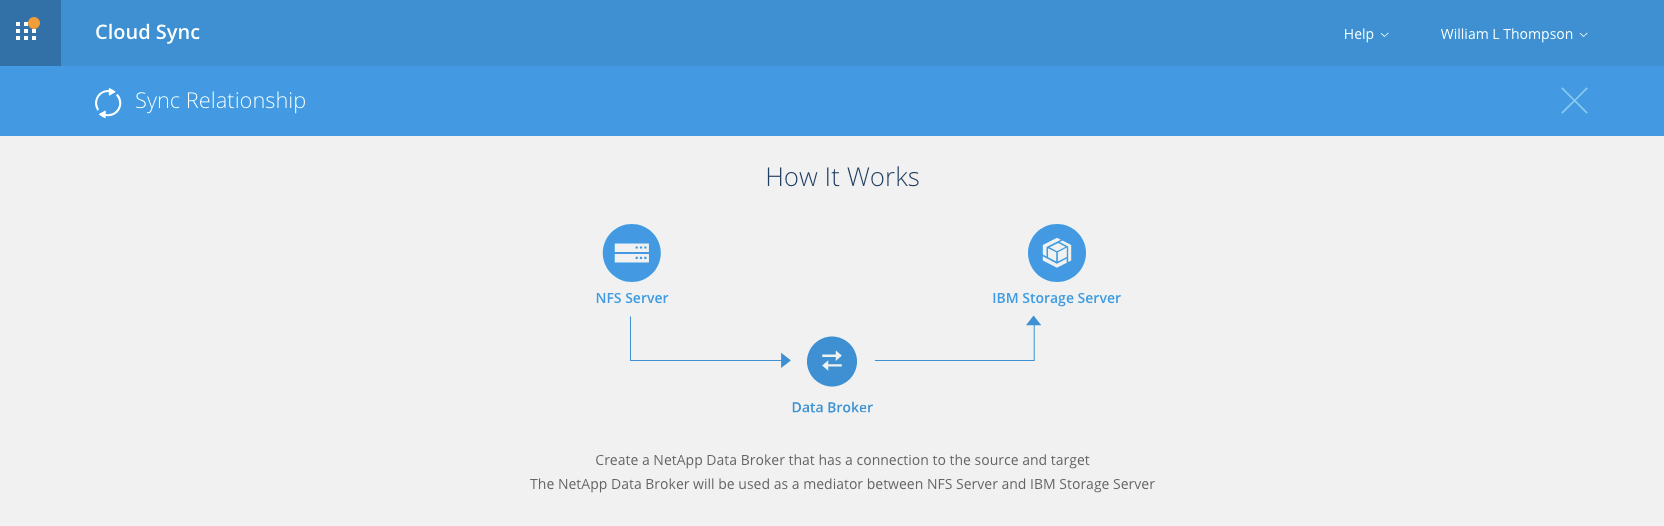
The Sync relationship that you created will appear. Click Continue.
Define a new NFS Server, as shown below.
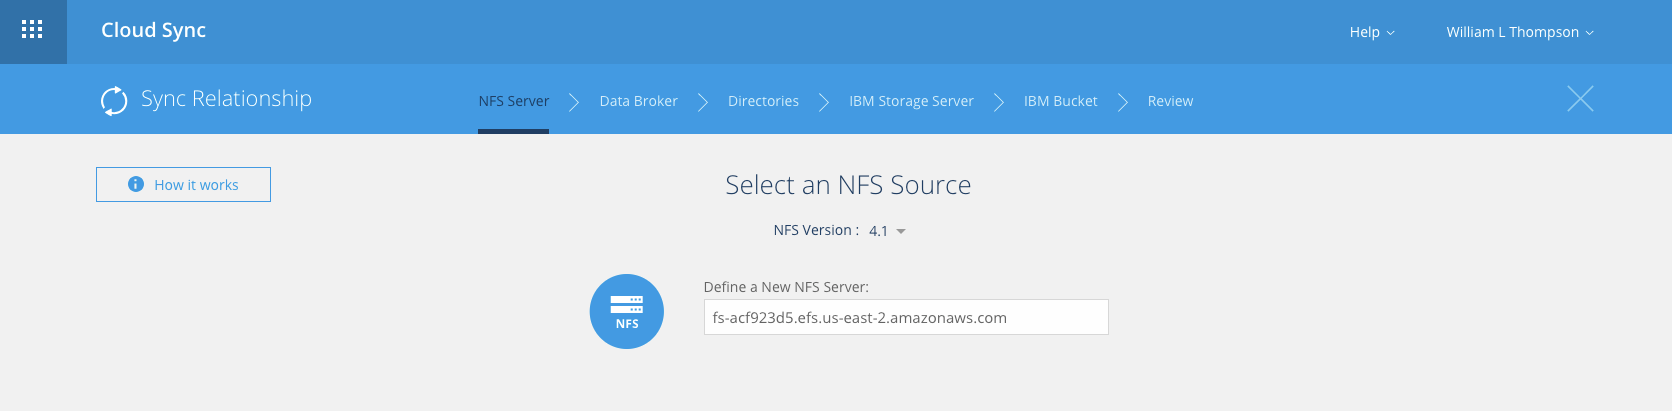
In this example the defined server is configured on an AWS EC2 Instance. In an actual customer environment, the customer’s NFS/CIFS server, configured locally or in a compute environment, would be entered here. Click Continue.
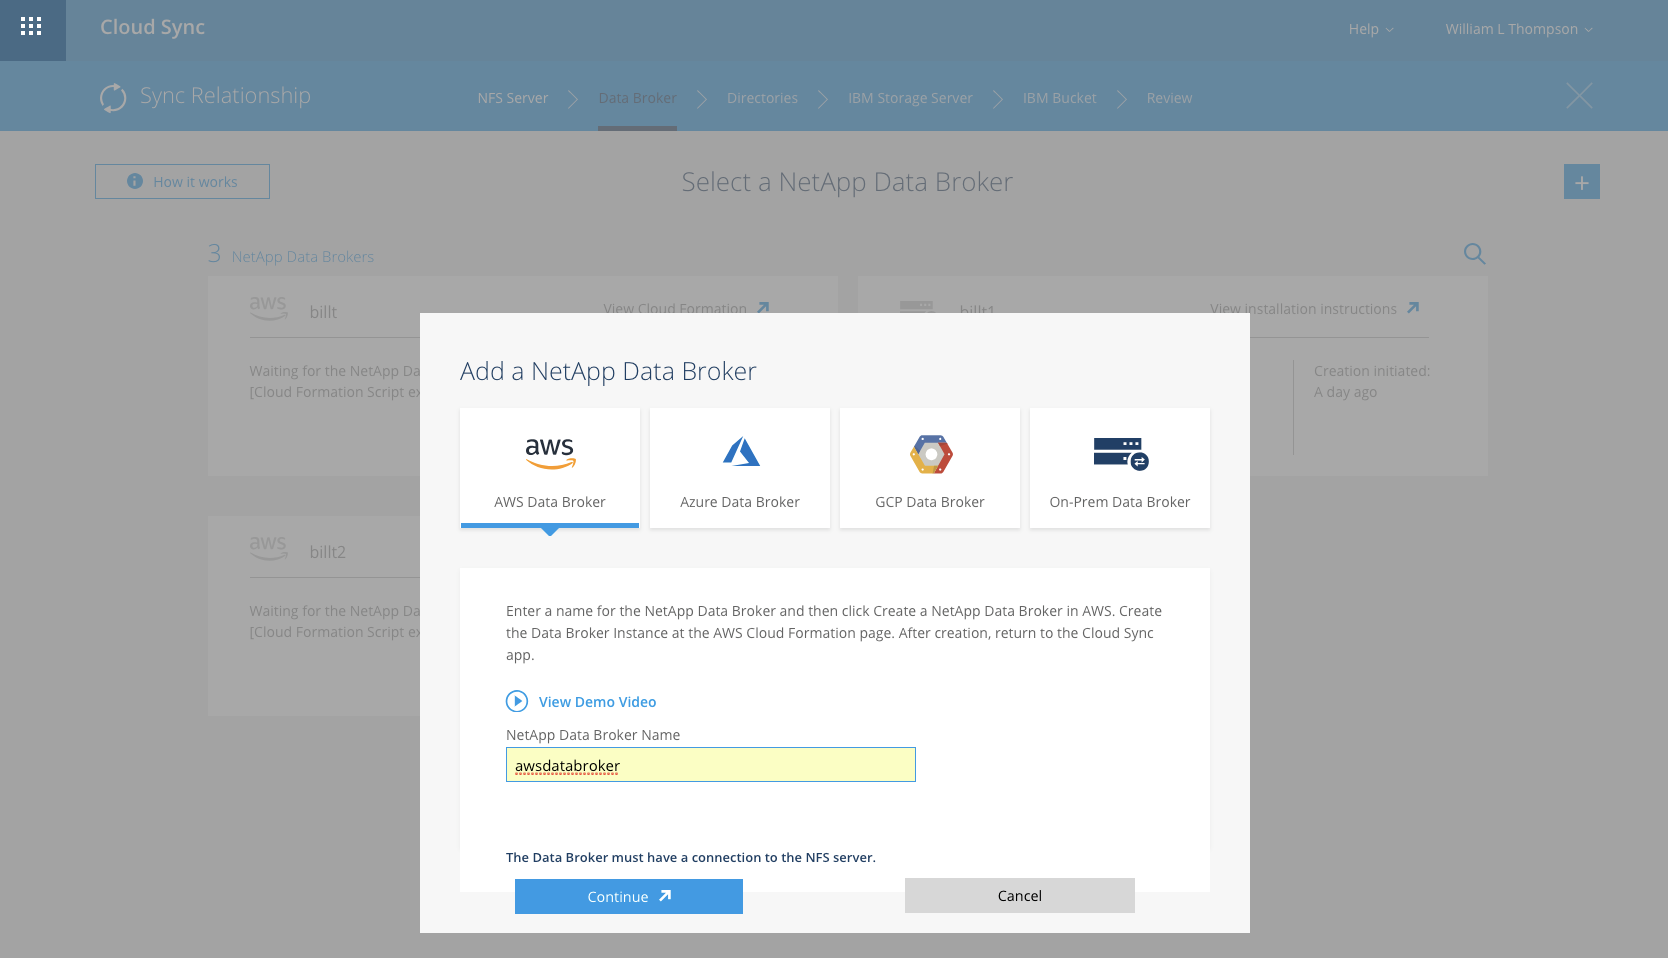
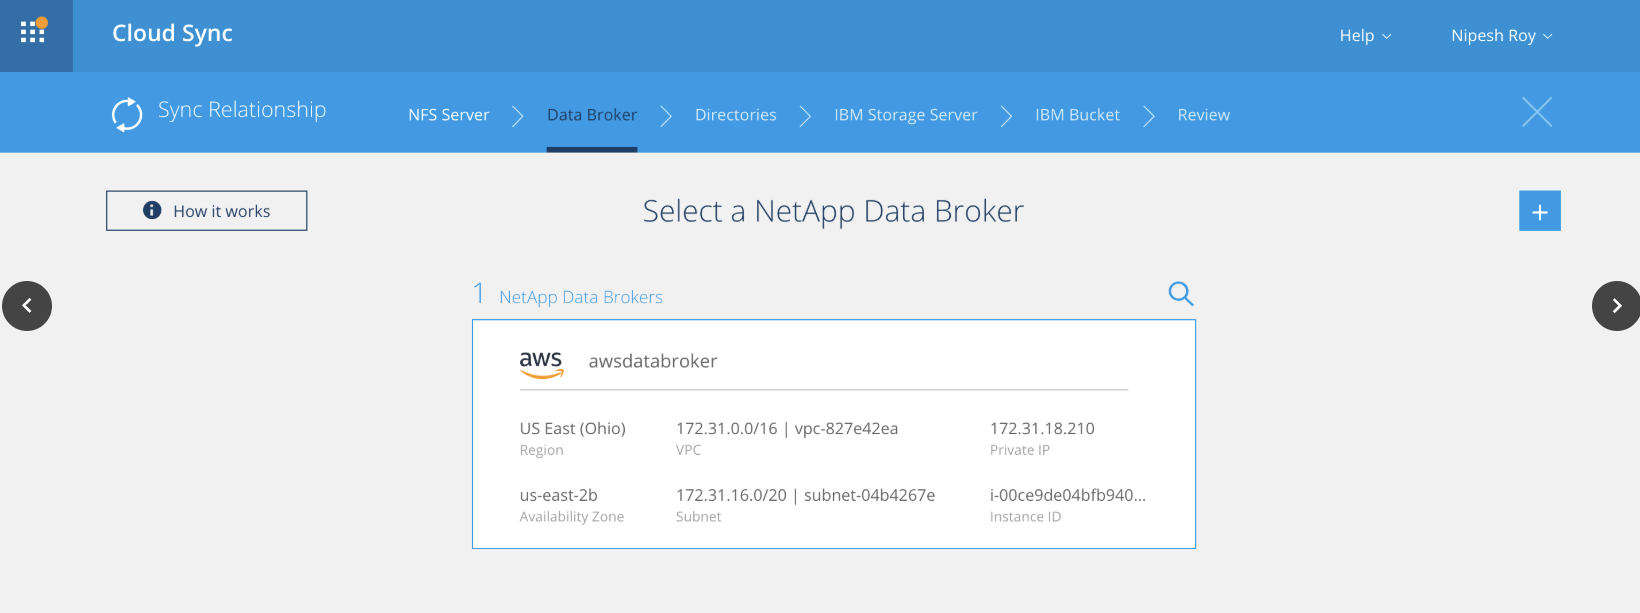
Select a NetApp Data Broker by clicking the + icon and selecting the service that you plan to run the Broker on. In this example the broker is defined as an AWS Data Broker. The chosen data broker requires communication with your defined NFS/CIFS server. Click Continue.
This will take the user to their AWS console. Login with your AWS account credentials. At this point the Cloud Sync will prepare a AWS data broker EC2 instance. The following illustration shows the users configured data brokers. Click Continue.
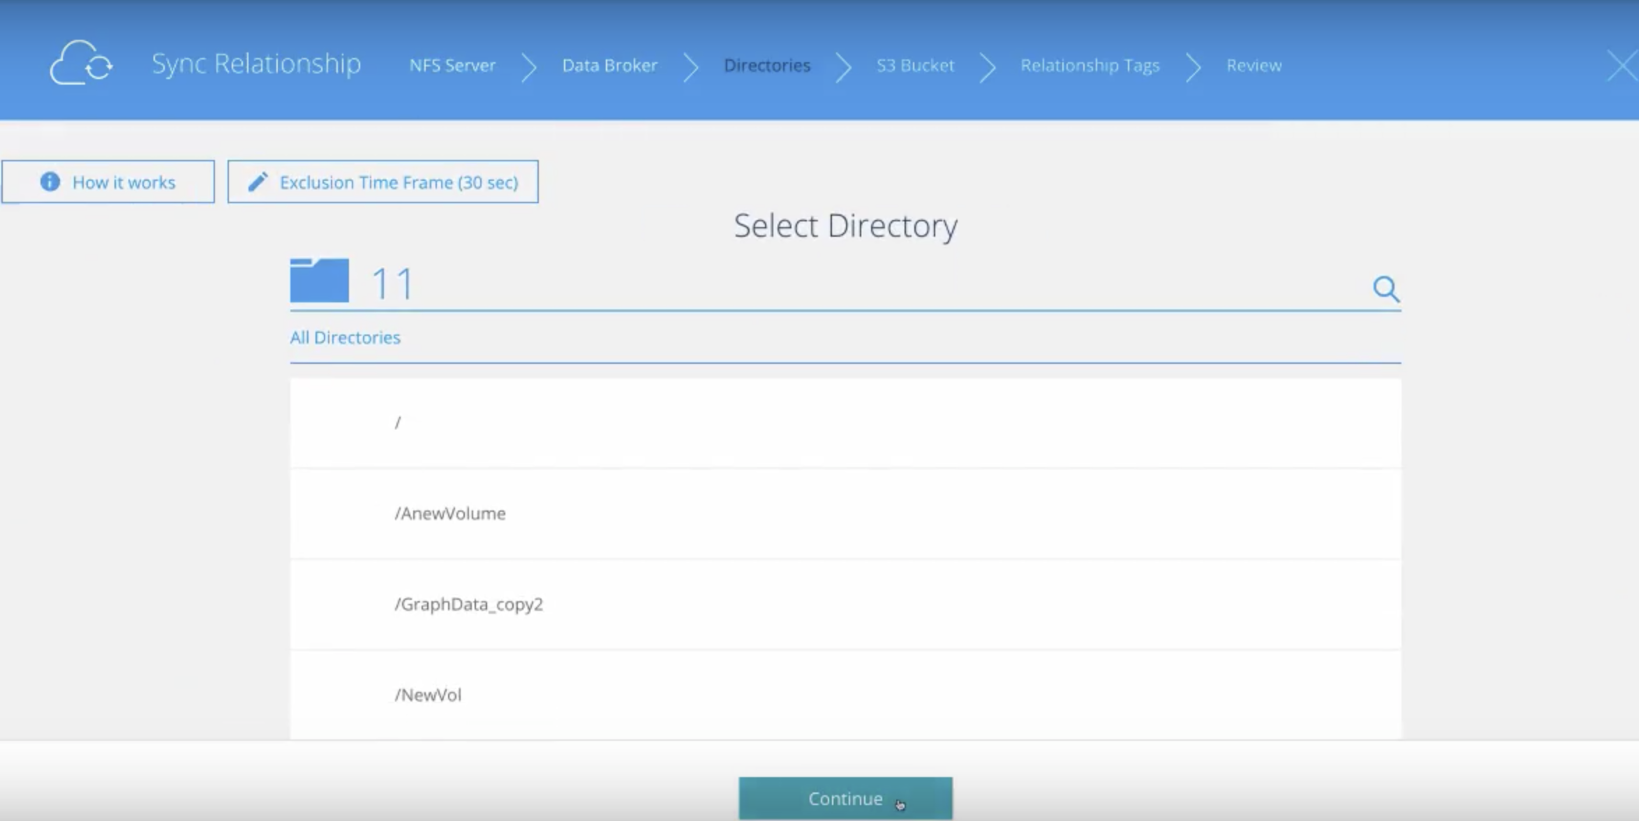
Select Directory will provide the directory listing as shown below.
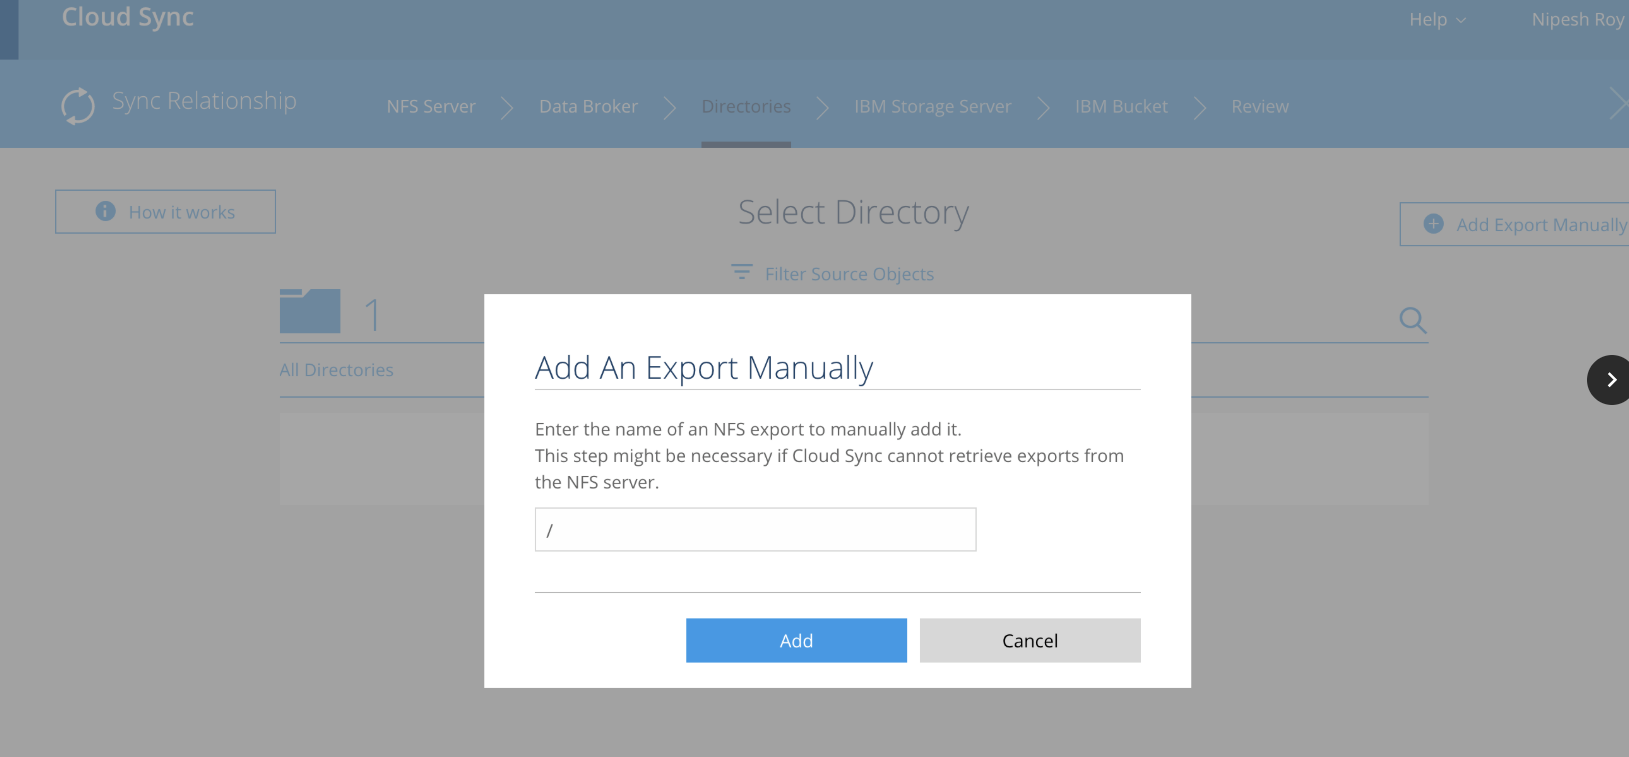
Should the listing not occur dynamically you can Add An Export Manually as shown below for the directory listing. Click Continue.
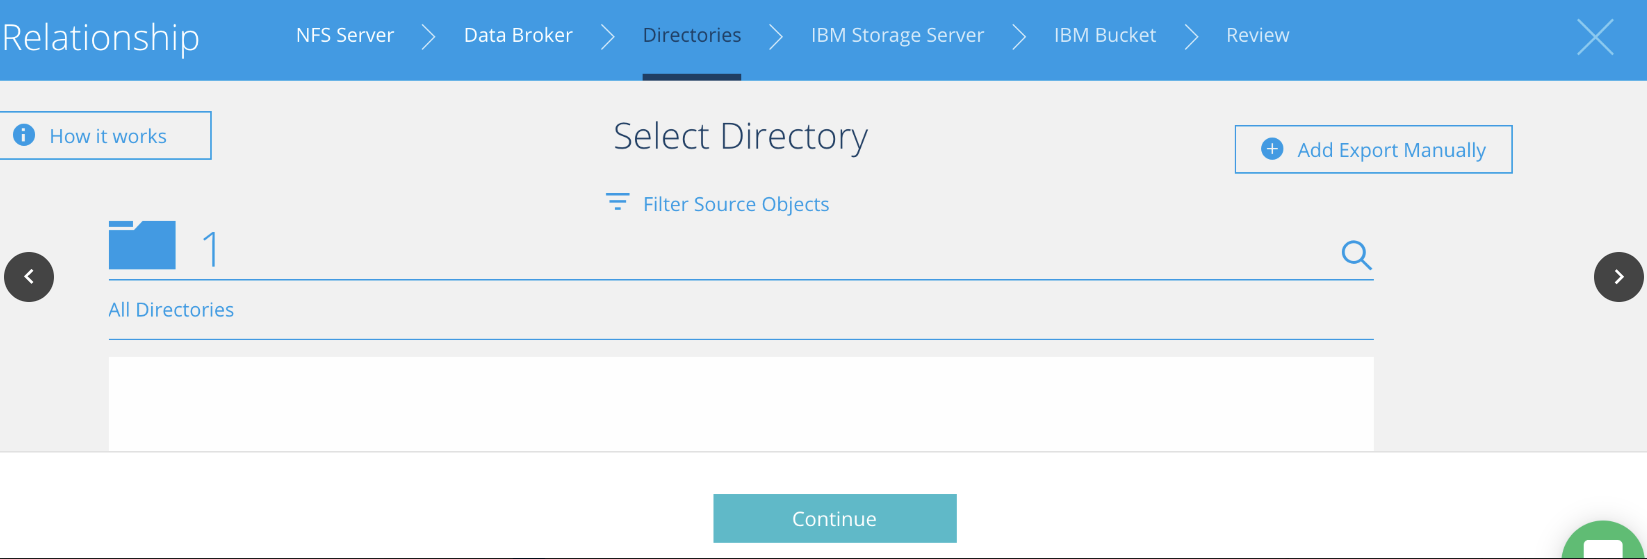
The Select Directory result using the Manual Export is shown below. Click Continue.
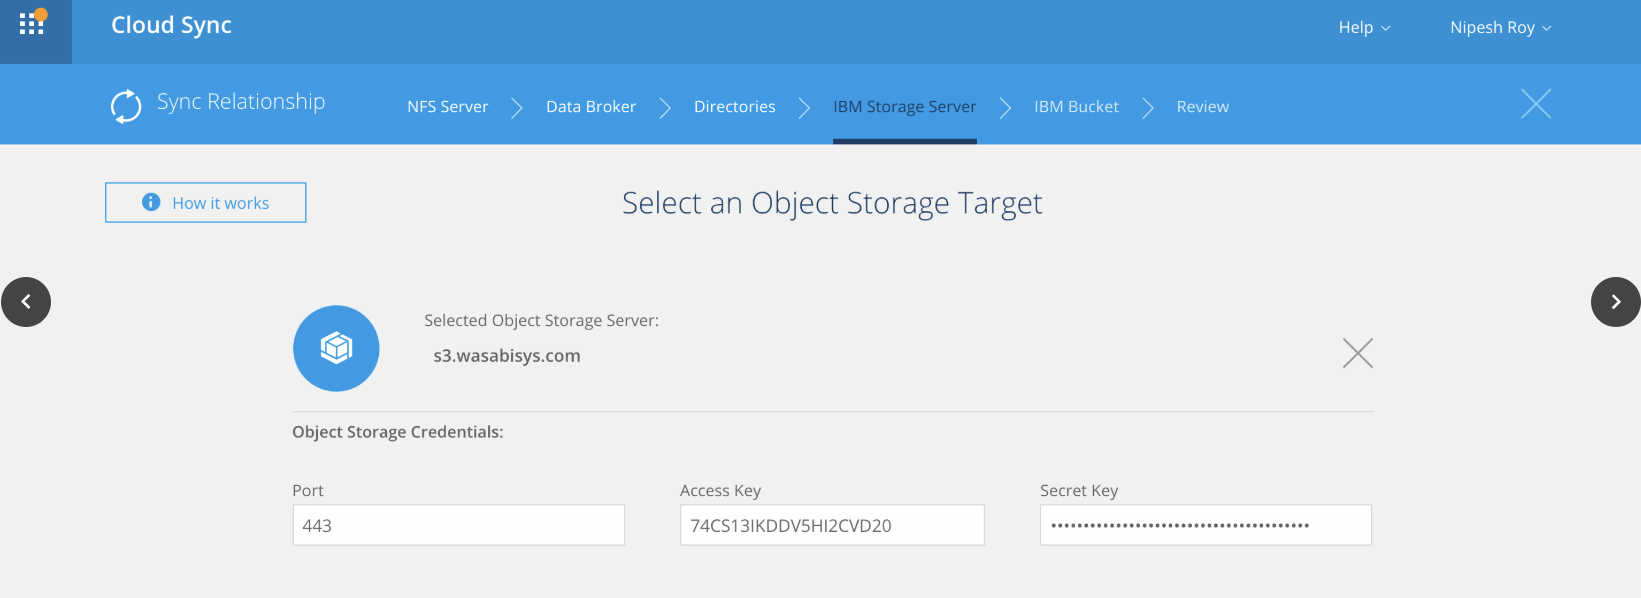
In the Select an Object Storage Target complete the required parameters using 443 as the Port and the Access Key set for your Wasabi Hot Storage account. Click Continue.
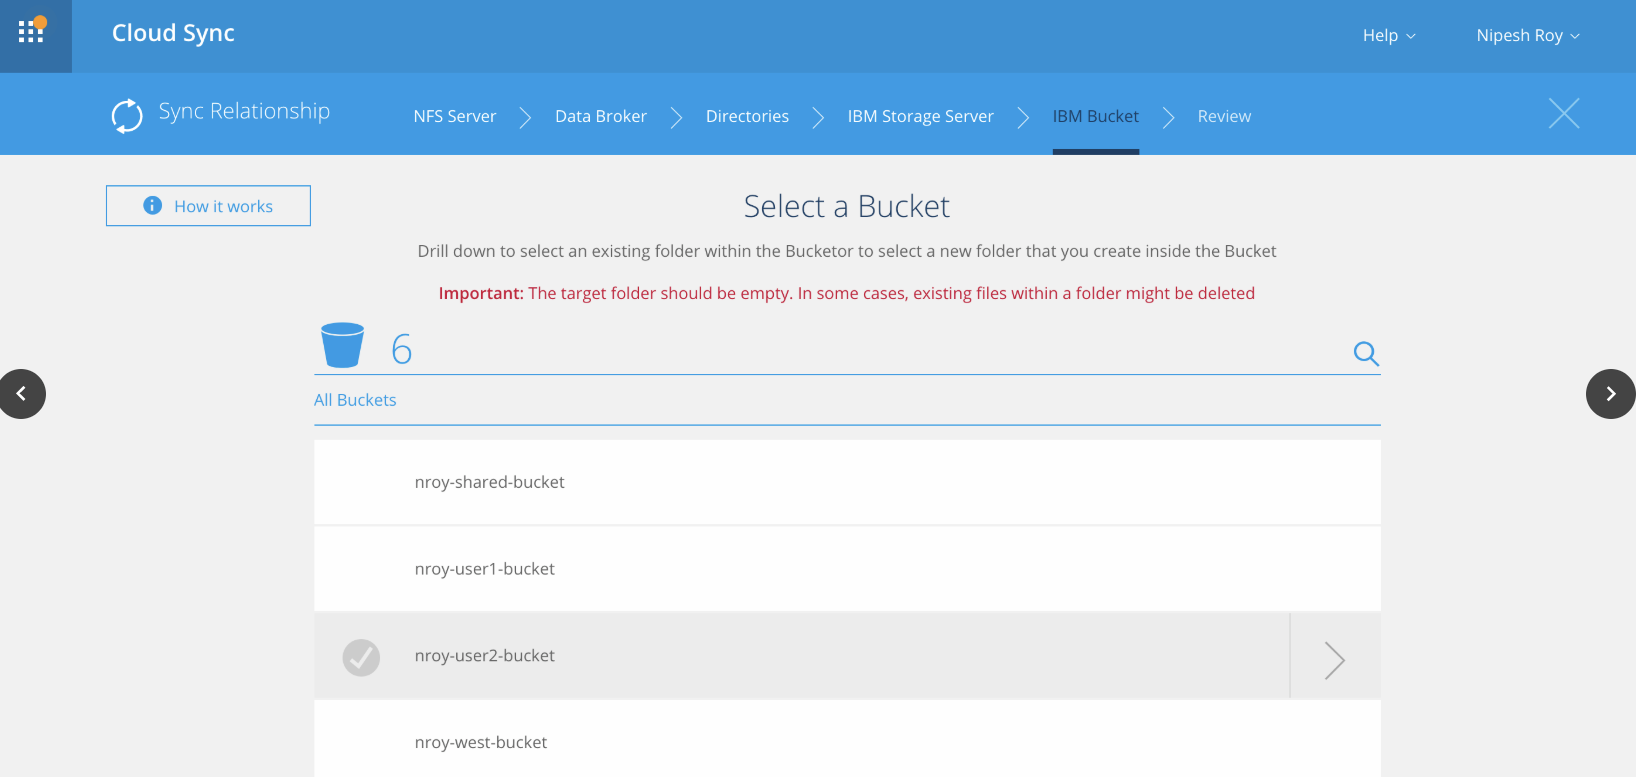
In the Select a Bucket section follow the instructions as stated. Click Continue.
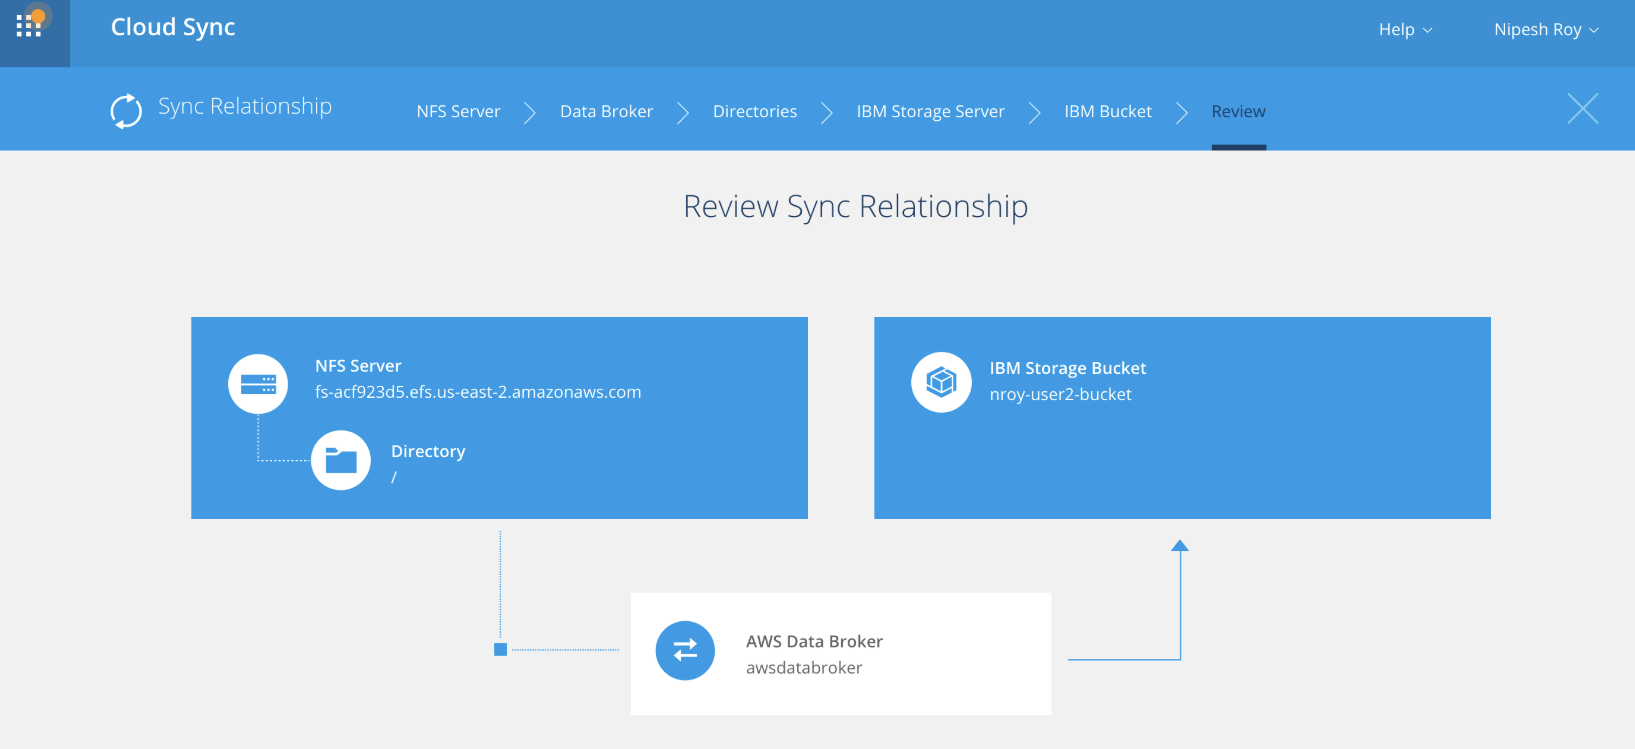
Review the Sync Relationship to confirm your configuration. Click Continue.
At this time the Cloud Sync service will start the synchronization of the file transfer as shown below.
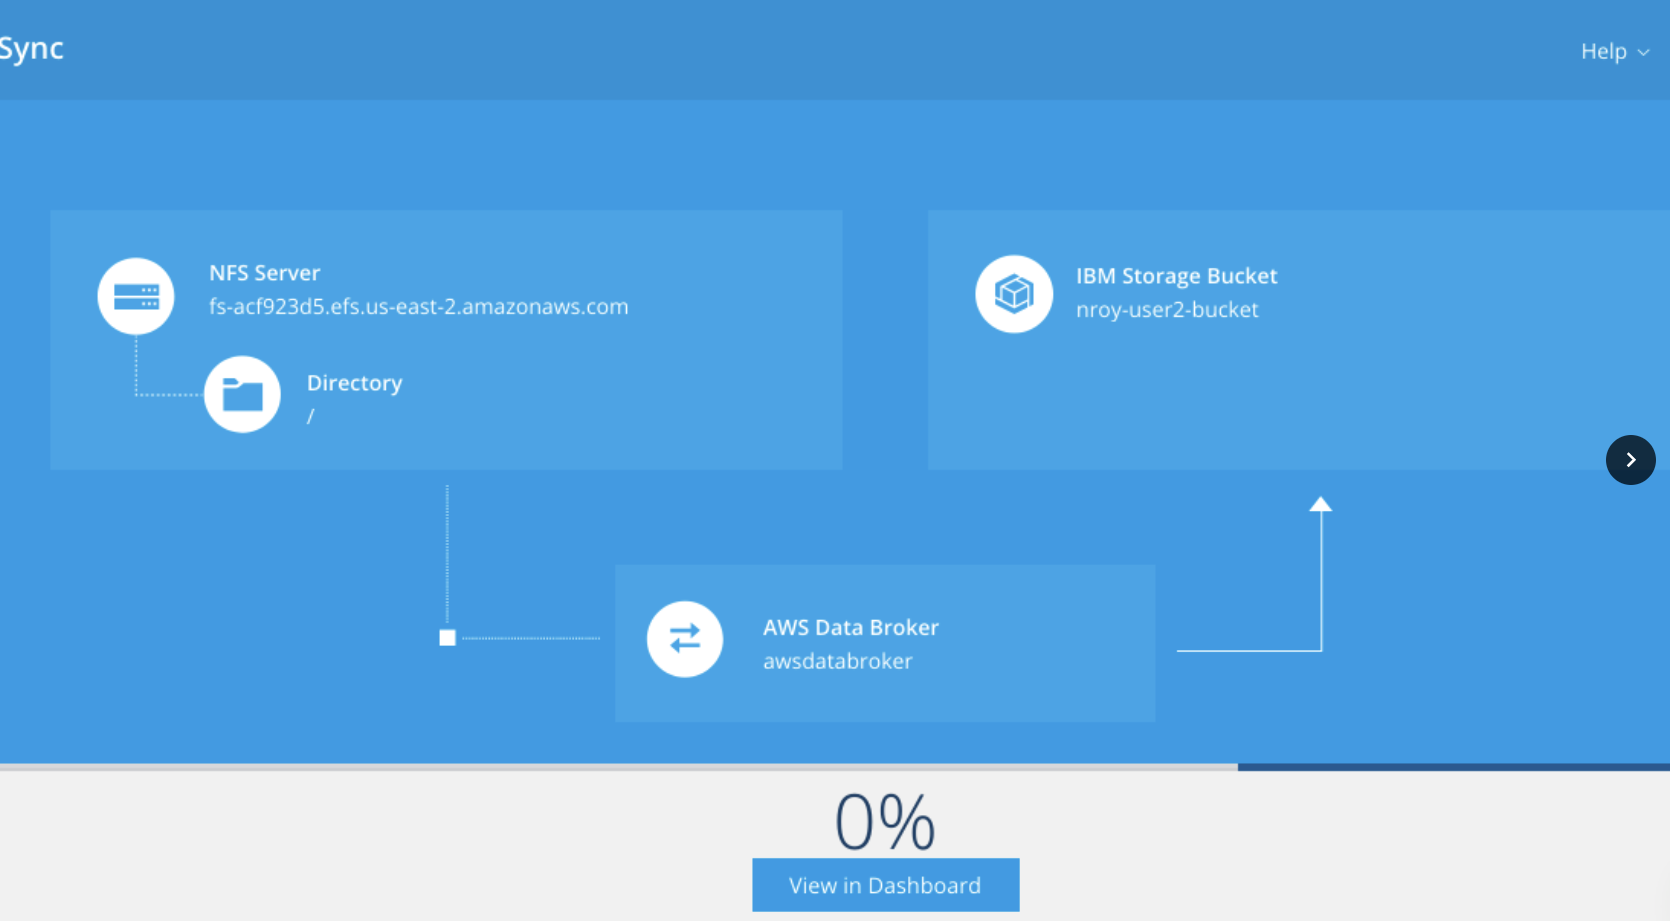
The following illustrates the Cloud Sync Dashboard to view Sync status.