NetApp SaaS Backup for Office365 can be used with Wasabi by following the configuration instructions below.
Please Note: The data restoration process is handled by your specific backup software application. As there are many potential variables that will affect your unique environment, it is strongly recommended that you seek the guidance of your backup software's technical support team in the event that you encounter difficulty, or have application-specific inquiries.
Pre-requisites:
NetApp SaaS backup license
NetApp Cloud Manager account
An active Wasabi cloud storage account
Choose the SaaS product you want to configure. Choosing Office 365 in this example.
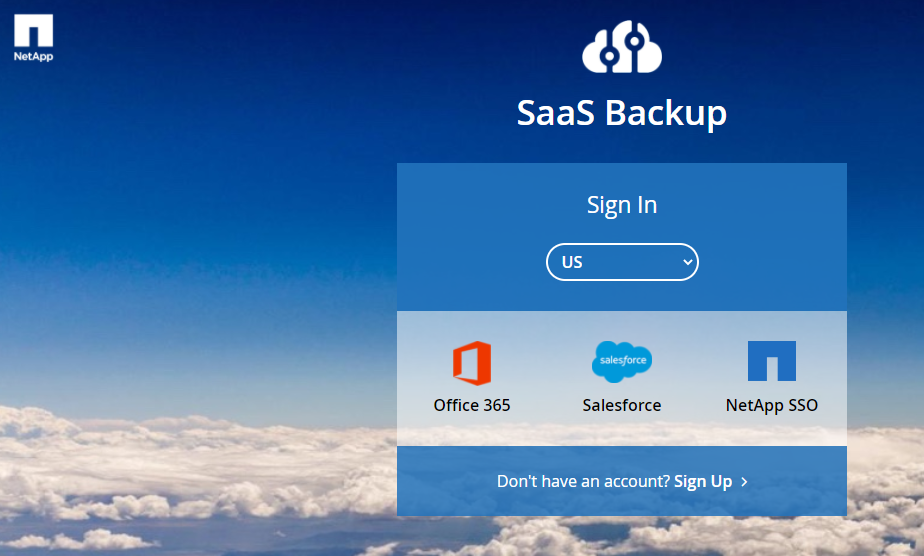
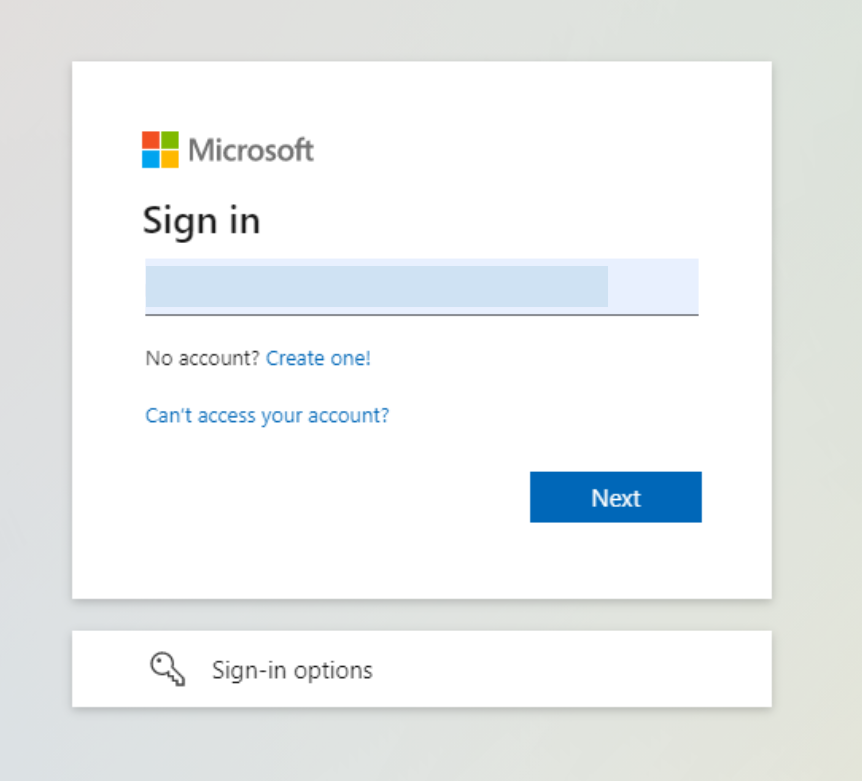
Sign into your Office 365 or other SaaS product.
Next edit or add an additional Backup Destination option.
Select the BYOS (Bring your own storage) option.
Select the StorageGRID Webscale Storage Type
Host: Wasabi Service URL. (See note below for example).
Port: 443
Bucket Name: Existing bucket name in the region you specified in the host entry.
Access Key: Access Key associated to the account
Secret Key: Secret Key associated to the account
NOTE: That this example discusses the use of Wasabi's us-east-1 storage region. To use other Wasabi storage regions, please use the appropriate Wasabi service URL as described in this article.
You may test the connection if you like to make sure your access/secret keys are correct.

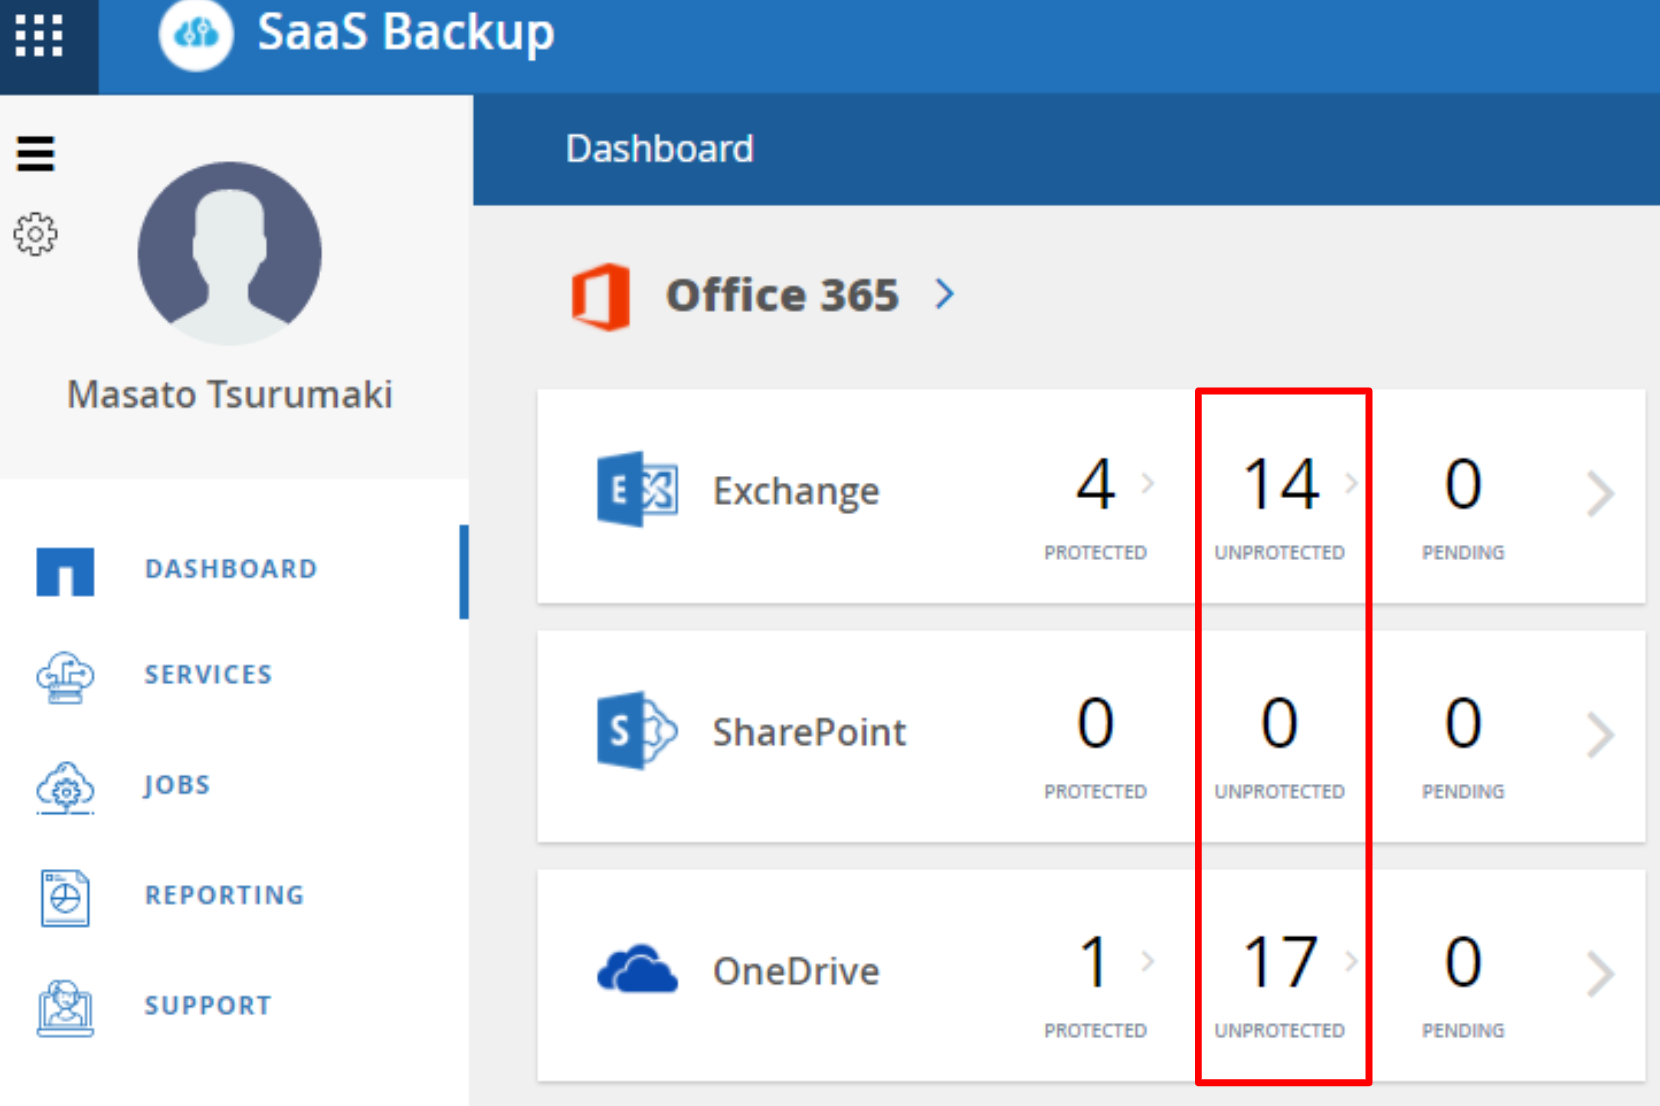
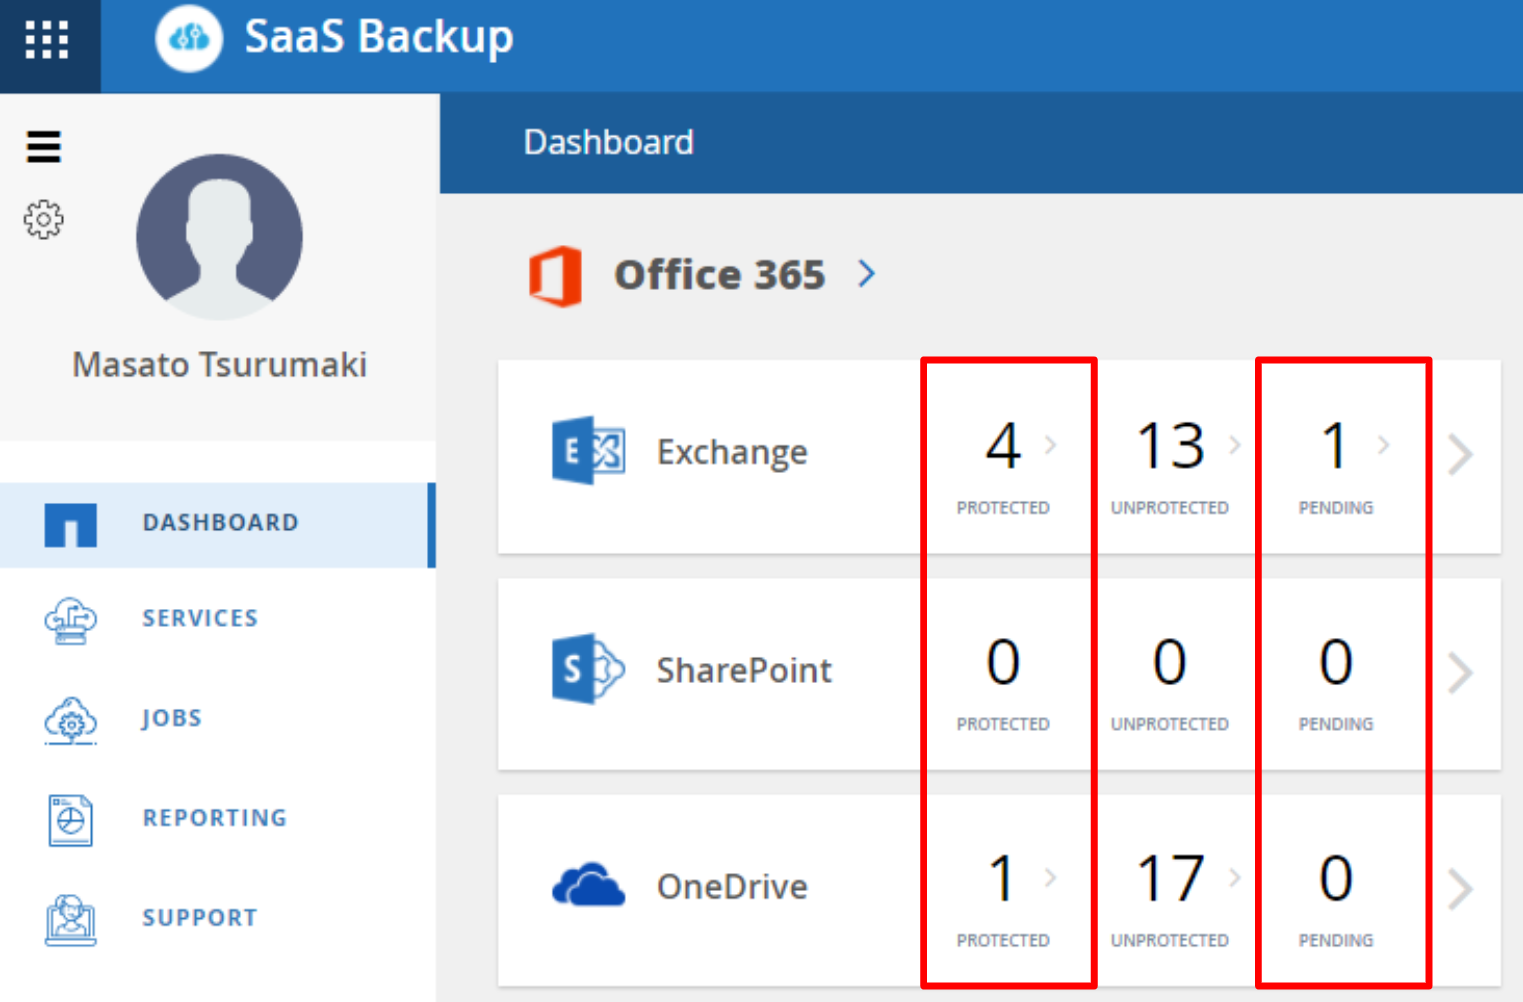
To configure protection for one or more Exchange Mailboxes/Sharepoint/OneDrive users you will go to the Dashboard and select the unprotected number. In this example we will use Outlook mailboxes to protect.
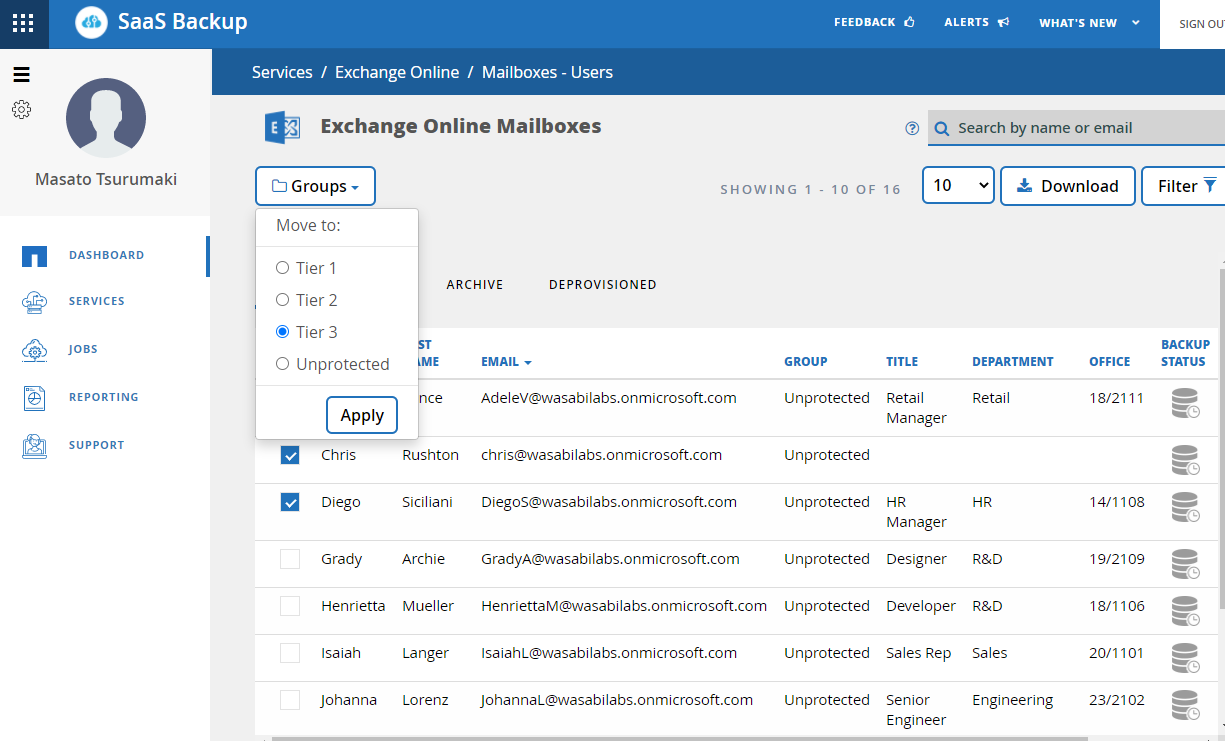
Select the users you wish to backup.
Click the Groups and move them to a Group with a Backup Policy associated to that group and hit Apply. In the Dashboard you will see the number of pending backups waiting to run.
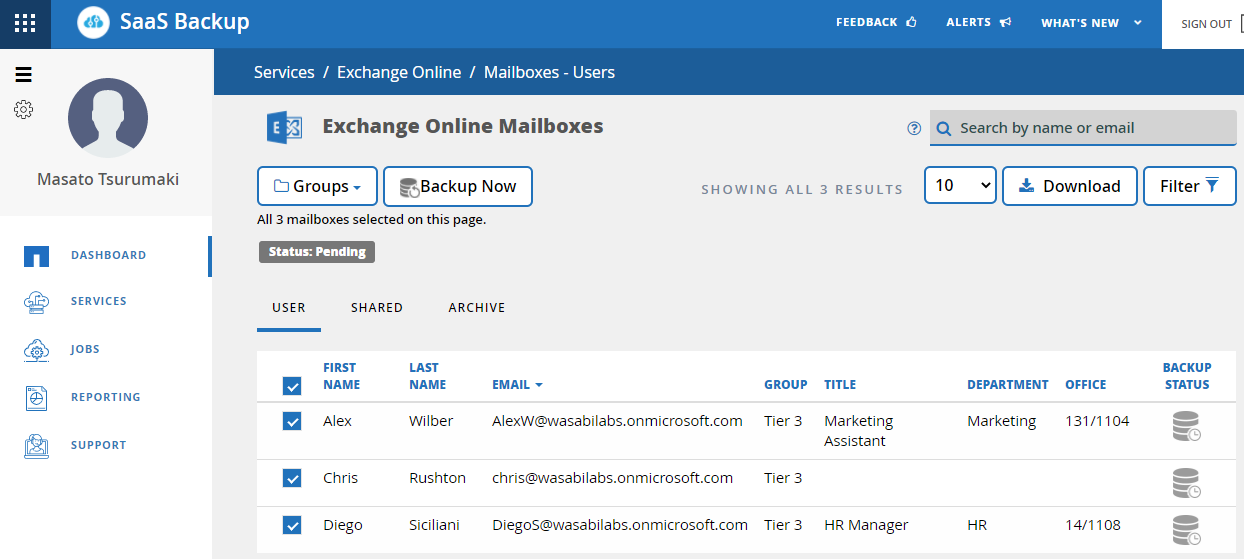
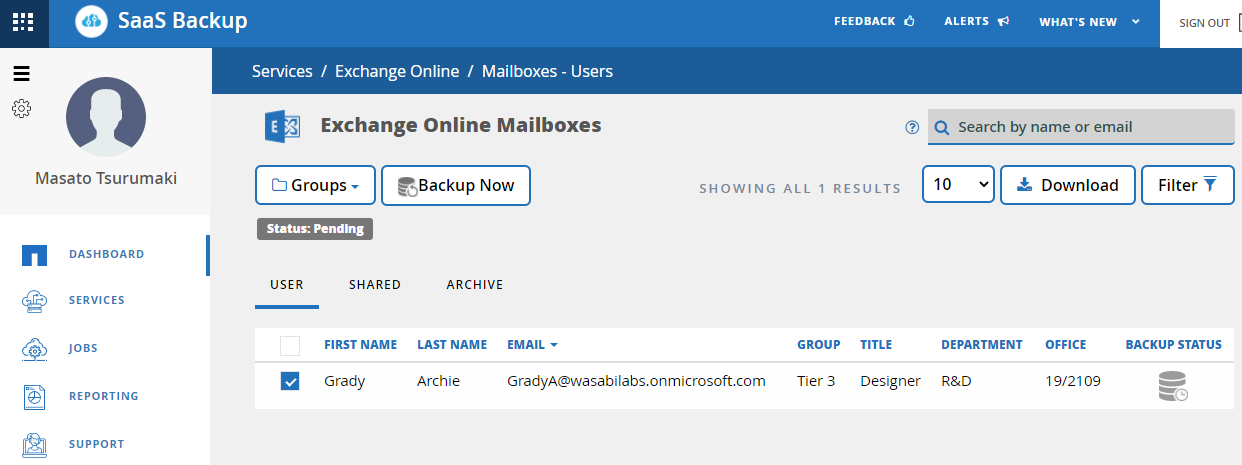
You may run an on-demand backup job by going back to the Dashboard and click on the Protected or Pending number.
You will see the list of mailboxes and you can select the target mailboxes and then click backup now.
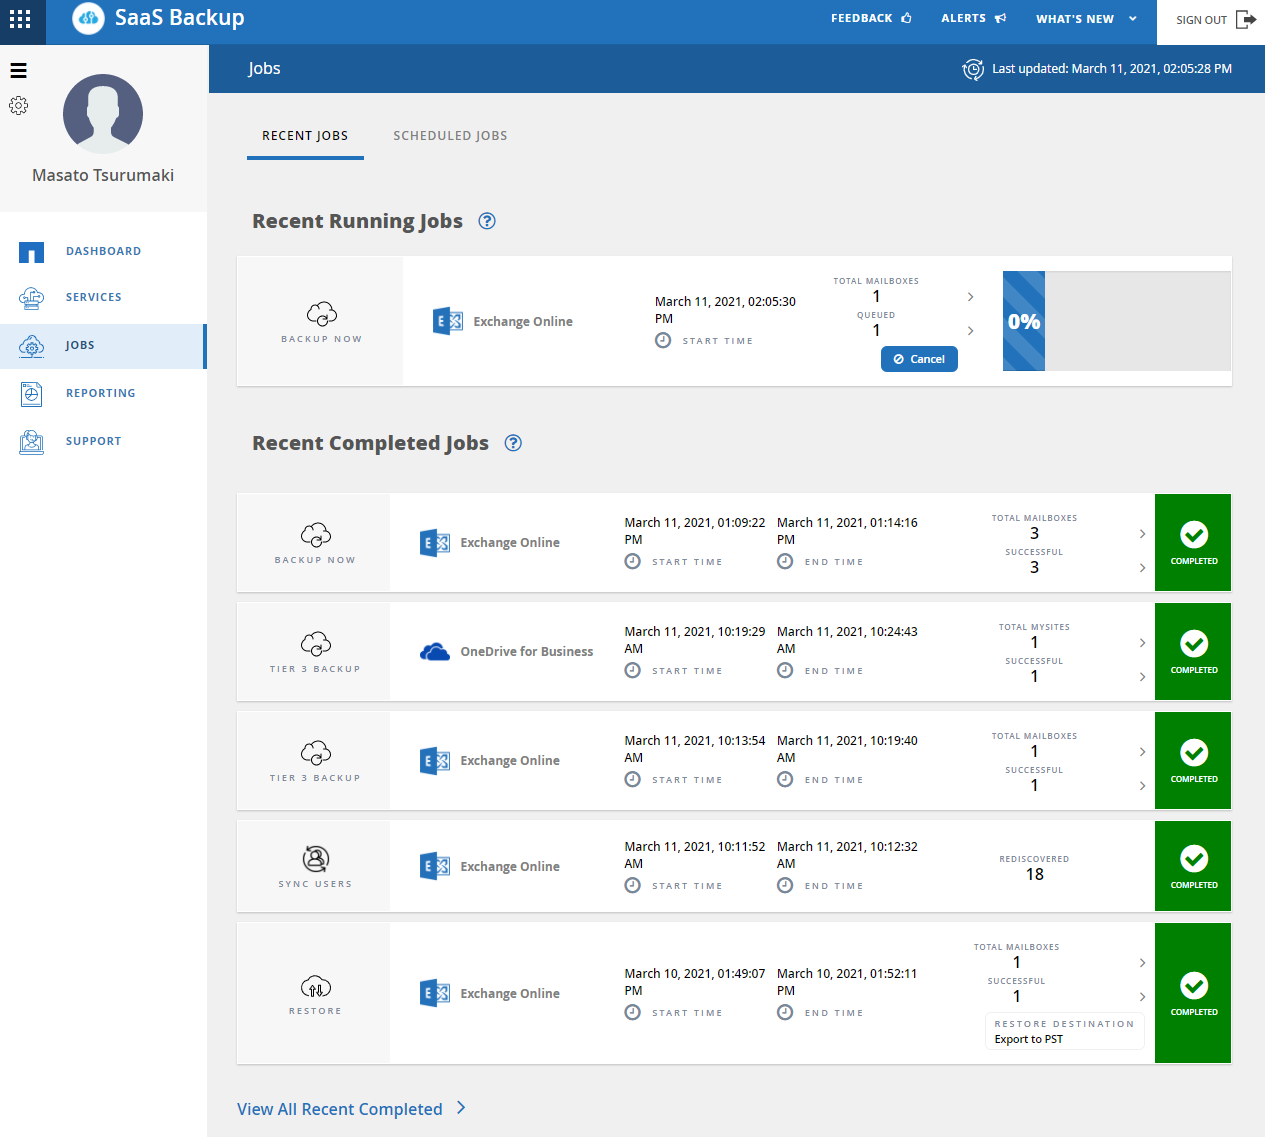
In the Jobs tab on the left side, you will see running or completed backups.