Wasabi’s cloud storage has been validated to be used as a cloud-based object storage platform for Nutanix Objects using Cloud Tiering. Nutanix Objects is a software-defined Object Store Service. It is designed with an S3 compatible REST API interface to store unstructured and machine-generated data.
The steps in this article outline how to set up Wasabi as a Cloud Tiering endpoint to offload Object data on Nutanix Objects.
1. Prerequisites
An active Wasabi account.
User access keys to access Wasabi buckets. Please review create a sub-user with access keys to create access keys for a user on Wasabi console.
Nutanix Prism server deployed with Nutanix Objects enabled and licensed.
Nutanix Object store is configured with a domain and a static public IP.
Name servers and NTP are configured for Object Store.
Active Directory integration is configured for the Objects environment and appropriate users are set up.
Nutanix Objects store has existing buckets already created with user access setup.
2. Wasabi Configuration
Nutanix recommends not to enable any features on the Wasabi Bucket.
2.1 Log in to Wasabi Console (https://console.wasabisys.com/#/file_manager) and click Create Bucket on top right.
.png)
2.2 In the Create Bucket window enter a unique bucket name. Select the appropriate region and click Next.
Note: Select the Wasabi region closest to the Nutanix Files deployment - recommended but not necessary.
.png)
3. Nutanix Cloud Tiering Configuration
Cloud tiering enables you to move objects from the Object store buckets to Wasabi cloud storage (S3-compatible object store) for saving storage space in the Nutanix Objects cluster. It is managed through lifecycle policies. You can configure multiple lifecycle rules for different objects within a bucket. All data that is eligible for tiering is tiered out at midnight.
The following steps show how to set up Wasabi as a cloud tiering endpoint and create a rule to tier out data to Wasabi bucket.
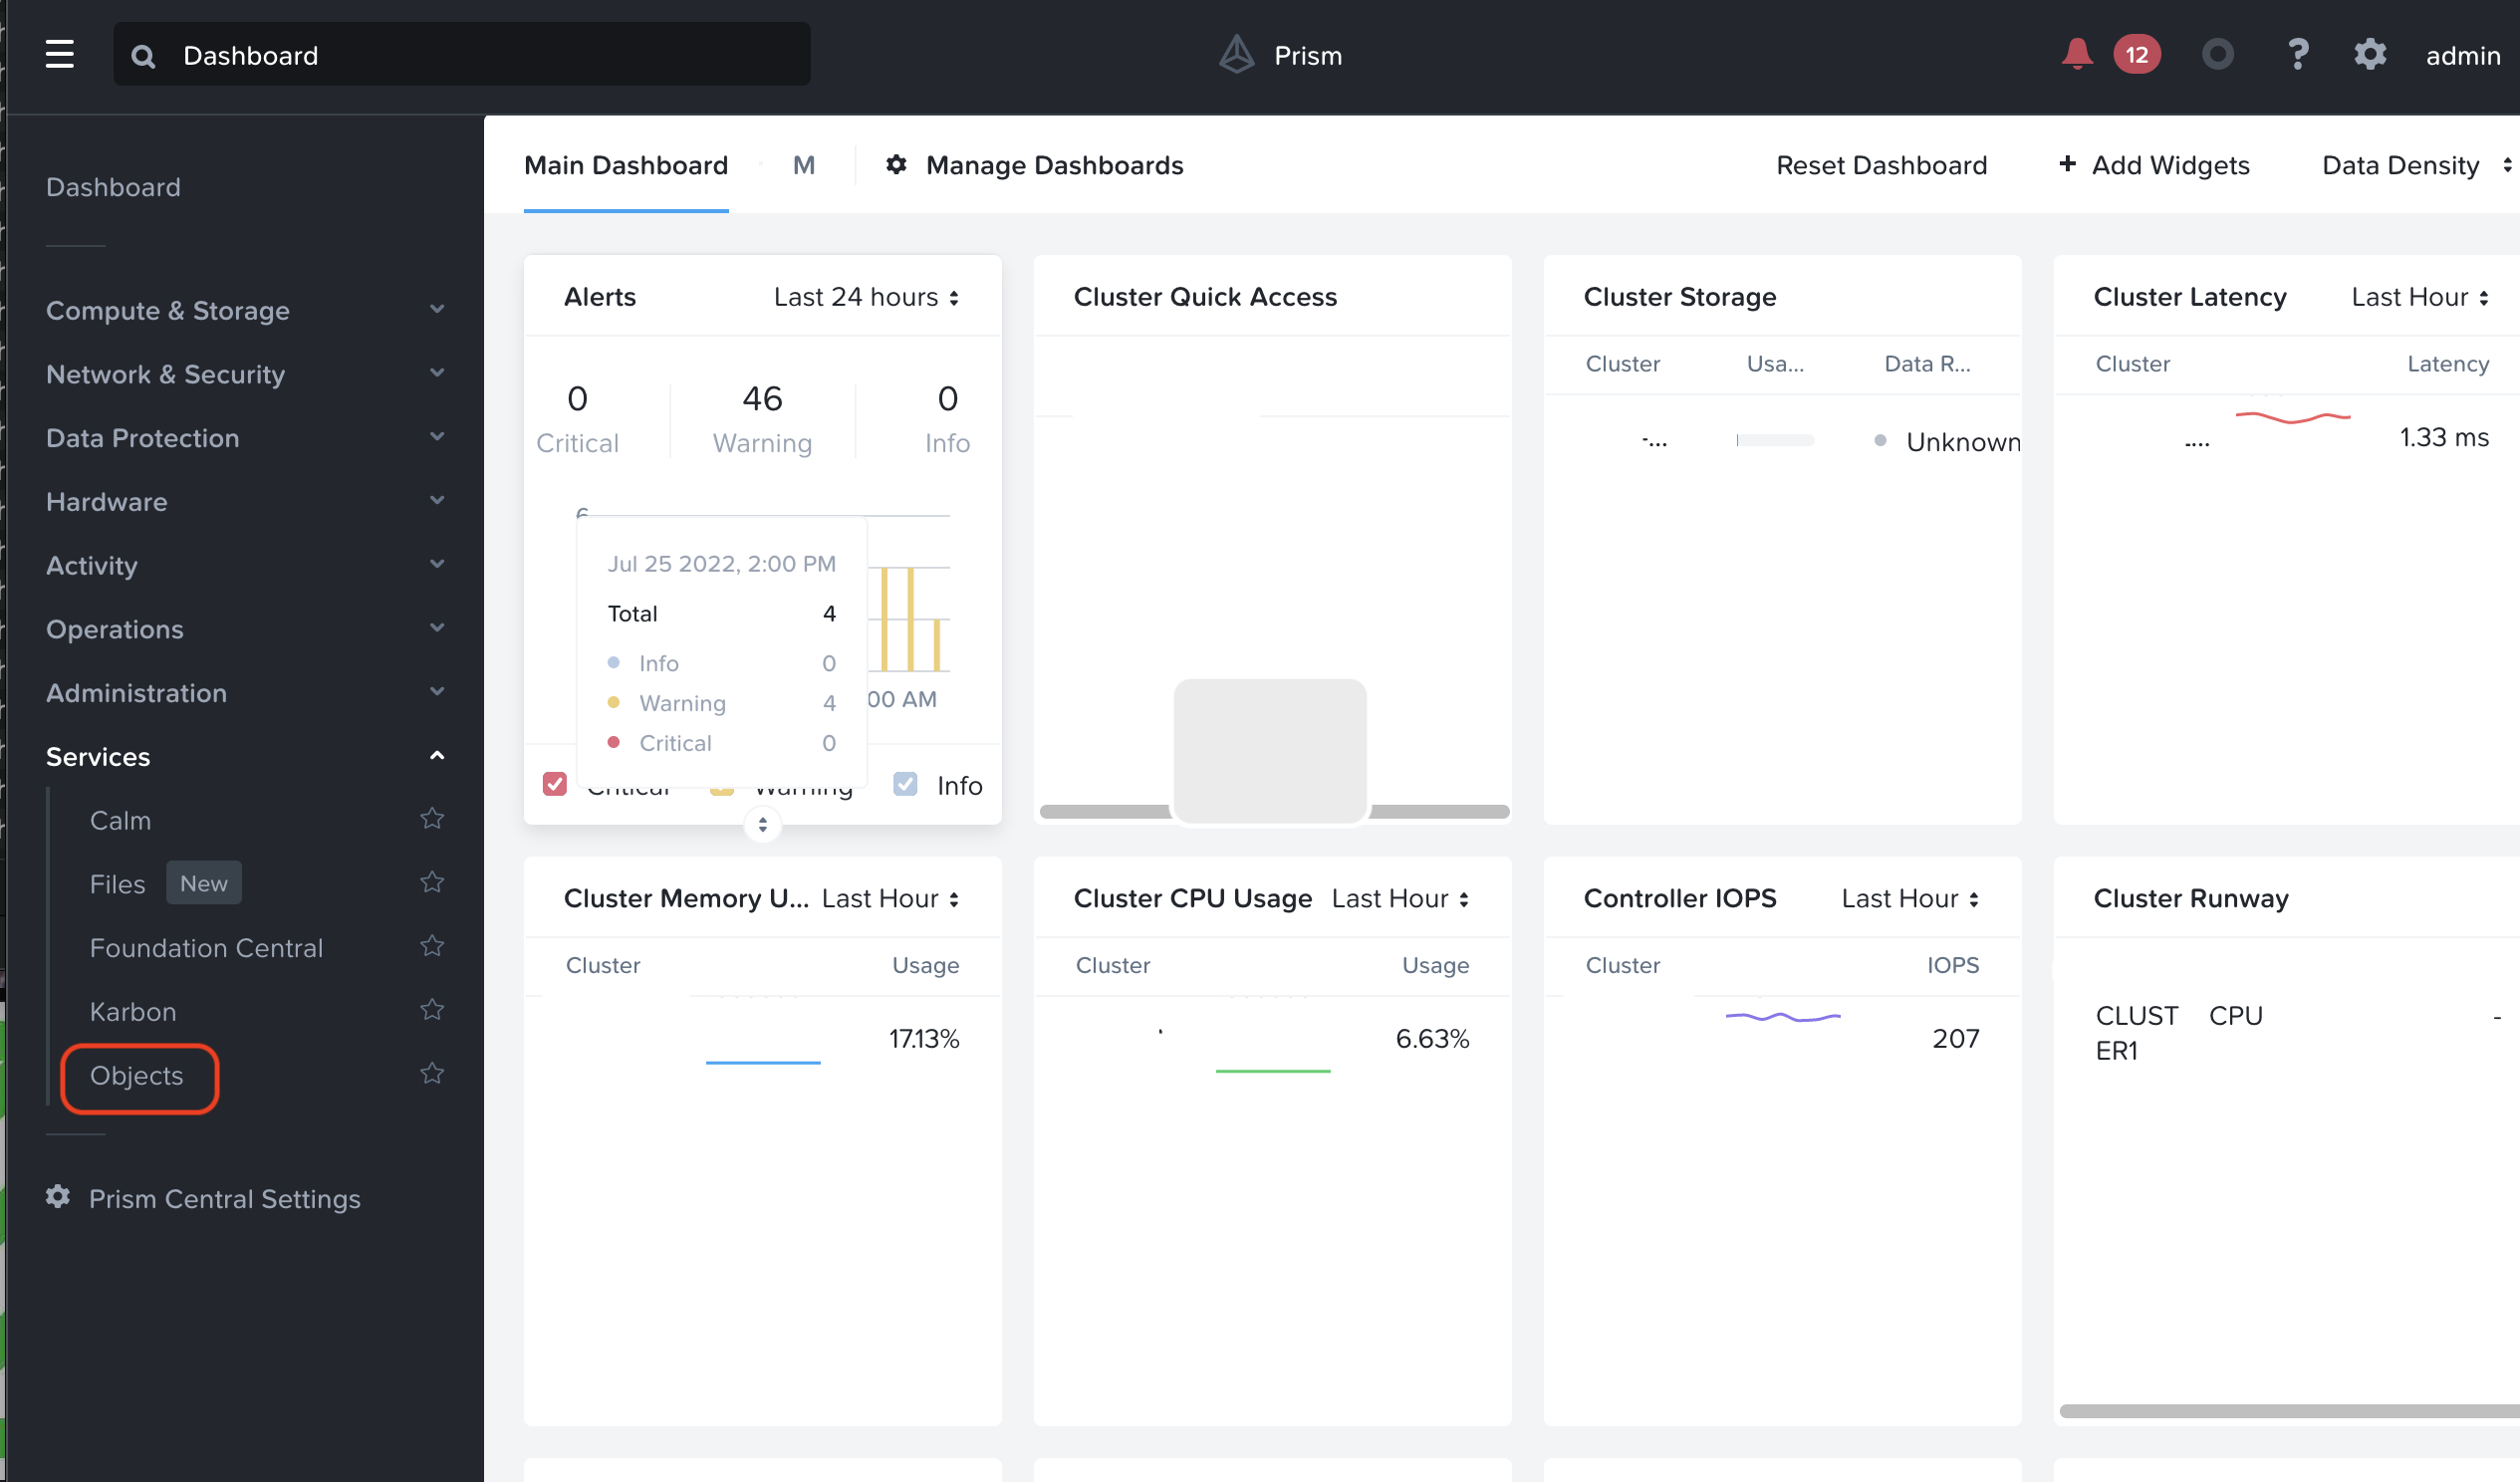
3.1 Log in to Prism Central web console, and click the Entity menu, then Services. Click Objects.
3.2 On the Objects store, click the name of the Object store to view. This opens the Object store in a new window.
.png)
3.3 From the Objects Store, click on Settings, then Tiering Endpoints..png)
3.4 Under Tiering Endpoints click Create.
.png)
3.5 Configure the name of the tiering endpoint in the Add Endpoint window.
Set the “Endpoint Type” to “Other S3 Compatible”. Set the “Service Host” to the service the url for the Wasabi region where you created the Wasabi bucket (in Step 2.2). Please refer to Wasabi service URLs for service urls for all Wasabi regions.
In the “Bucket Name” field, enter the name of the Wasabi bucket that was created in step 2.2. Provide the Access Key and Secret Key for accessing the Wasabi bucket that was created. Once you enter the details for the tiering endpoint, click “Save” to complete creating the tiering endpoint.
.png)
Create tiering lifecycle rules for a bucket.
From the Object Store choose Buckets, click on the bucket that you want to tier out. This will take you to the Bucket page as shown below.
.png)
On the bucket page, click on Lifecycle to create lifecycle policy rules for your bucket.
.png)
Now click on Create Rule to open the Create Rule Page. Enter the name for the rule in the Name box and click Next.
.png)
In the Configure rule section, Select Tiering, then select the Tiering endpoint where you want to tier the objects to. Enter the duration in days/months/years after which the objects will be tiered out.
To expire the object data after you have tiered out, select Expiration, then select the version (current or multipart upload) and provide the duration after which the object data will be expired or deleted in days/months/years. Click Next.
.png)
In the Review section, review the configuration and click Done to create the lifecycle policy rule for the bucket.
.png)
For more details on Cloud Tiering, please visit the Cloud tiering section of the Nutanix Objects User guide.
4. Security Recommendations
It is not recommended to use the same bucket for storing non-Nutanix Objects data.
It is not recommended to manually delete or overwrite any object in the bucket. This can result in data loss.