How do I use PavedRoad Event Orchestrator with Wasabi?
Wasabi has been validated with PavedRoad's Event Orchestrator. EventOrchestrator delivers Event Orchestration for the MultiCloud World enabling businesses to easily reduce data costs without leaving services behind. To learn more about the PavedRoad - Wasabi joint solution, please review the partner solution brief here.
To use this product with Wasabi, please follow the instructions below
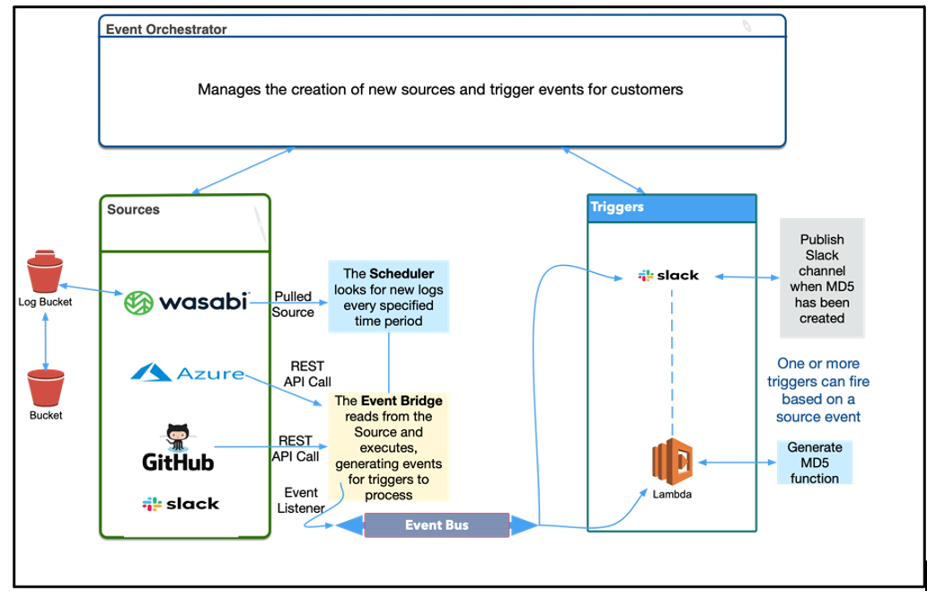
Reference Architecture
Prerequisites
A PavedRoad account
An active Wasabi account
Introduction
The Event Orchestrator platform is a powerful tool for connecting all you cloud providers and platforms to quickly integrate or create new capabilities such as functions, workflows, or data processing. There are only three simple concepts you need to understand to put event orchestrator to work for you.
Sources are inputs into event orchestrator such as events read from messaging services, information returned from API calls, or data retrieved you pull from sources such as log files. Examples, sources include GitHub, S3 storage, Kafka, Slack, calendar, and many more.
Triggers are actions taken in response to sources such as write a message to a Slack channel, processing a video file, writing to an event queue for other systems such as AWS SNS. A single source can trigger any number of actions.
A workflow can be applied to an event source, if needed, to handle any processing required before triggers are invoked. Typical workflow tasks are filtering, transforming data into a format required for the trigger, or aggregating source data.
Create a PavedRoad account
1. You can set up your Event Orchestrator account with an existing social account such as Google, GitHub or Microsoft or create a new account. To get started just open the https://eo.pavedroad.io URL in your browser and the following login screen is displayed. Click on the Sign up link next to the message “Don’t have an account?”.
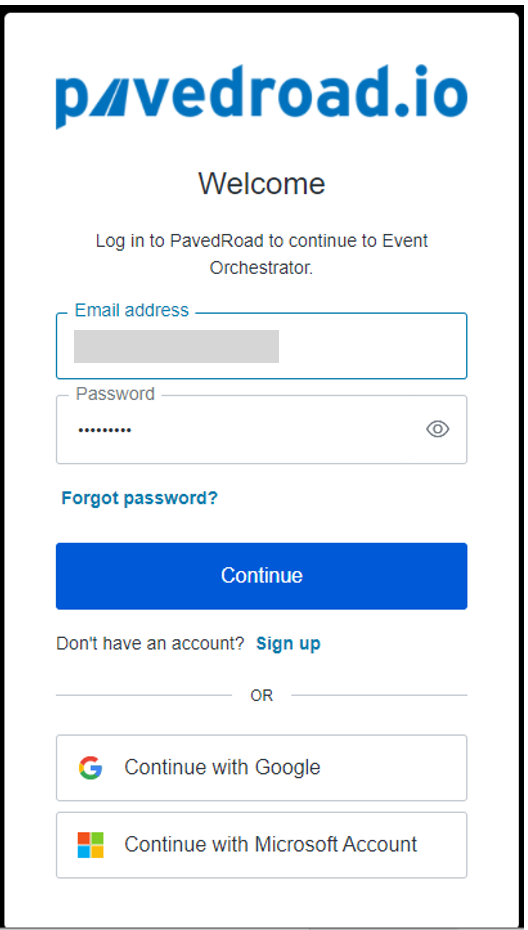
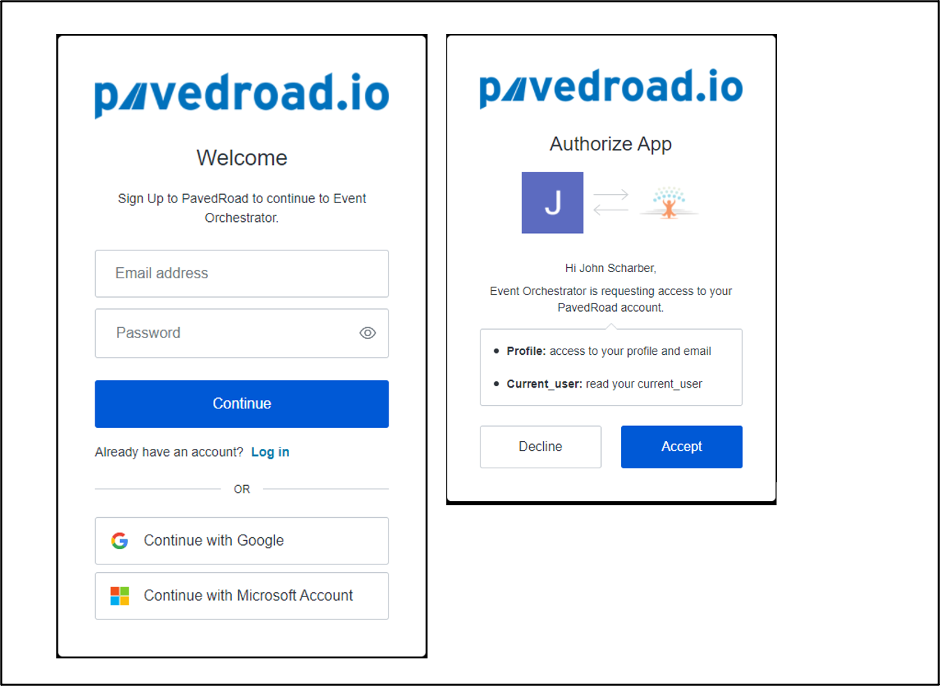
2. Either use an existing email and select your password or click on a social account provider to continue. When selecting a social login provider, a screen is displayed granting permission to Event Orchestrator to read your name and profile information.
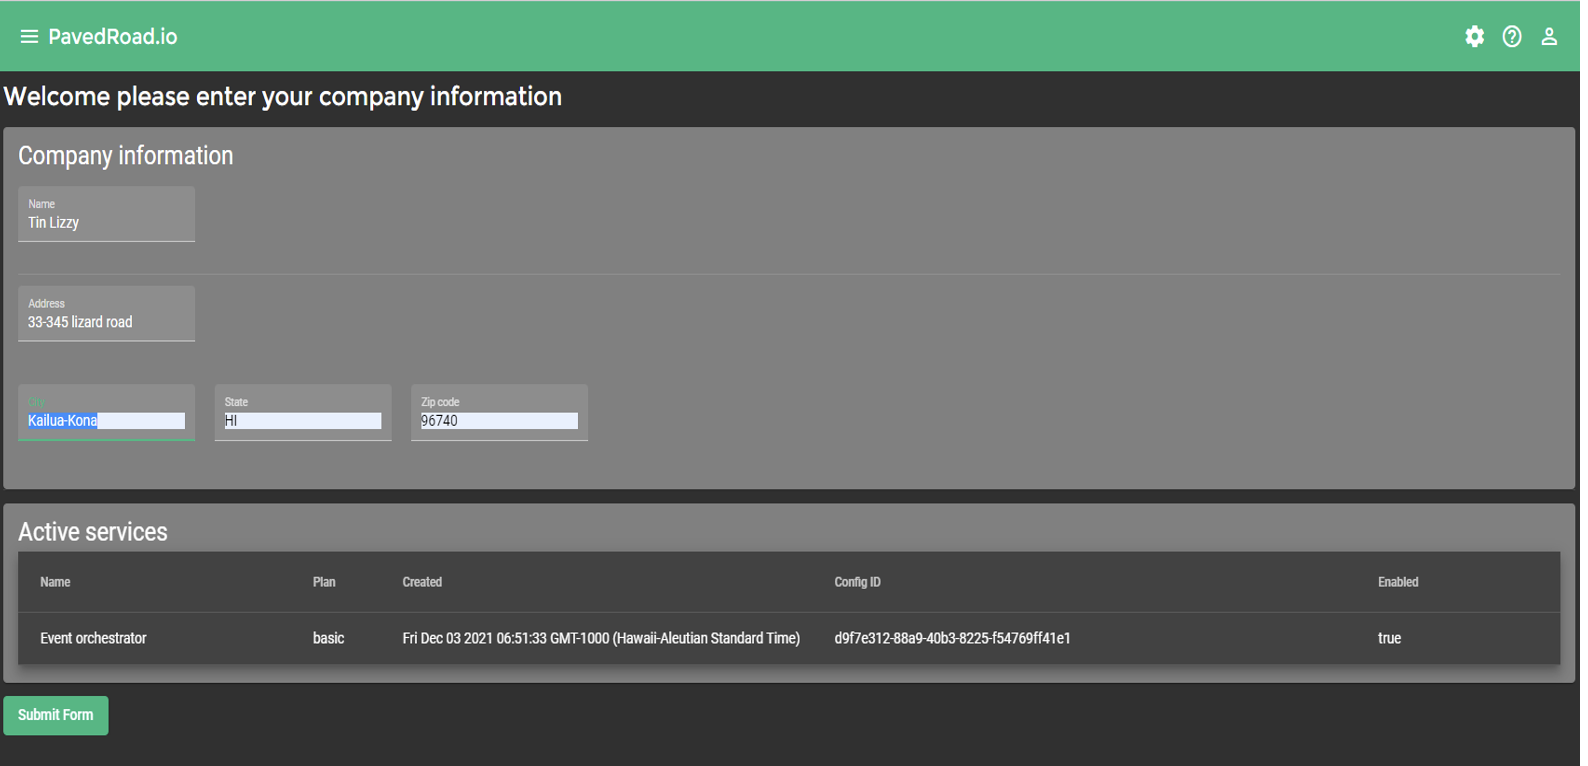
3. After logging in you are asked to input your company information.
Create Cloud Orchestration
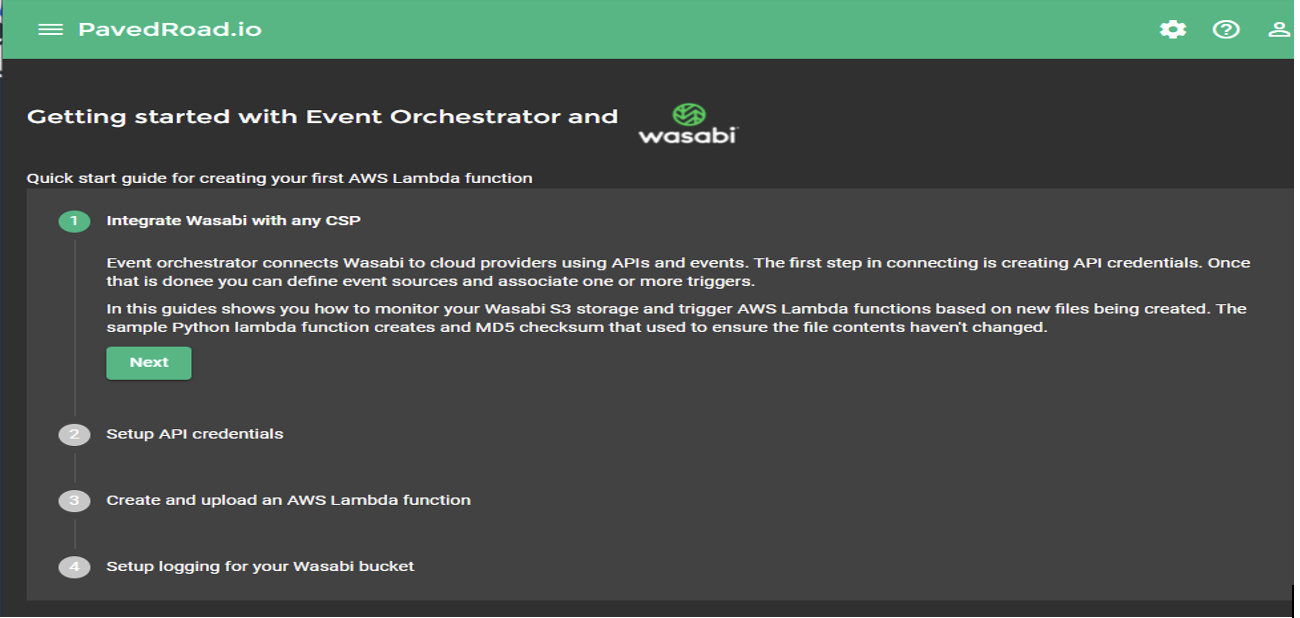
4. Use the https://eo.pavedroad.io/startwasabi link to set up your first orchestration. This example polls Wasabi log buckets and then invokes an AWS Lambda function to create MD5 checksums on any new content upload. Adding checksums to files is a common anti-tampering technique.
The example has three simple steps: creating API credentials, adding a Lambda function (Trigger), and then setting up your Wasabi bucket Source.
Setup API credentials
Setting up API access is a one-time action for most use cases.
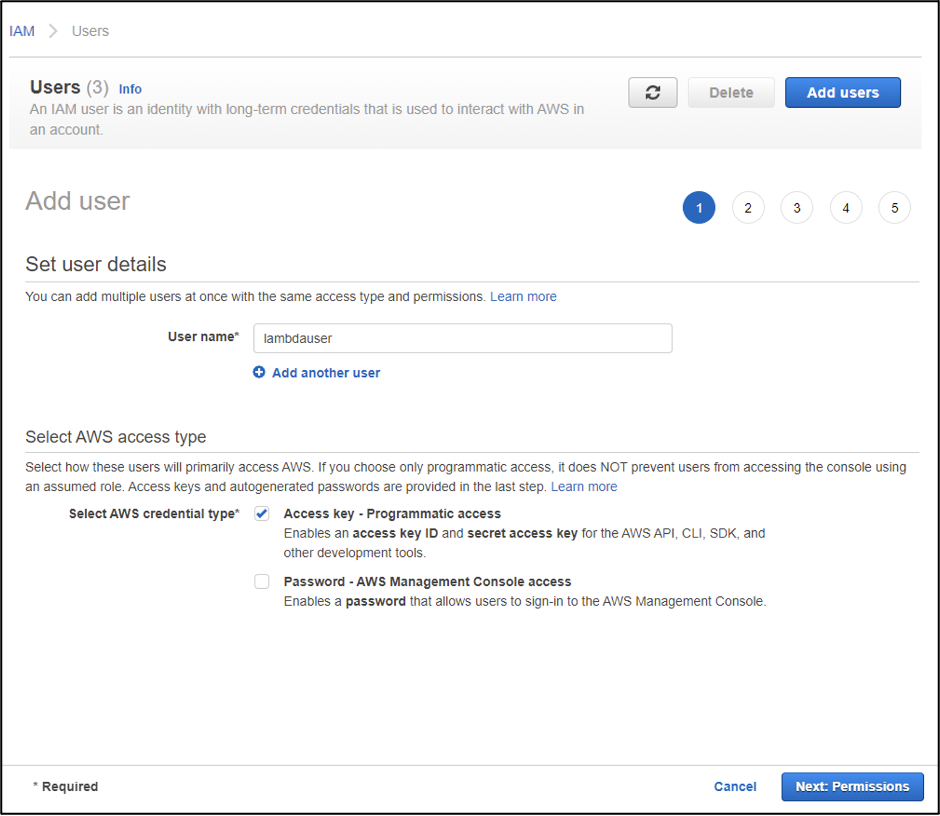
5. For AWS, log into the console and select the Identity and Access Management (IAM) service. We will create a user that only has access to Lambda. Select the “Add users” button, pick a name, and select Access key – Programmatic access and click the “Next” button.
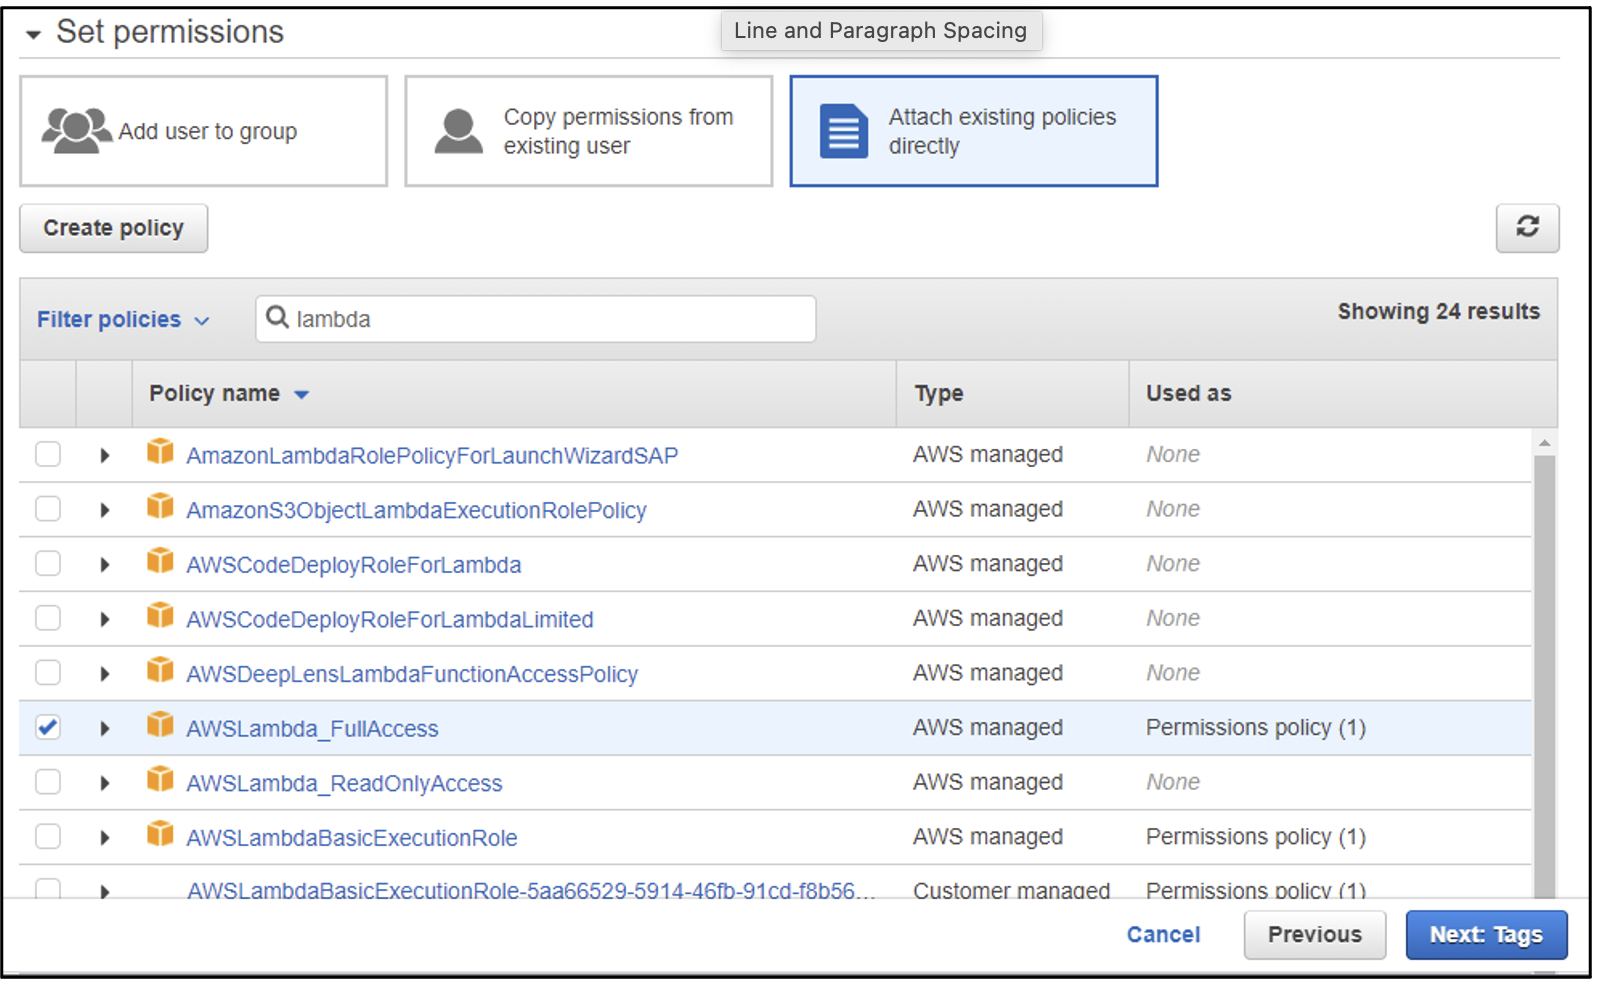
6. On the following screen, select the attach existing policy button and enter lambda in the search box. Then select the permission level you want to give this user.
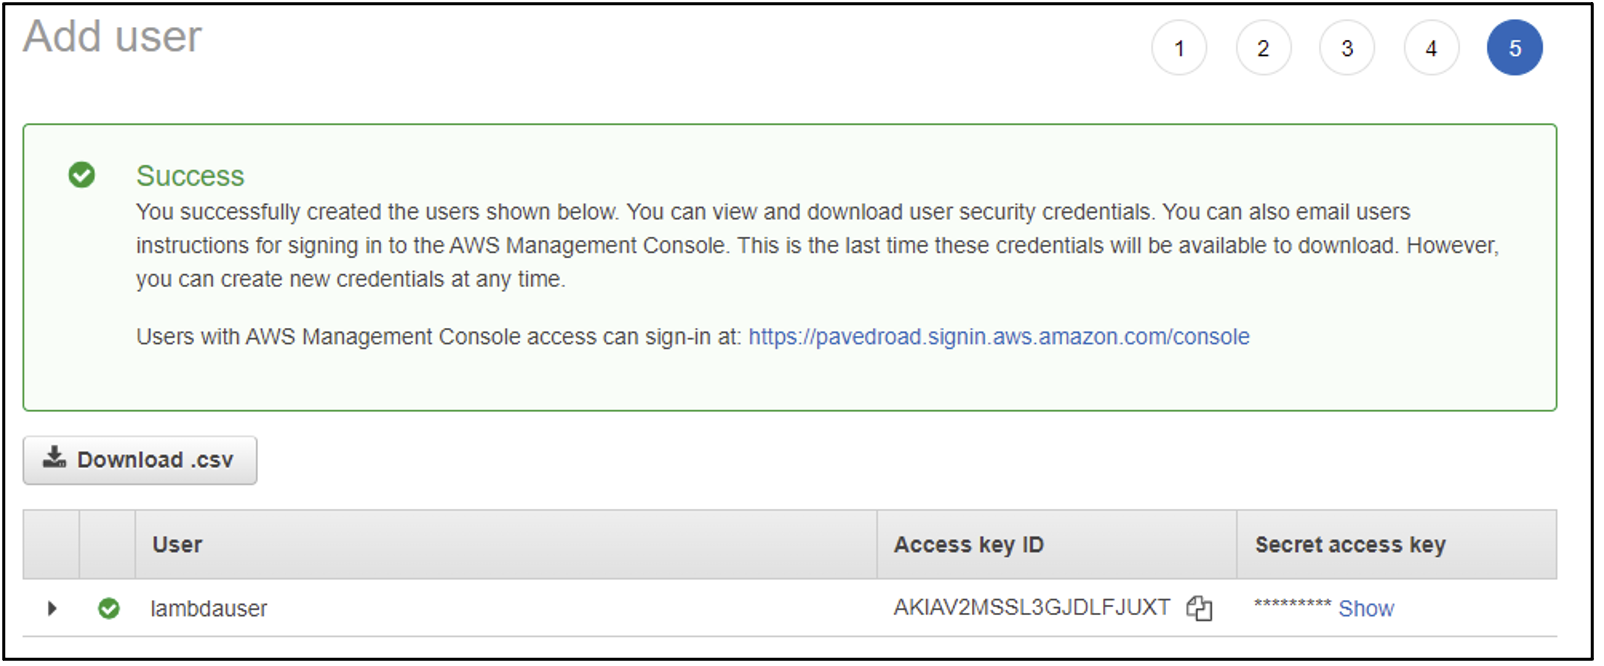
7. Use the next button to proceed through the rest of the options and then create the user. You will see the following information. Save the access key and secret.
8. Next, log into your Wasabi console and select Users then use the Create User button. We want to create a user that represents the role for accessing your Wasabi buckets programmatically.
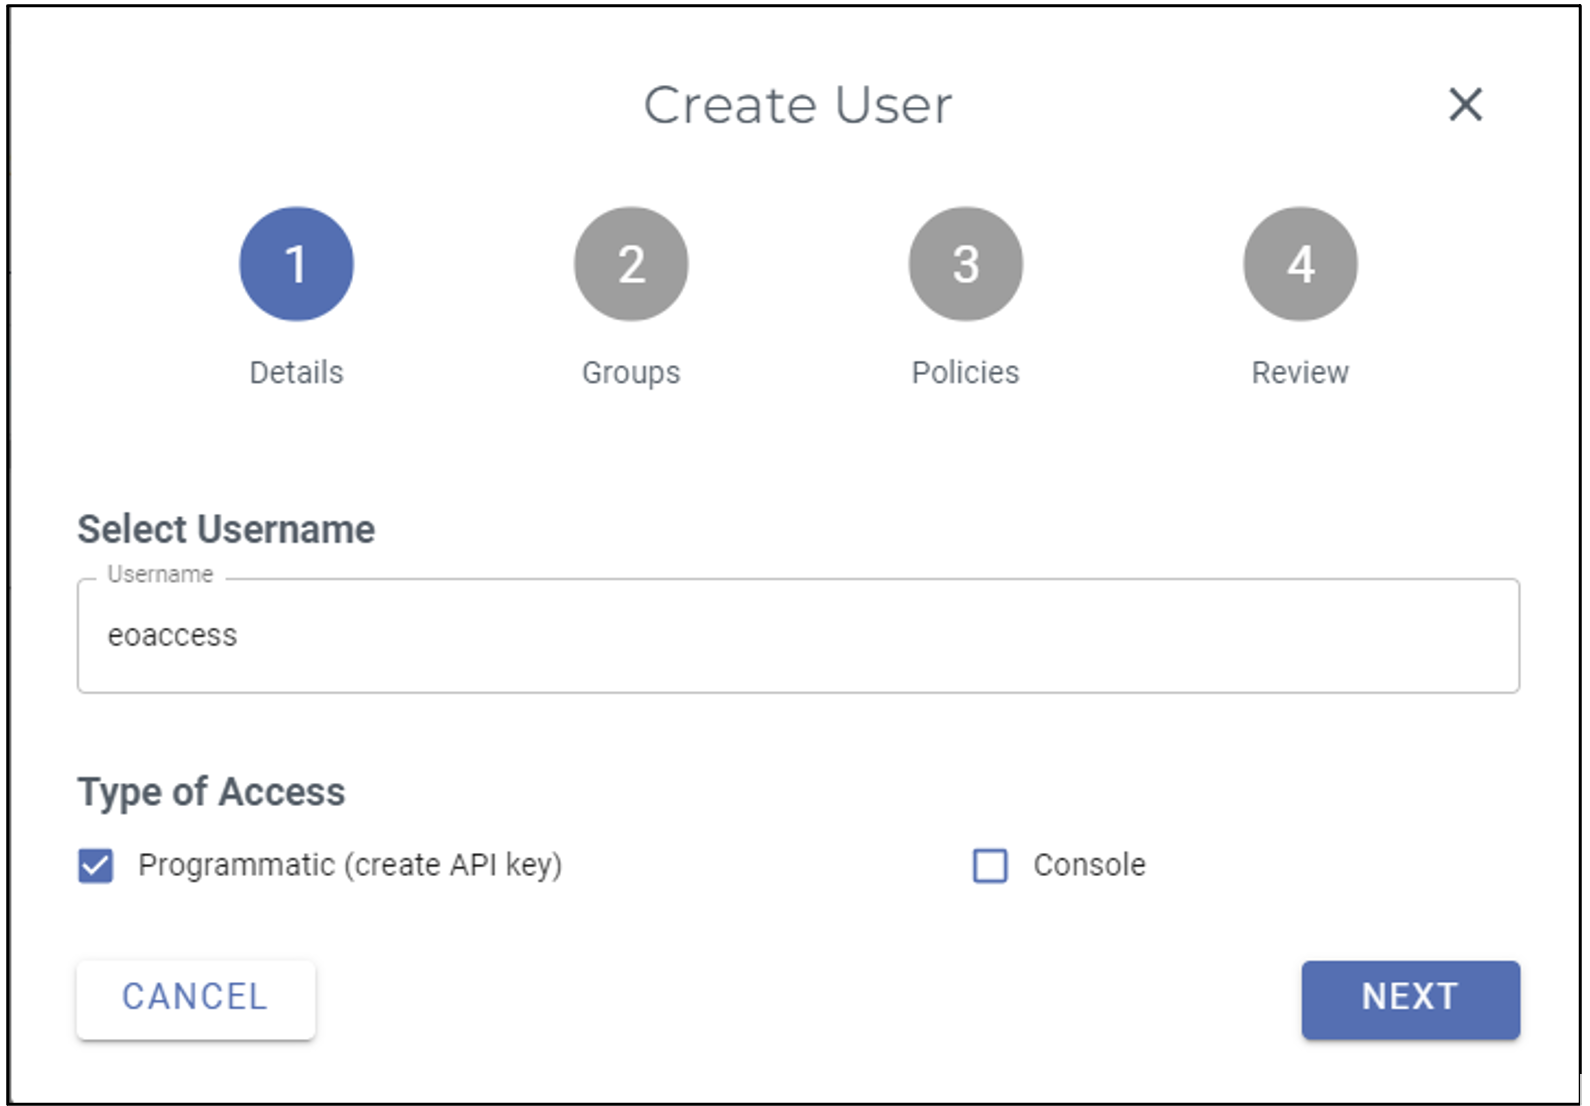
9. This user will need to have both read and write access, so use the Full Access policy.

When you finish creating the user save the access key and secret just like we did for AWS.
10. Next go to the event orchestrator console and select providers and click the NEW button.
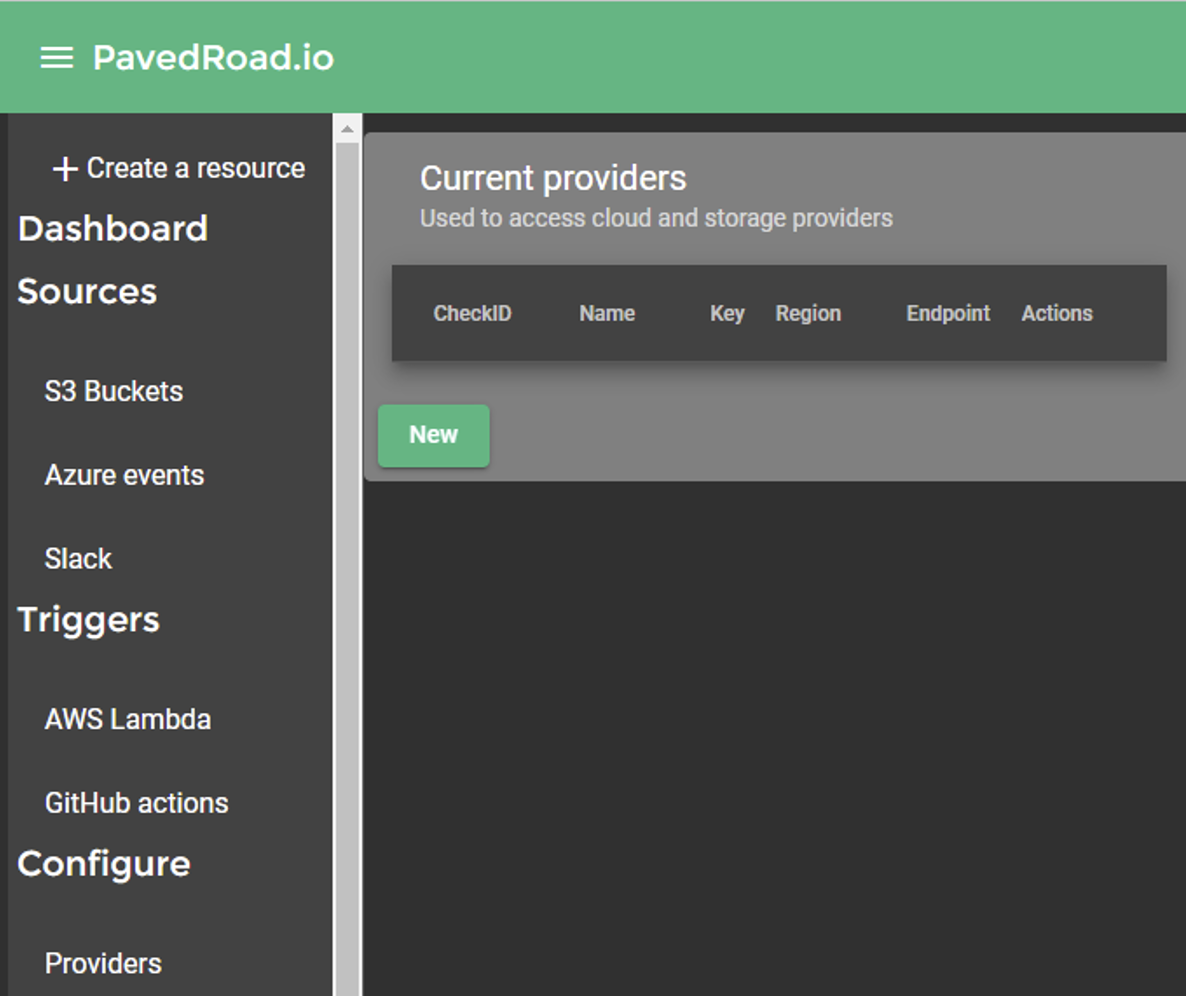
11. Enter your provider information. Enter the region you created the credentials in and for Wasabi you need to specify the endpoint.
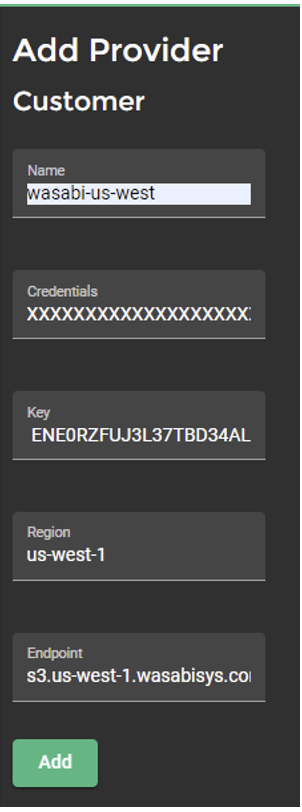
Note: This config example discusses the use of Wasabi's us-west-1 storage region. To use other Wasabi storage regions, please use the appropriate Wasabi service URL as described in this article.
Repeat these steps for AWS.
Create First Event Source
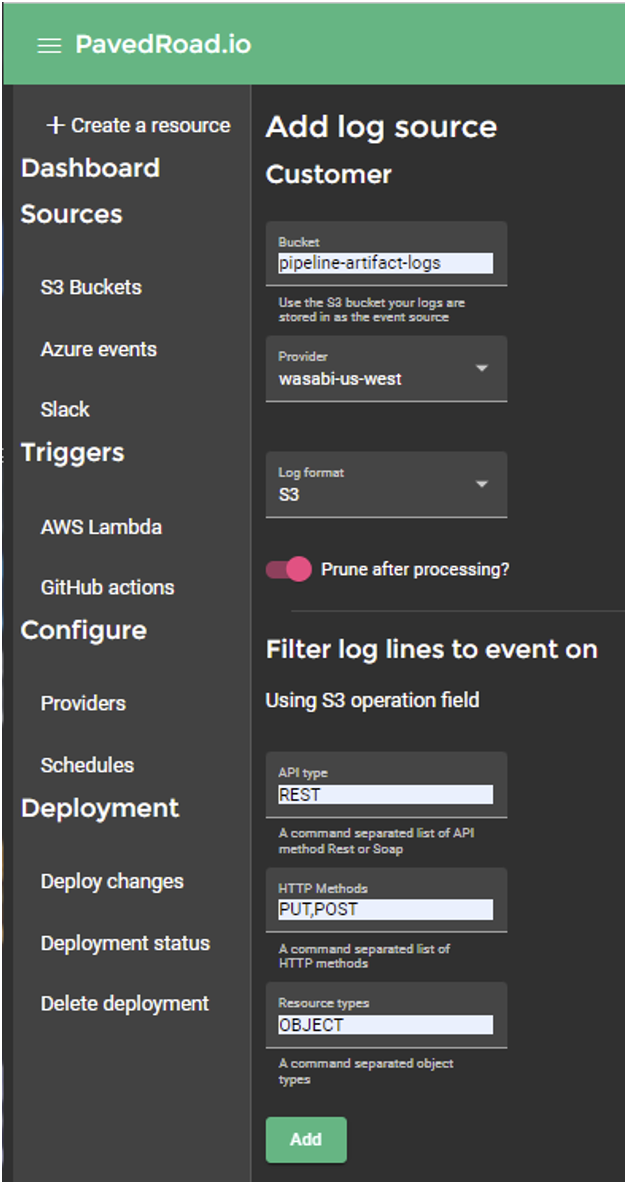
12. From the event orchestrator console select the S3 Buckets menu item under the Sources menu. Then select the NEW button to create your first Wasabi source. The S3 bucket source polls an S3 bucket containing logs and then parses them. Use the filters option to limit which log lines result in a trigger being executed.
Enter the name of your Wasabi logging bucket, select the Wasabi provider you just created and S3 for the log file format.
S3 logs have an API type, a method, and a resource type. For this example, we want events when a new file is created so our values are “REST”, “PUT, POST”, and “OBJECT”.
Click add and you are done with your first source.
Any time a new file is created you can now trigger an action to happen like log a message to a slack channel or trigger an AWS lambda function.
Add a Lambda function
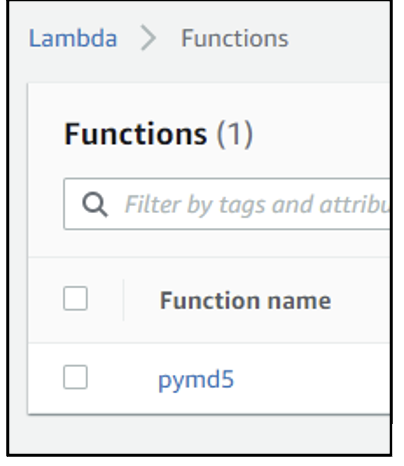
13. For this use case, we’ve created a Python function that gets triggered by the source event you just created. The source code can be found in the Start Wasabi wizard. In this example, we called our Lambda function pymd5. If you are new to creating Lambda functions, please read more here.
Add a trigger
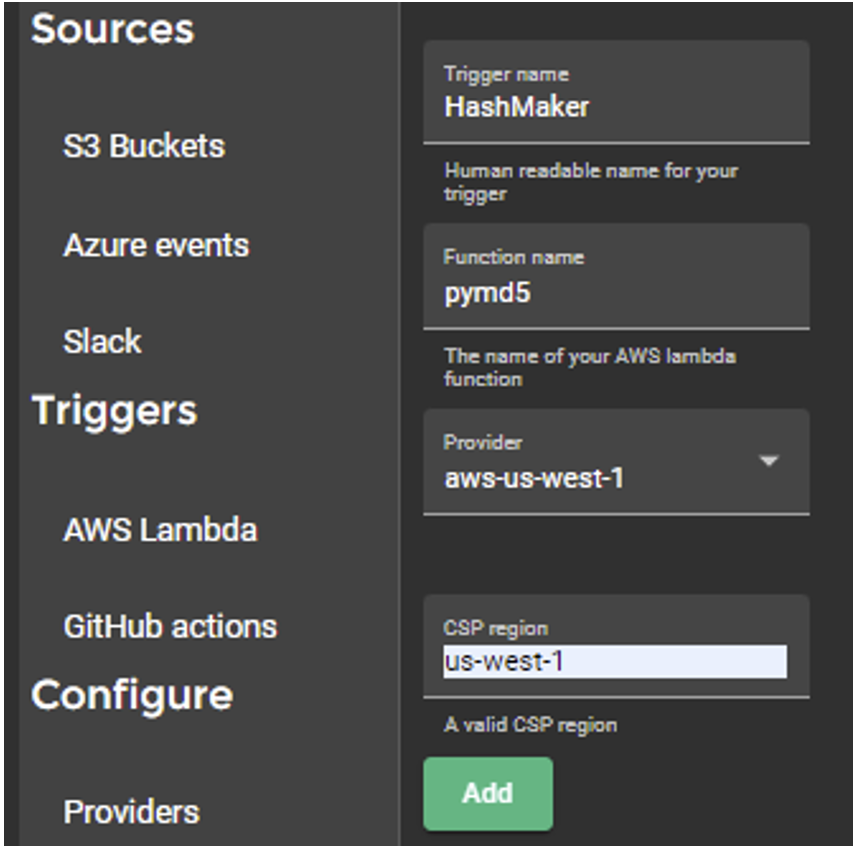
13. Now that you have a function you can create the trigger. In the Event Orchestrator control panel click AWS Lambda from the Triggers menu. Then click New to create your first trigger.
There are only four fields:
A descriptive name for your trigger
The name of the trigger in AWS
The providers
And the AWS region the triggers is in
You’ve now connected your two cloud providers.