Pterodactyl is an open-source game server management panel built with PHP7, Nodejs, and Go. Wasabi has been validated for use as backup storage to store the backups for the servers.
Follow the steps outlined below to use configure Wasabi as backup storage.
Configure the proper environment variables
Edit your .env file which is typically located at "/var/www/pterodactyl", however this may be different depending on your install type.
Note: This config example discusses the use of Wasabi's us-east-1 storage region. To use other Wasabi storage regions, please use the appropriate Wasabi service URL as described in this article.
# Set your panel to use s3 for backups
APP_BACKUP_DRIVER=s3

# Info to actually use s3

AWS_DEFAULT_REGION=us-east-1
AWS_ACCESS_KEY_ID=SDF23452NFSGBWB7FBSDFG8D
AWS_SECRET_ACCESS_KEY=************************
AWS_BACKUPS_BUCKET=my-pterodactyl-backups
AWS_ENDPOINT=https://s3.us-east-1.wasabisys.com
Note: If your backups are attempting to take longer than 1hr and you are getting errors. You may need to add the following config entry to your .env file, then adjust the time accordingly. Pterodactyl uses a default of 60 minutes for the expiration of pre-signed urls. Try upping the value to something larger which can accommodate the time it takes you to upload your backups.
BACKUP_PRESIGNED_URL_LIFESPAN=60Restart the Pterodactyl Queue Worker
After making the changes to your .env file, you must restart your queue worker. If you installed the systemd service file according to the Pterodactyl installation guide, you want to run the following command.
sudo systemctl restart pteroq.serviceEnable backup limits for a server
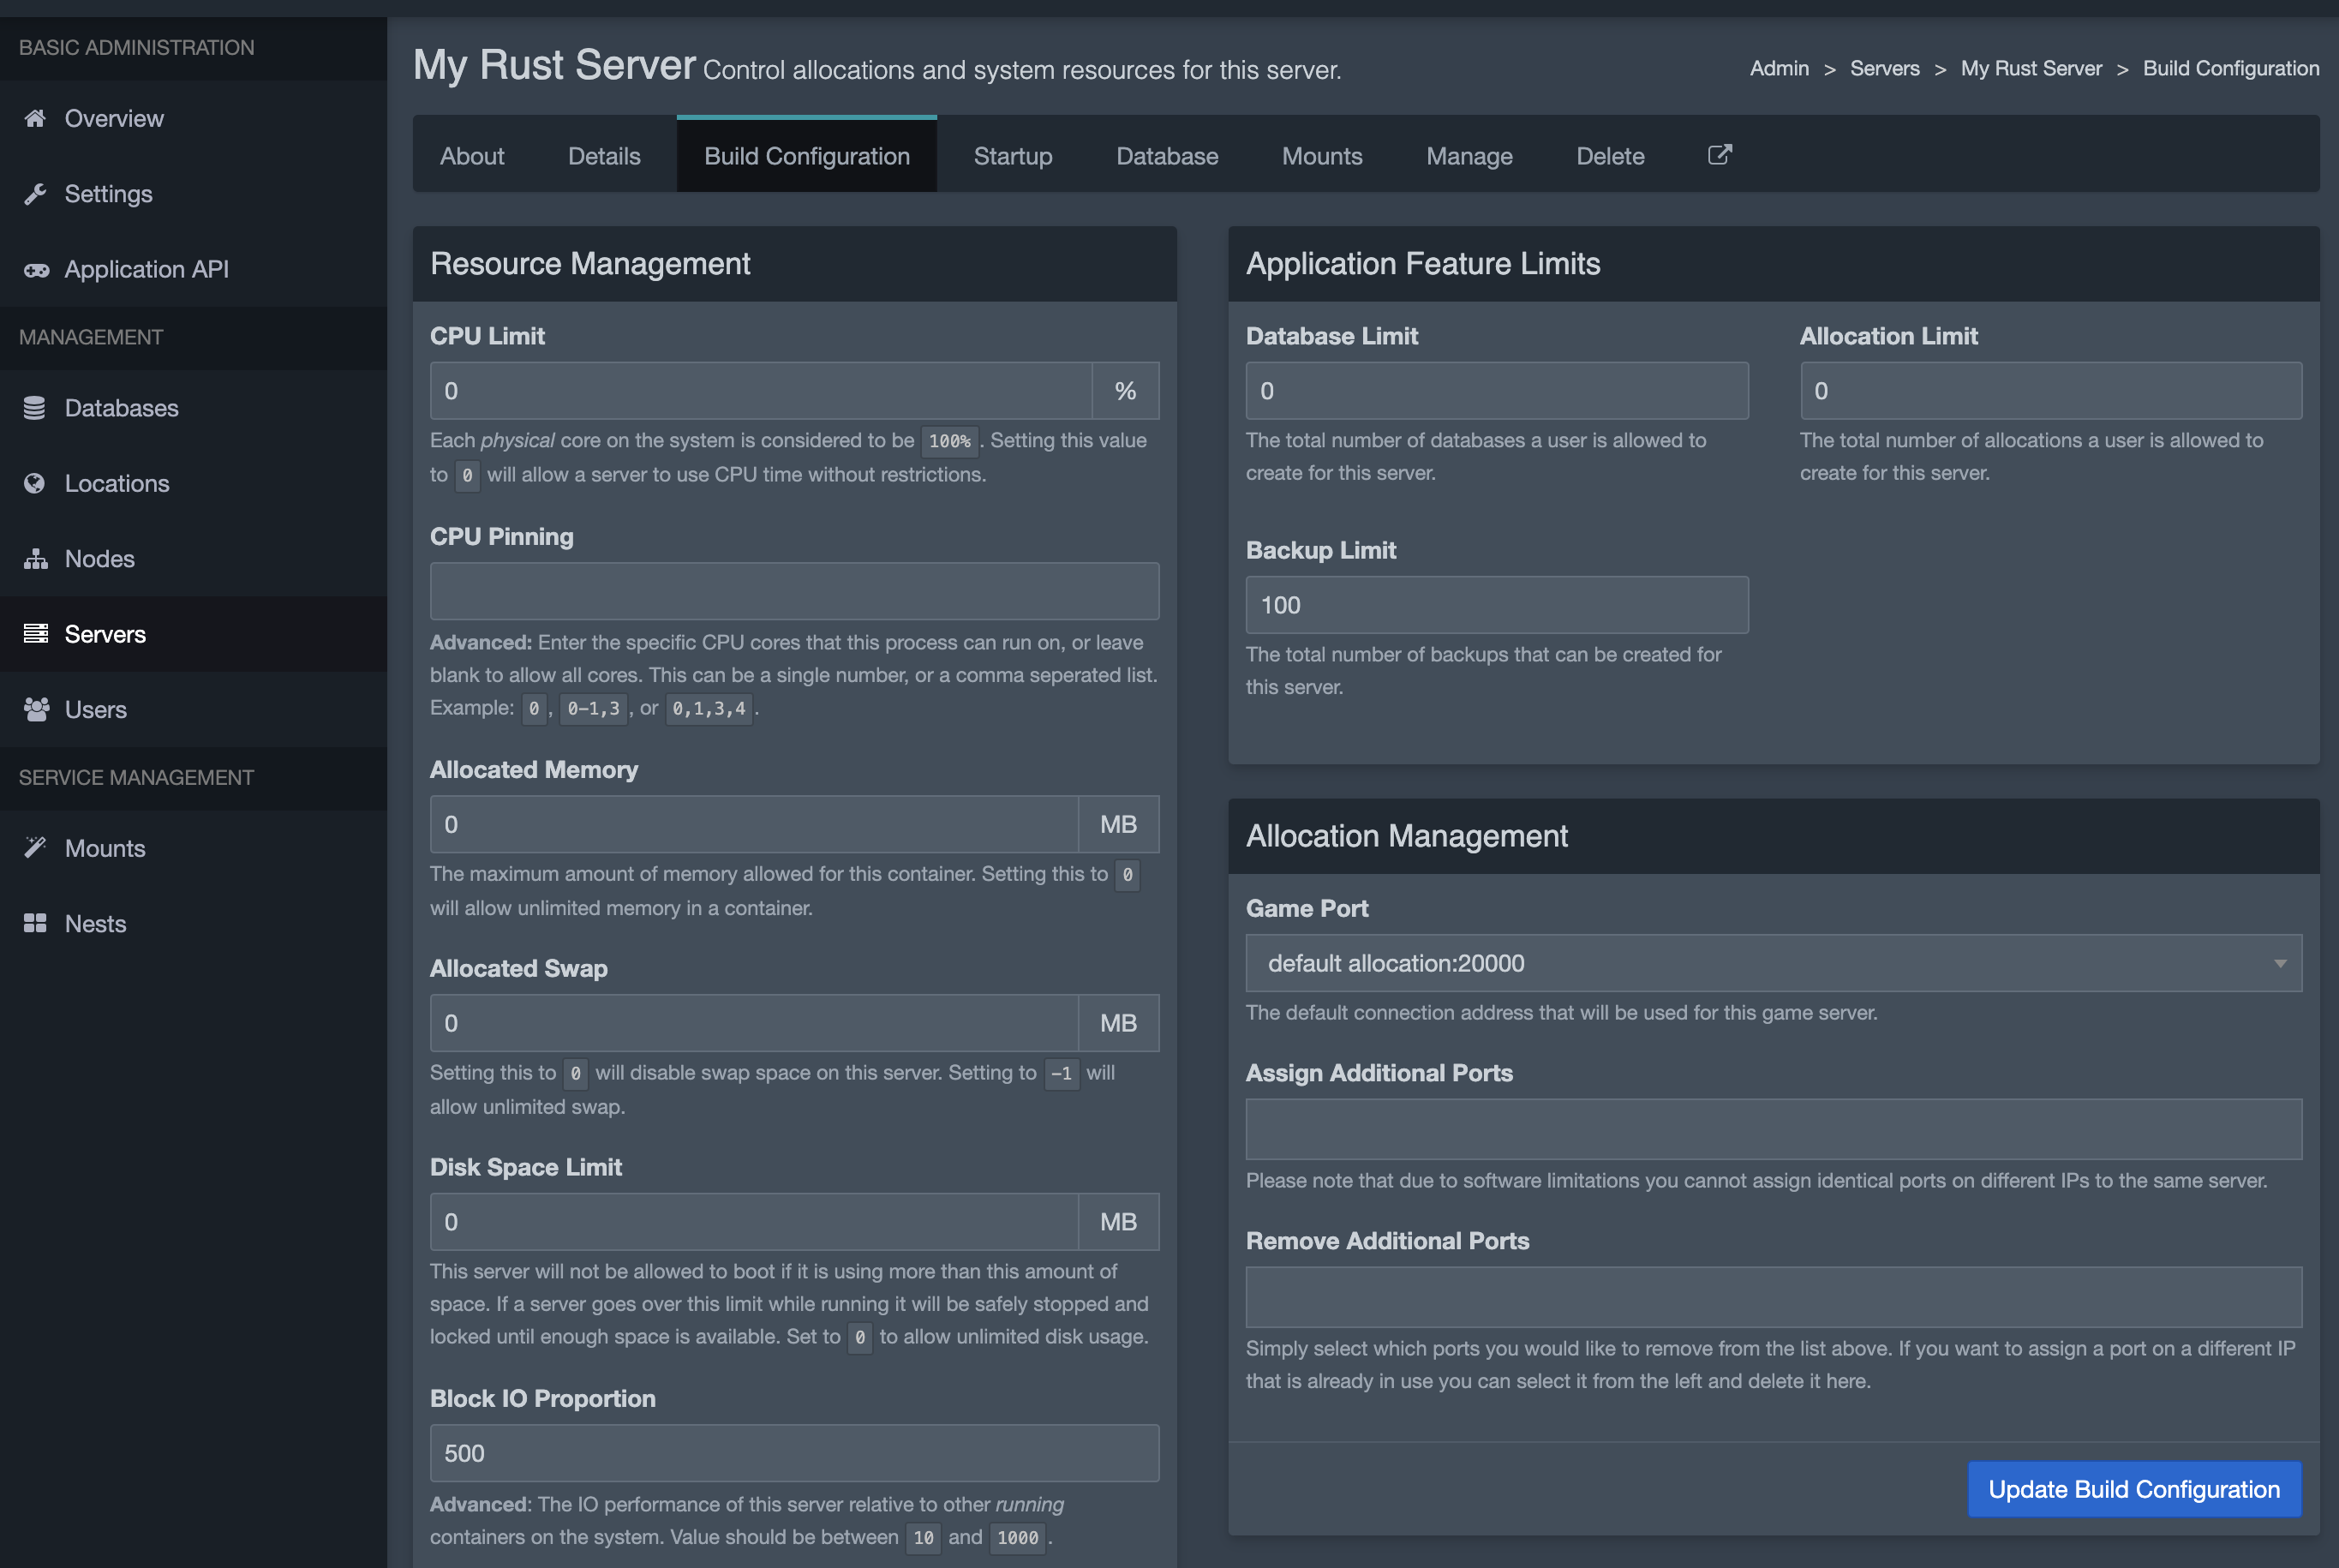
Log in to your Pterodactyl Panel Admin
Click Servers
Select the Server to enable backups
Under the Application Feature Limits, edit the Backup Limit field to the number of backups you wish to allow
Click Update Build Configuration
Exit the Admin Panel, and Load the Standard Panel.
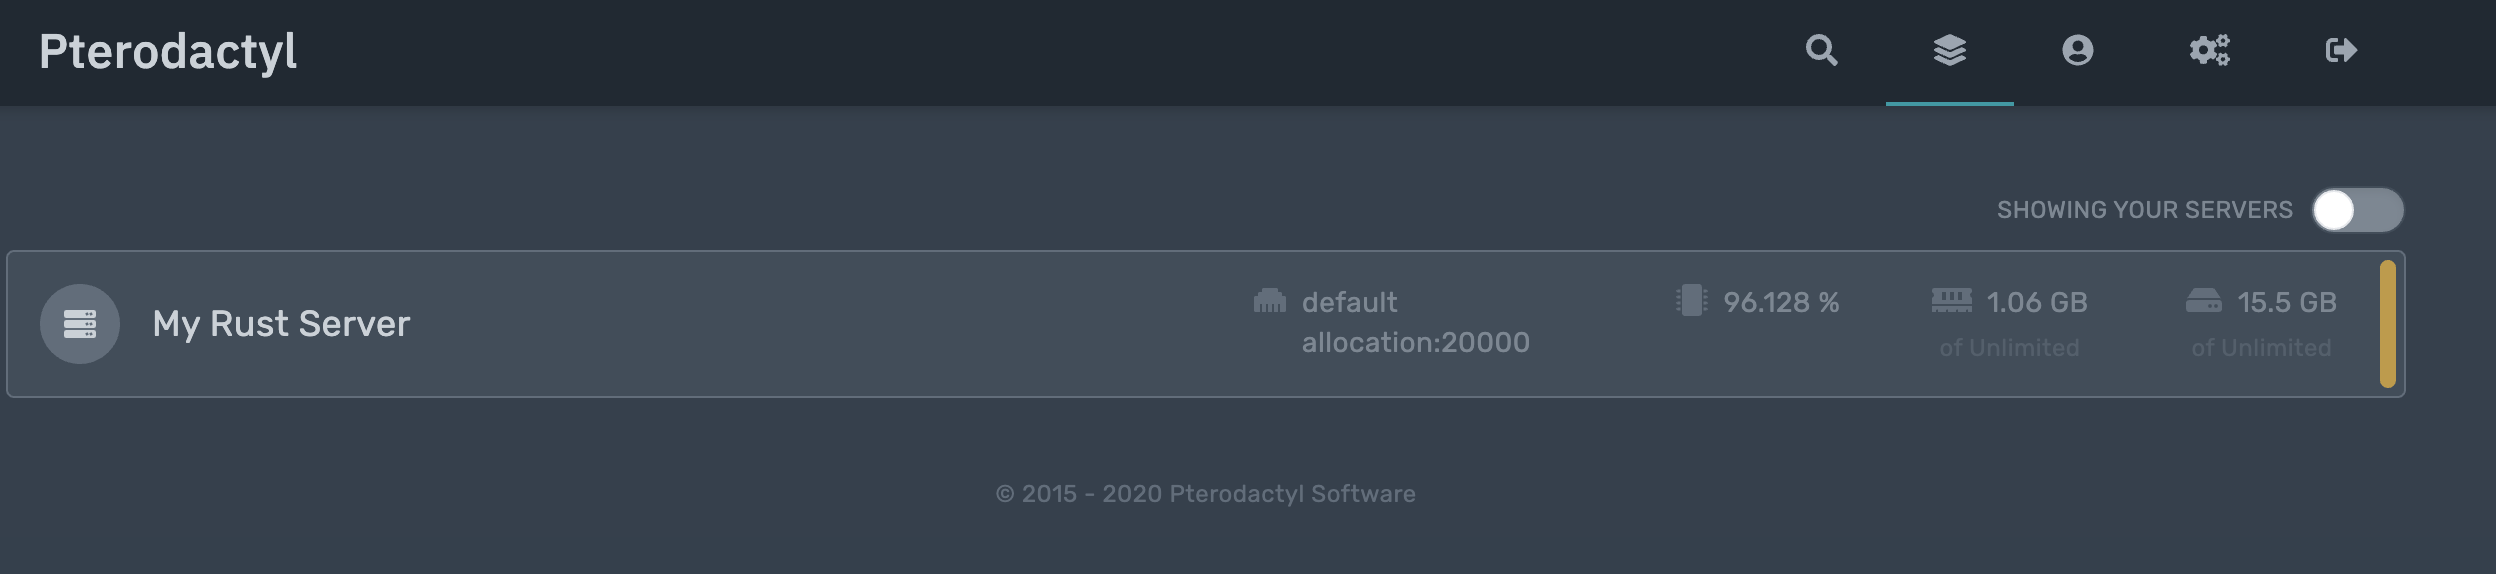
Select the Server you wish to backup.
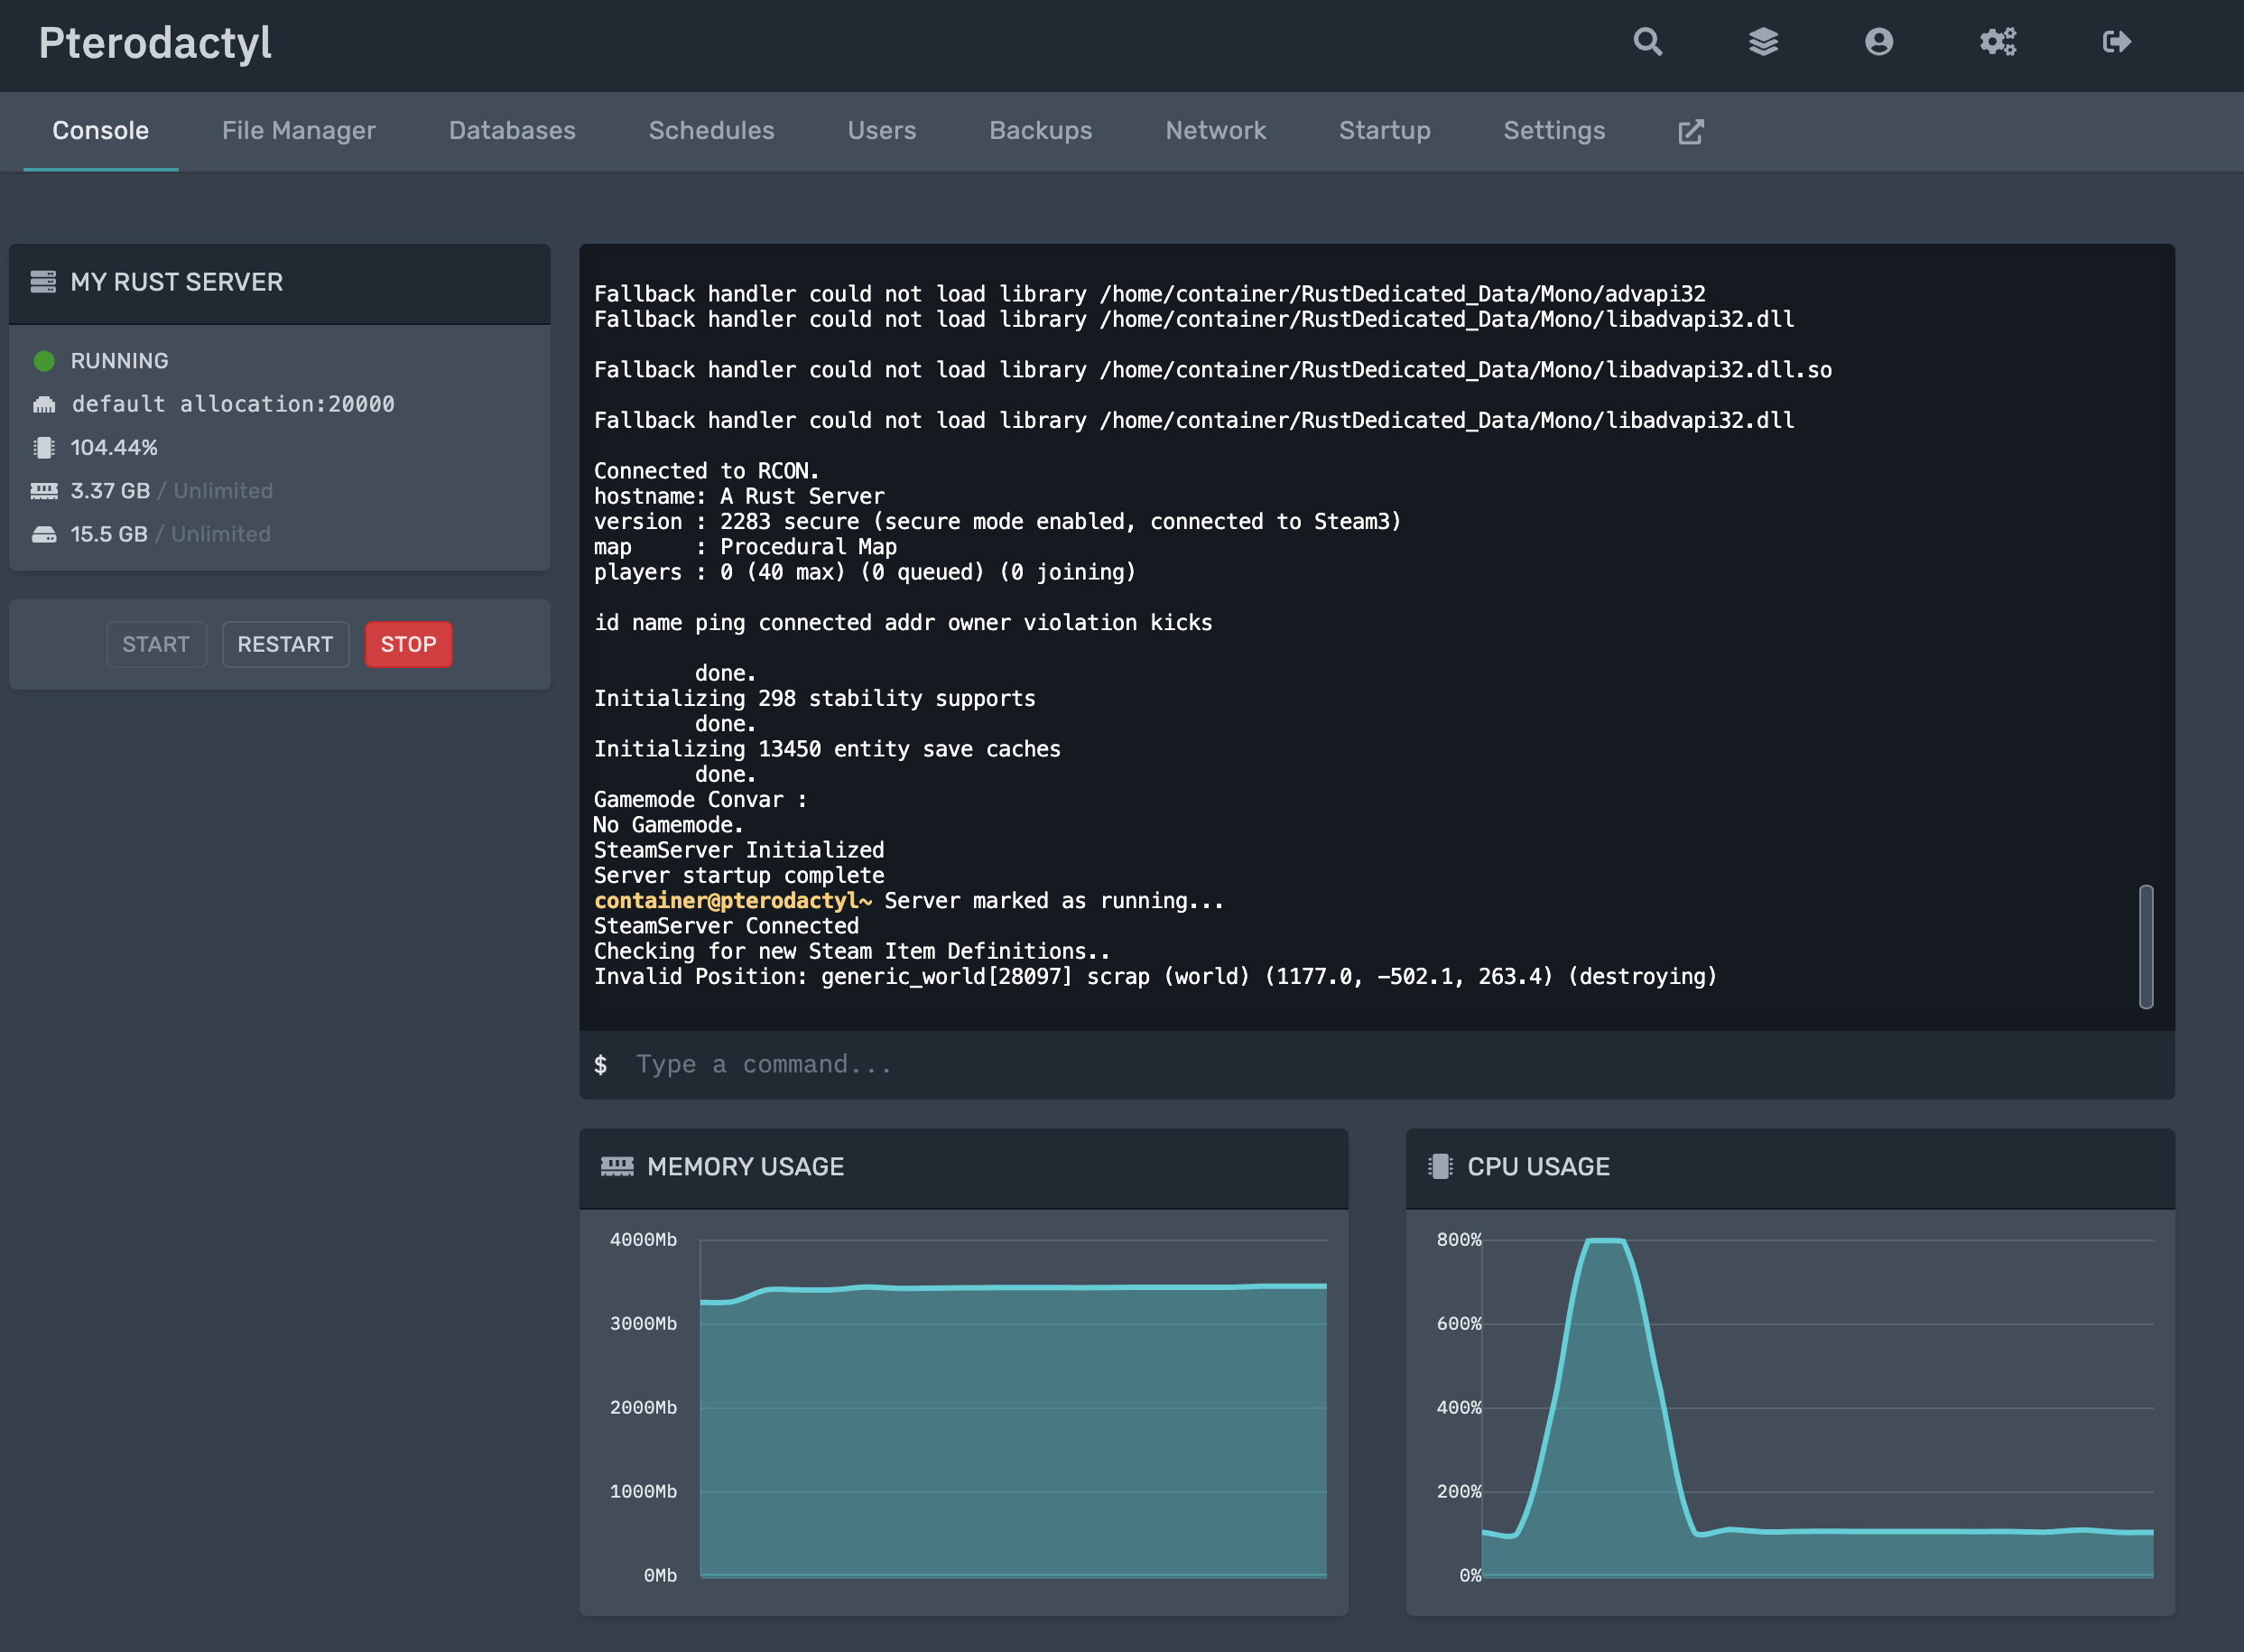
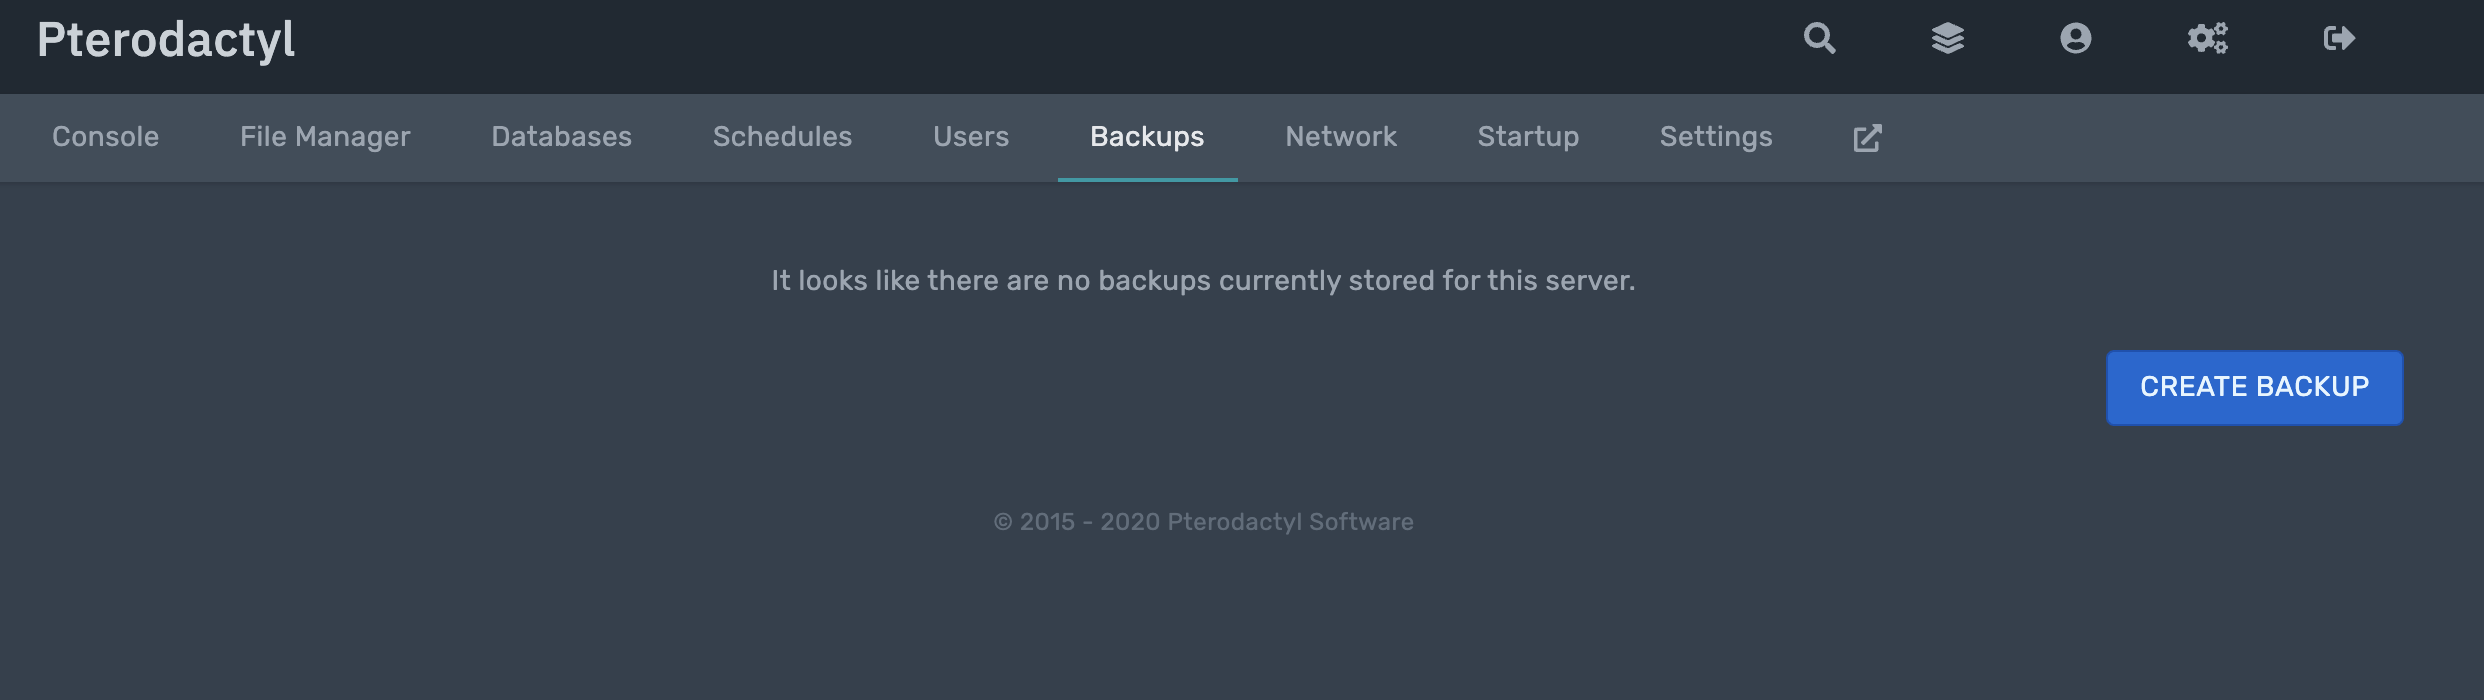
Click Backups, then Create Backup.
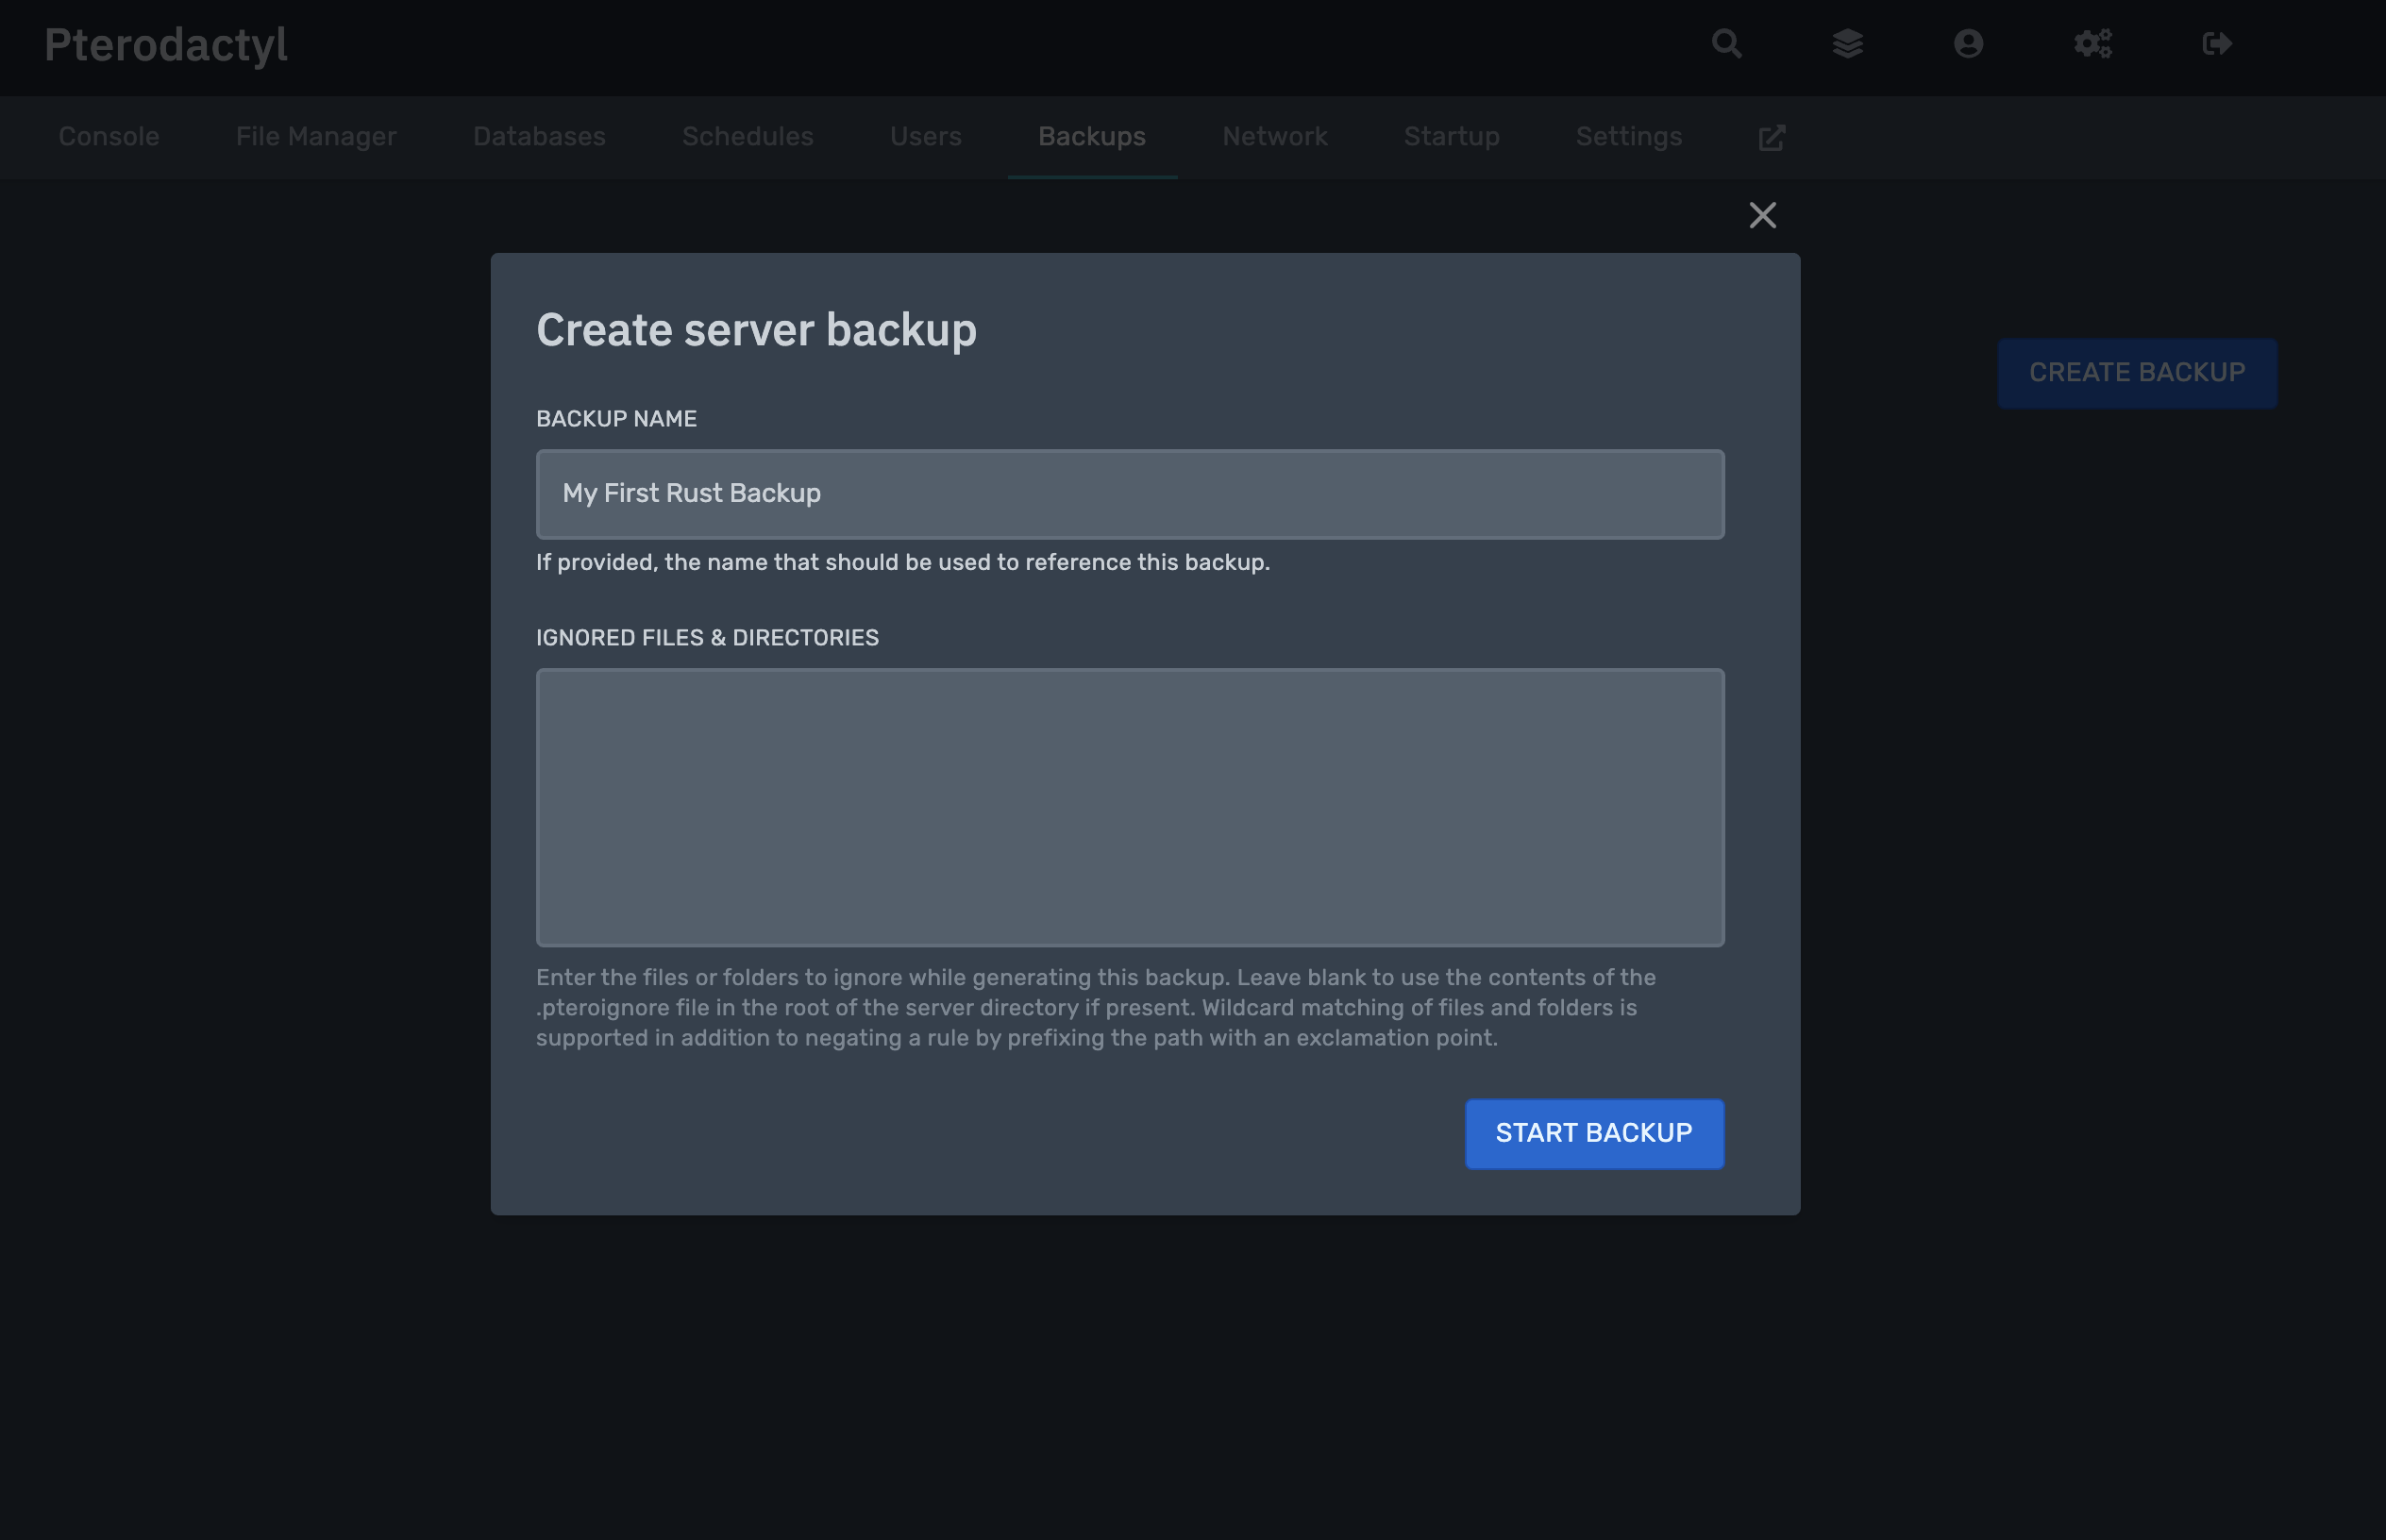
Give your backup a name, and select any ignored files, click Start Backup.
In this example, we are not ignoring any files.
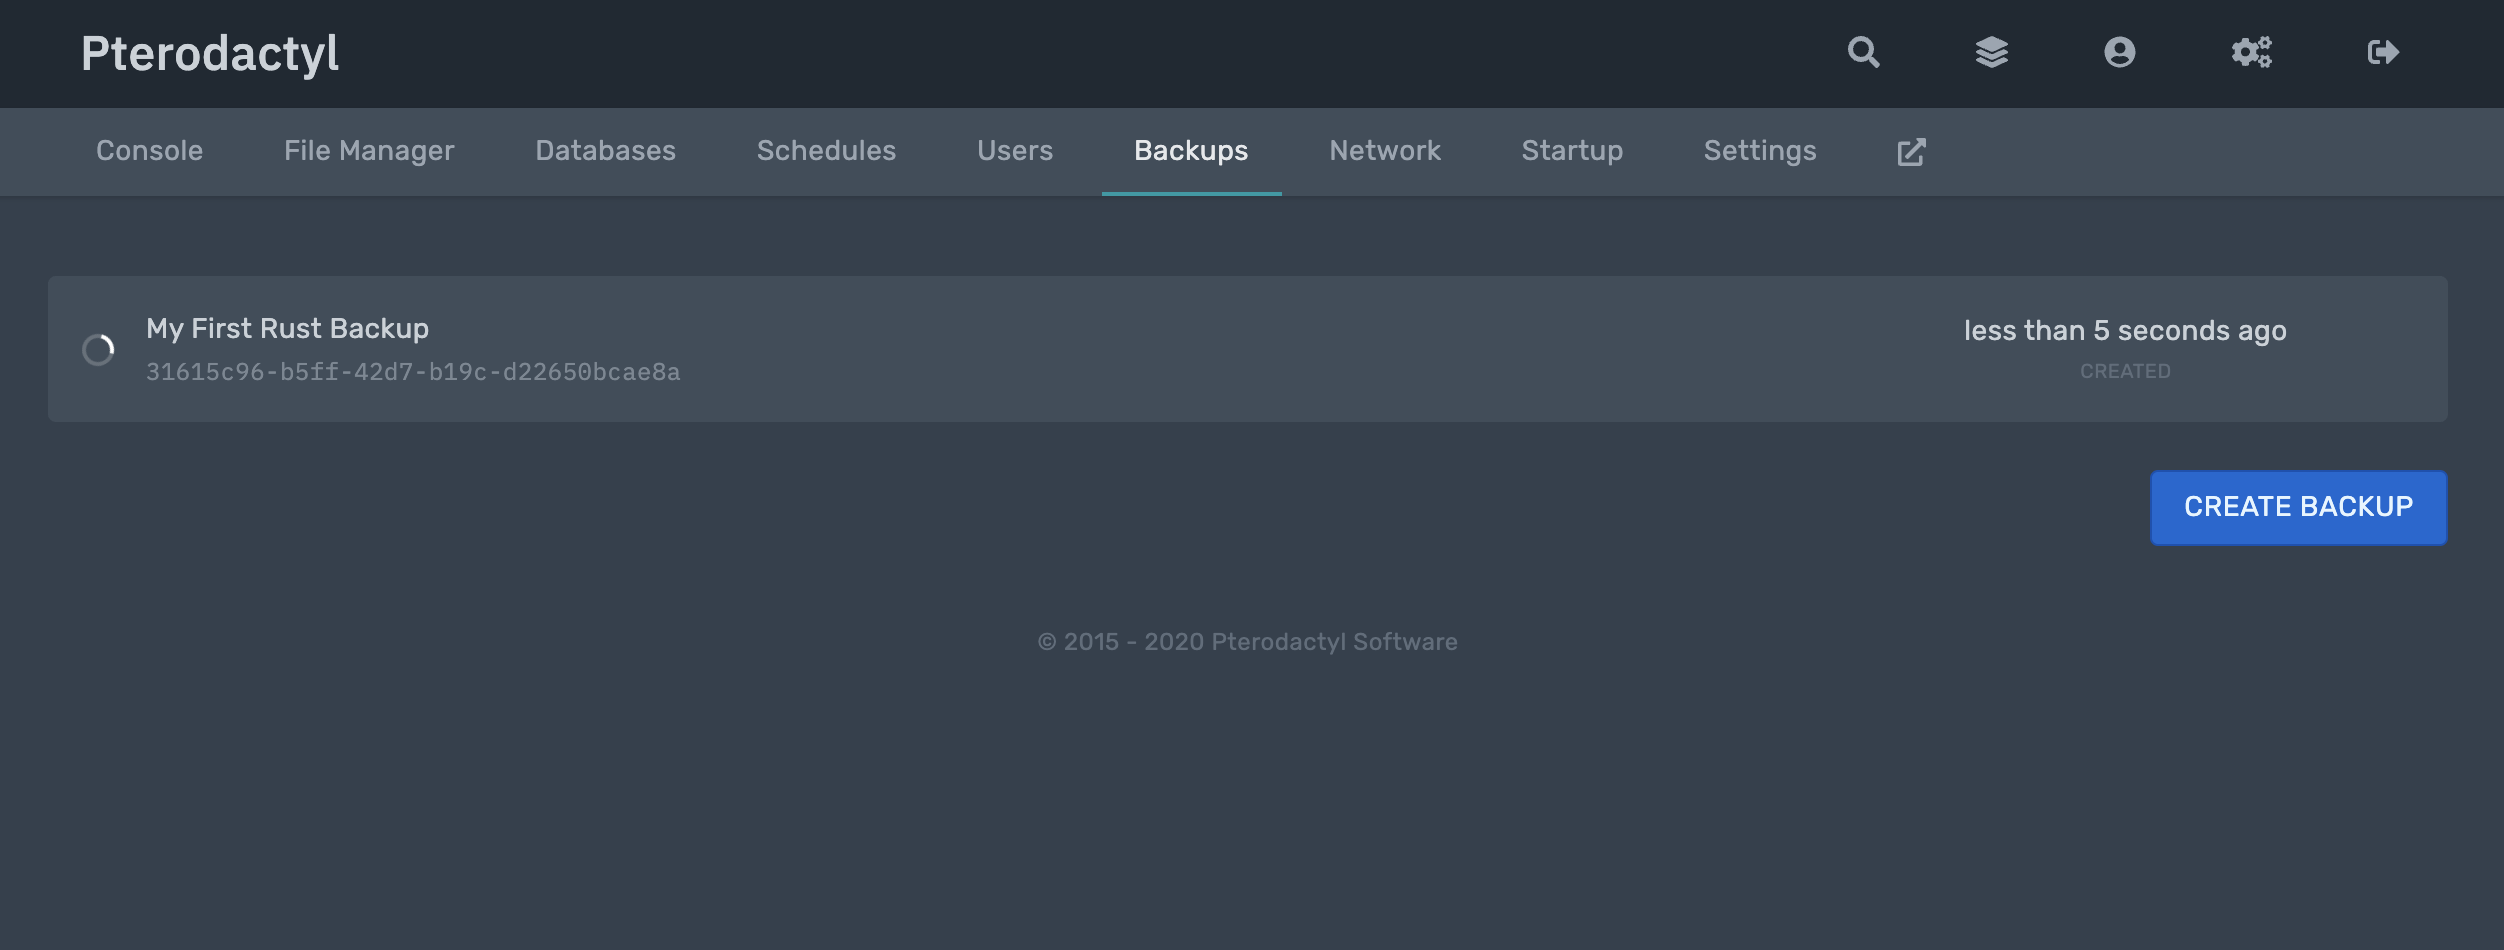
Your backup will run in the background until it is complete
Verify the backup is running without any issues
You can login to your node, and run a tail on the log files to verify the backup is being created
# tail -f /var/log/pterodactyl/wings.log
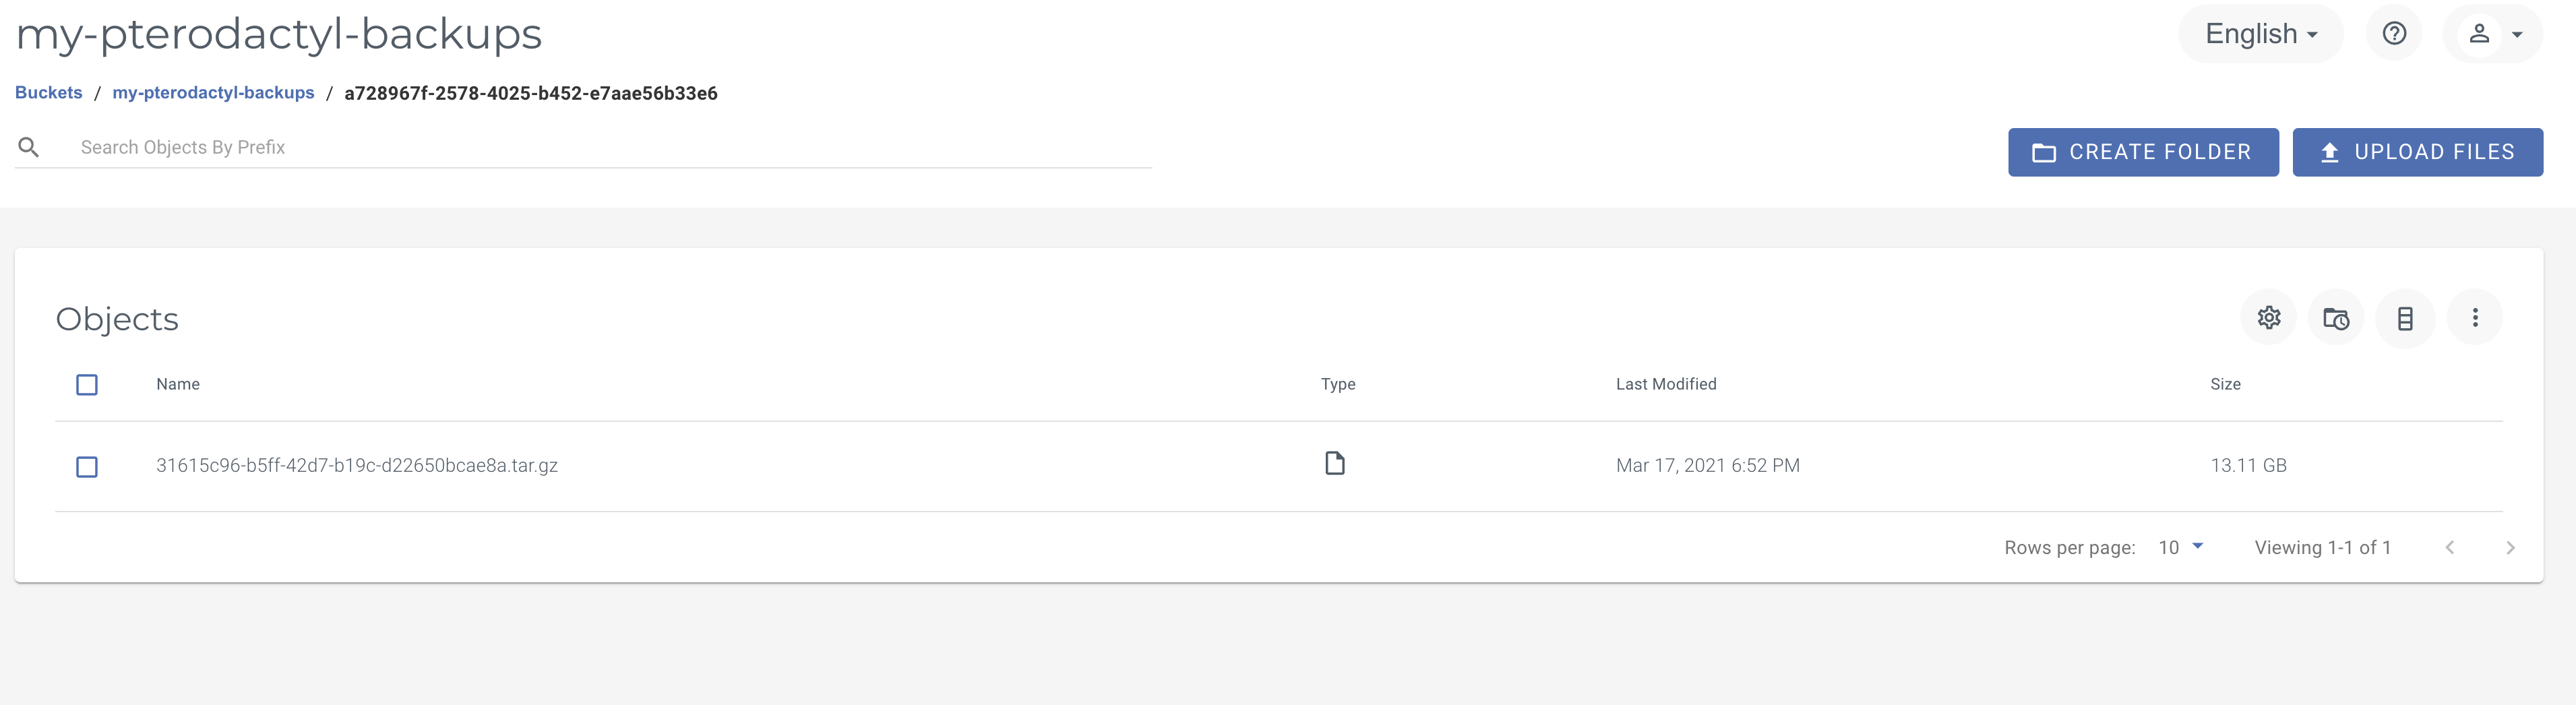
Validate backup has been copied to Wasabi Hot Cloud Storage
Log in to the Wasabi Console and verify that your backup has been copied to the configured bucket.