Snowflake External Tables have been verified to use with Wasabi.
For further reference, please visit the Snowflake Documentation on configuring Wasabi storage.
Requirements
Active Wasabi Storage account
A dataset supported by Snowflake is uploaded to your Wasabi Bucket
Active Snowflake account
An understanding of Data Lake / Data Warehouse terminology and basic usage of Snowflake
NOTE: At this time, Snowflake must authorize using external S3 URLs. You must open a support case with Snowflake in advance and ask that the S3 URL for the region where your bucket resides be authorized for your account. You can find the Wasabi S3 URLs in the Wasabi Service URLs article.
Uploading Data to your Wasabi Bucket
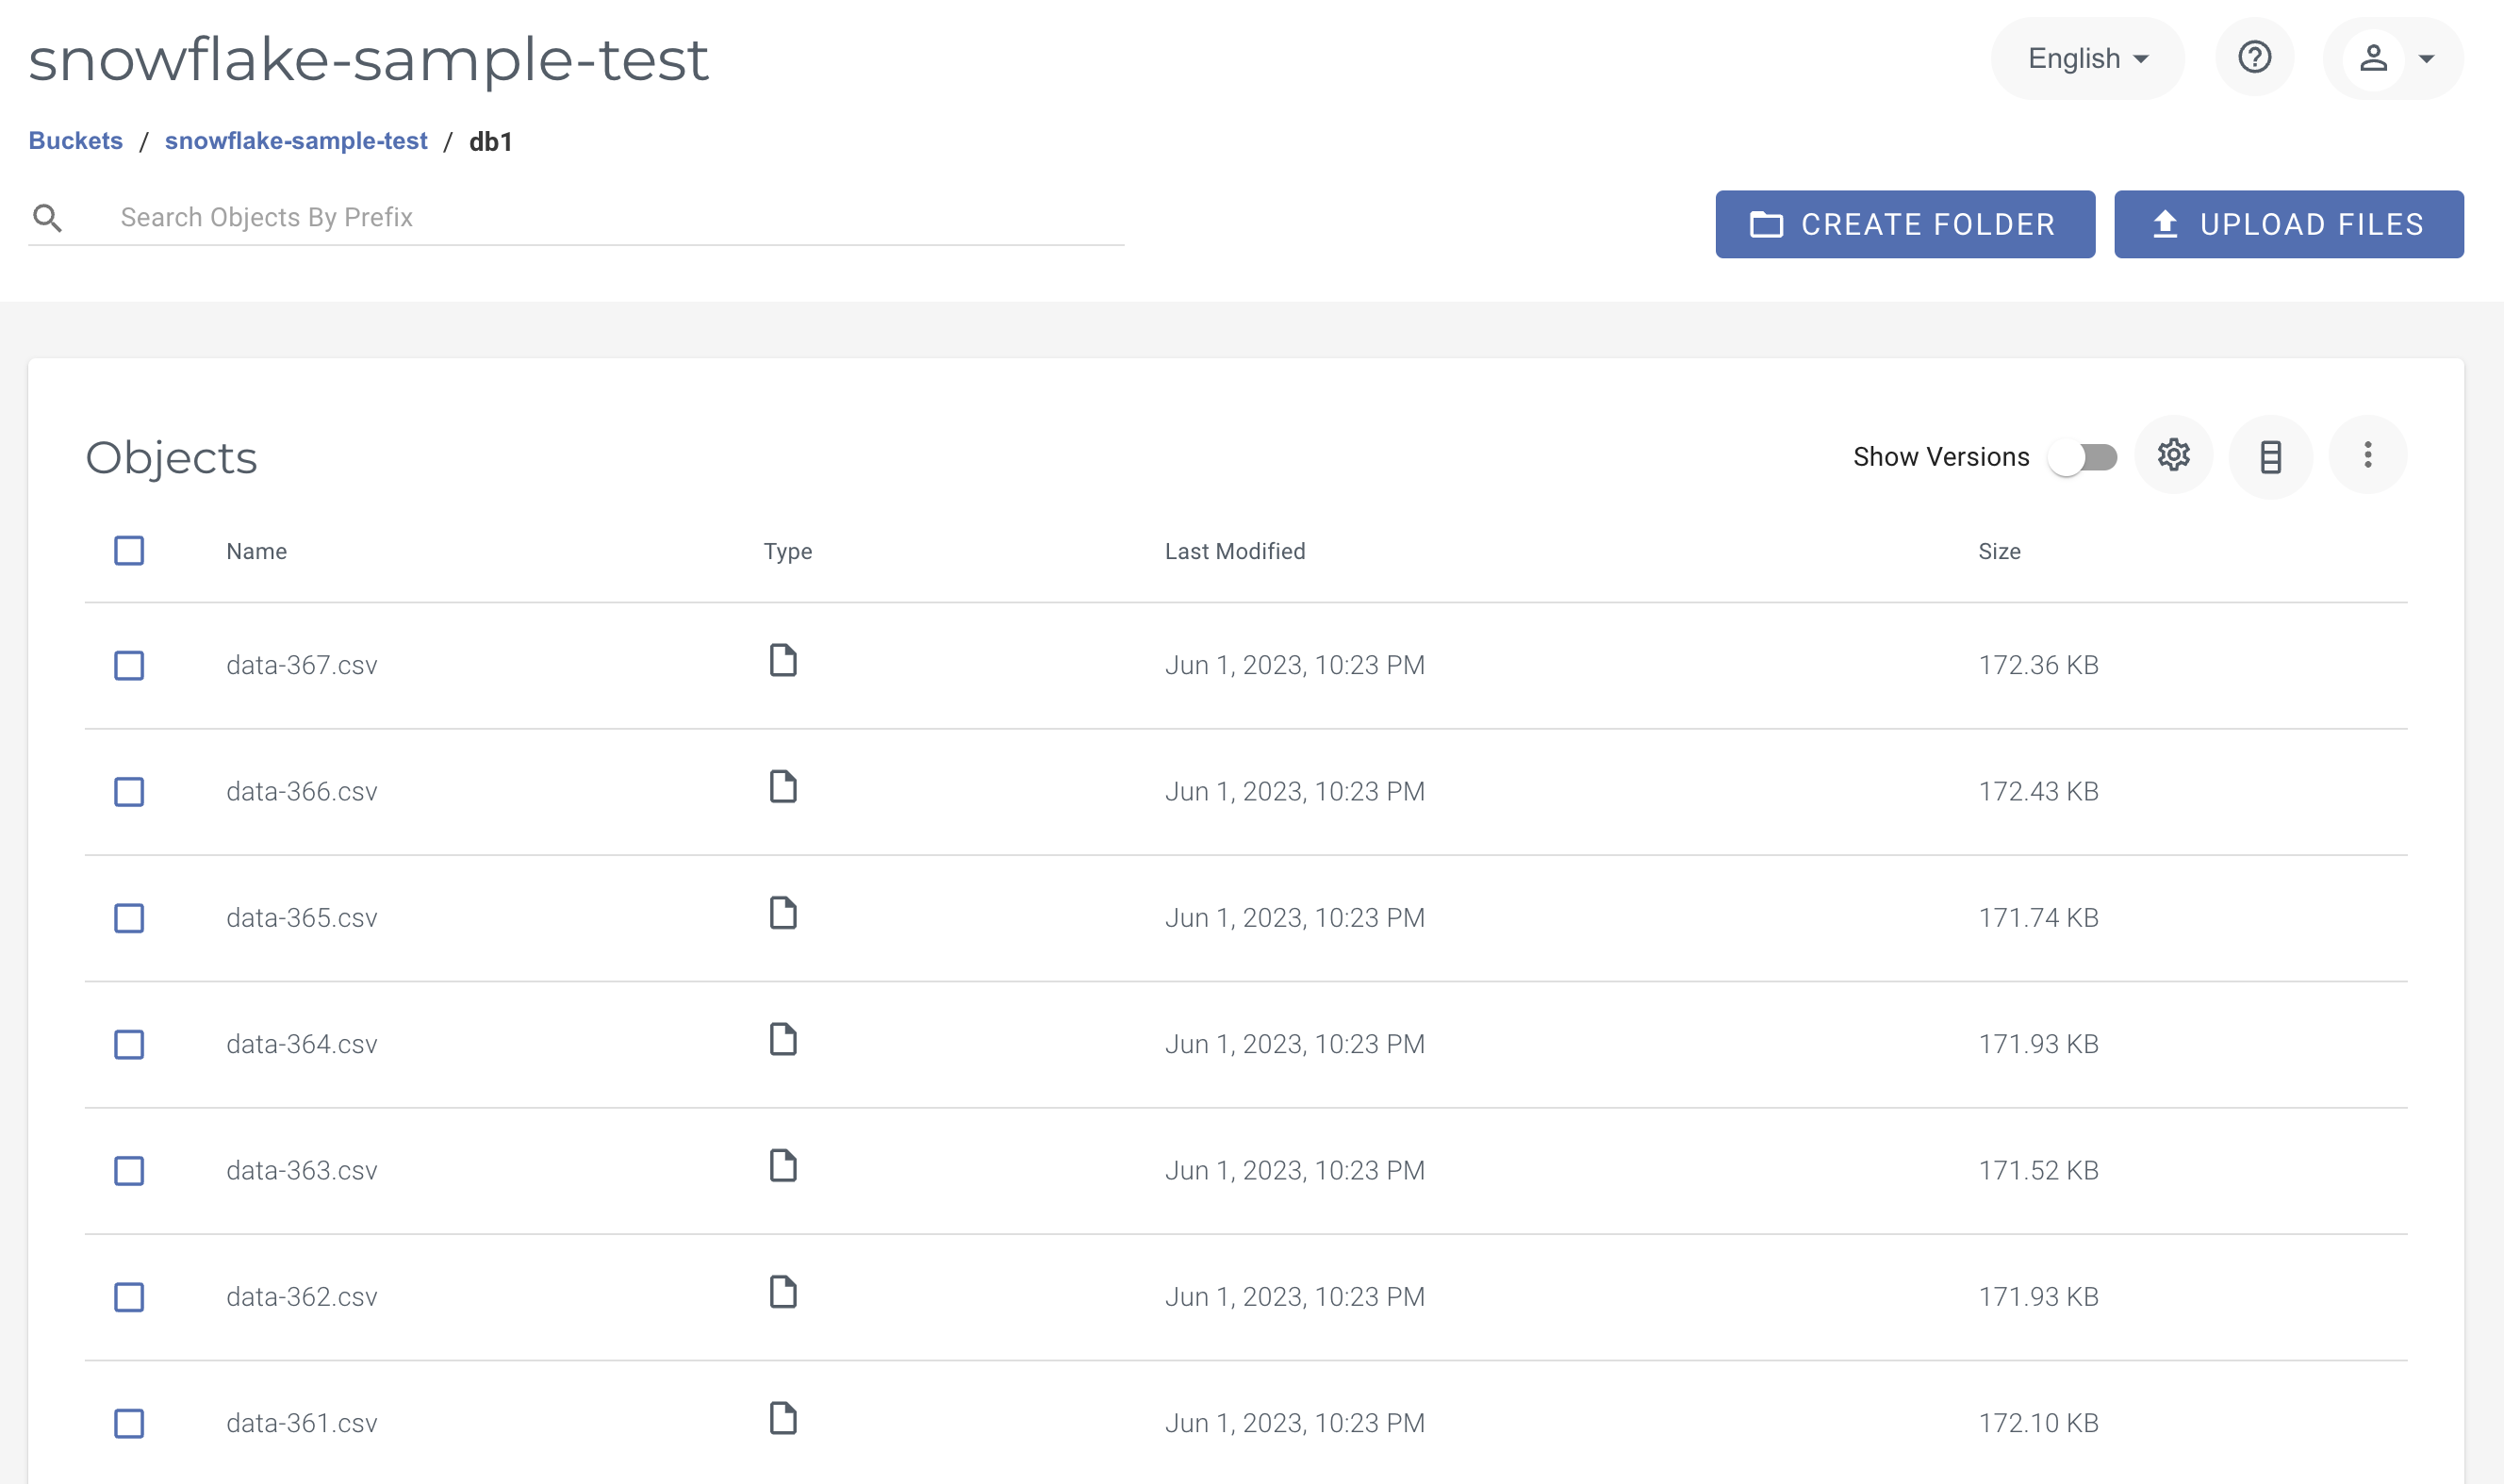
To use Snowflake with Wasabi, you must have a dataset you wish to read from Wasabi. In this KB, we are using sample data generated with Faker. The sample data consists of 1000 files, each containing 1000 rows of fake customer names, addresses, emails, phone numbers, companies, and so on.
The data resides in the "snowflake-sample-test " bucket in the "us-east-2" region and a folder of "db1". The path to the data will be "//snowflake-sample-test/db1". You should adjust this as you follow along.
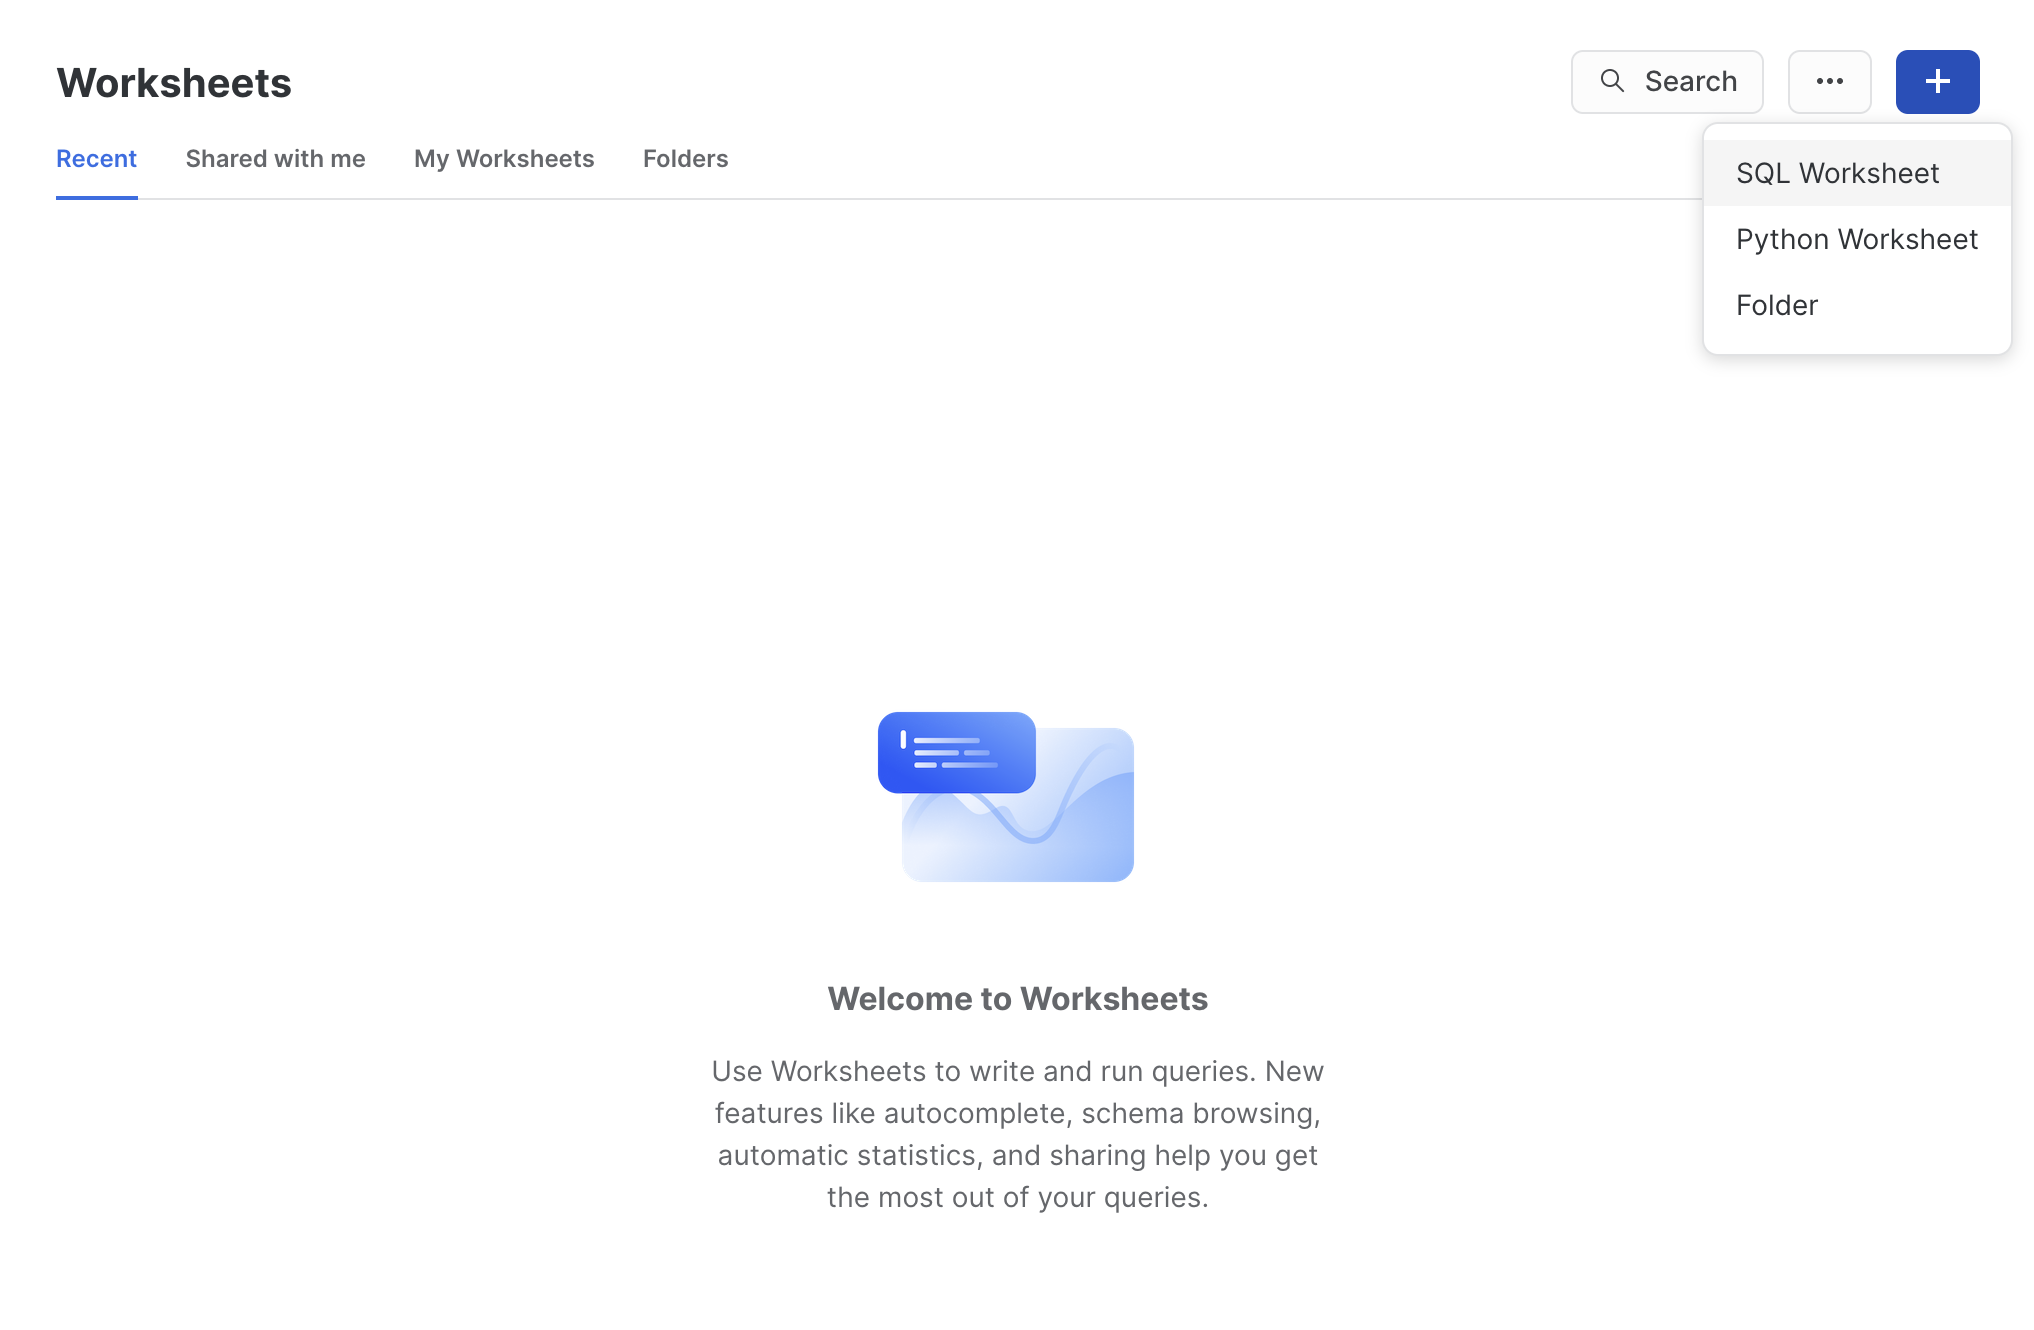
Creating an SQL Worksheet
After logging into your Snowflake account, you want to create a new SQL Worksheet. This will be your scratchpad for working with the data living in Wasabi.
Creating a Snowflake Database
After you have the Worksheet open, create a Database to store information about the External Table and any related data.
We are going to run the two commands located below. In this KB, use a database called MY_TEST_WASABI_DATABASE. Be sure to adjust this accordingly for your use case.
The first command will create the database. The second will select it for use in further queries in the Worksheet. After copying the commands, select the first statement and click Run.
Snowflake Stage Object
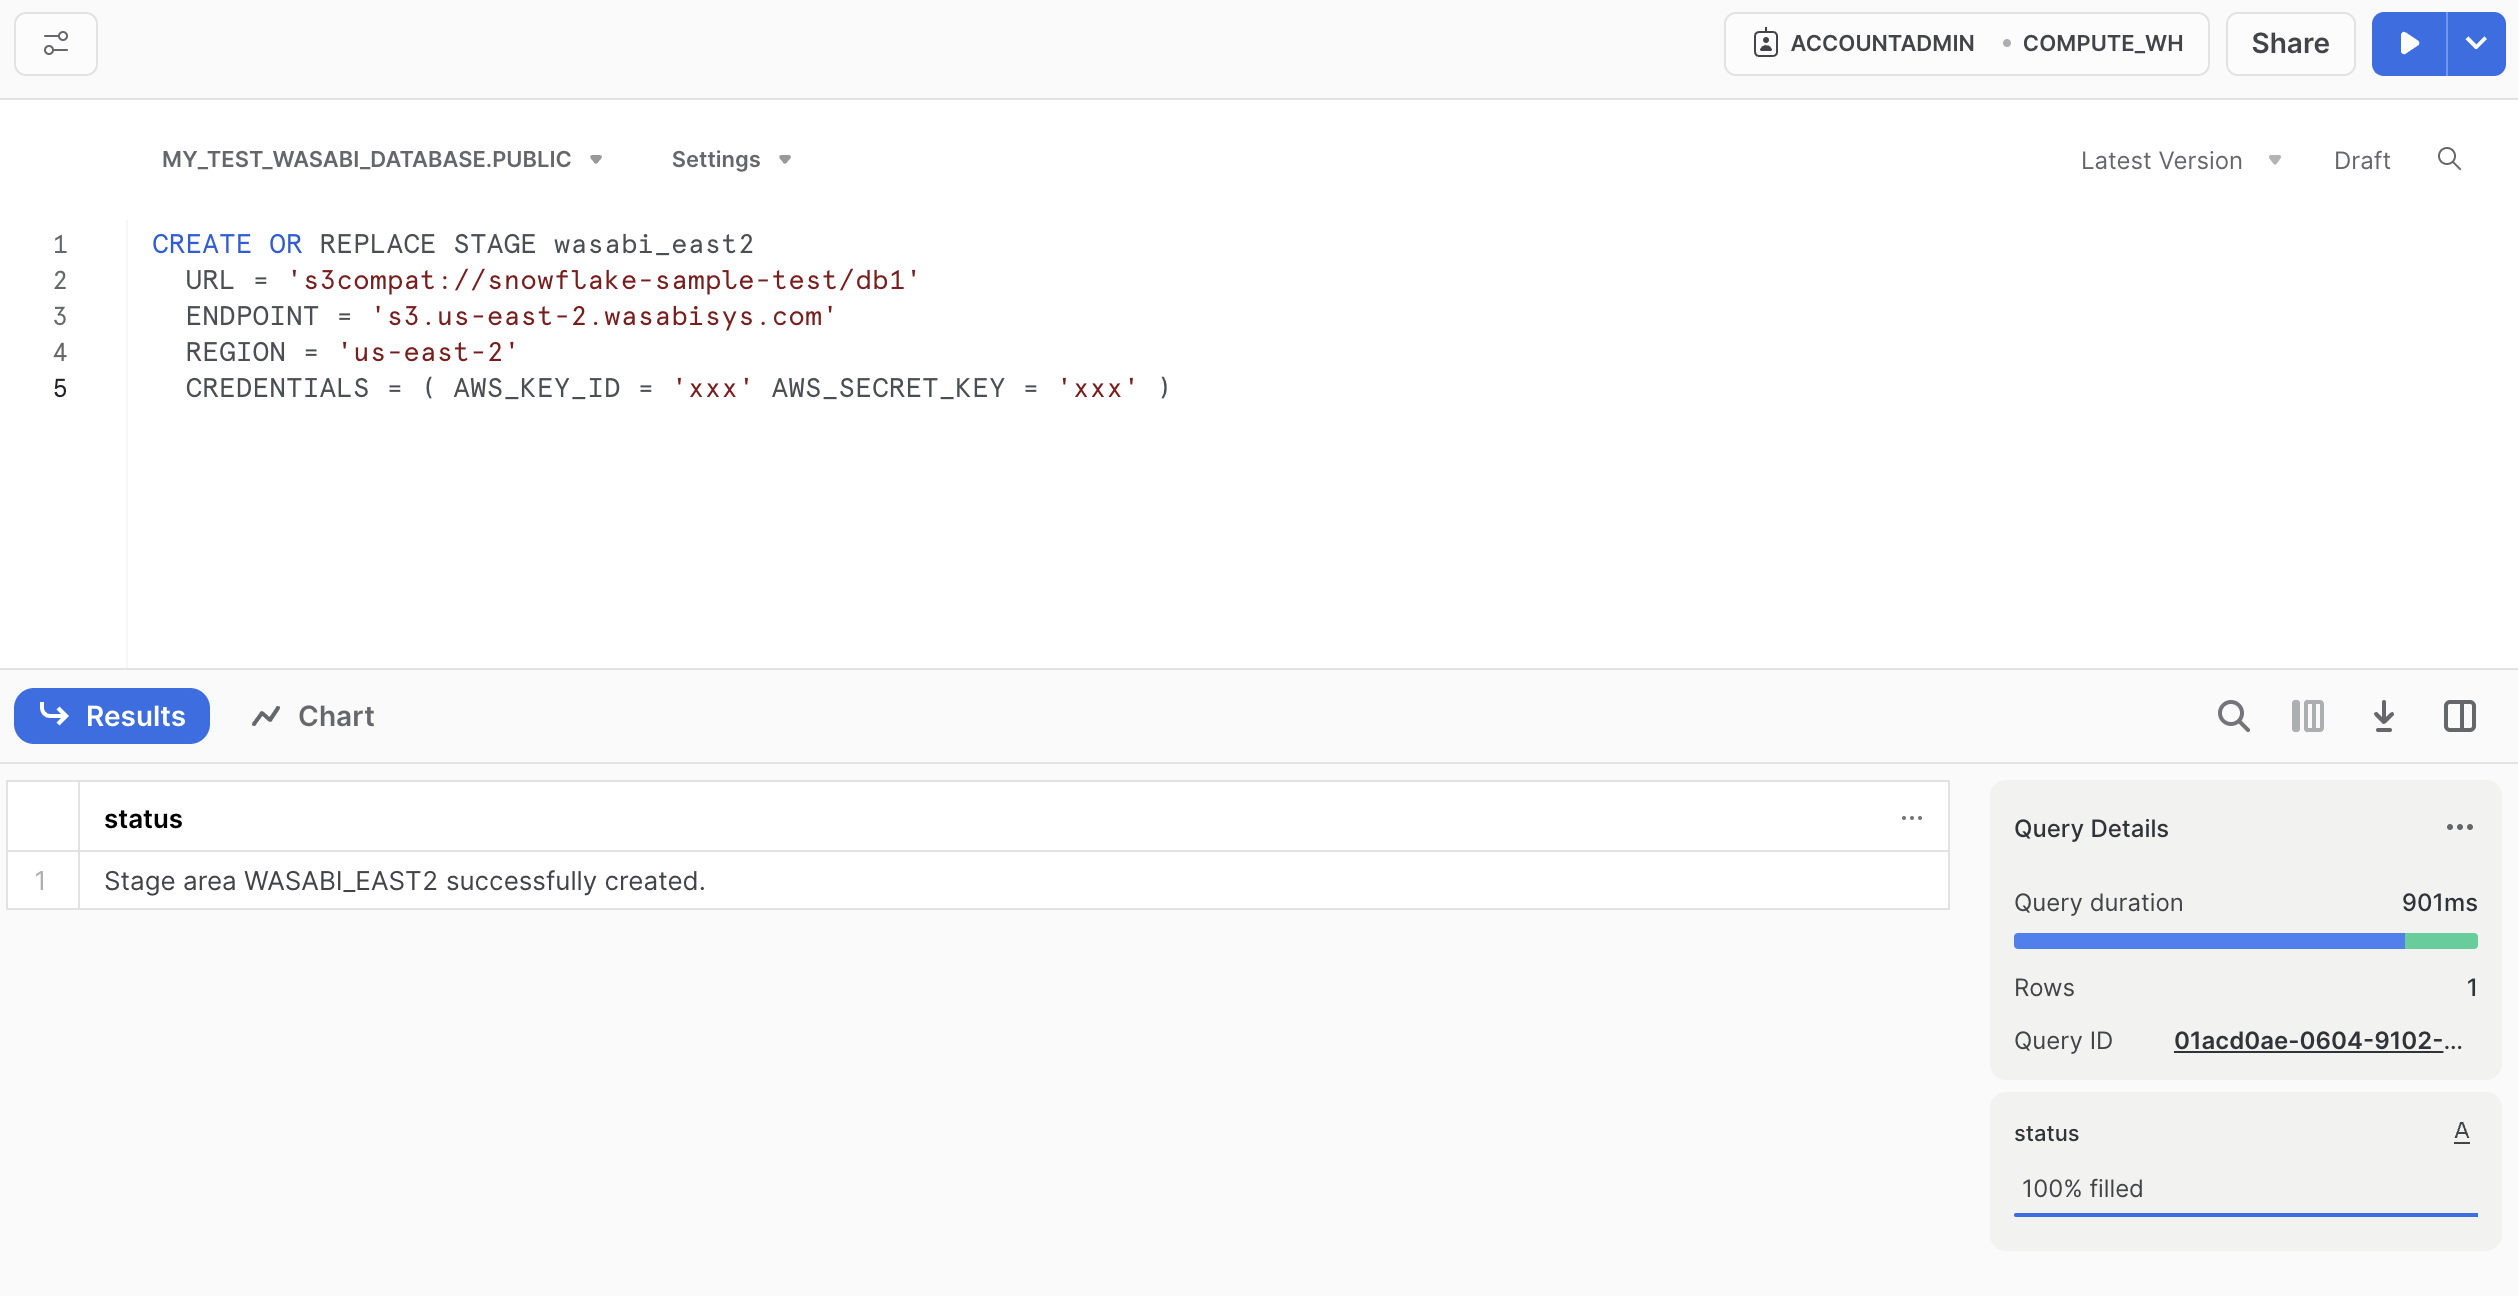
A stage object must be created in Snowflake to indicate where your data is stored or staged. This is where we create the reference to a Wasabi Bucket, with the Region and Credentials.
Be sure to update the name of your stage, wasabi_east2 in this example, the URL with your bucket name/path, region, and access keys.
Note: This configuration example uses Wasabi’s us-east-2 storage region. To use other Wasabi storage regions, use the appropriate Wasabi service URL as described in Wasabi Service URLs article.
CREATE STAGE wasabi_east2
  URL = 's3compat://snowflake-sample-test/db1'
  ENDPOINT = 's3.us-east-2.wasabisys.com'
  REGION = 'us-east-2'
  CREDENTIALS = ( AWS_KEY_ID = 'xxx' AWS_SECRET_KEY = 'xxx' )
Listing the data in your Wasabi Account
After the stage has been created successfully, you should be able to list the contents of the files inside your Wasabi Bucket.
We will call the list query on the stage name.
LIST @wasabi_east2;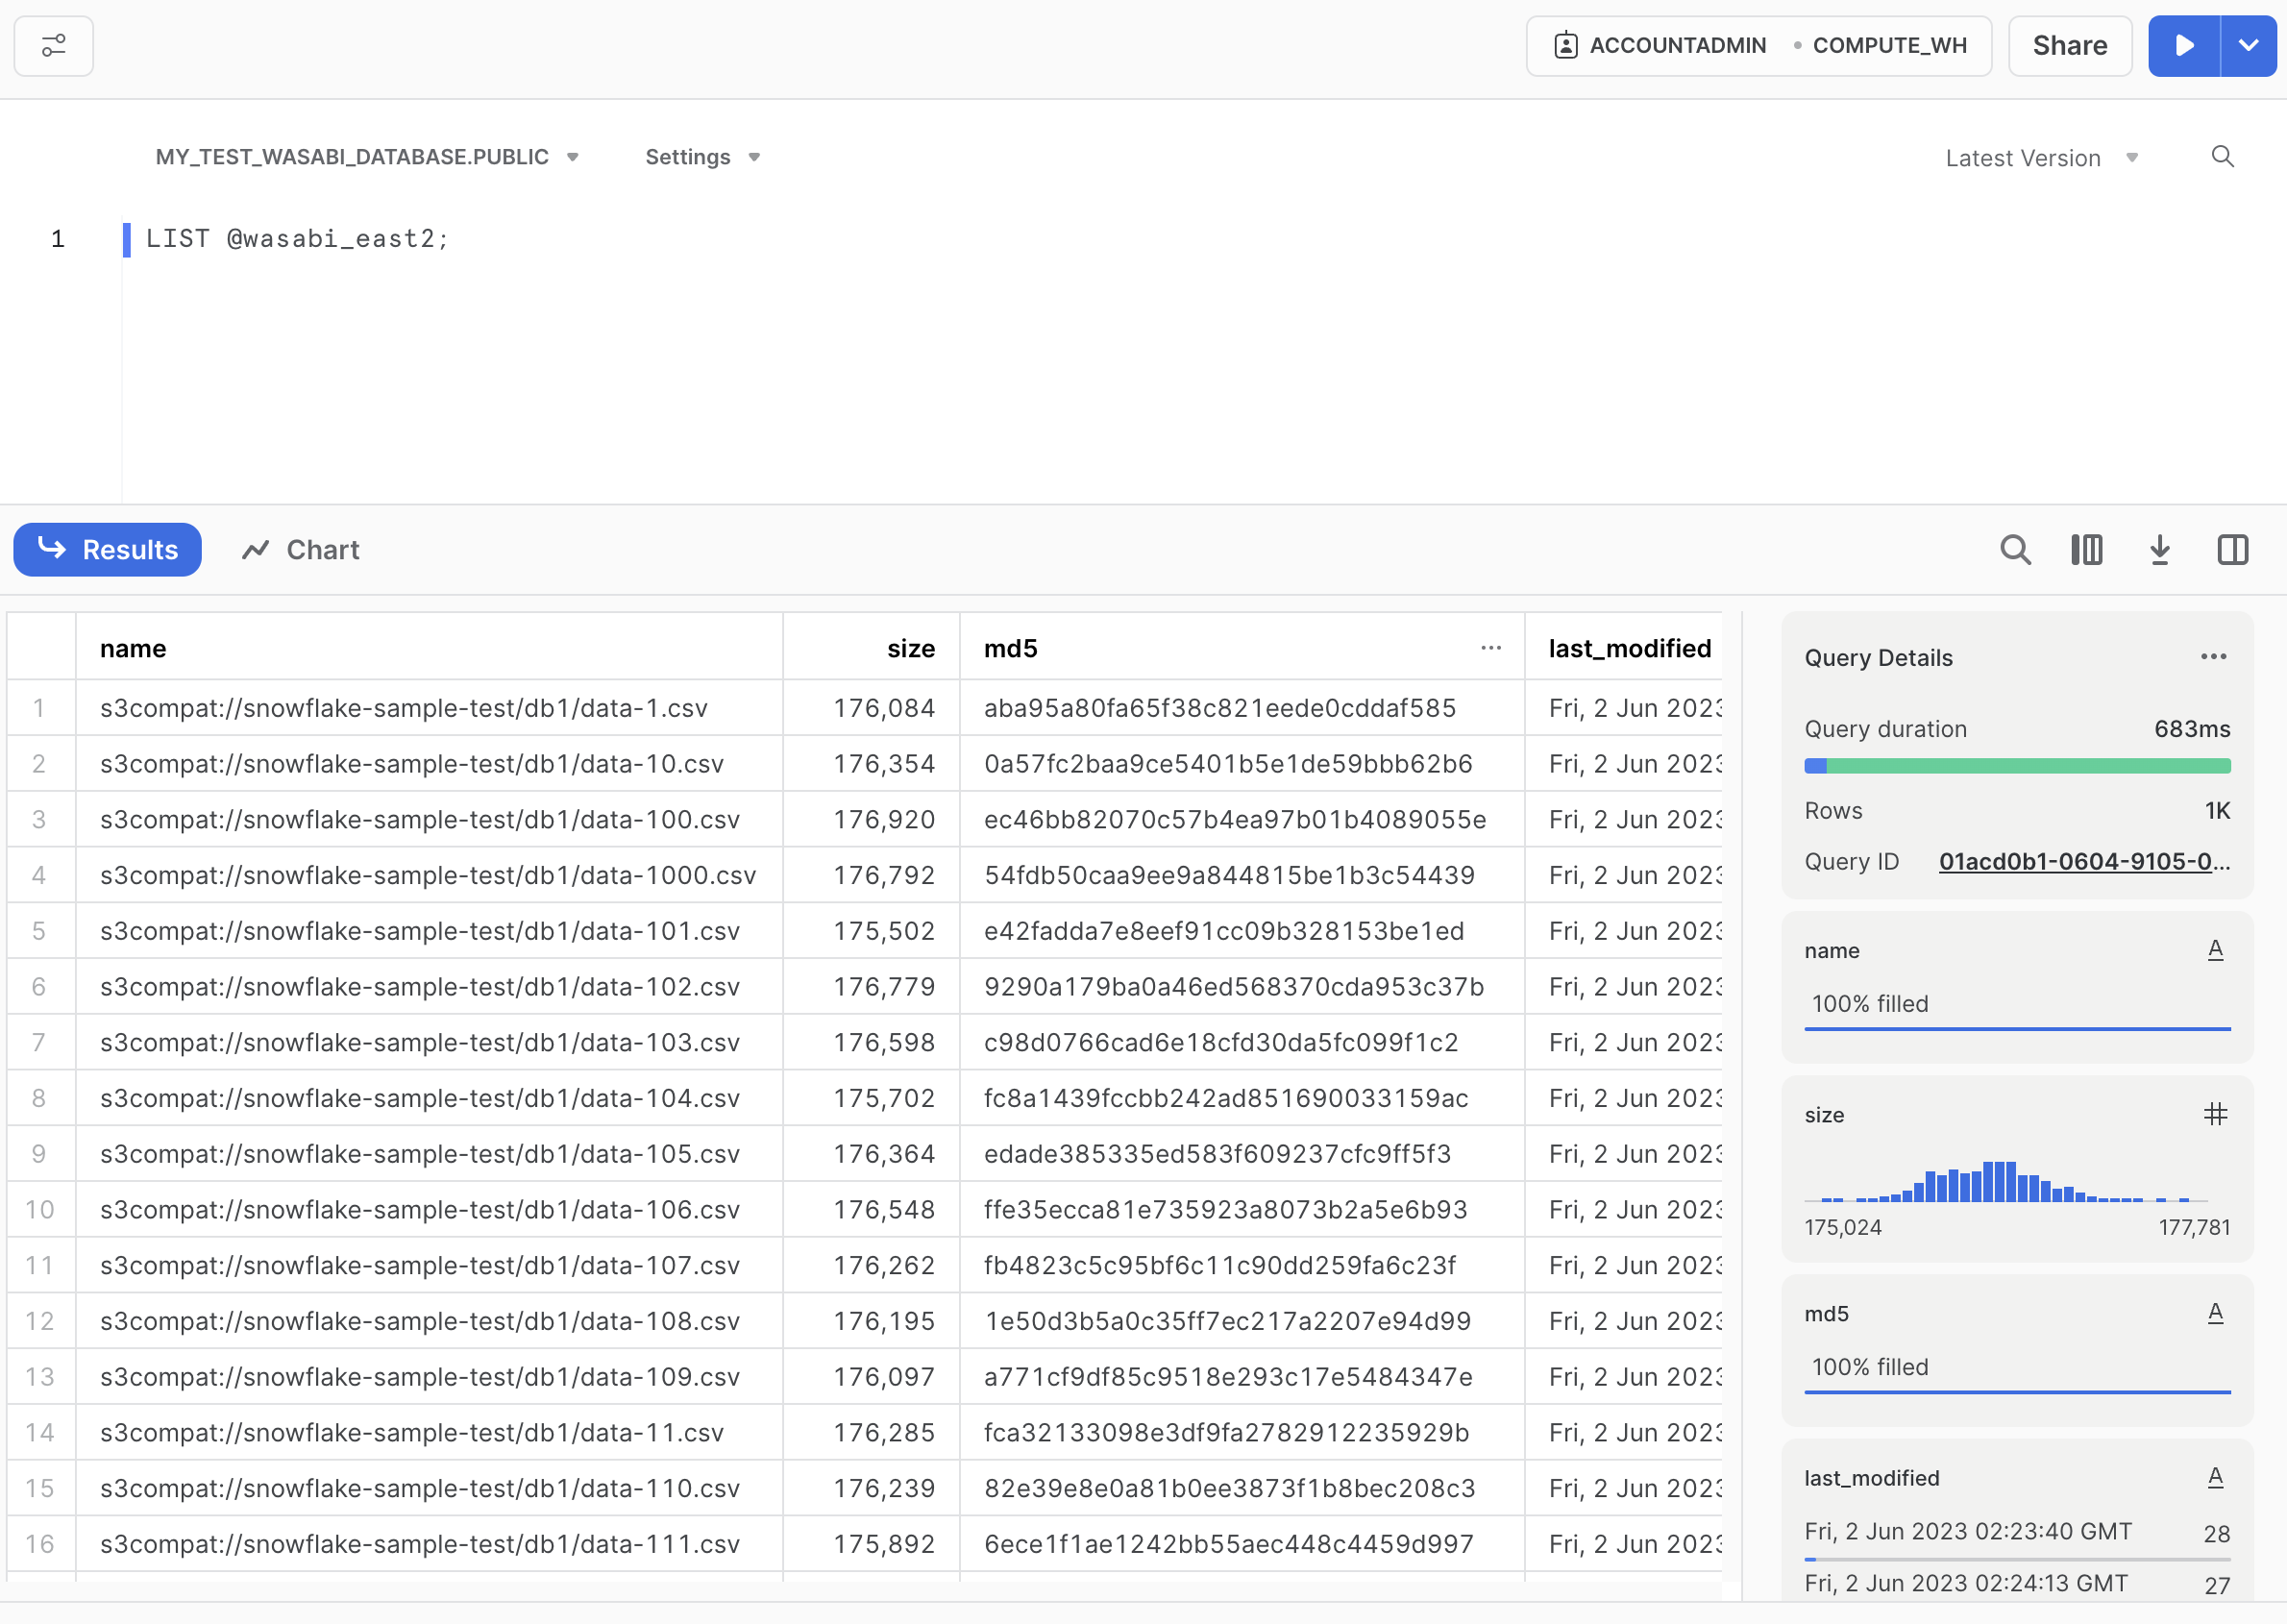
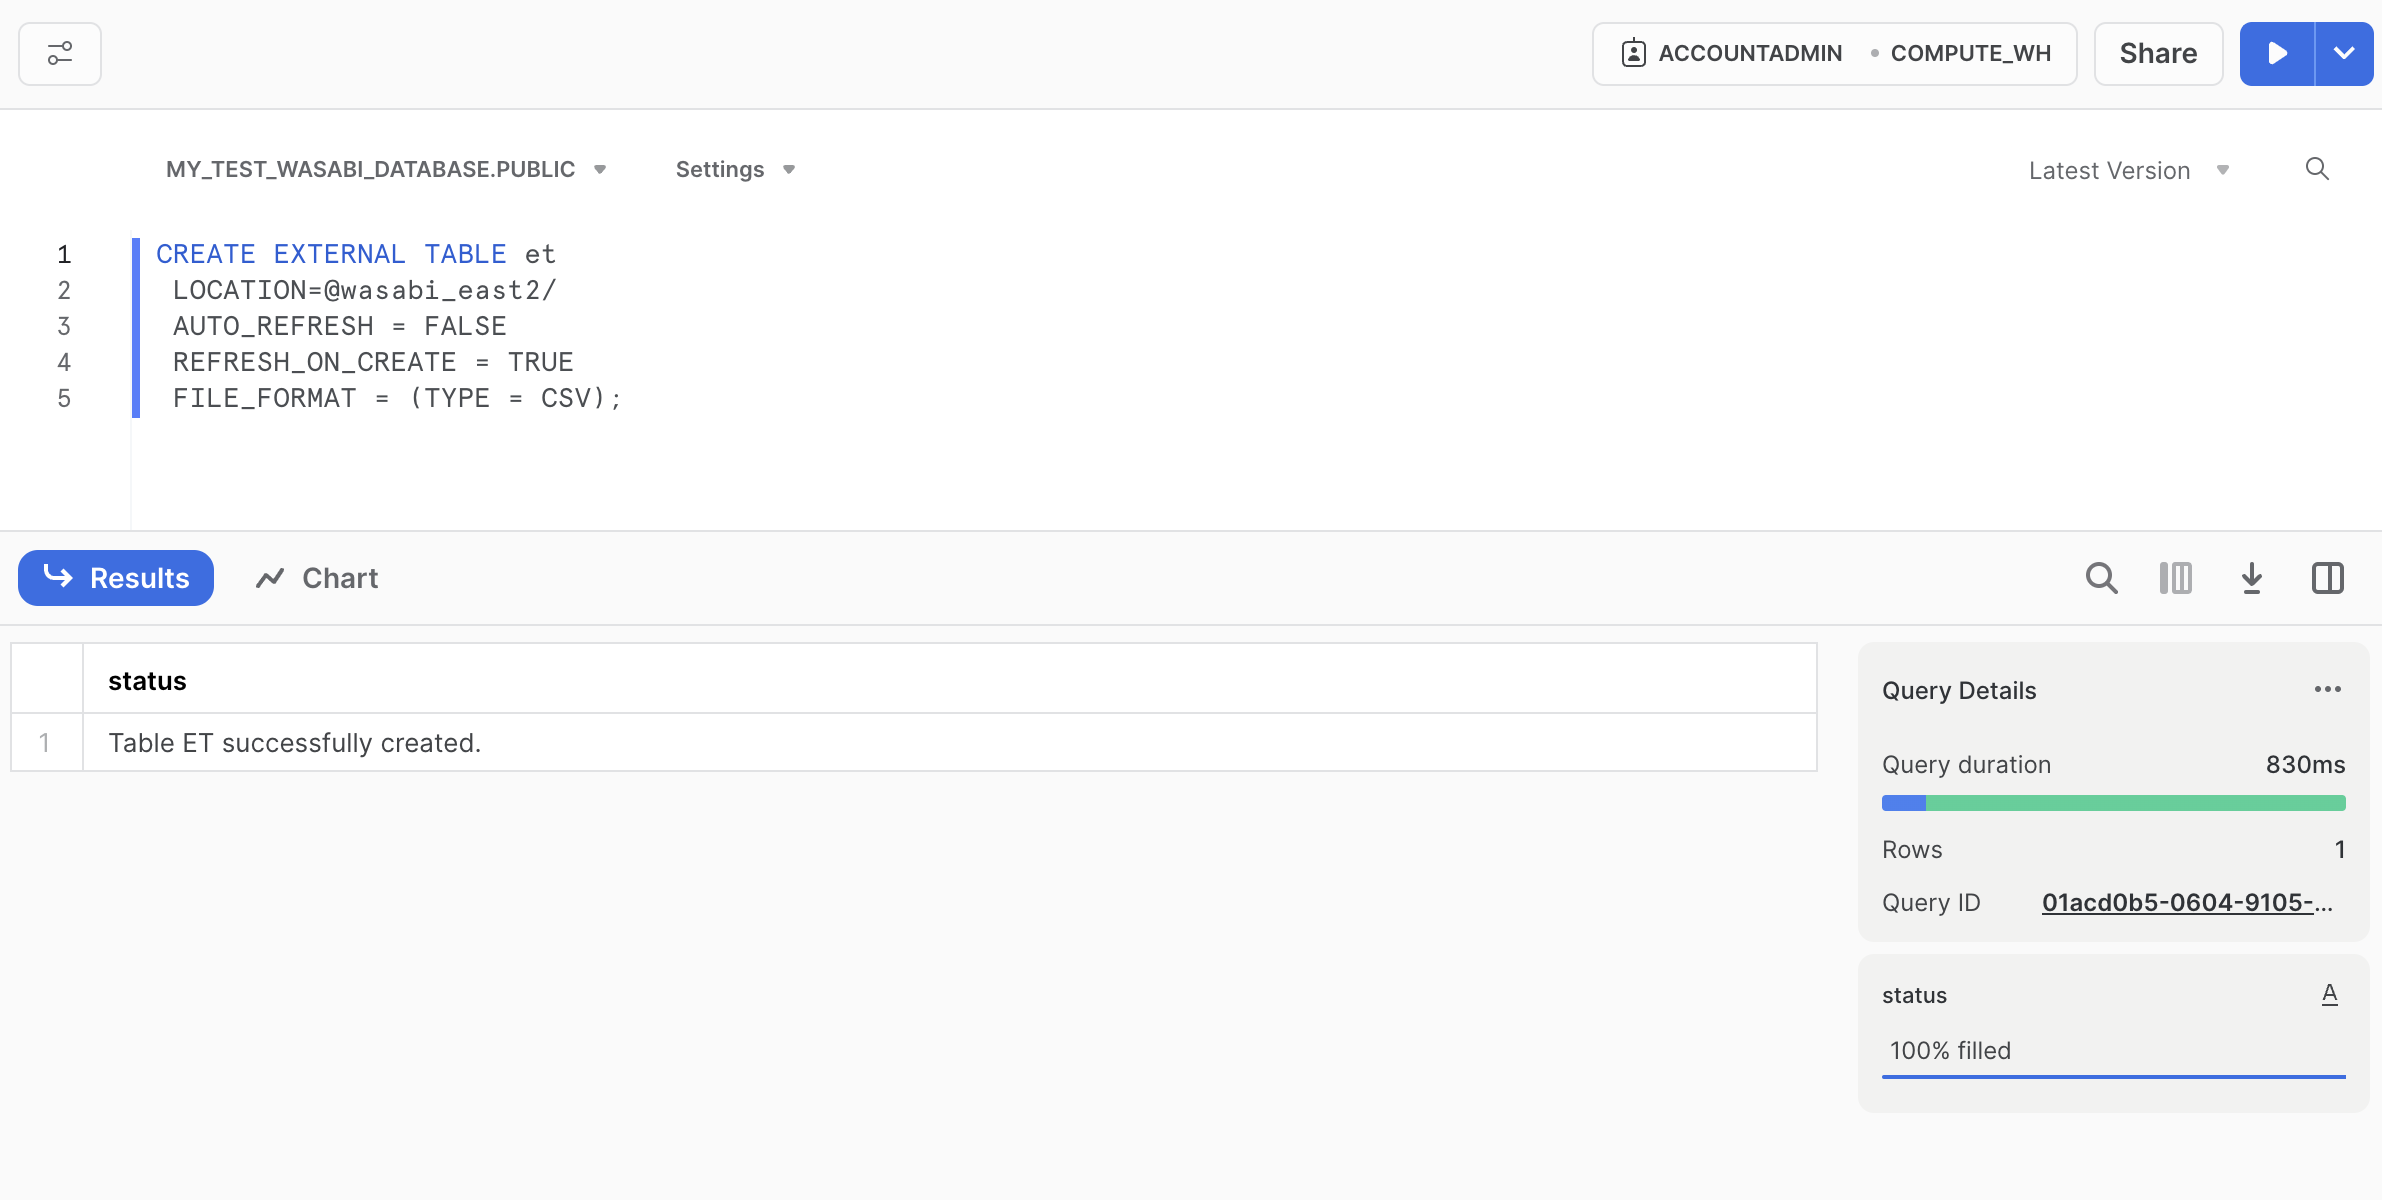
If you successfully list the contents of your Wasabi Bucket, create a Snowflake External Table to query your data. Update the stage name and file format based on your dataset and the stage name you chose.
CREATE EXTERNAL TABLE et
  LOCATION=@wasabi_east2/
  AUTO_REFRESH = FALSE
  REFRESH_ON_CREATE = TRUE
  FILE_FORMAT = (TYPE = CSV);
Running a Query on your Data
After creating your table, you should be all set to run queries against your data to validate it.
SELECT * FROM et;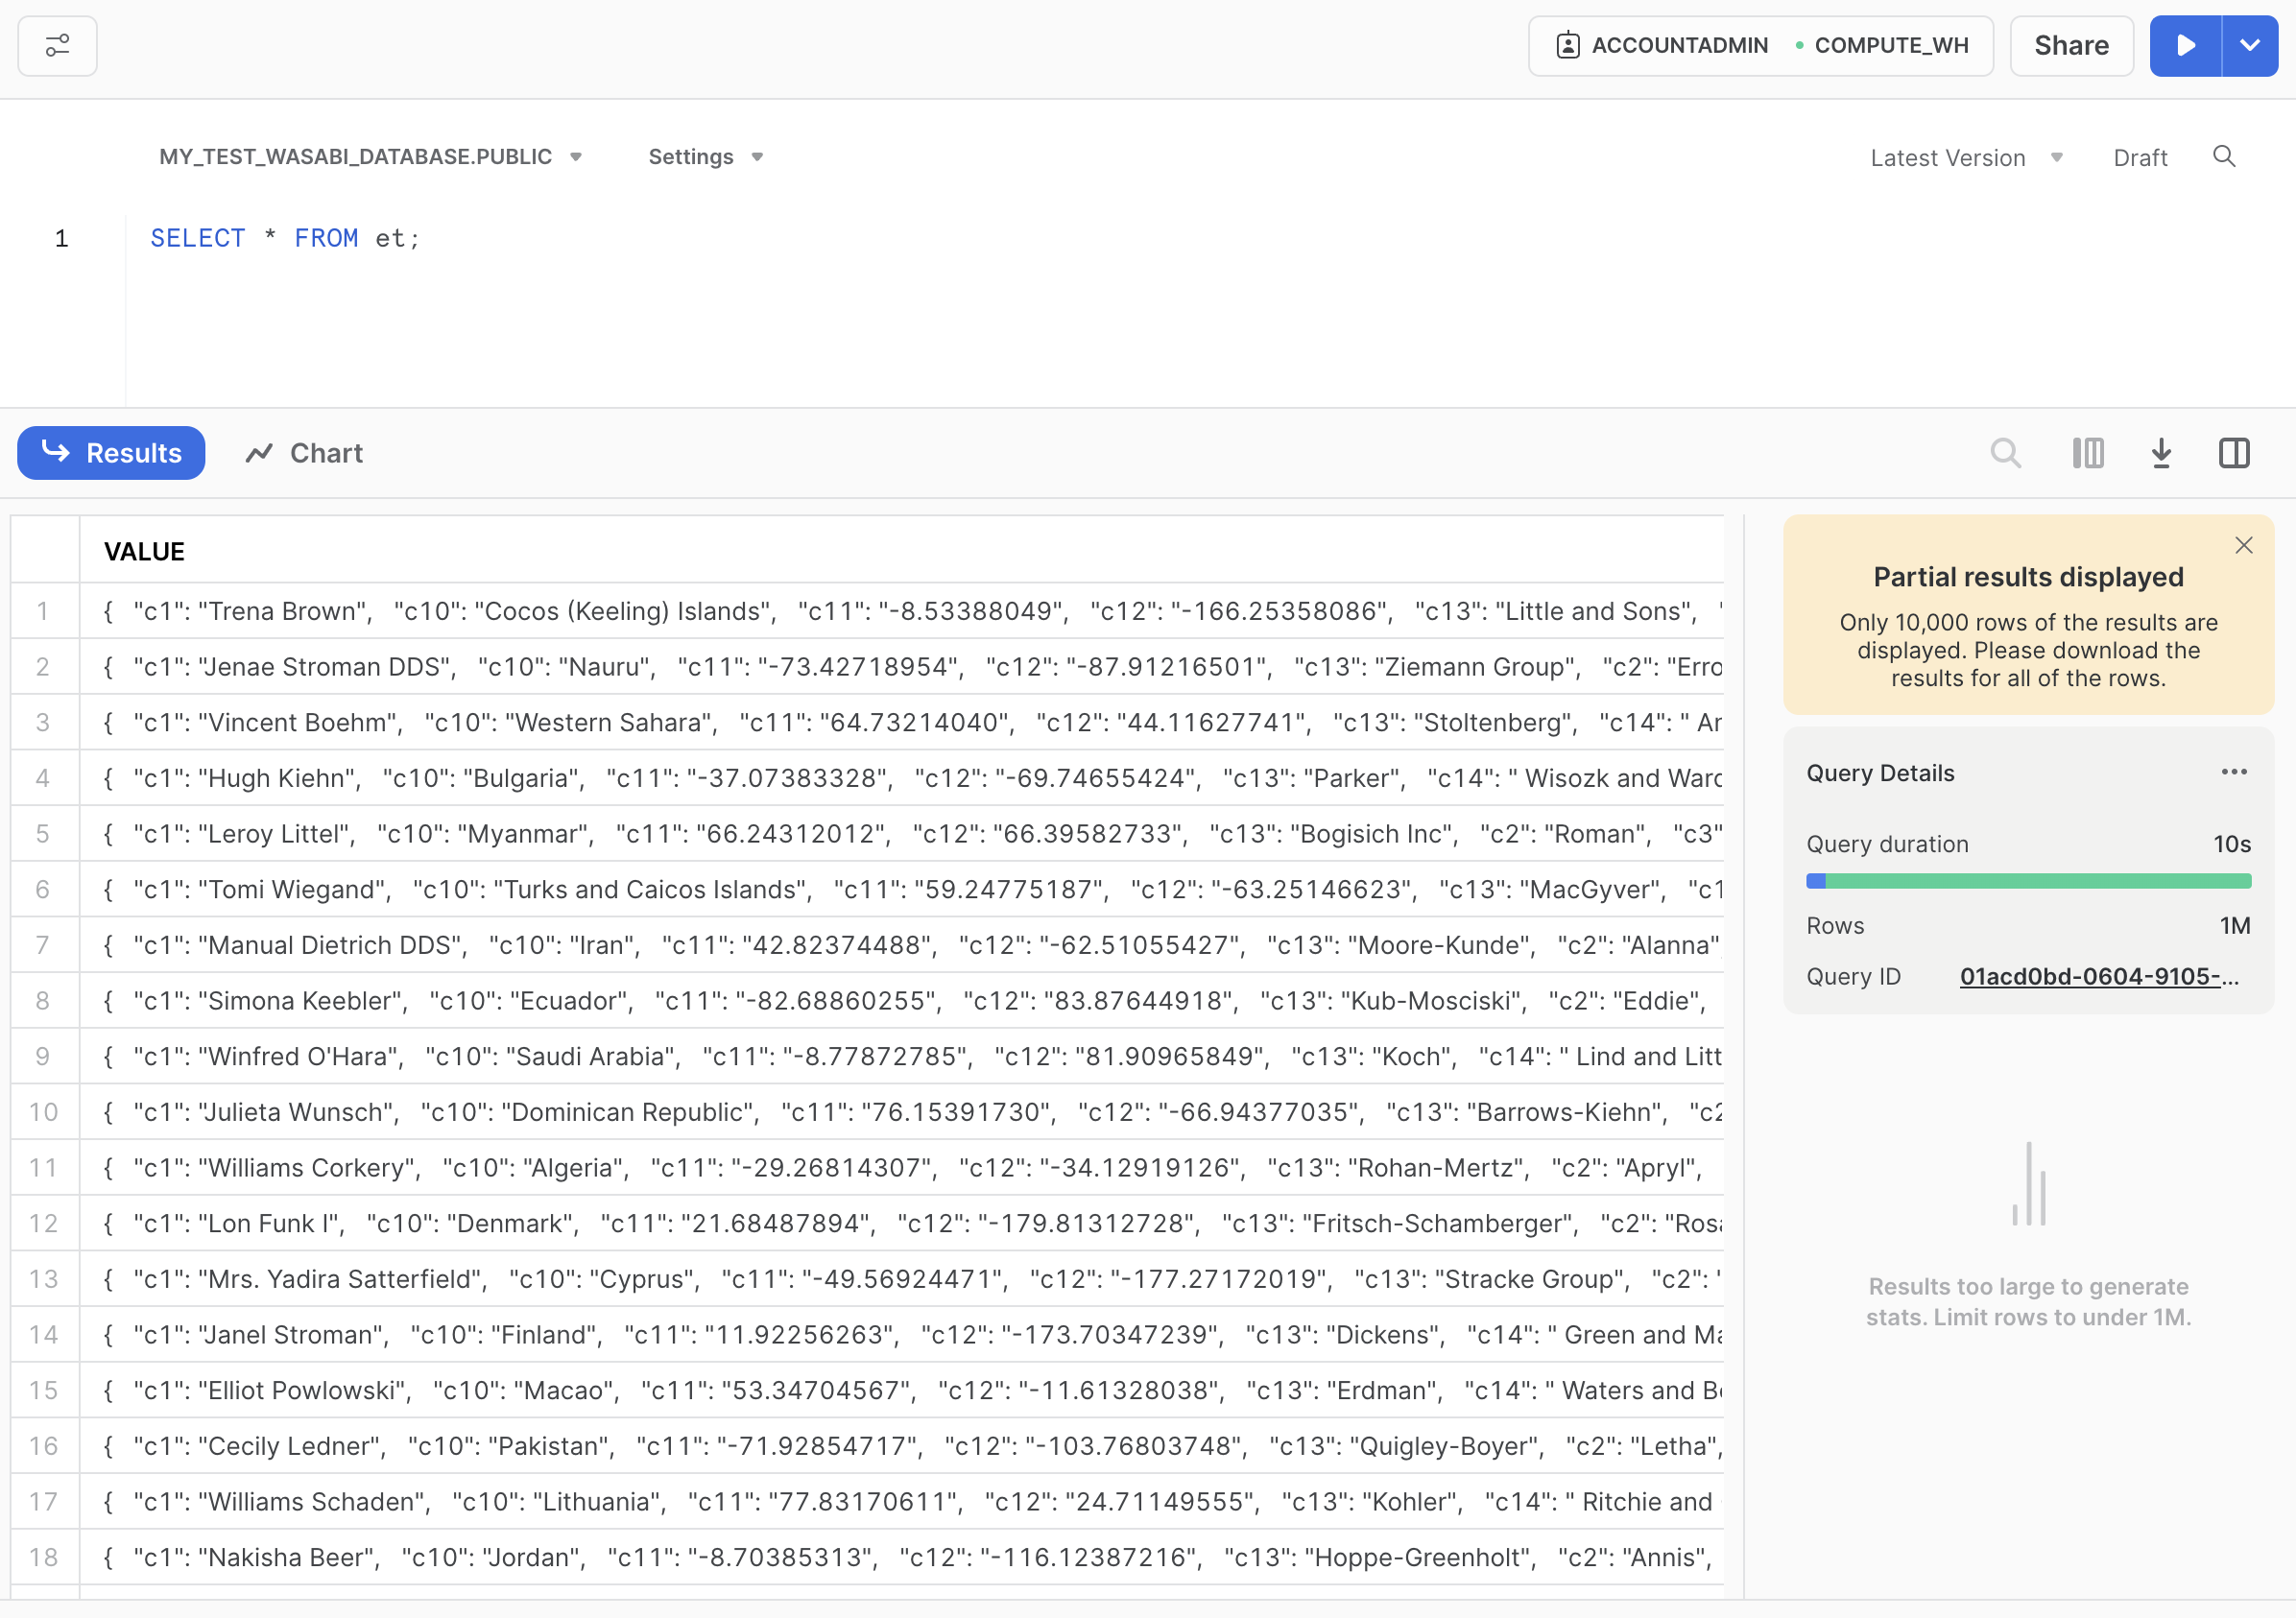
Success
You have created a Snowflake External Table that references data stored on Wasabi.