Wasabi is now validated for use with Congruity360’s Storfirst360 which can help migrate your legacy storage data to the cloud, by following the simple steps explained below.
Requirements
Creation of buckets on Wasabi cloud storage. If you need help with that please click here.
Storfirst360 installed, a filesystem created, a cache created in this filesystem and a volume for adding the Wasabi storage policy to. If you need assistance, please reach out to Congruity360 at https://www.congruity360.com/.
Below are the Steps in more detail.
Step 1 - Platform Discovery
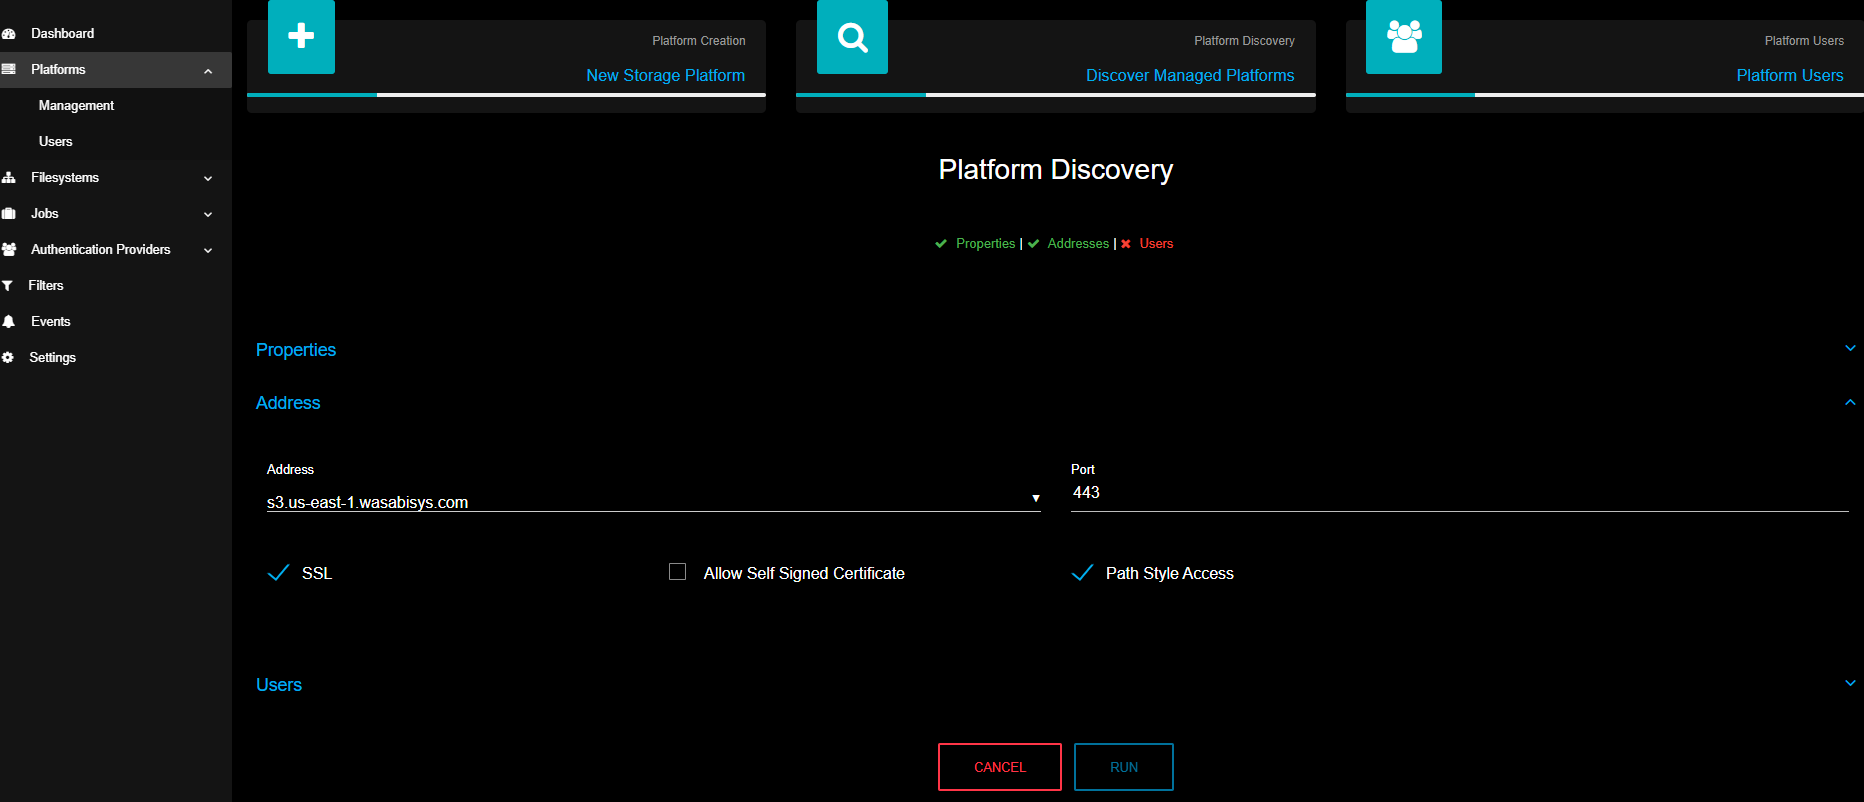
Log in to the StorFirst360 portal. Click Platforms, then Discover Managed Platforms.

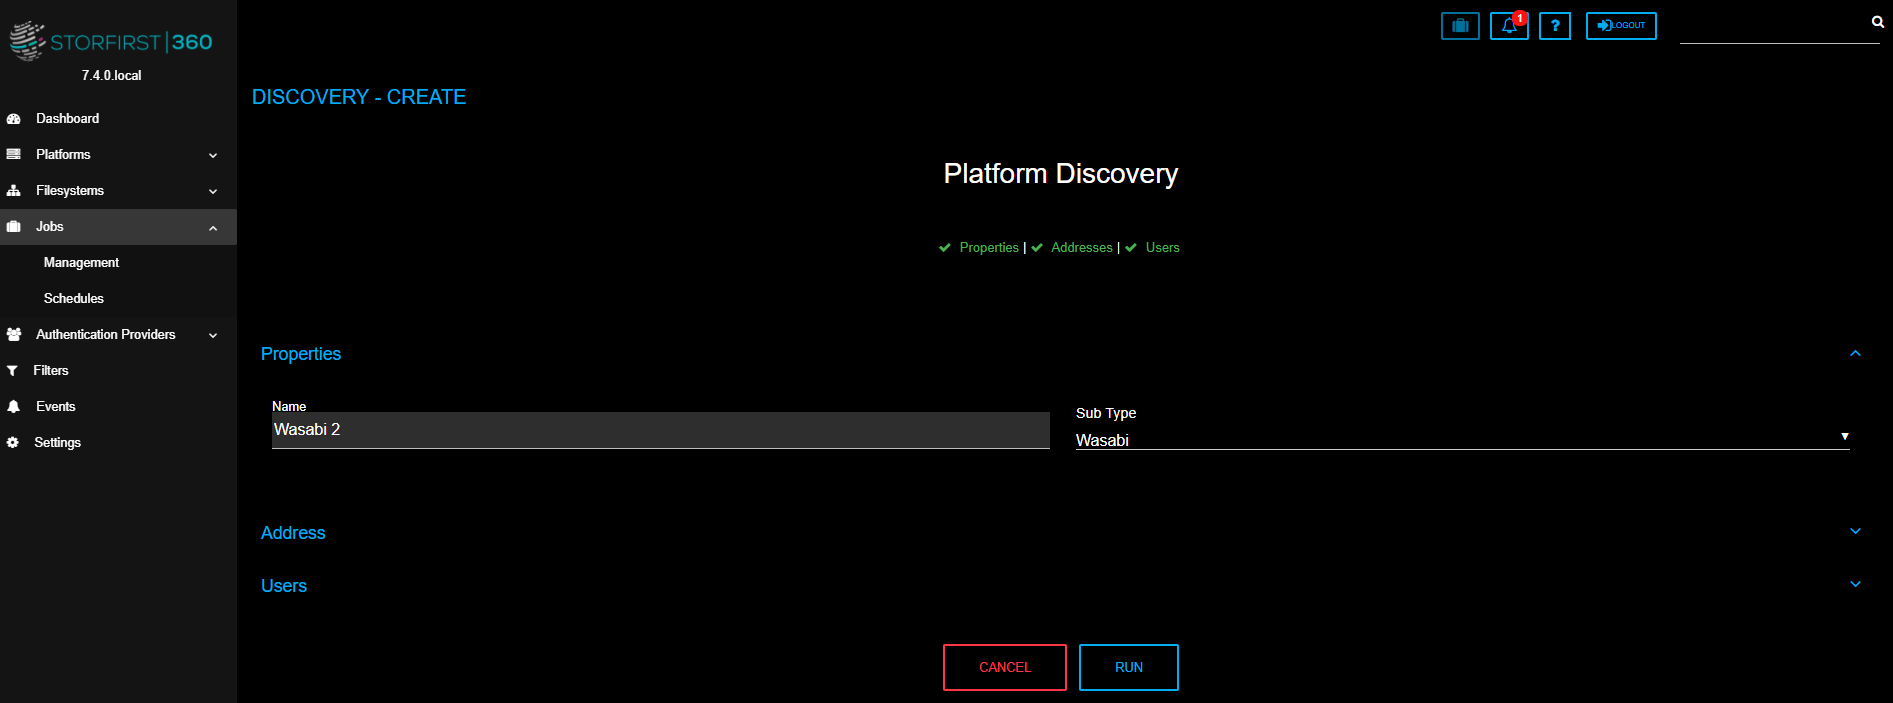
Click Properties. Enter an appropriate Name (see example Wasabi below). Select Sub Type as Wasabi.
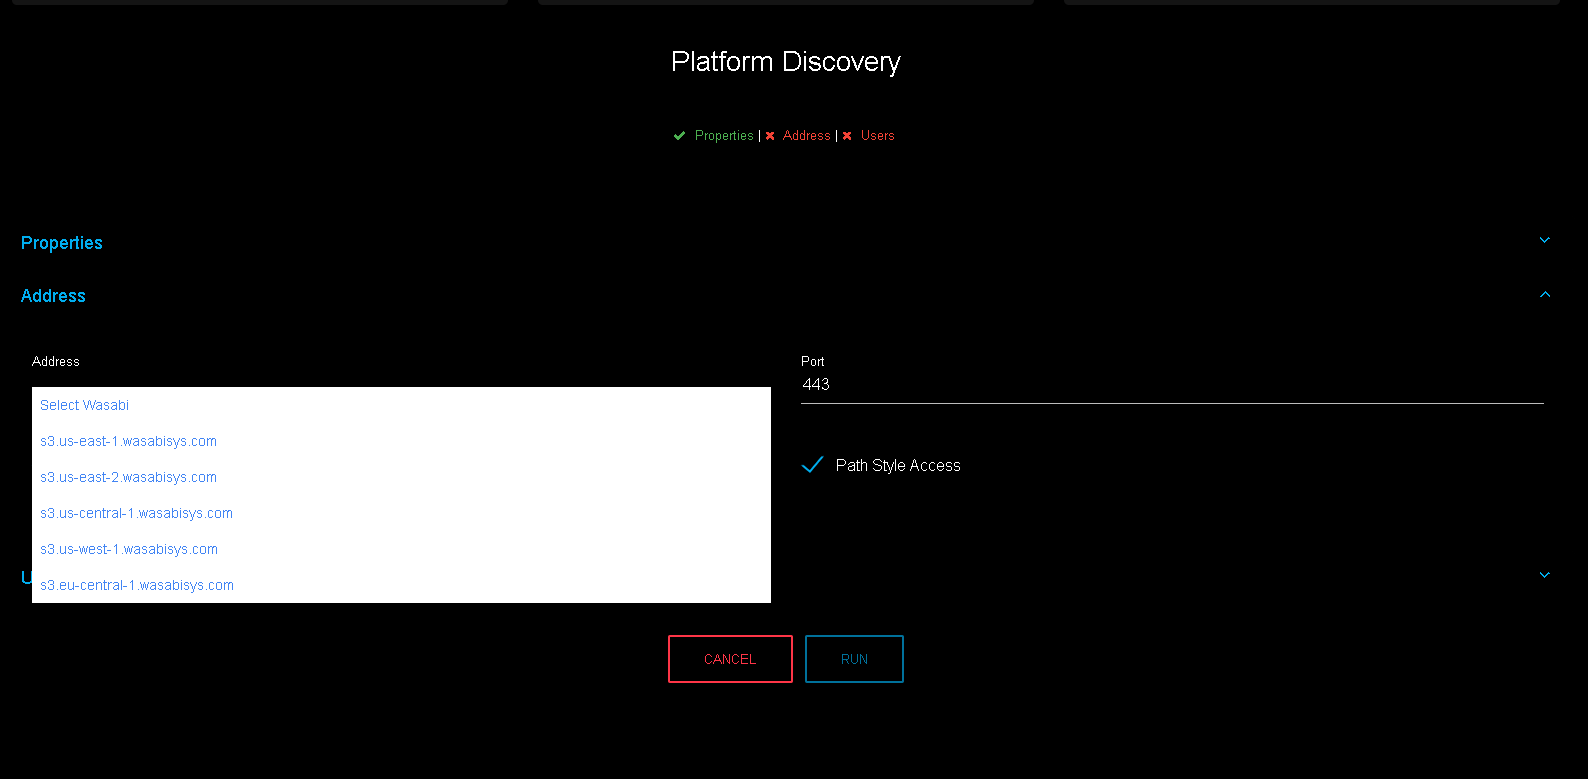
Click Address. Select the URL matching ththat matches the bucket region to use (Note: If the region is not available, please contact Congruity360 at https://www.congruity360.com/).e region of the bucket to use (Note: If the region is not available, please contact Congruity360 at https://www.congruity360.com/.)
Click Users. Enter Access Key, Secret Key, and Description. Click Run.
.png)
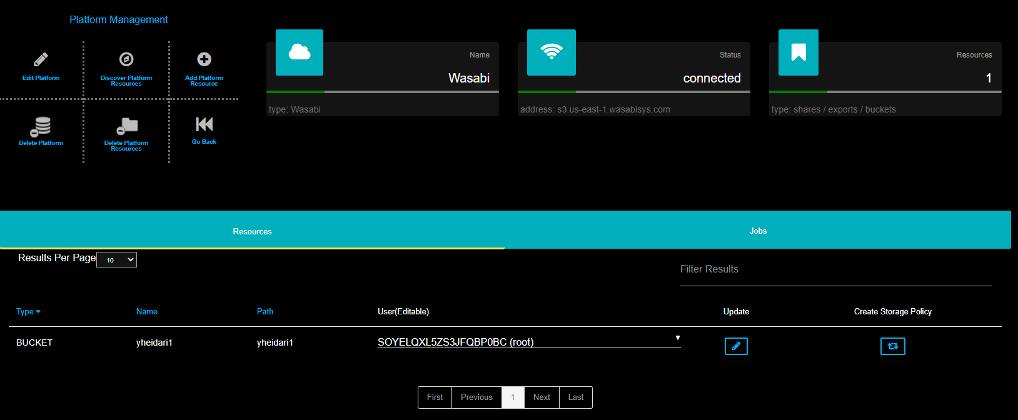
You should be able to see the Wasabi platform in the list under Platform Management.
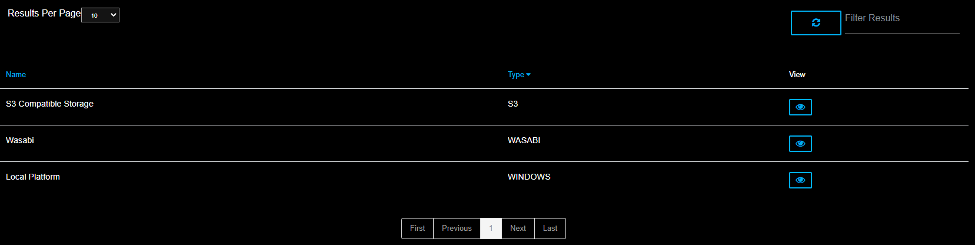
Click the View button (shown above) to view the list of your buckets. Check the status to see if the connection is up or down, and the number of Resources (buckets).
Step 2 - Create a Policy to transfer files to Wasabi
At this stage, we have successfully made a connection to your Wasabi account from the Storfirst360. However, we need to create a policy to tell Storfirst360 to transfer your files from the mounted Volume to Wasabi.
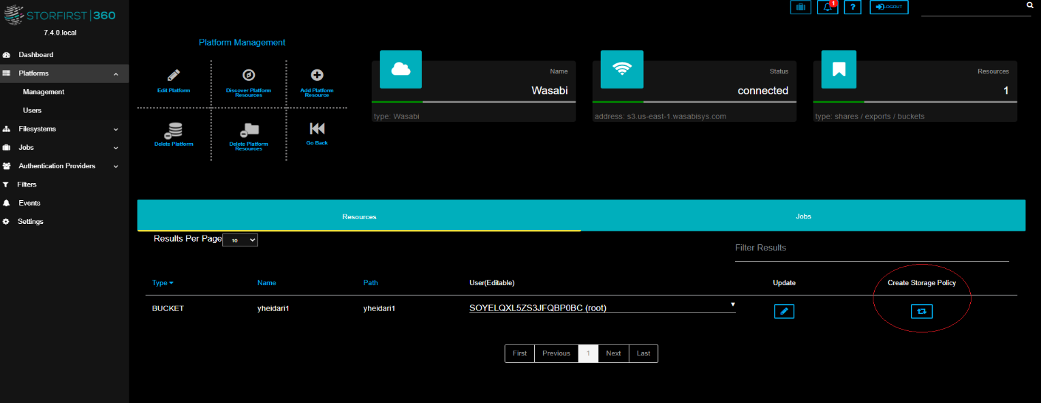
There are two ways to create the storage policy.
The first way is to create it by simply clicking on the Create Storage Policy button available on the Platform view screen. (Note: This button sets default values for some Storage Policy fields)
The second way to create a Storage Policy is as follows.
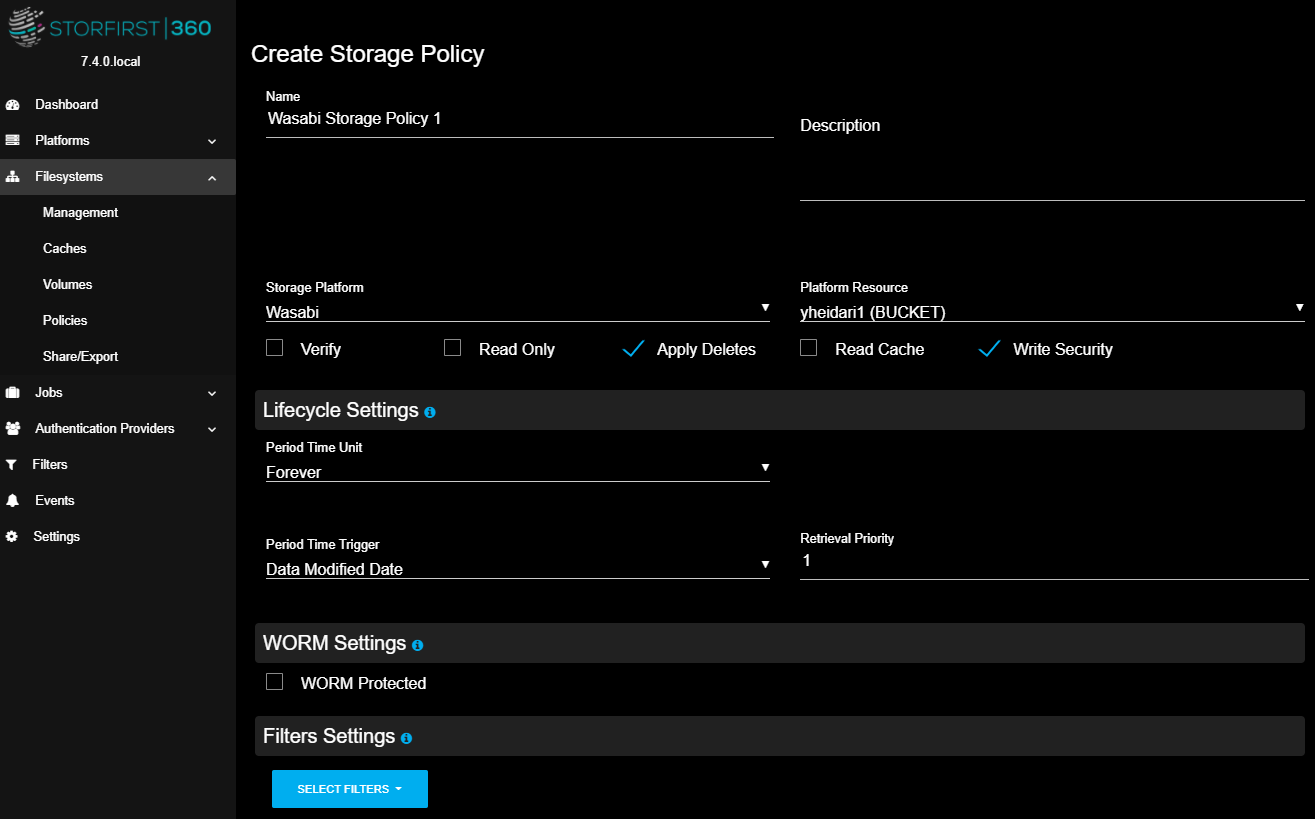
Click Filesystems. Create a Storage Policy by clicking Storage Policy icon.
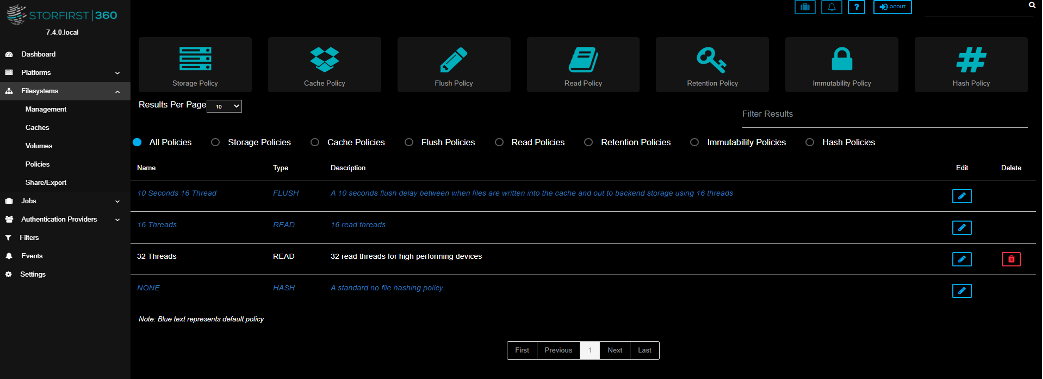
Enter a Name and Description (Optional). Select the Storage Platform just created and the appropriate Platform Resource (bucket). Click Create.
Step 3 - Apply Policy
Apply the policy to the Volume. Click Filesystems, then Volumes. Click Edit.
Click Storage Policy. Select Storage Policy.

Step 4 - Test and validation
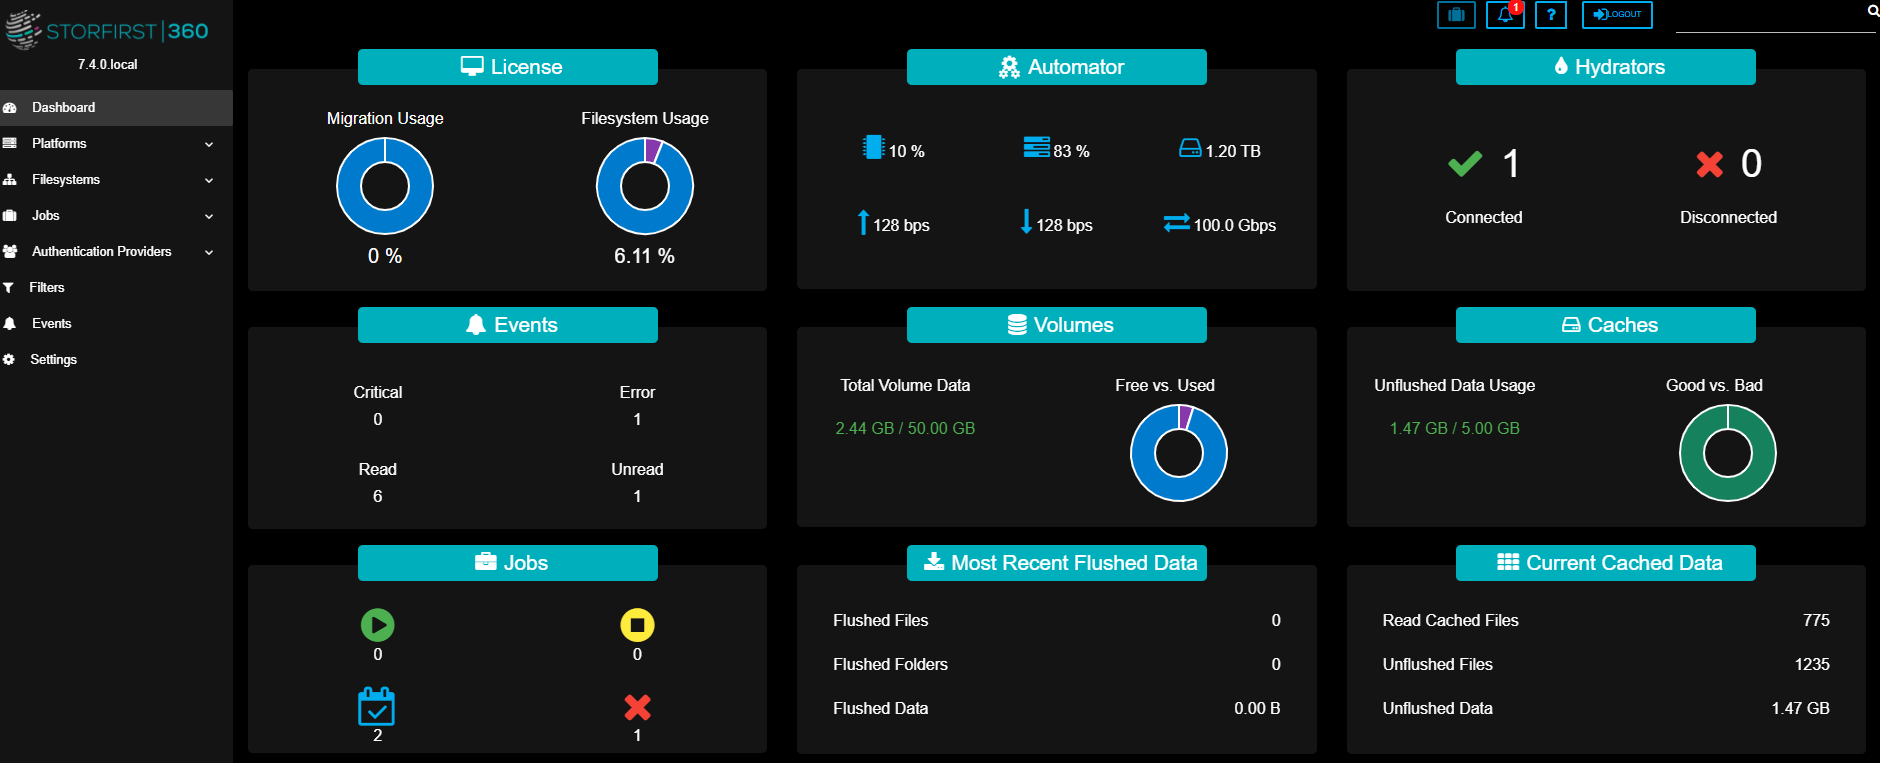
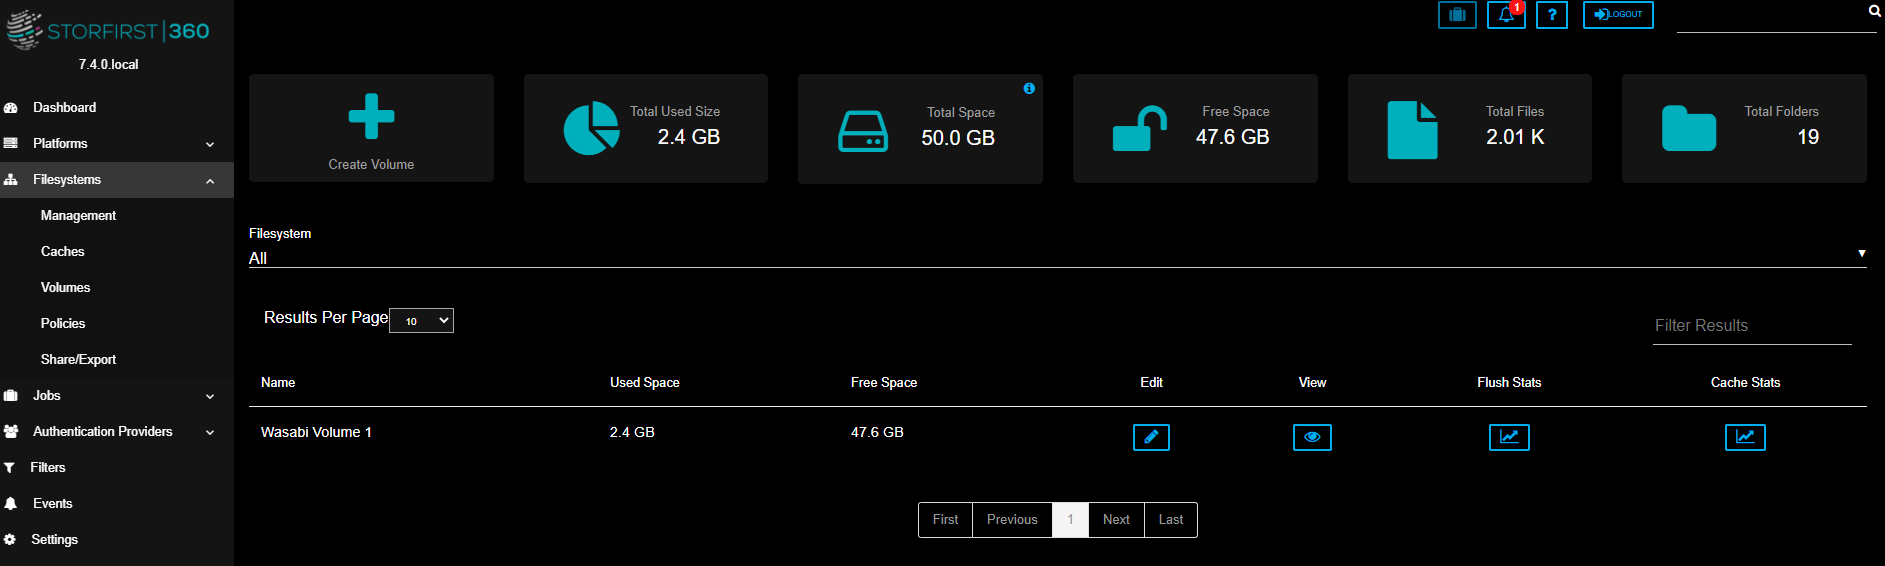
At this stage, your Storfirst360 is configured to transfer files from the mounted Volume over to your Wasabi bucket. You can test the configuration by uploading a new file to the Storfirst360 drive and confirming whether the file is transferred to your Wasabi bucket via the console or any S3 client you typically use. You can also check the Storfirst360 Dashboard to see if the data is about to be flushed. See the Caches widget below.