Tintri IntelliFlash has been validated for use with Wasabi. For more info on how Wasabi and Tintri work together, please visit this solution page. Follow steps outlined below to configure Wasabi as a cloud storage target.
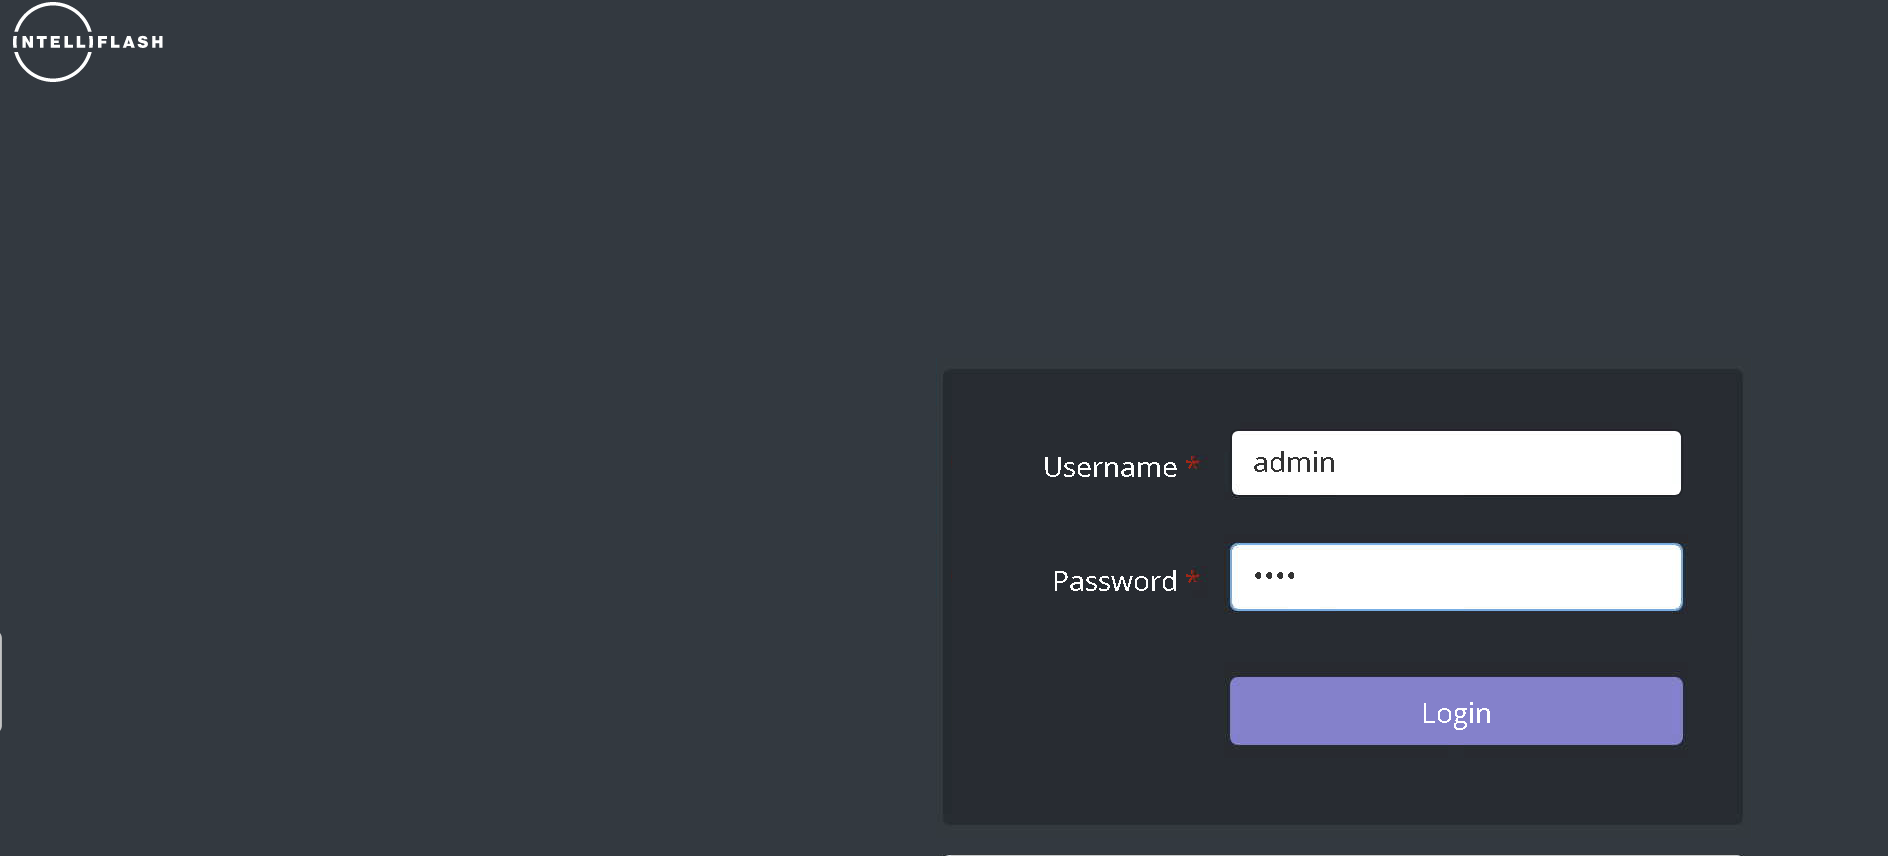
Login to IntellifFlash portal.
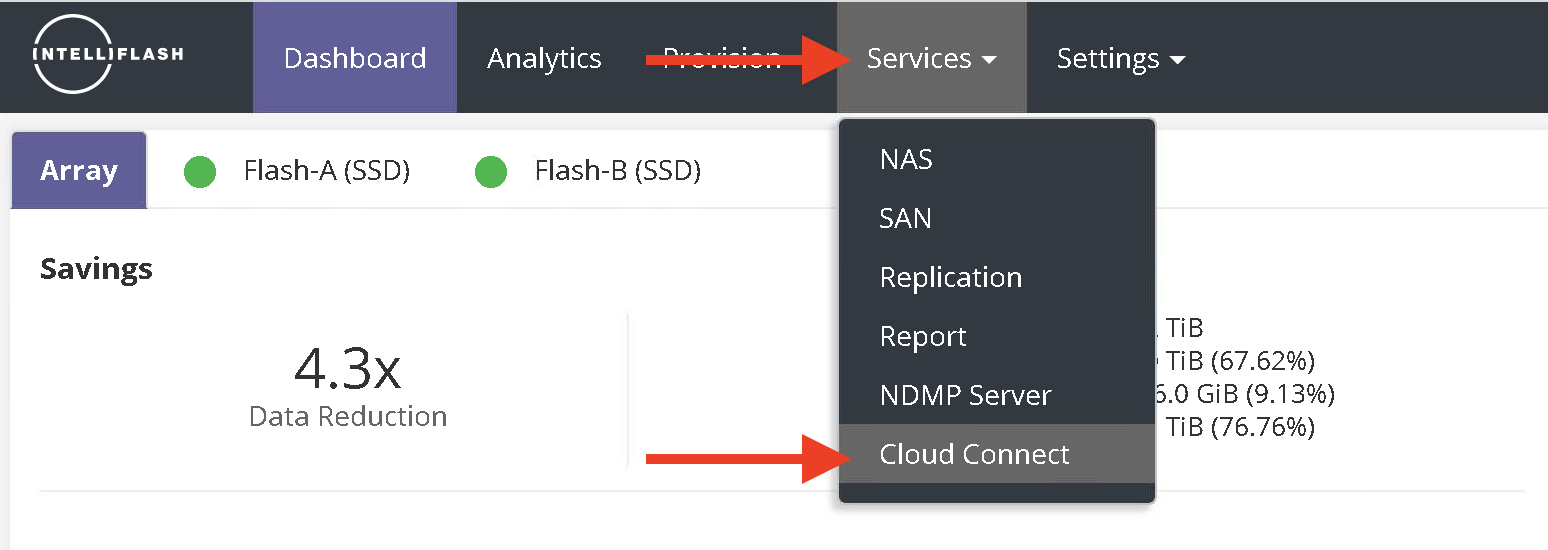
Navigate to Services and click Cloud Connect.
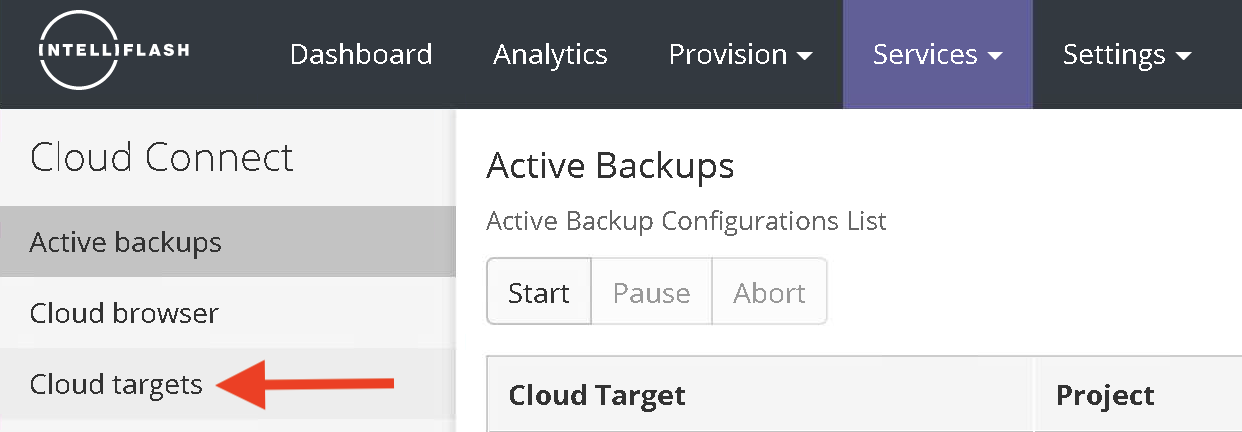
Click Cloud Targets.
Click Add.

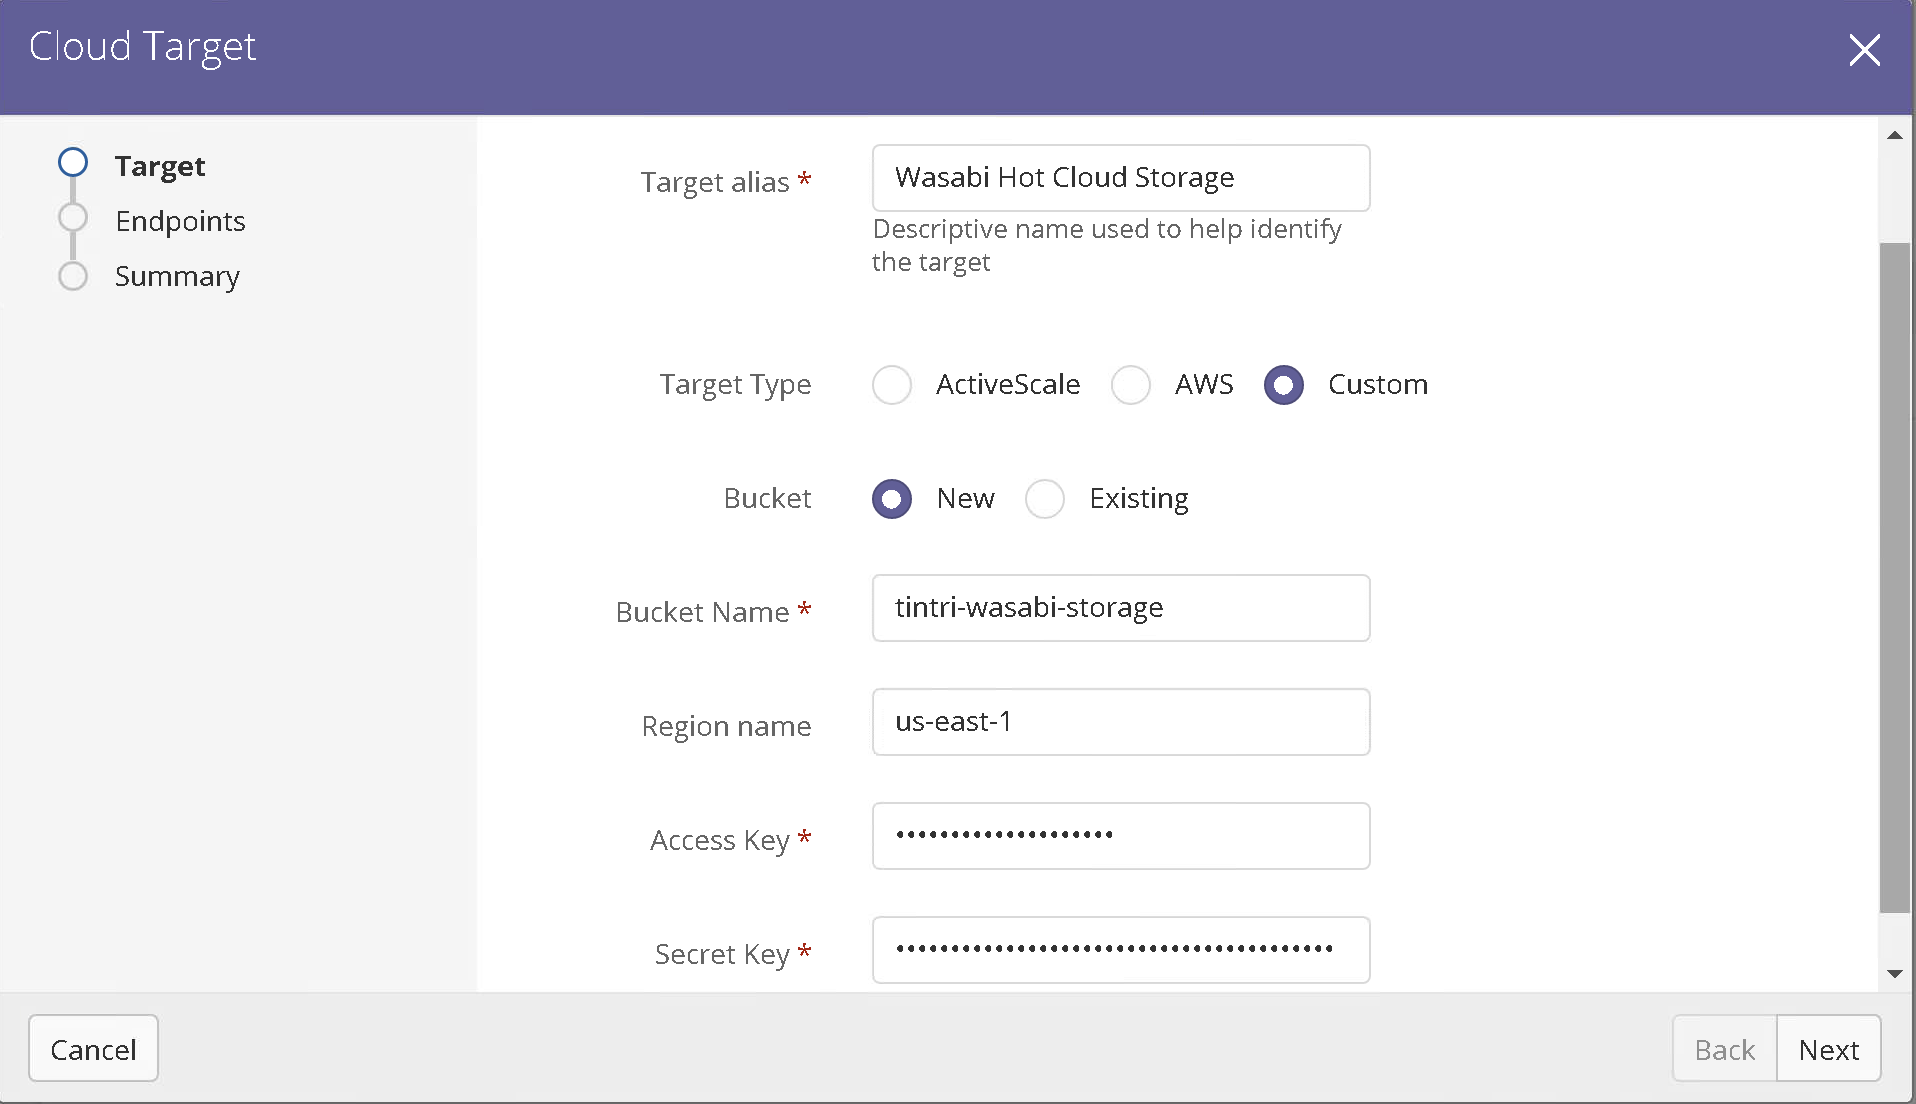
Provide the following and click Next.
Target alias
Target type - Custom
Bucket - New or Existing
Bucket Name
Region Name
Access Key
Secret Key
Add s3.wasabisys.com as Primary endpoint, click Add, then click Next.
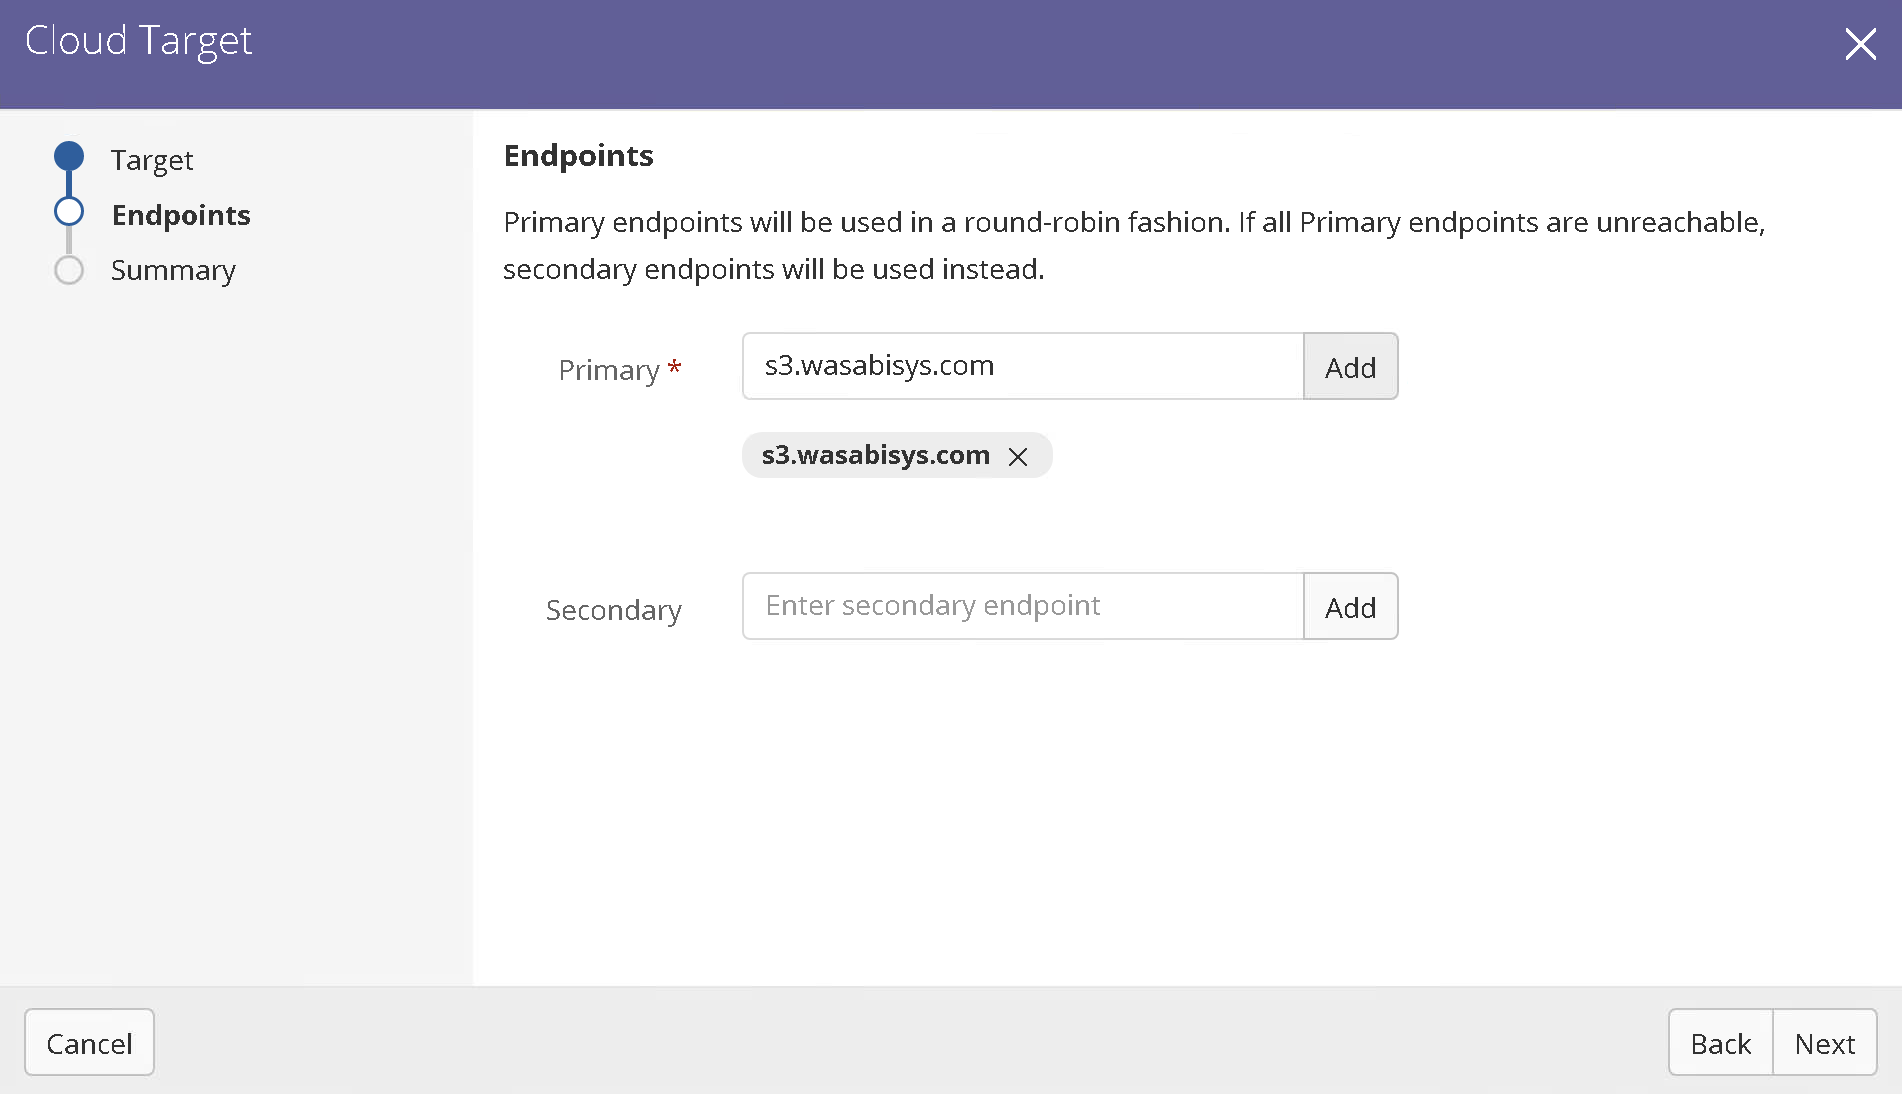
Note: that this config example discusses the use of Wasabi's us-east-1 storage region. To use other Wasabi storage regions, please use the appropriate Wasabi service URL as described in this article.
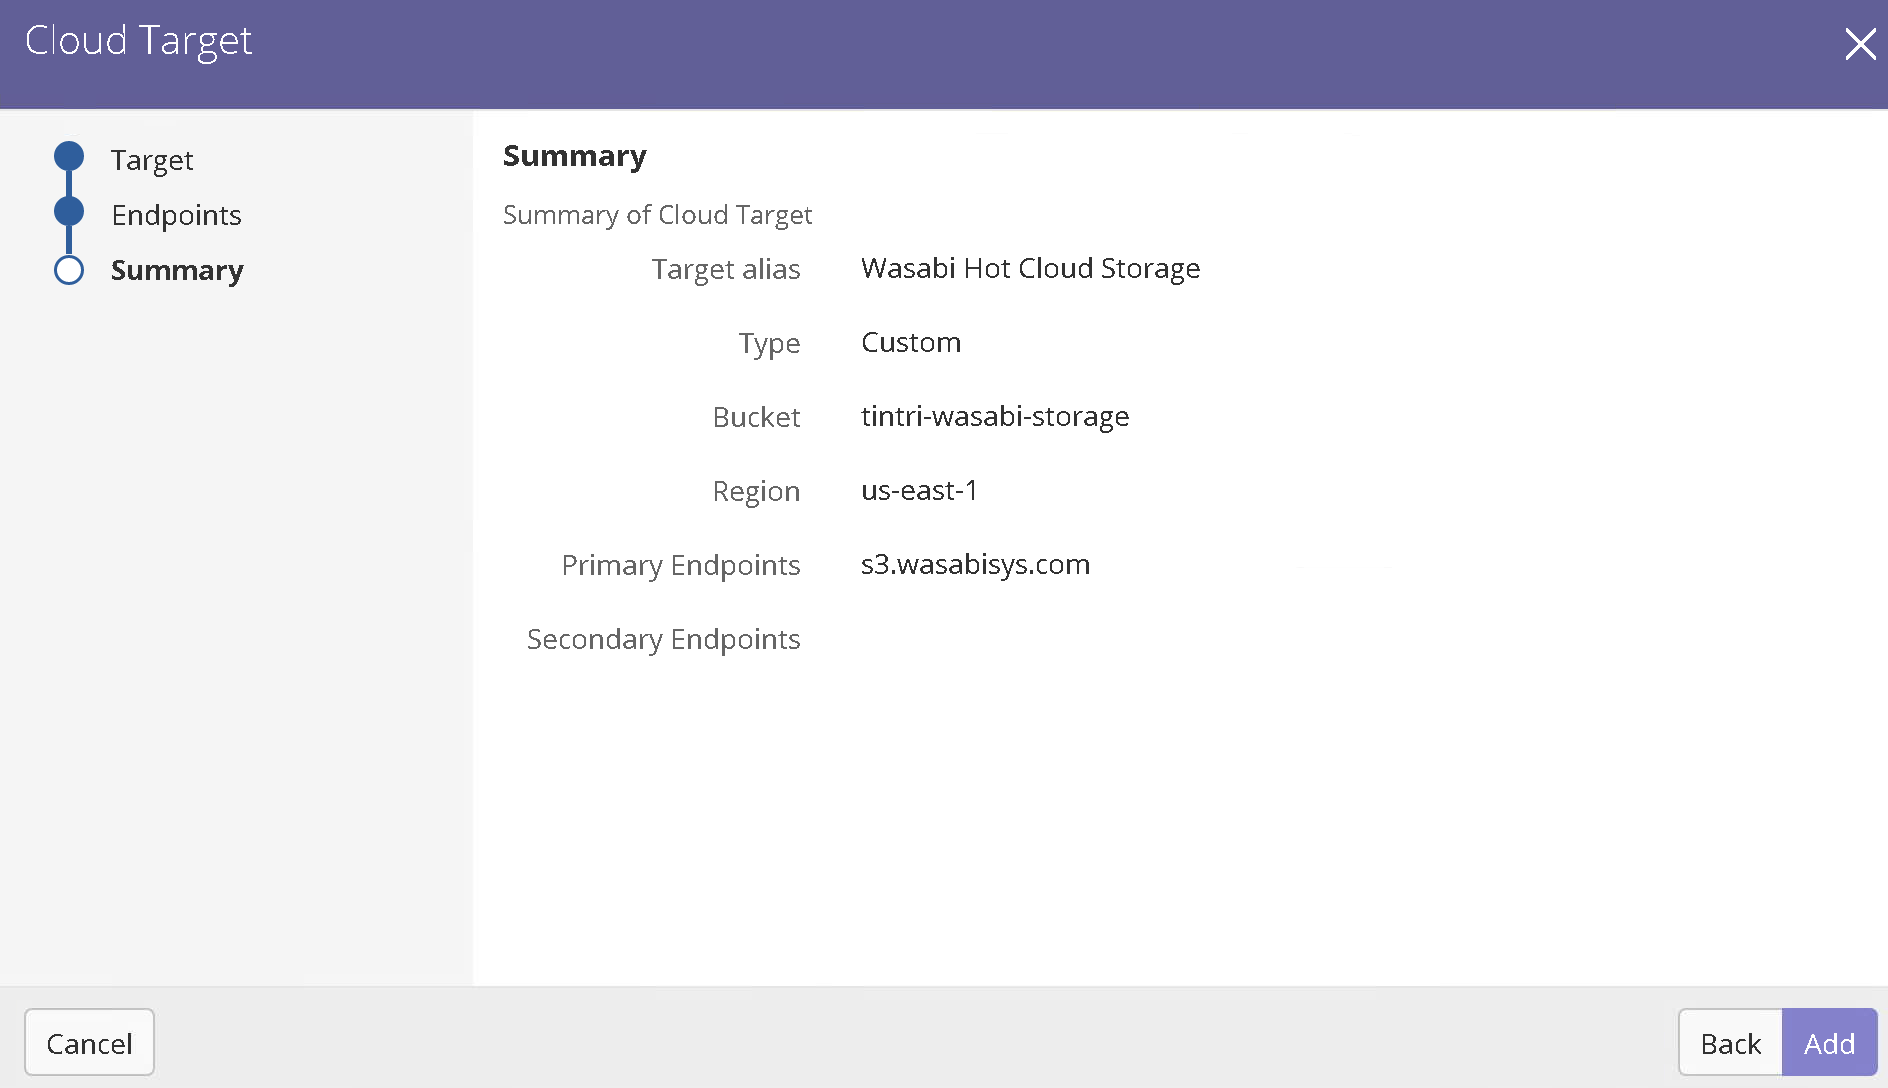
Review summary and click Add.
Wasabi Hot Cloud Storage will show up as a cloud target.
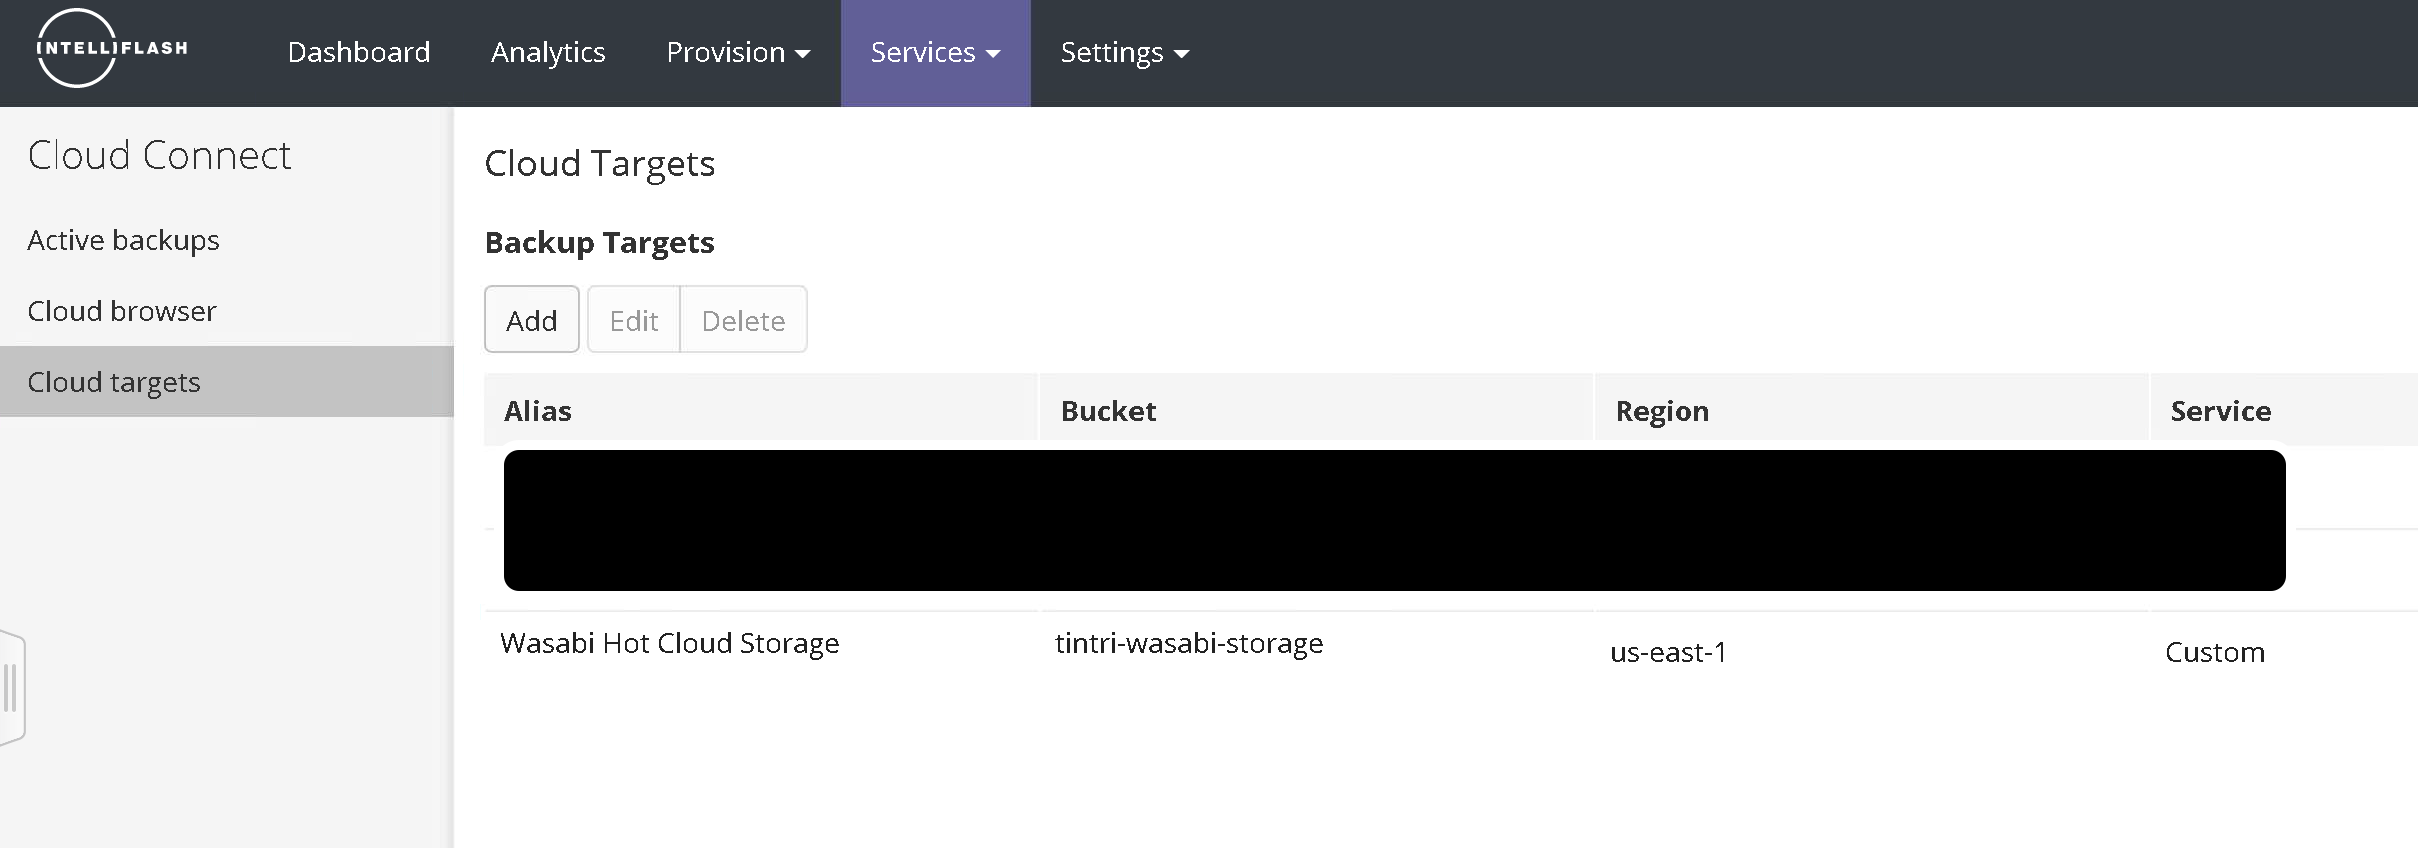
At this point the Wasabi storage account has been added as a Cloud Target. The steps 9 - 15 provides information on allocating Wasabi Cloud Storage as a backup target for an existing Intelliflash Project.
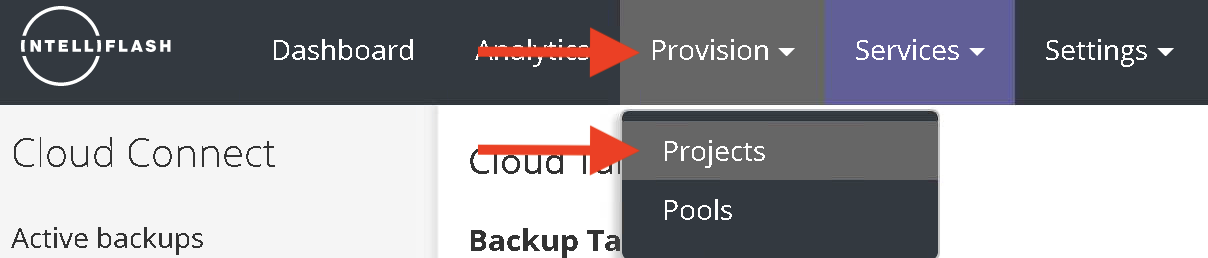
Navigate to Provision, then Projects.
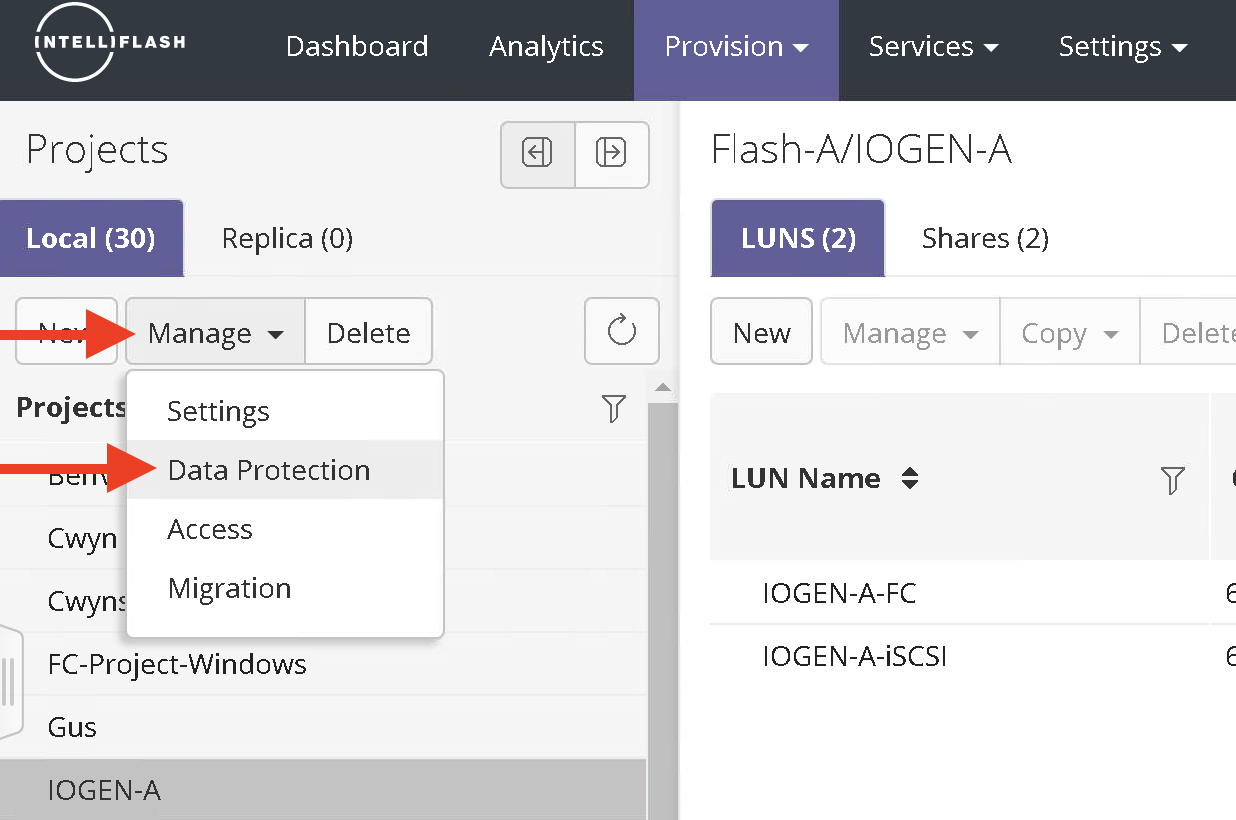
Select your project and click Manage and choose Data Protection.
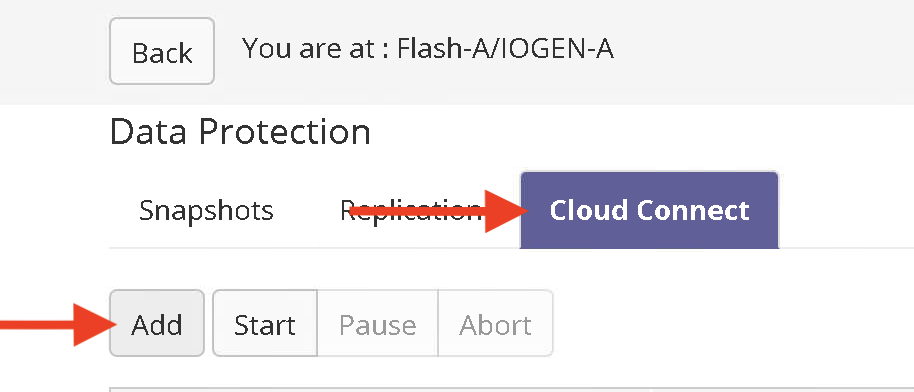
Navigate to Cloud Connect and click Add.
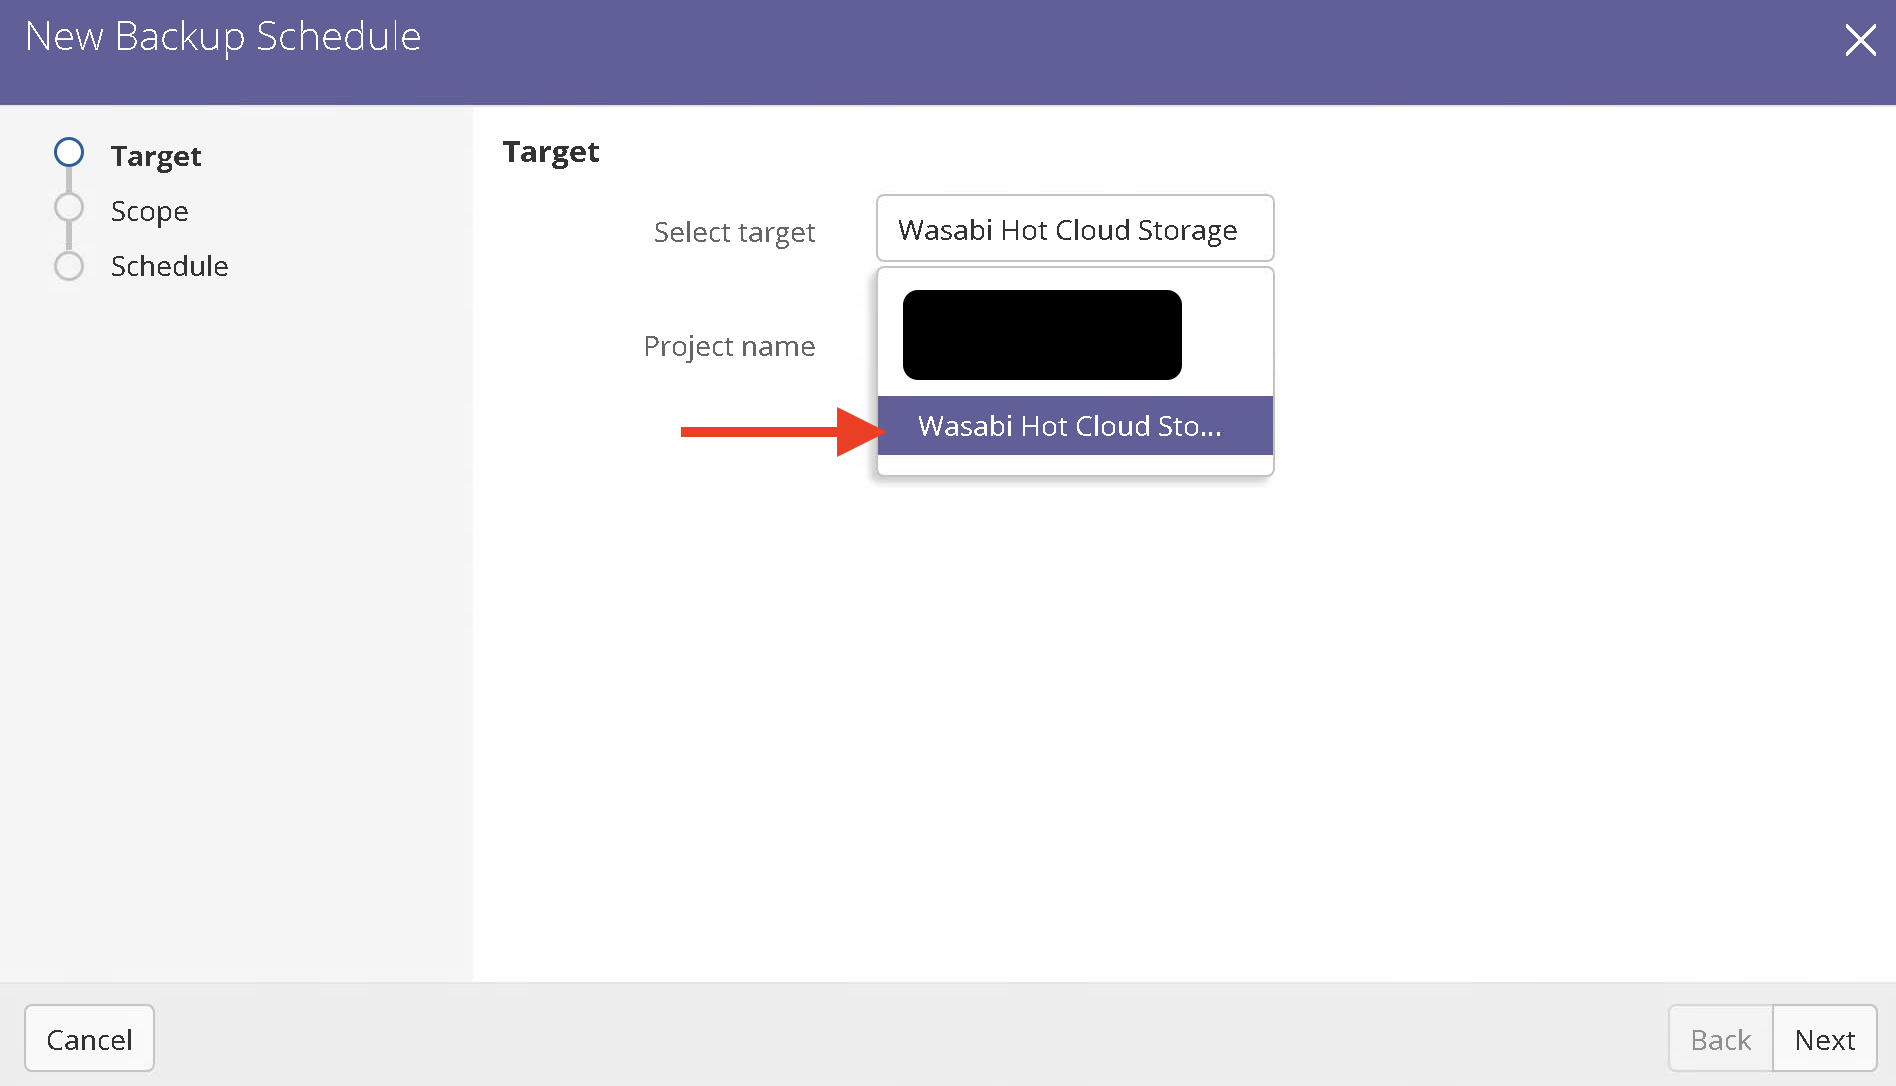
Choose Wasabi Hot Cloud Storage from the drop down list and click Next.
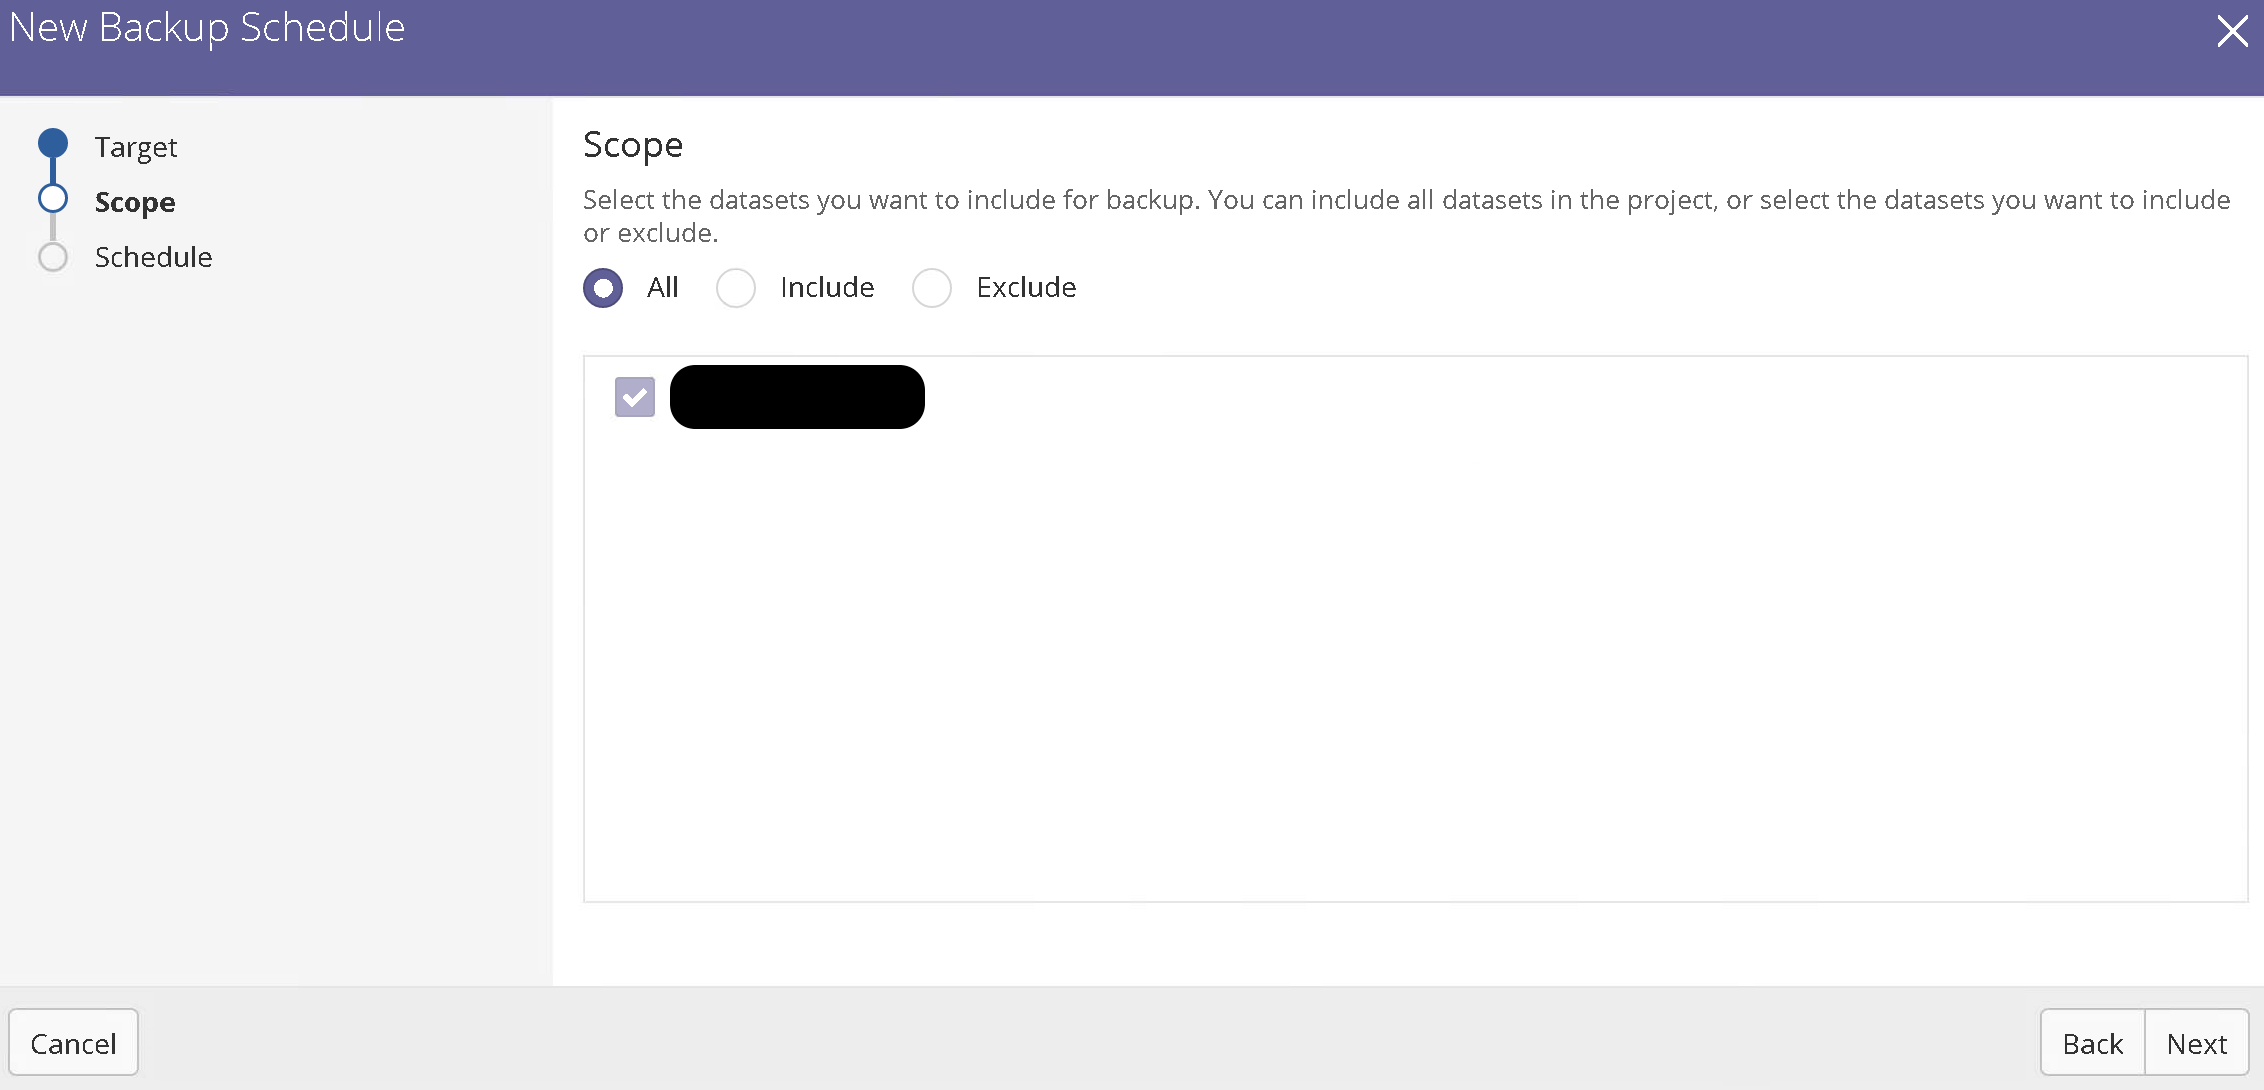
Choose default settings for Scope and click Next.
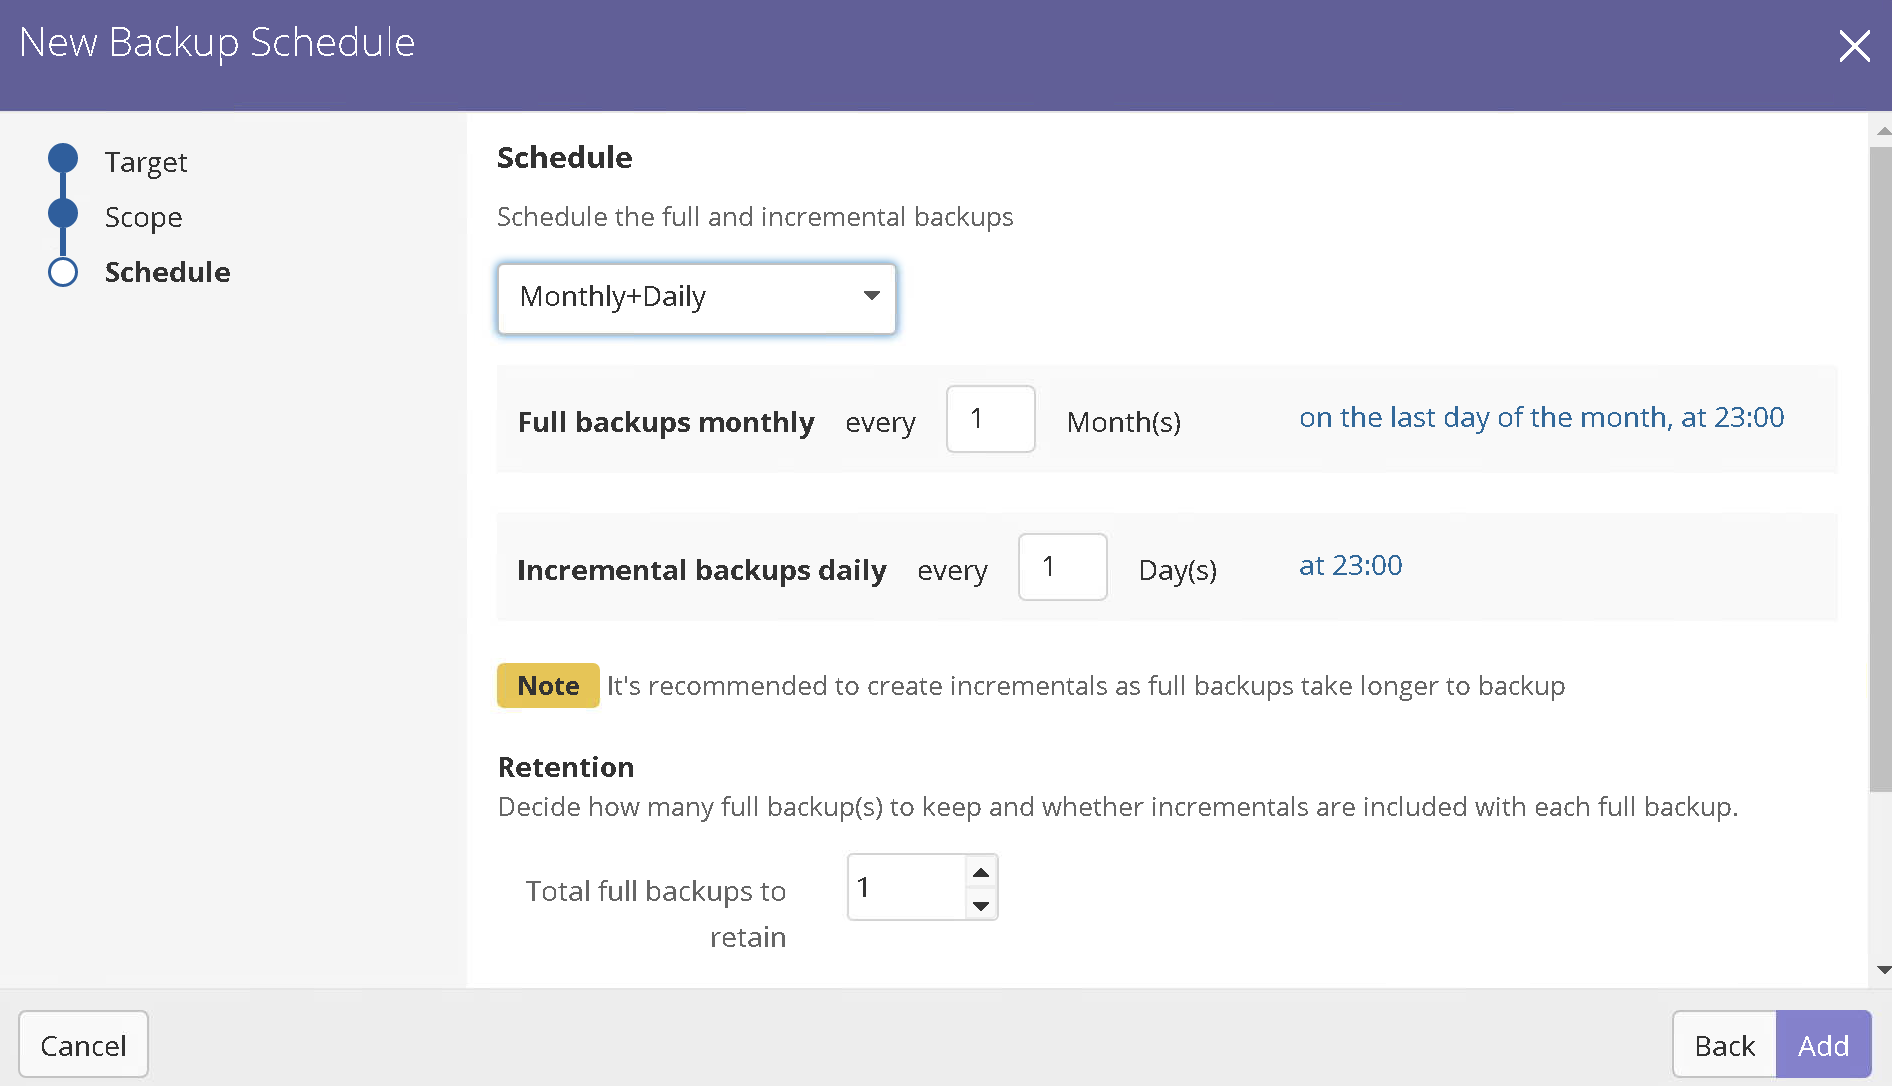
In Schedule page, opt for Monthly + Daily in the schedule page and click Add.
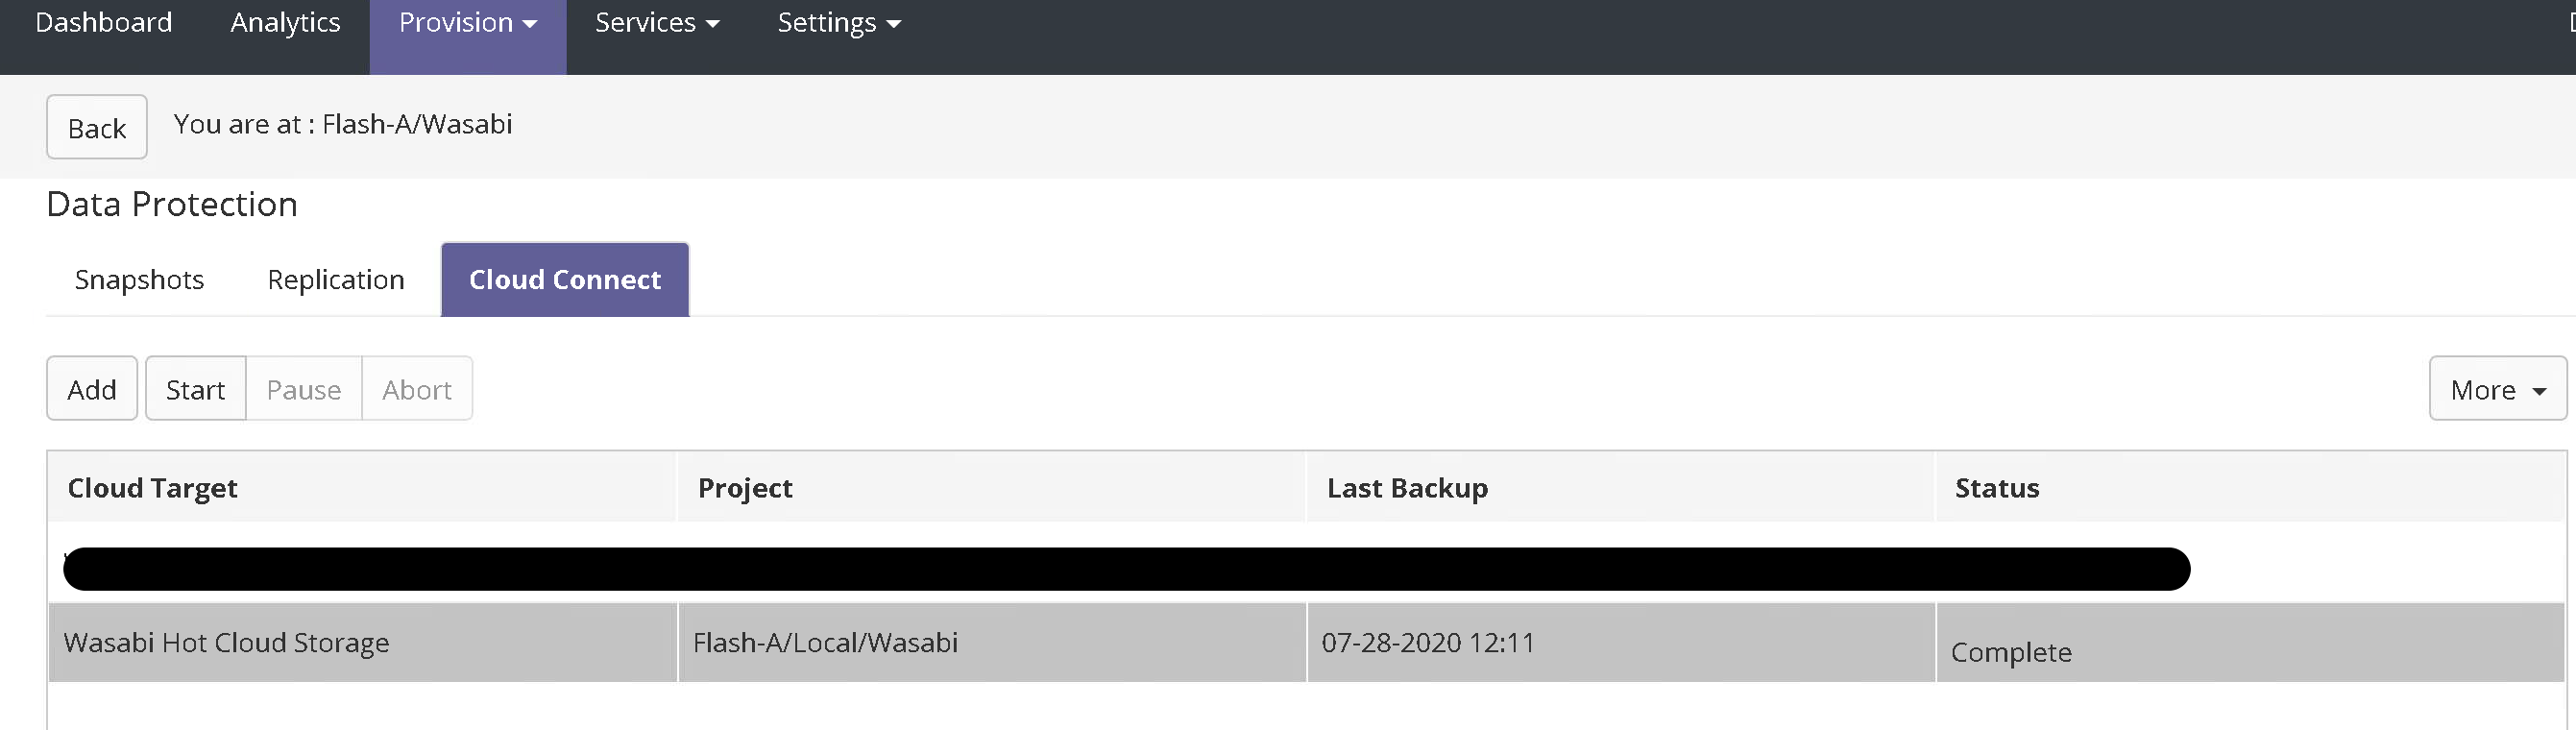
Once the step 14 completes. successfully, Wasabi Hot Cloud Storage will be listed as a Cloud Target.
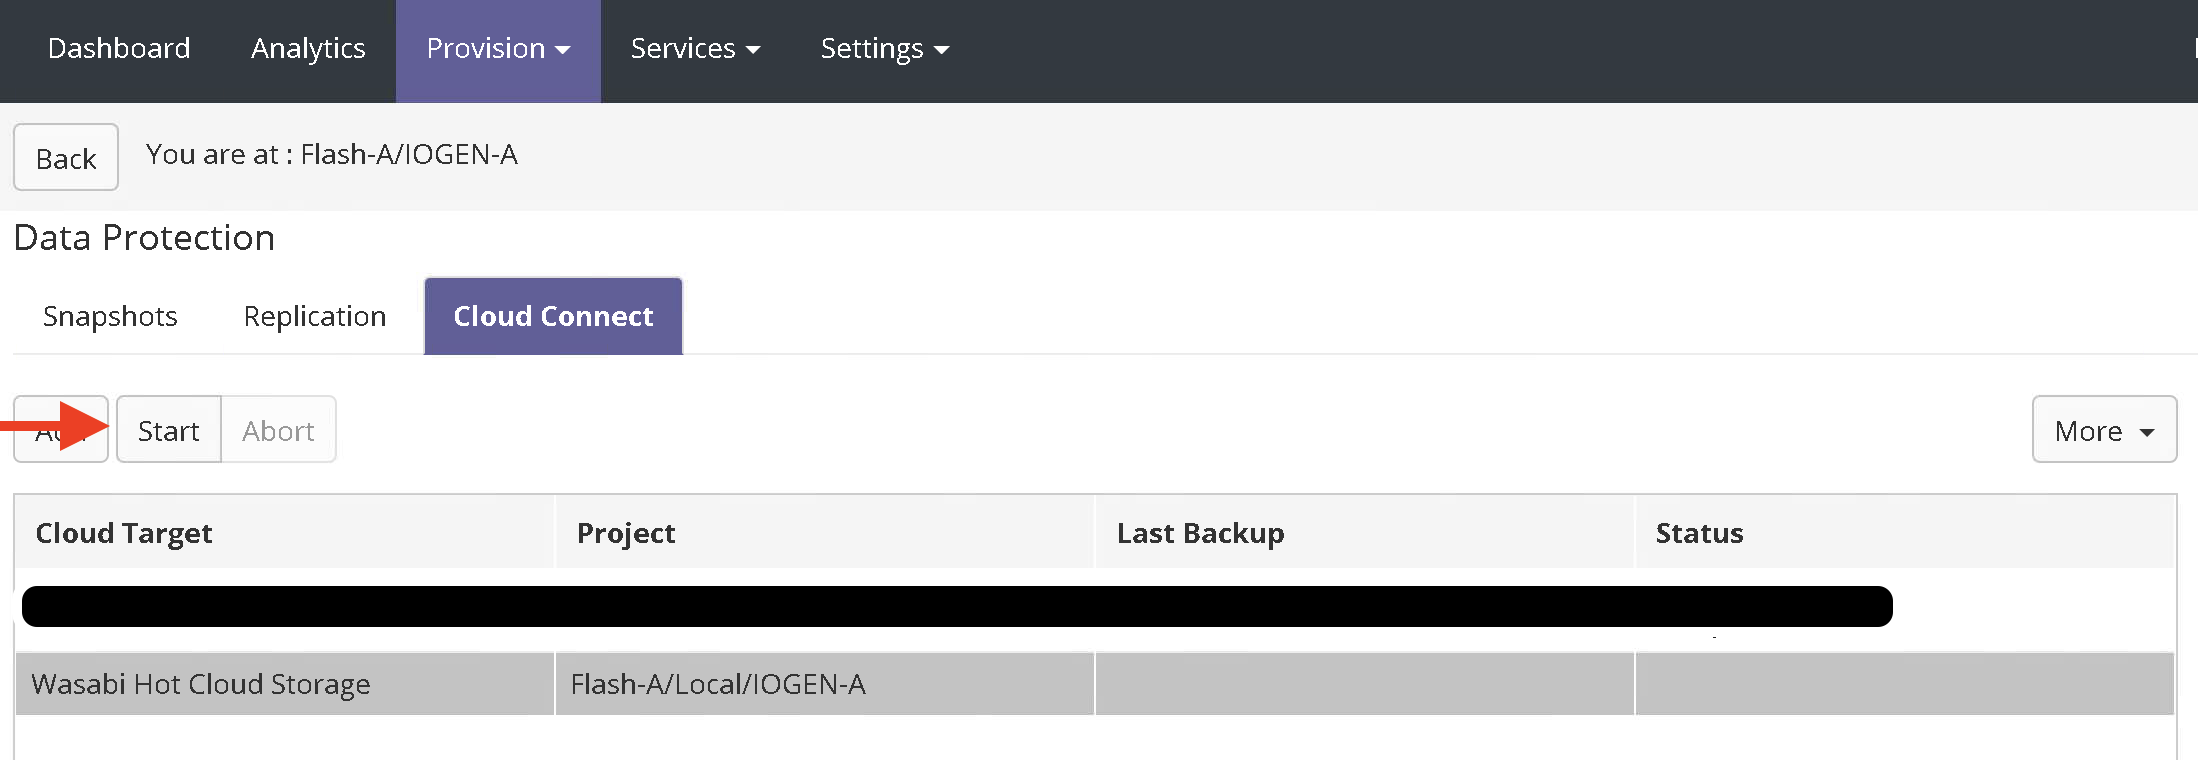
In order to manually invoke a backup job to Wasabi, Click on Wasabi Hot Cloud Storage and click Start.
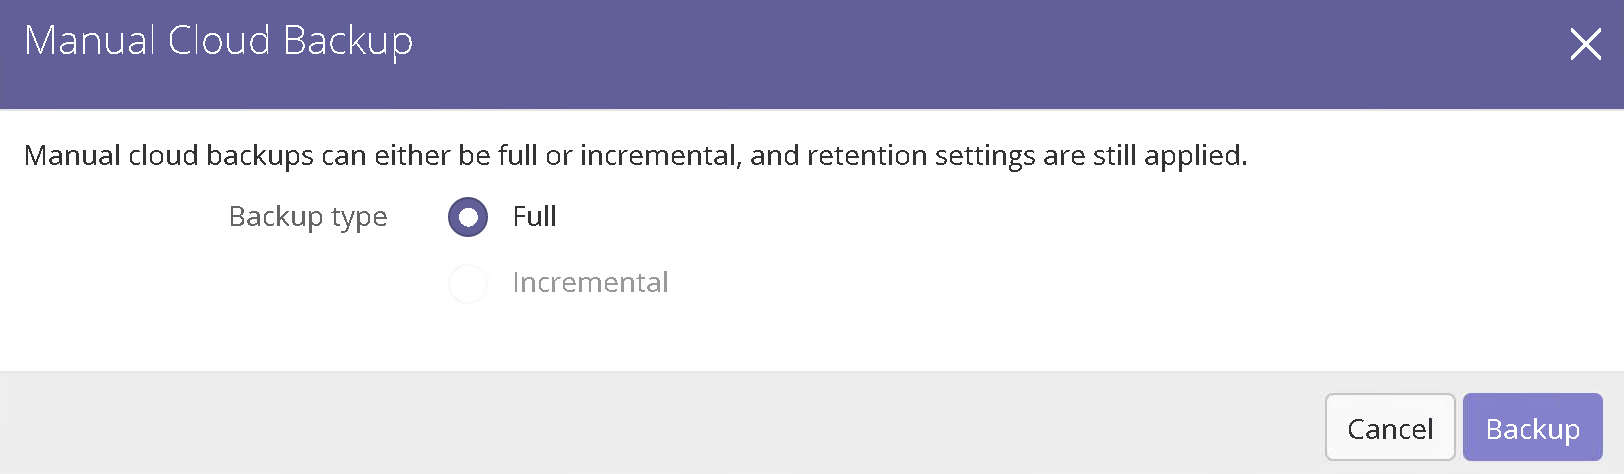
Choose Full and click Backup.
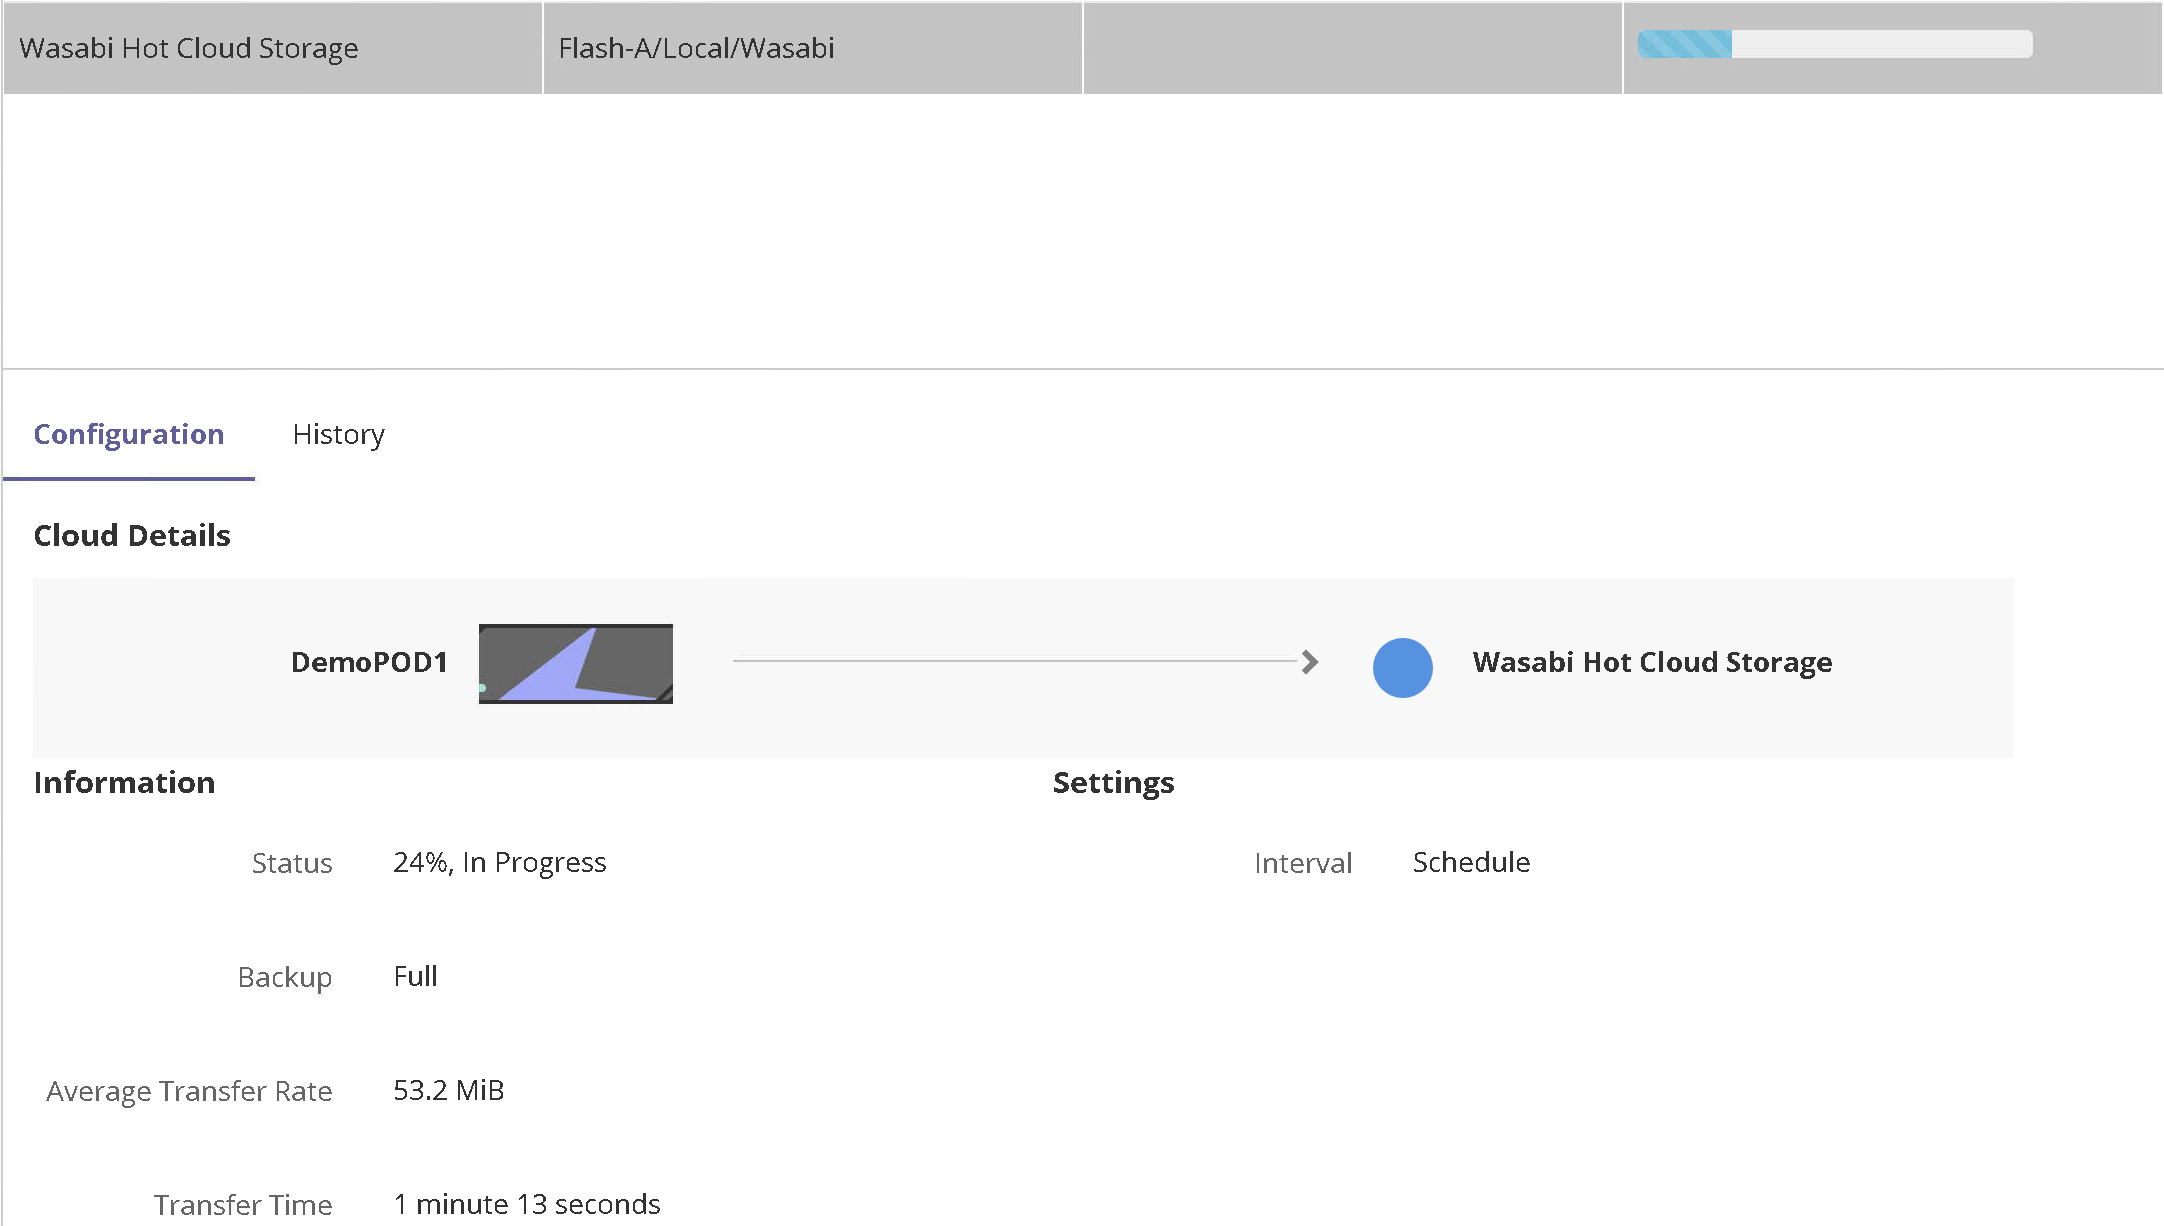
Backup job starts immediately after, additional details can be reviewed by clicking on Wasabi Hot Cloud Storage.
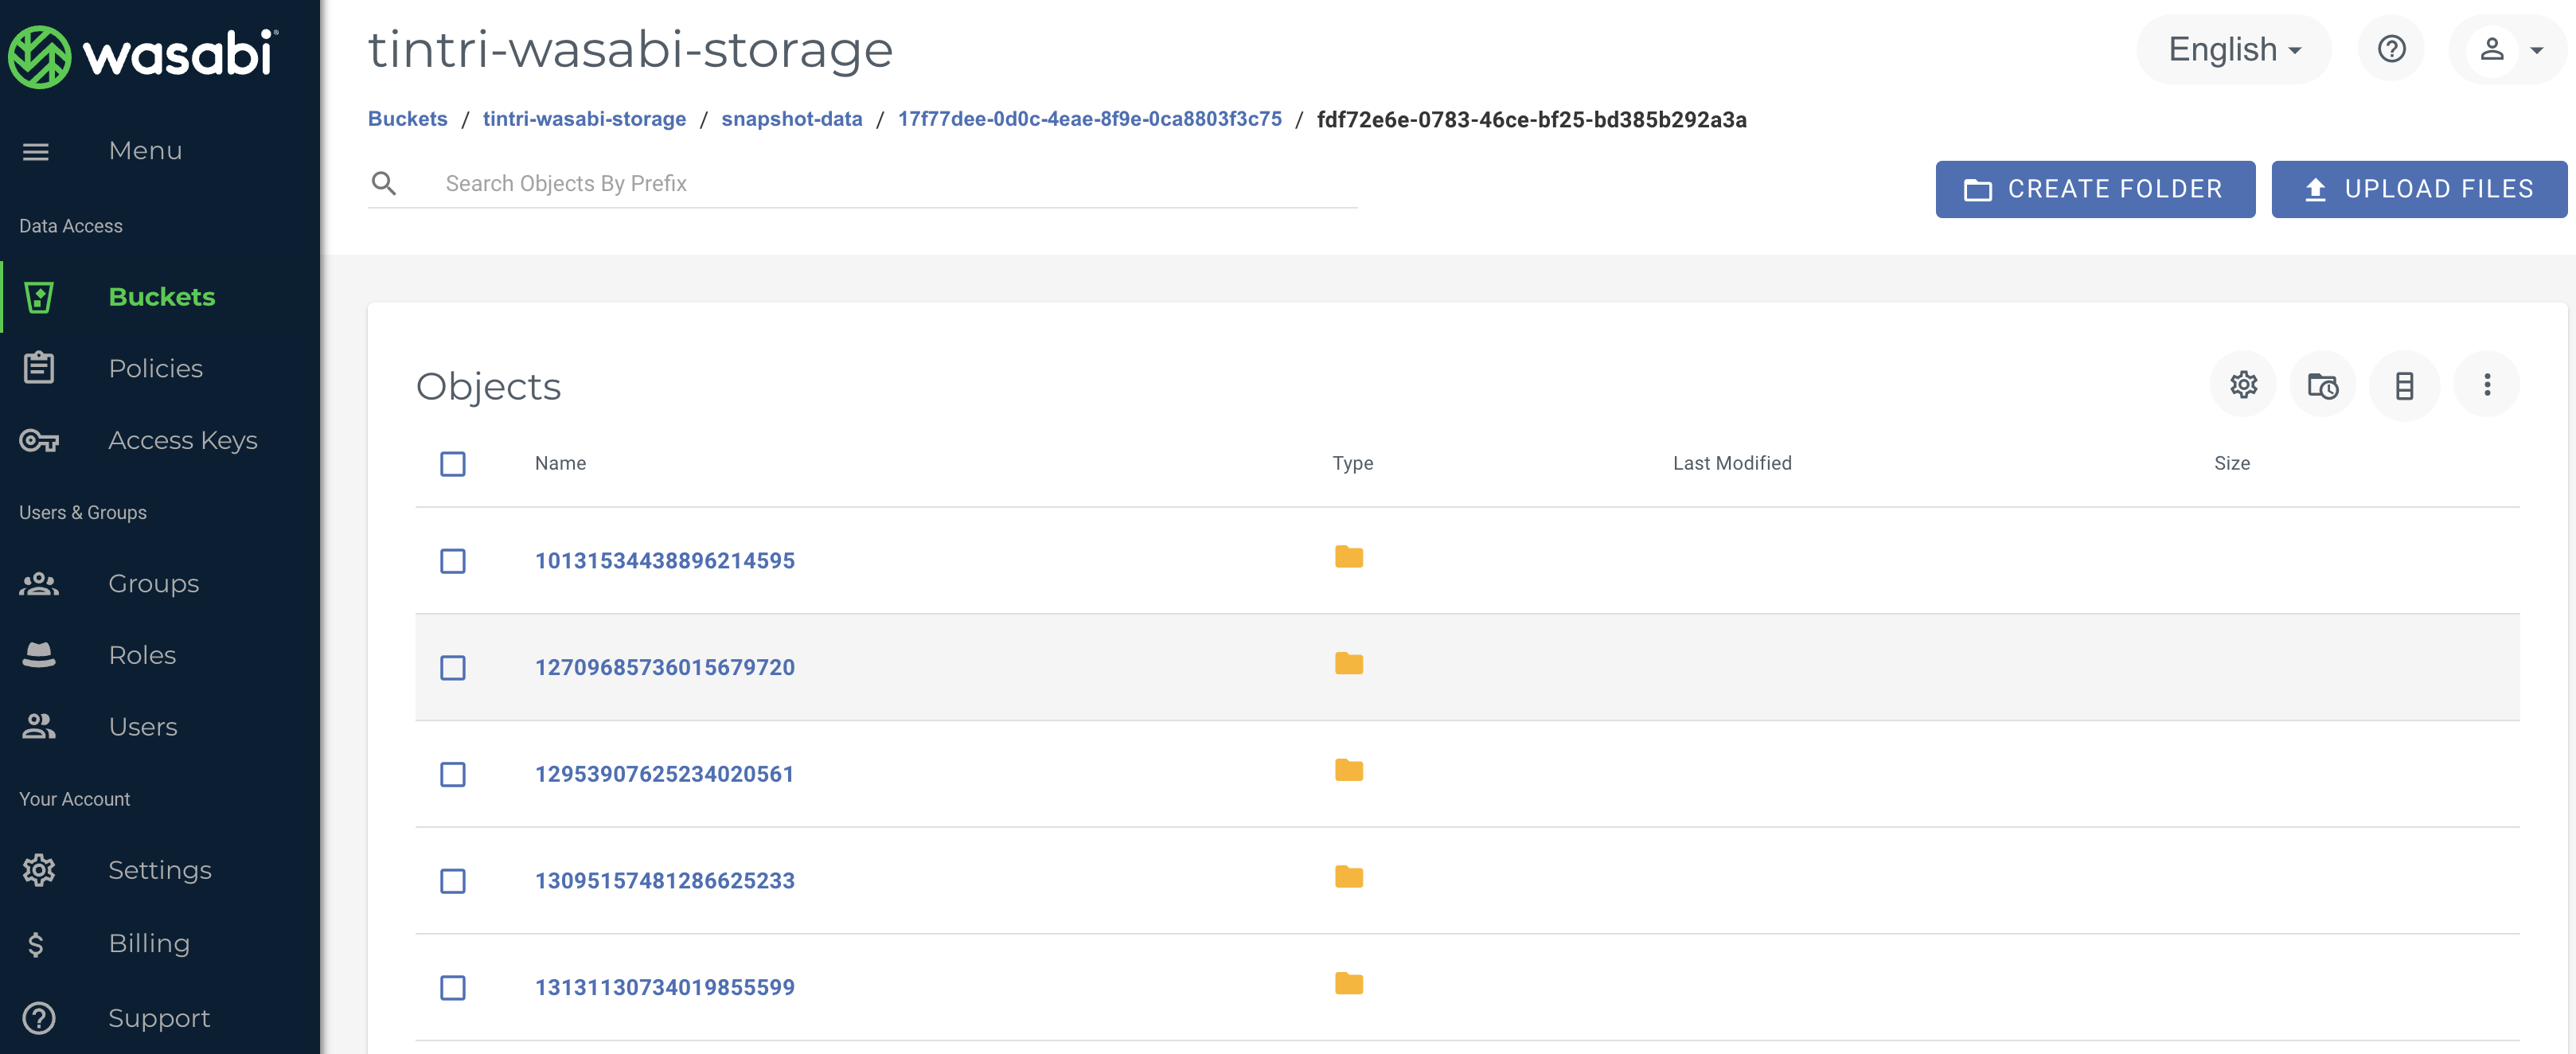
Once the backup completes, via wasabi console navigate to bucket tintri-wasabi-storage to find all the backup data stored on Wasabi storage.