Plesk has been validated for use with Wasabi. Plesk is the leading WebOps hosting platform for running, automating, and growing applications, websites, and hosting businesses. Being the only OS agnostic platform. The Plesk hosting platform effectively enables application developers by providing access to a simple and more secure web infrastructure managed by web pros and hosting companies.
Requirements
Active Wasabi Cloud Storage Account
Wasabi Bucket - See our Bucket Creation Guide
Access & Secret Key Pair - See our Access Keys Guide
Active Plesk Account
Plesk Obsidian v. 18.0.52
Configuration of Remote Storage
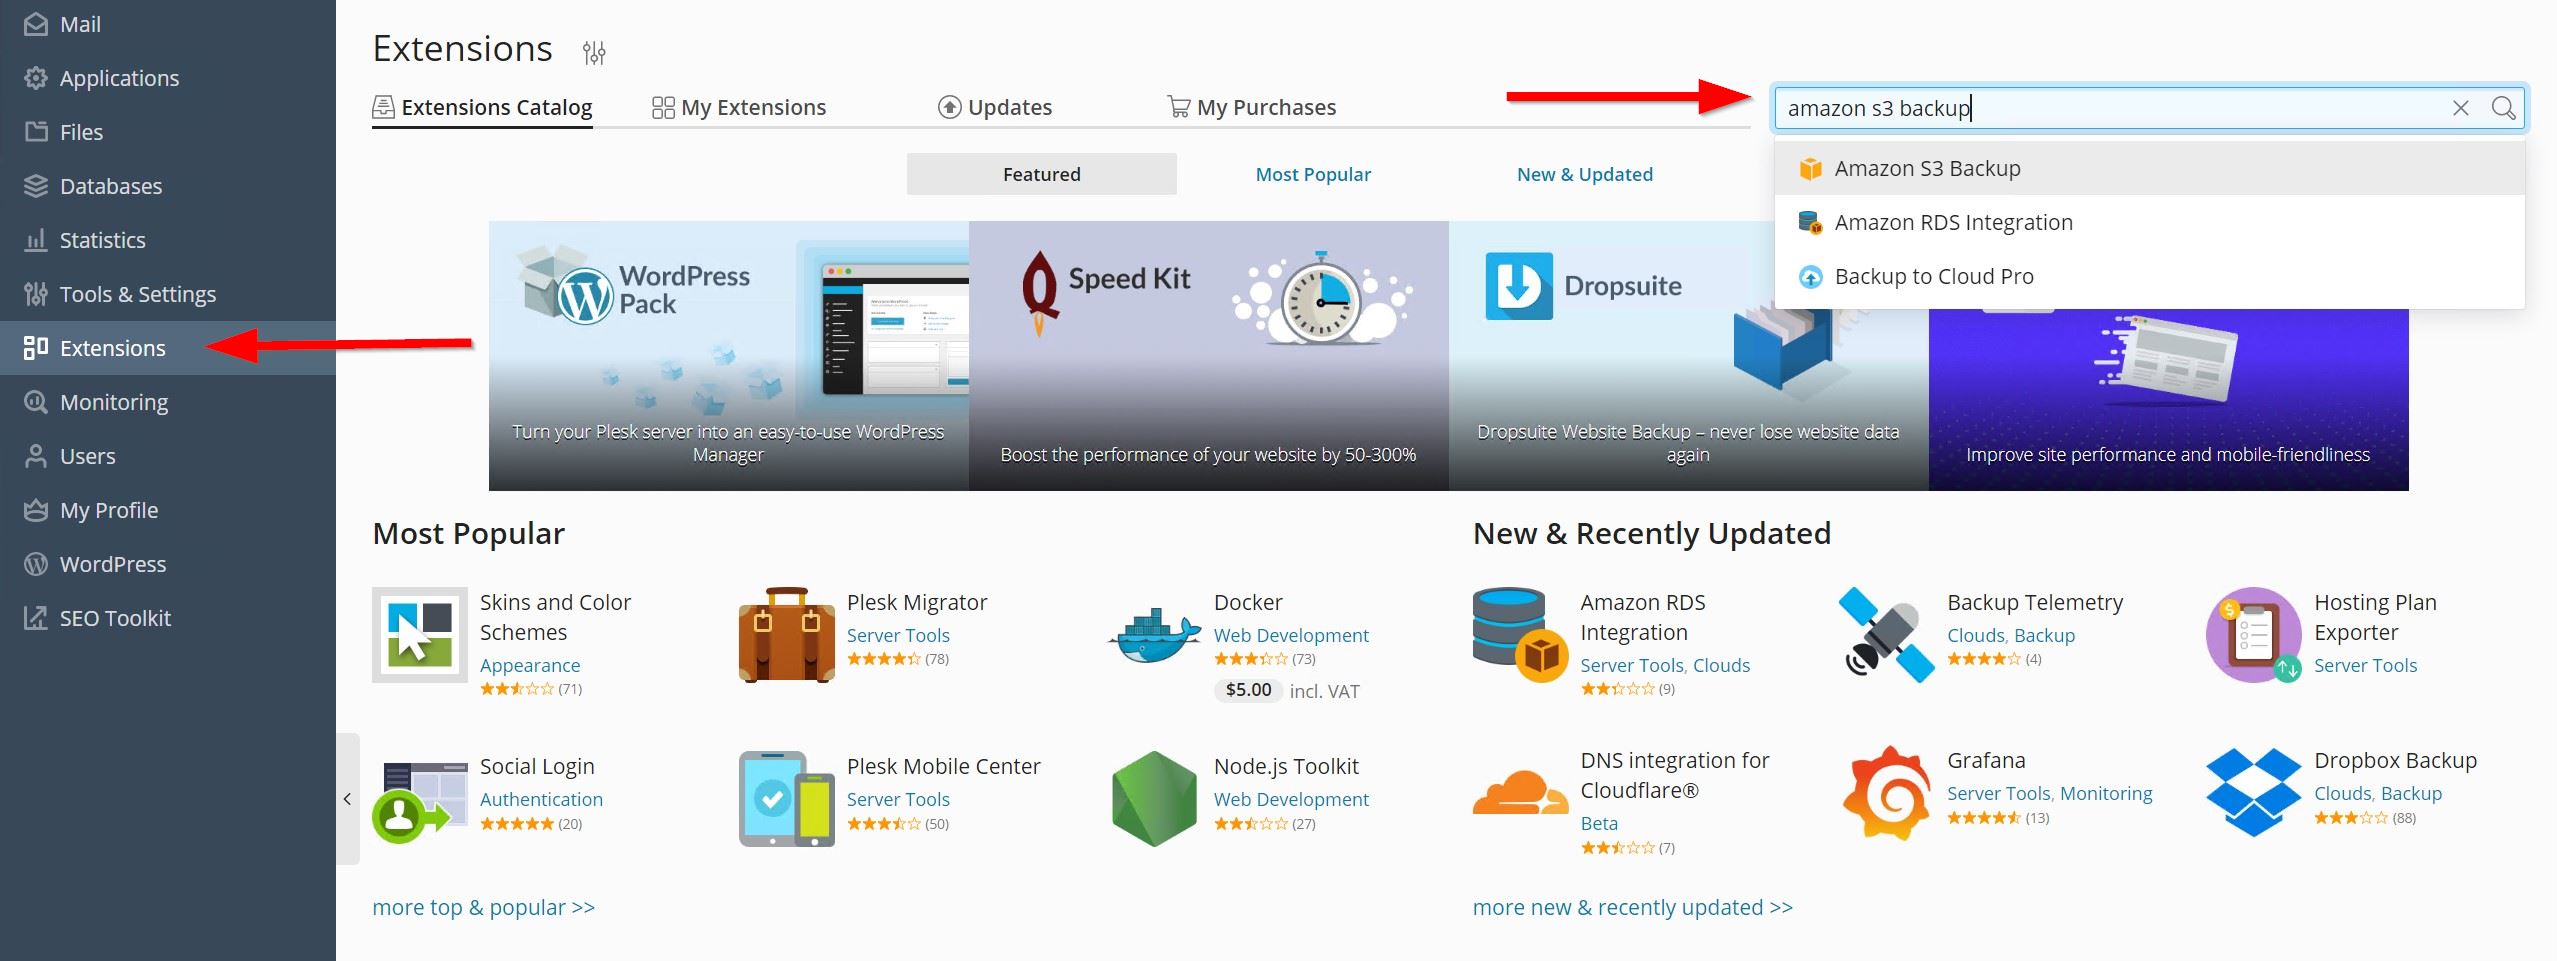
With your Plesk Server installed and running, click Extension. In the search box, type Amazon S3 Backup and click the extension.
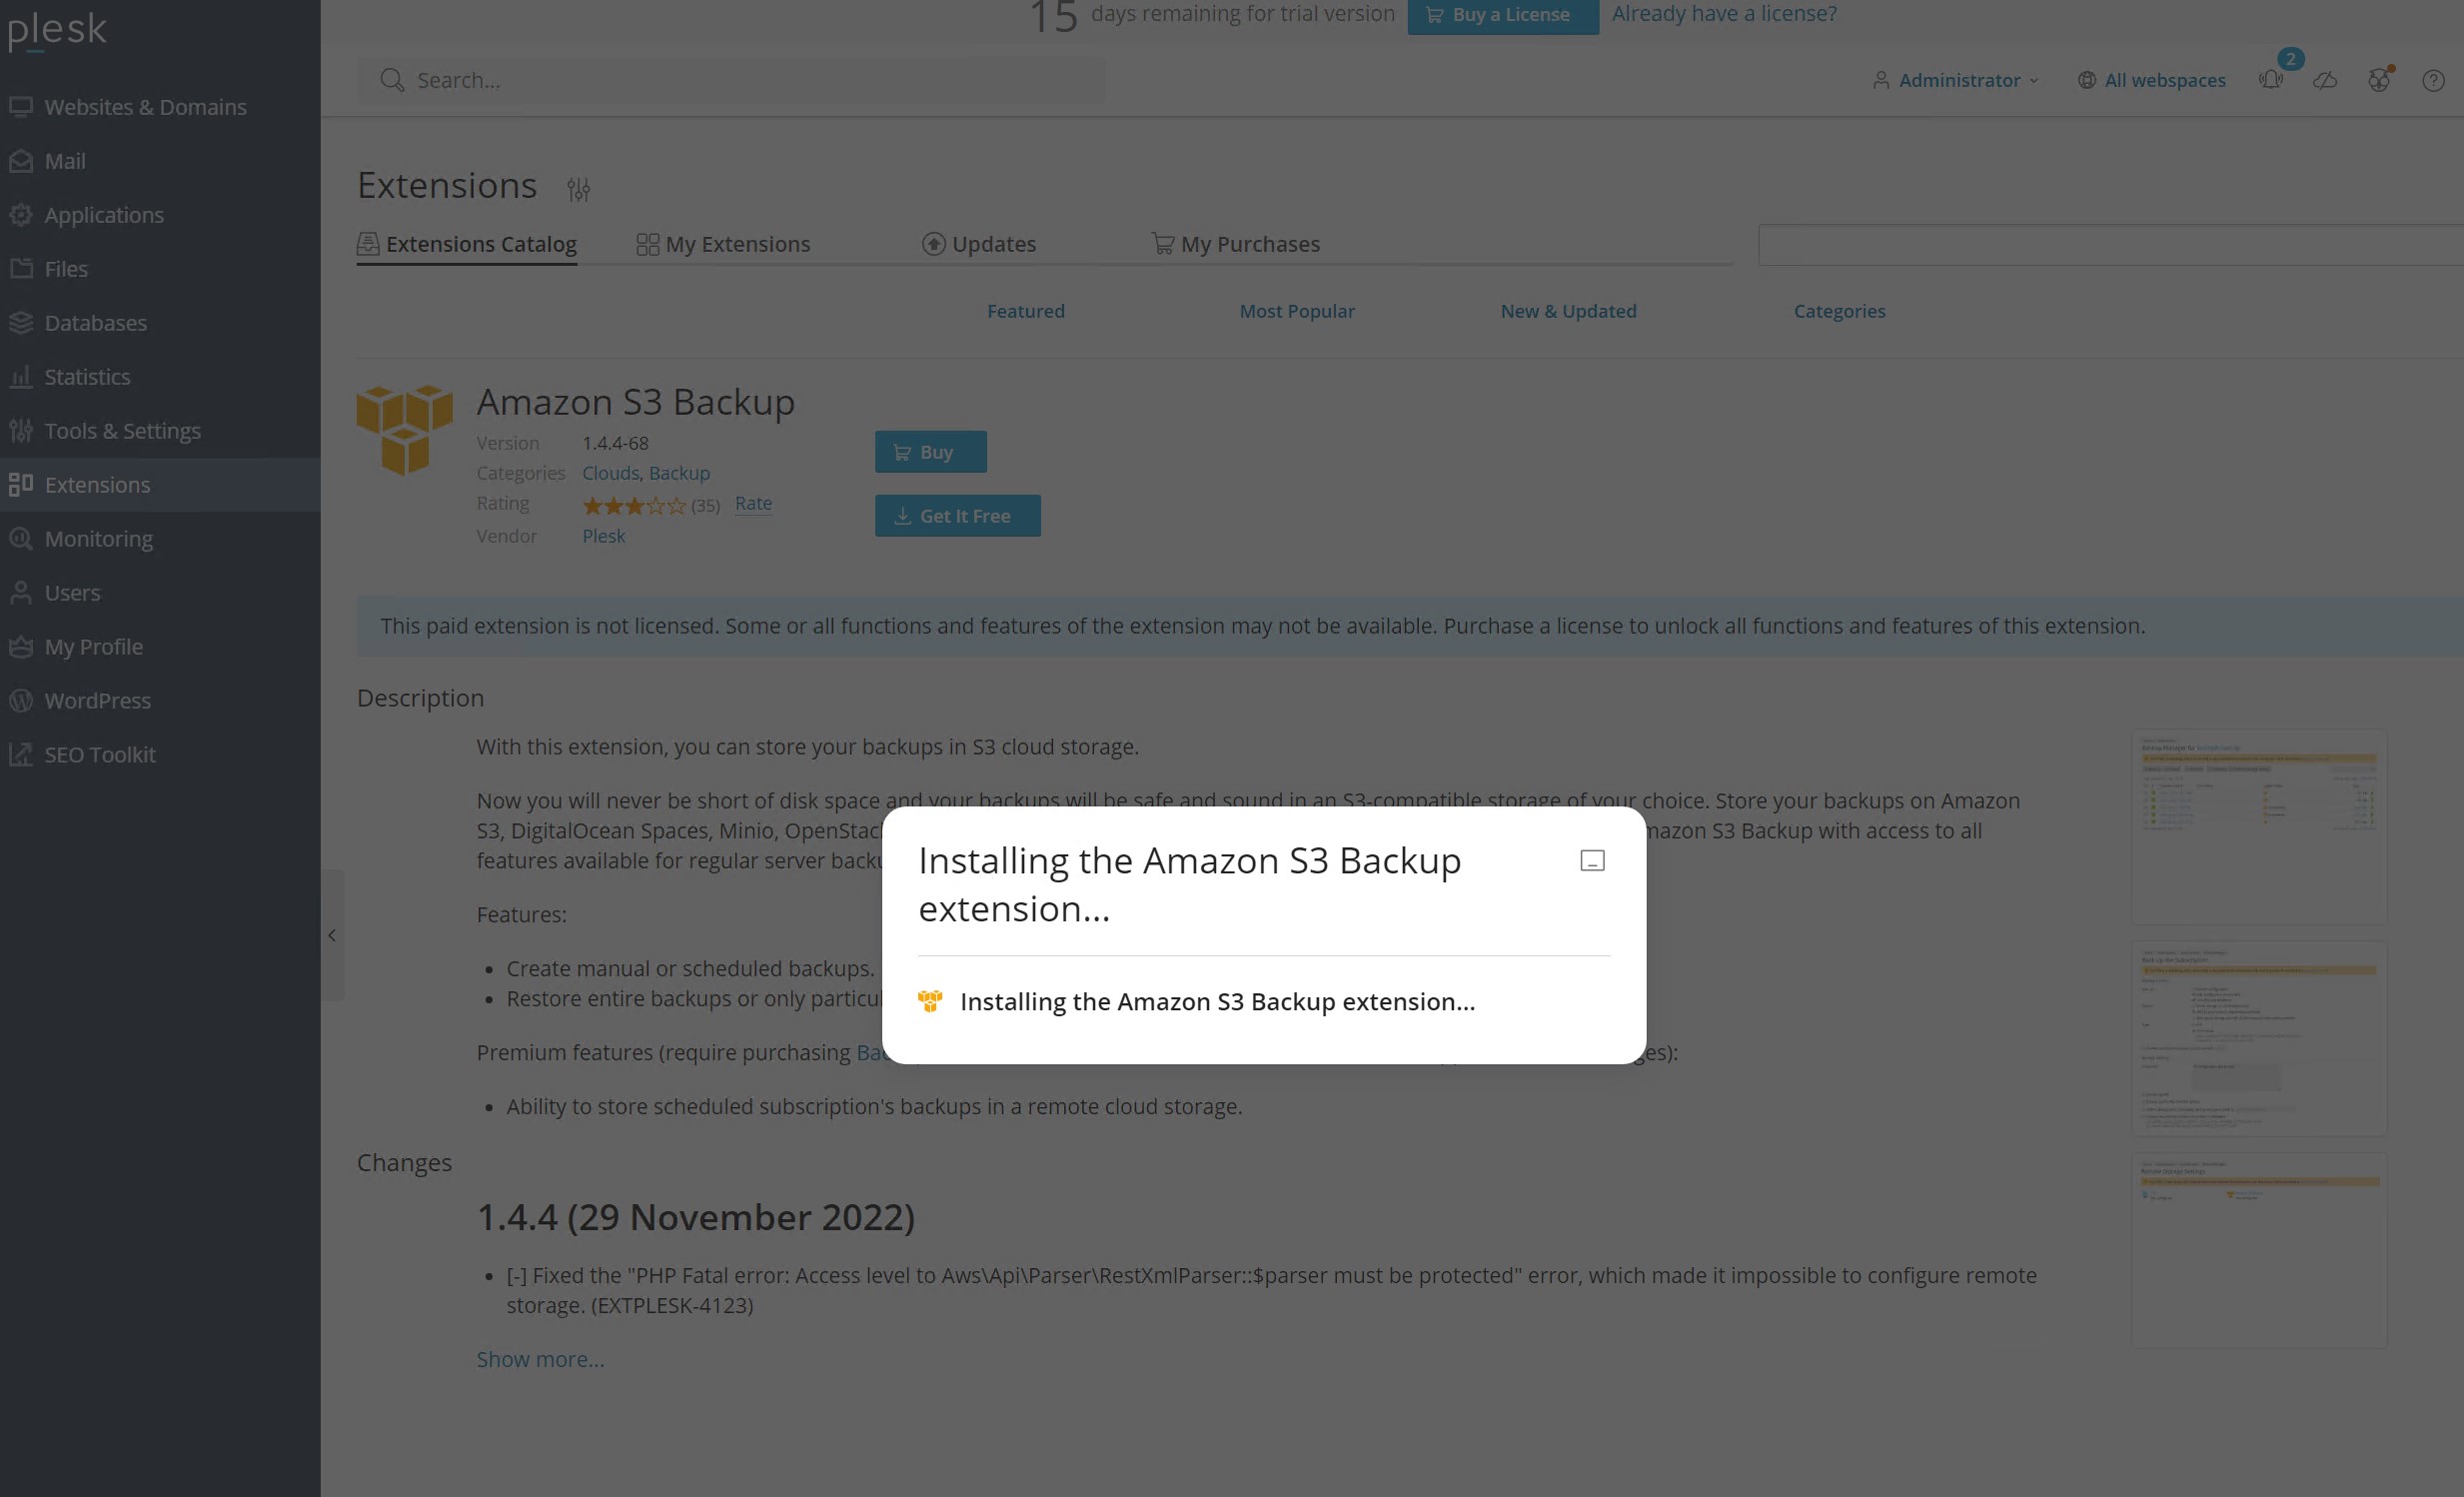
Click Download for Free and Install the Extension.
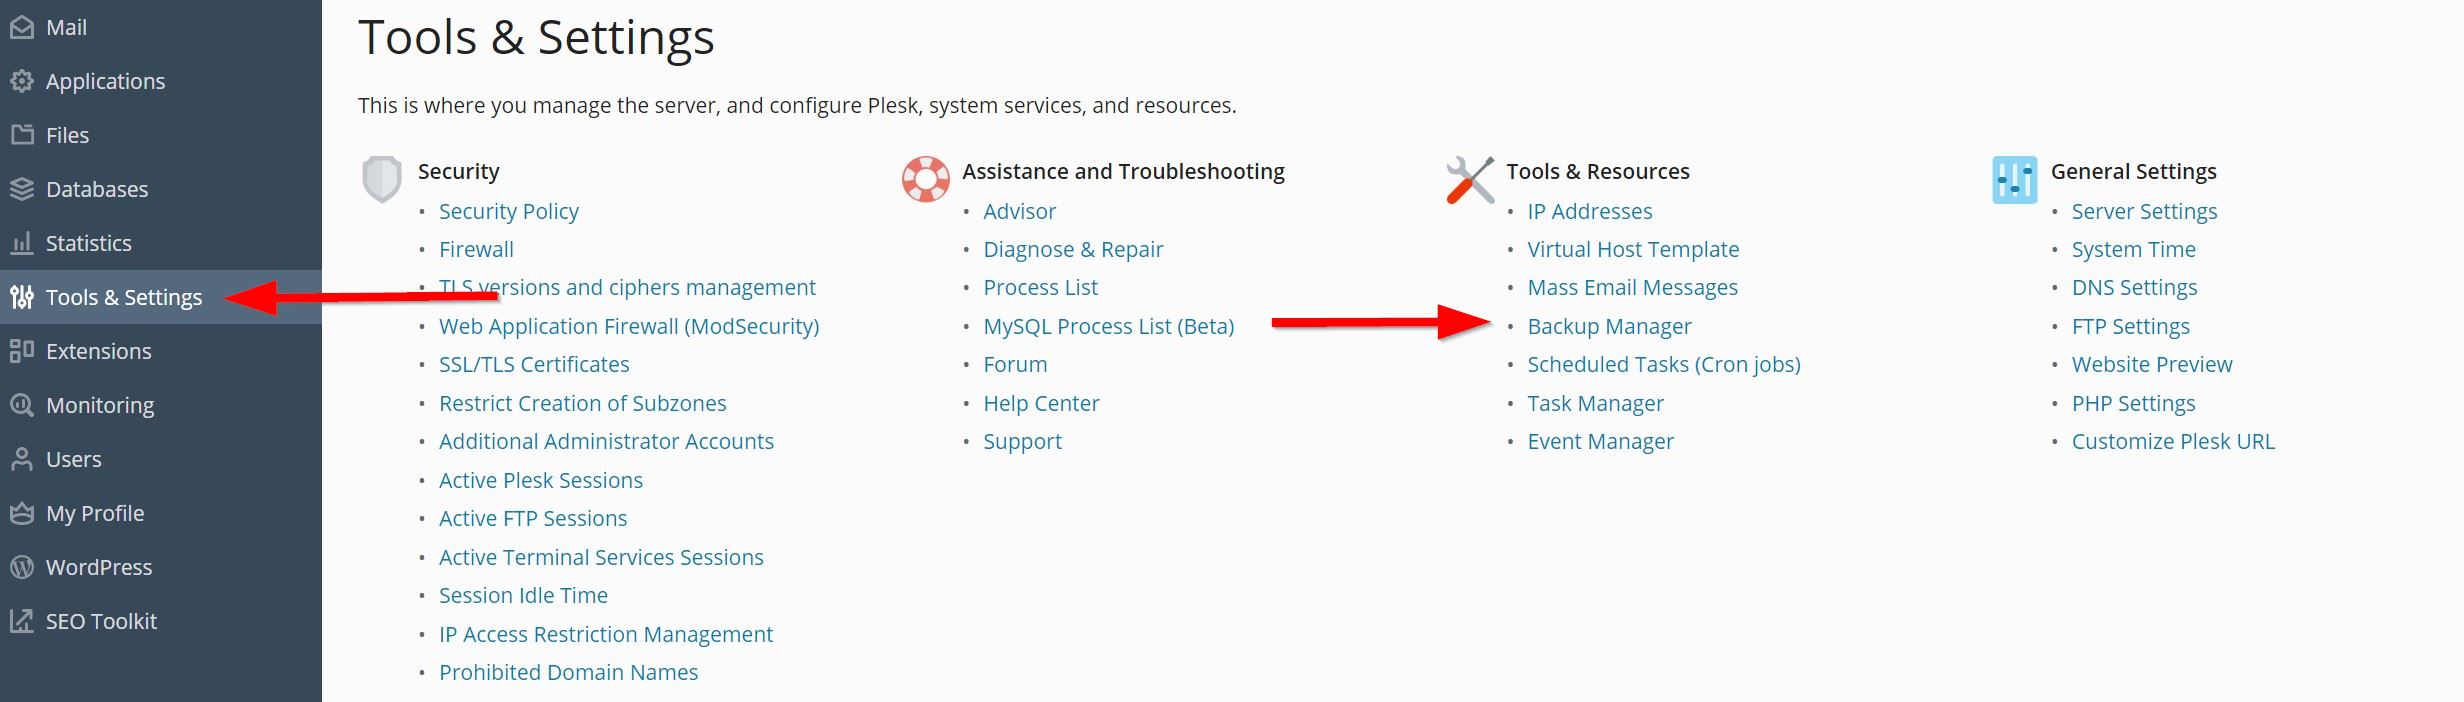
Click Tools & Settings, then click Backup Manager.
In Backup Manager, click Remote Storage Settings.

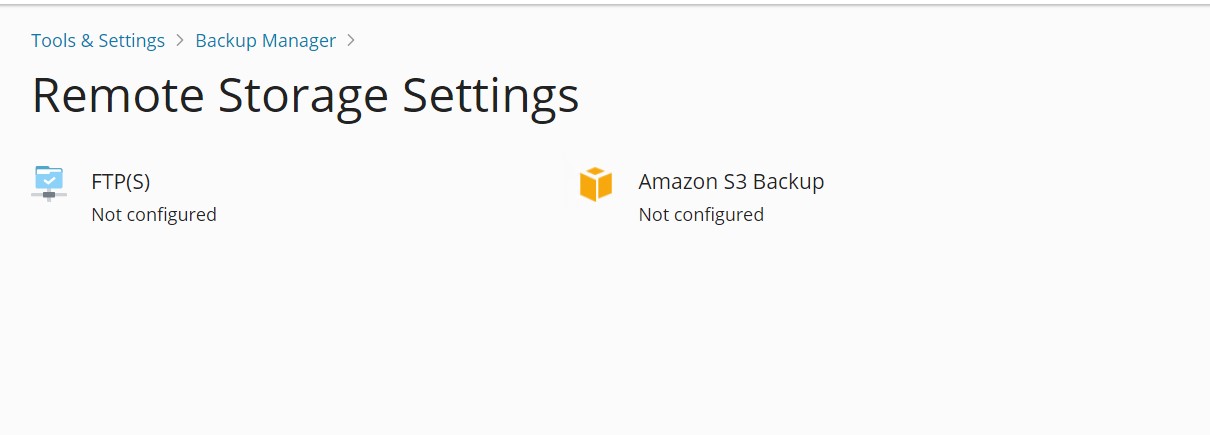
Click Amazon S3 Backup.
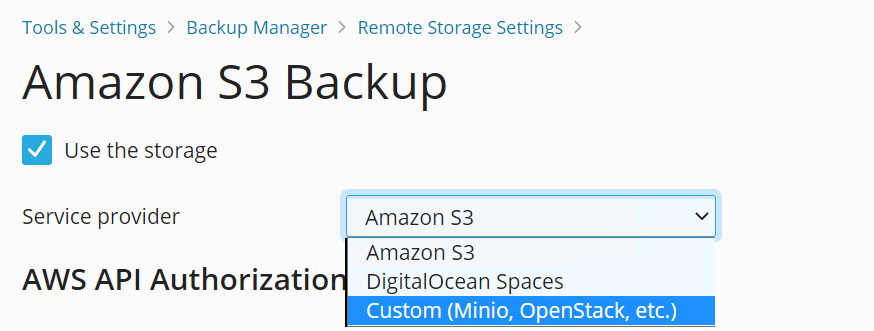
Click the Service provider drop-down and change the service provider to Custom (Minio, OpenStack)
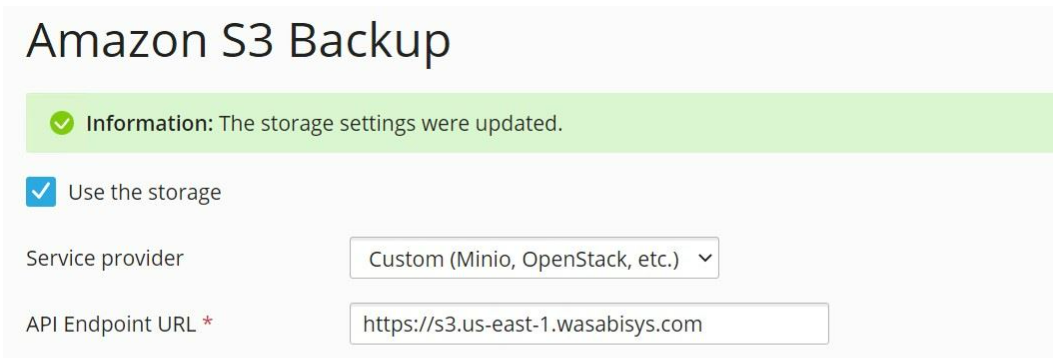
Fill out the following information.
Service provider—Custom
API Endpoint URL—Wasabi Service URL where your bucket is located
Login (Key)—Wasabi Access Key
Password (Secret)—Wasabi Secret Key
Bucket—Name of the Wasabi bucket where you want your backups to go
Path—Specified path inside the bucket
Note: This configuration example uses Wasabi’s us-east-1 storage region. To use other Wasabi storage regions, use the appropriate Wasabi service URL as described in our Wasabi Service URLs.
Click Apply, and if successful, you will see a green check mark next to the information at the top.
Backup Creation
Choose Backup Manager and click Settings.

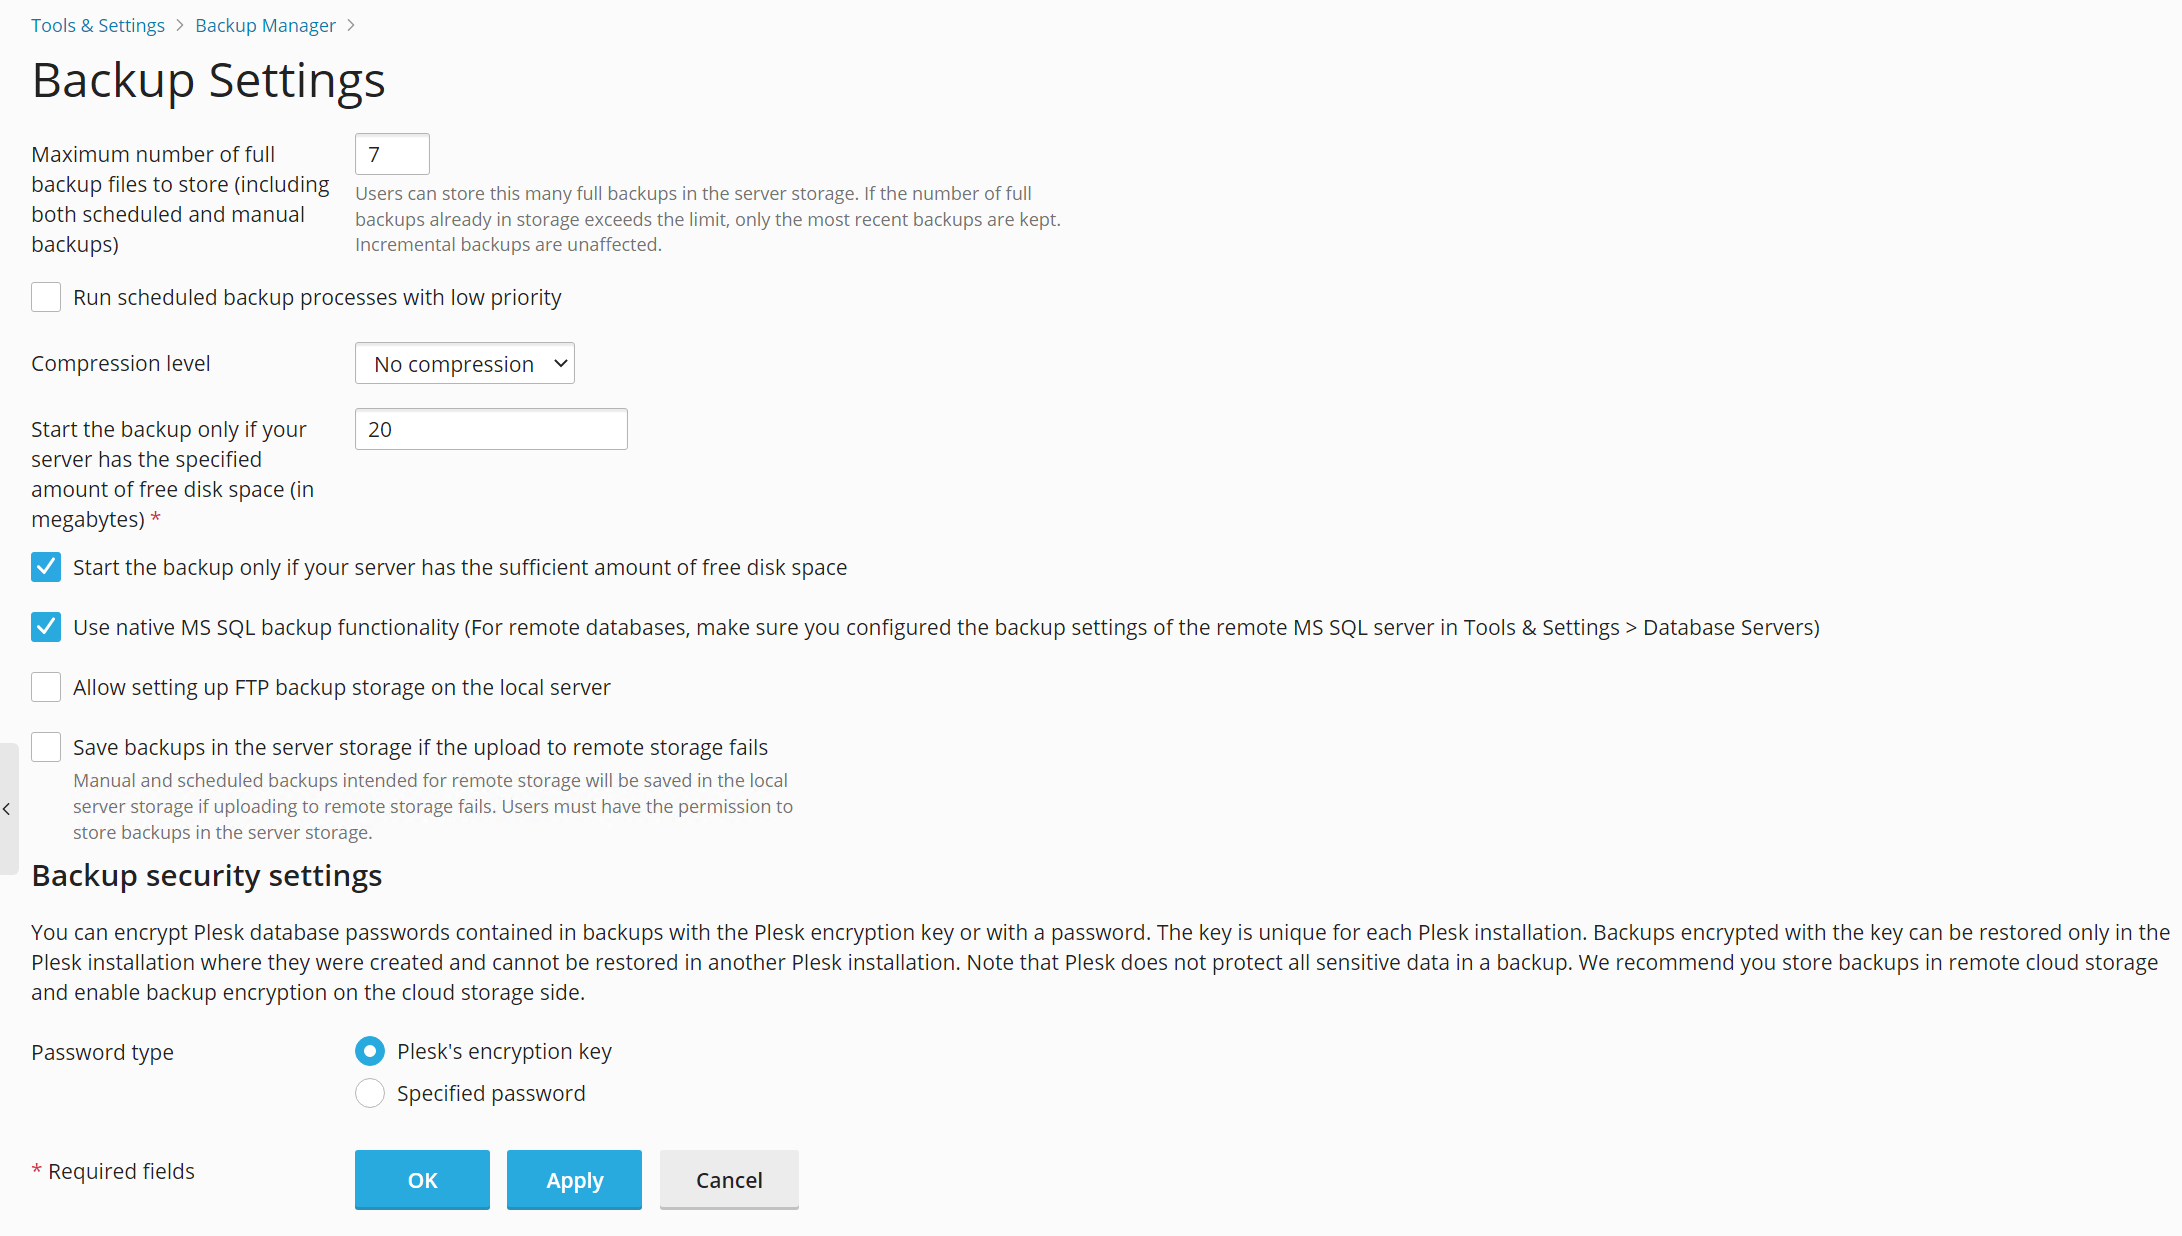
3.2 Here, you can specify your required backup settings for your backup jobs.
Maximum number of full backups–How many full backups to keep
Compression Level– No Compression, Fastest, Fast, Normal, or Maximum
Amount of Free Disk Space
Password Type–Encryption settings for backups
Click Apply and then OK.
Click Back Up.
On the Back Up the Server configuration page, you can specify what you want to back up and where the backup needs to be stored. Make sure to select Custom to specify that the backup goes to your specified Wasabi Bucket.
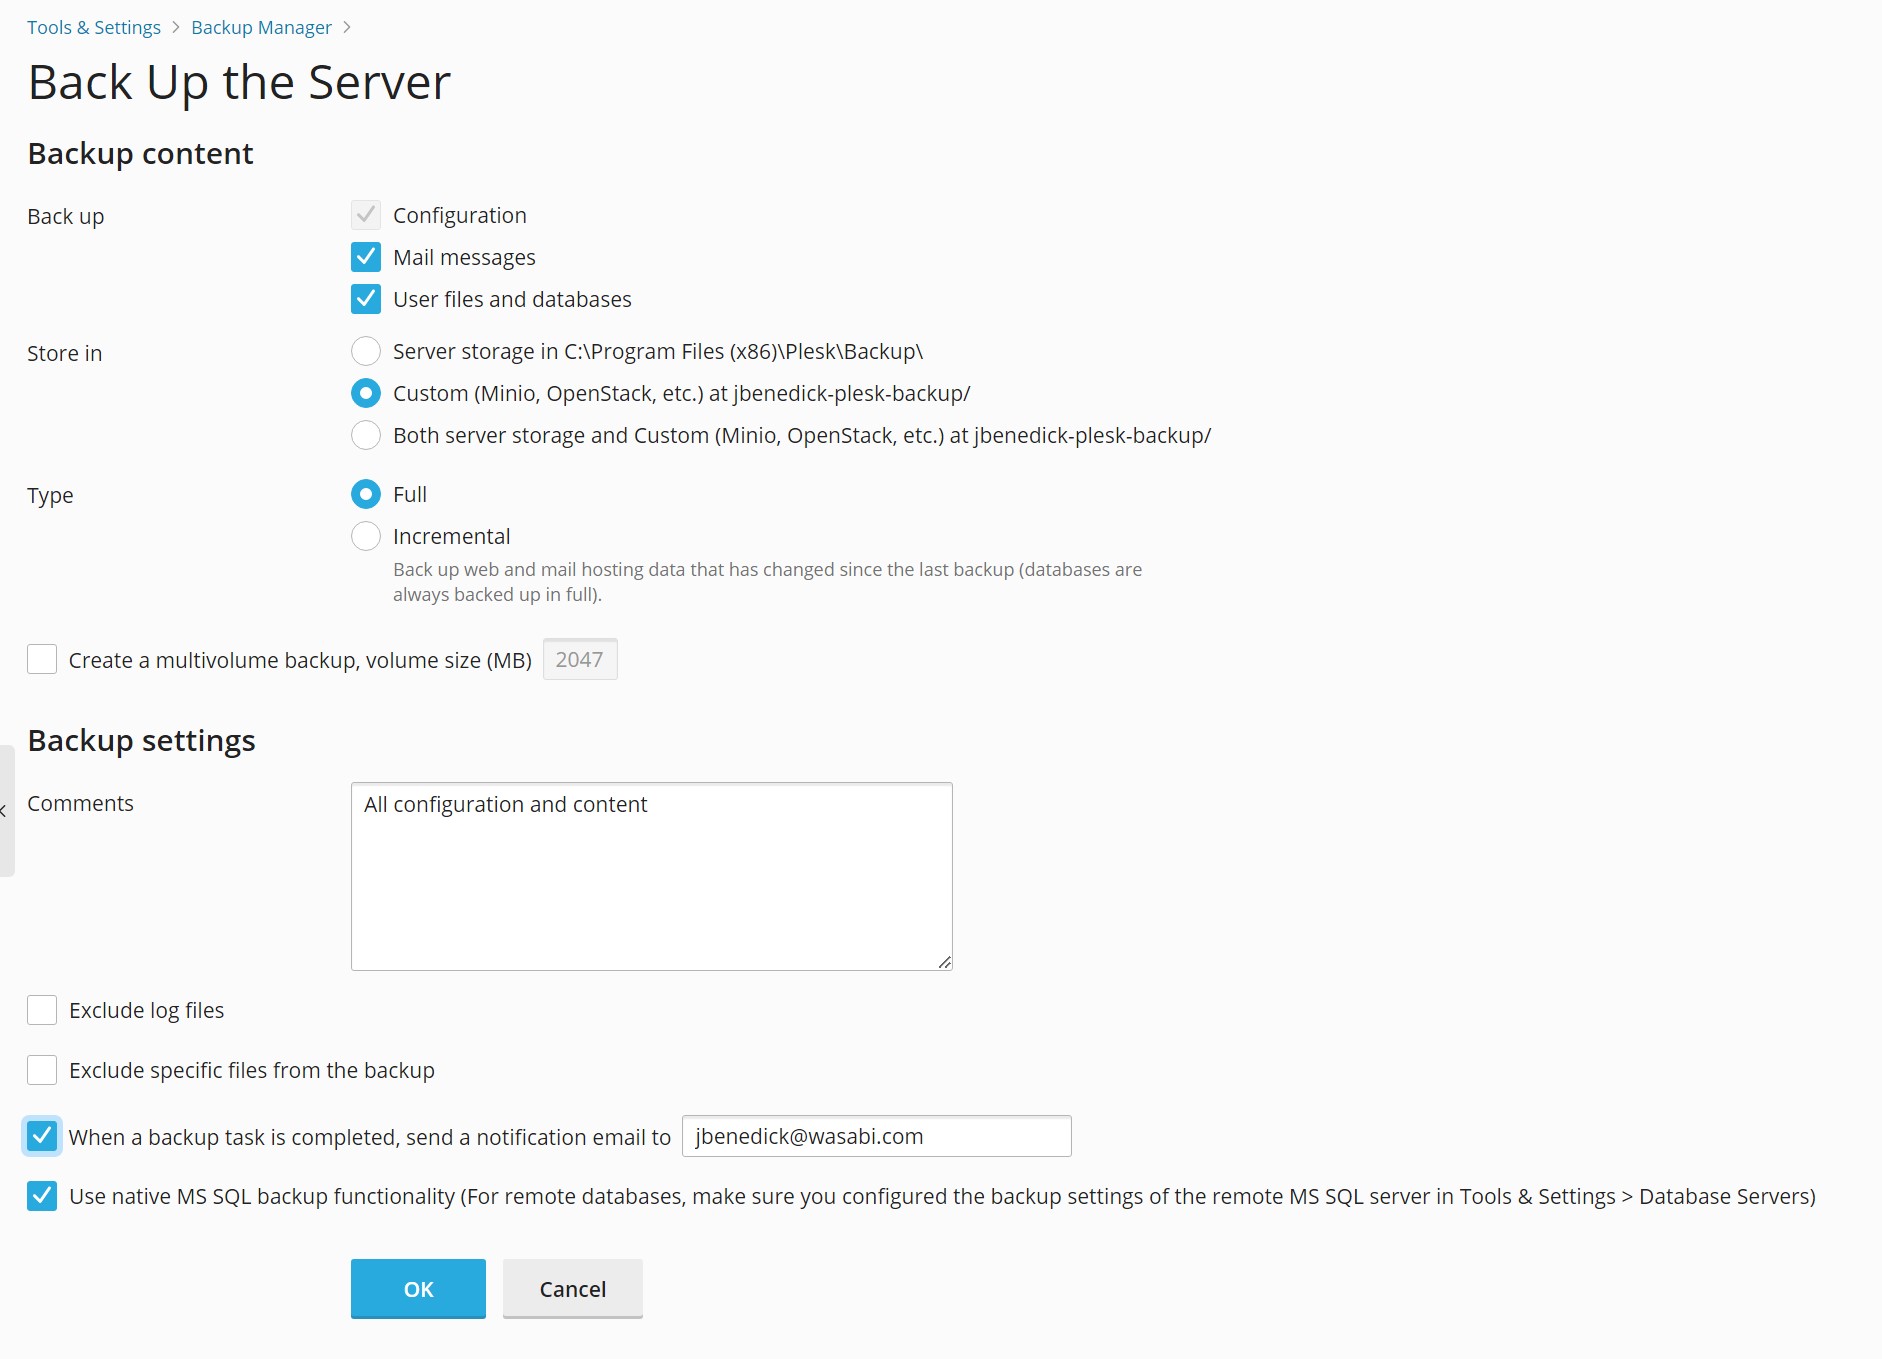
Click OK, and the job will run.
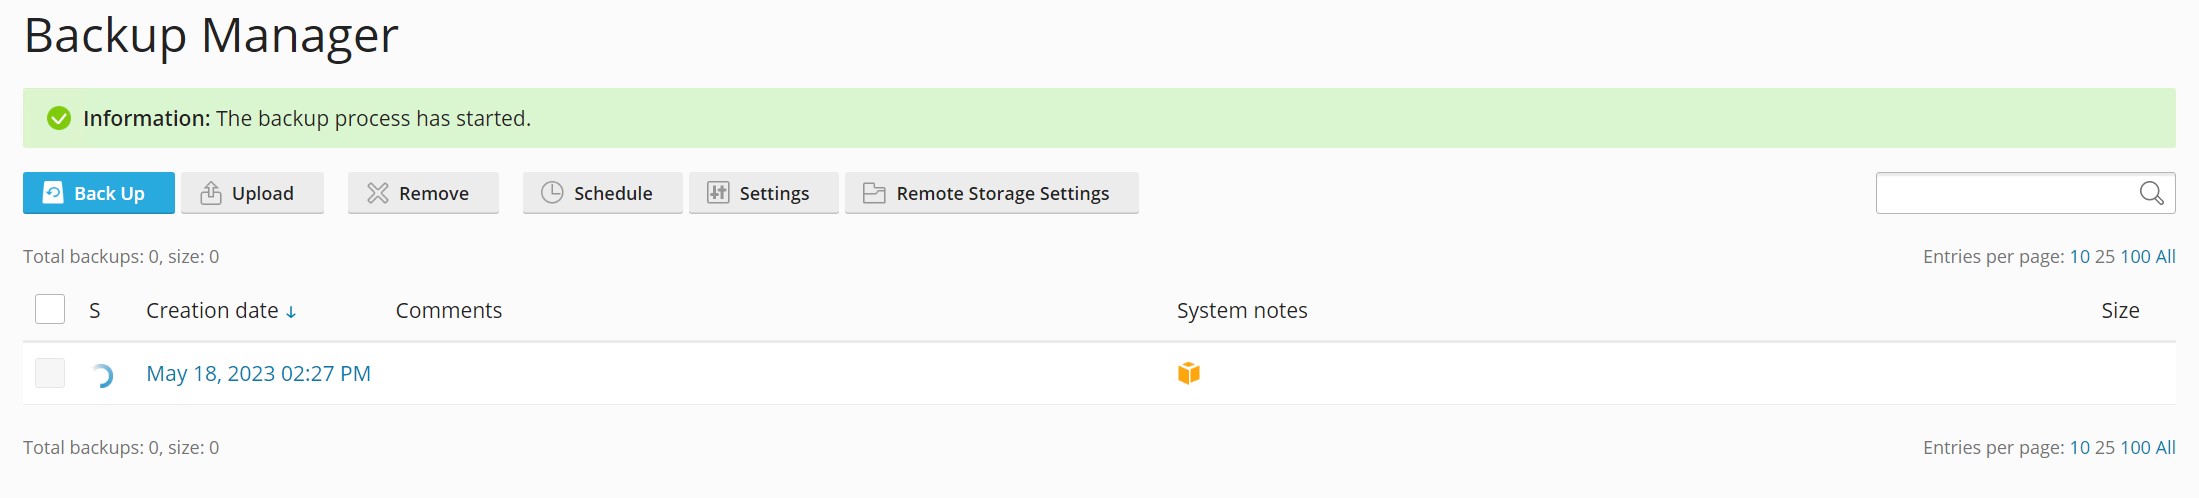
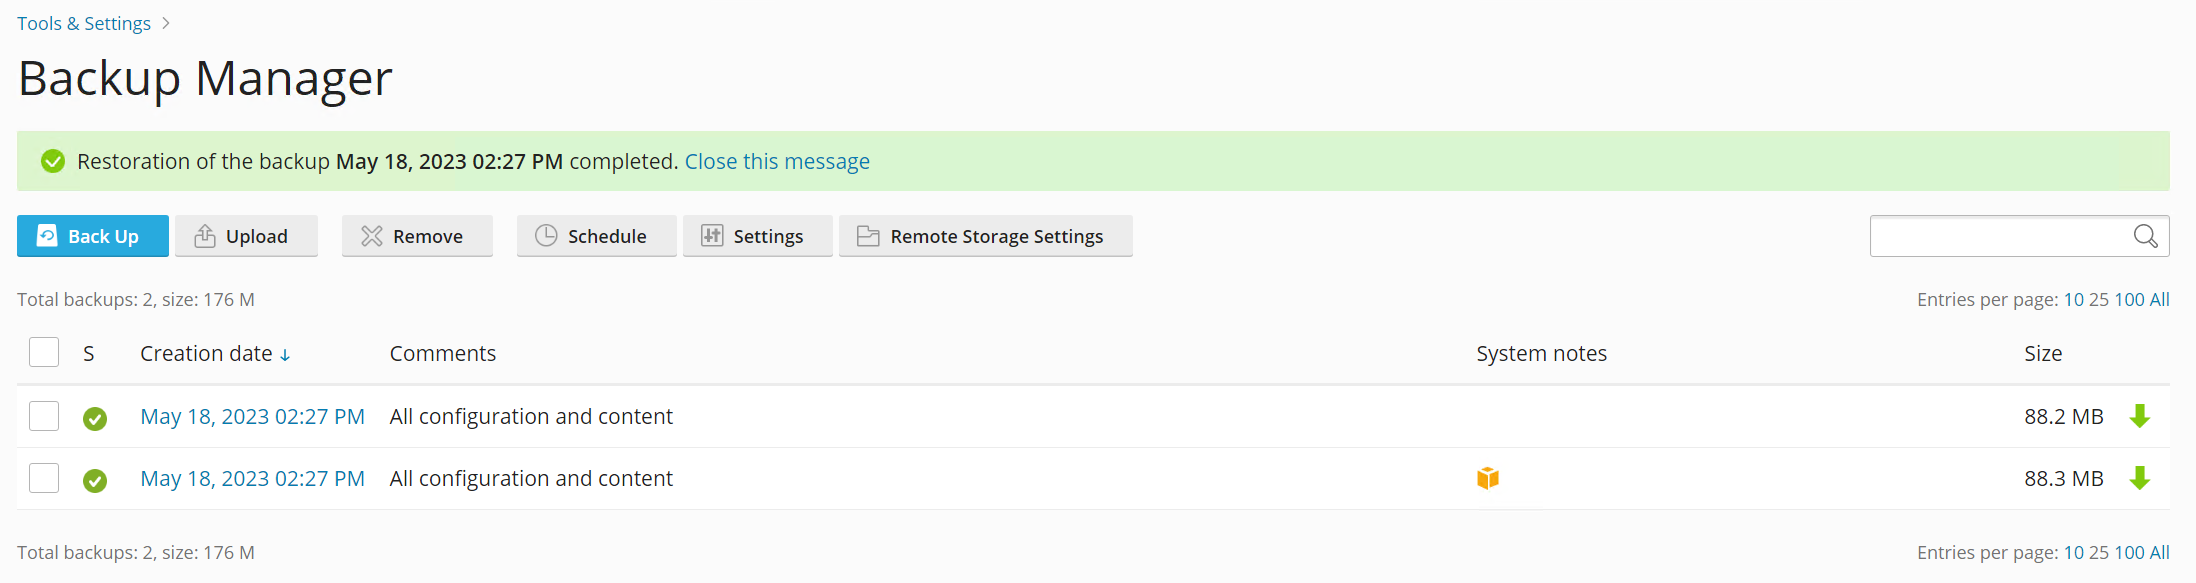
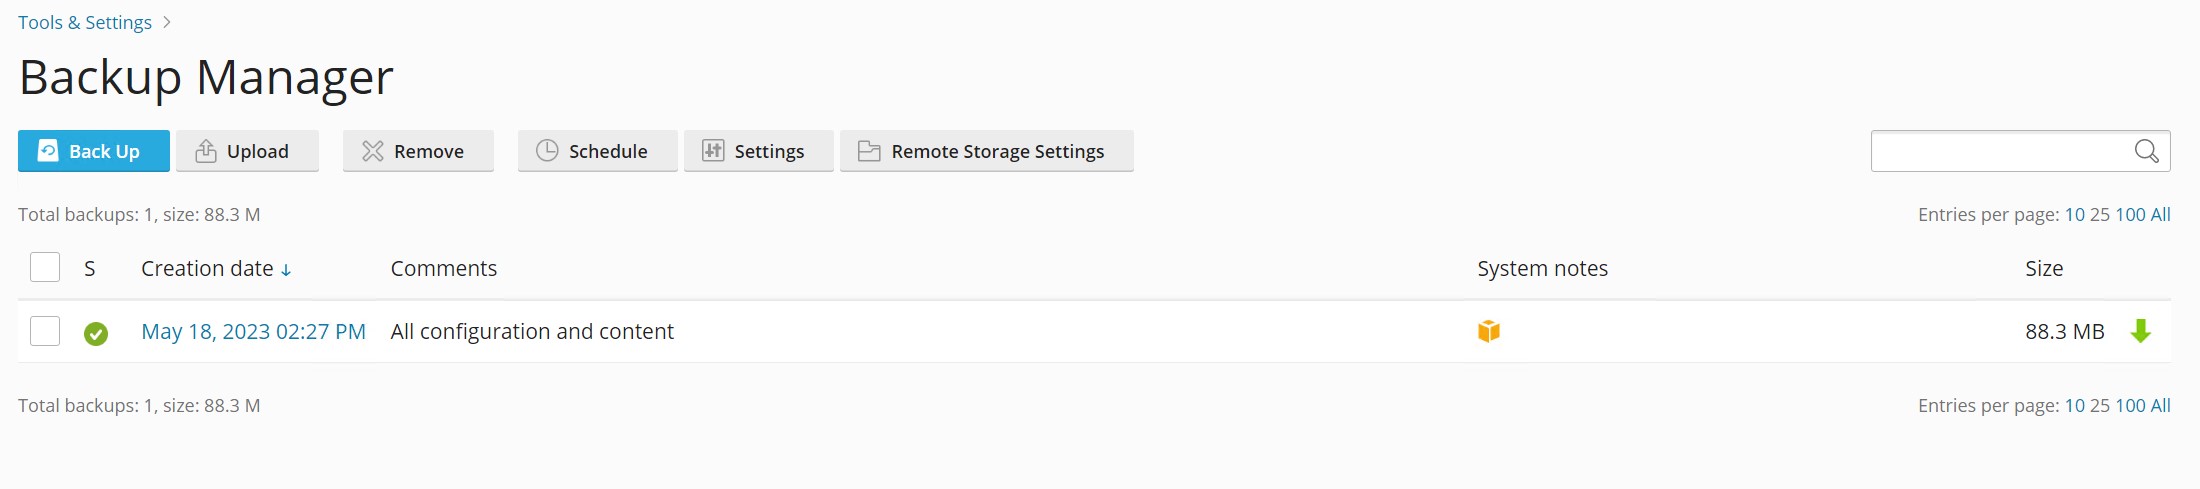
Upon successful completion of the backup job, it will display a green check mark and indicate the backup size.
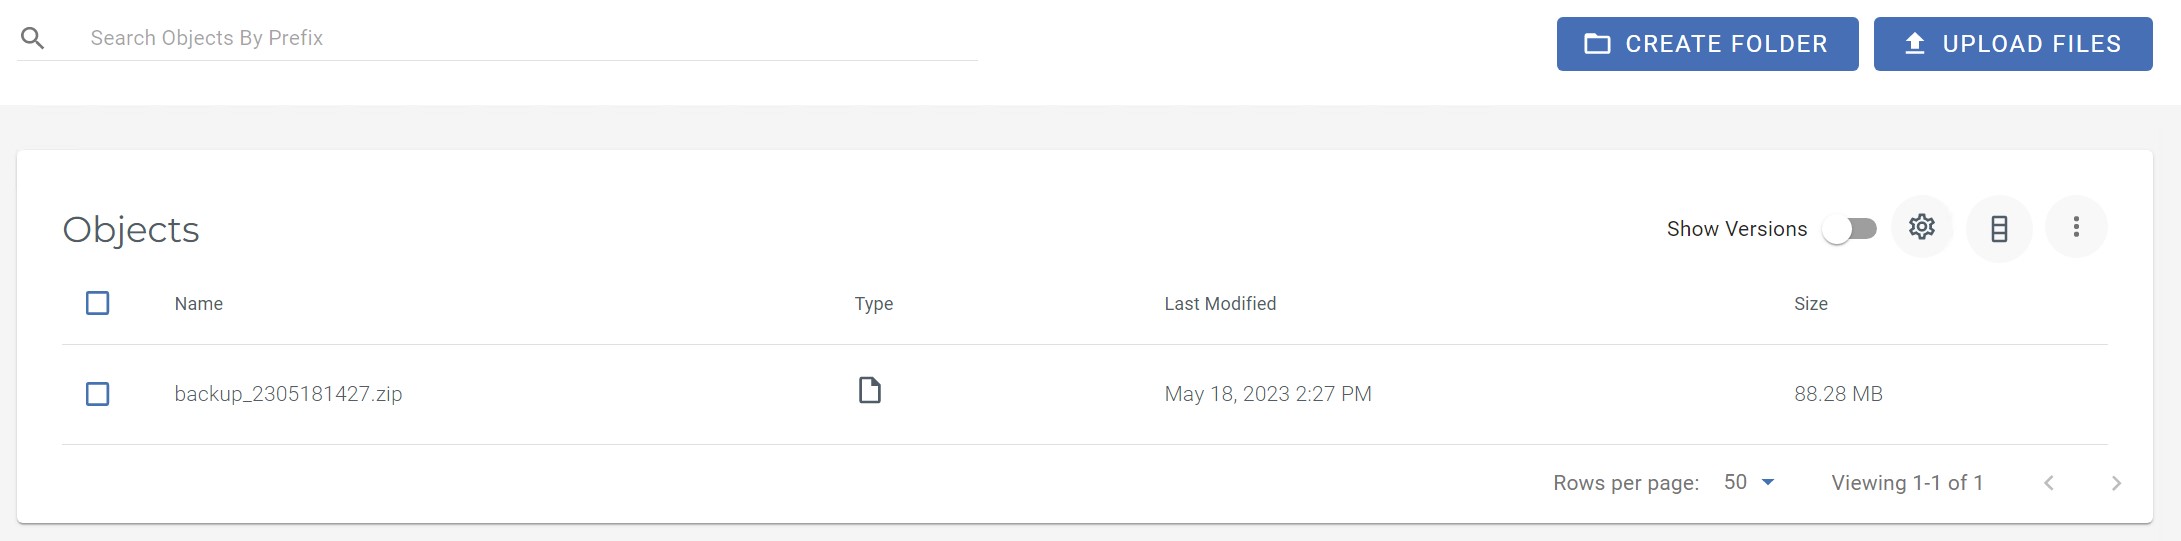
You can validate the backup by logging in to your Wasabi Console and checking the bucket.
Restore
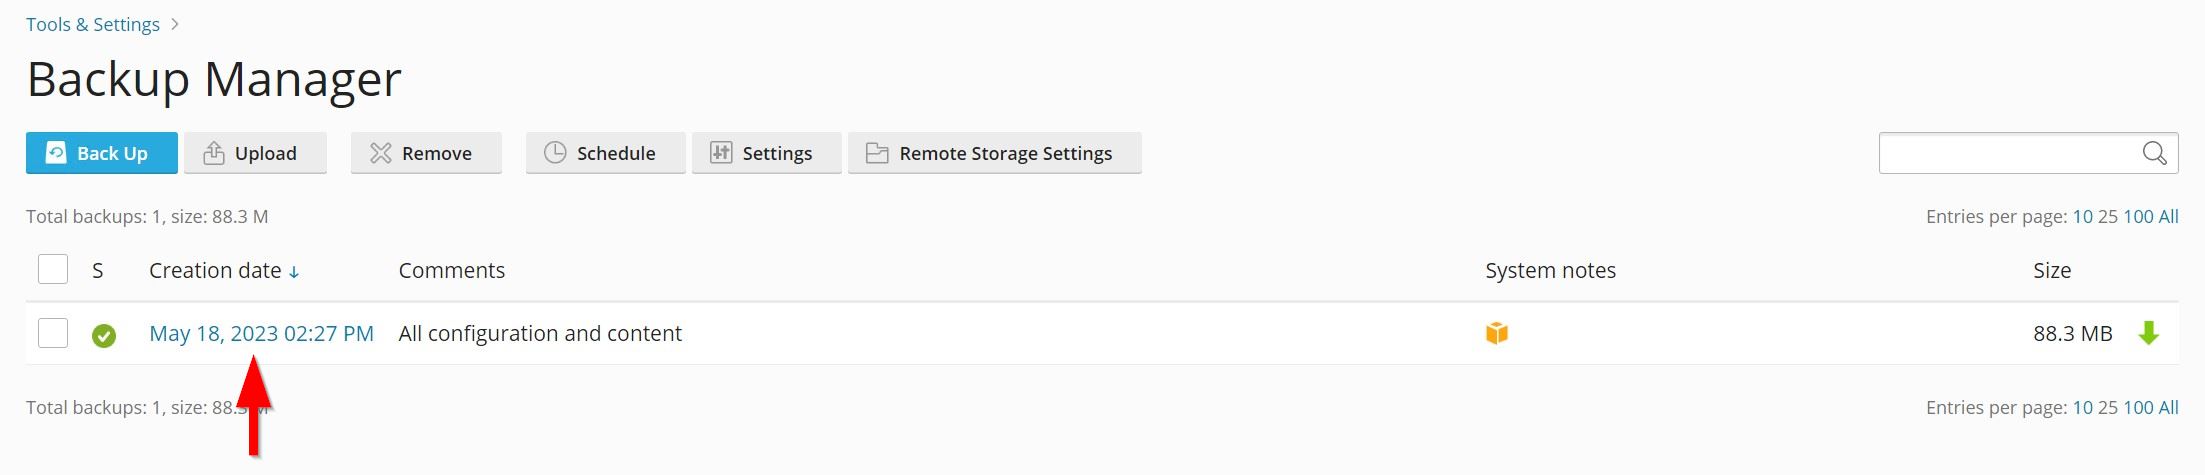
In Backup Manager, click the completed Creation date for the job you wish to restore.
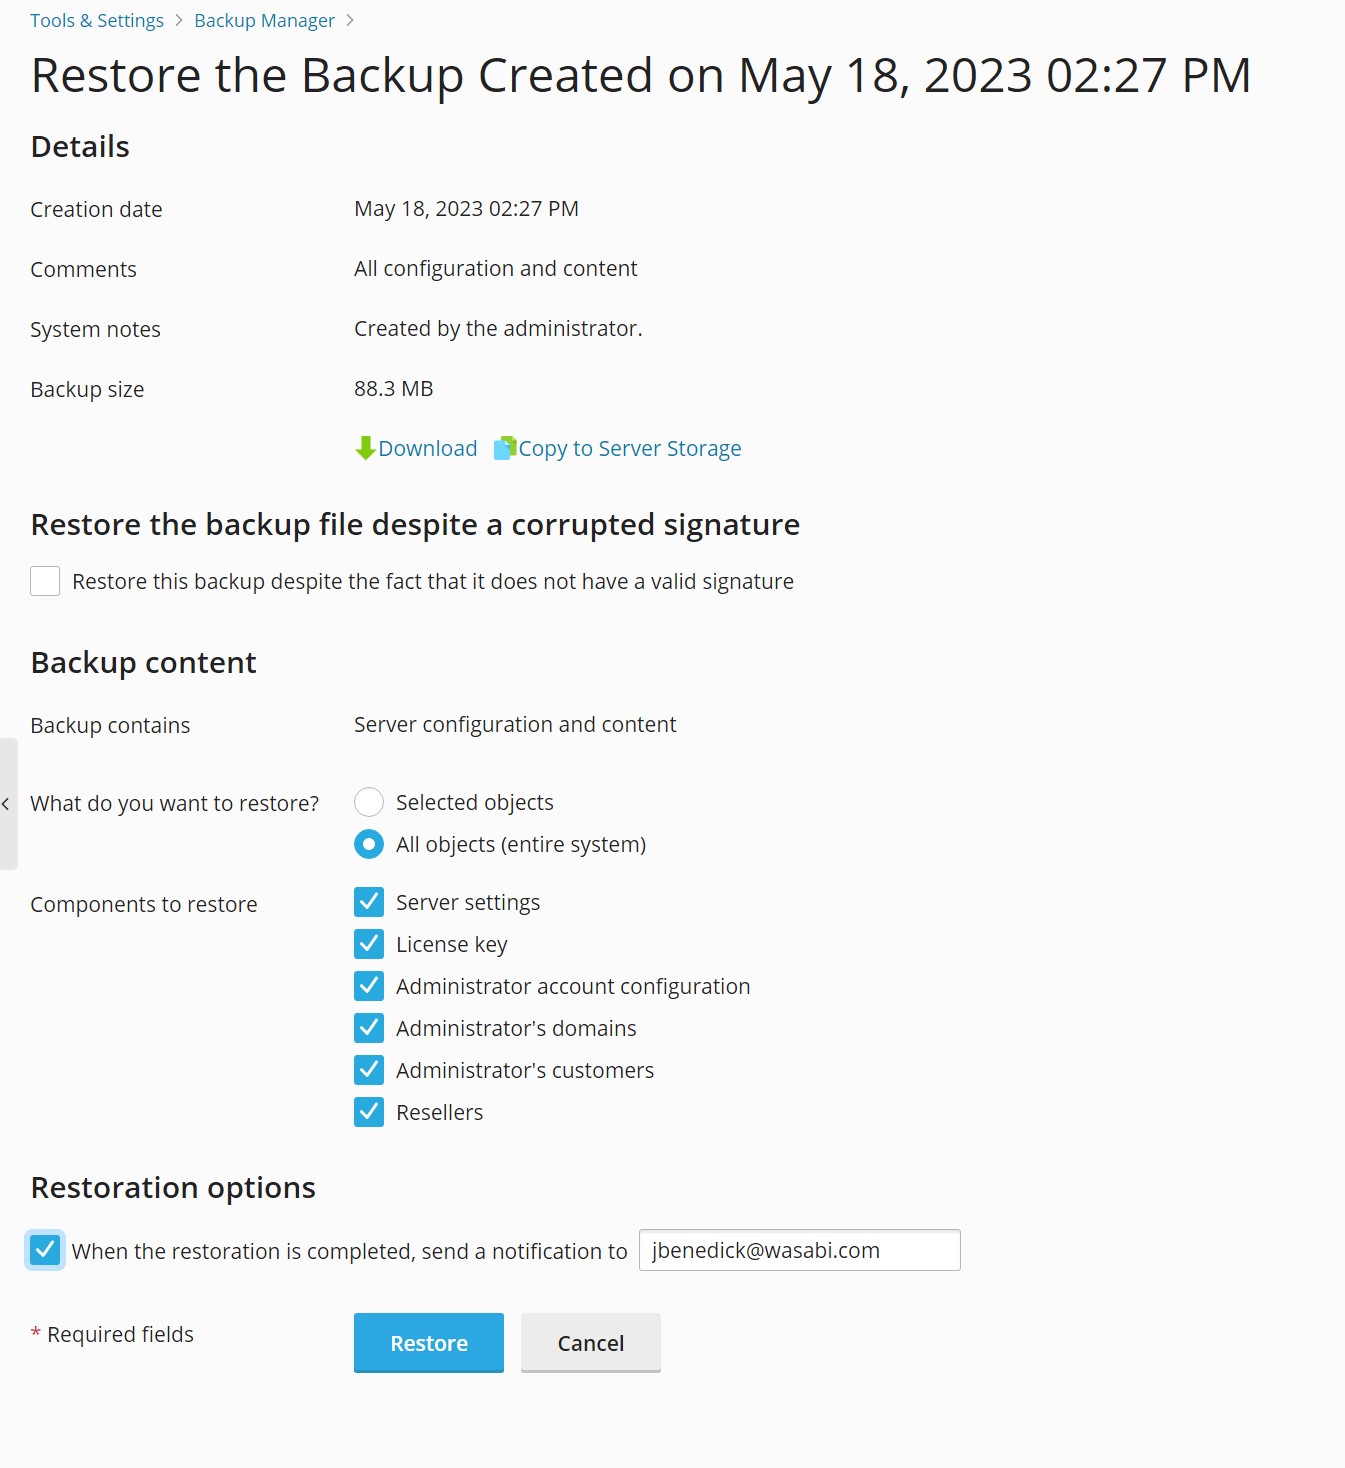
From here, you can select what you want to restore, either certain objects or all objects. Once you have made your selections, click Restore.
You will see the job complete successfully in your Backup Manager when it finishes restoring.