A presigned URL gives you access to the object identified in the URL, provided that the creator of the presigned URL has permissions to access that object. That is, if you receive a presigned URL to upload an object, you can upload the object only if the creator of the presigned URL has the necessary permissions to upload that object.
All objects and buckets by default are private. The presigned URLs are useful if you want your user/customer to be able to upload a specific object to your bucket, but you don't require them to have AWS security credentials or permissions. When you create a presigned URL, you must provide your security credentials and then specify a bucket name, an object key, an HTTP method (PUT for uploading objects), and an expiration date and time. The presigned URLs are valid only for the specified duration. That is, you must start the action before the expiration date and time. If the action consists of multiple steps, such as a multipart upload, all steps must be started before the expiration, otherwise you will receive an error when Wasabi S3 attempts to start a step with an expired URL.
You can use the presigned URL multiple times, up to the expiration date and time. In this example, we are generating a presigned URL programmatically using Python to upload file.
Make sure you have installed AWS SDK boto3 for python on your CLI before running the script
Note that this code example discusses the use of Wasabi's us-east-2 storage region. To use other Wasabi storage regions, please use the appropriate Wasabi service URL as described here
Use the below shown Python code and save it as a .py file
import boto3
import requests
import json

s3 = boto3.client('s3')

s3 = boto3.client(
's3',
endpoint_url = 'https://s3.us-east-2.wasabisys.com',
aws_access_key_id='Wasabi-Access-Key',
aws_secret_access_key='Wasabi-Secret-Key')

bucket = input("Enter your Bucket Name: ")

key= input("Enter your desired filename/key for this upload: ")

print (" Generating pre-signed url...")

response = s3.generate_presigned_url('put_object', Params={'Bucket':bucket,'Key':key}, ExpiresIn=3600, HttpMethod='PUT')
print (response)

if response is None:
exit(1)

response = requests.put(response)
print('PUT status_code: ', response.status_code)
print('PUT content: ', response.content)NOTE: Make sure to enter your correct Wasabi-Access-Key and Wasabi-Secret-Key in the script. Set the Expiry value of this URL as per your requirement. For this example we are using 3600 seconds
NOTE: This config example discusses the use of Wasabi's us-east-2 storage region. To use other Wasabi storage regions, please use the appropriate Wasabi service URL as described in this article .
On your command line/terminal navigate to the directory/folder where you saved the .py file
Execute the script and enter your own bucket name and desired filename/key

You will receive a pre-signed url as seen above. Copy that to the clipboard
On your command Line, use curl to upload any file to Wasabi using Pre-signed URL
curl --request PUT --upload-file "http://your-pre-signed-url"
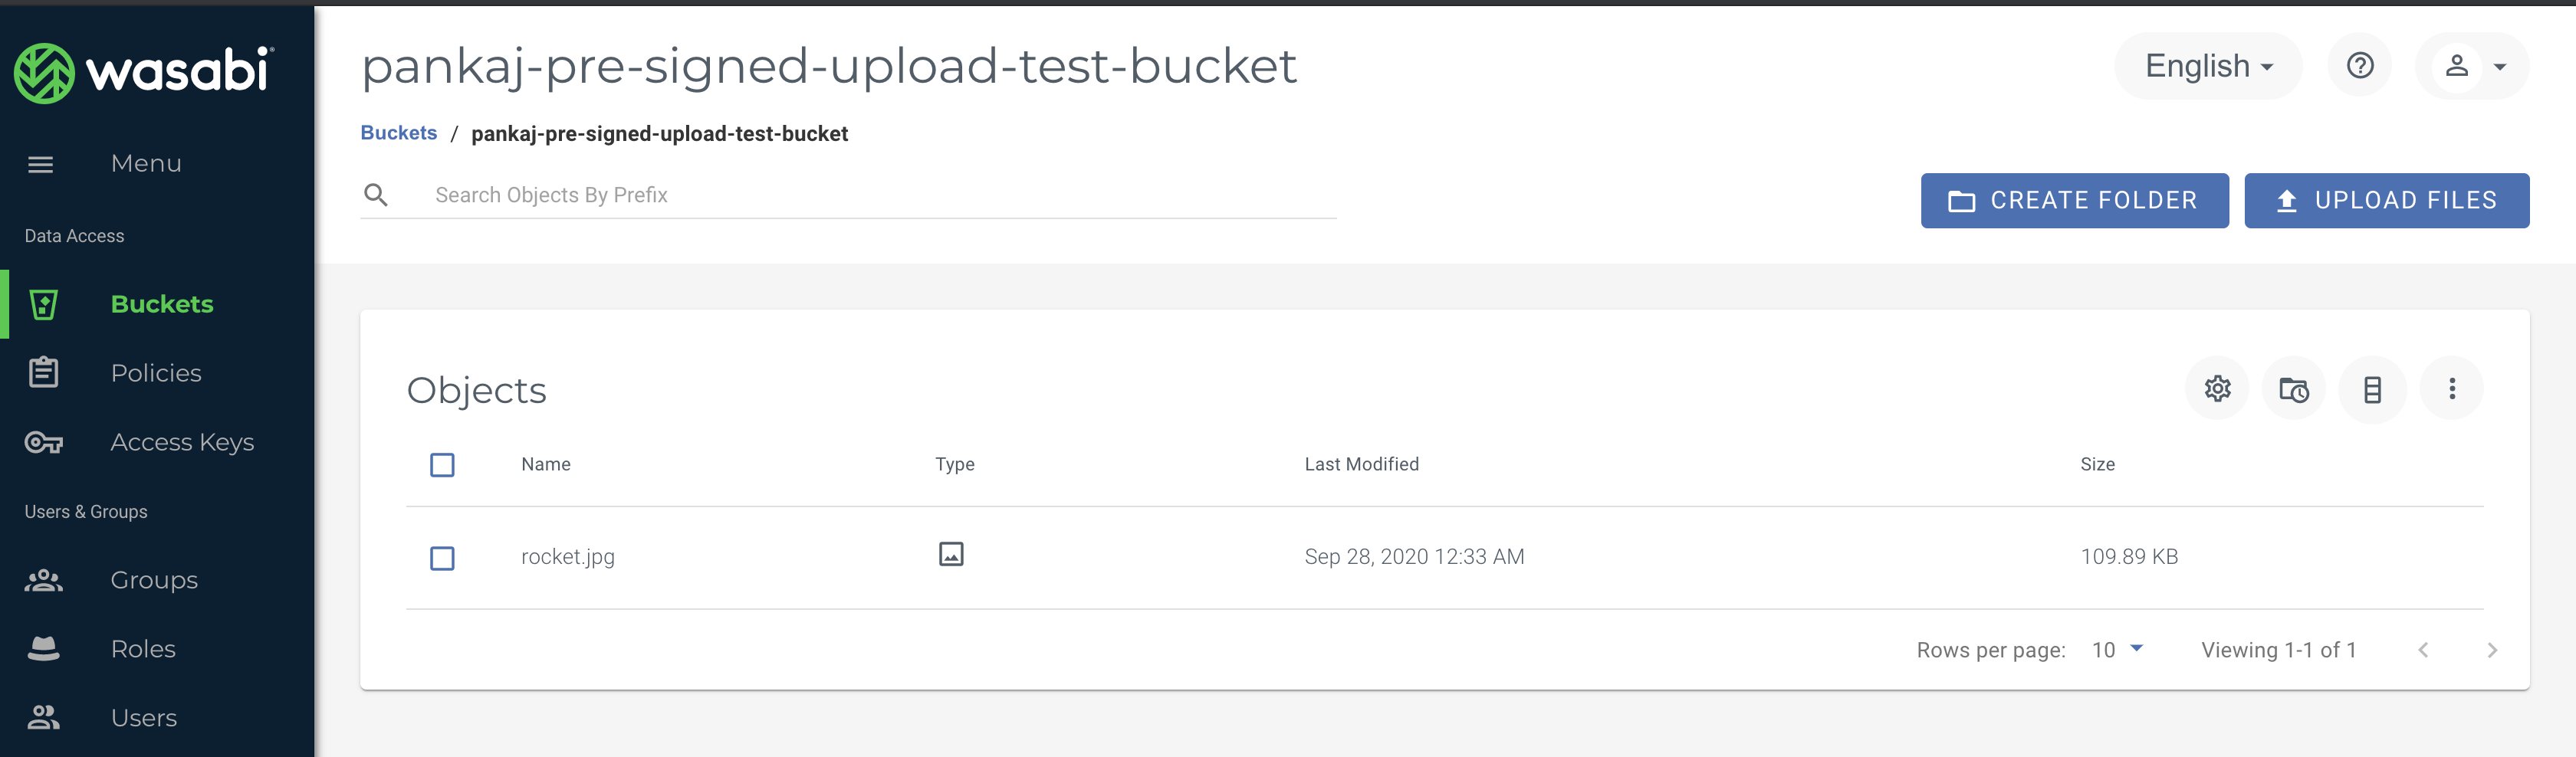
Check your Wasabi S3 bucket and your upload should be successful