Requirements
Before installing Wasabi Panel for Adobe, you must have:
Active Wasabi Hot Cloud Storage account
Adobe Creative Cloud license
Wasabi Panel can be accessed from macOS (not with Apple Silicon or using Rosetta) and Windows OS 11 and above.
To enable Rosetta mode for Photoshop:
Select the application icon in Finder.
Press Command + I (or right-click and choose Get Info).
Check the box for Open using Rosetta in the Info window. This option will appear only if the application is not yet optimized for Apple Silicon and needs Rosetta 2 to run. If the option is not present, the application is already running natively on Apple Silicon or is not a universal binary that can use Rosetta.
Wasabi Panel for Adobe Video Guide
“Open using Rosetta” box Panel
You can install the Wasabi Panel for Adobe from the Adobe Creative Cloud Marketplace. The Wasabi plug-in is available for no cost.
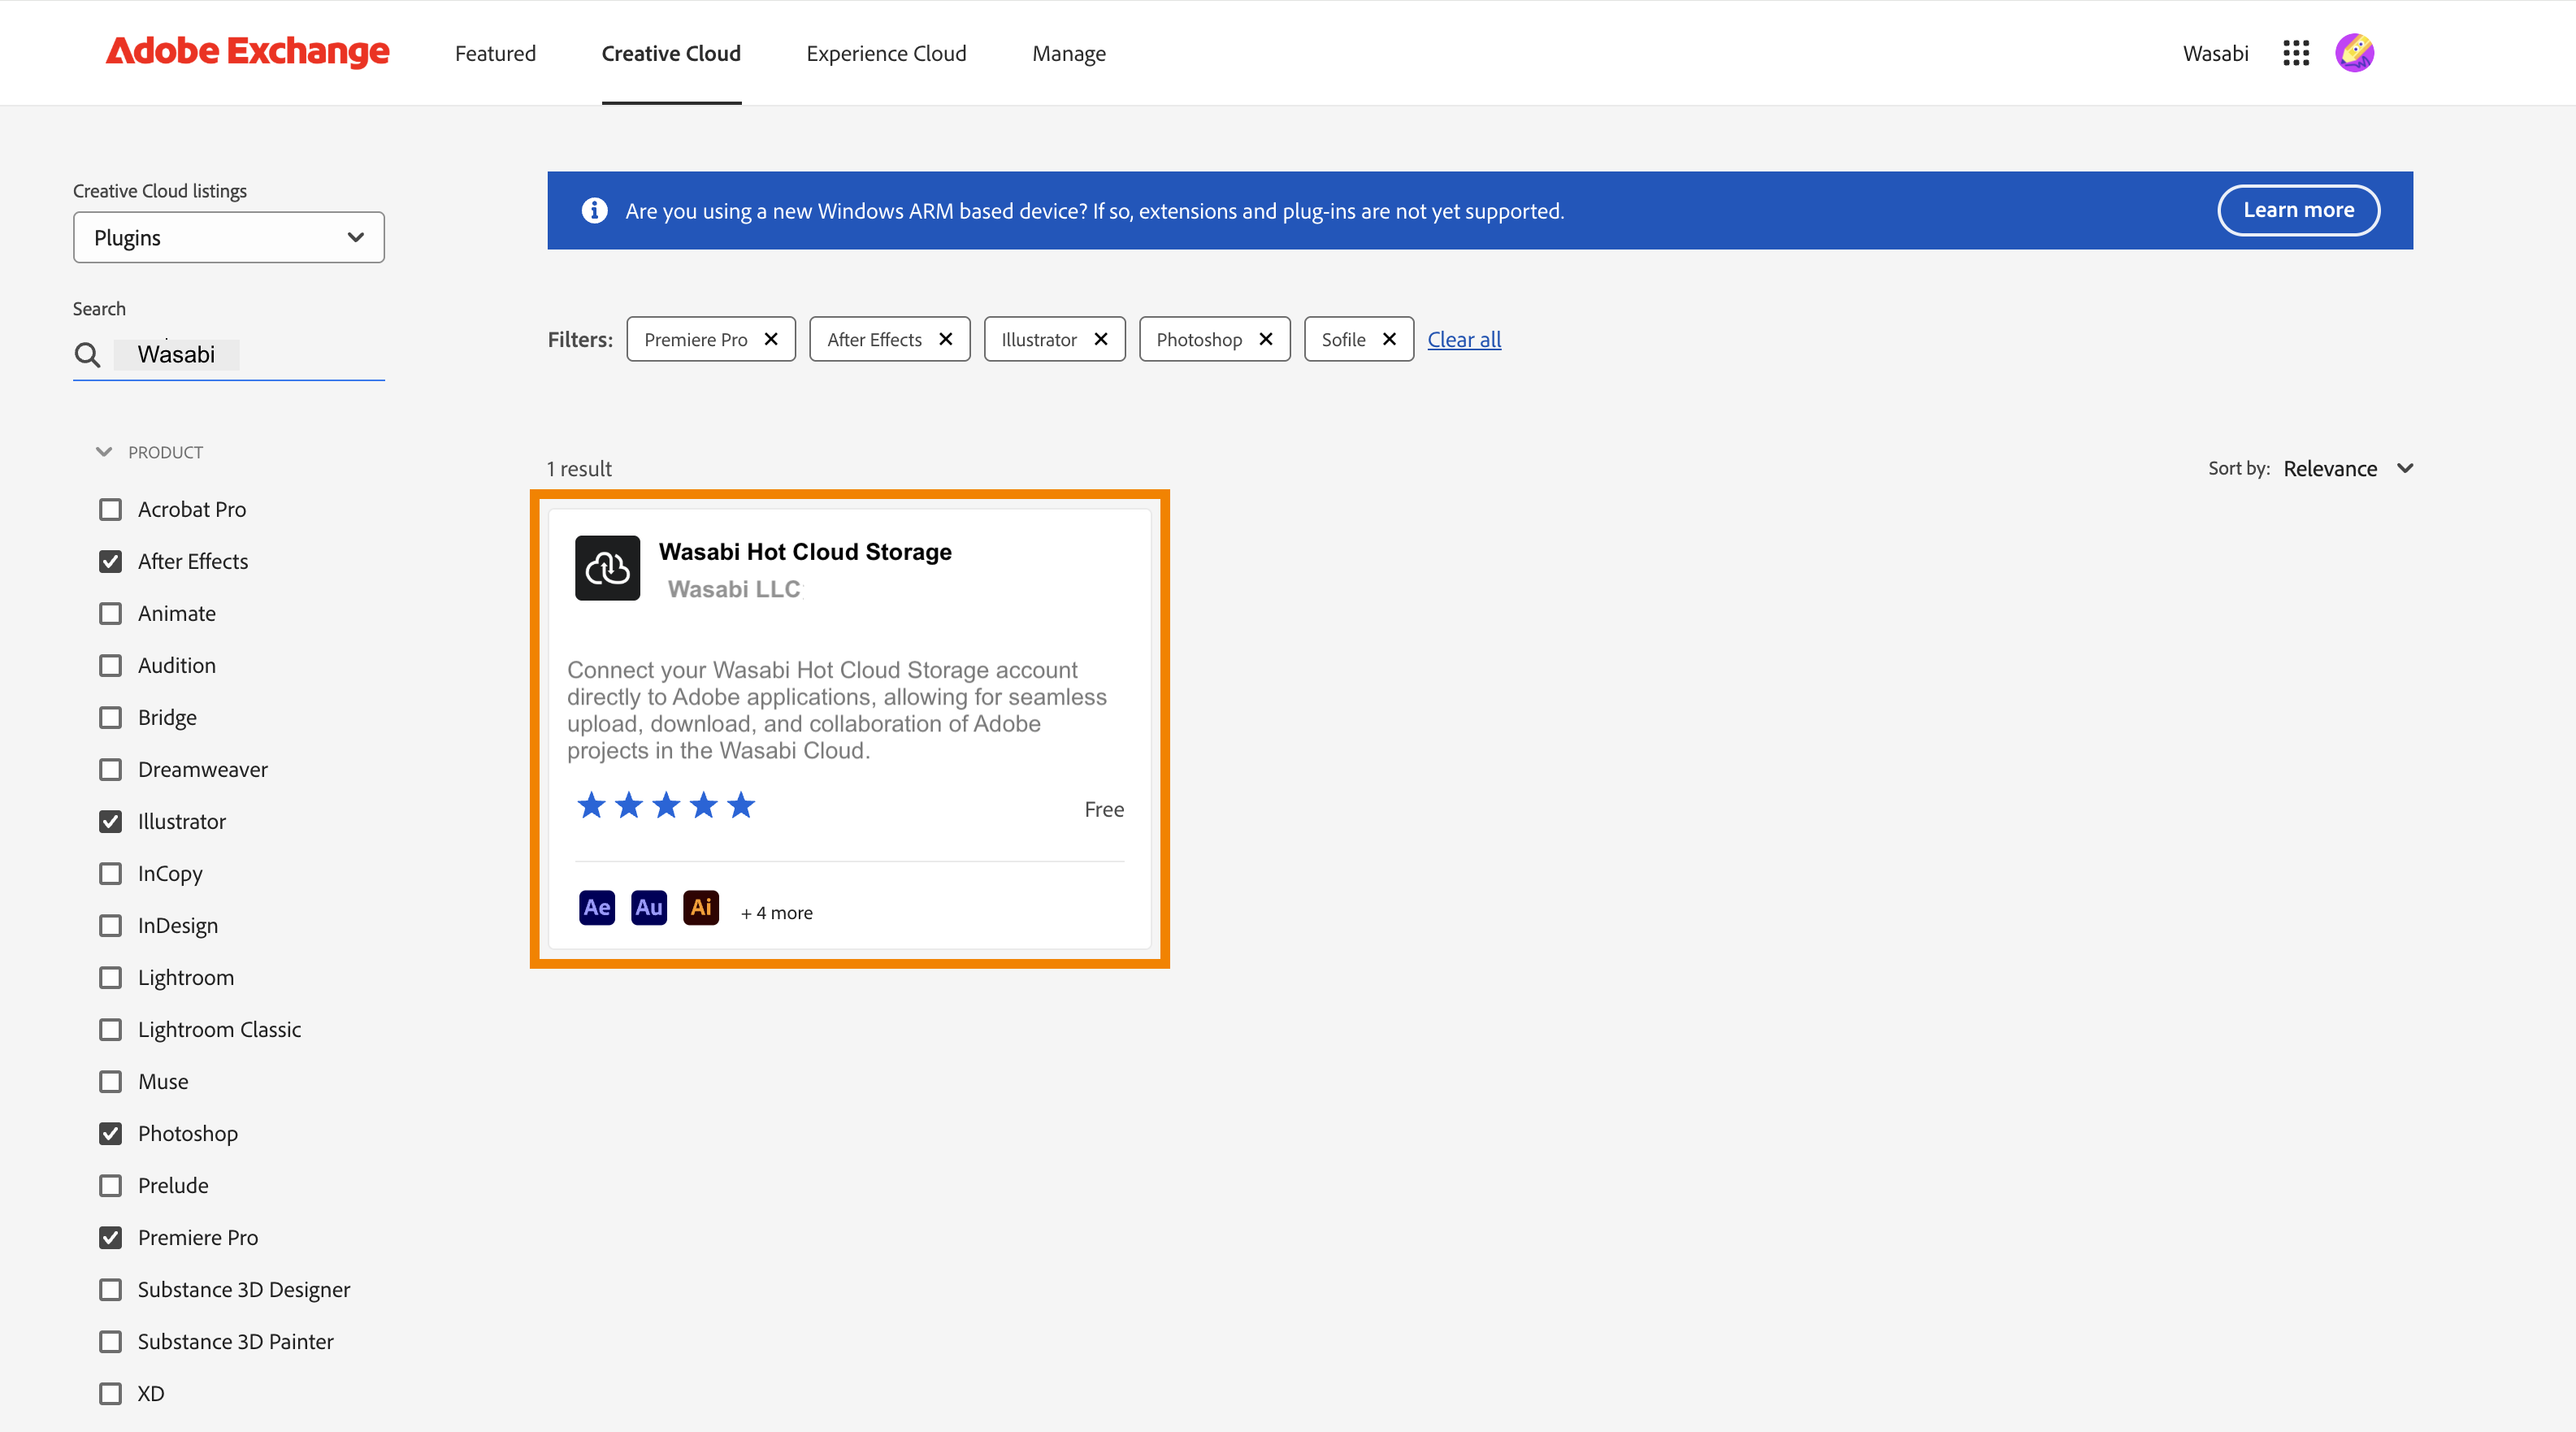
In the Adobe Creative Cloud Marketplace, search for Wasabi from the Creative Cloud listings page.
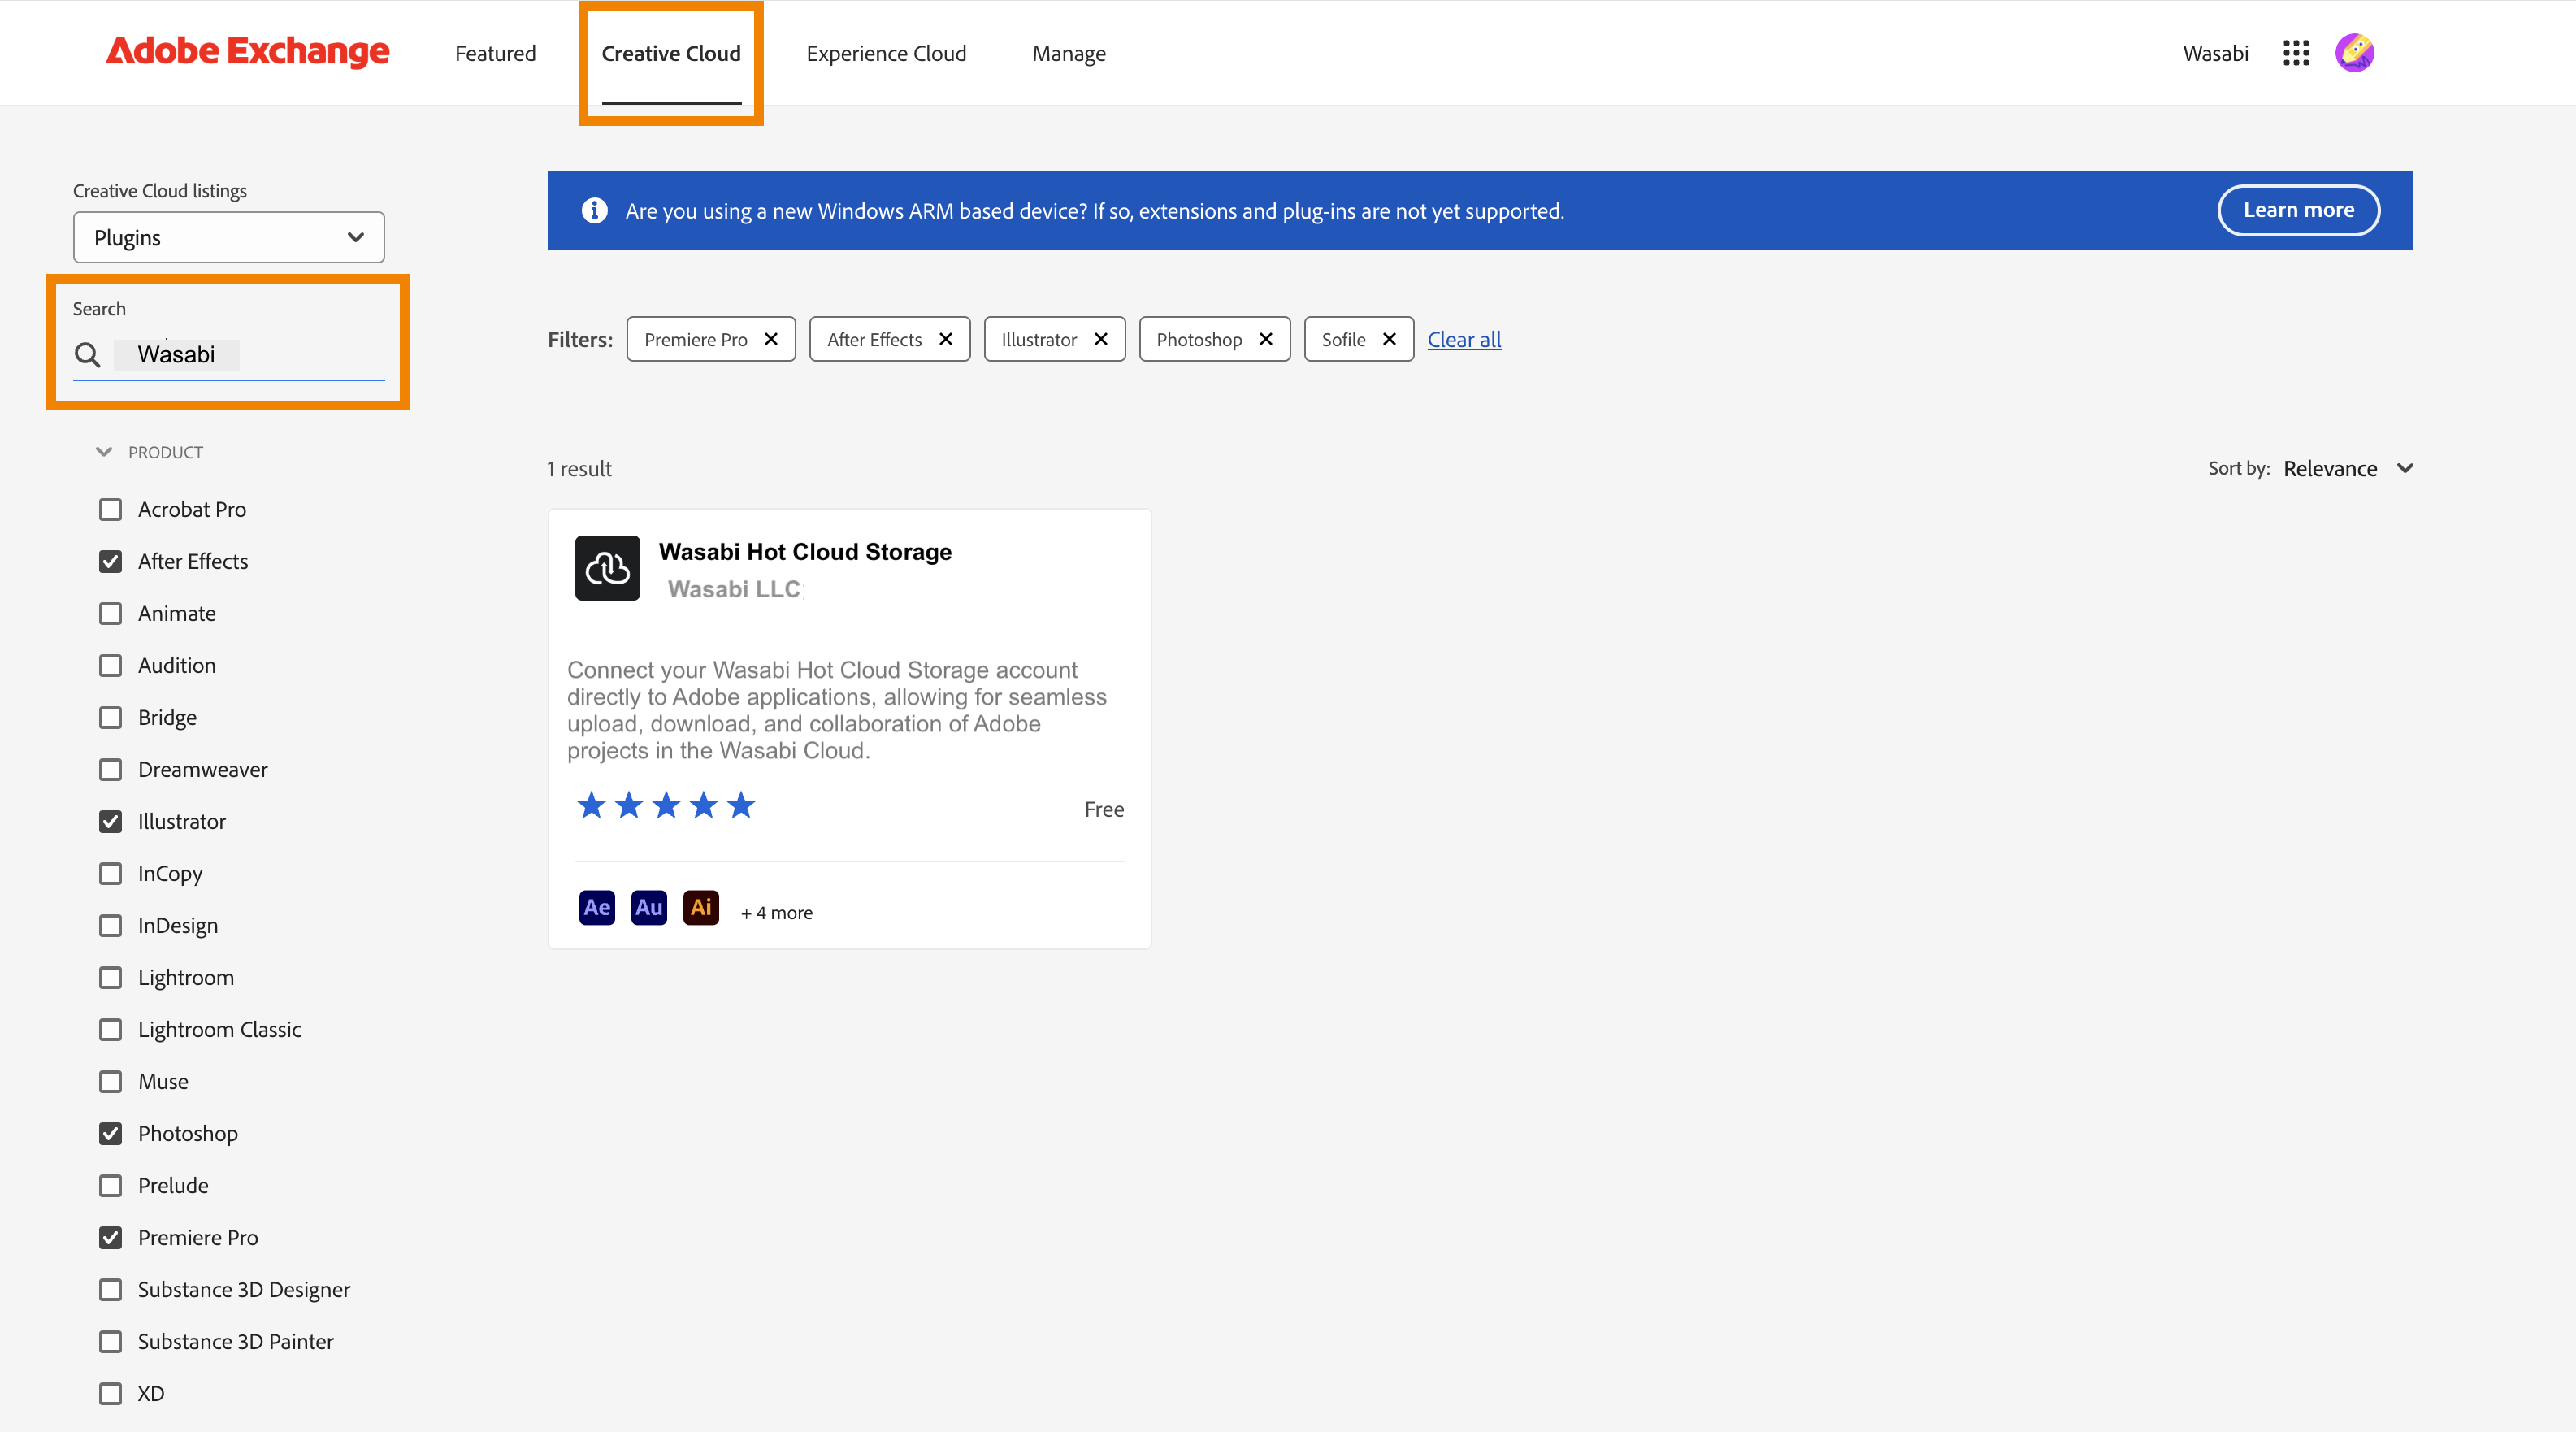
Plug-in information indicates that the cost-free Wasabi Panel for Adobe connects your Wasabi Hot Cloud Storage account directly to Adobe applications.
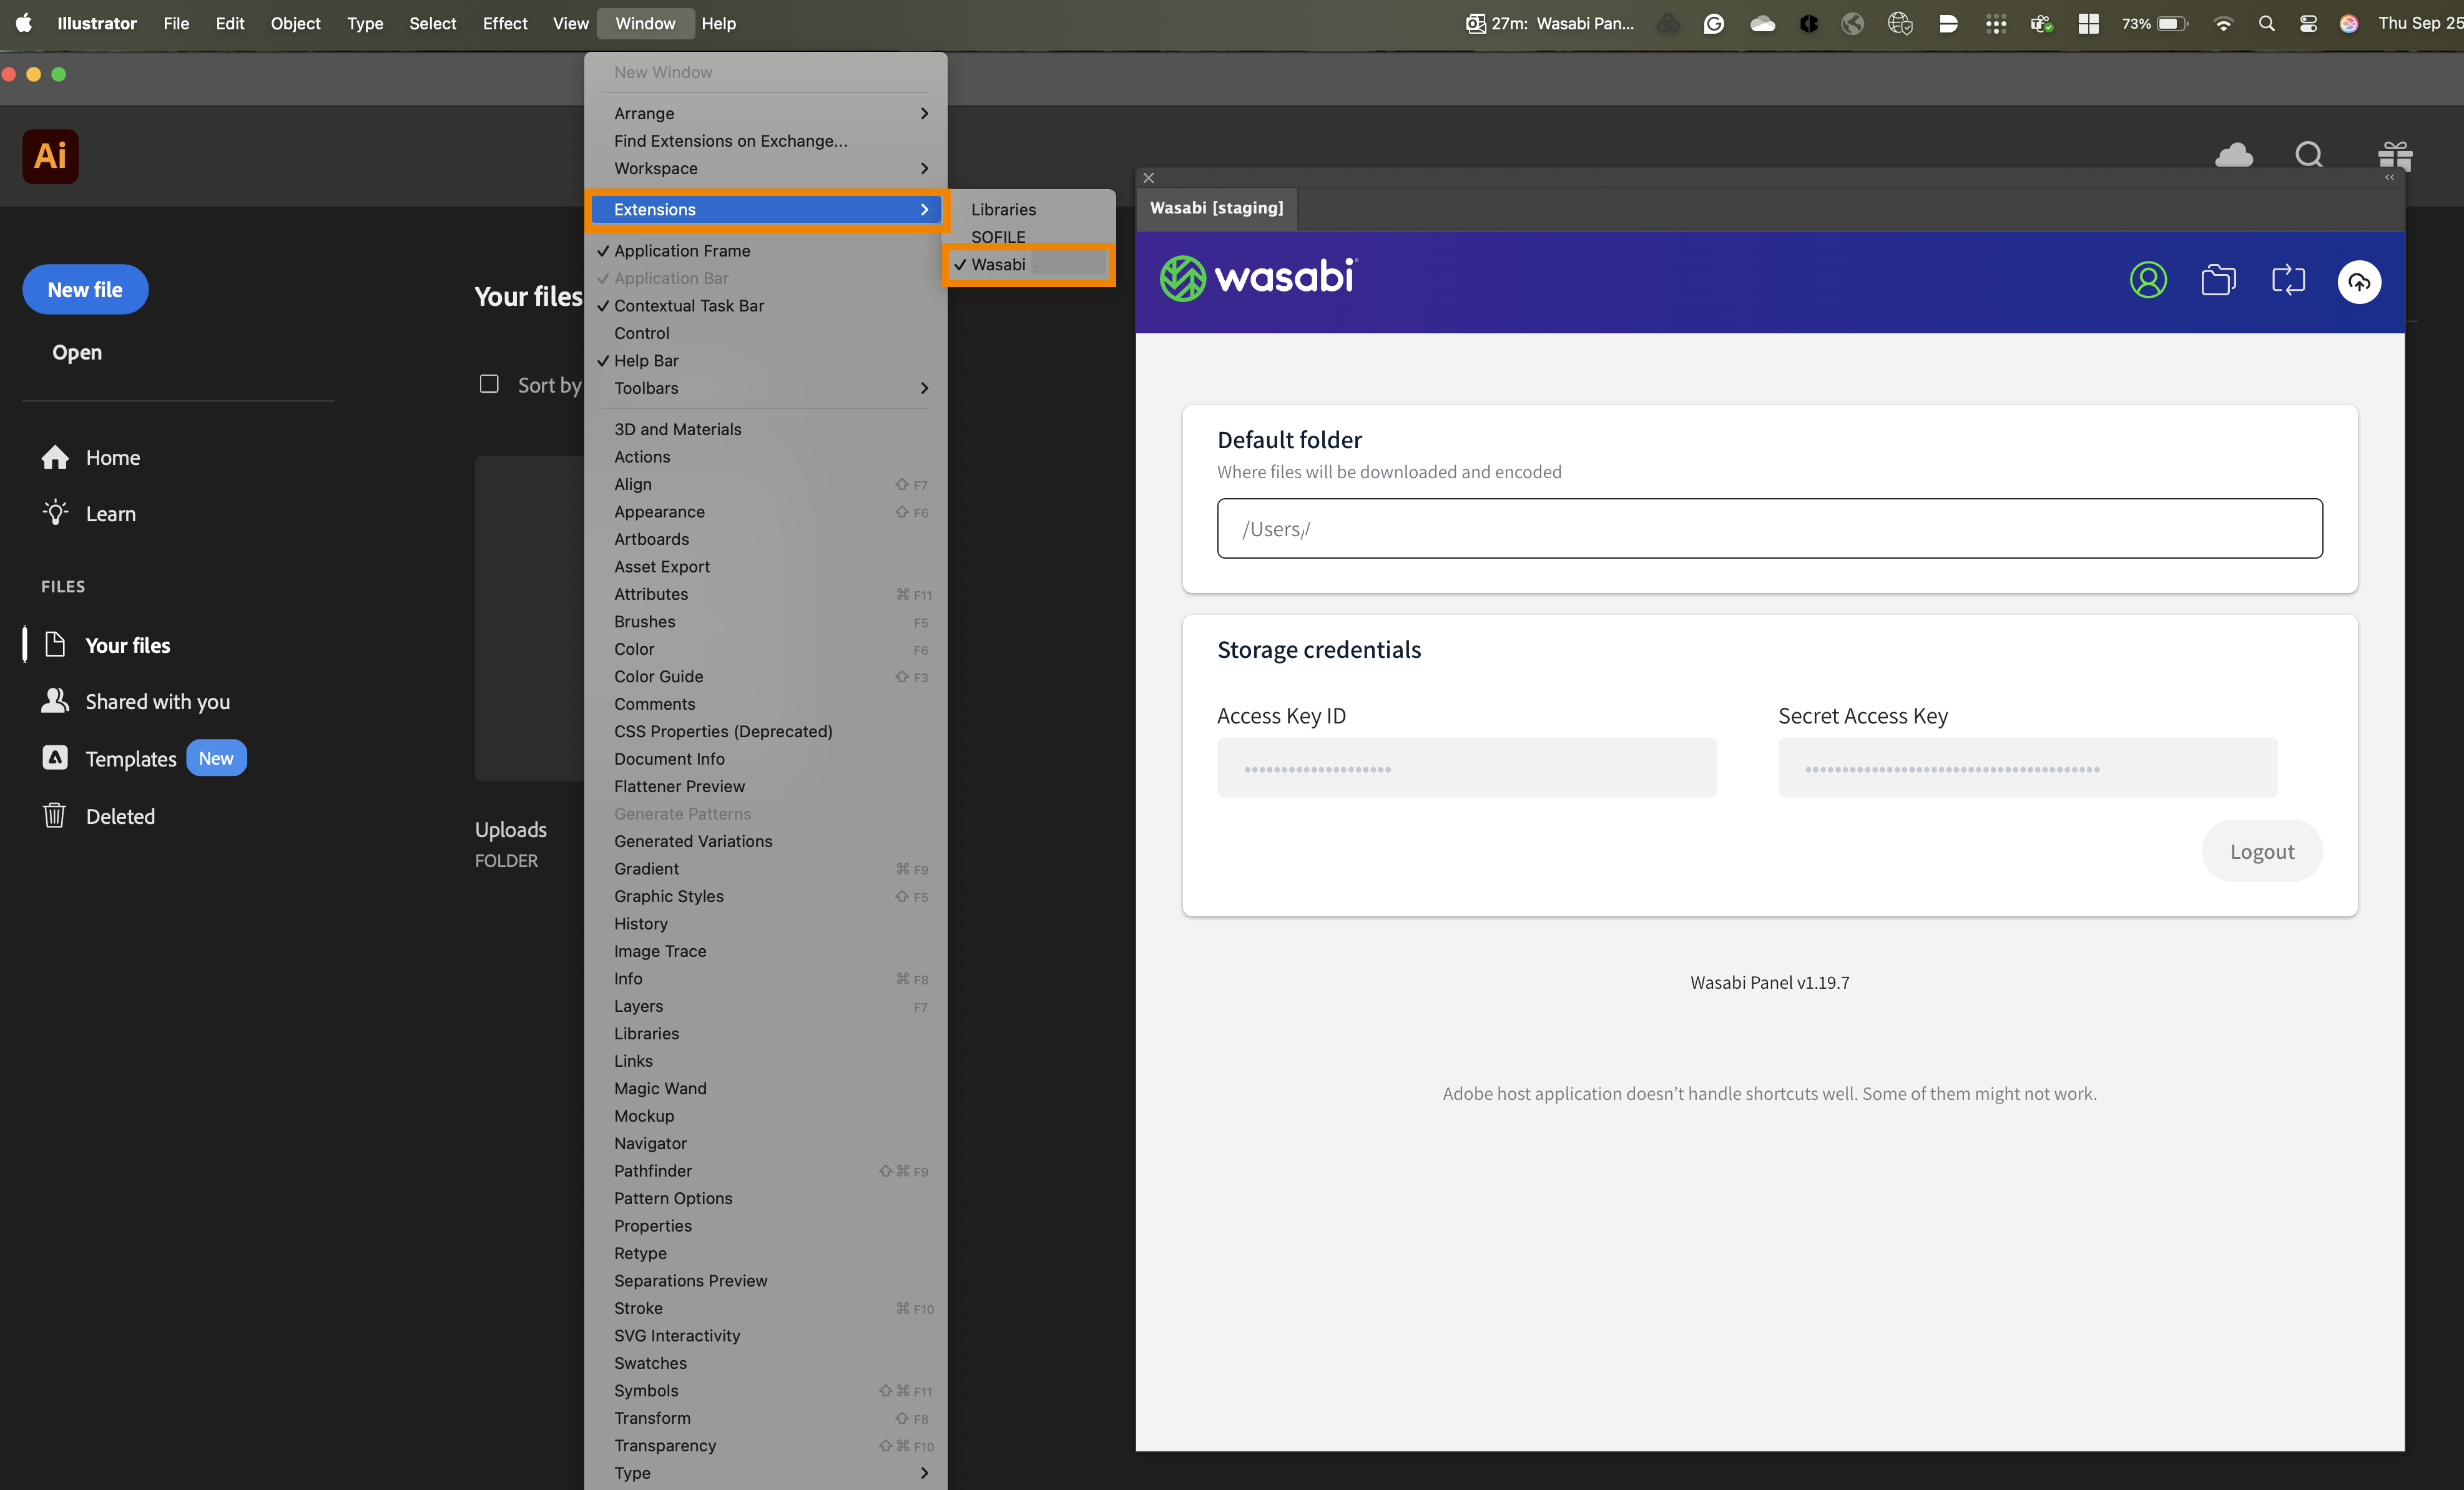
Once the plug-in is installed, access Wasabi Hot Cloud Storage as an extension in the Adobe application.
Logging in to Wasabi Panel
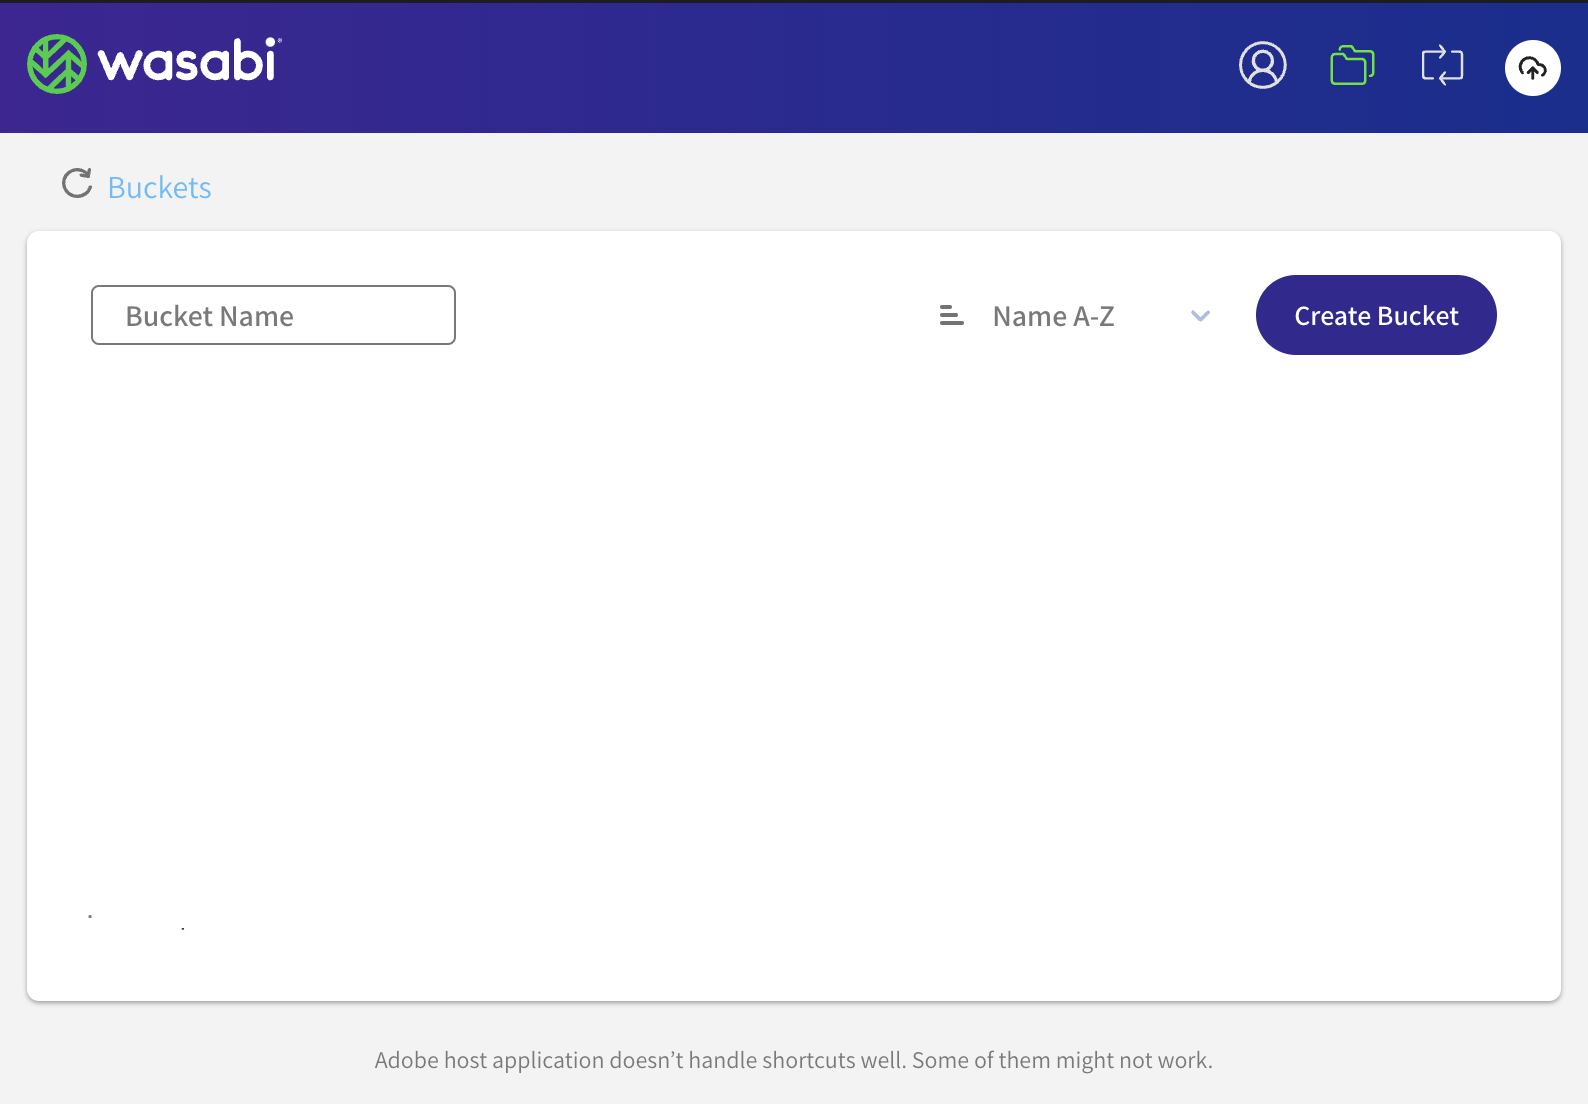
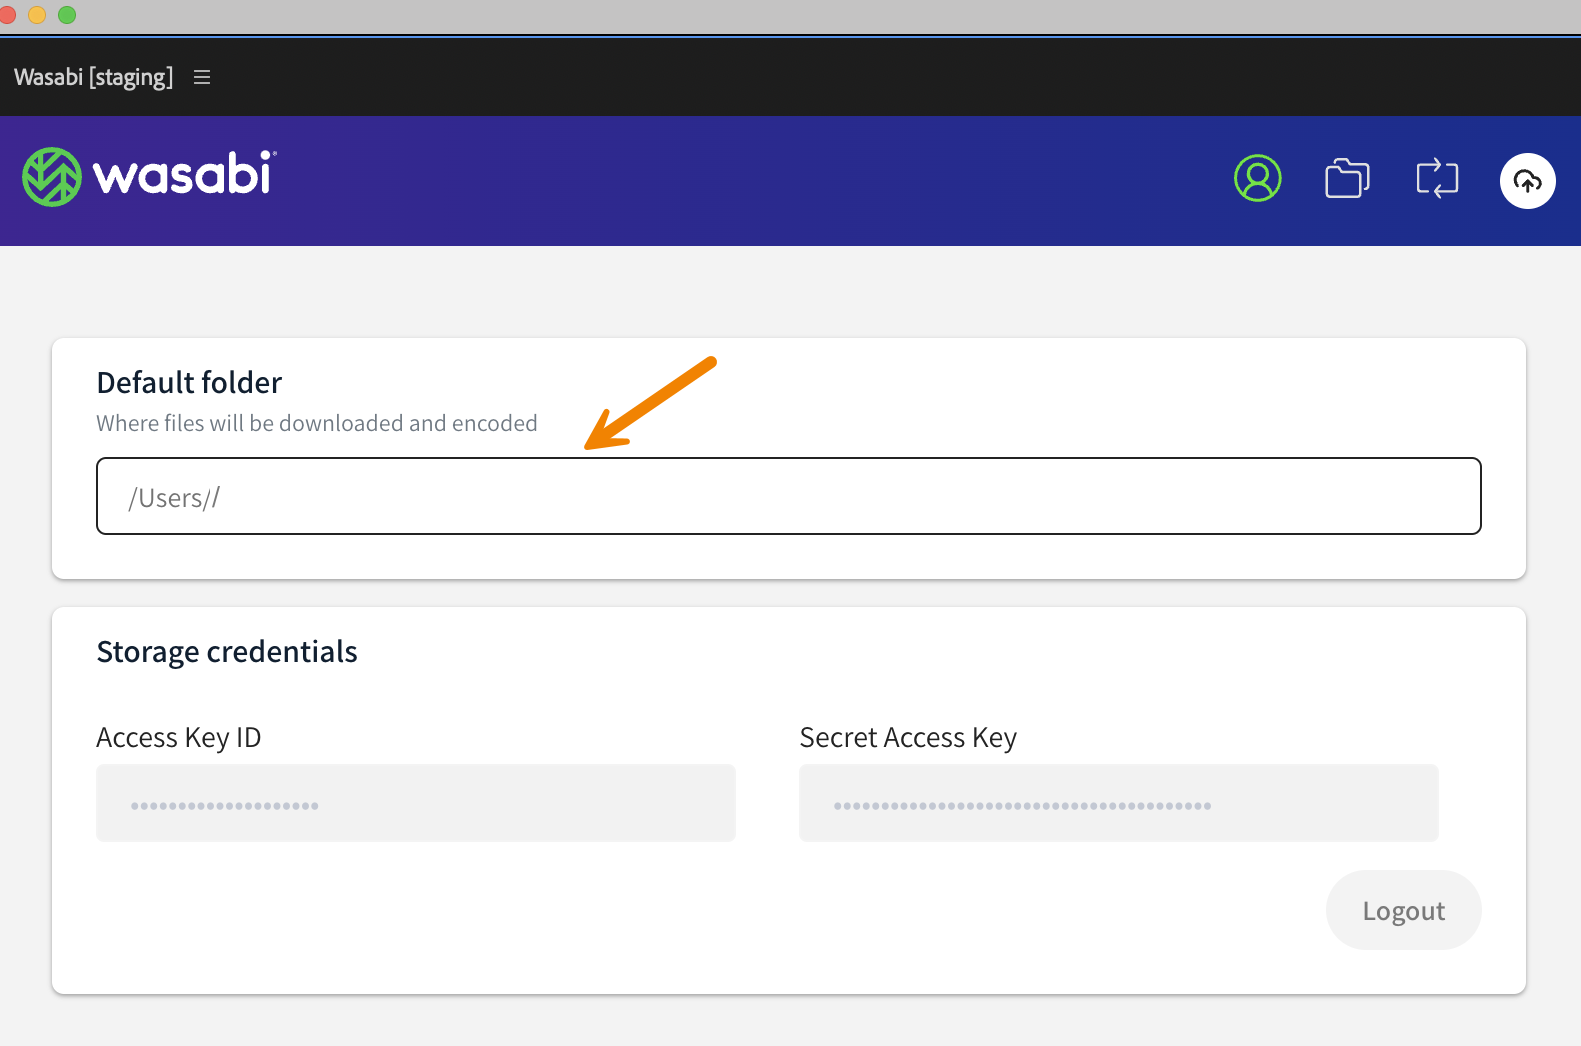
In the Wasabi panel, select a local folder where you want files to be downloaded by default.
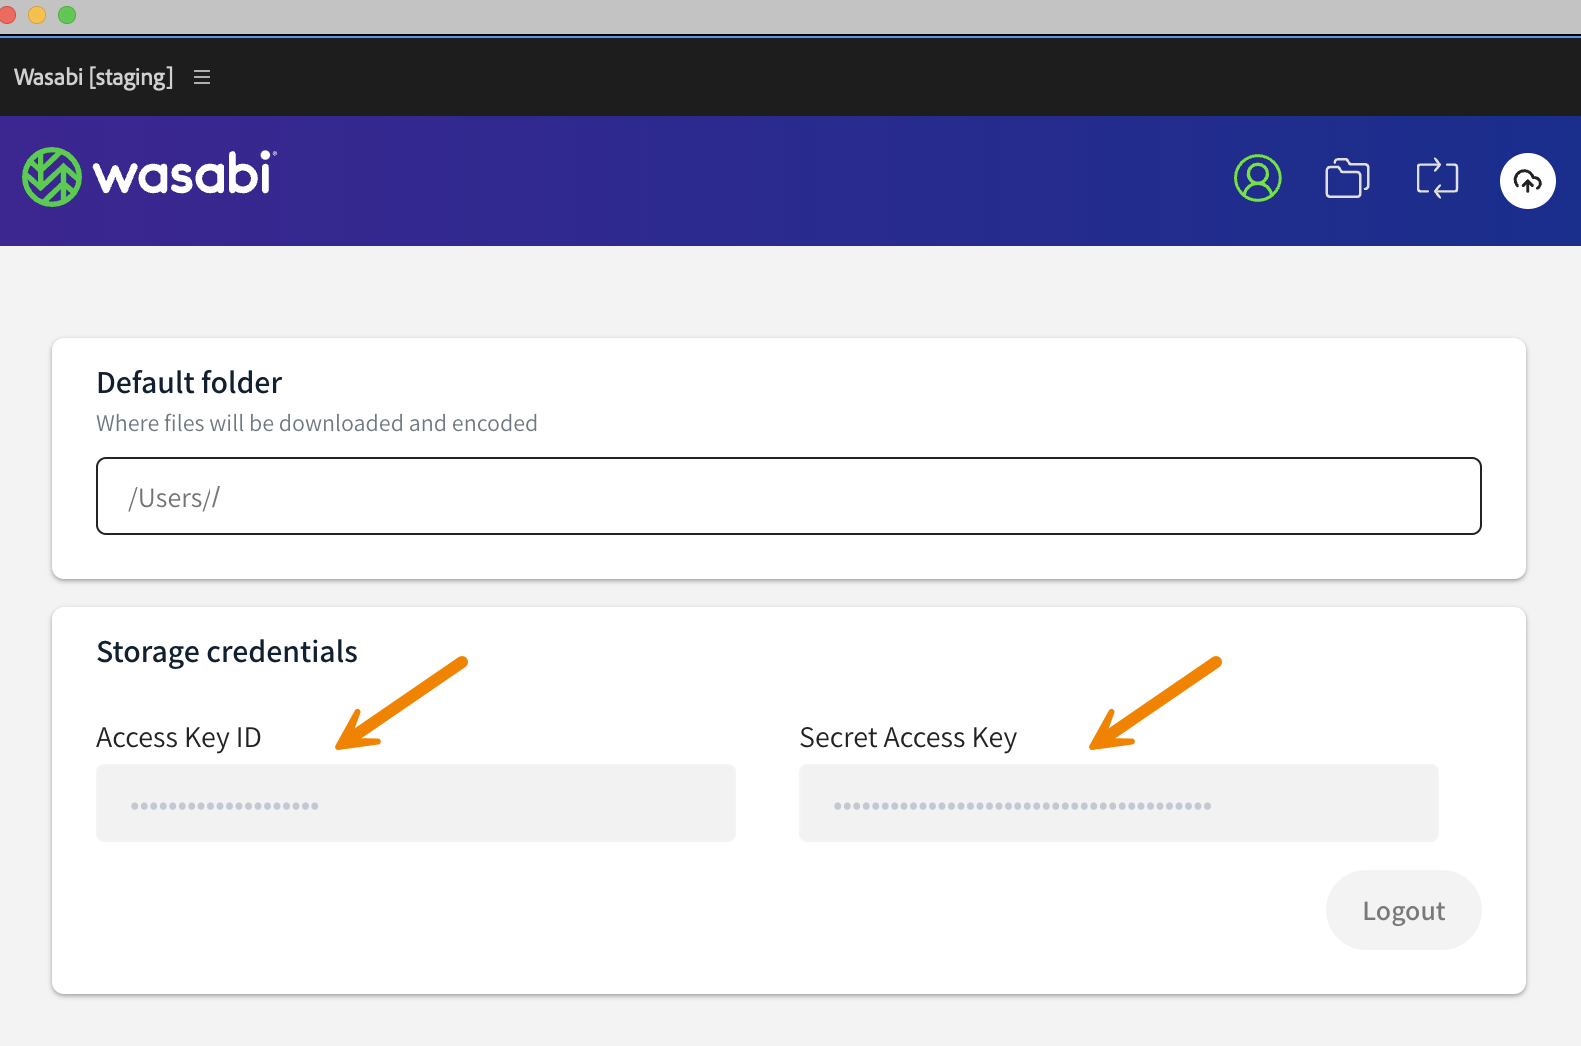
In the Wasabi Console, generate access and secret keys for authentication. (Refer to Access Keys in Wasabi Hot Cloud Storage.)
Enter the access and secret keys in the Wasabi panel.
You are ready to use the Wasabi Panel for Adobe, as described in Reviewing Features of Wasabi Panel for Adobe: