JetBackup has been validated for use with Wasabi. JetBackup allows you to easily back up your server account, website, and hosting data to a Wasabi Bucket. To use this product with Wasabi, follow the guidelines below. For additional information, refer to JetBackup Documentation.
Requirements
Wasabi Hot Cloud Storage Account
Wasabi Bucket - See Creating a Bucket KB
Be sure to note the bucket name, storage region, and your access key and secret Key, as you will need them later in the guide.
JetBackup for Servers Version 5 installed
JetBackup for Servers (Version 5.3.18.1 at time of testing) - See JetBackup’s Installation Guide
JetBackup for Servers License - See Jetbackup’s Product Pricing
Configuring Wasabi Destination
Log in to your JetBackup Dashboard and click the Destinations tab on the left panel.
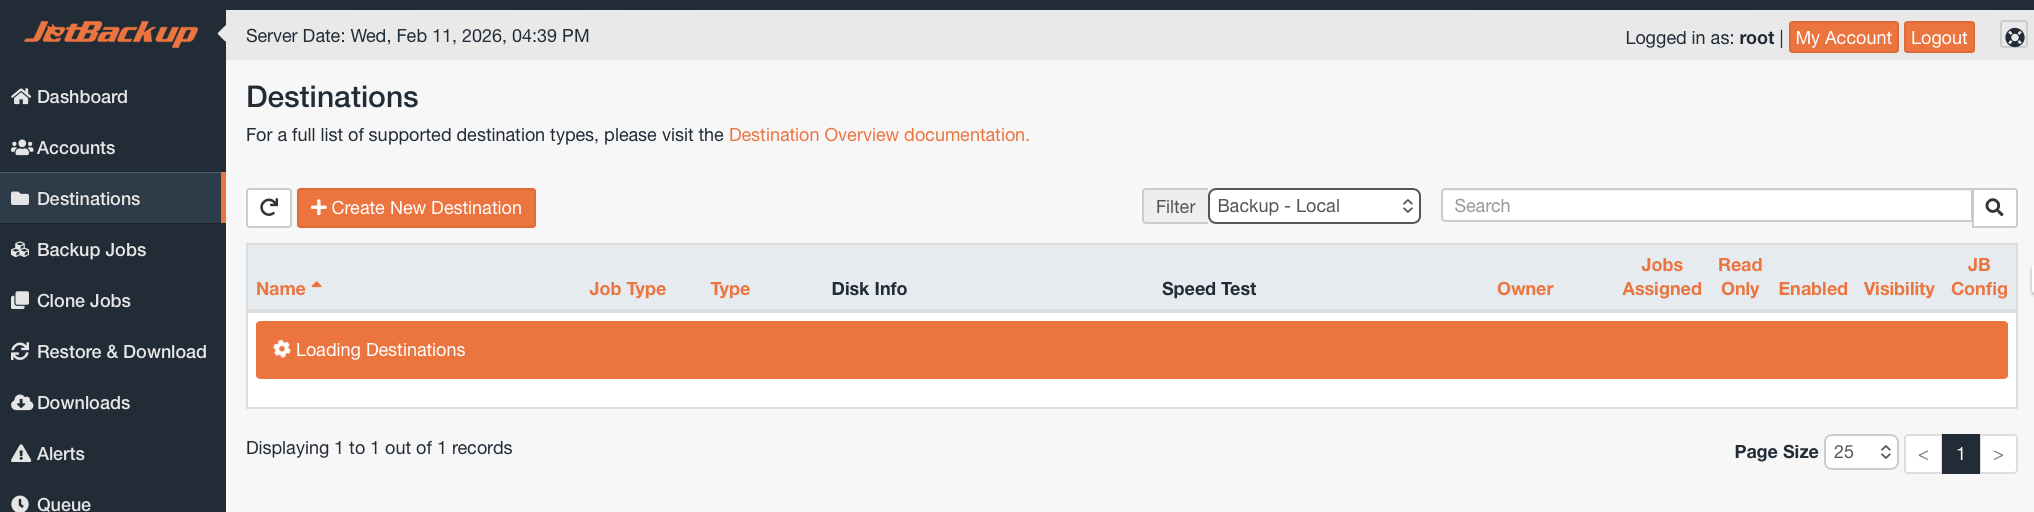
On the Destinations tab, click + Create New Destination.
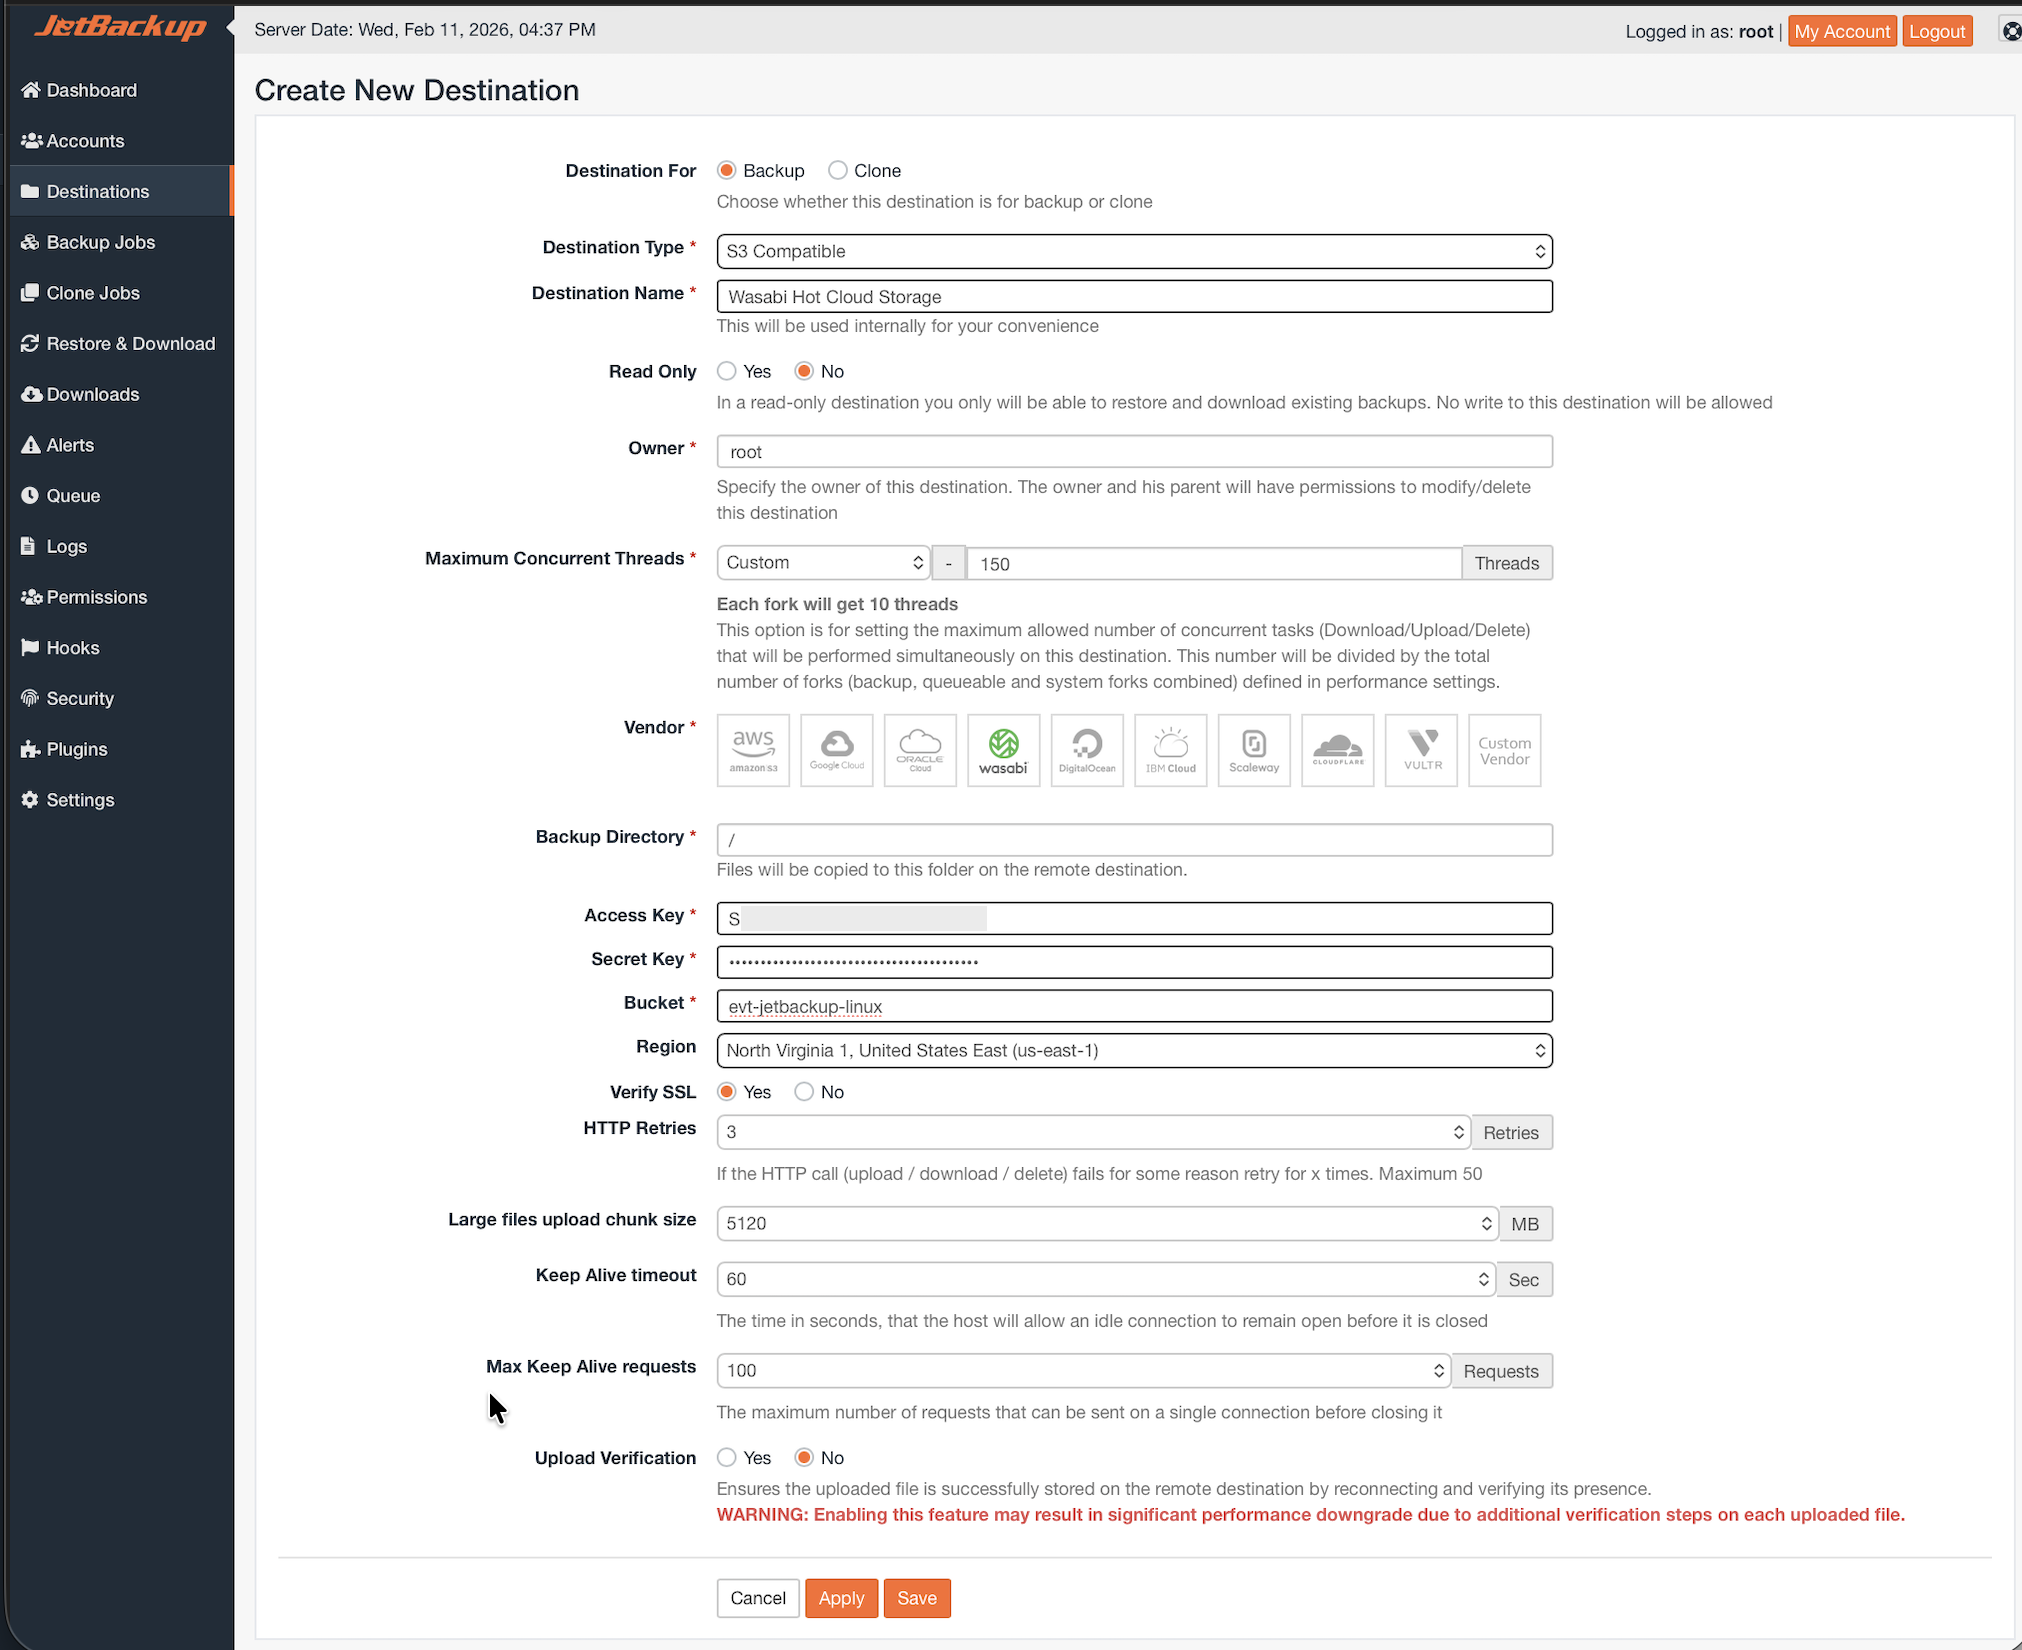
Set Destination for Backup or Clone depending on your needs.
Set Destination Type to “S3 Compatible”.
Set a Name for your destination.
Set Read Only to No.
Leave Owner set to default unless you require specific permissions.
Set Maximum Concurrent Threads depending on your machine’s specifications (150 default).
Select Wasabi as the Vendor.
Optionally choose a specific Backup Directory inside your bucket for this Destination (useful if backing up multiple data sets to the same bucket).
Input your Wasabi Hot Cloud Storage Access Key.
Input your Wasabi Hot Cloud Storage Secret Key.
Input the name of your bucket.
Choose the region in which your bucket is deployed.
Optionally change the HTTP Retries (3 is default).
Leave Verify SSL set to Yes.
Optionally change the Large Files upload chunk size (5120 is default).
Optionally change the Keep Alive Timeout (60 is default).
Optionally change the Max Keep Alive Requests (100 is default).
Optionally turn on Upload Verification (No is default).
Click Save.
This configuration example discusses the use of Wasabi's us-east-1 storage region. Use the region your bucket is located in. For a list of regions, see Service URLs for Wasabi's Storage Regions.
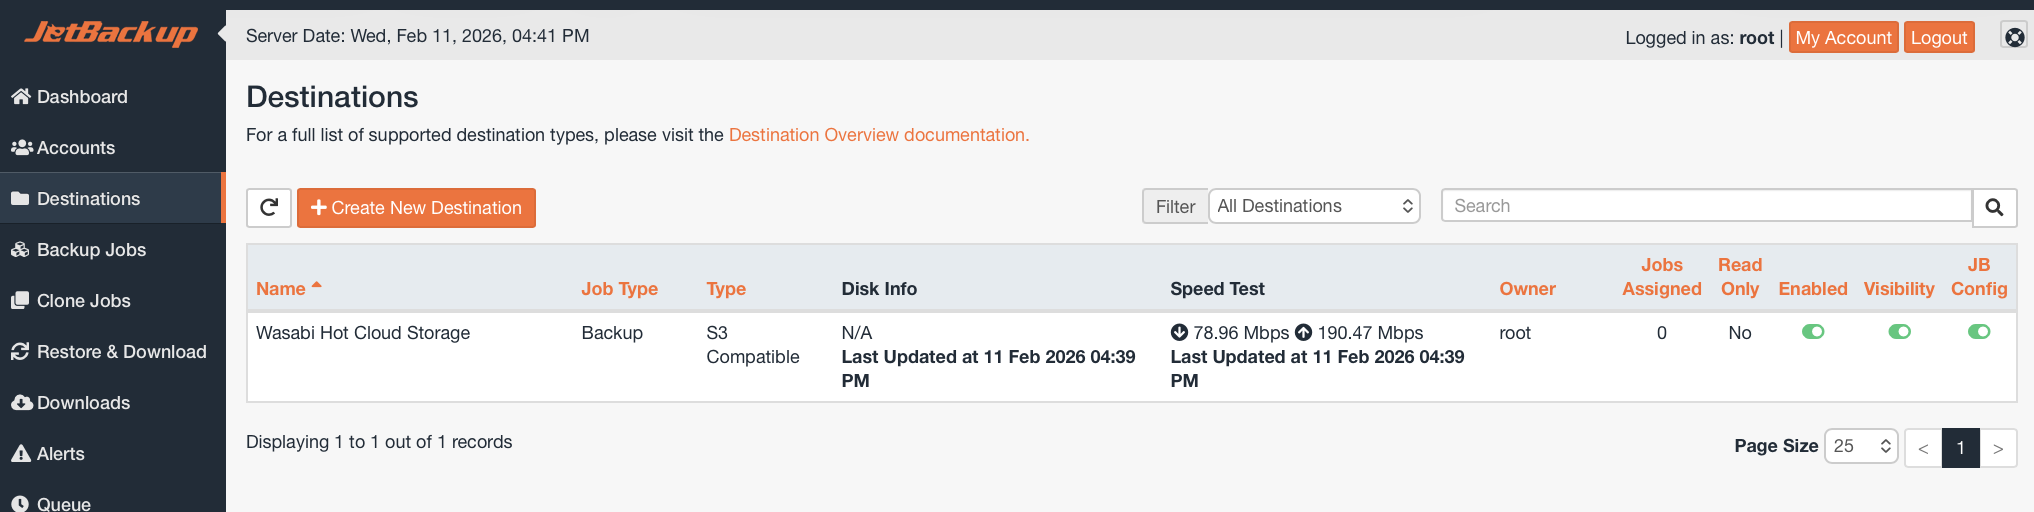
You will now see your new Destination on the Destinations tab.
Creating a Backup Job
Select the Backup Jobs tab on your JetBackup Dashboard.

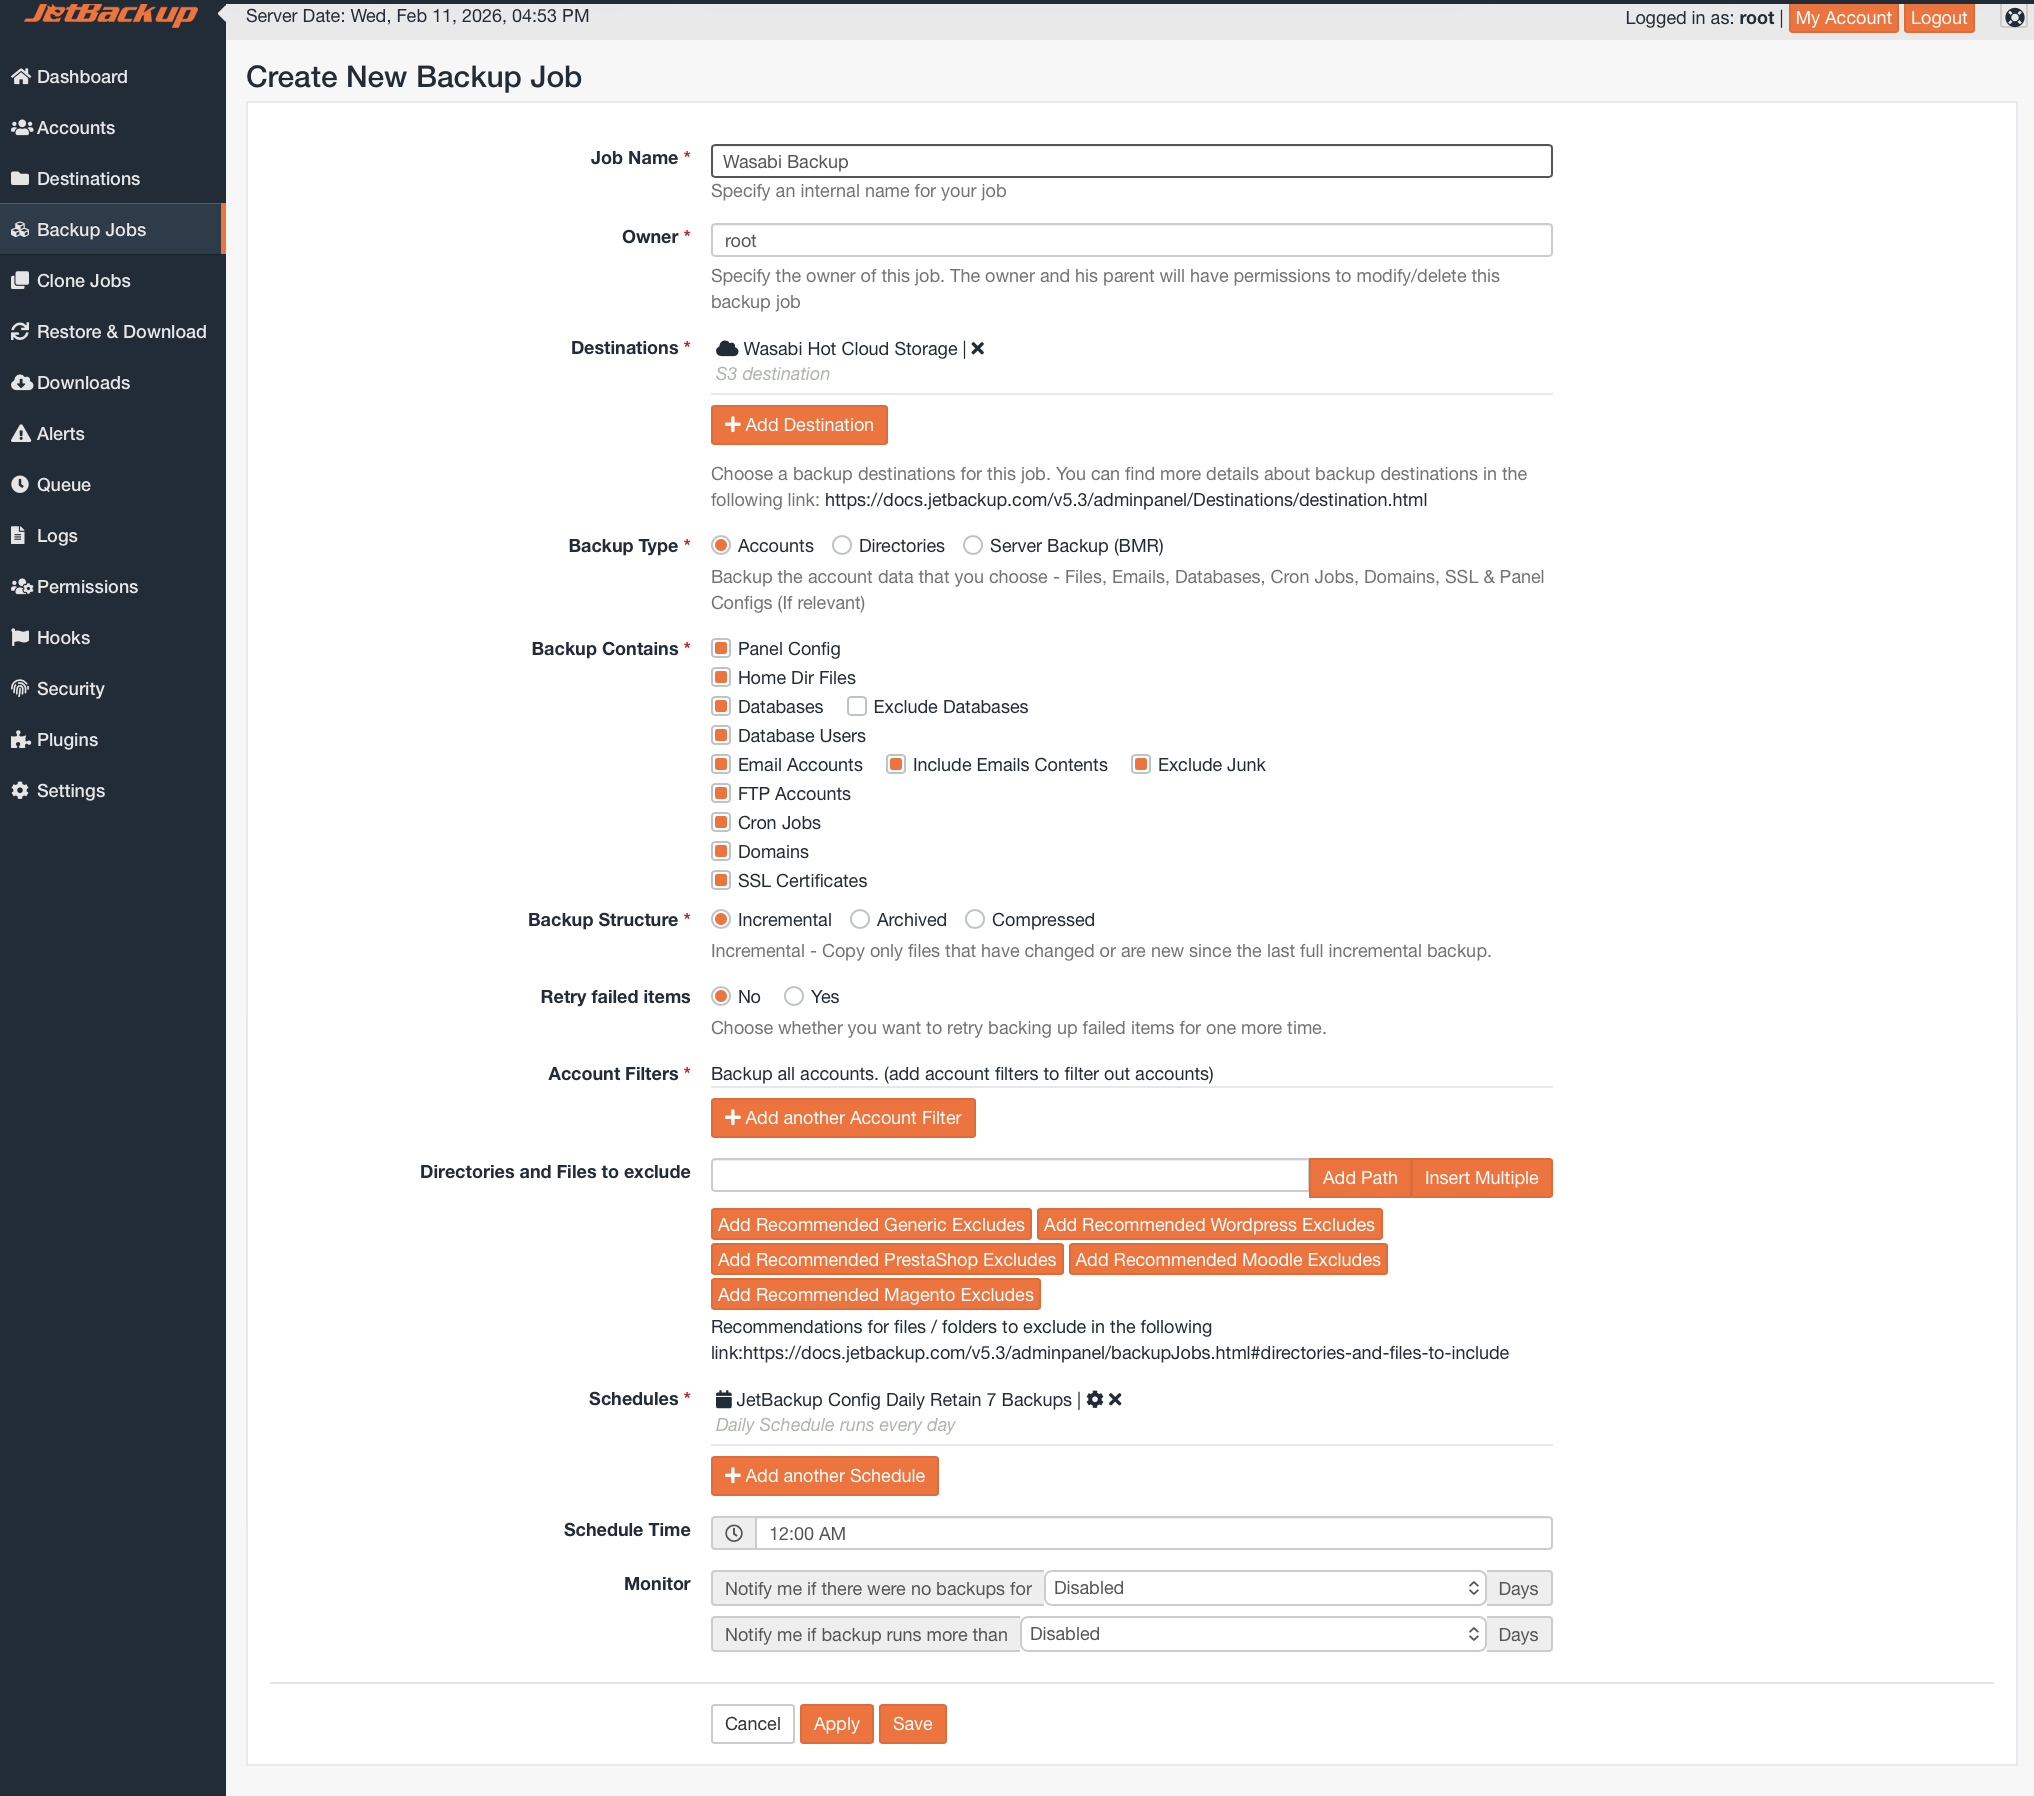
Click + Create New Backup Job to create a new Backup Job.
Input a Name for your Backup Job
Optionally change the Owner for the Backup Job
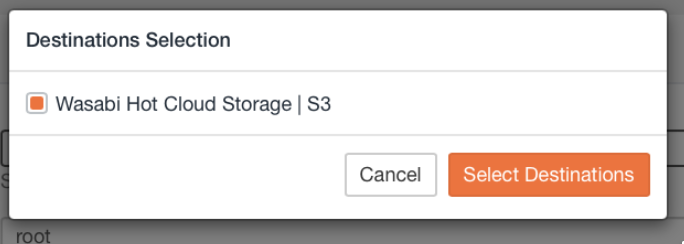
Choose your prior created Wasabi Destination by clicking + Add Destination, checking the box next to your destination, and clicking Select Destinations.
Choose your Backup Type (In this example we are backing up a Linux Account).
Choose the contents of your Backup.
Choose your Backup Structure (Incremental is default).
Optionally choose whether to Retry Failed Items.
Optionally Set Account Filter (all is default).
Optionally list directories to exclude.
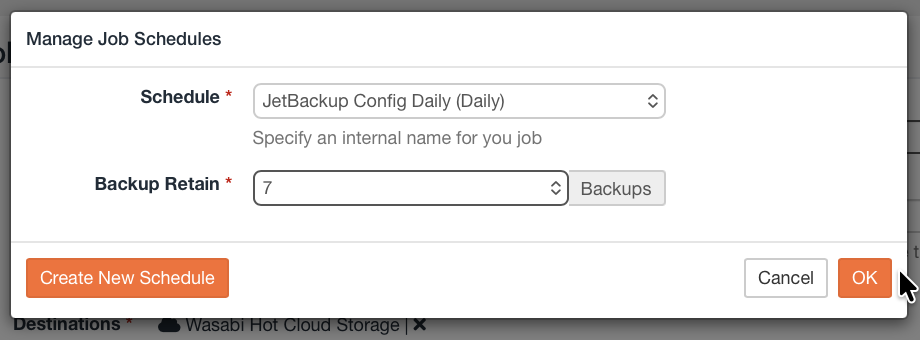
Set a backup Schedule By clicking + Add Another Schedule and setting the schedule and retention.
Set the Schedule Time for the Backup Job to run.
Optionally, configure Notifications.
Click Save.
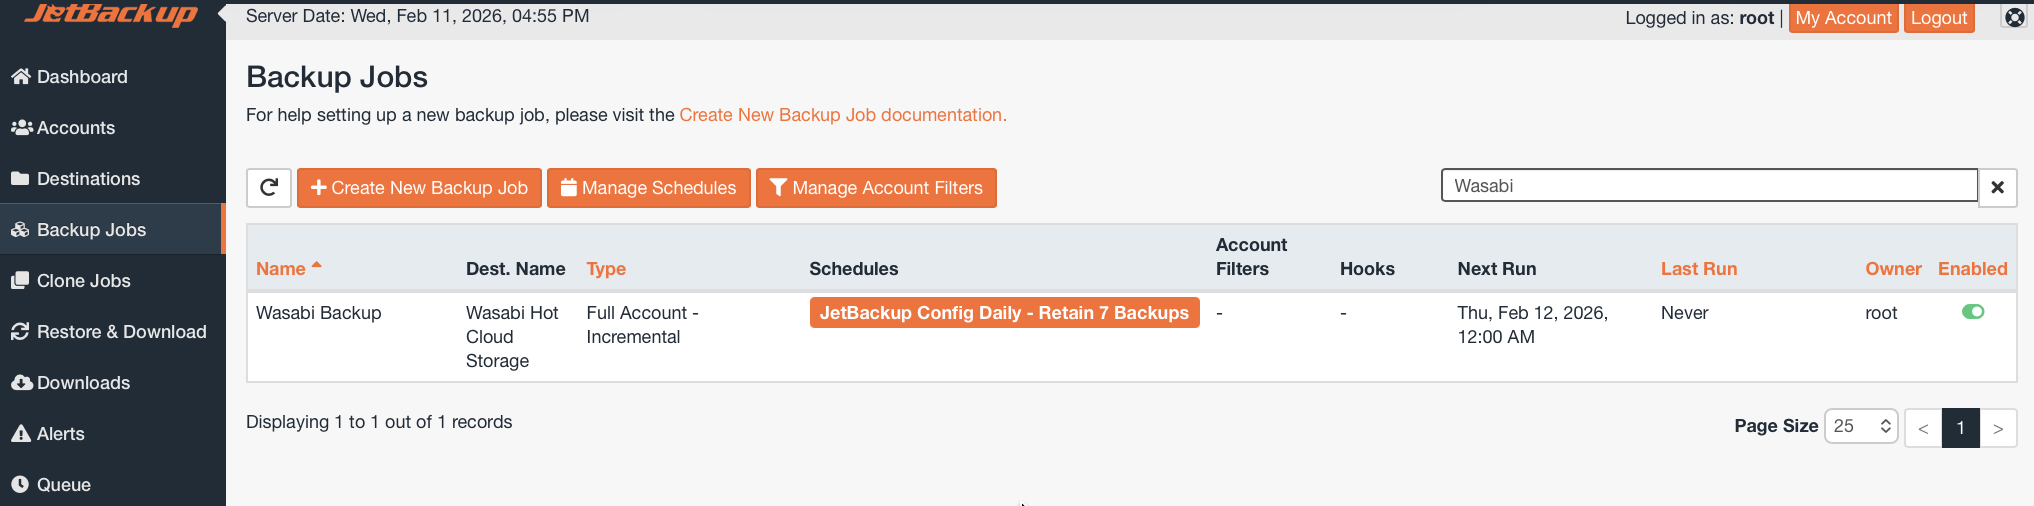
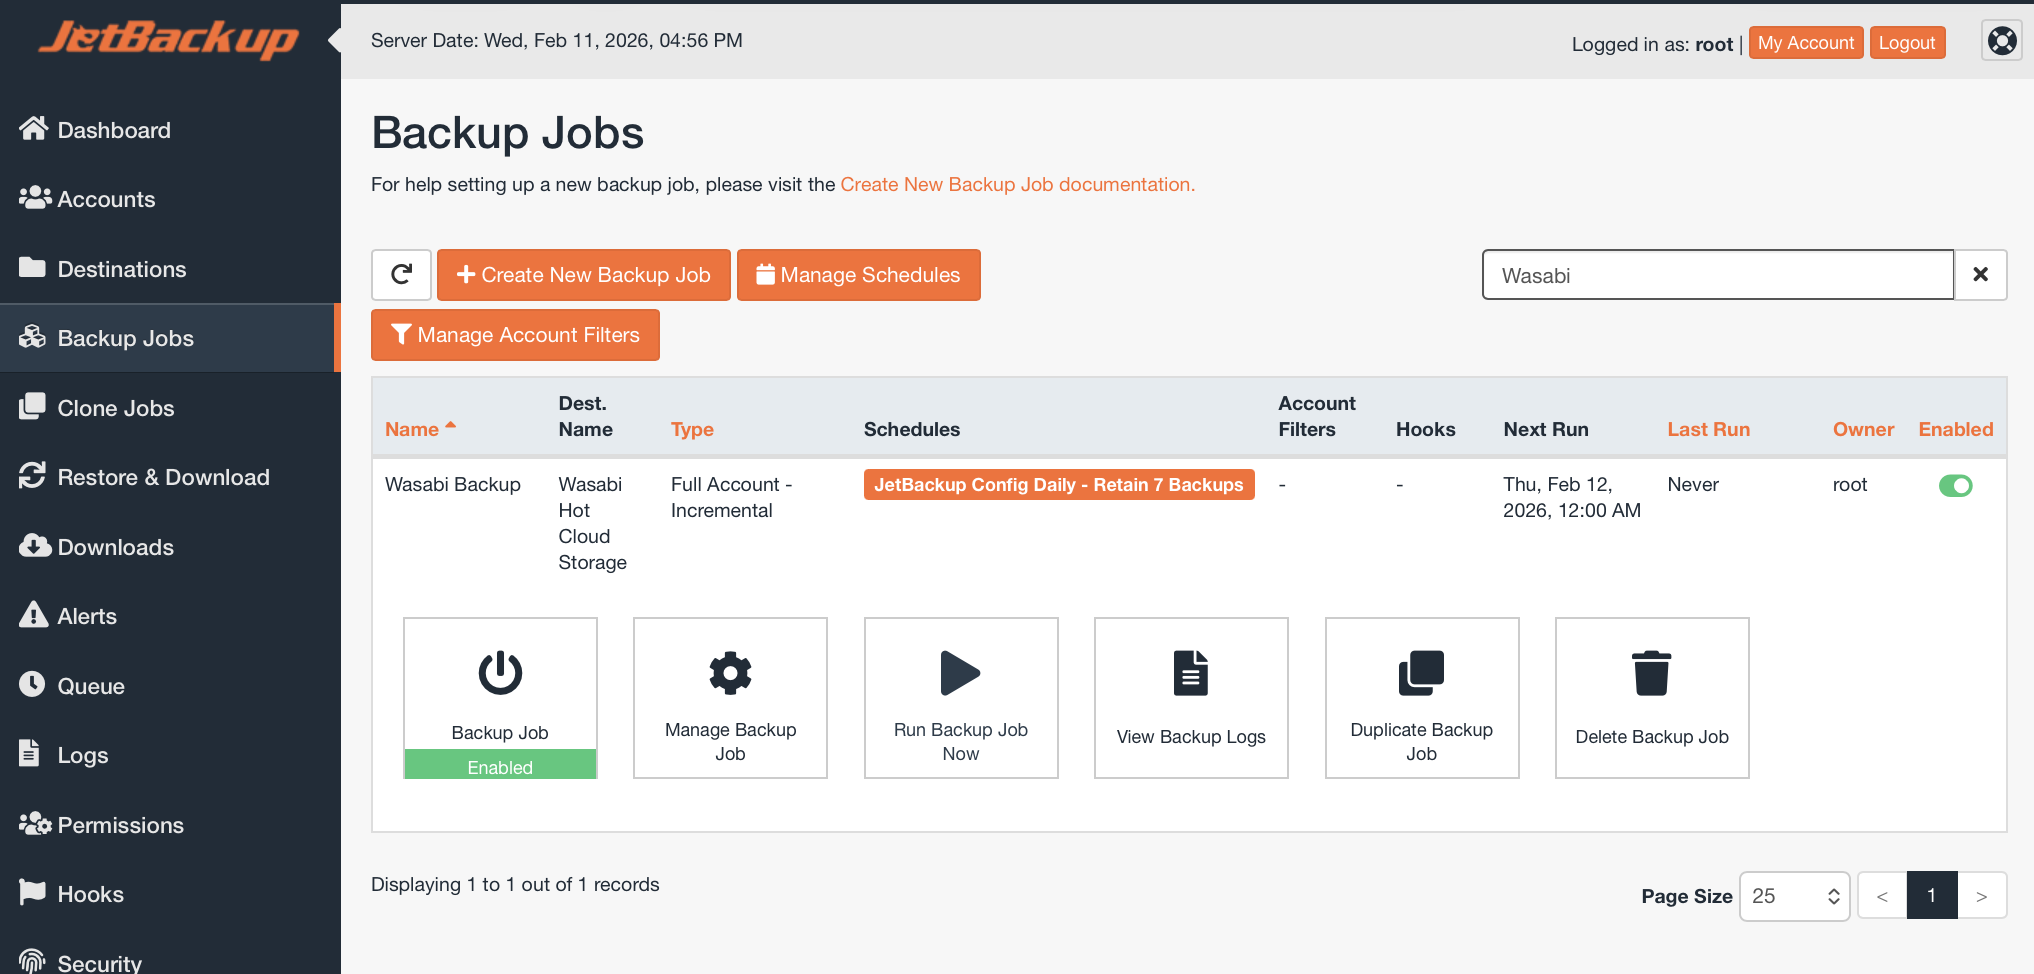
Your Backup Job will now appear on the Backup Jobs tab.
Running Your First Backup Job
On the Backup Jobs tab, click the row representing your newly created Backup Job, then click Run Backup Job Now.
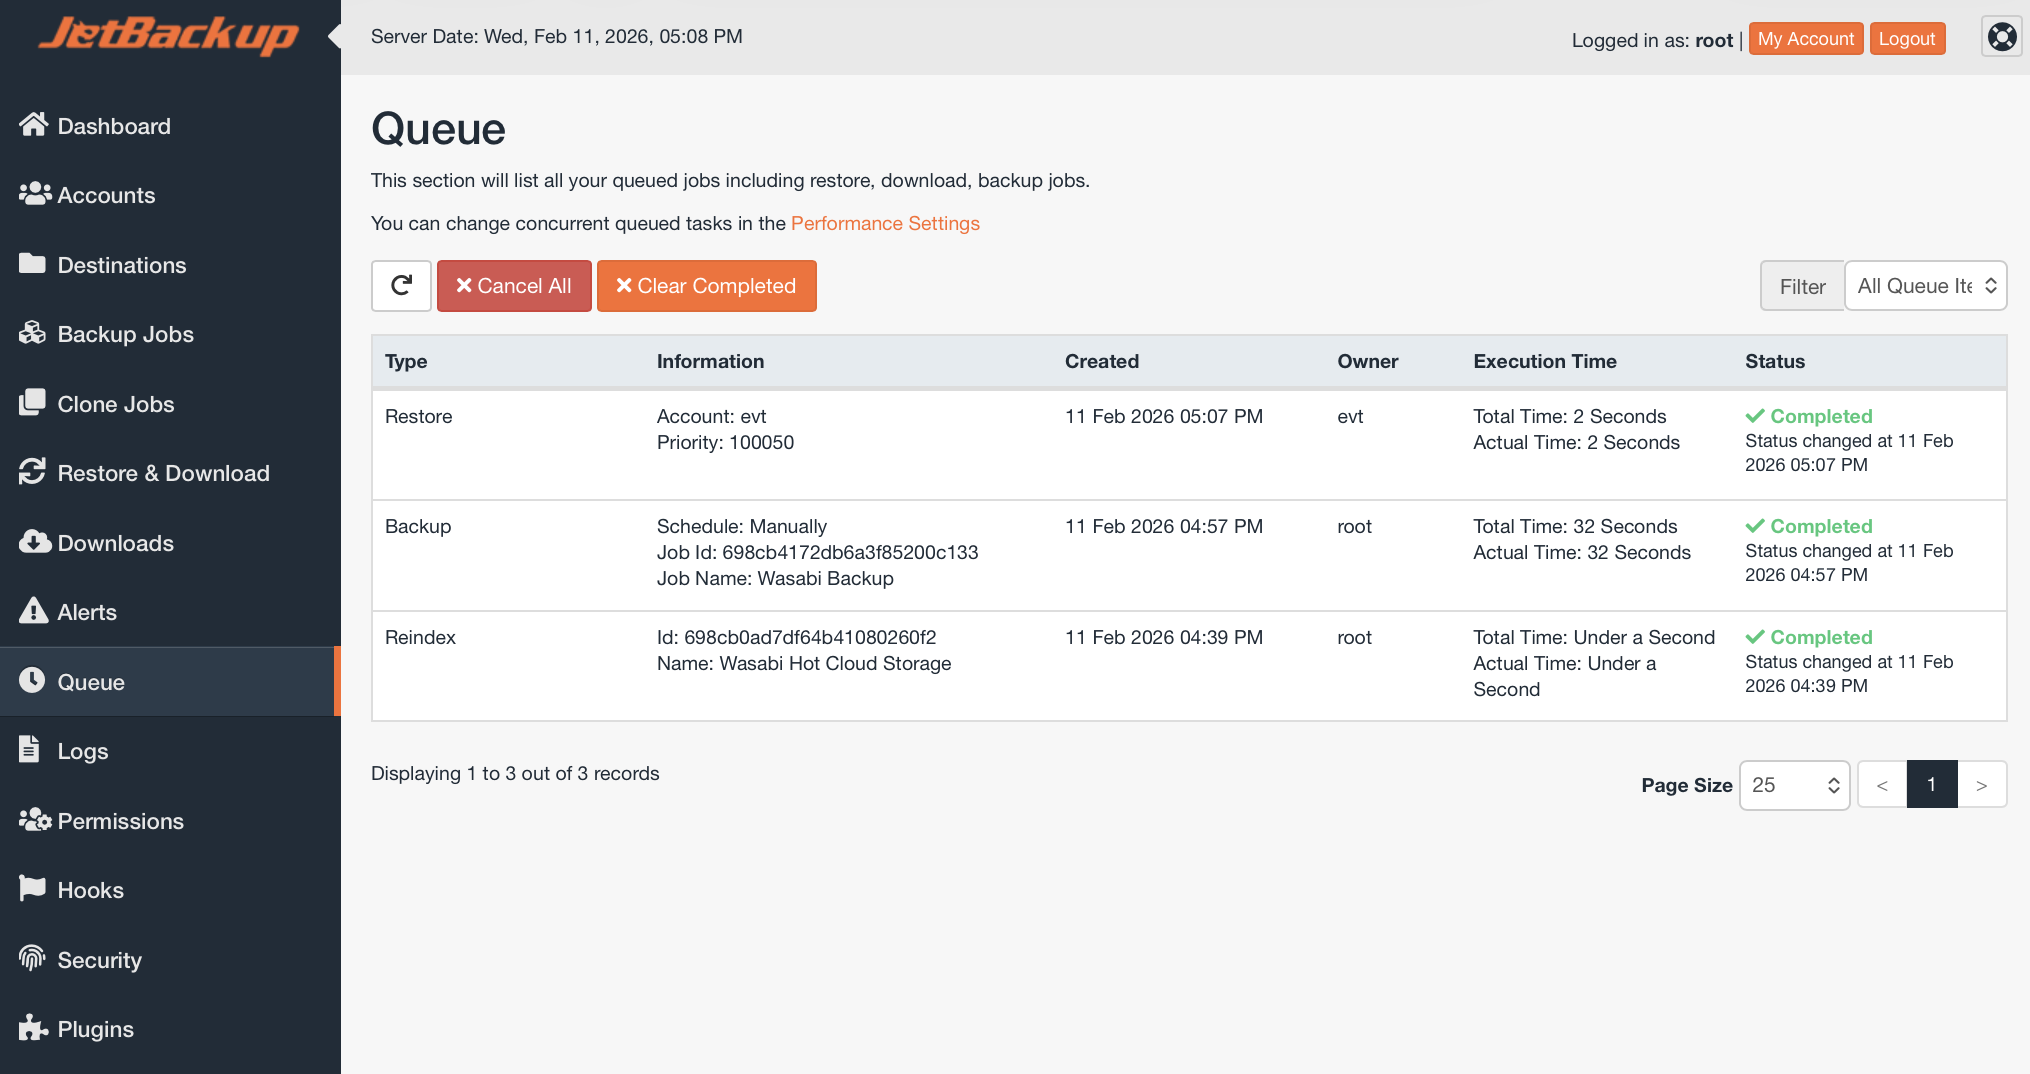
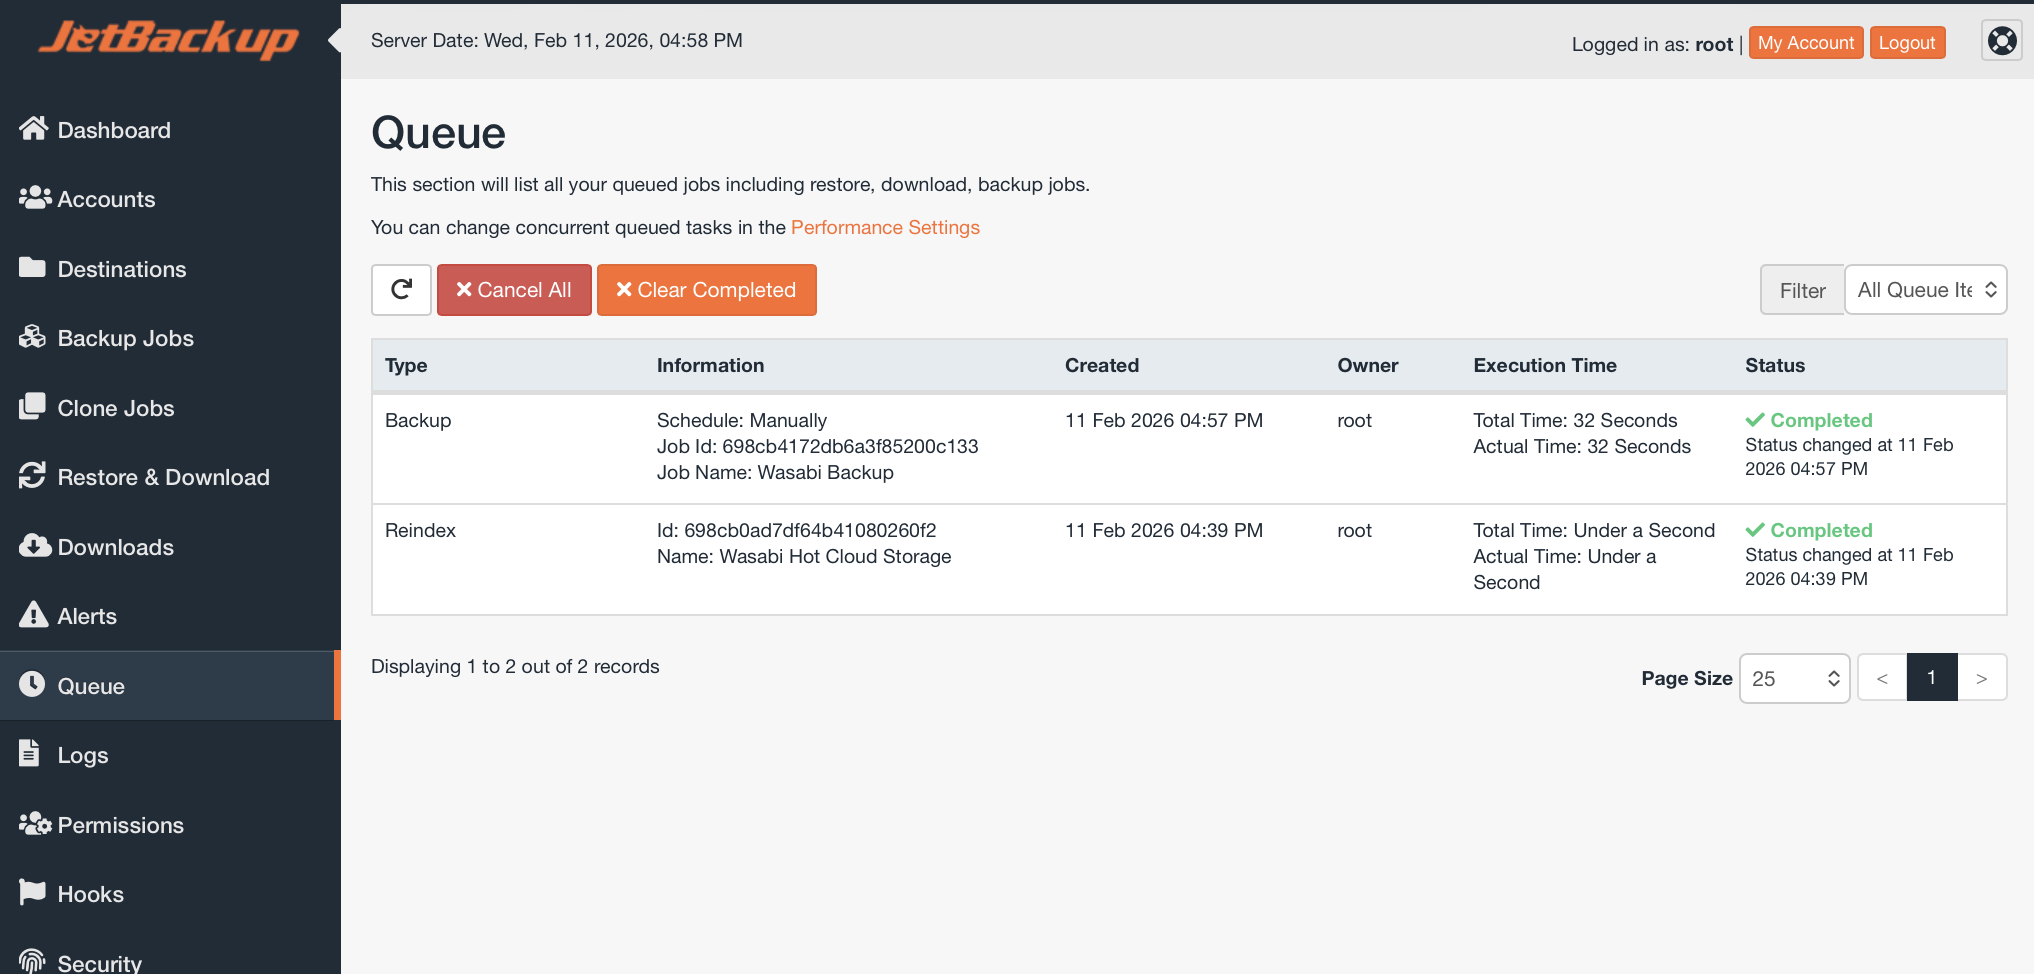
Navigate to the Queue tab and you will see the Backup Job progress.
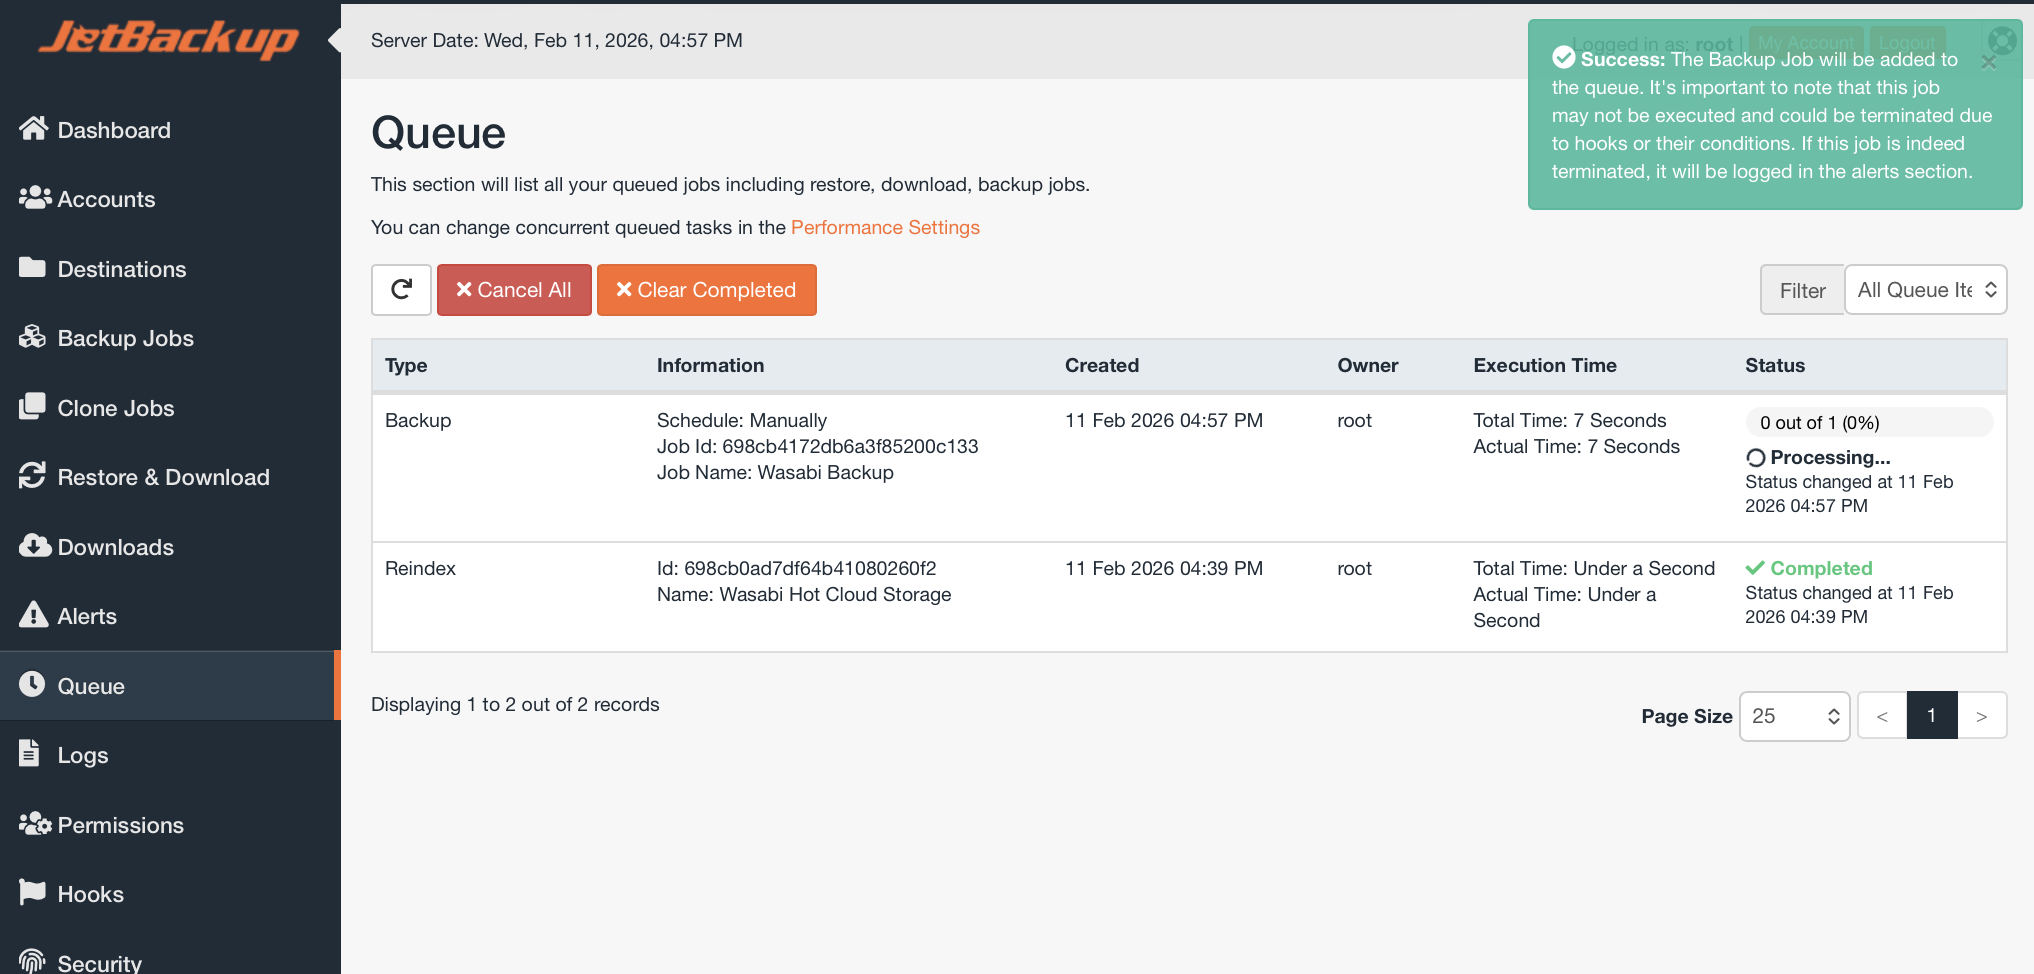
3. Once the Backup has completed, the status will change to sCompleted.
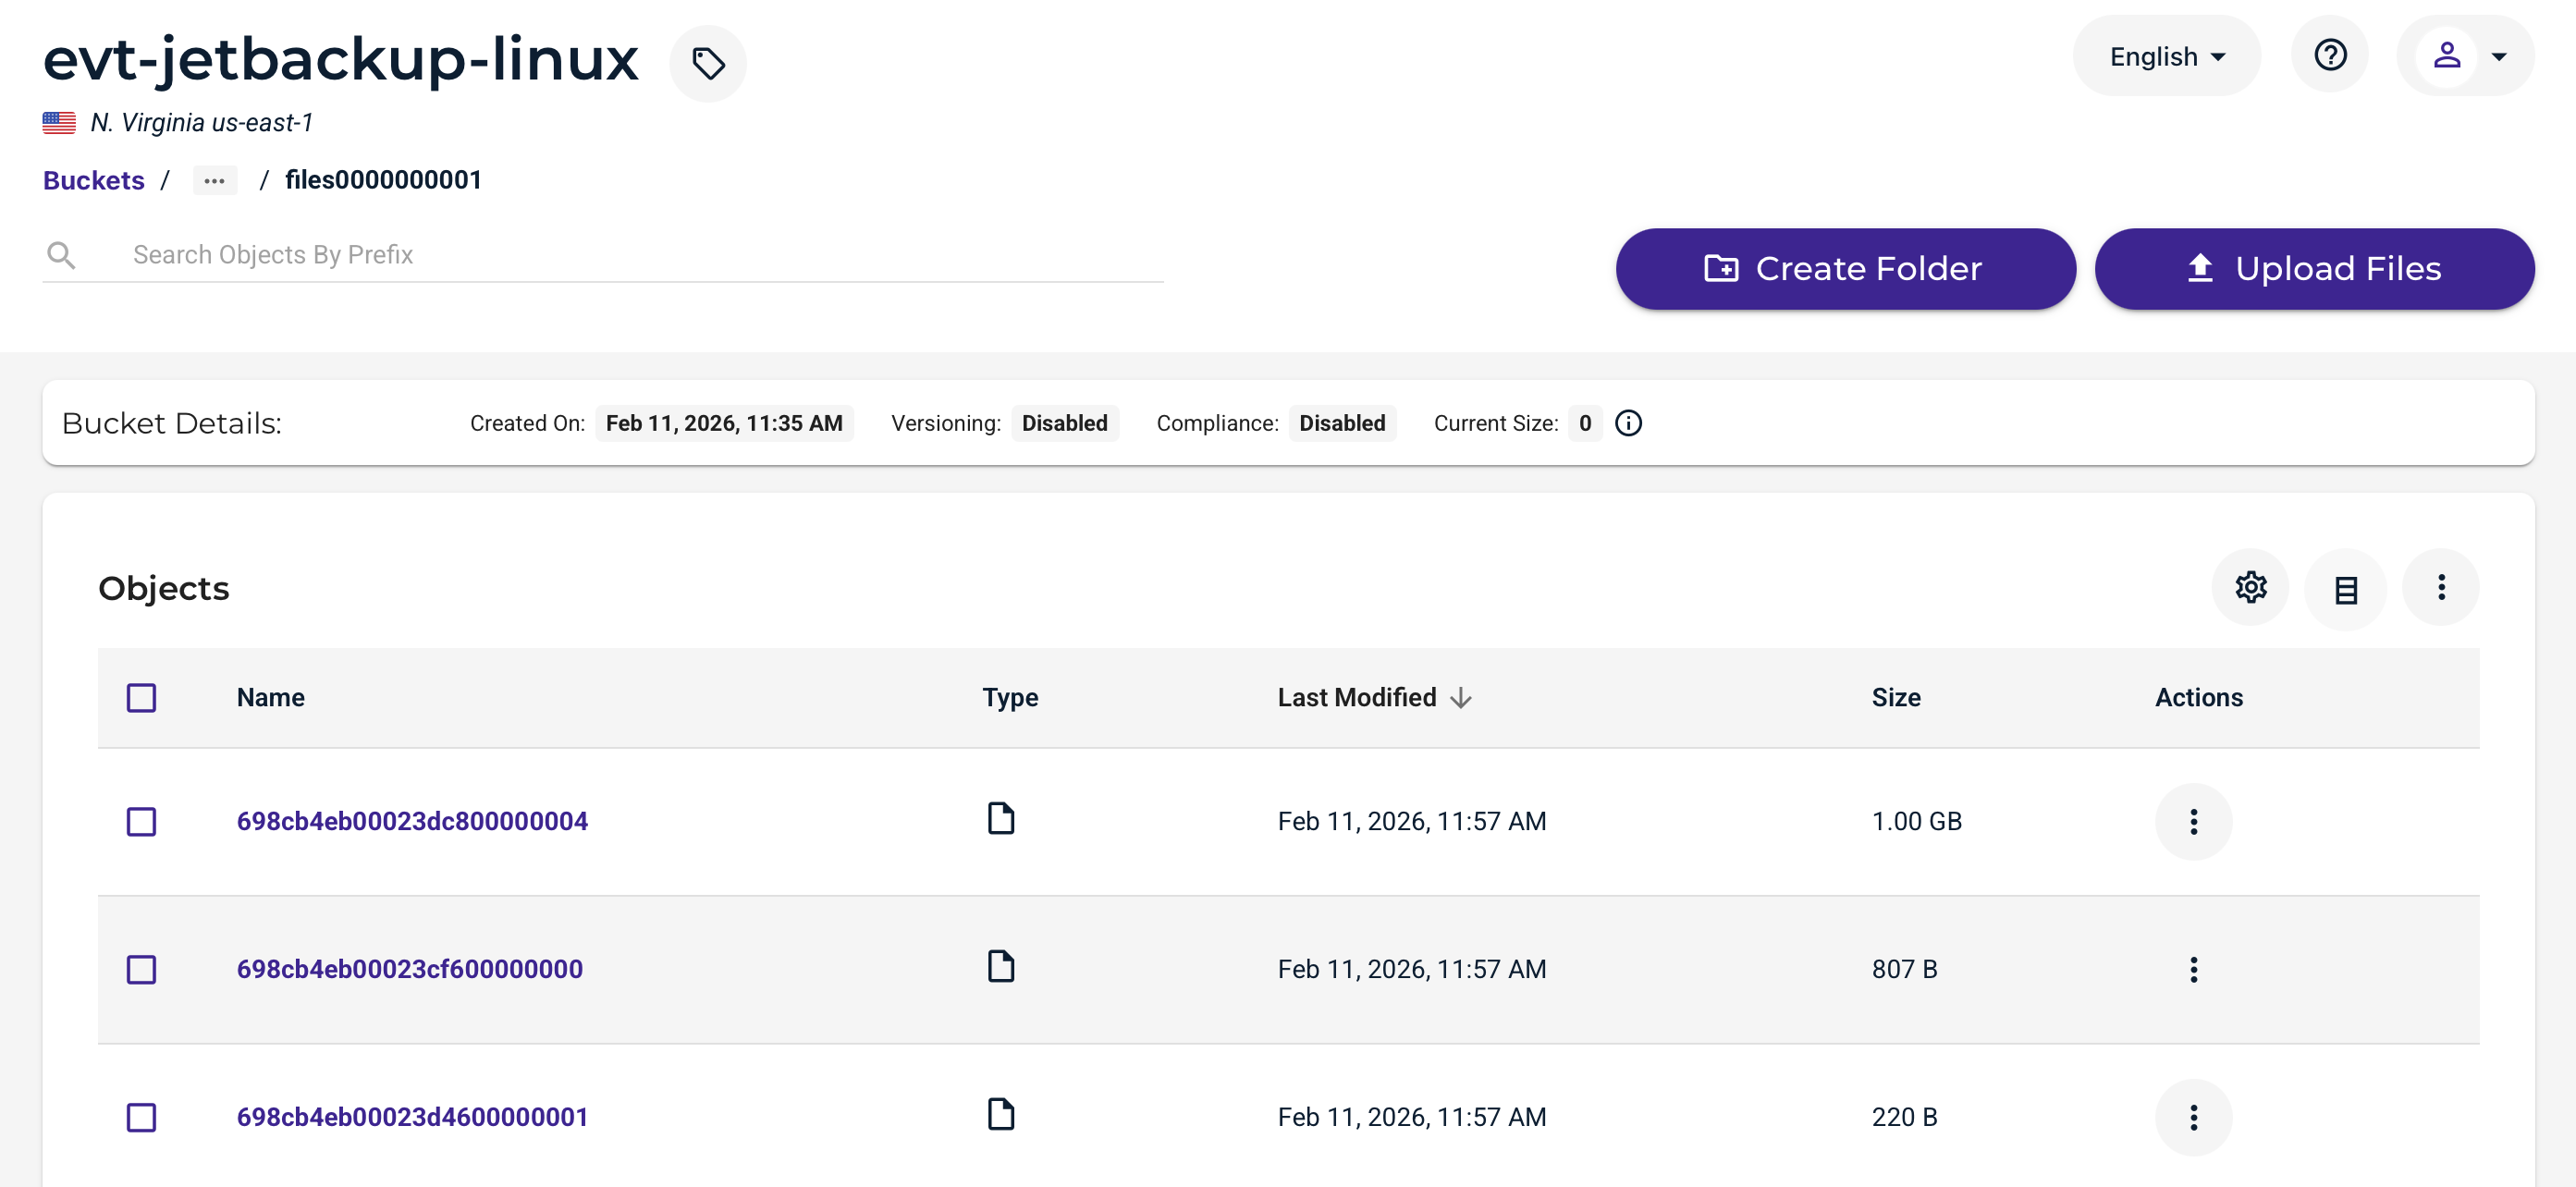
Verifying Data
Visiting your Wasabi Console, you will now see data in your bucket. This data is stored in a proprietary JetBackup format.
Restoring From a Backup
The data restoration process is handled by your specific backup software application. As there are many, potential variables that will affect your unique environment, Wasabi strongly recommends that you seek the guidance of your backup software's technical support team in the event that you encounter difficulty or have application-specific inquiries.
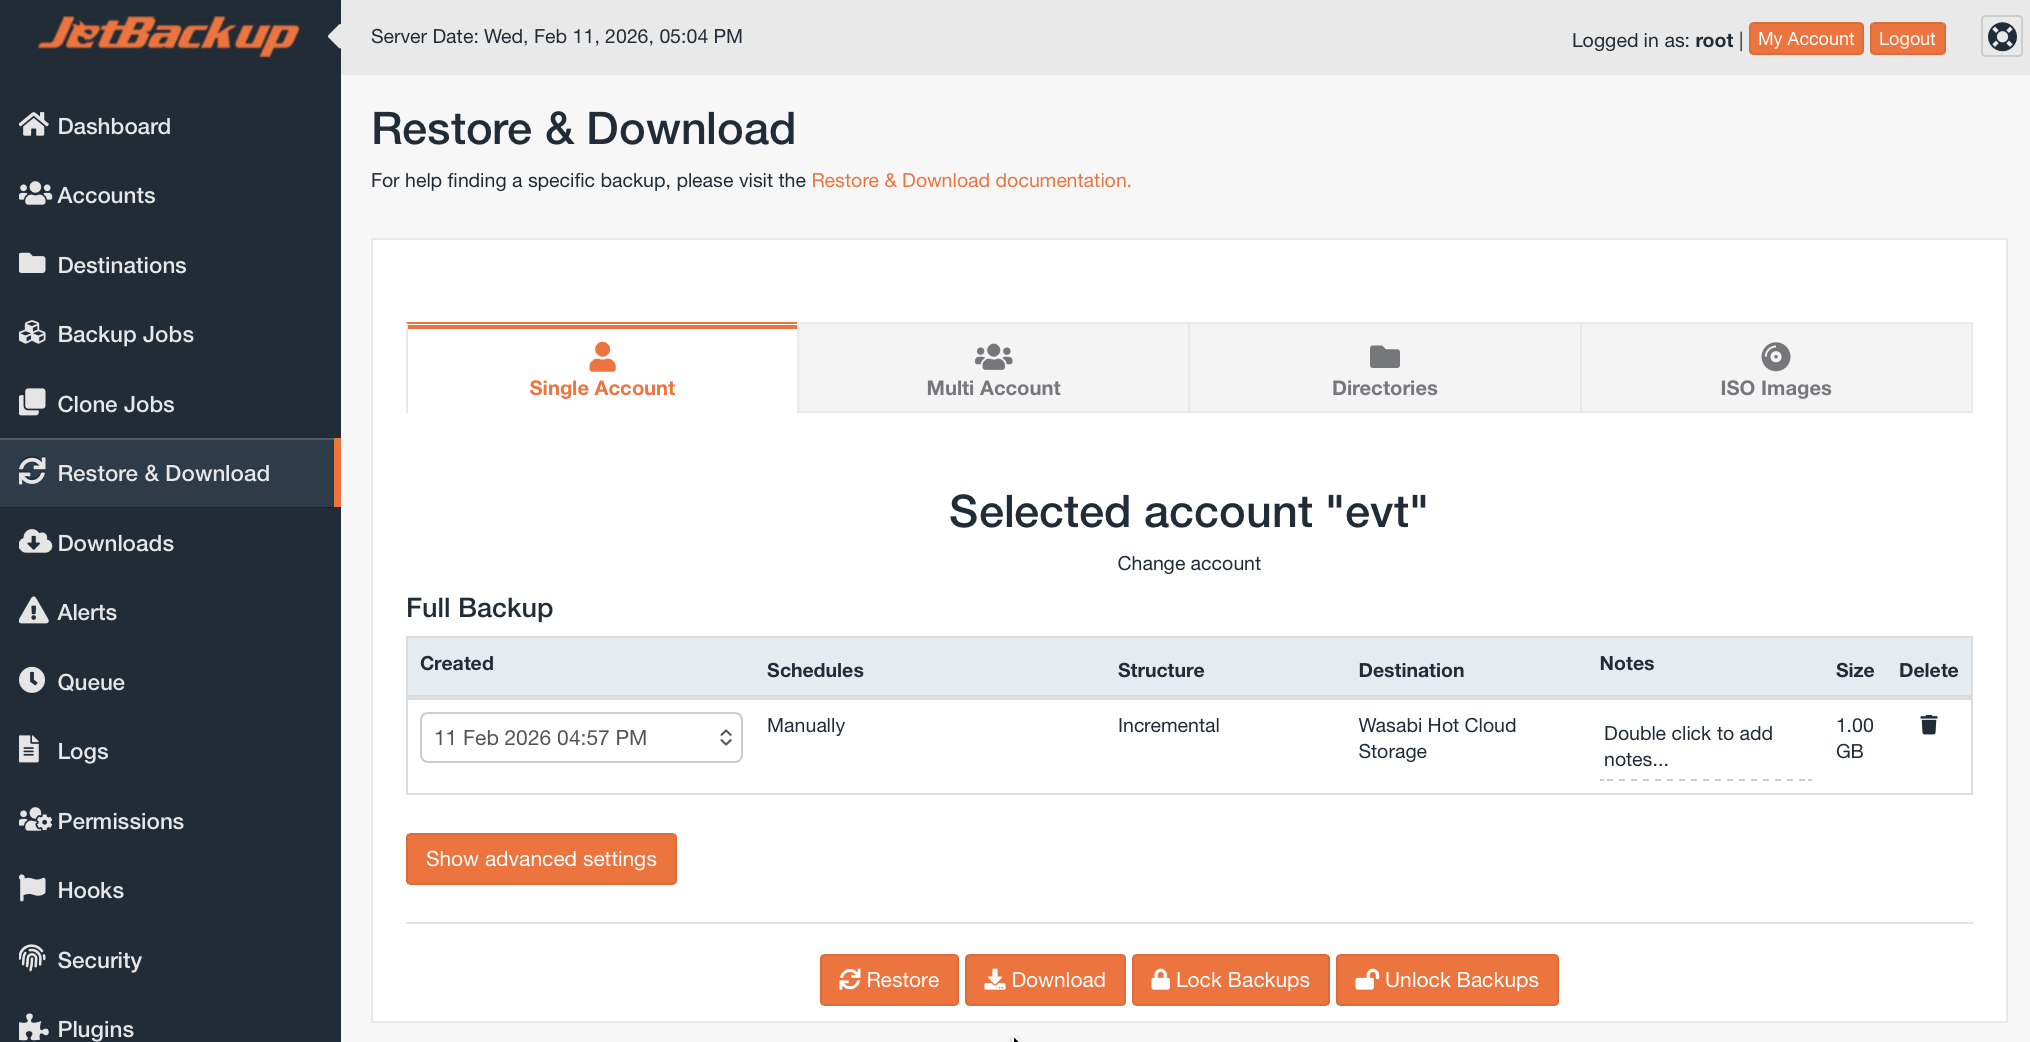
Navigate to the Restore & Download tab on your JetBackup Dashboard.

In this example, we have backed up a single Linux Account. Input the account name in the Choose Account field, then click Restore.
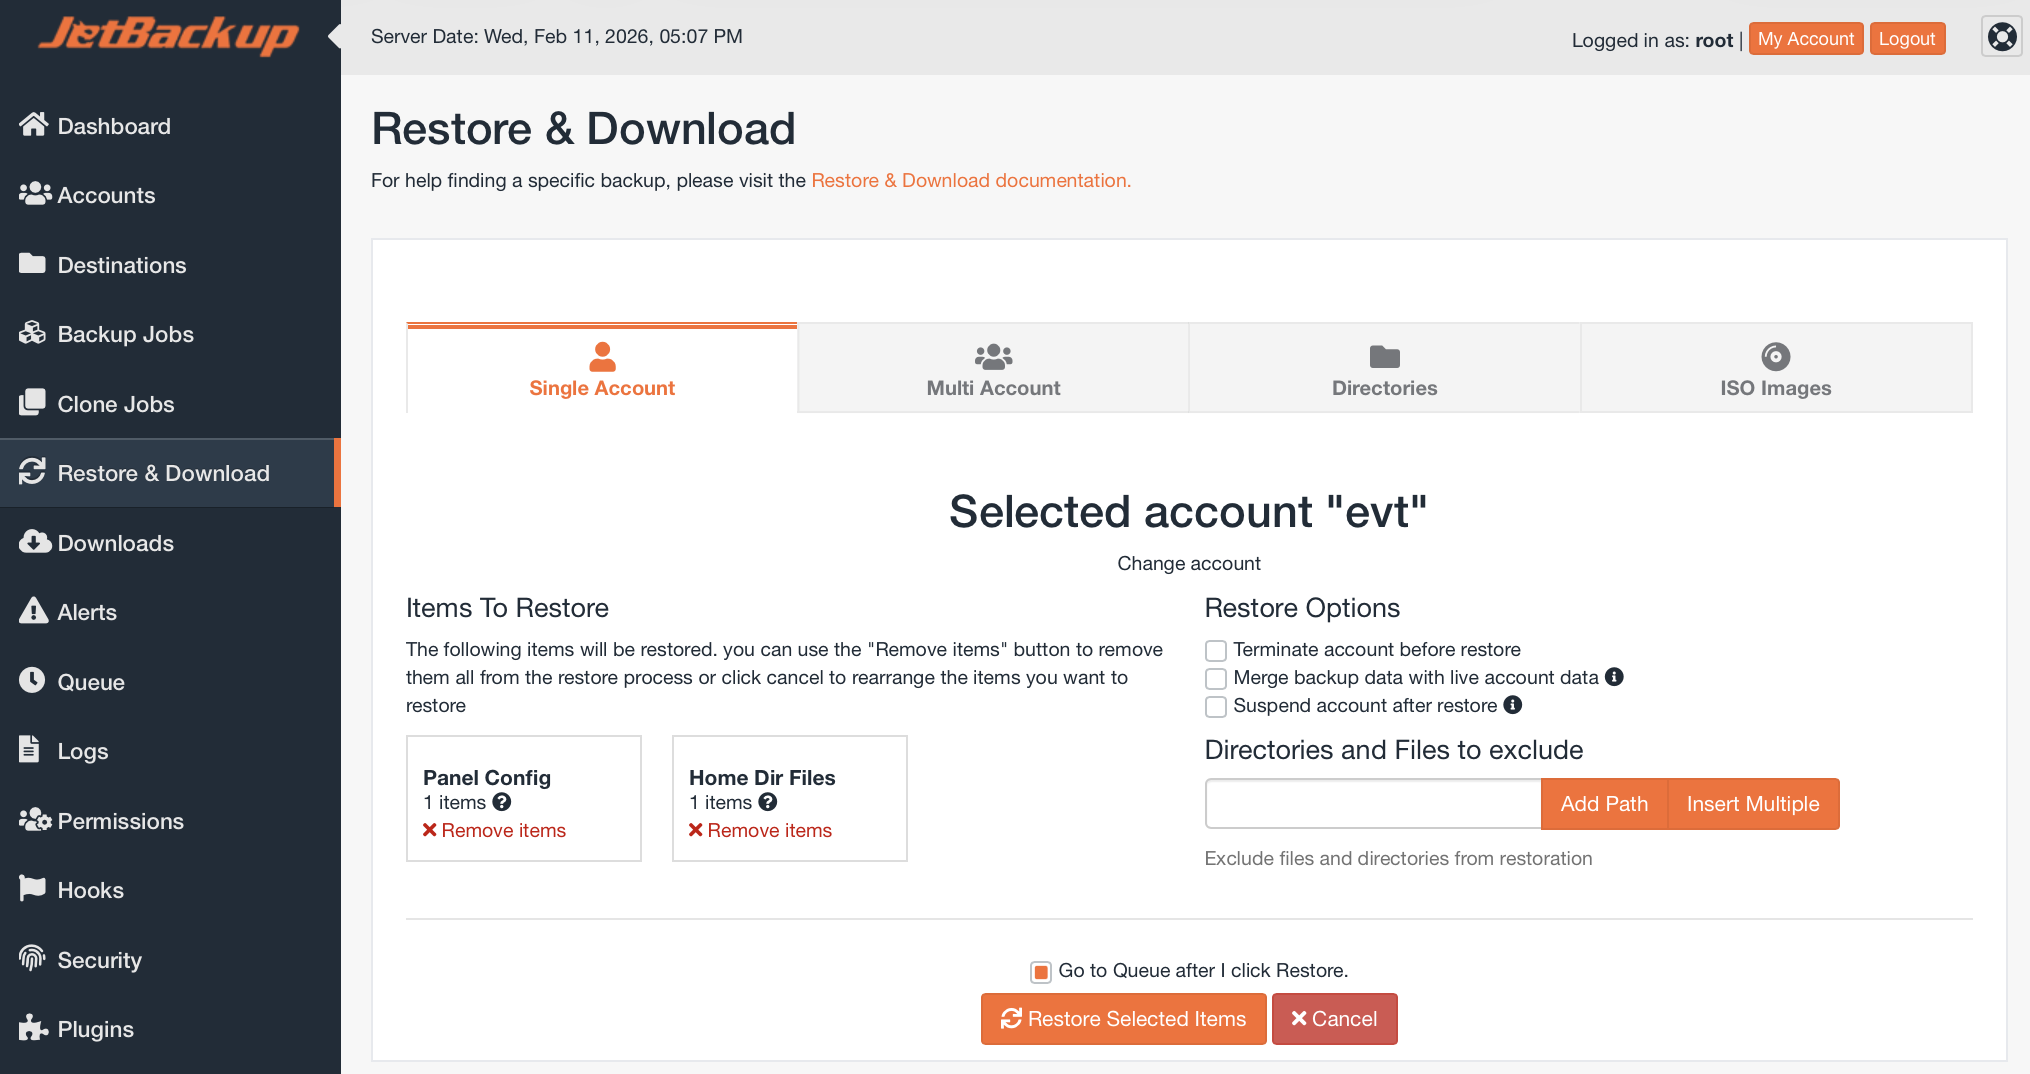
Optionally, choose Directories and Files to Exclude, then click Restore Selected Items.
Your restore progress will be displayed on the Queue tab.
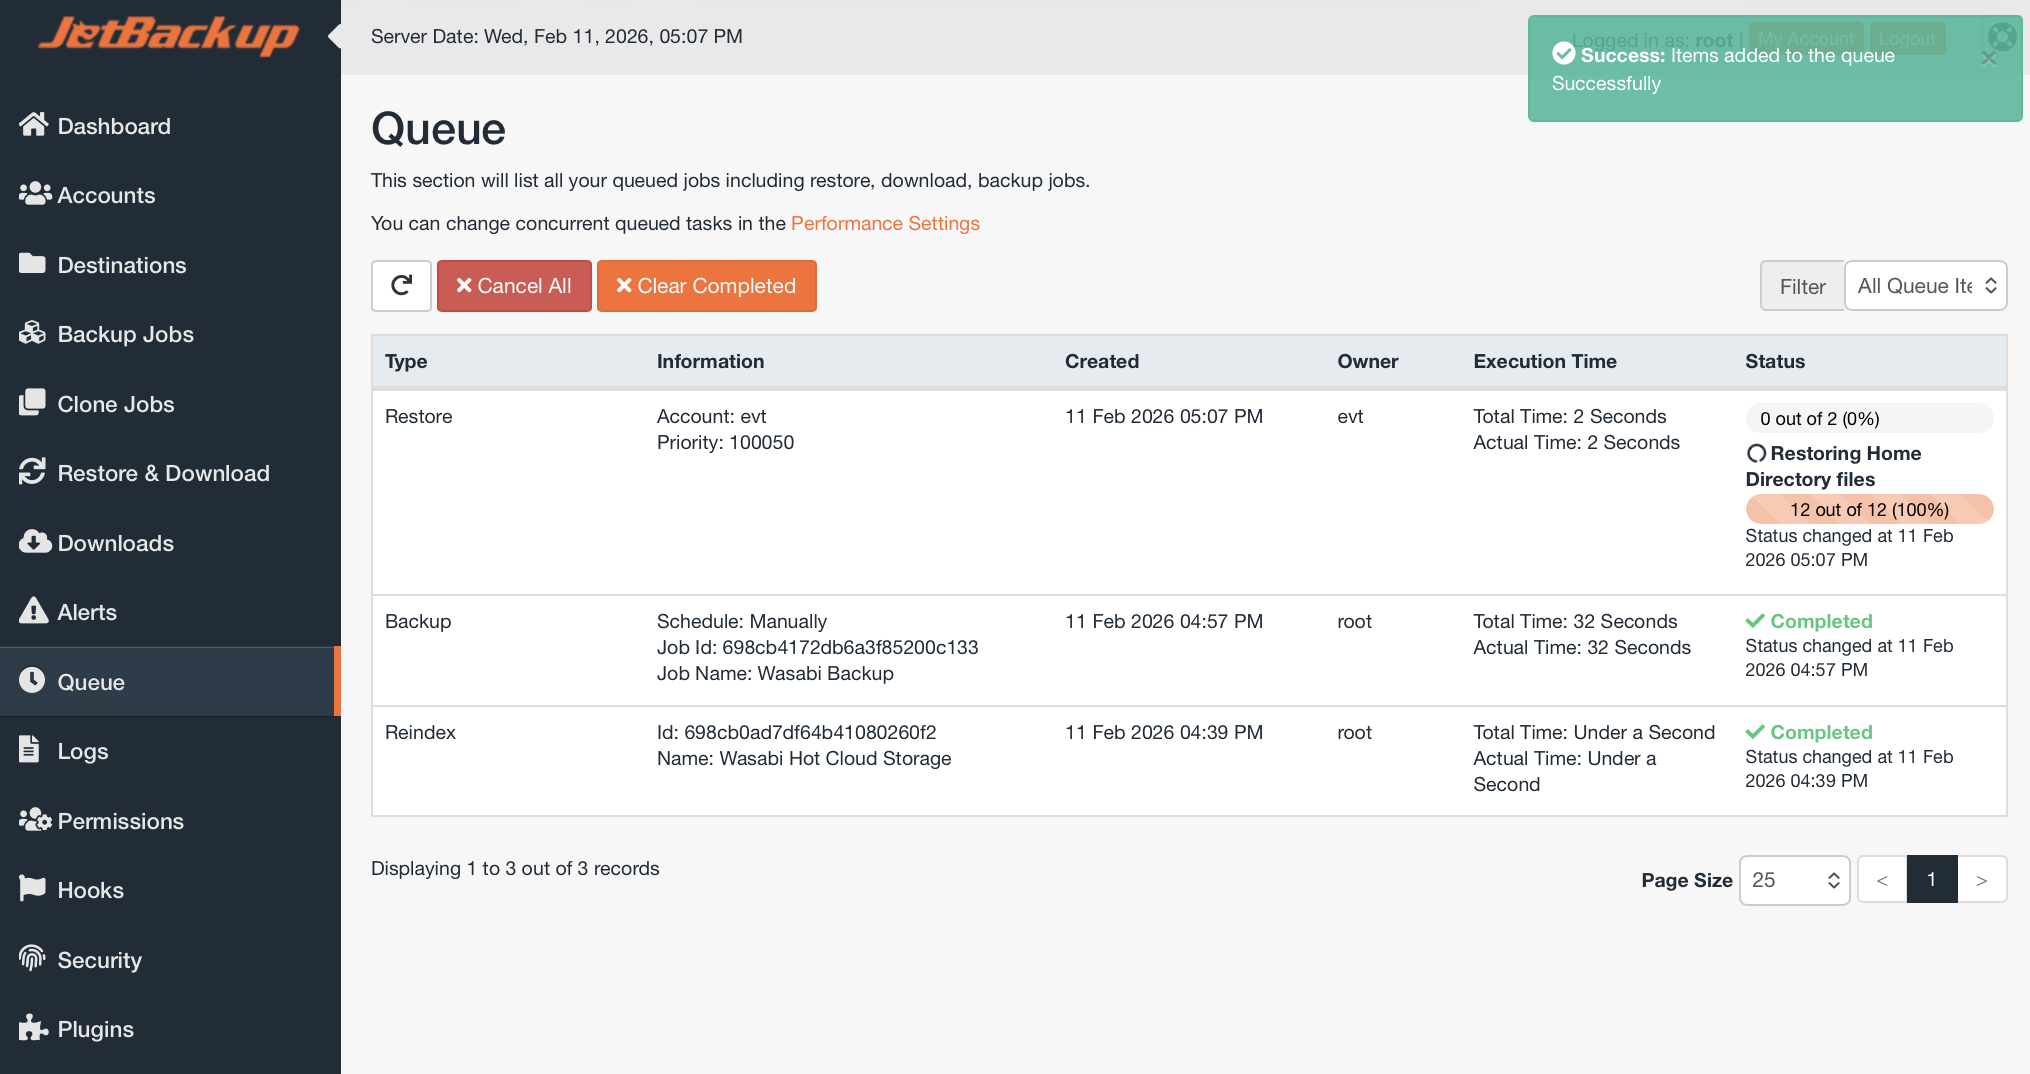
Once the Restore has completed, the status will change to Completed.