Channel Accounts enable you to grant WACM access to additional users, who can create and oversee a subset of sub-accounts. Channel Accounts have access only to the sub-accounts they create or are assigned to.
Depending on how you signed in to WACM, as a Control Account or a Channel Account user, determines which Sub-Account settings and components are available in the Account Information module.
In the Navigation bar, select the Accounts drop-down menu and select Channel Accounts. The Channel Accounts page is displayed.
Select a Channel Account from the list to access the Account module.
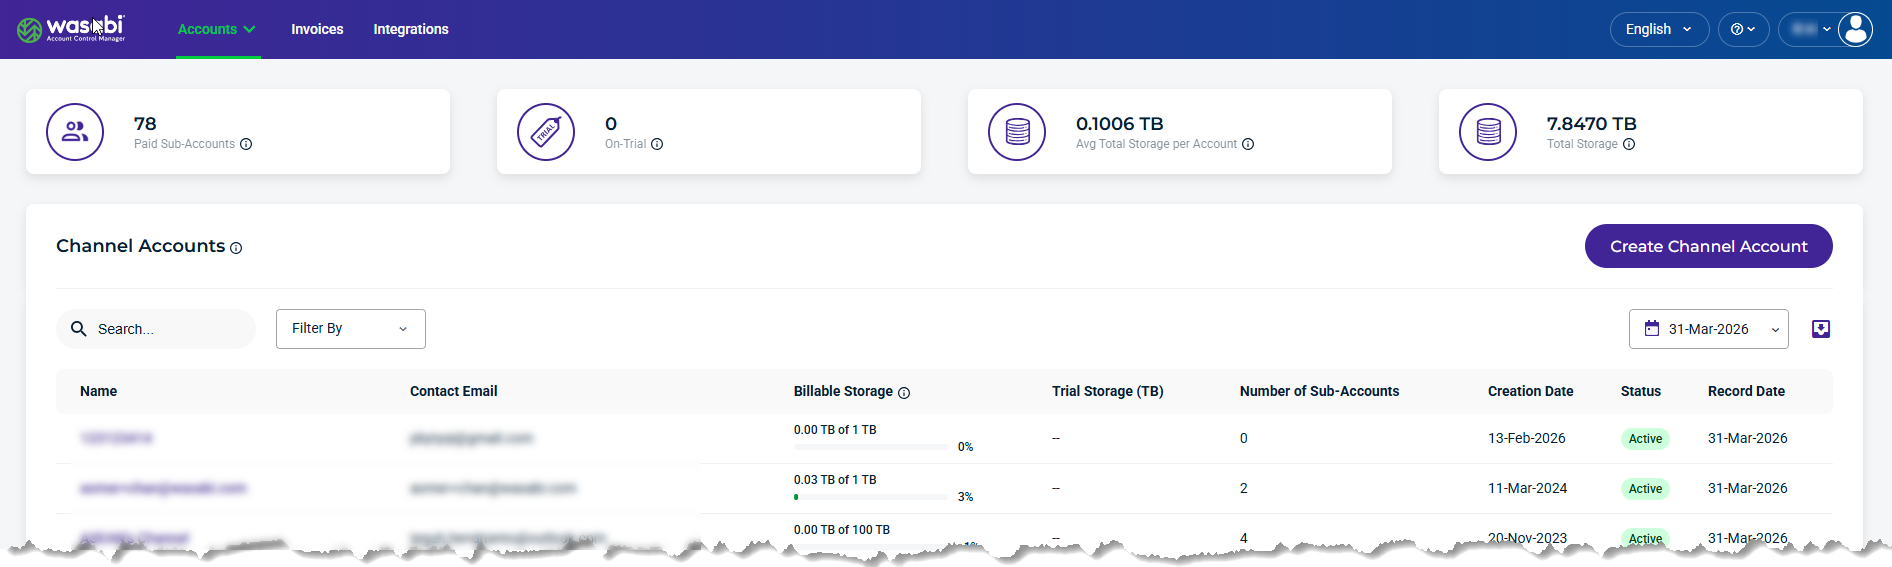
The Account page is displayed by default, showing Account Information for the selected Channel Account.
Account Information Settings
From the Account page, you can manage the following account information:
Account Overview—Update the account name
Channel Account Tracking—View storage usage and change the Storage Quota.
WACM Connect API Key—Lets you access WACM data for automation.
Integration API Keys—Enable secure communication with third-party integrations.
Contact Information—Add or change the address, phone, contact, or billing email.
Business Information—Add or change business and tax information and website.
Sub-Account Information—Manage the password, email, and access key, and suspend or delete the account.
Be sure to click Update (in the upper-right corner) to apply any changes made on this page.

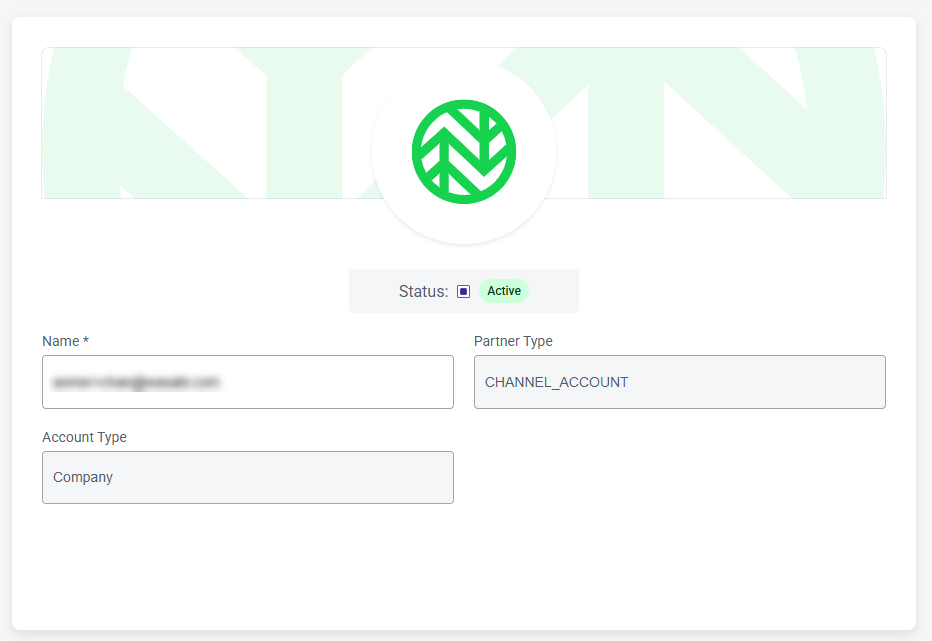
Account Overview
The Account Overview section provides essential details about the account, including its name, status, partner type, and account type. In this section, you can update the account name and choose a different Channel Account. You can also delete the Channel Account by clicking the X symbol.
Channel Account Tracking
The Channel Account Tracking section displays storage usage relative to the assigned quota. In this section, you can change the quota type, set the storage quota amount, and set quota start and end dates. The product storage type for the account is identified by the icon in the top-right corner.
Quota Type
The Quota Type field indicates:
Hard Quota—Enforces the storage quota limit and prevents further use once the limit is reached or exceeded. A block will be placed on all future uploads to that account, causing any uploads in progress or those scheduled to be uploaded to fail. The storage quota must be increased or the limit removed to lift the block.
Soft Quota—Does not enforce storage quota limits. It triggers a notification when the storage quota limit is reached or exceeded.
Storage Quota
The Storage Quota field indicates the amount of storage purchased or allocated for this Channel Account. This option can be updated at any time. However, it is not accessible to Channel Accounts in the trial phase (On Trial).
Set Quota Dates
Enable Set Quota Dates to specify the time period for tracking Sub-Account storage usage. Select the desired start and end dates from the Quota Start Date and Quota End Date dropdown menus.

WACM Connect API Key
The WACM Connect API lets you access WACM data for automation and can be rotated or deleted as needed for security purposes. To generate an API key for WACM Connect, click Generate New API Key.

Integration API Keys
You can enable third-party integrations using integration API keys. Click Integrations for access to available partner integrations.

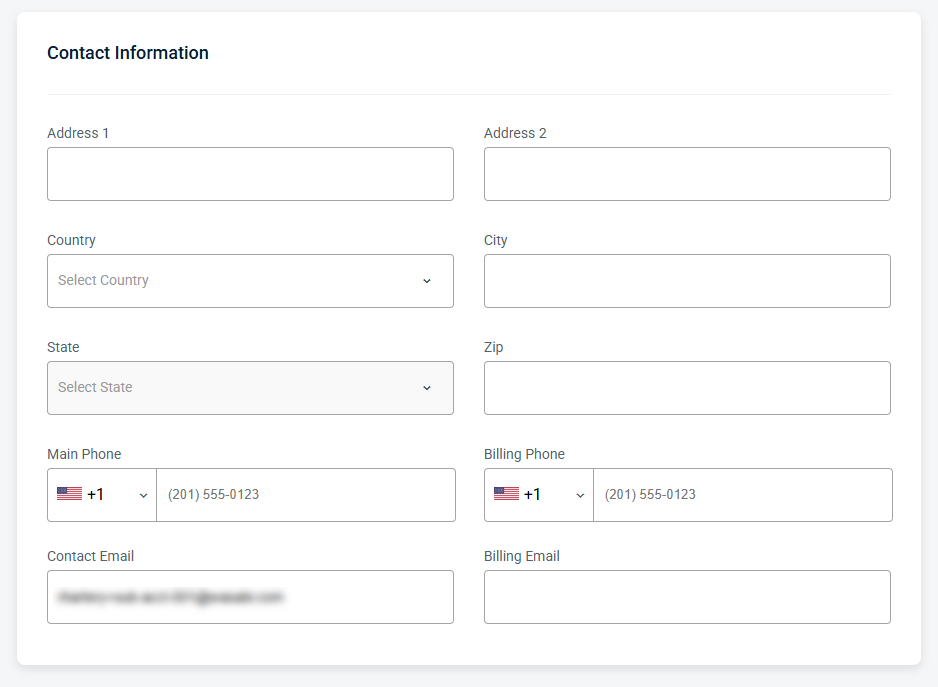
Contact Information
The Contact Information section provides editable fields for contact and billing details for this account, including address, phone numbers, and email addresses.
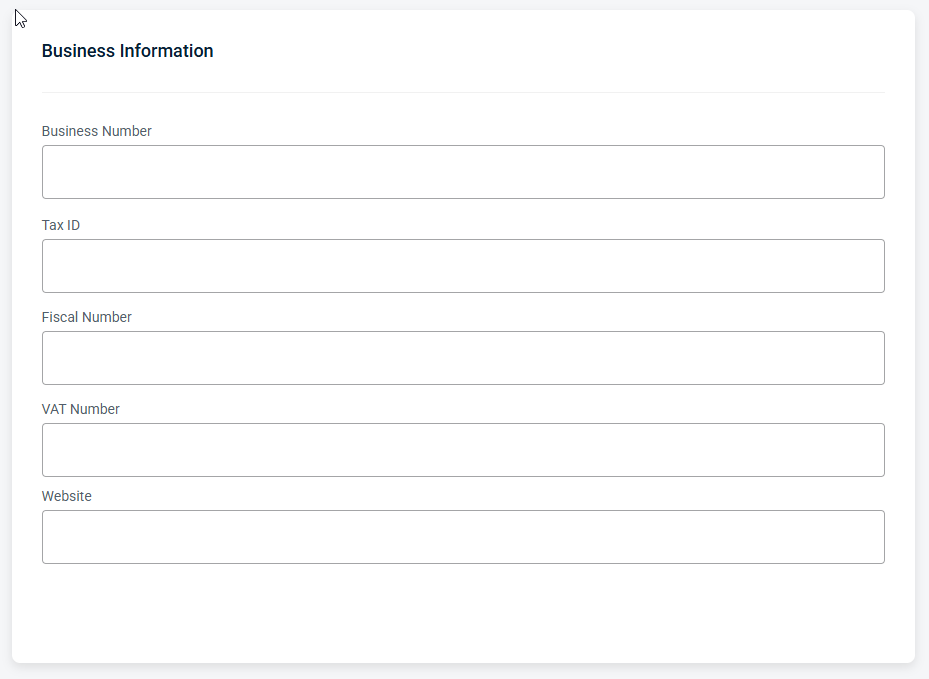
Business Information
The Business Information section provides editable fields for billing and tax identifiers for this account, including business number, tax ID, fiscal number, VAT number, and website URL.
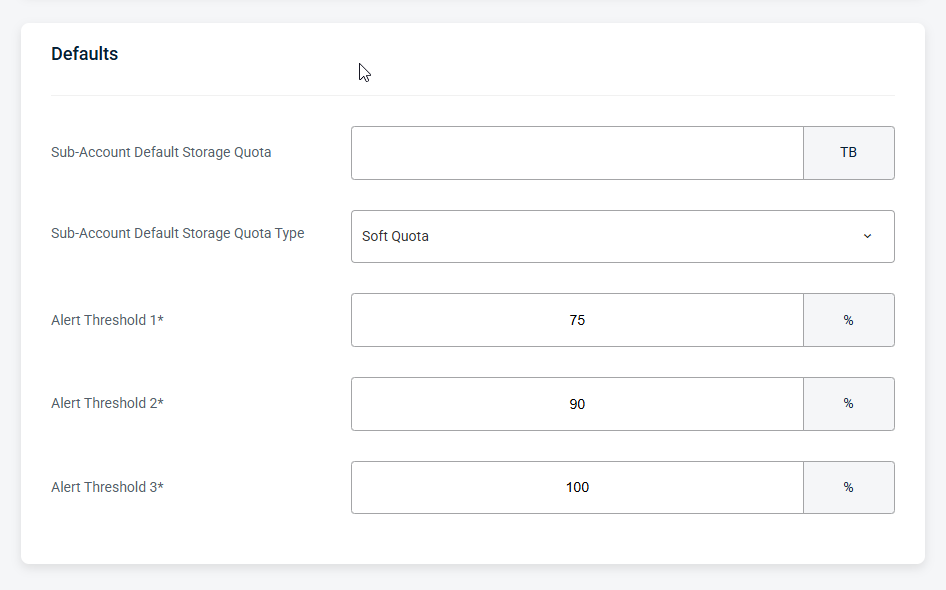
Defaults
The Defaults section allows you to set a storage quota value for all Sub-Accounts at once.
The Sub-Account Default Storage Quota field allows you to assign a set amount of purchased storage to a Sub-Account, except for those that have already been modified. This amount can be changed at any time, and all Sub-Accounts that have not been modified previously will be updated to the new value.
Delete Channel Account
To delete a Channel Account, click Delete. In the confirmation dialog that appears, type DELETE, then click Delete.

Deleting a Channel Account DOES NOT delete the sub-accounts. All sub-accounts under a Channel Account will remain under the responsibility of the Control Account.