Installation and Updates for Wasabi Cloud NAS
- 15 Nov 2023
- 1 Minute to read
- Print
- PDF
Installation and Updates for Wasabi Cloud NAS
- Updated on 15 Nov 2023
- 1 Minute to read
- Print
- PDF
Article summary
Did you find this summary helpful?
Thank you for your feedback
Installing Wasabi Cloud NAS
During WCN installation, you can choose to install the following components:
- WCN installs the product and the graphic interfaces for configuring the product.
- Shell Extension provides integration with Windows Explorer, allowing you to view the status of files and folders on your source (replicated or nearline), and to perform manual data management operations through the Windows Explorer context menu.
Installing Wasabi Cloud NAS and Additional Components
- Double-click the Wasabi Cloud NAS installation file.
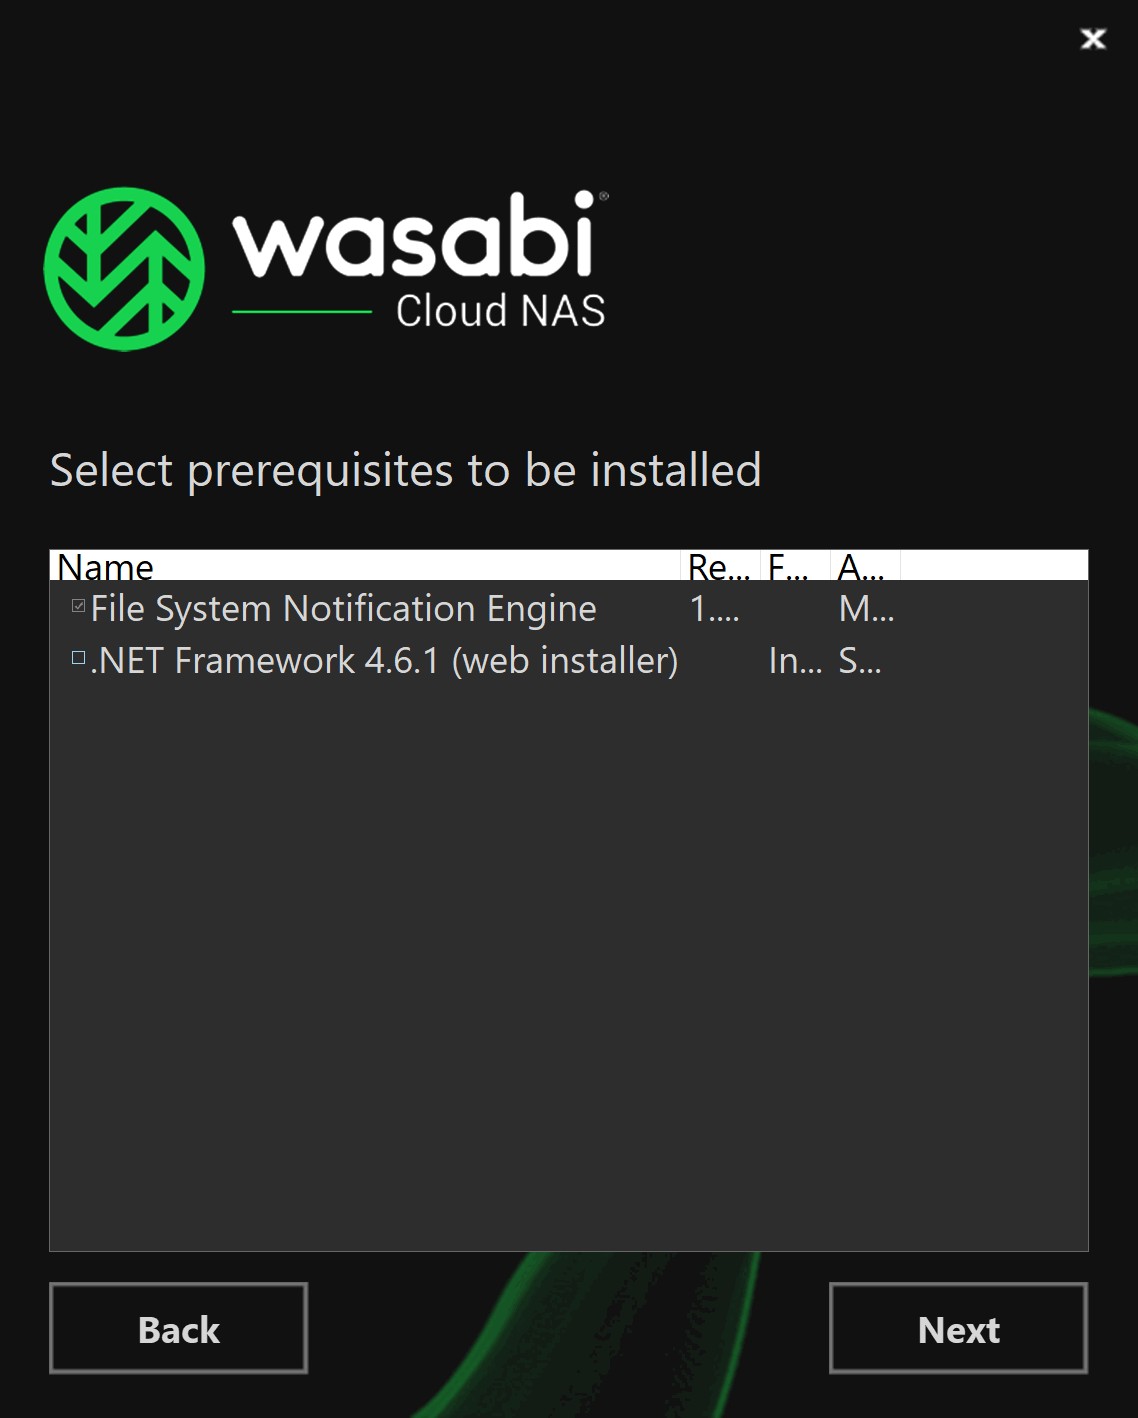
If the setup wizard detects that the prerequisites needed to run WCN are not installed on the computer, click Next to install them. For example:
- Select the folder where to install WCN, accept the terms of the software license agreement, and click Next.

- Make sure the check boxes of the WCN components you want to install are selected and then click Install.

If you clear the check box of a component, you can install it later, following the same installation steps.
- When the installation is complete, click Finish.


The Wasabi Cloud NAS Configuration Wizard starts, allowing you to activate the product and perform the initial configuration.