Wasabi Object Replication enables you to replicate or copy your data between Wasabi regions to protect against ransomware attacks, malicious data manipulation, natural disasters, or even accidental deletion. Object replication enables you to replicate/copy objects from an active storage bucket (source) to one or more different buckets (destination).
Replicating an Existing Bucket
Log in to the Wasabi Console.
Create a new bucket as the destination for the replication. For more information, see Creating A Bucket.
Navigate to the source bucket that contains the backups to be replicated.
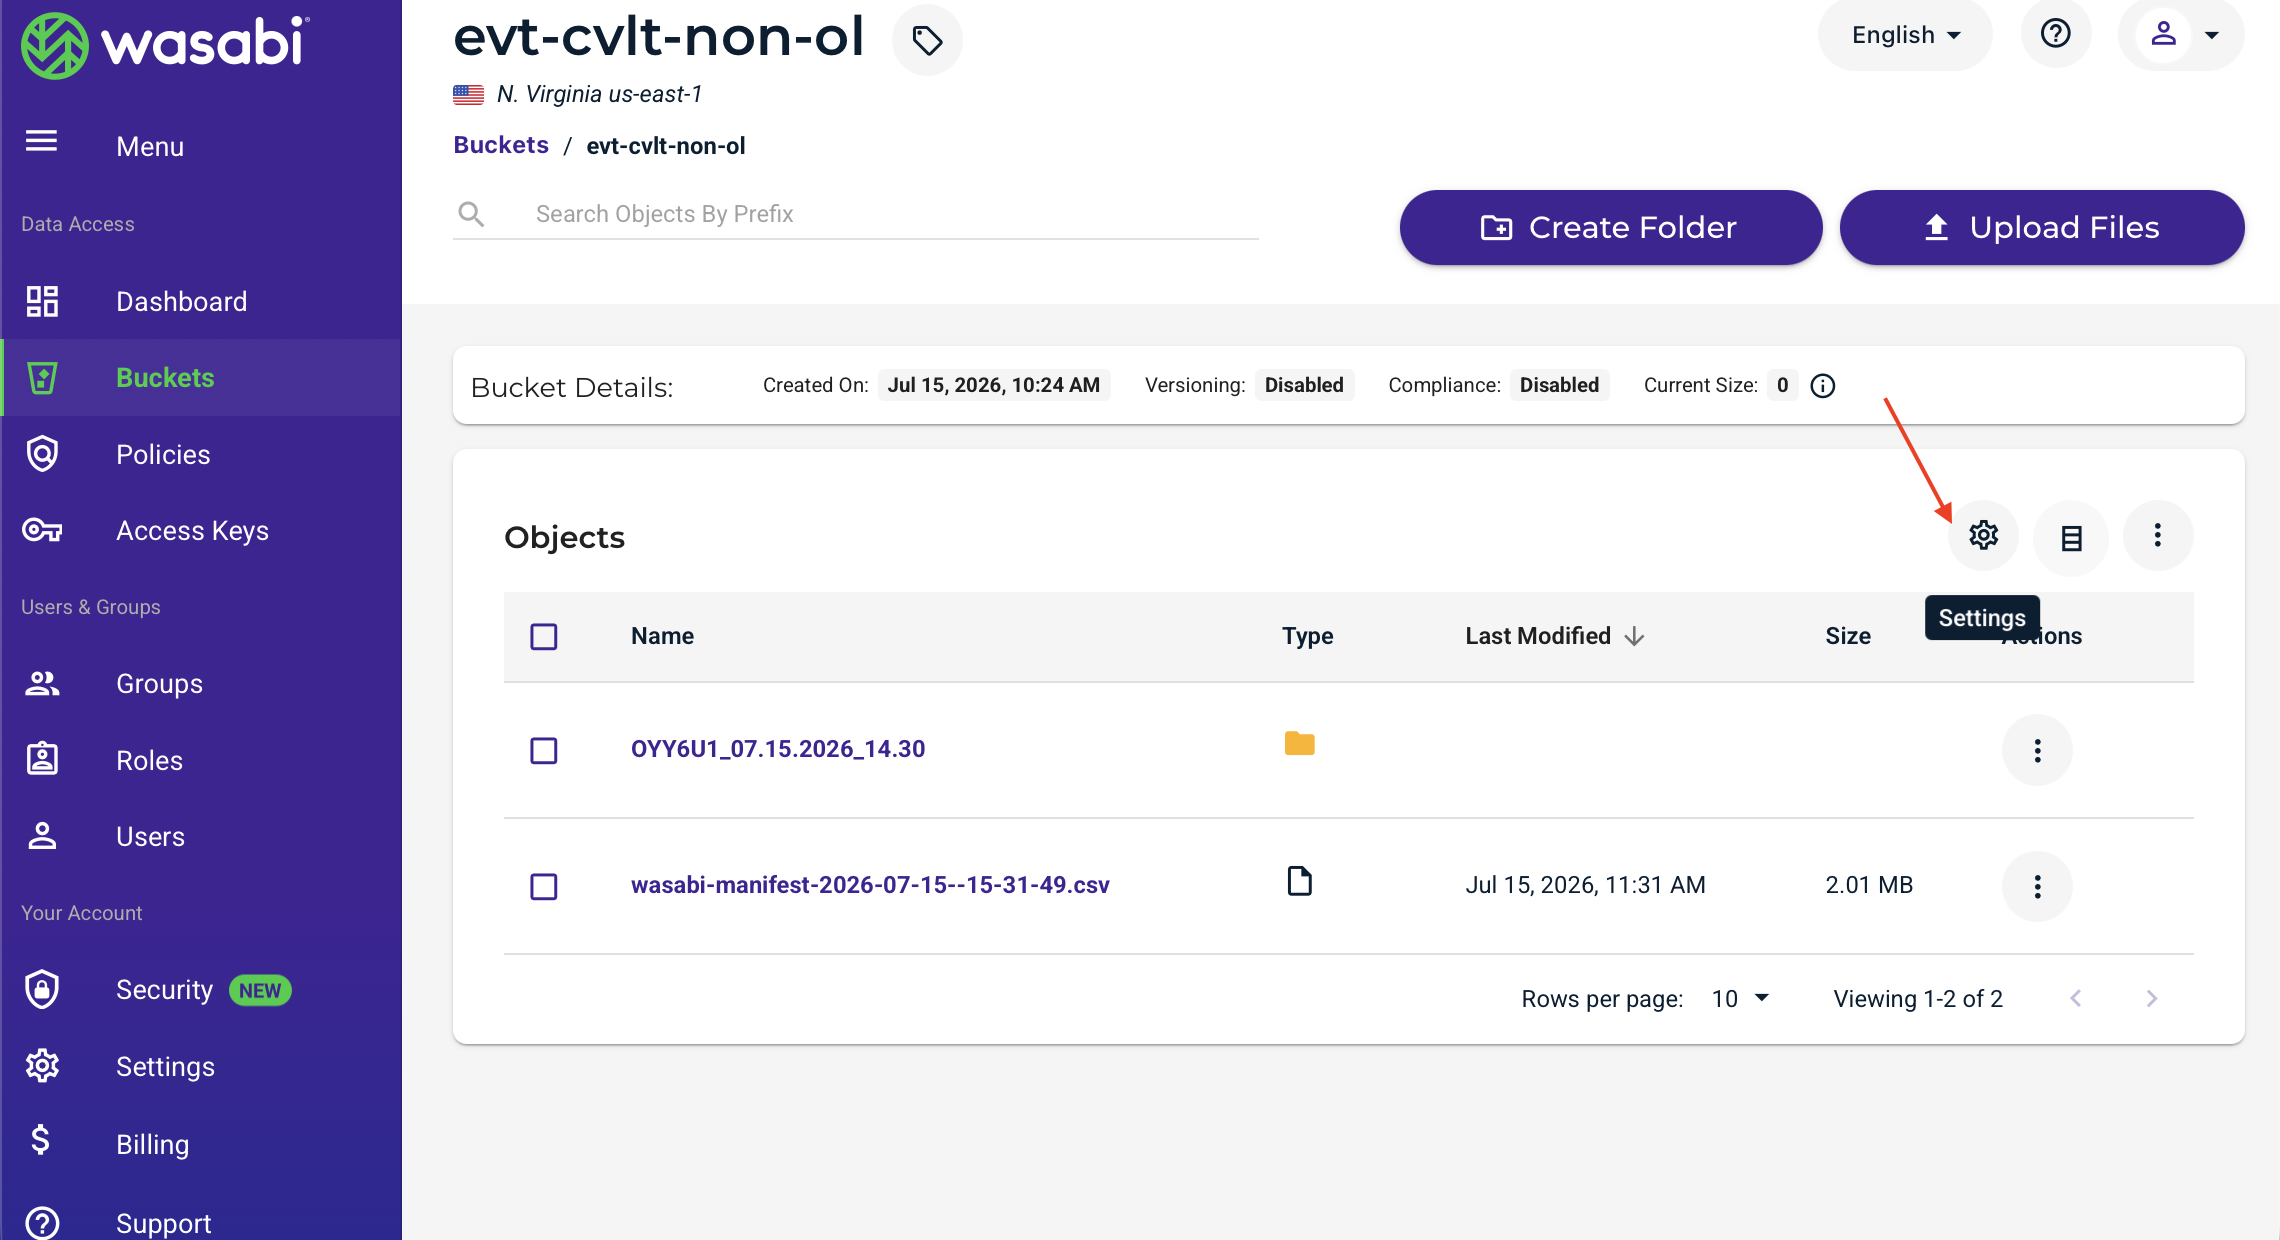
Click Settings (gear icon) to open bucket settings.
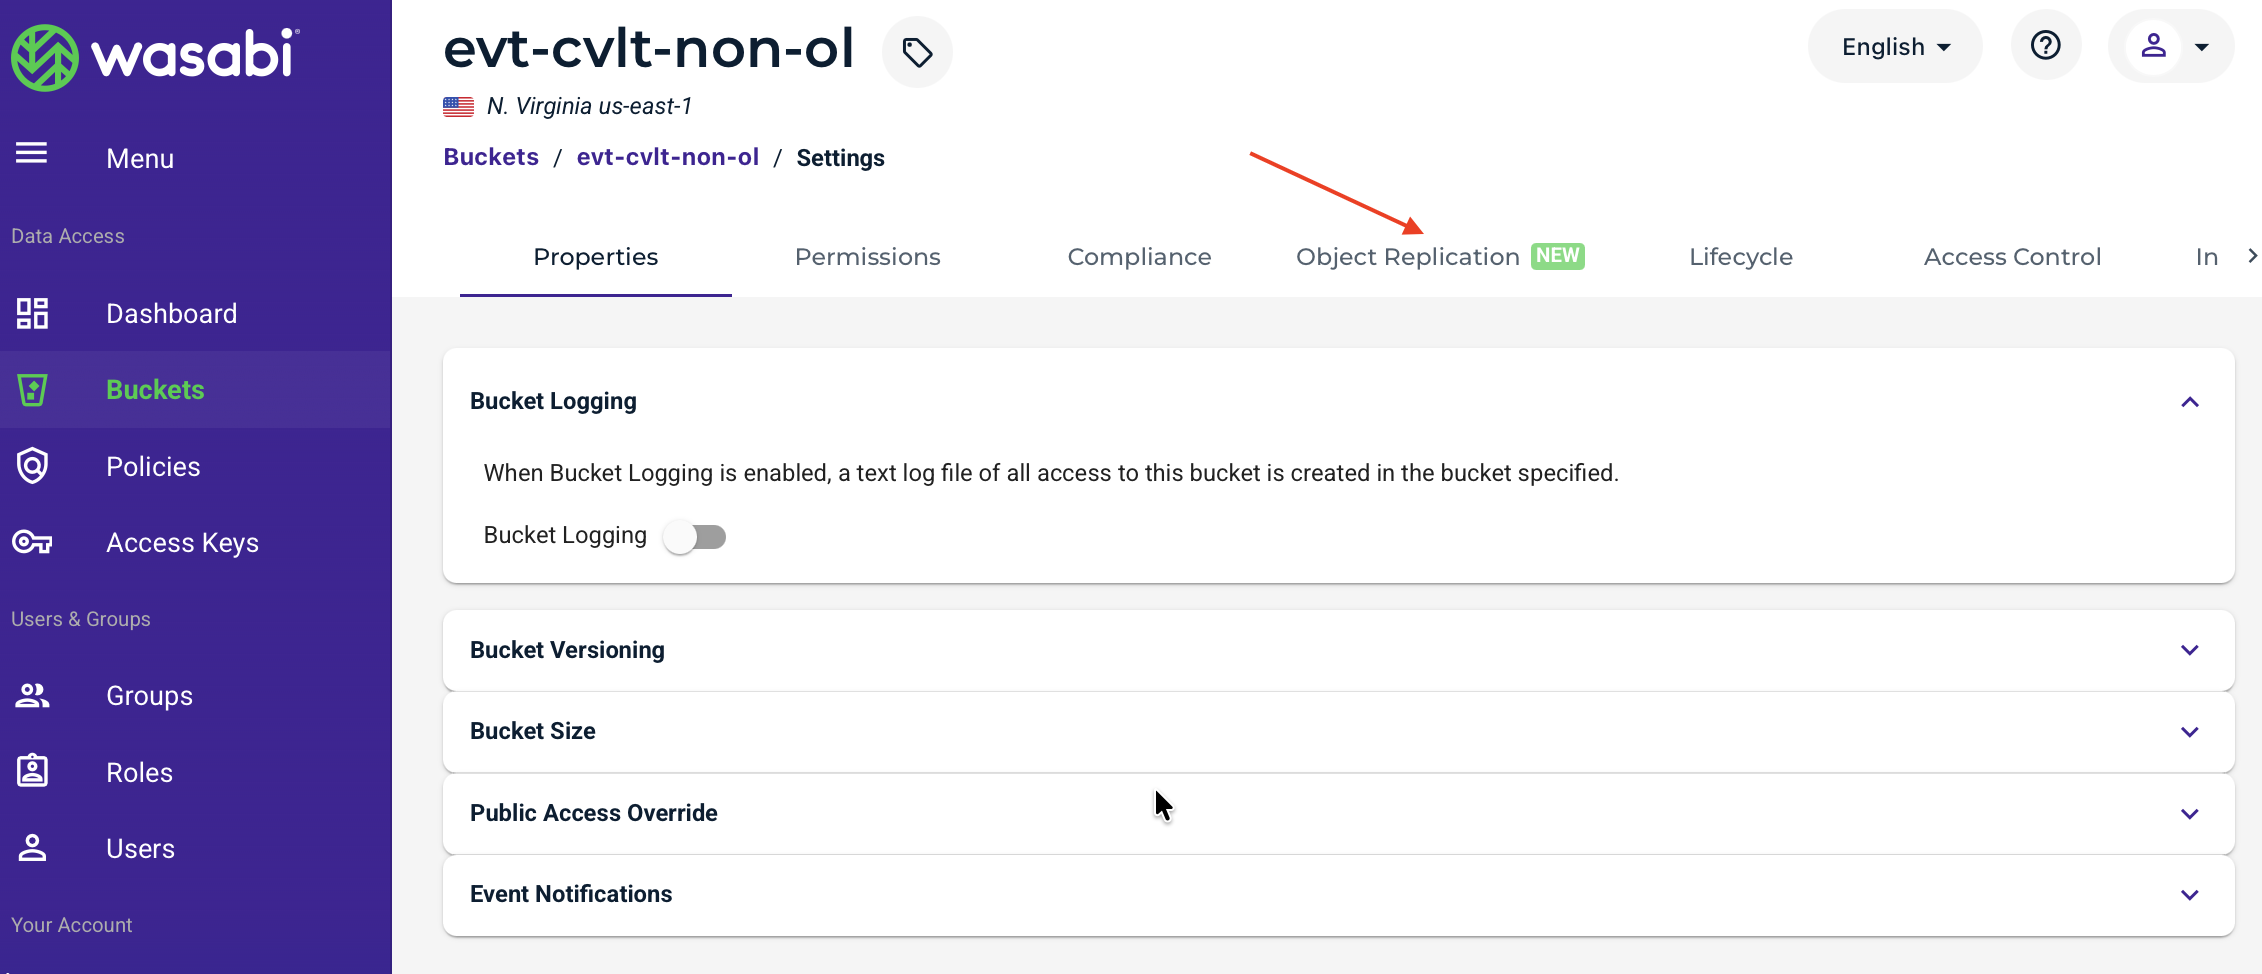
Select Object Replication.
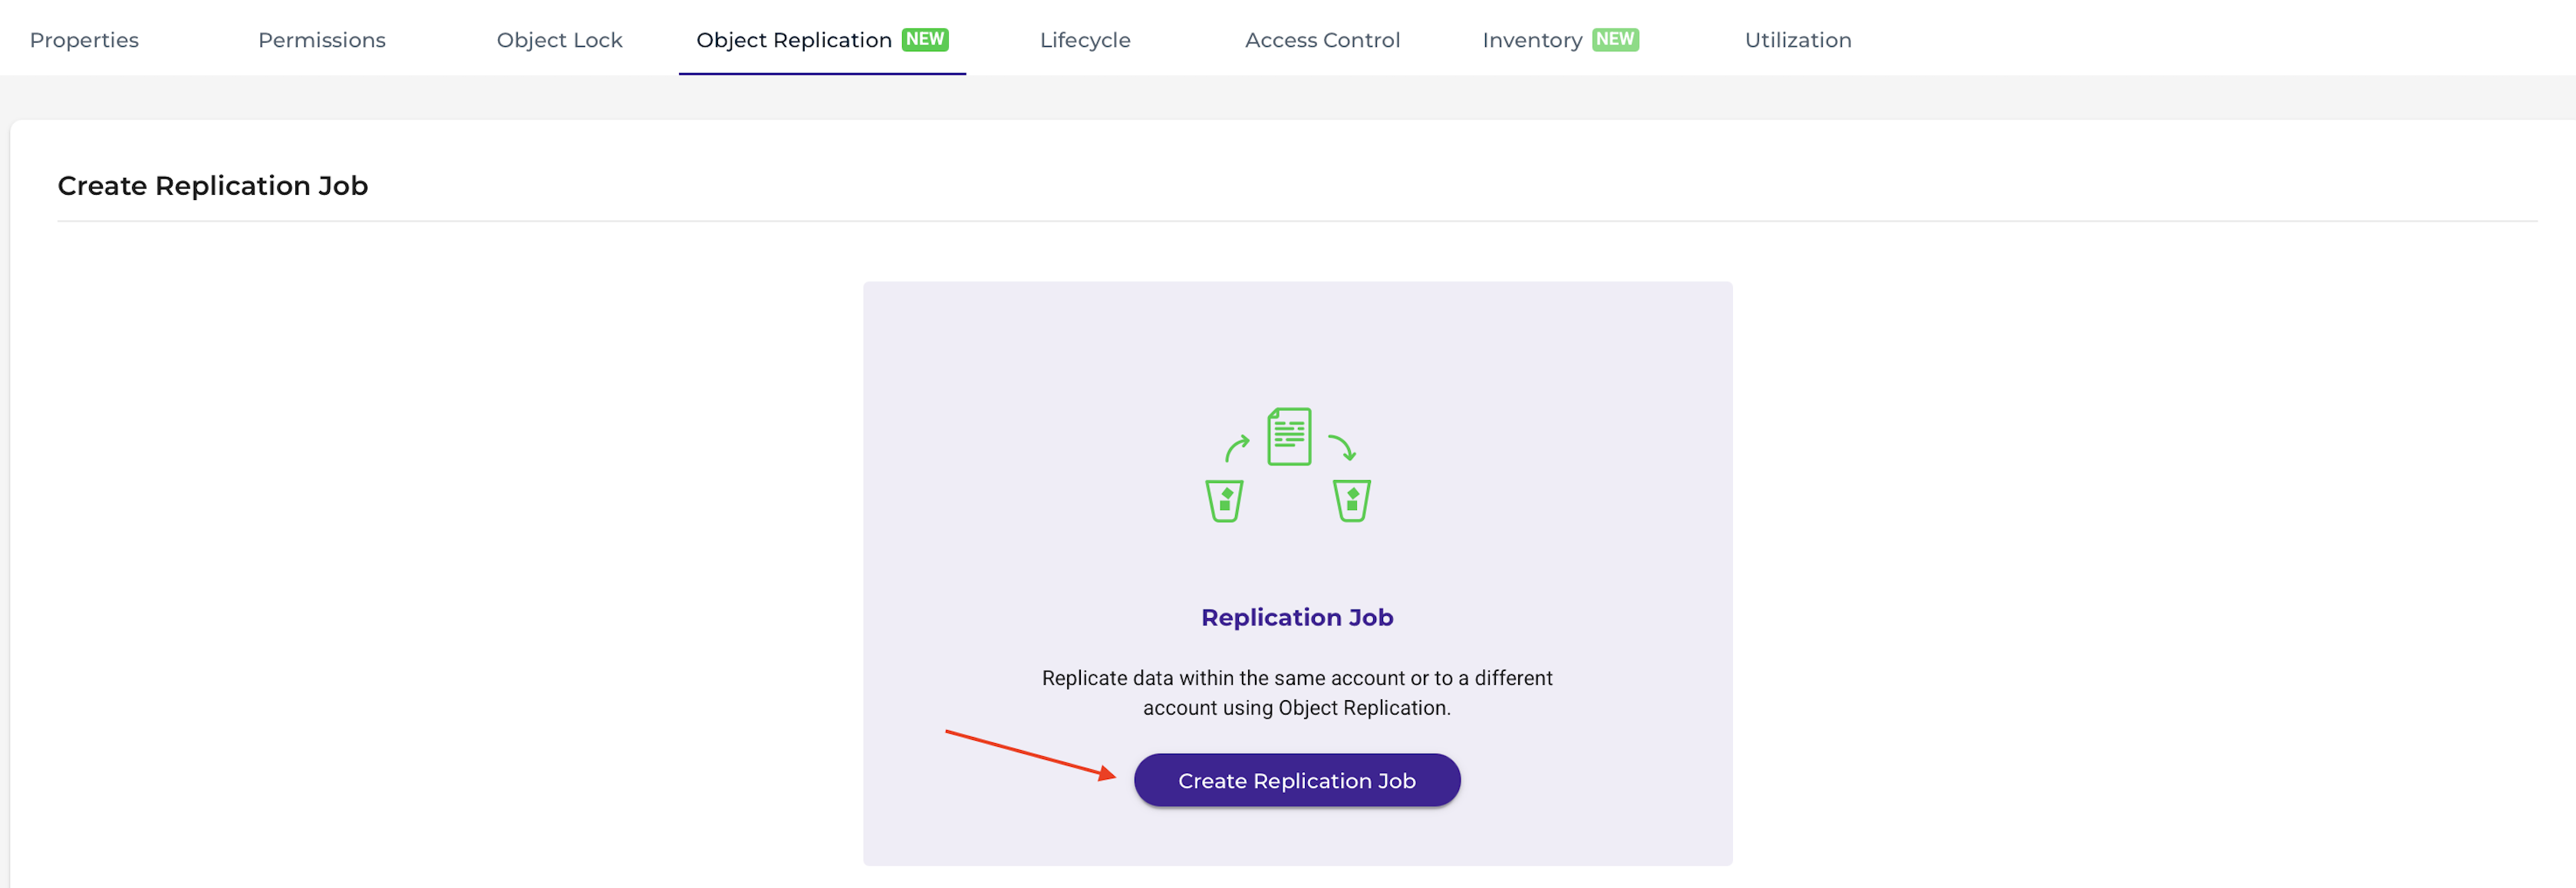
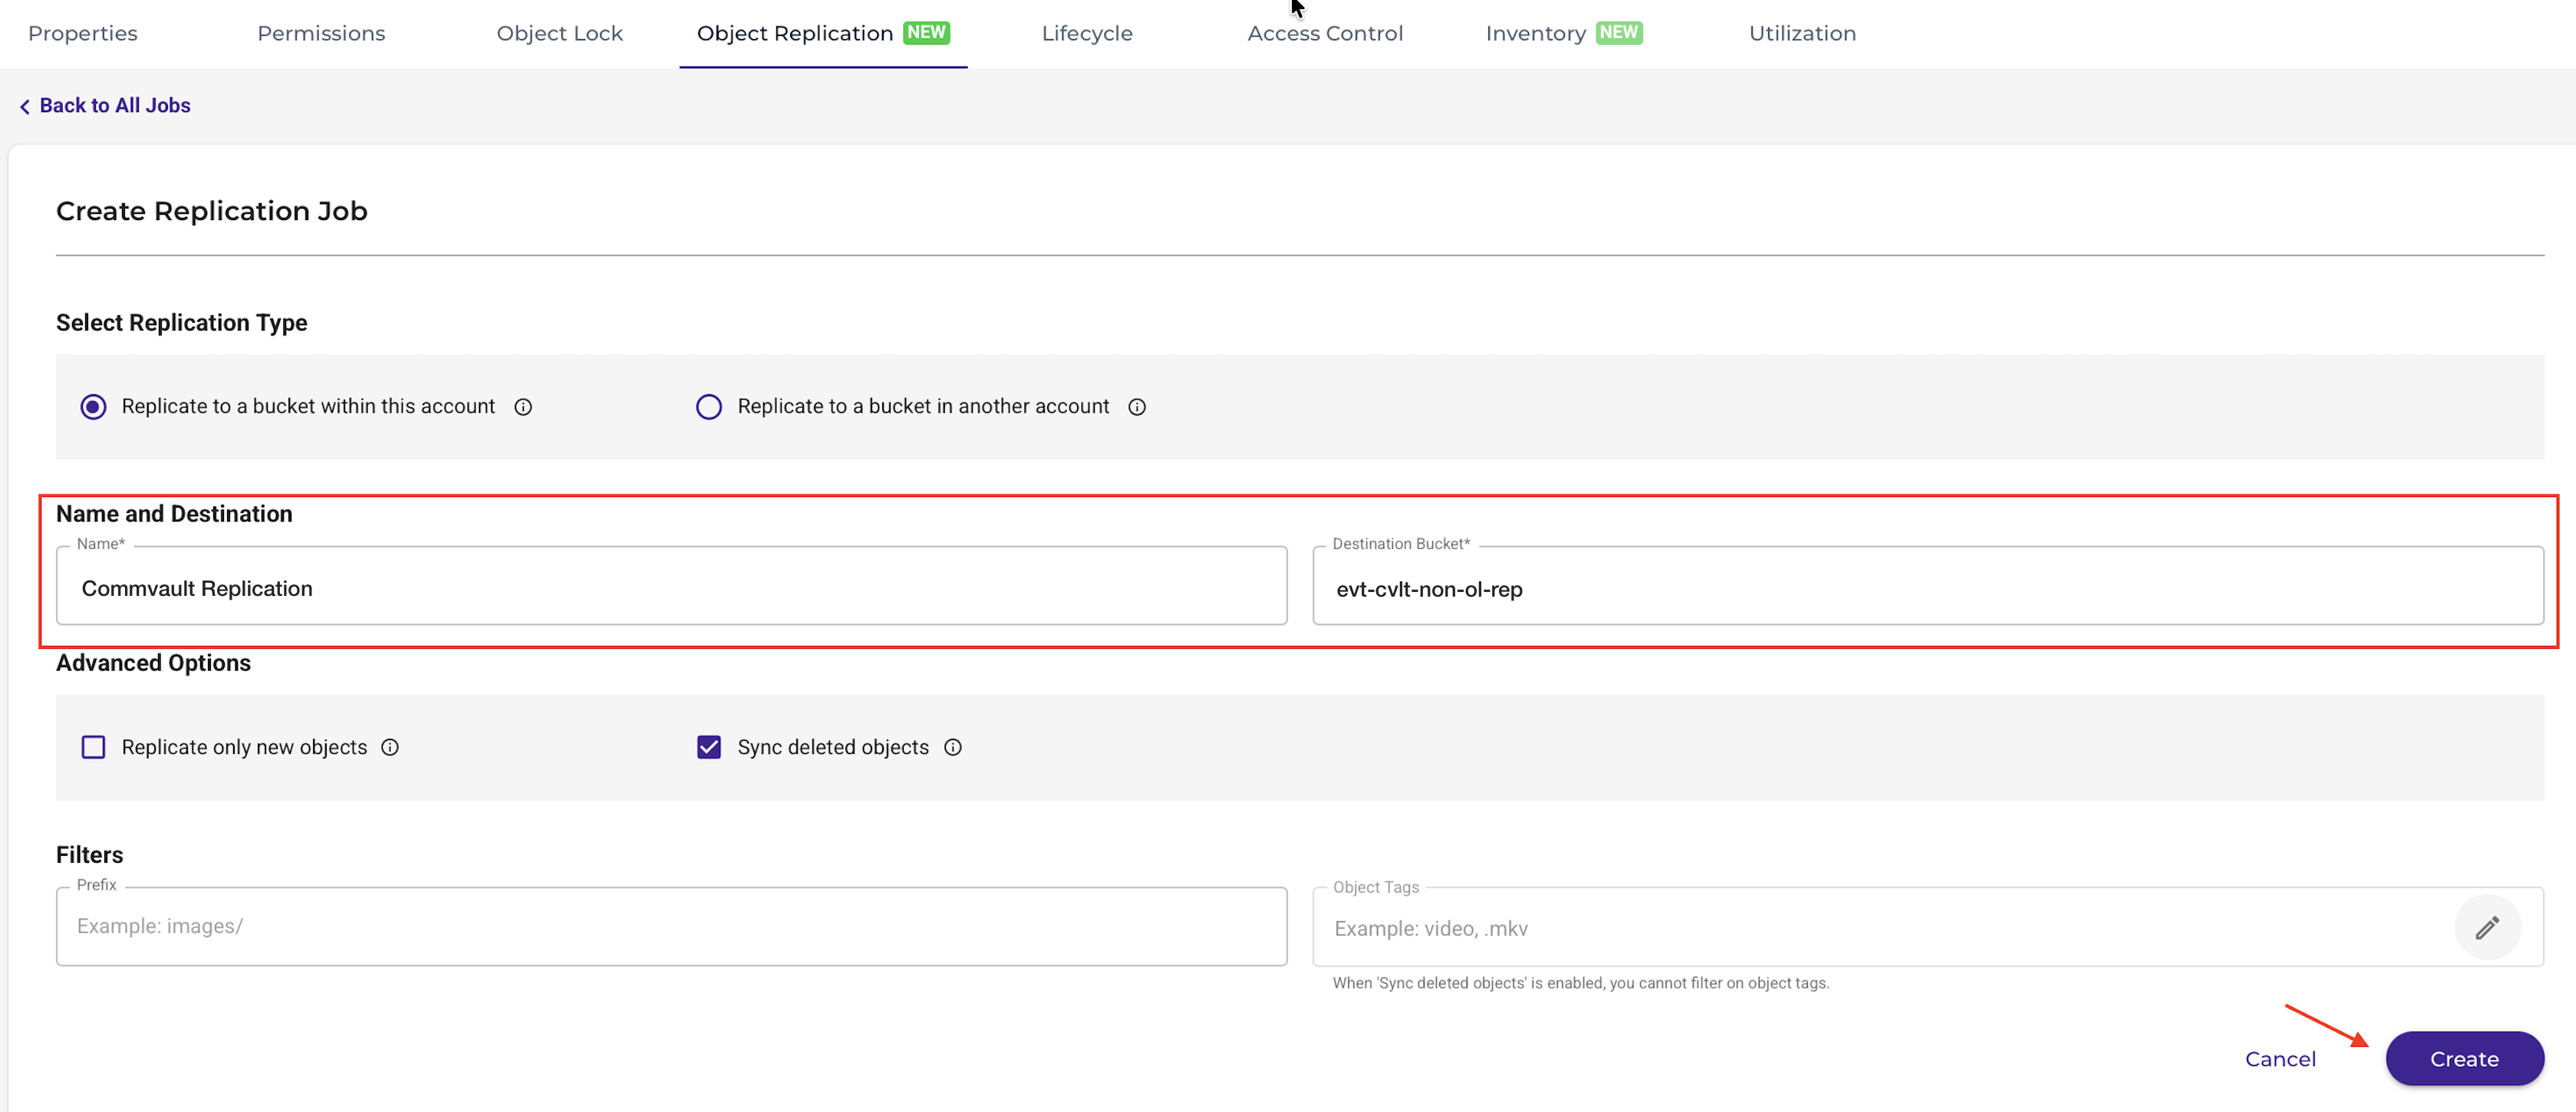
Click Create Replication Job.
Provide a name for the replication job.
Select the bucket that you created in Step 1 as the destination bucket.
Click Create.
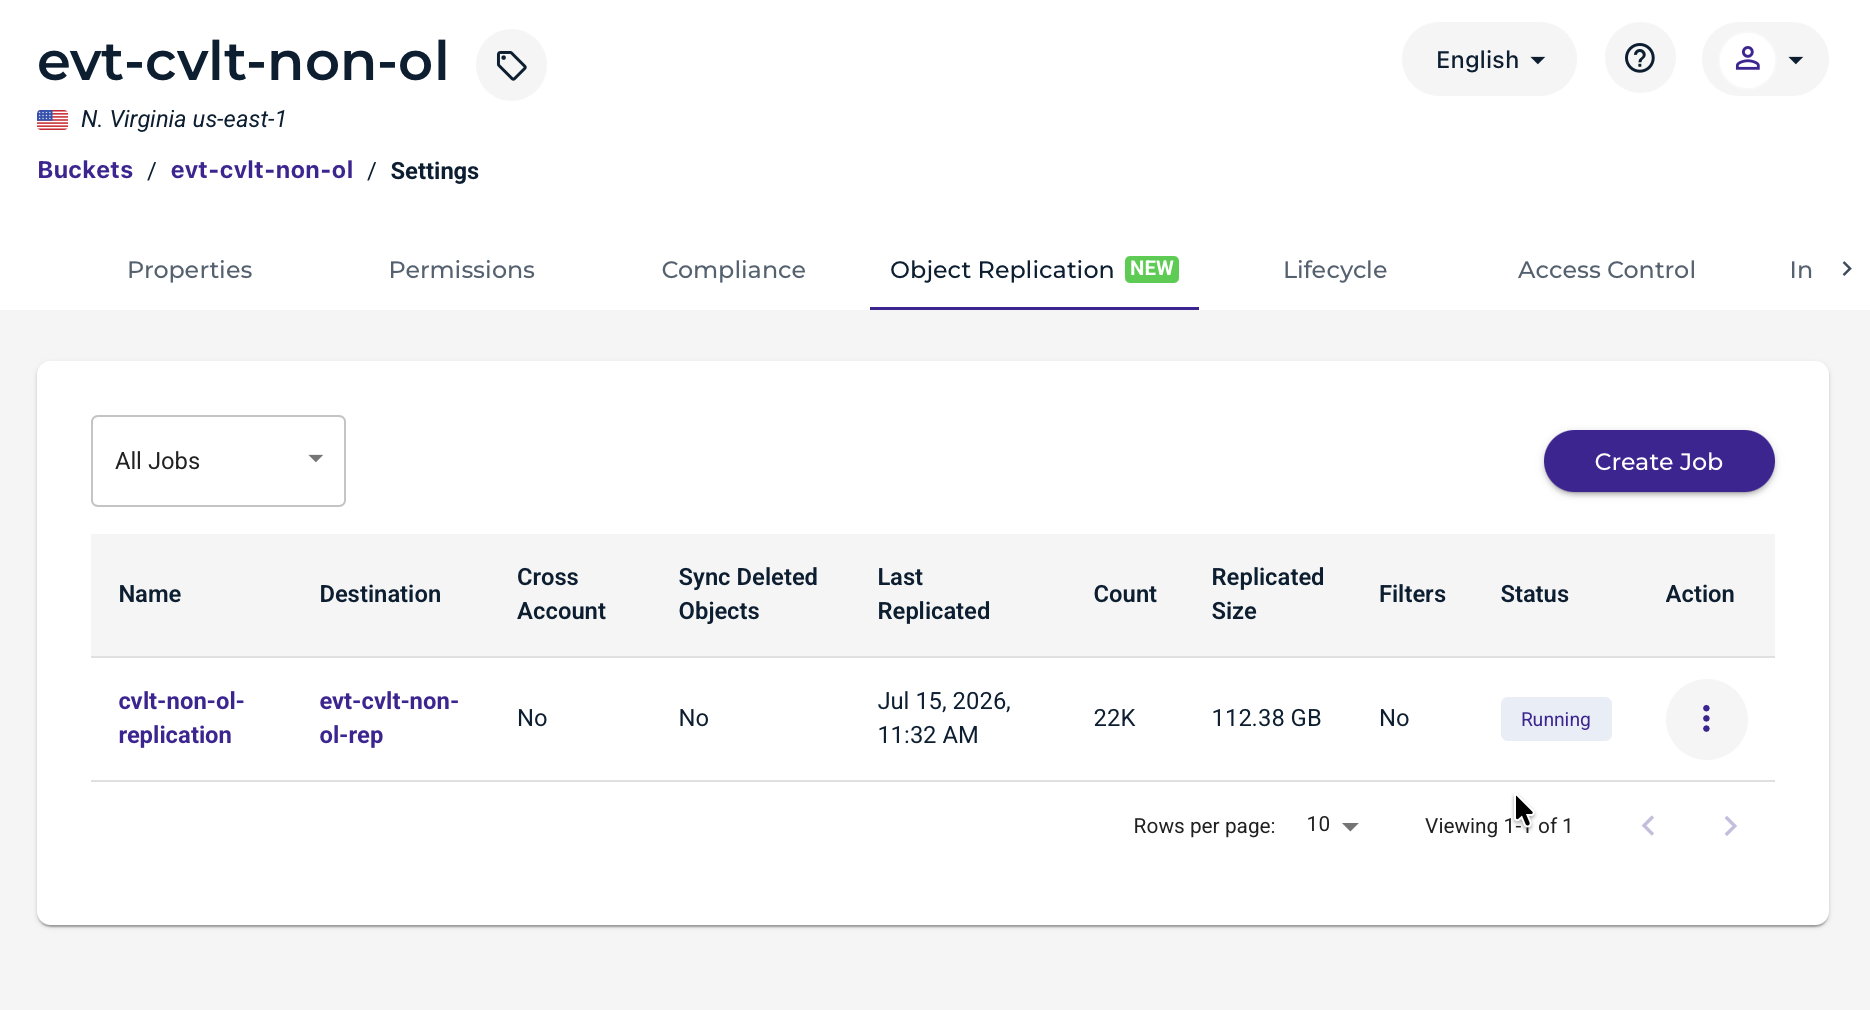
The replication will begin shortly. Depending on the size of the data, this may take time.
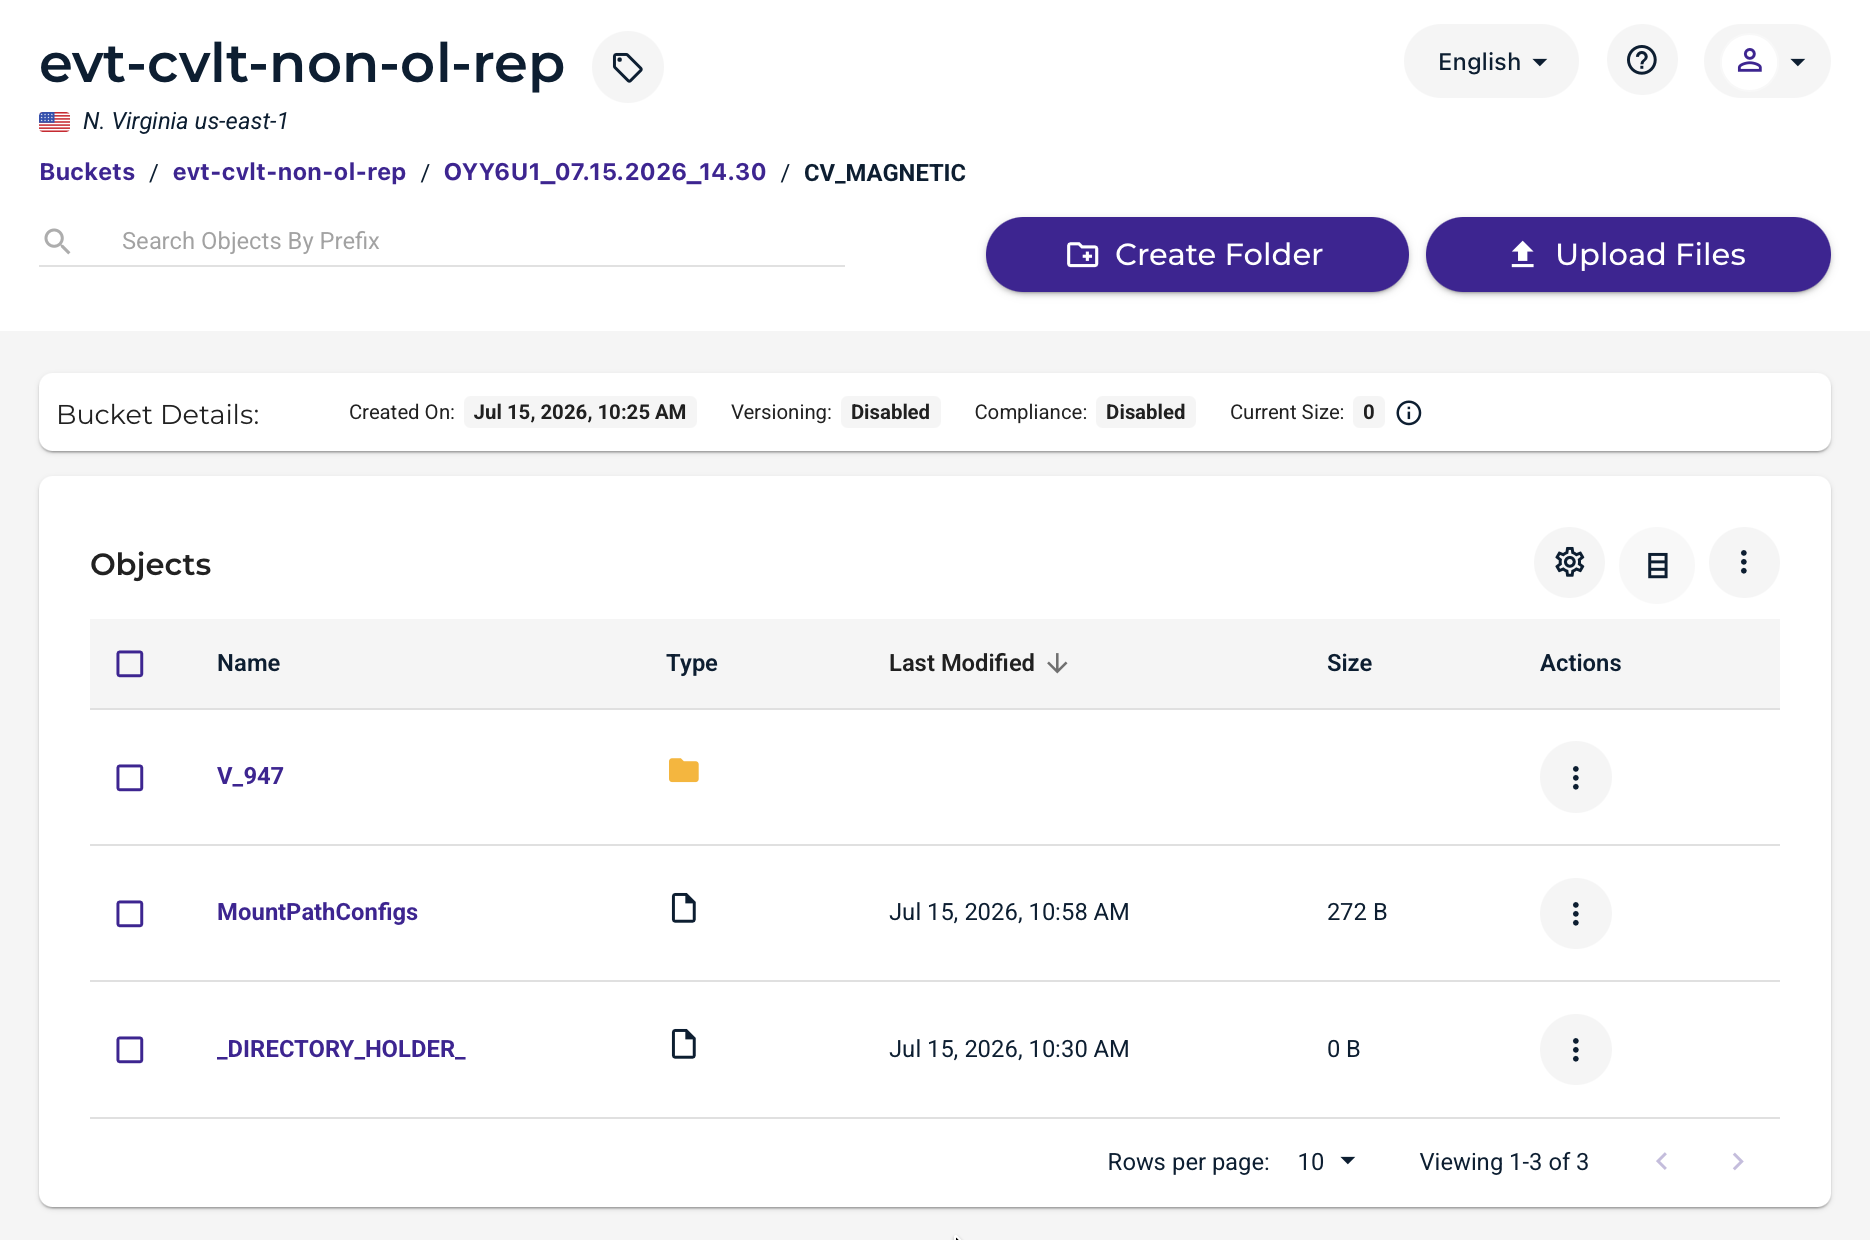
Once the replication completes, you will receive an email, and the replicated data will be visible in the new bucket.
Adding the Replicated Bucket to Commvault
Log in to the Commvault Command Center.
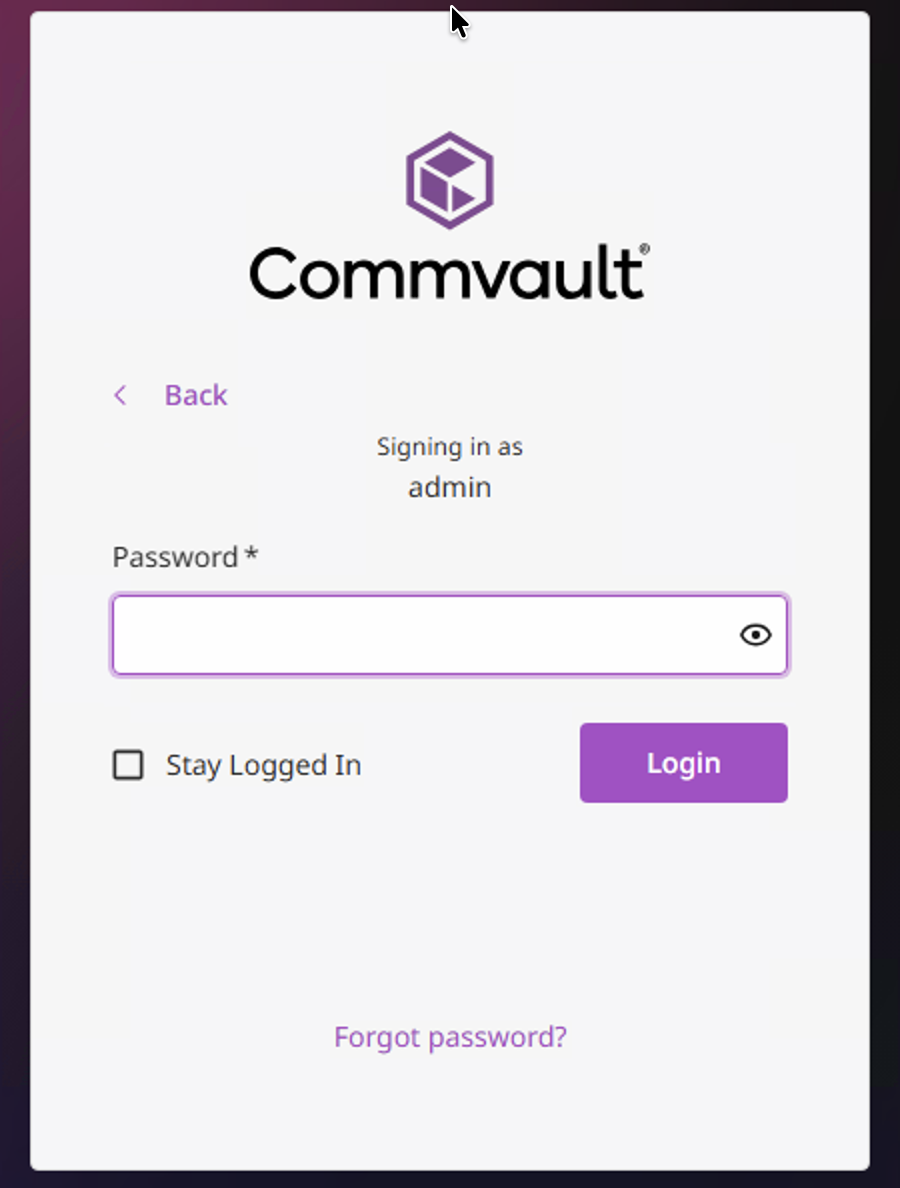
Select Manage.
Click Storage.
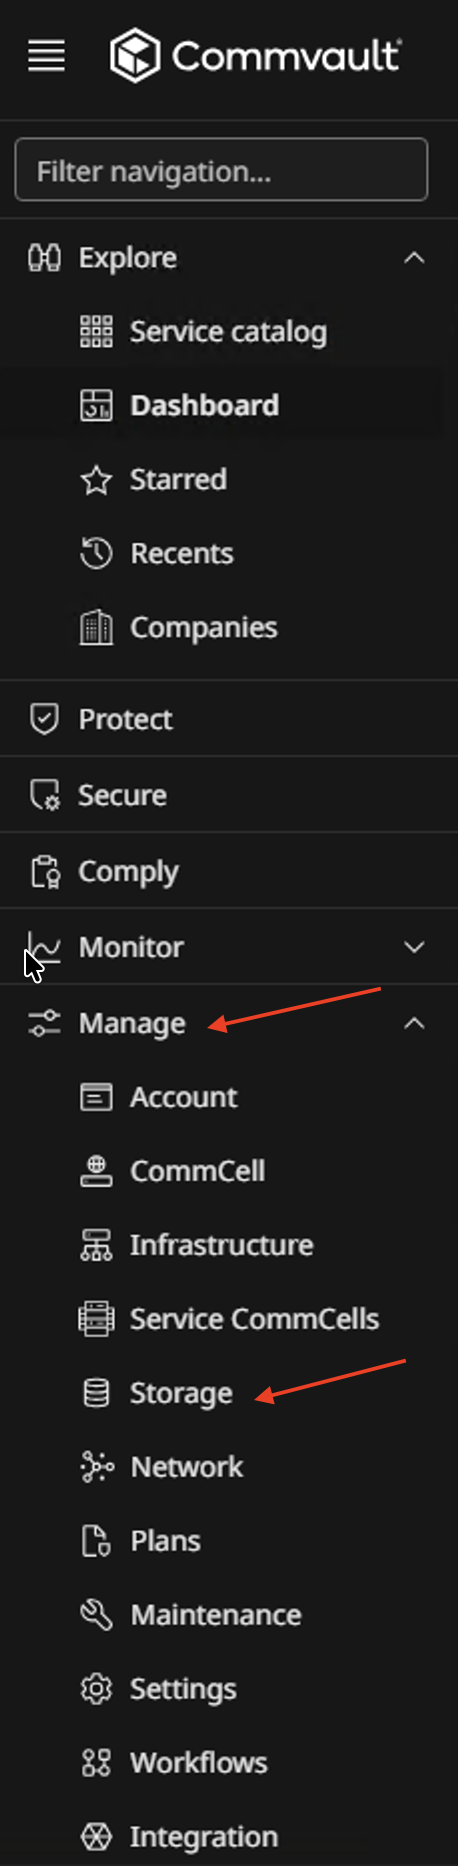
On the Storage Management page, click Cloud.
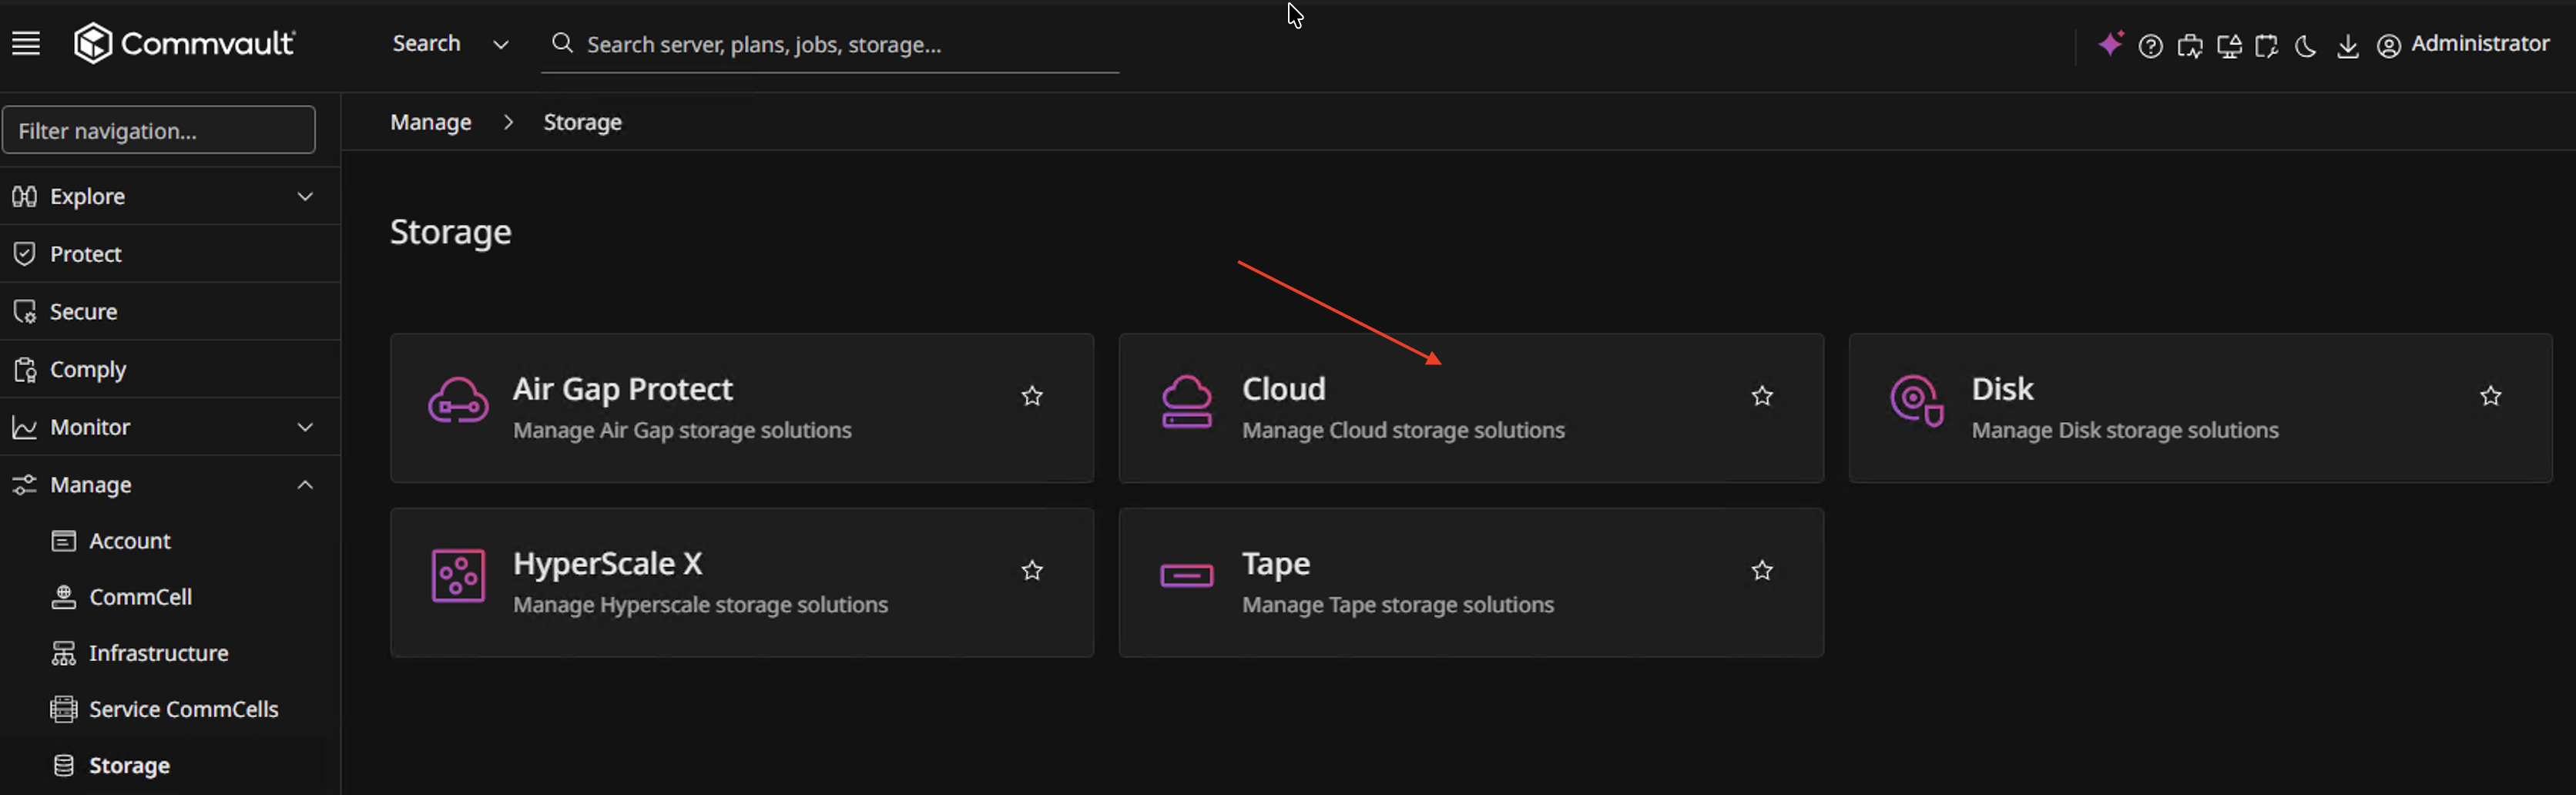
Select the name of the storage location attached to the Protection Plan for your VM.

Click Backup Locations.
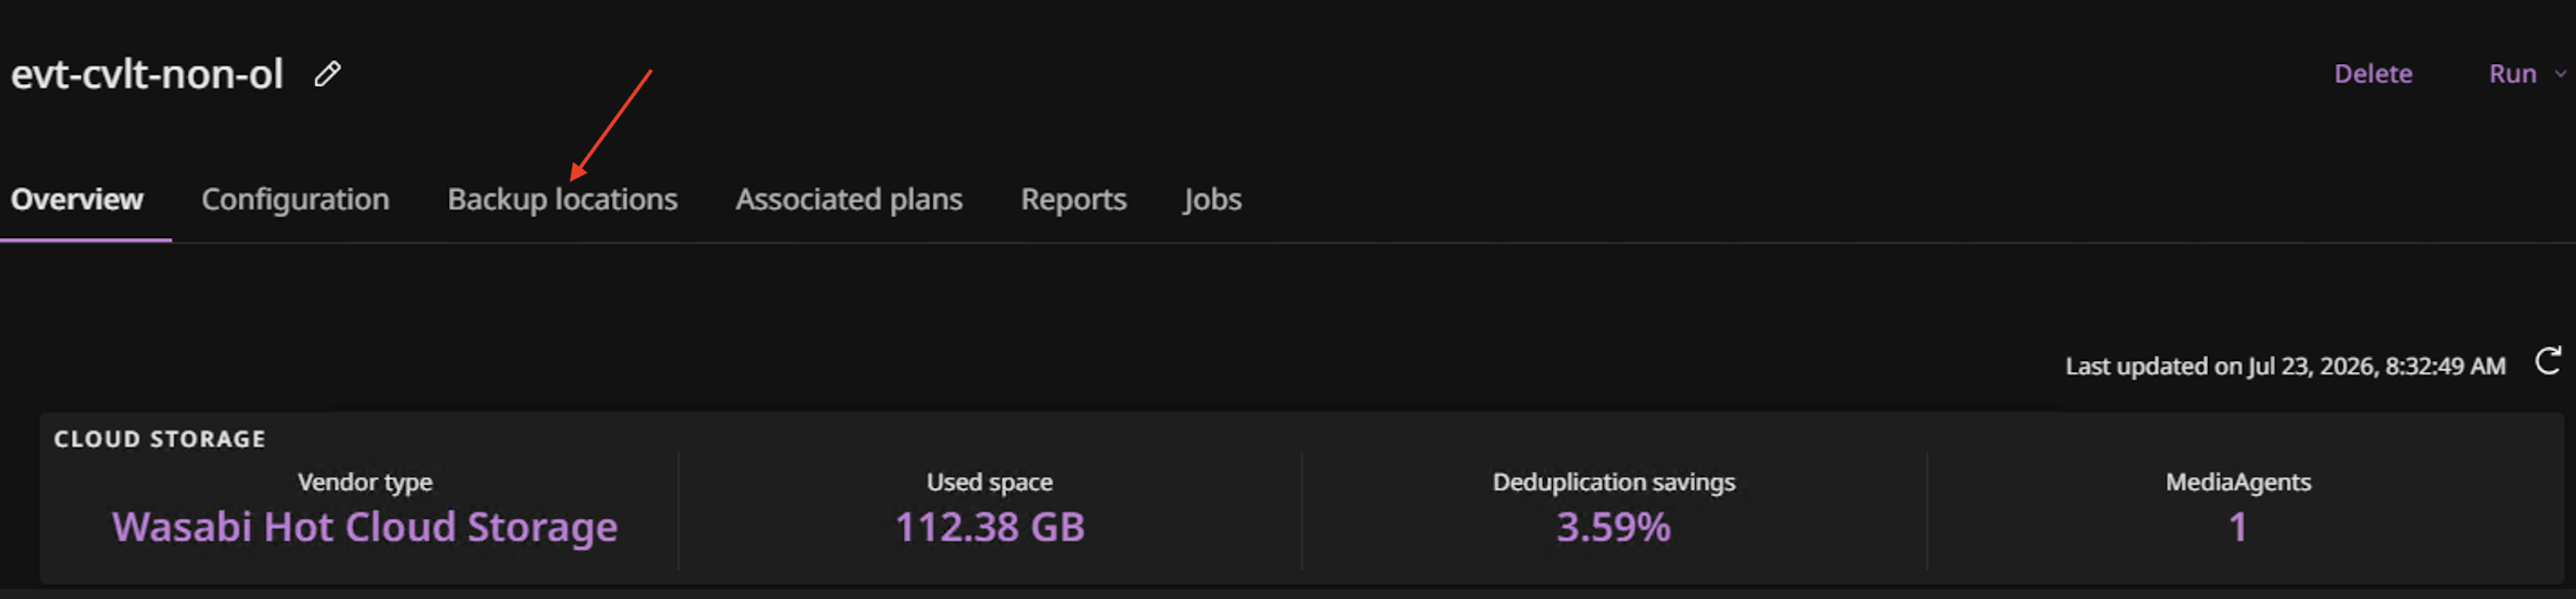
Select the name of the backup location.
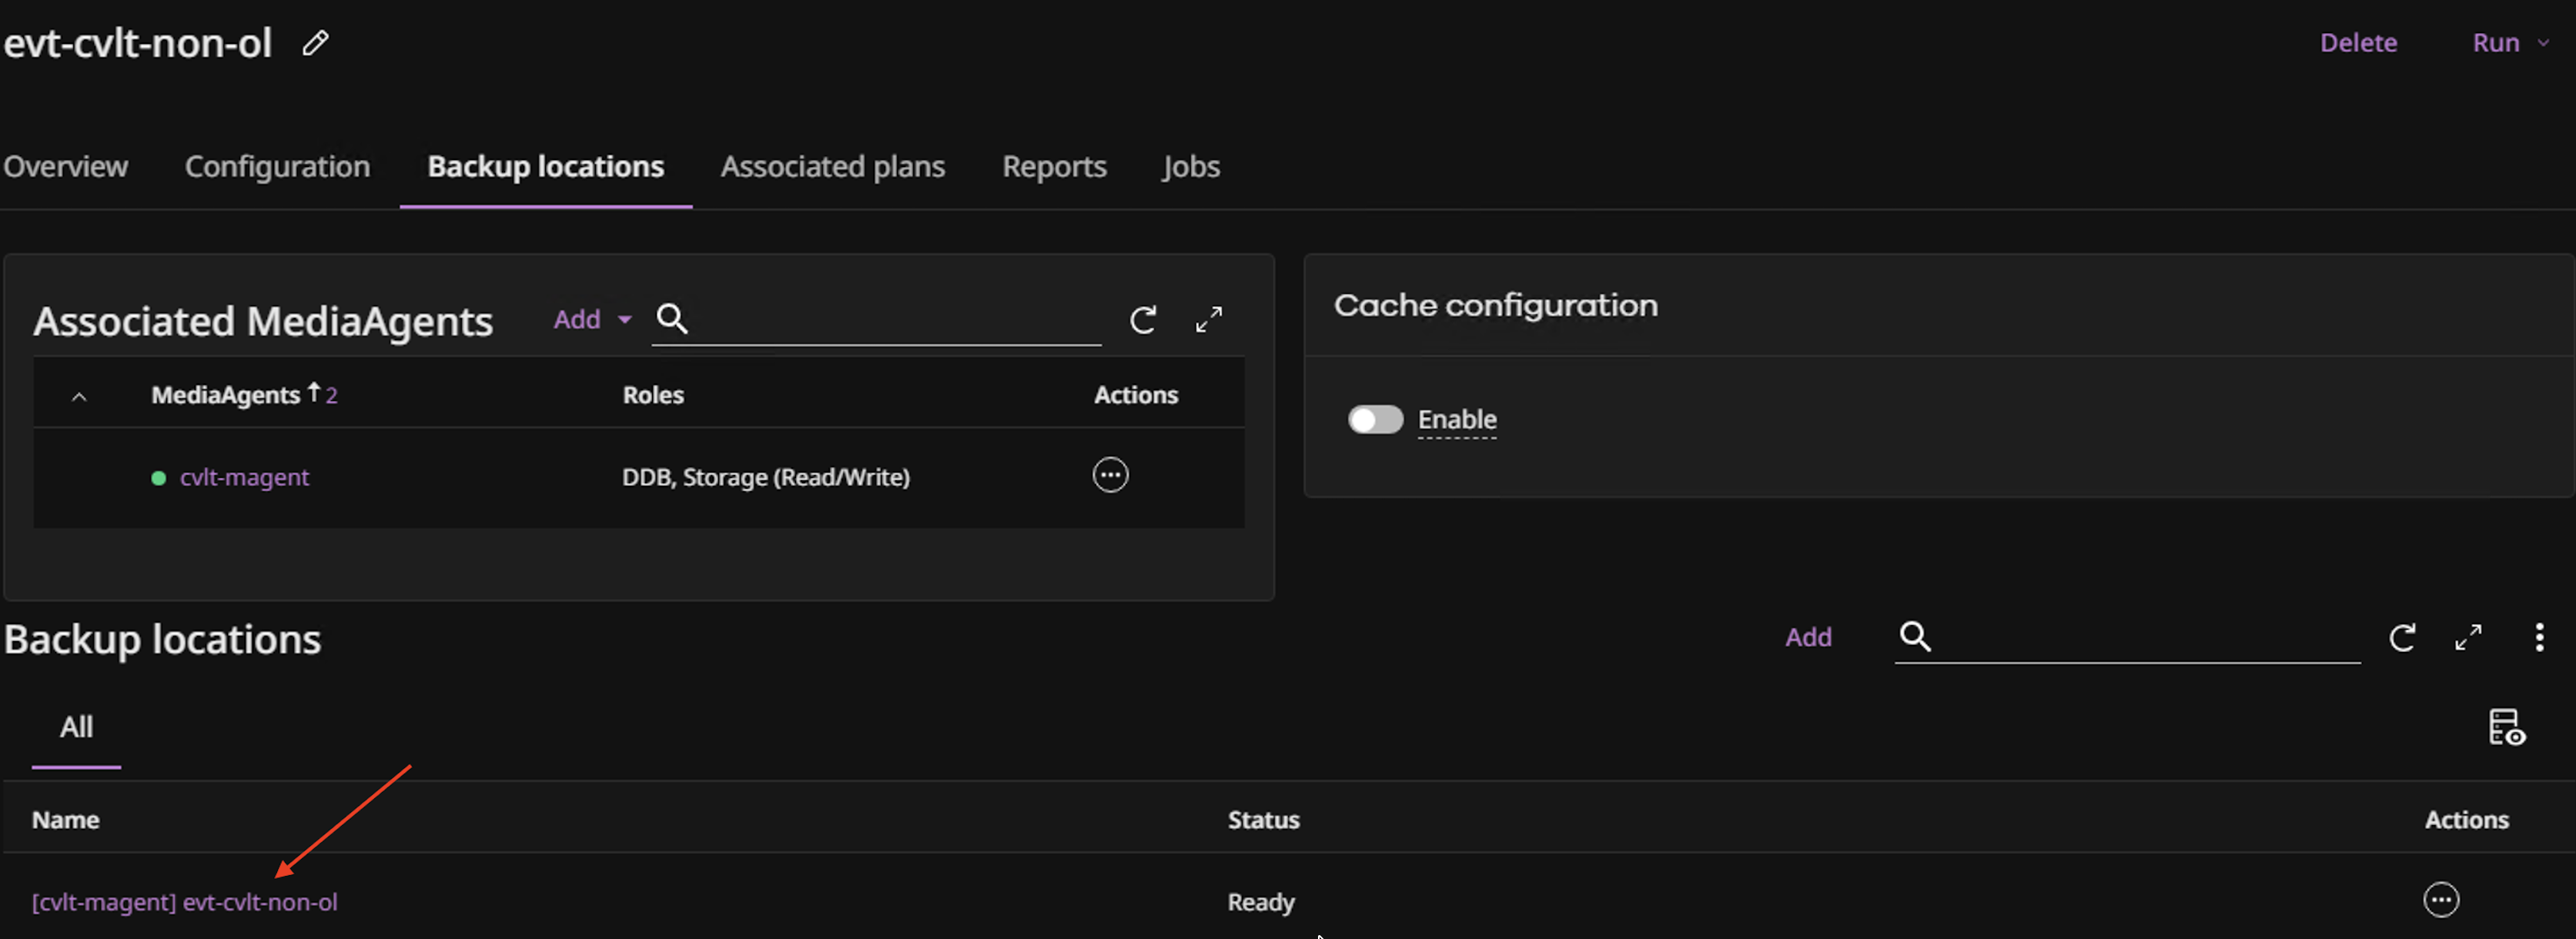
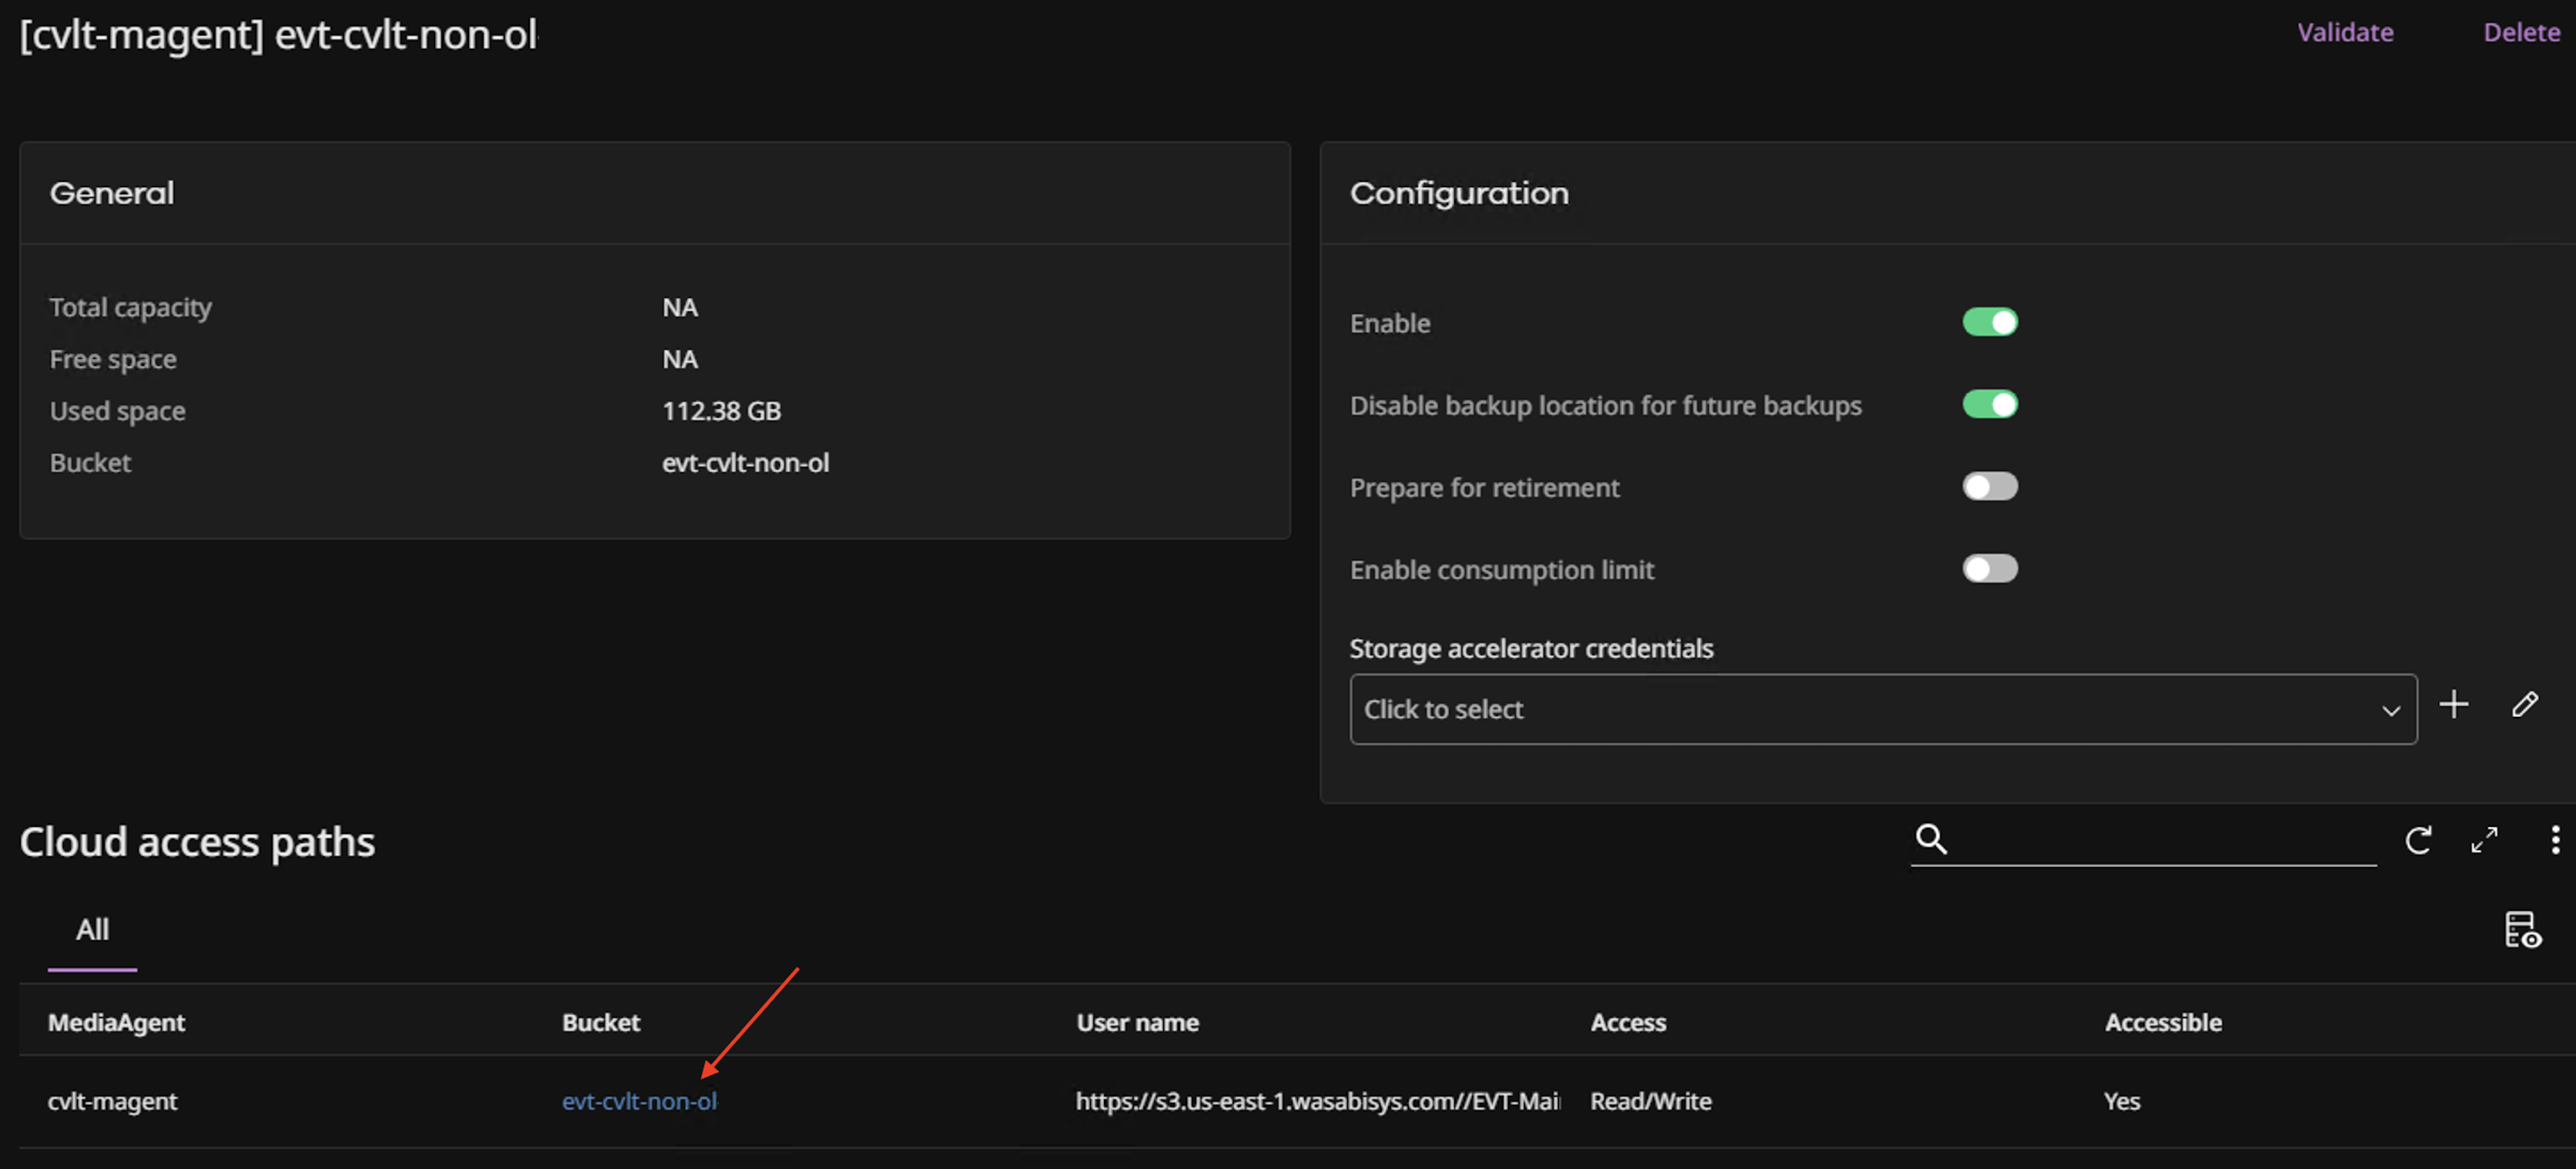
Select the name of the bucket.
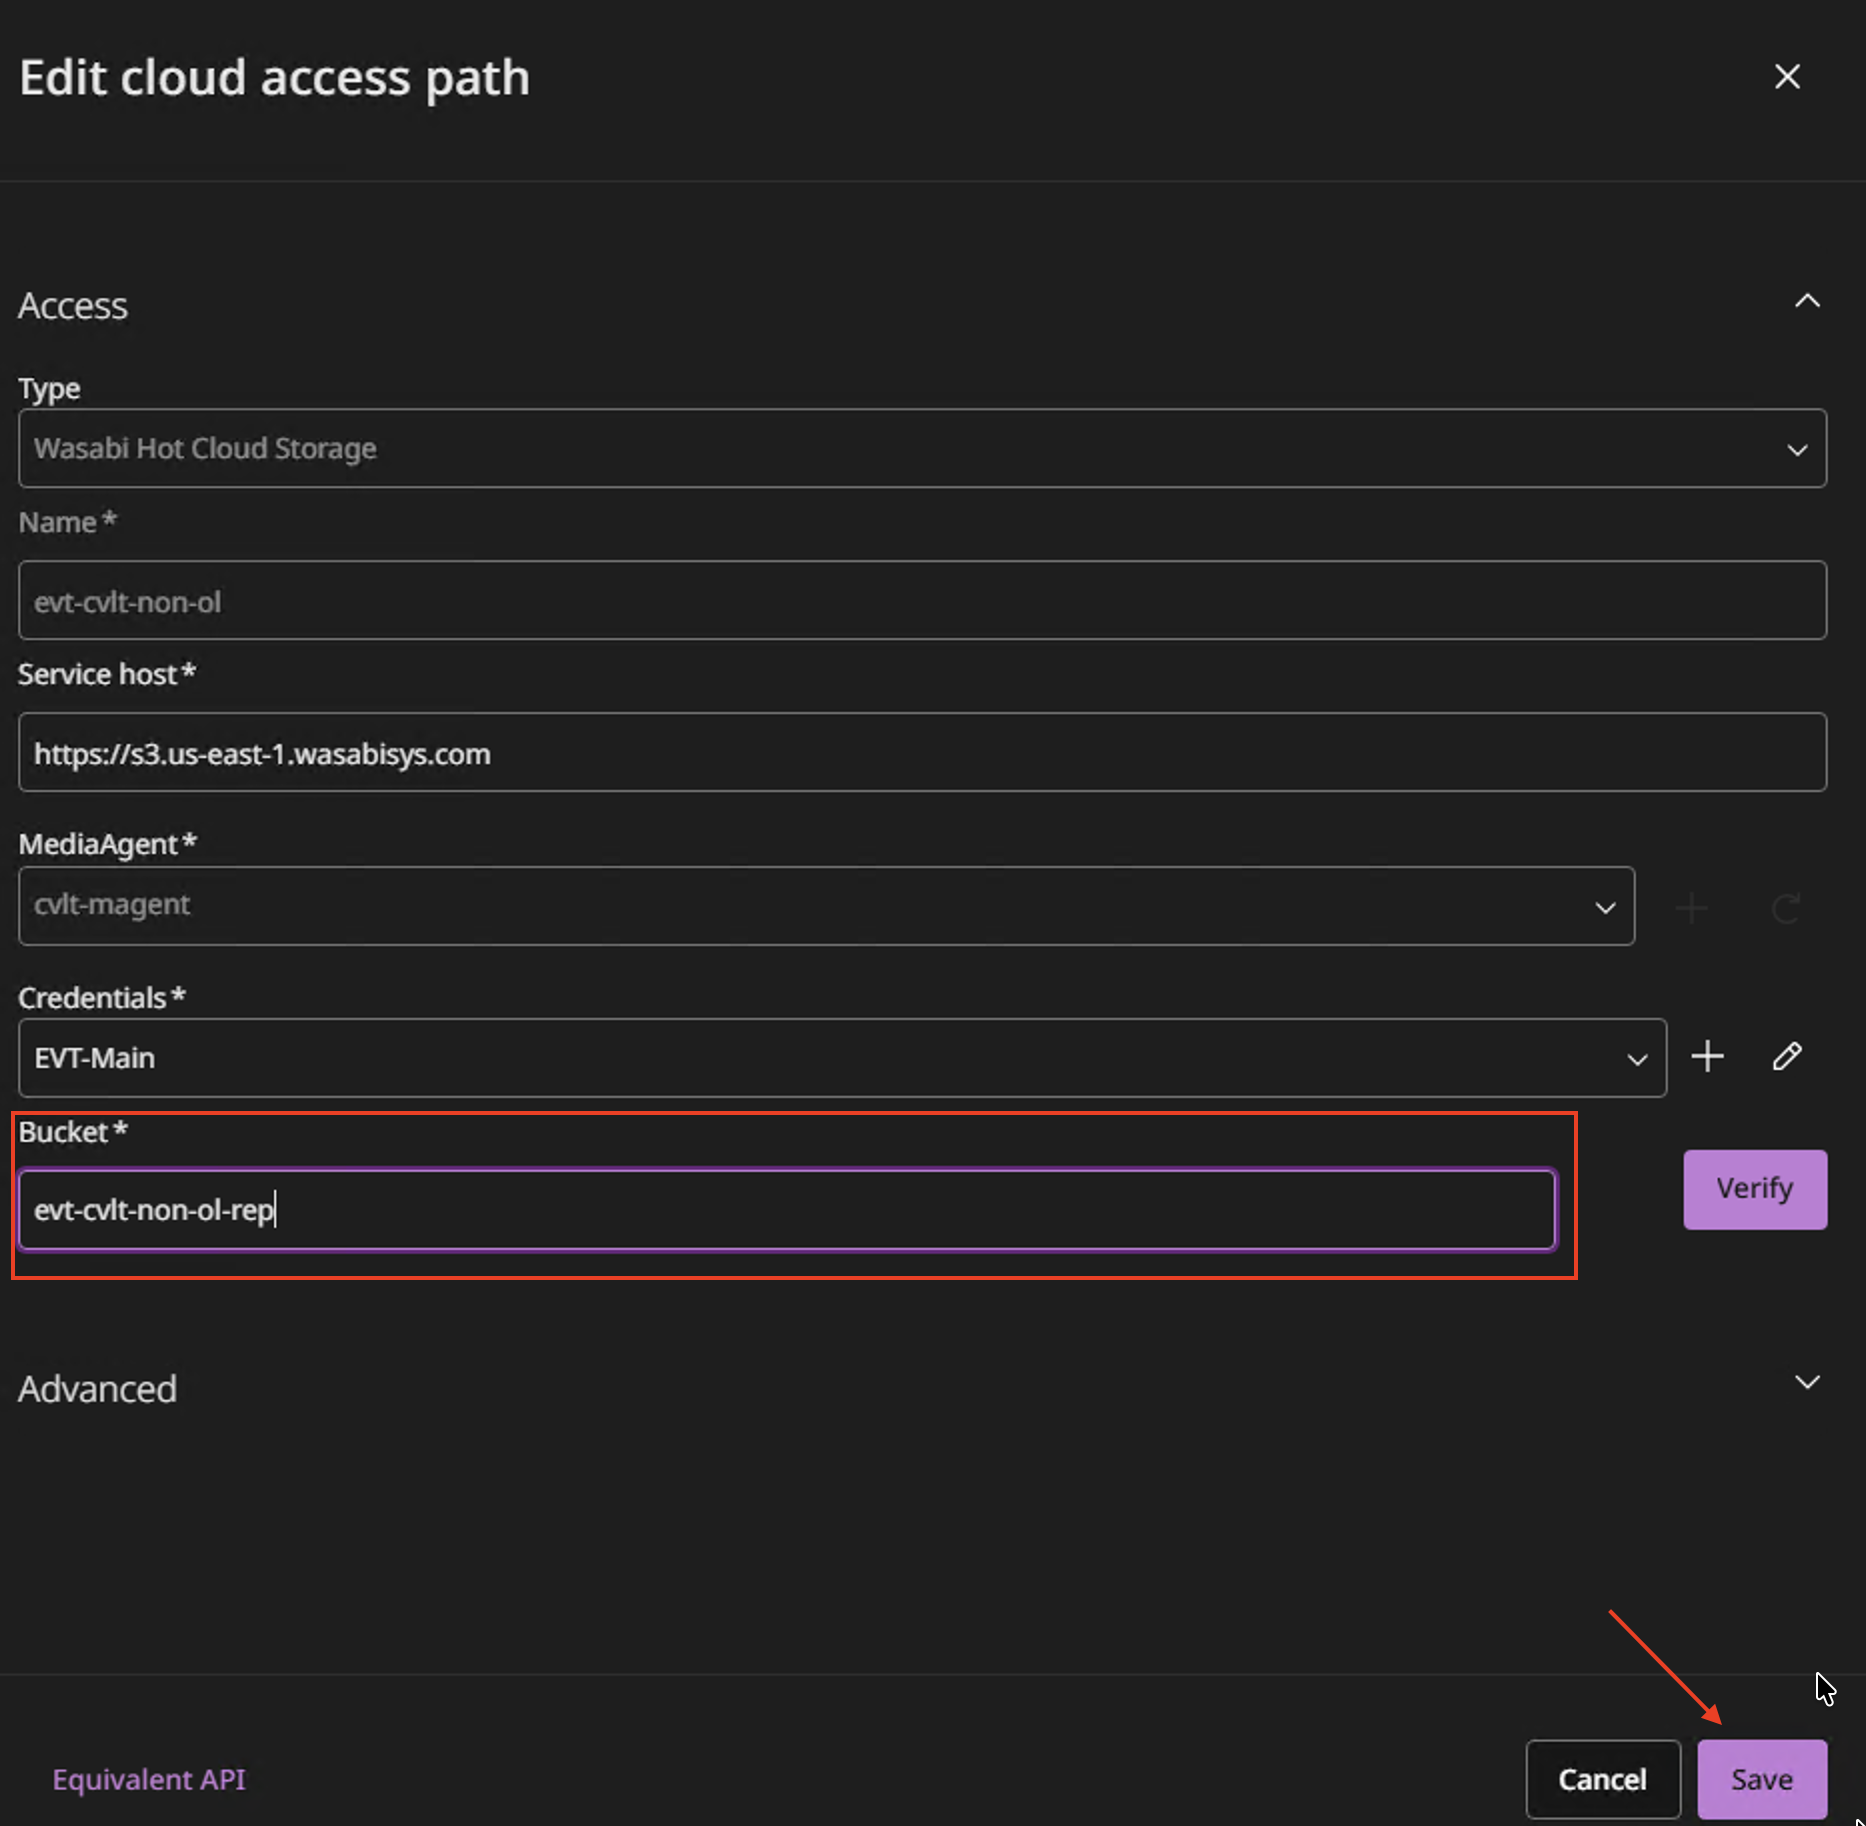
Input the name of the replicated bucket.
Click Save.
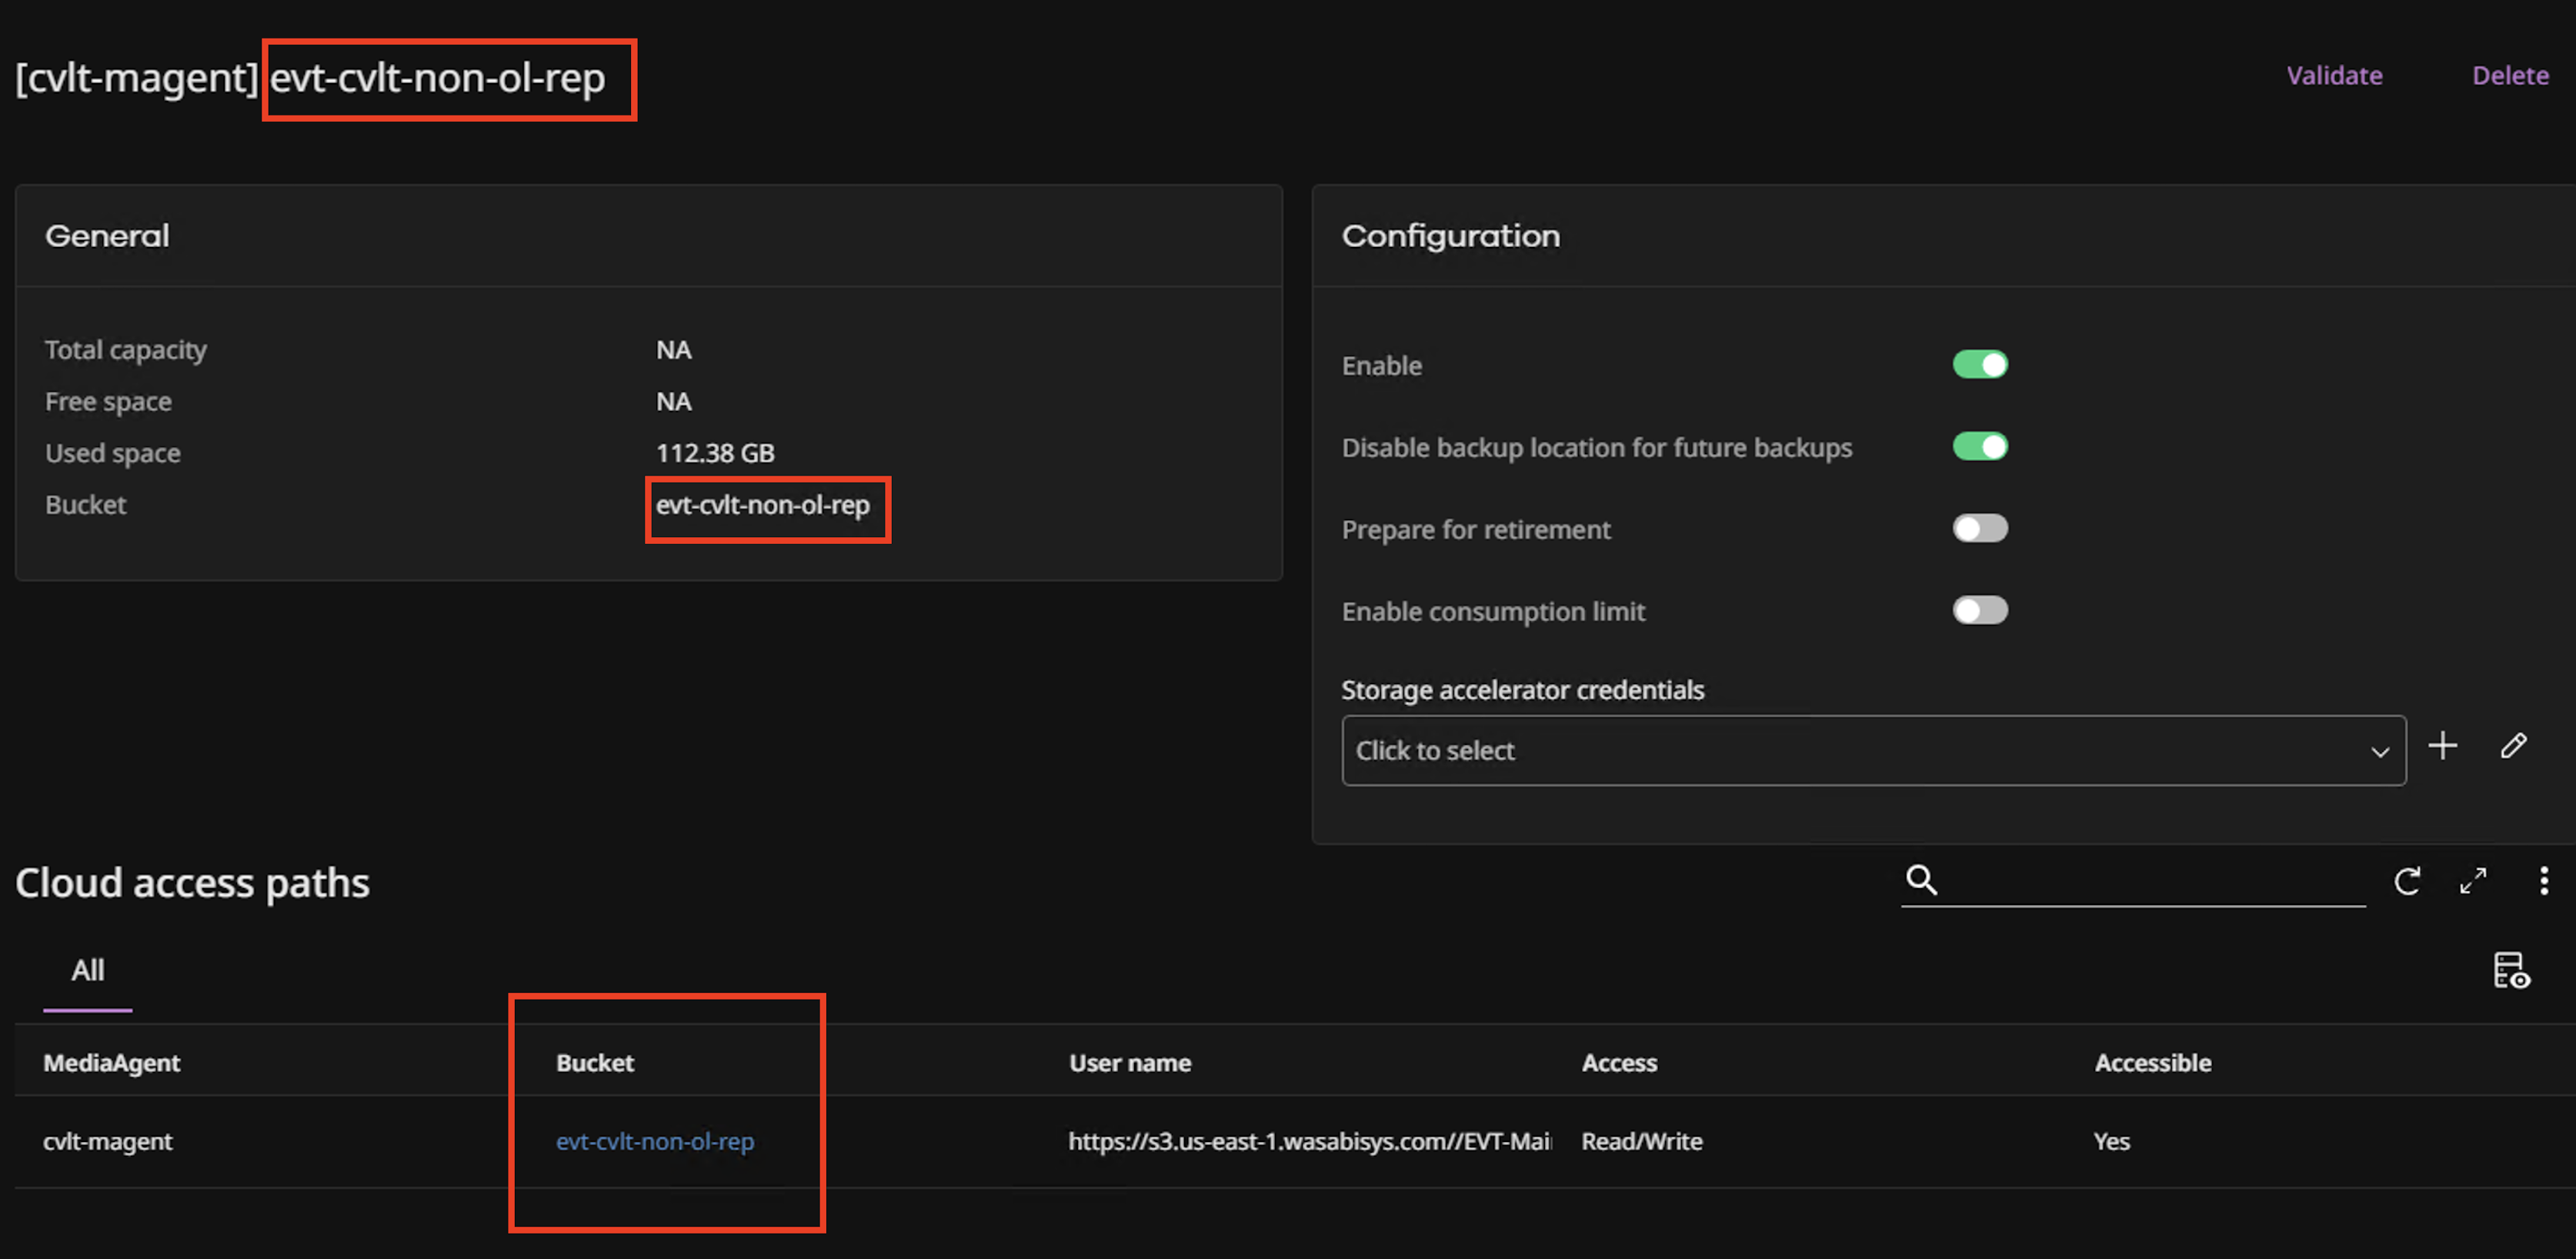
Notice that the bucket names change to the names of the replicated buckets.
Restoring From a Replicated Bucket
The data restoration process is handled by your specific backup software application. As many variables can affect your unique environment, Wasabi strongly recommends that you seek guidance from your backup software’s technical support team if you encounter difficulties or have application-specific inquiries.
Log in to the Commvault Command Center.
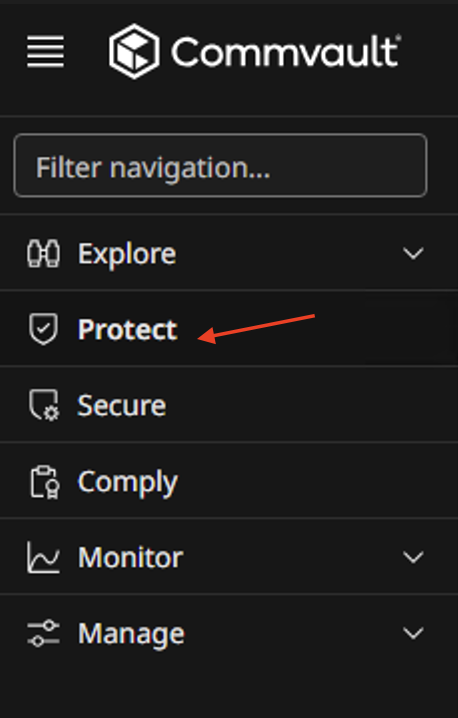
Click Protect in the left-hand panel.
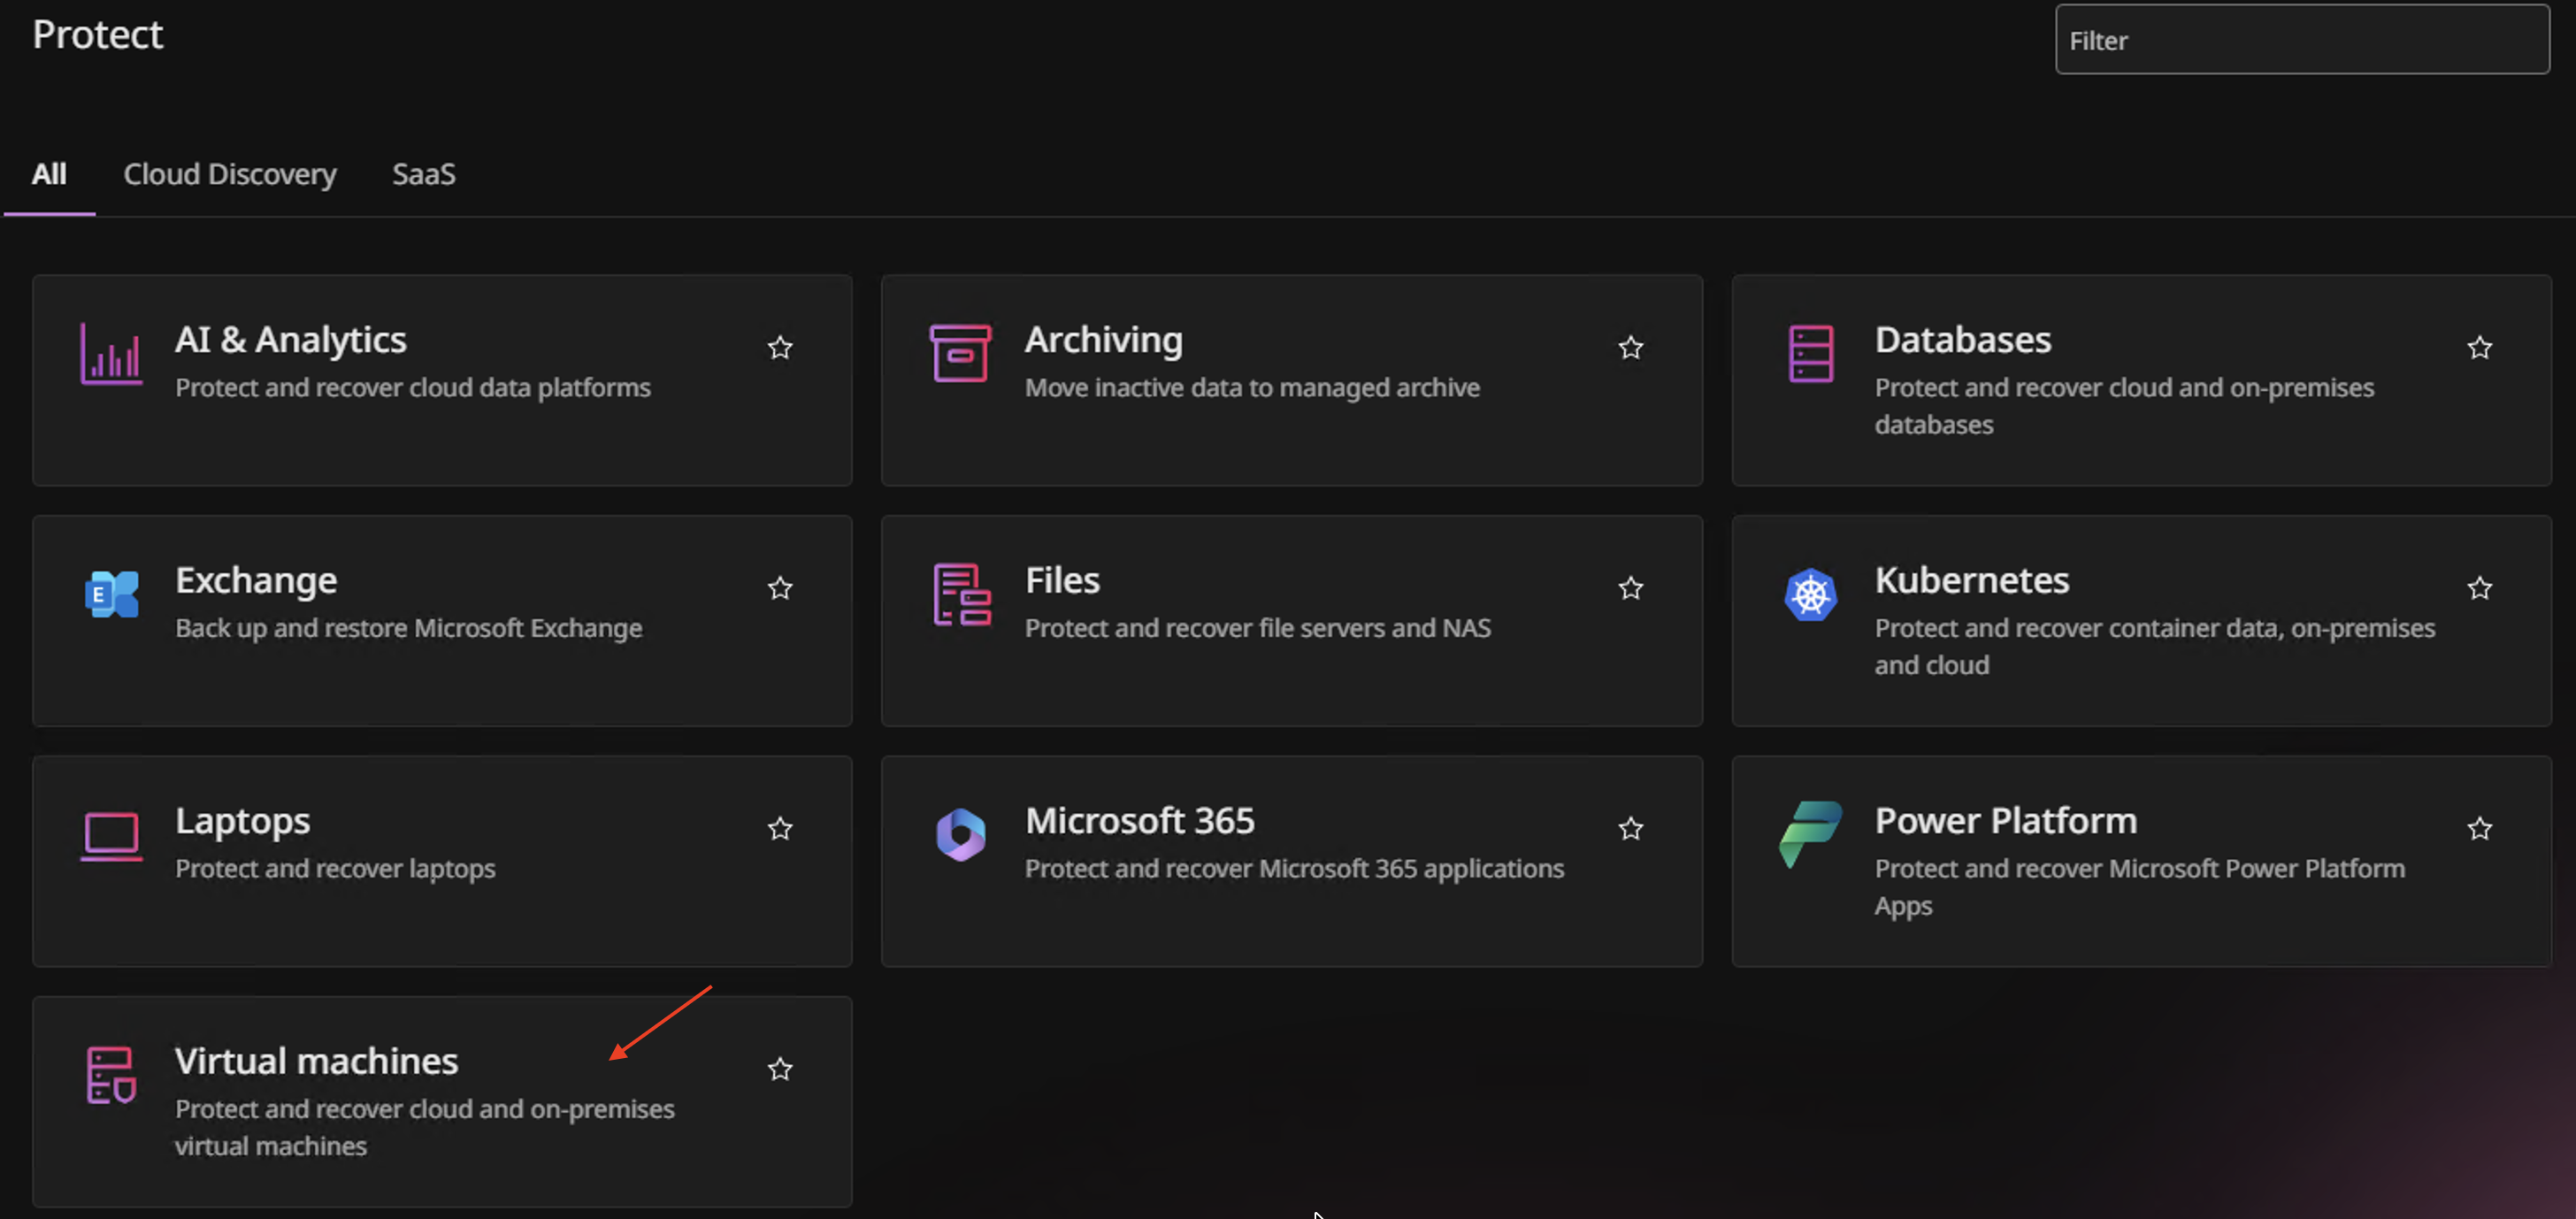
On the Protect page, select the relevant option for your backup (for example, Virtual Machines).
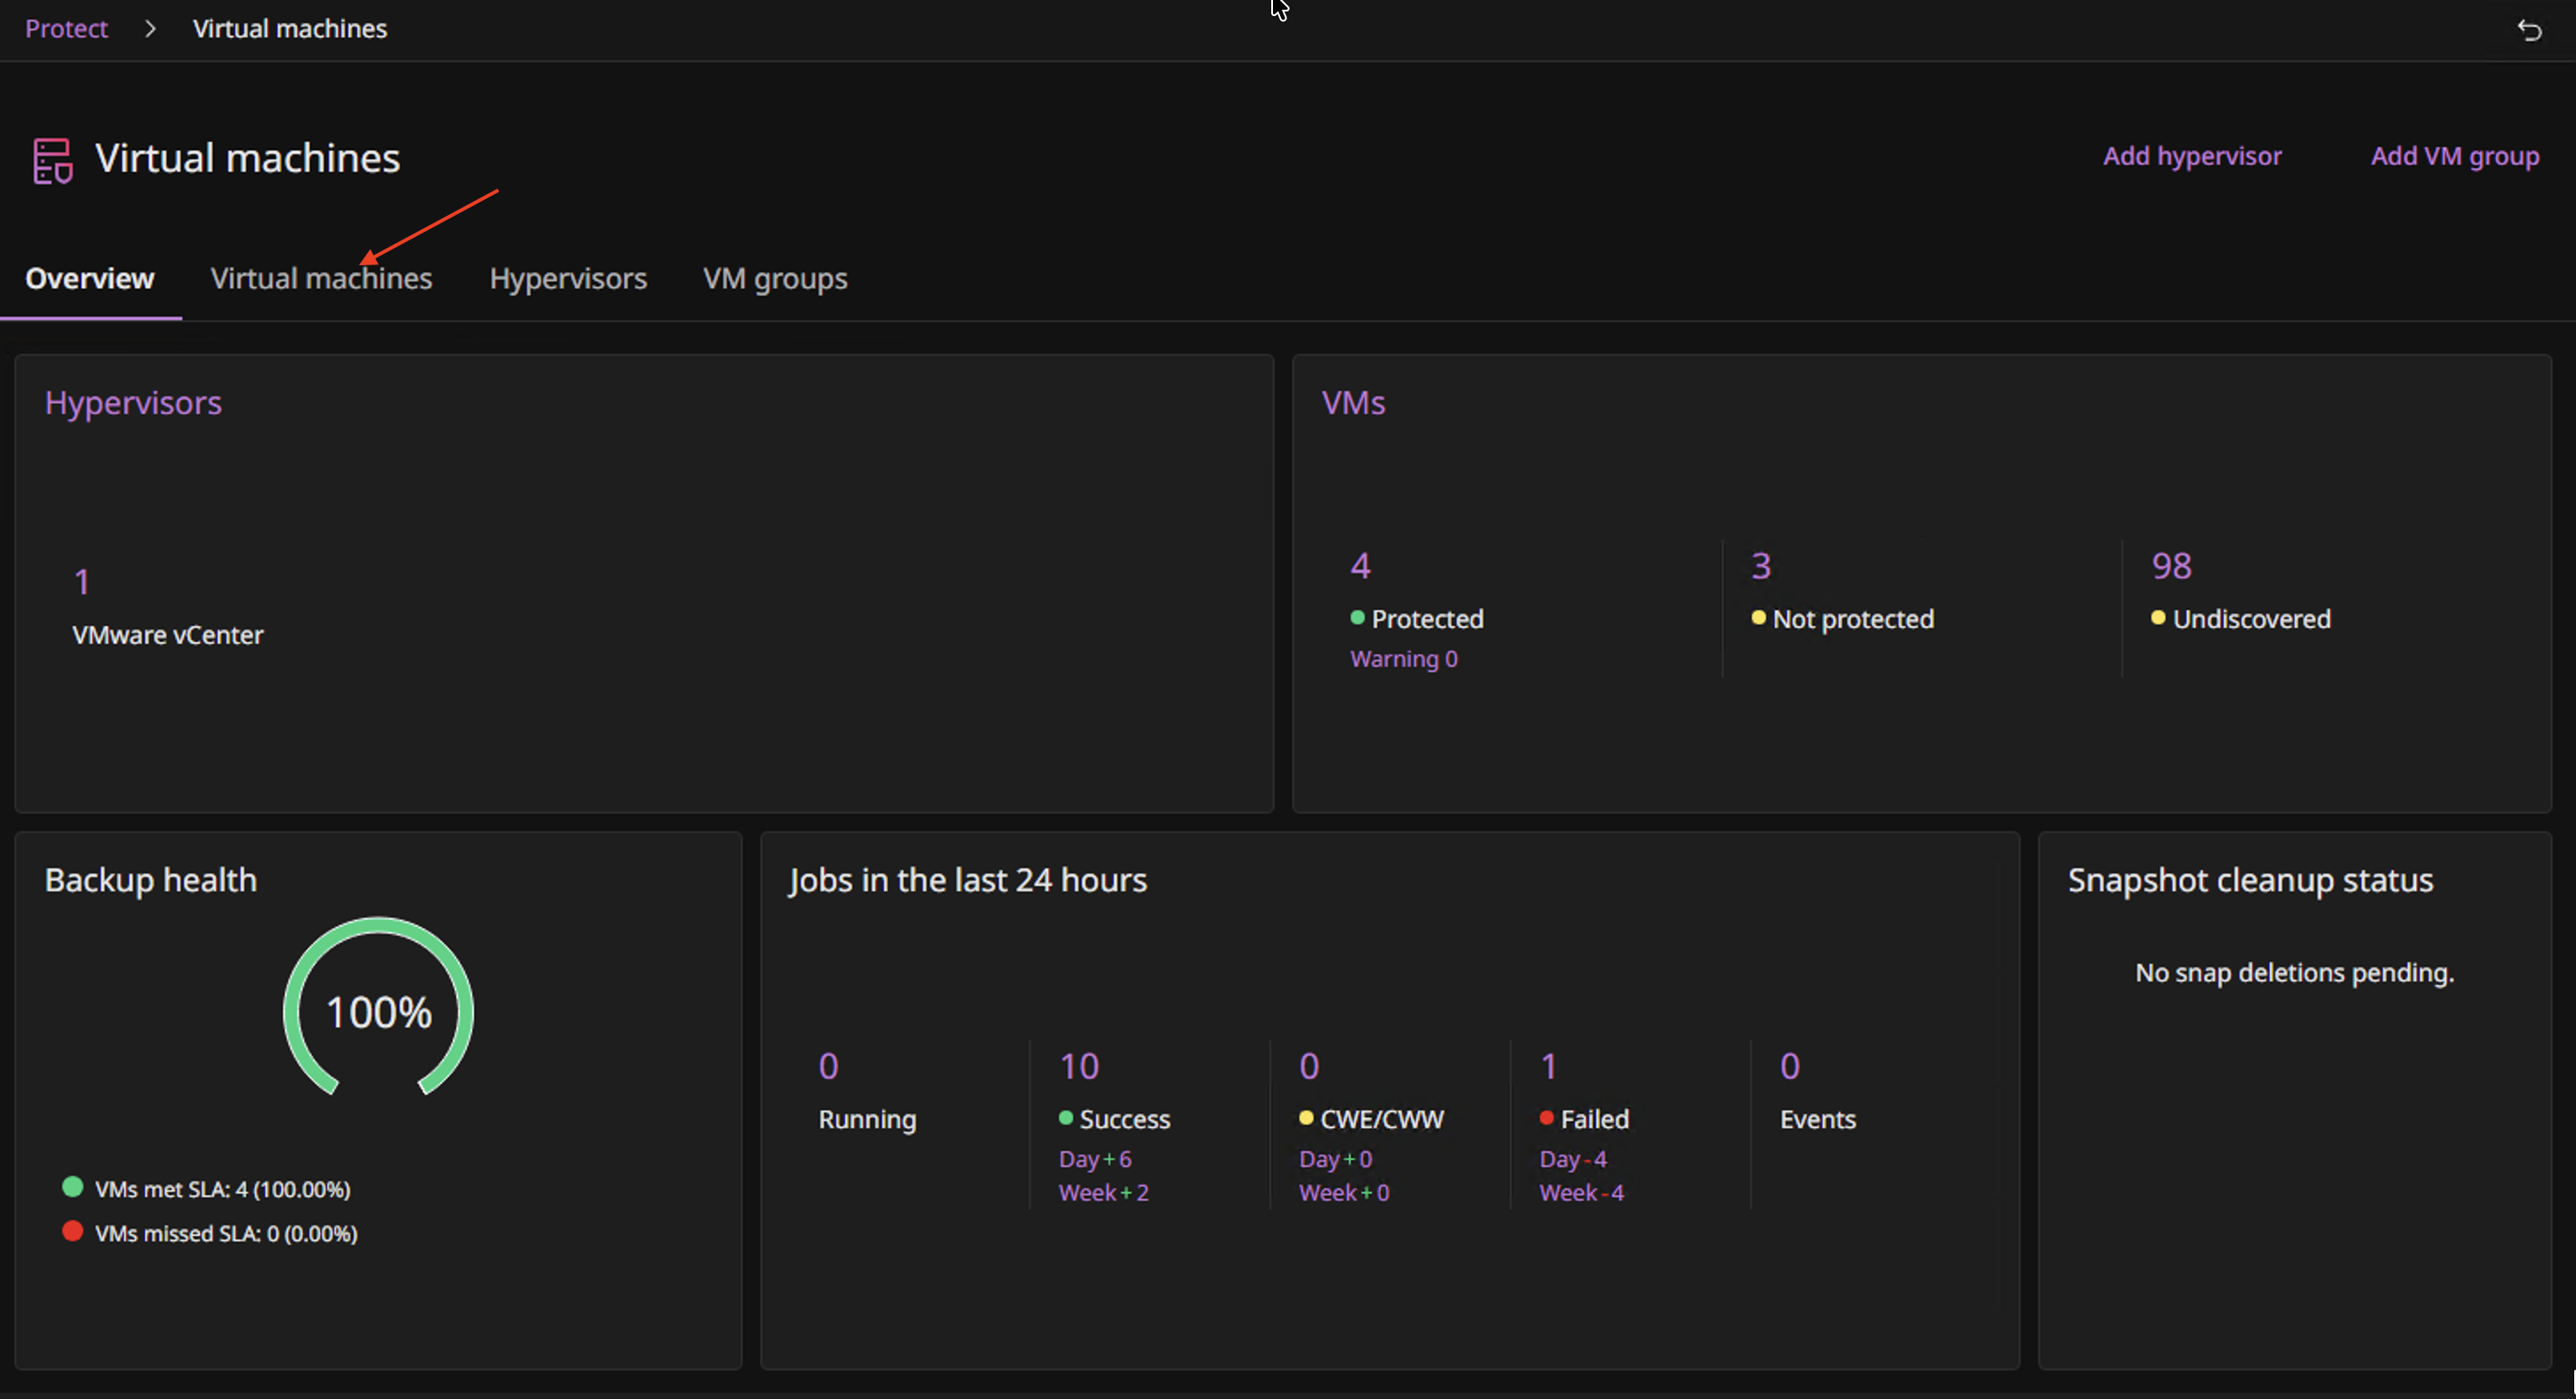
On the Virtual Machines page, click the Virtual Machines heading.
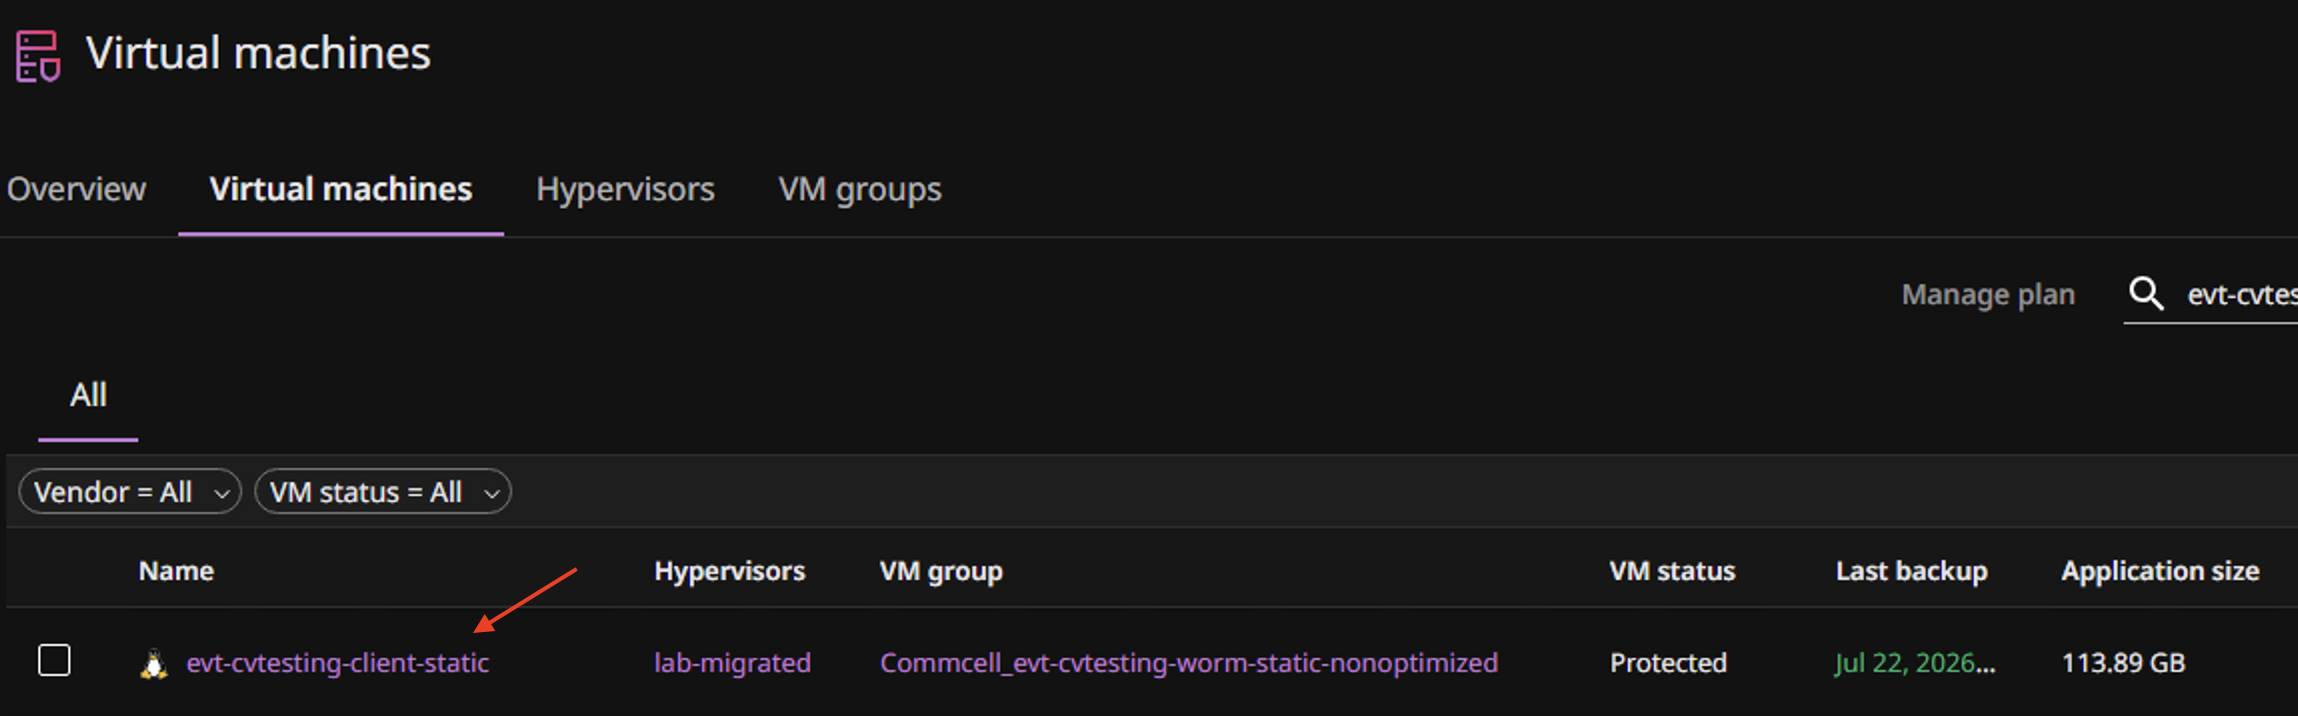
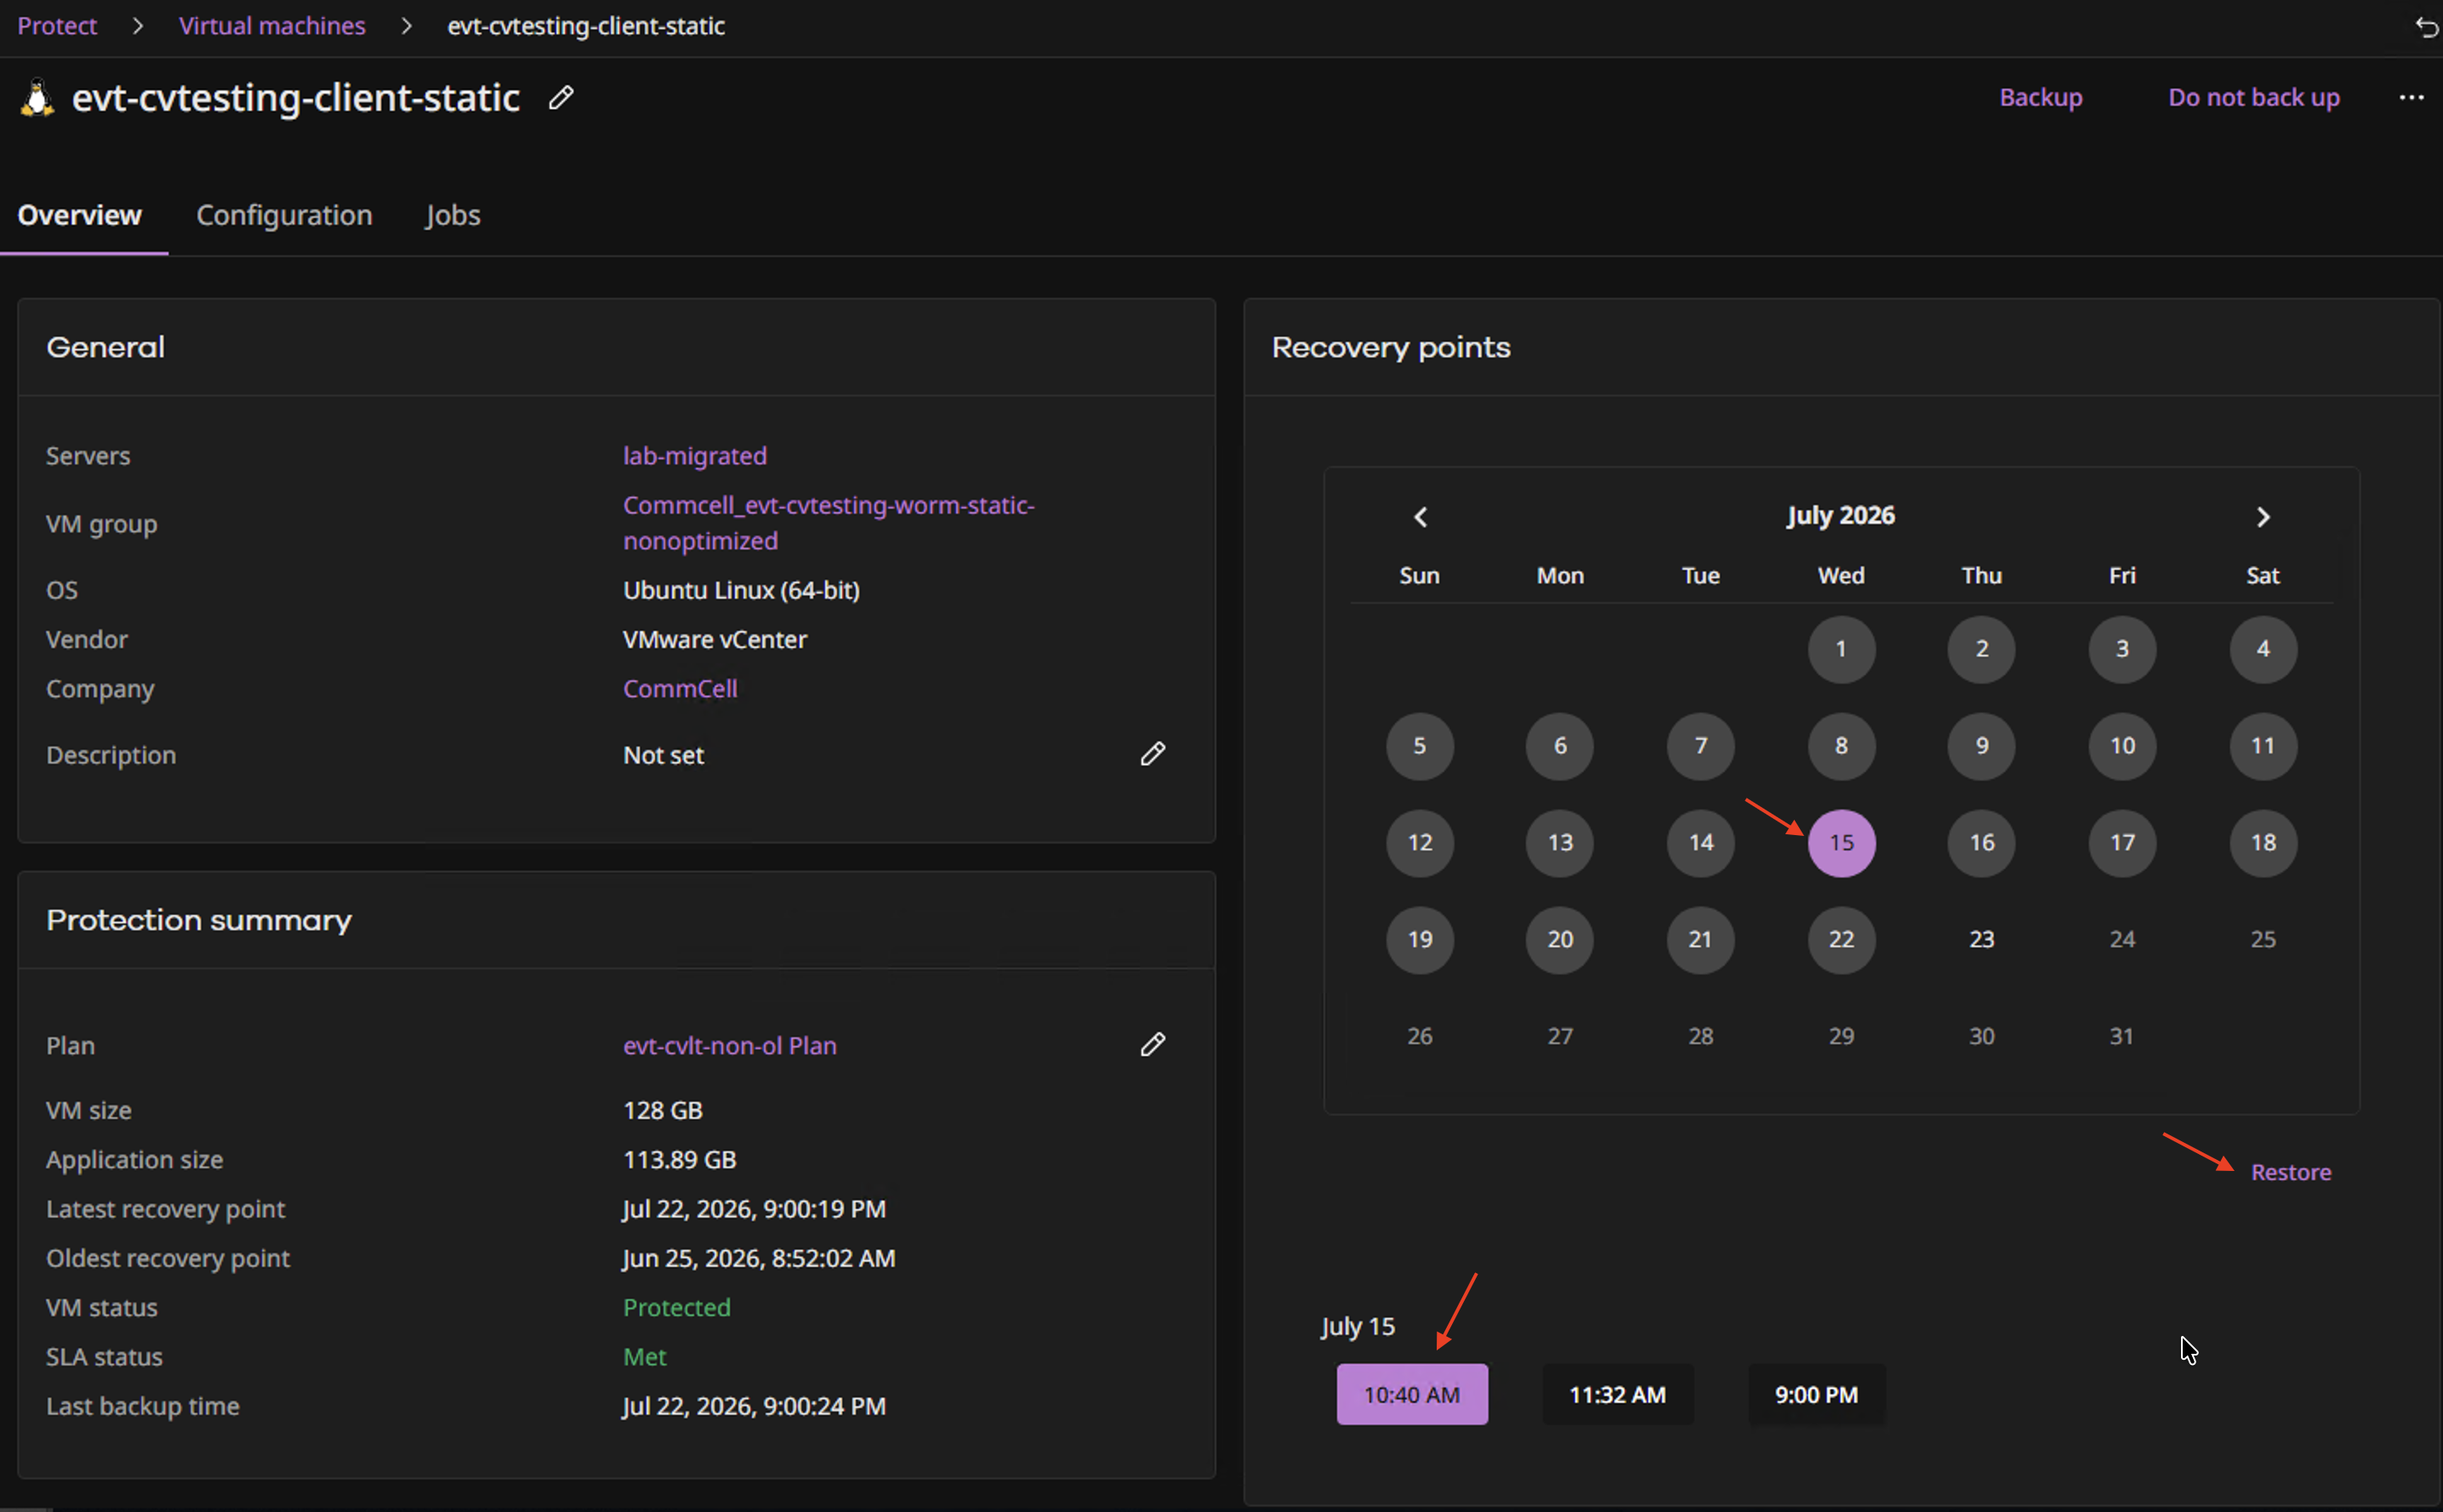
Select the name of the virtual machine to restore.
Choose the date and time to restore.
Click Restore.
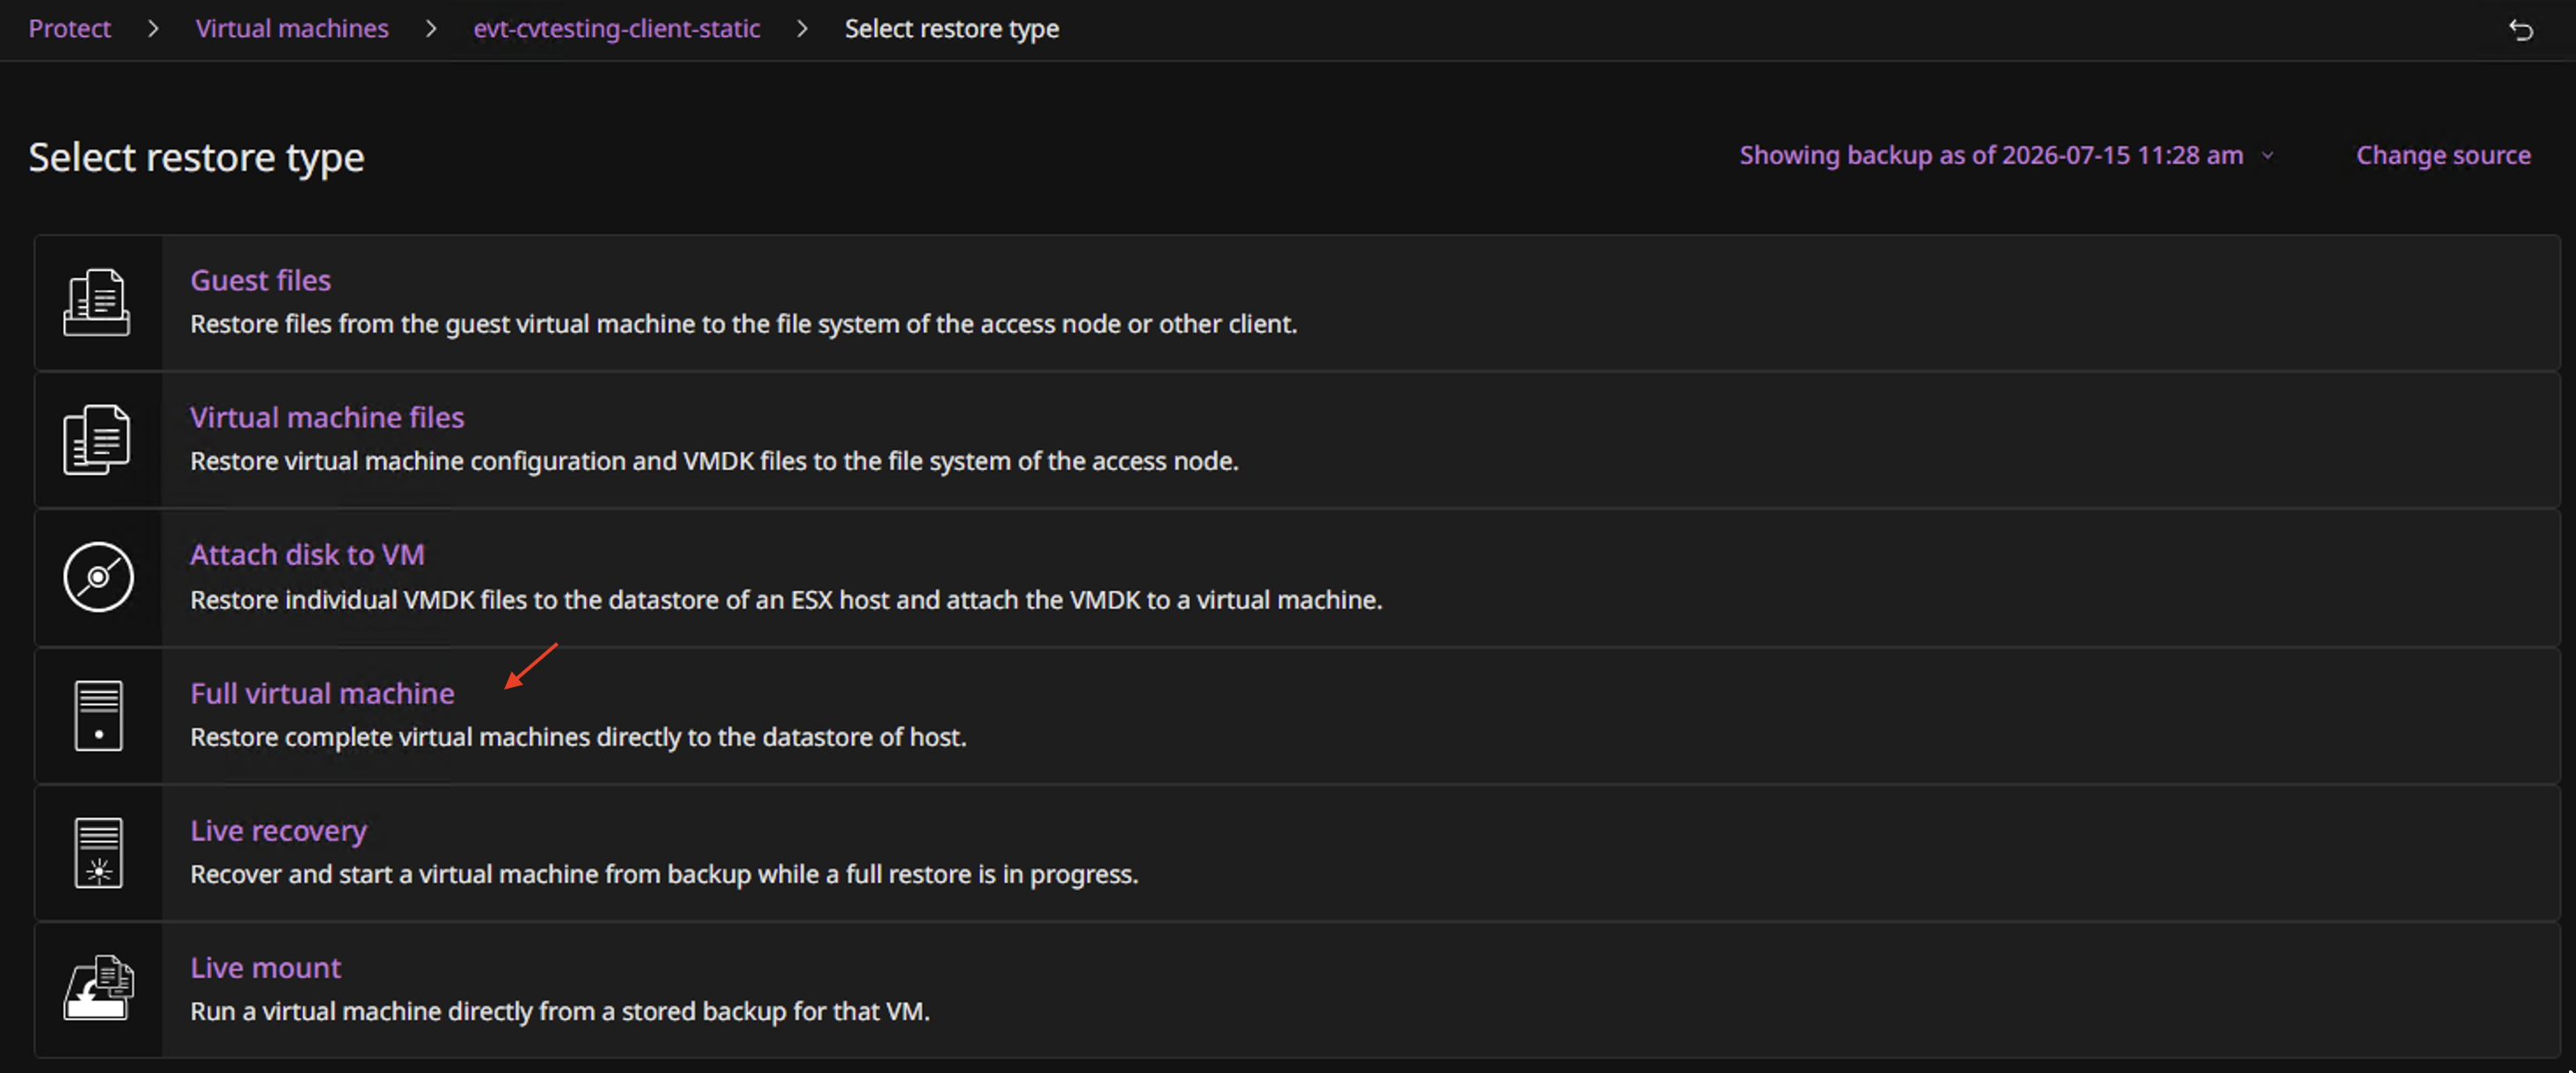
Select your restore type (for example, Full Virtual Machine).
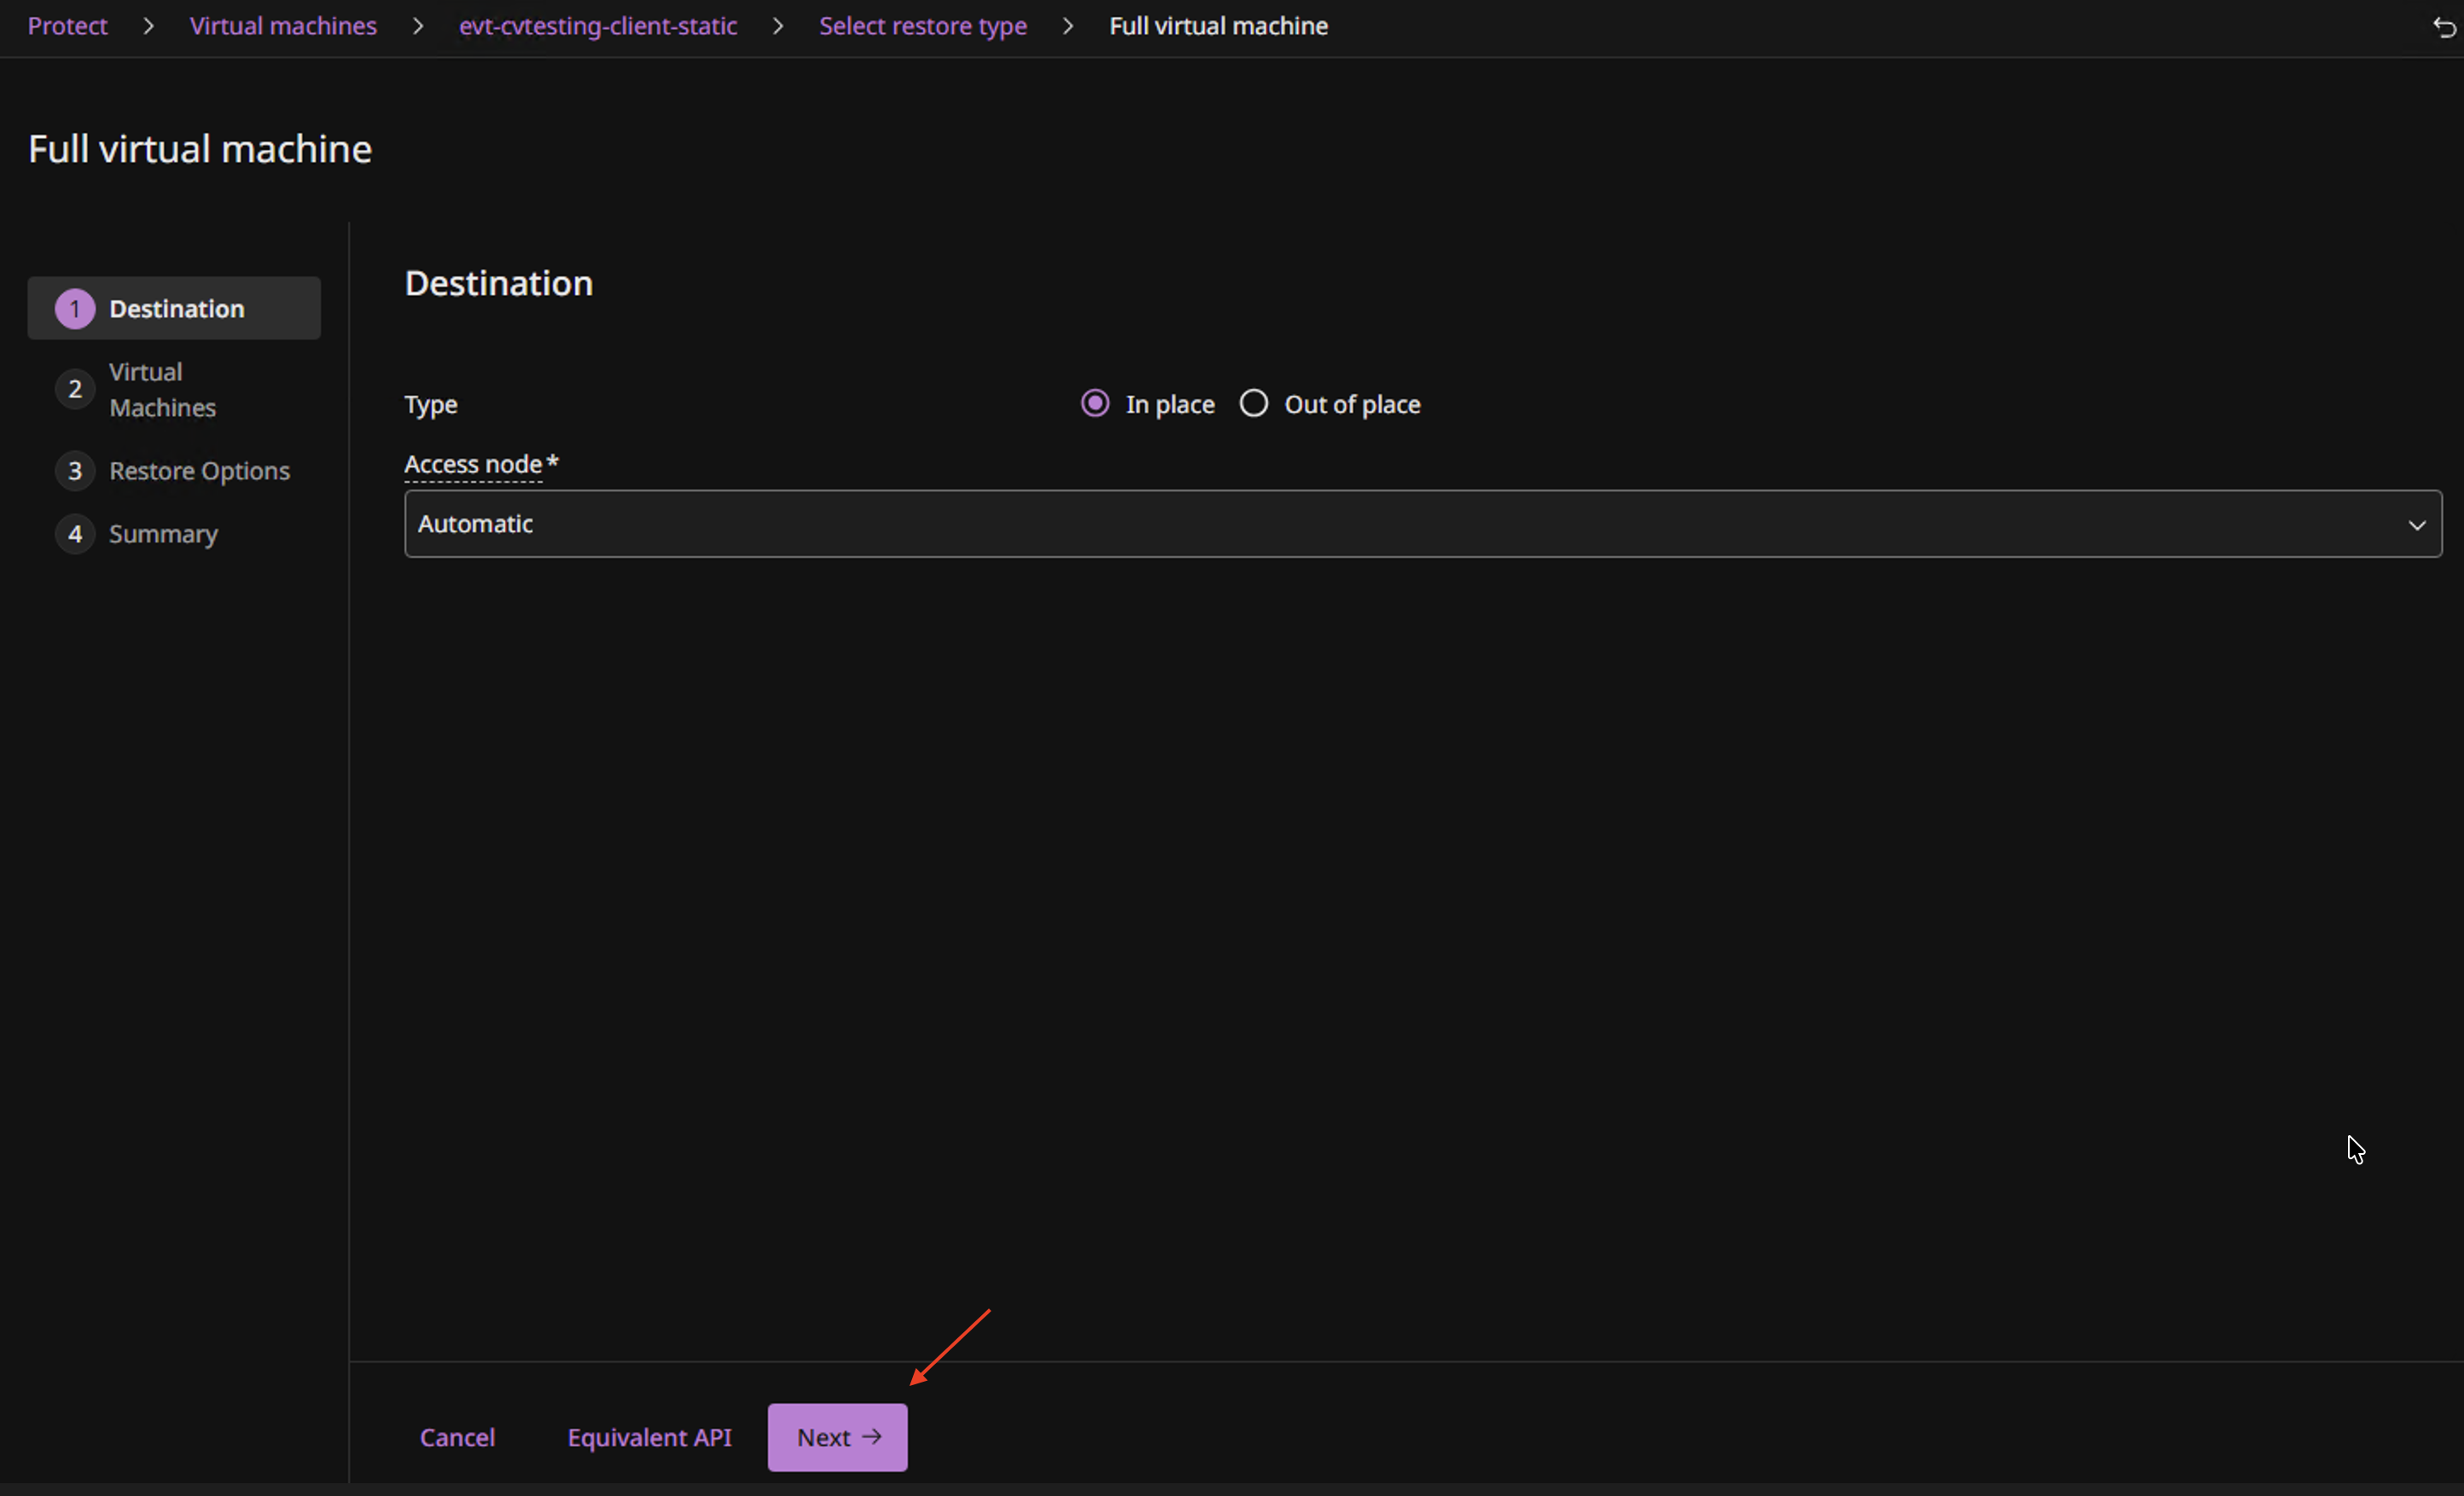
Select the Access node, where applicable.
Click Next.
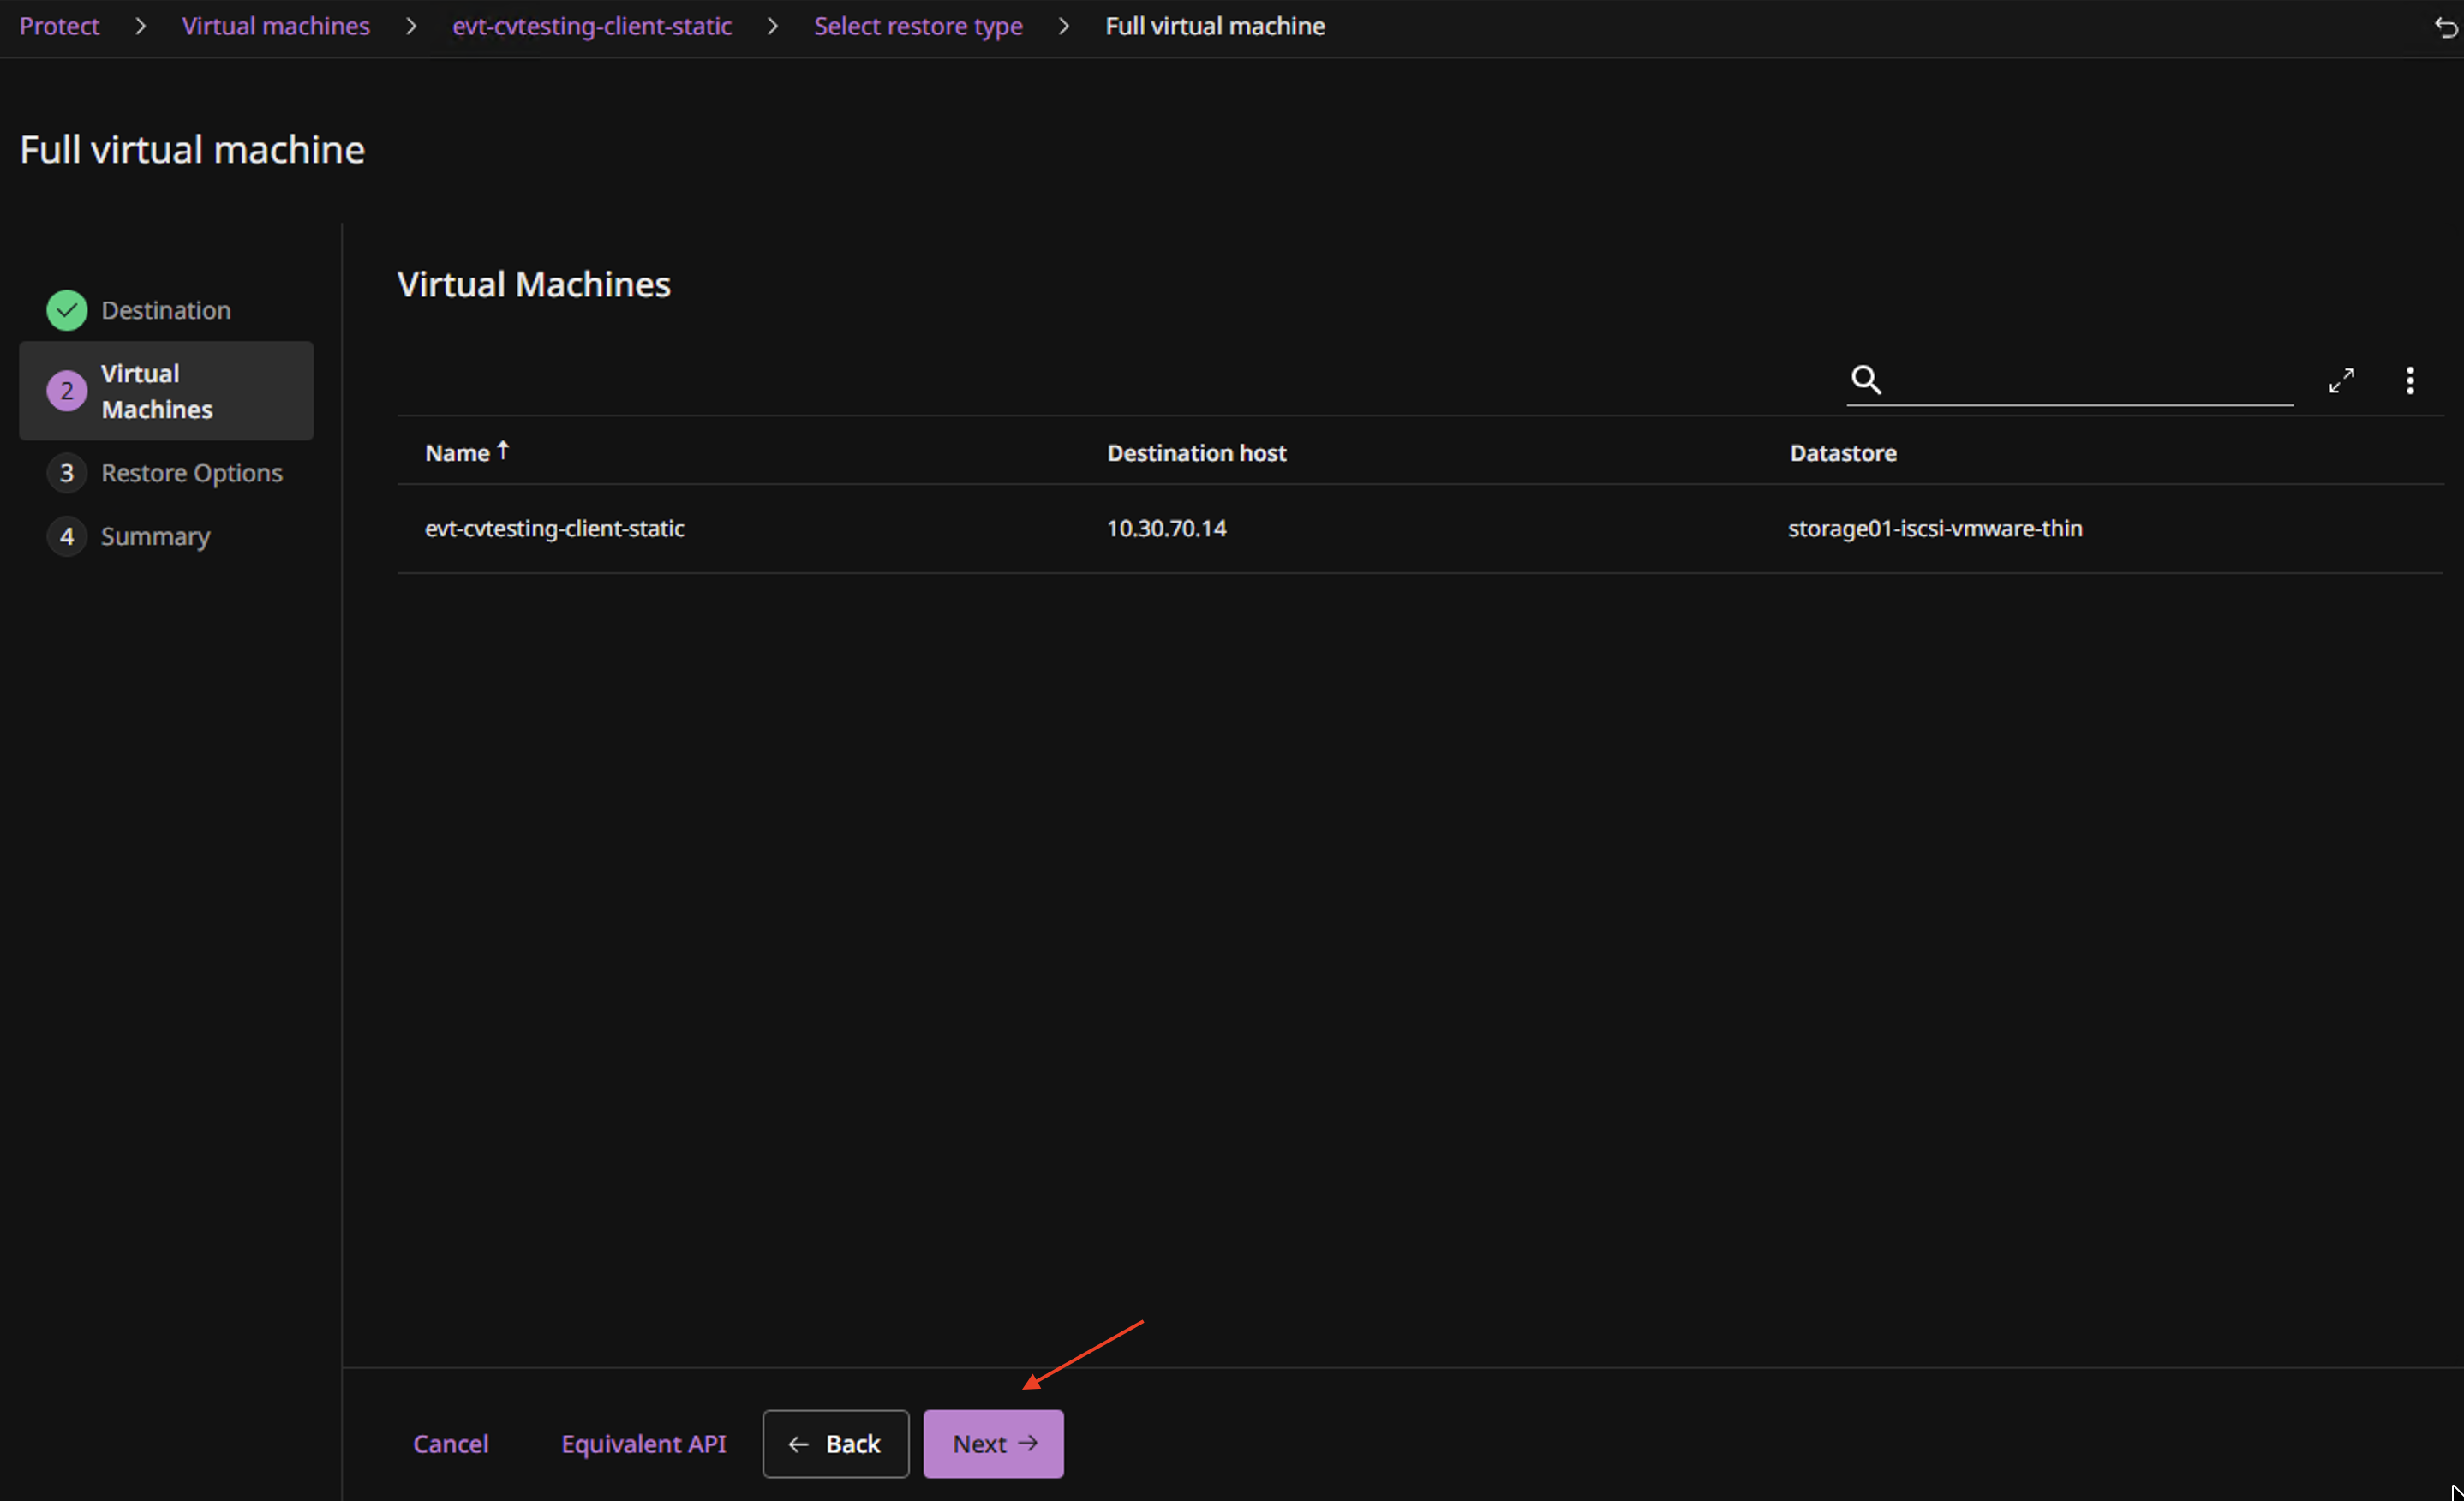
Confirm the virtual machine and click Next.
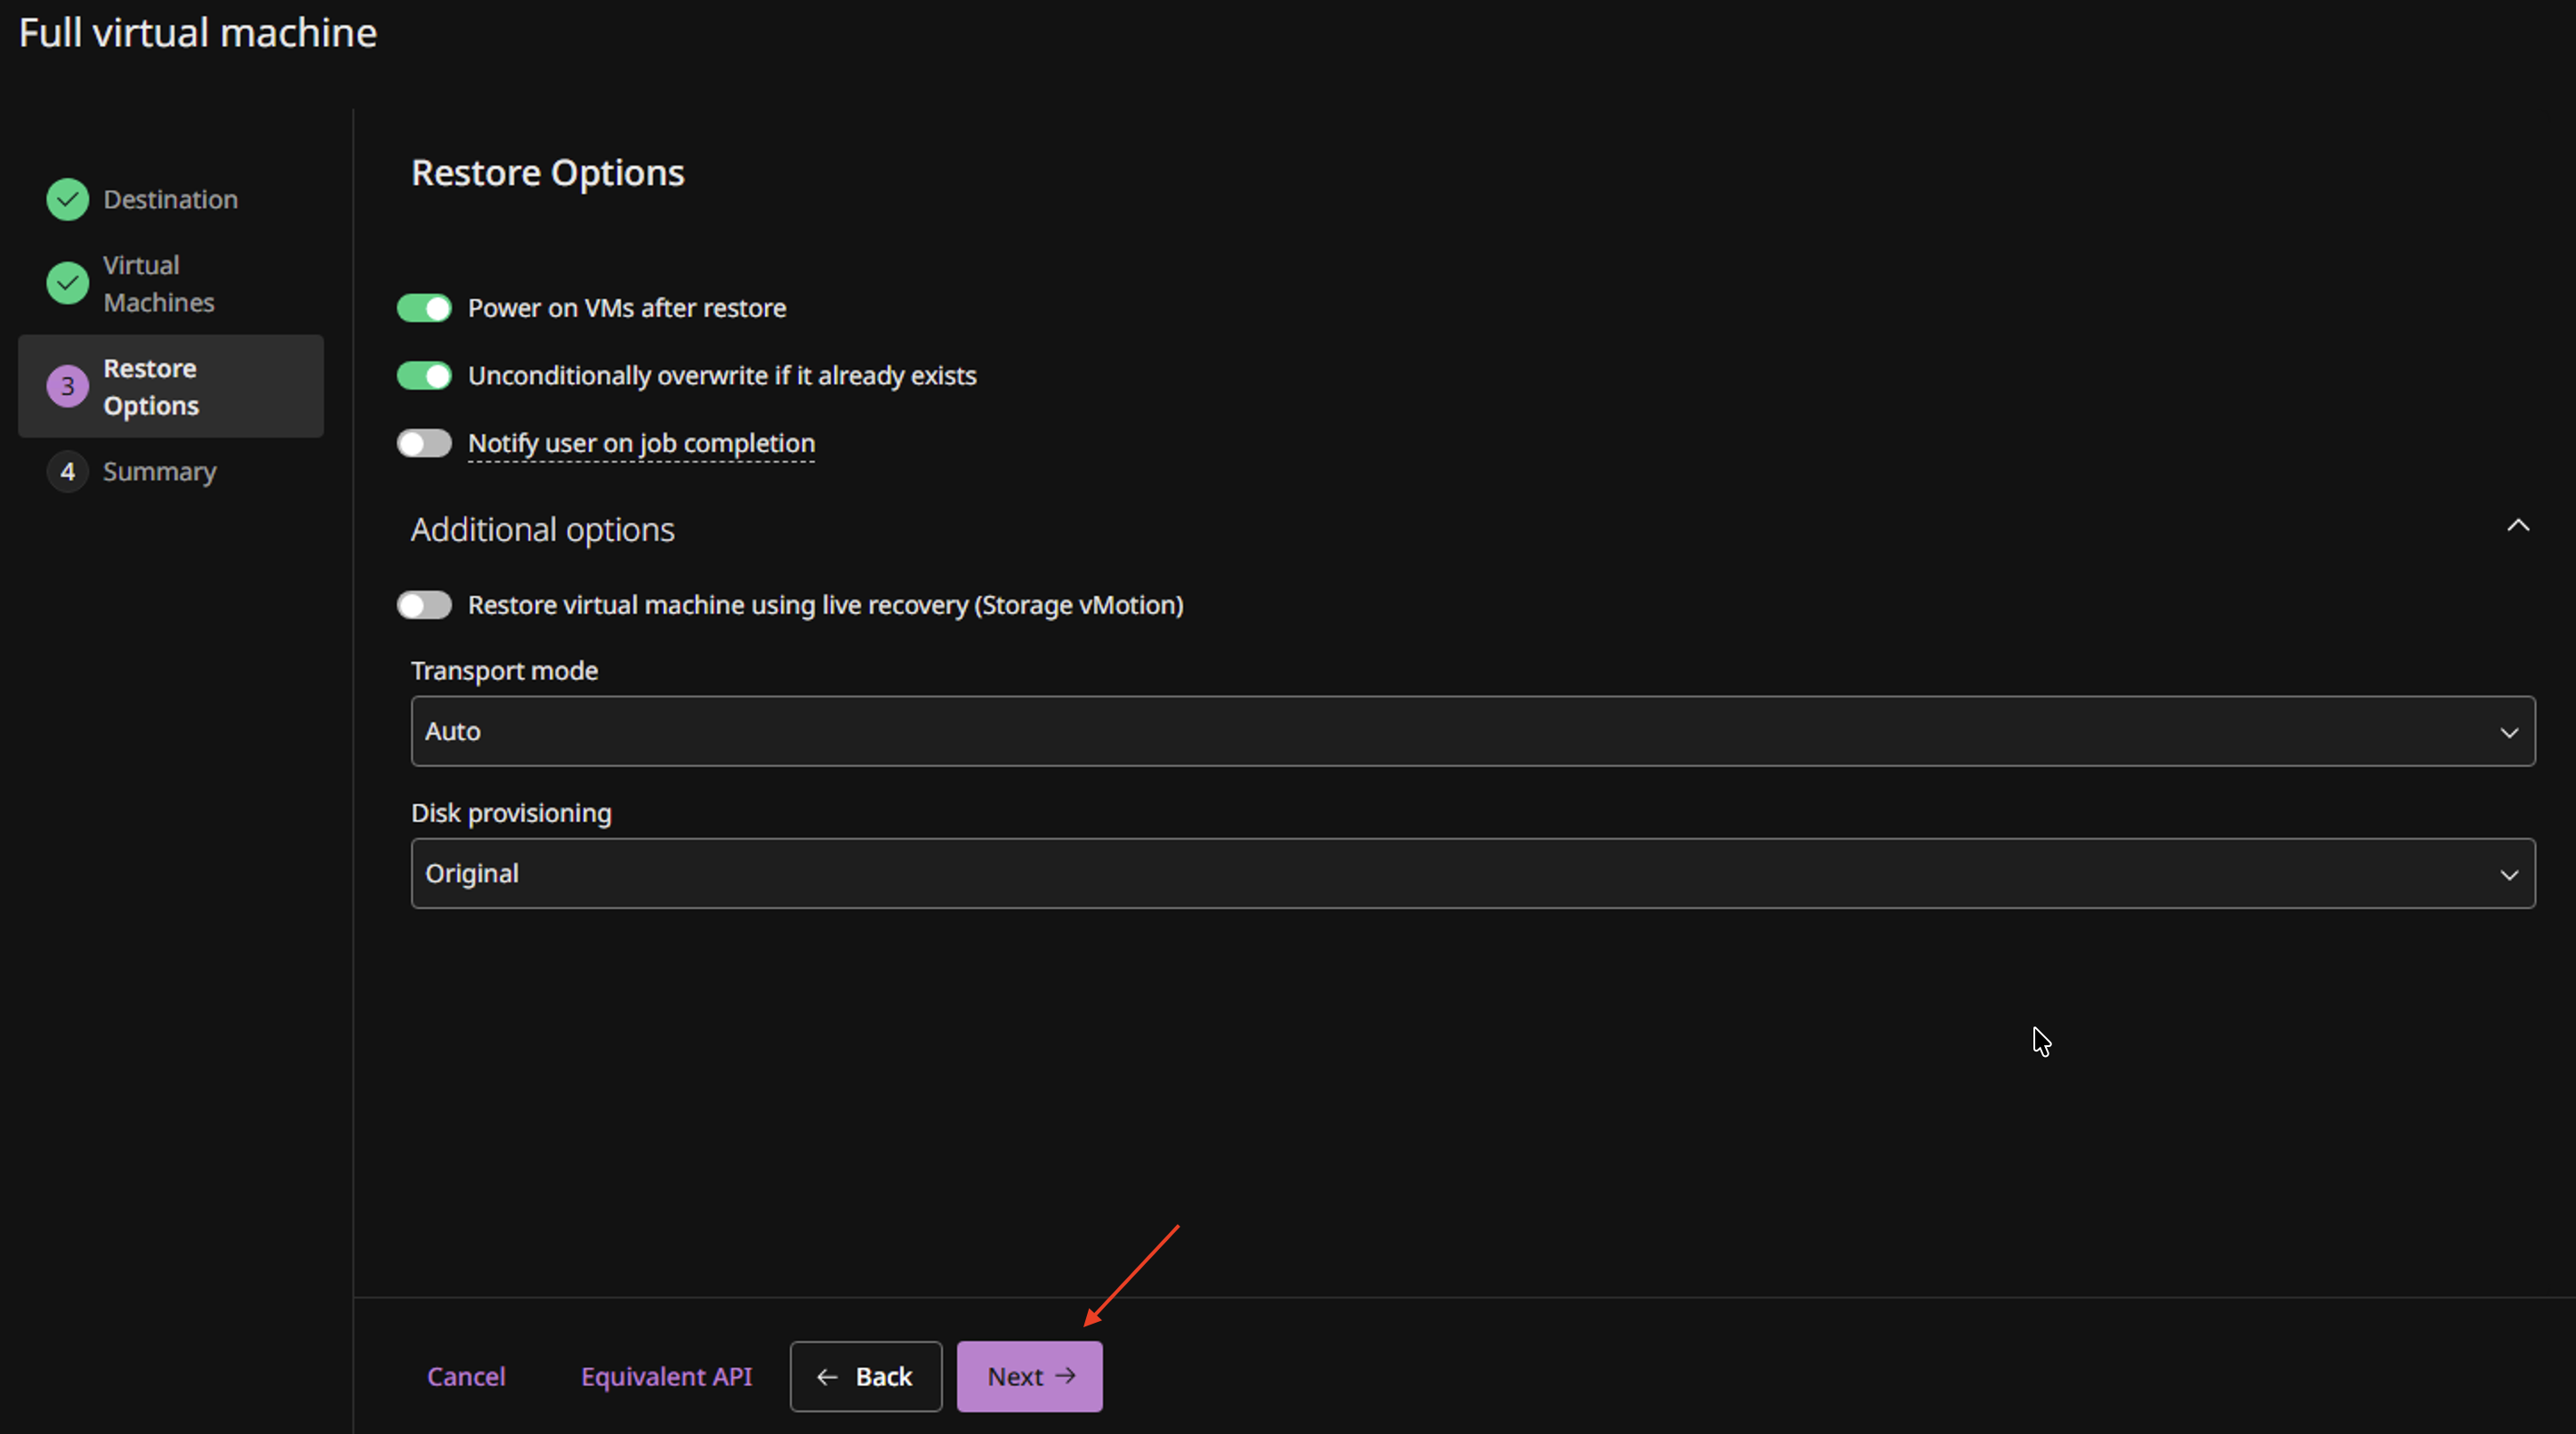
Select the relevant restore options.
Click Next.
Review the summary. Click Submit.
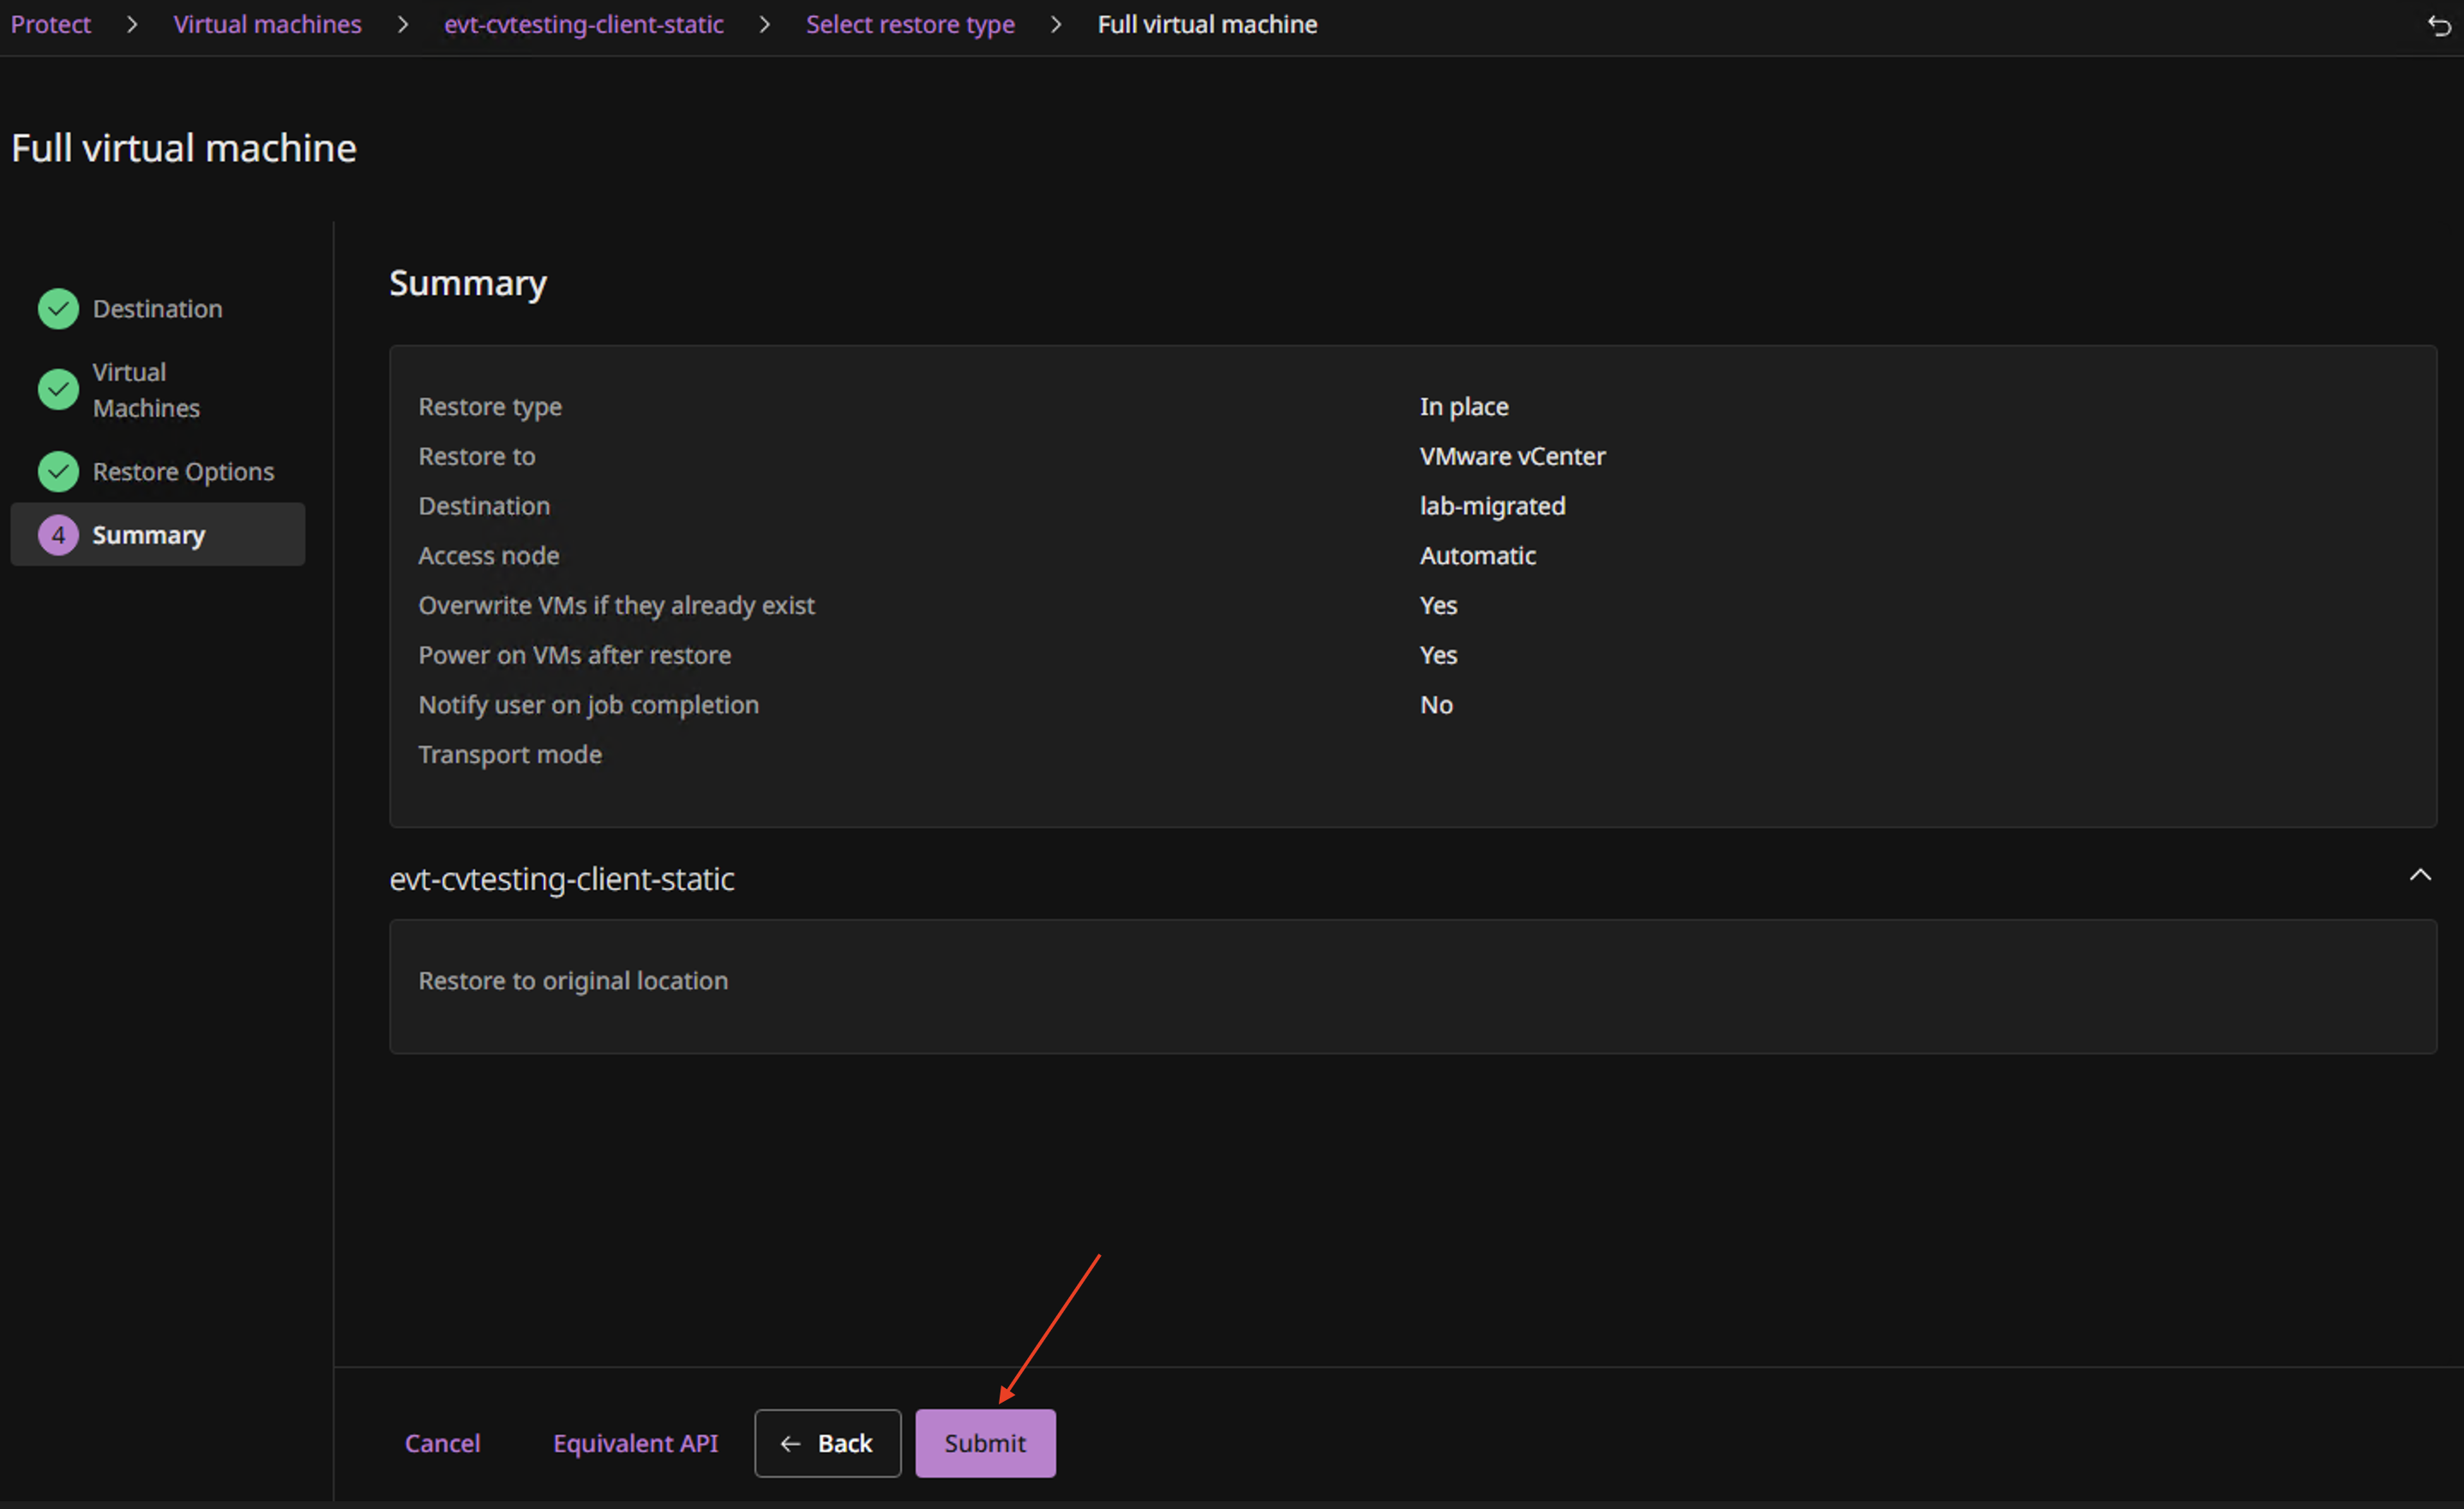
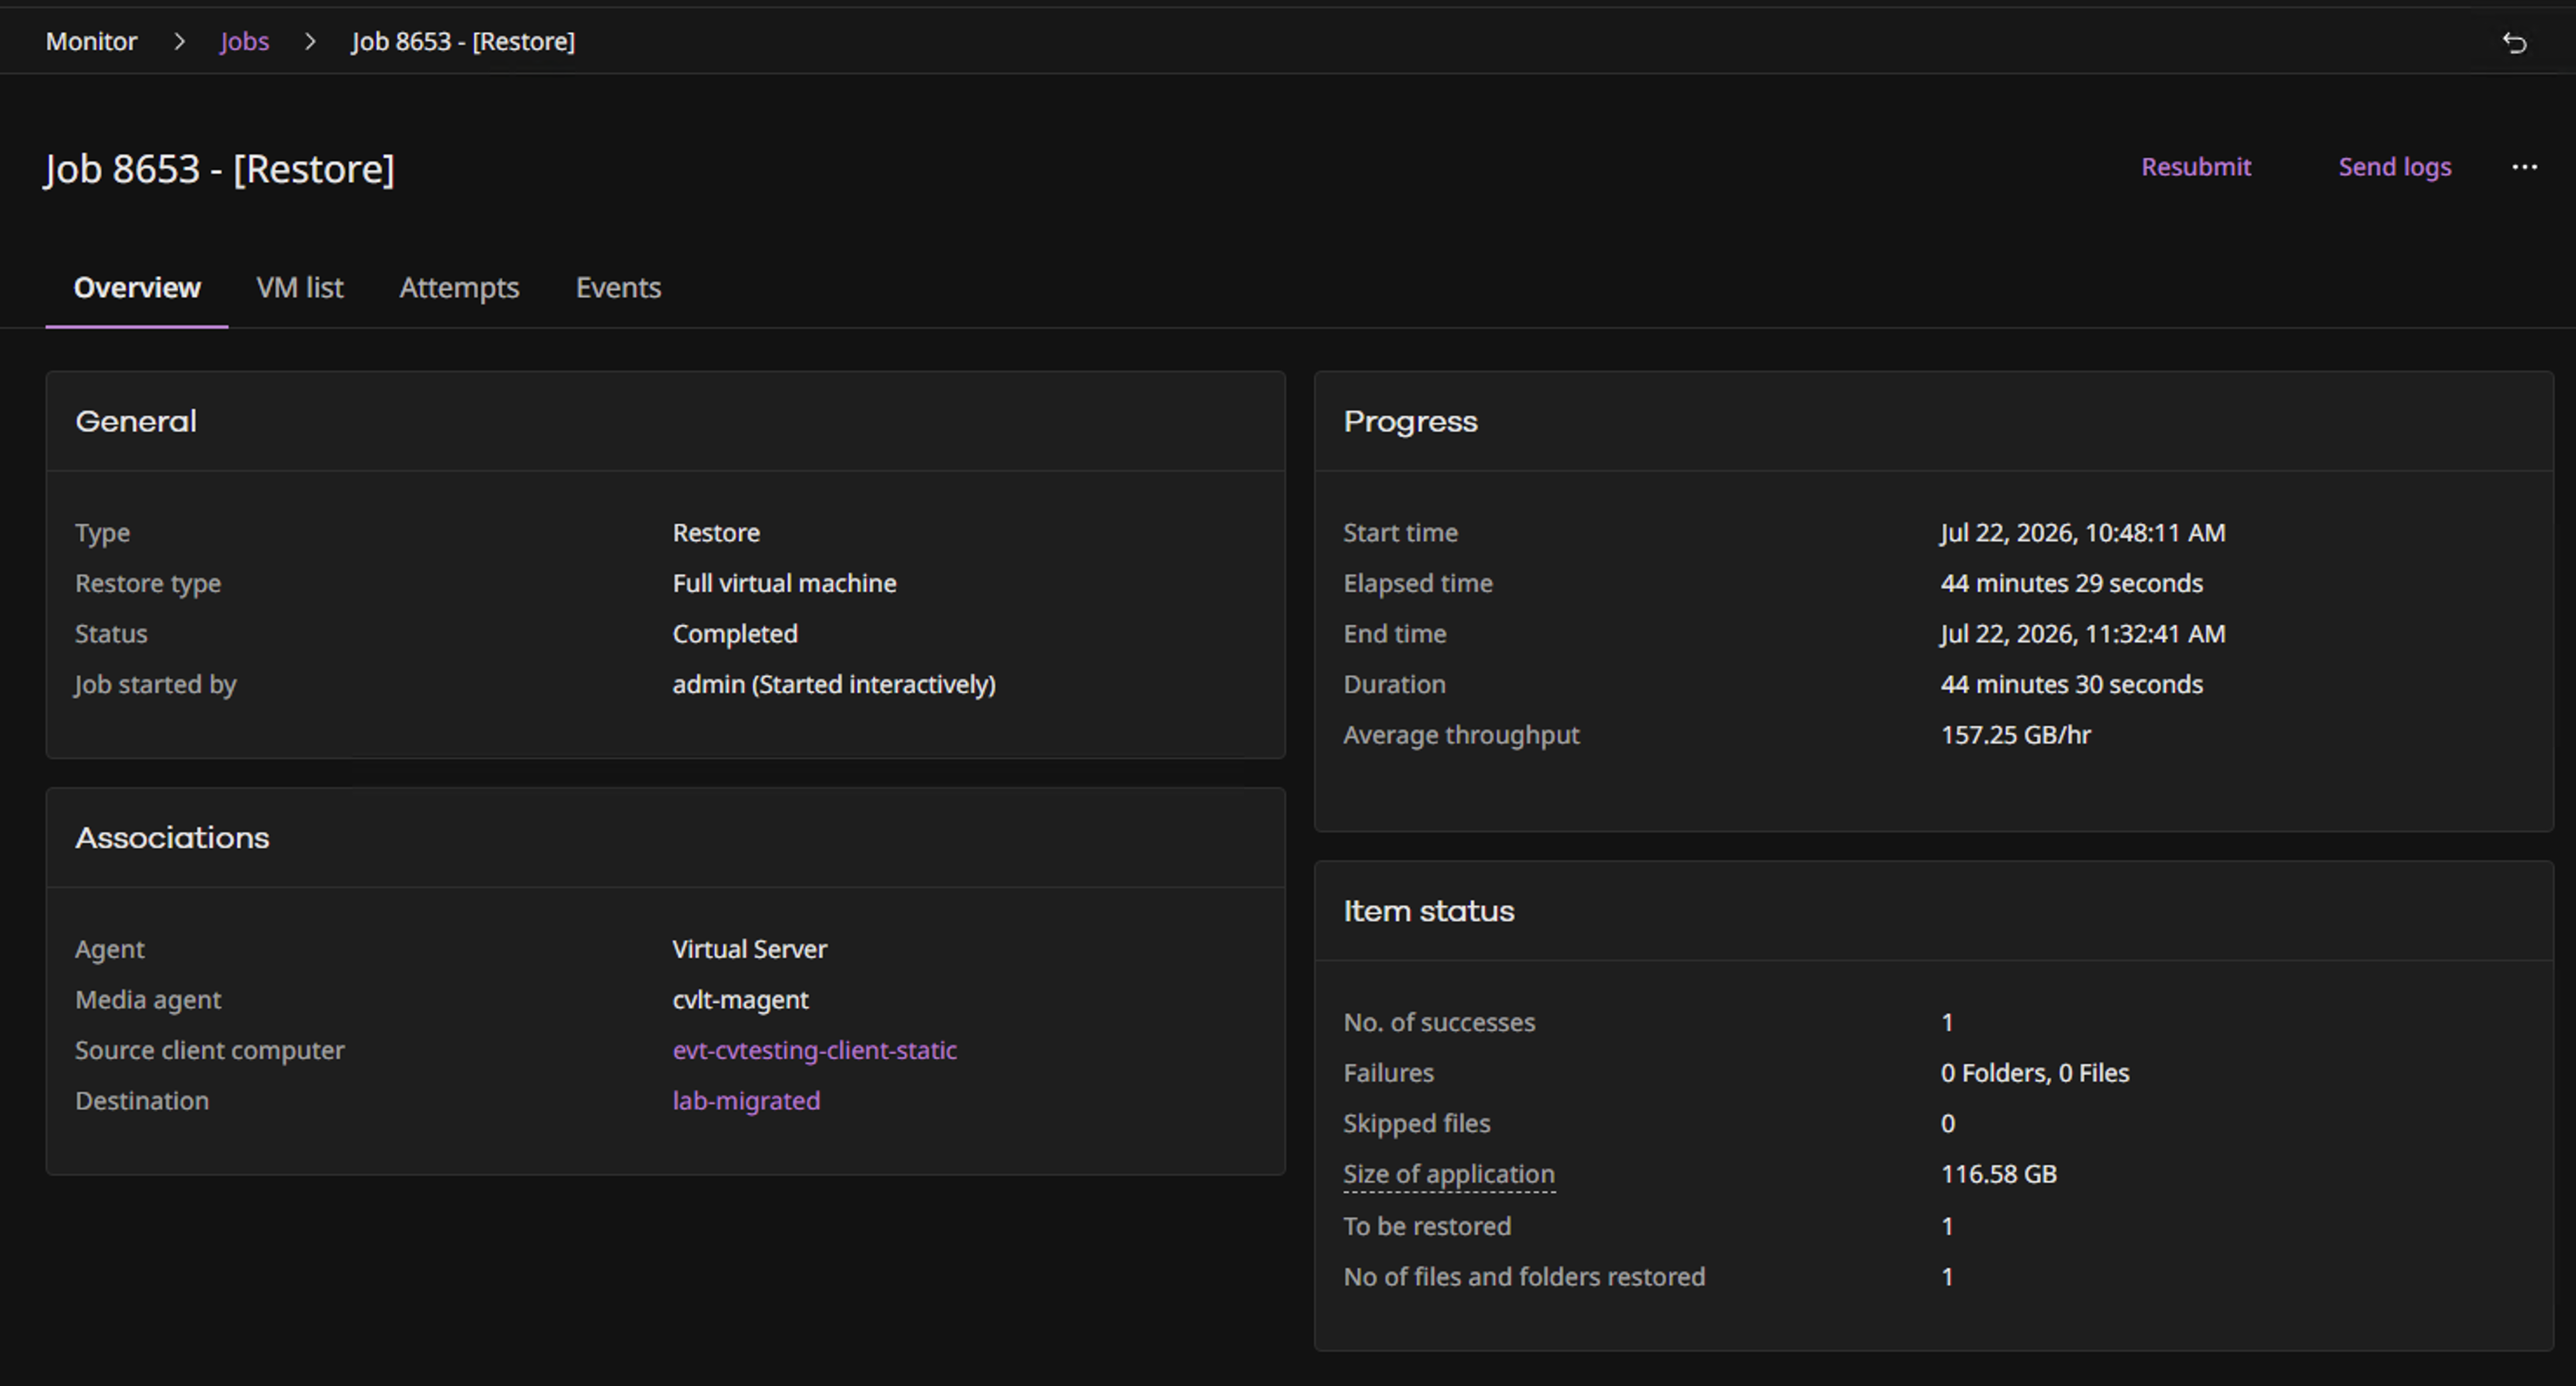
Your restore job will start immediately. To track the progress, navigate to Monitor, then Jobs. When complete, the job status will show as completed.