Permissions are available to:
Attach a policy to a bucket to define the actions that can take place on the bucket and the conditions under which those actions can occur. In addition to defining a bucket policy, you can edit an existing policy or delete it. Defining, editing, and deleting a bucket policy are described in this article.
Define a cross-origin resource sharing (CORS) configuration, formatted in JSON, to describe how client web applications access resources from a domain different from its own.
Defining a Bucket Policy
On the Buckets list, click
 for the desired bucket.
Click Settings.
Click the Permissions tab.
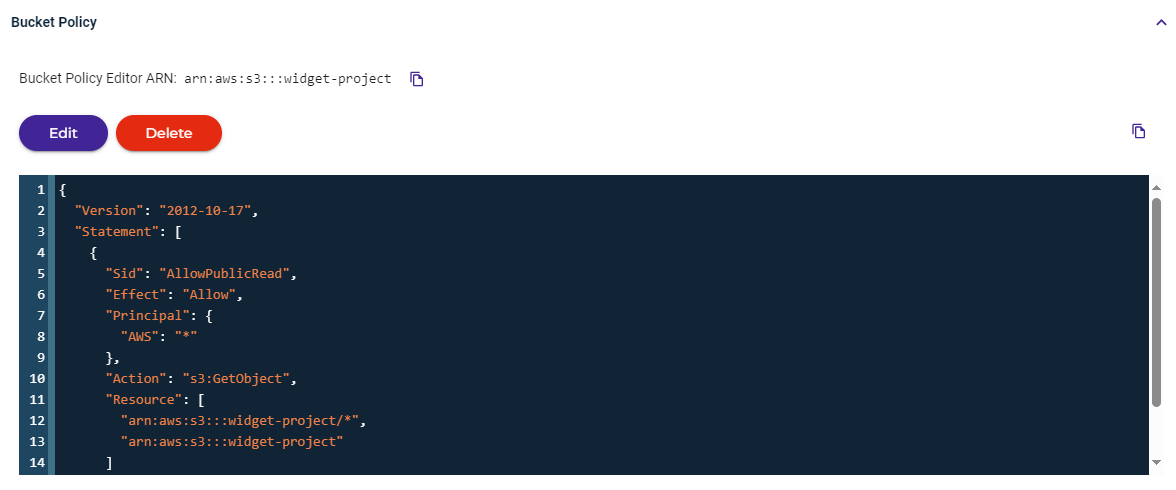
If a policy is not already defined for the bucket, the panel will be blank, as shown below.
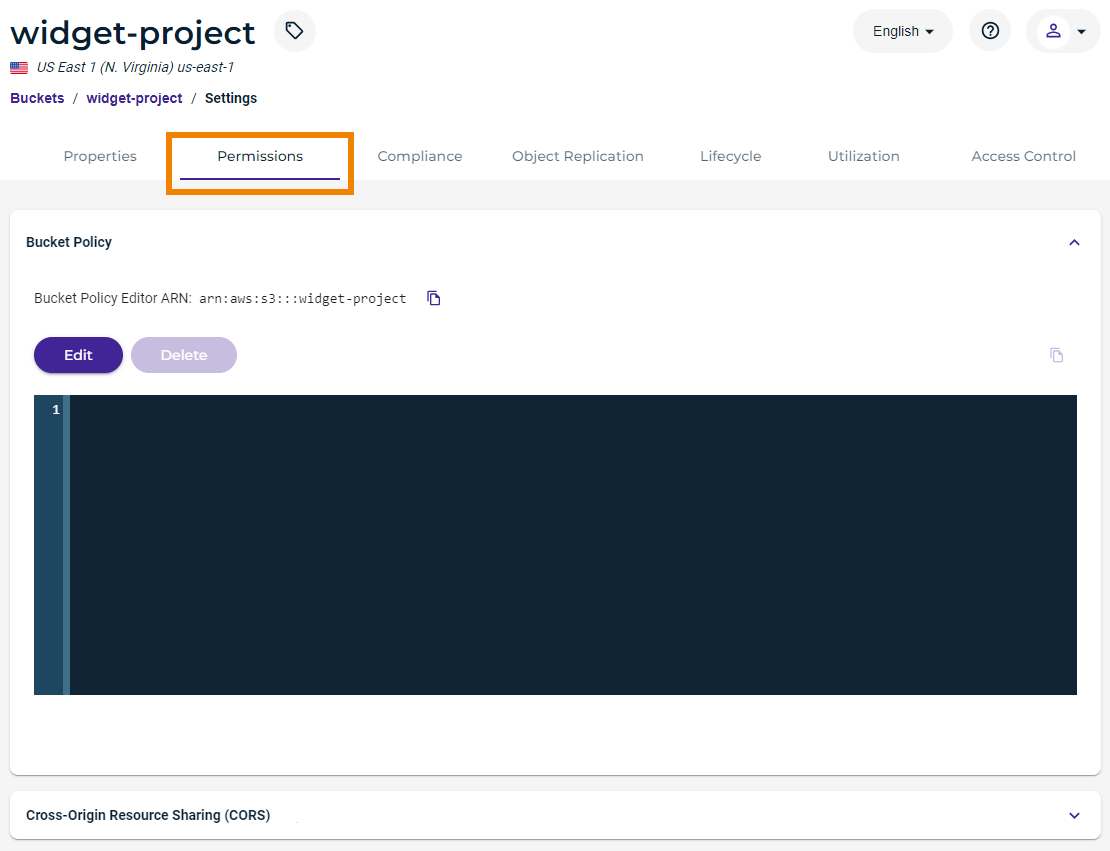
If the panel appears with a policy defined, you can edit it (see Editing a Bucket Policy).
You can click
 to copy the Amazon Resource Name (ARN) to the clipboard. The following are the general formats for ARNs:
arn:aws:service:account-id:resource-id
arn:aws:service:account-id:resource-type/resource-id
arn:aws:service:account-id:resource-type:resource-idClick Edit and then enter the code for the policy. For example:
The following policy makes the bucket and its content public.
By default, public use of a bucket, folder, or file is allowed only by certain paid (not trial) accounts. If your account does not have access to this feature, contact Wasabi Support at support@wasabi.com for assistance.
{
                "Version": "2012-10-17",
                "Statement": [
                {
                "Sid": "AllowPublicRead", "Effect": "Allow", "Principal": {
                "AWS": "*"
                },
                "Action": "s3:GetObject", "Resource": [
                "arn:aws:s3:::<BUCKET>/*",
                "arn:aws:s3:::<BUCKET>"
                ]
                }
                ]
                }
The following policy is an example of just allowing a specific IP address:
{
                "Id": "S3PolicyId1",
                "Version": "2012-10-17",
                "Statement": [
                {
                "Sid": "IPAllow",
                "Effect": "Allow", "Principal": {
                "AWS": "*",
                "Action": "s3:*",
                "Resource": "arn:aws:s3:::<BUCKET>/*", "Condition": {
                "IpAddress": {
                "aws:SourceIp": "77.19.132.0/24"
                },
                "NotIpAddress": {
                "aws:SourceIp": "76.19.132.120/32"
                }
                }
                }
                }
                ]
                }
This policy grants permission to multiple accounts. In the example below, two accounts (arn:aws:iam::100000000164:root and arn:aws:iam::100000000162:root) are given access to objects under a bucket named multi-account.
{
                "Version": "2012-10-17",
                "Statement": [
                {
                "Sid": "AddCannedAcl", "Effect": "Allow", "Principal": {
                "AWS": [
                "arn:aws:iam::100000000164:root", "arn:aws:iam::100000000162:root"
                ]
                },
                "Action": [ "s3:GetObject", "s3:ListBucket", "s3:PutObject", "s3:PutObjectAcl"
                ],
                "Resource": "arn:aws:s3:::multi-account/*"
                }
                ]
                }
Note that syntax errors will be flagged as you enter information. For example:
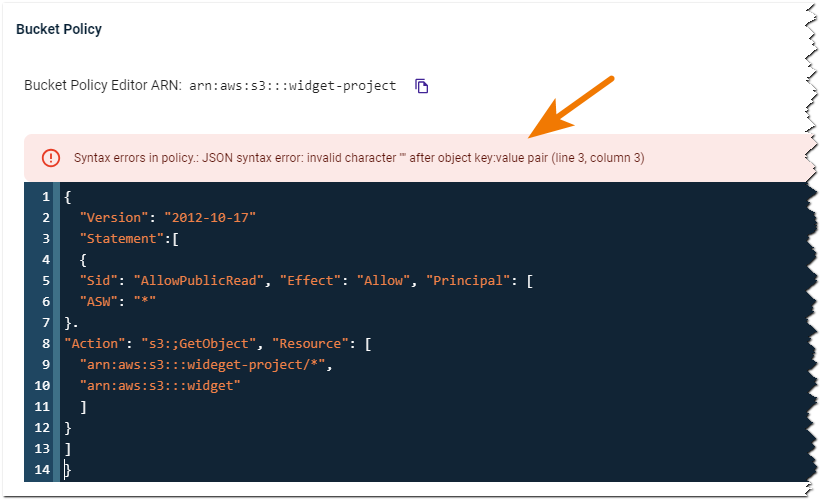
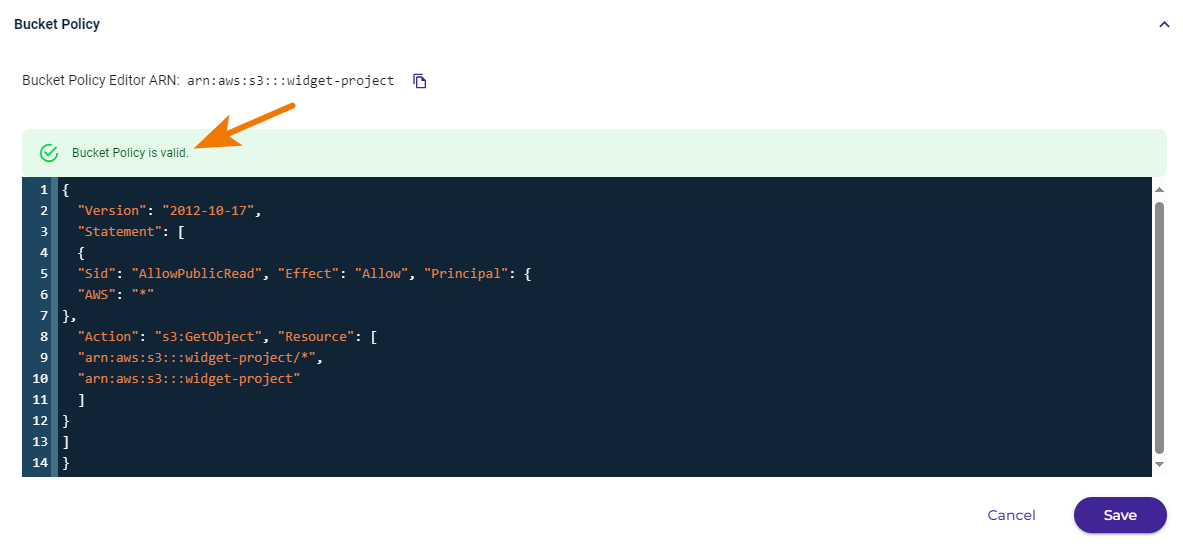
Click Save after entering the code.
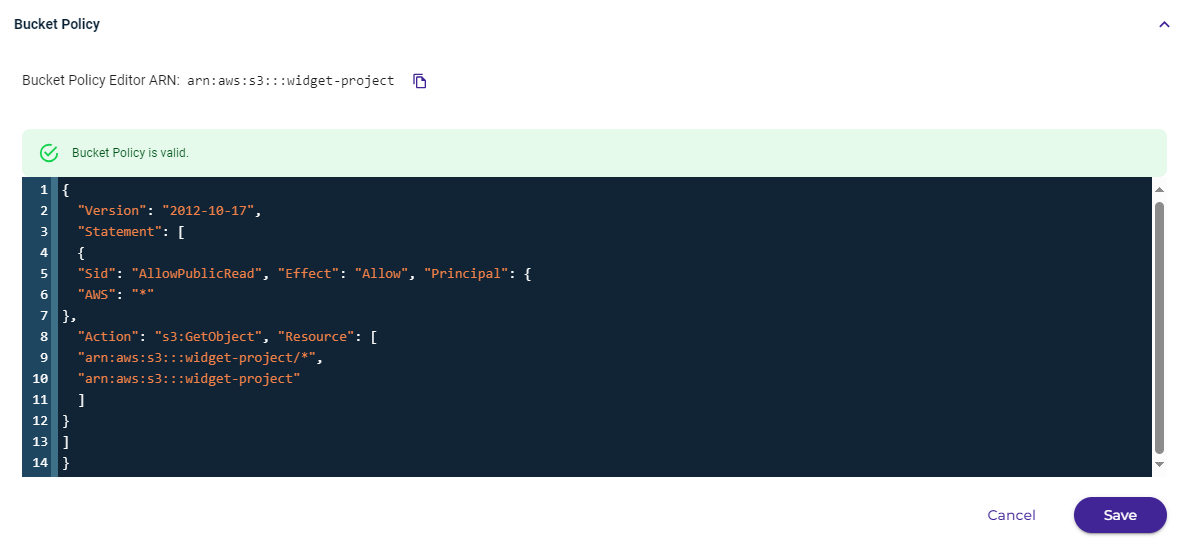
When the policy code is valid, you can click Save to create the policy.
Defining a Cross-Origin Resource Sharing (CORS) Policy
Refer to Cross-Origin Resource Sharing (CORS).
Editing a Bucket Policy
If a policy exists for a bucket, you can edit it.
On the Buckets list, click
for the desired bucket.Click Settings.
Click the Permissions tab.
Click Edit and then modify the content of the policy, as required.
Click Save.
Deleting a Bucket Policy
If a policy exists for a bucket, you can delete it.
On the Buckets list, click
for the desired bucket.Click Settings.
Click the Permissions tab.
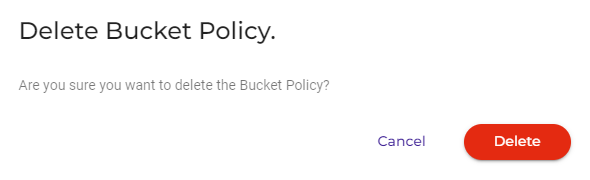
Click Delete.
A message requests that you confirm your decision to delete. Click Delete to confirm.