Timeline Color Monitoring
Timeline Color Monitoring provides a visual indication of where your data is currently stored. To enable timeline color monitoring, follow the steps below.
- Open the Smart Client Application.
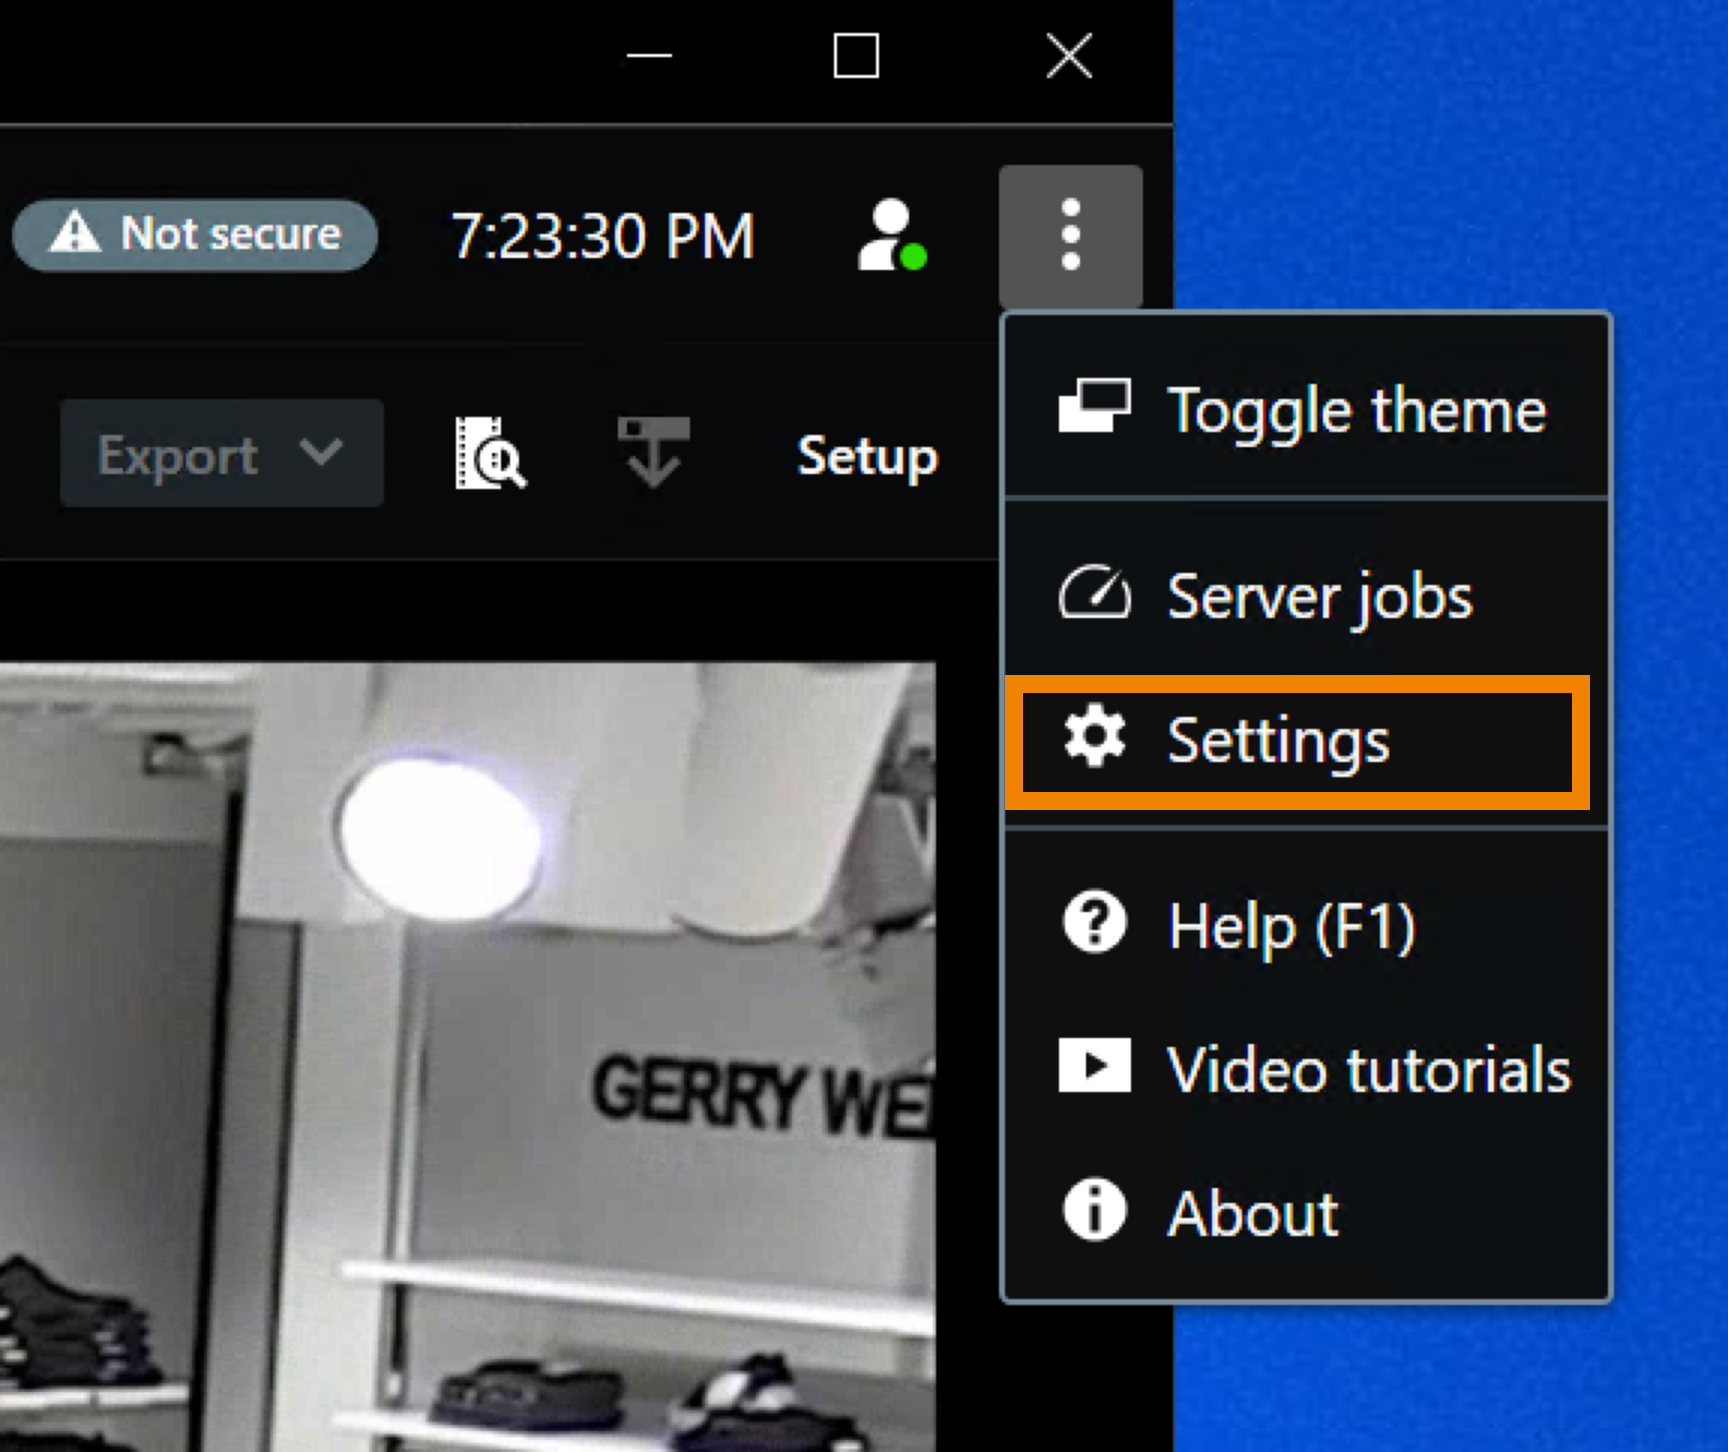
- Click the “3 vertical dots” in the upper right corner.
.png)
- Click Settings.
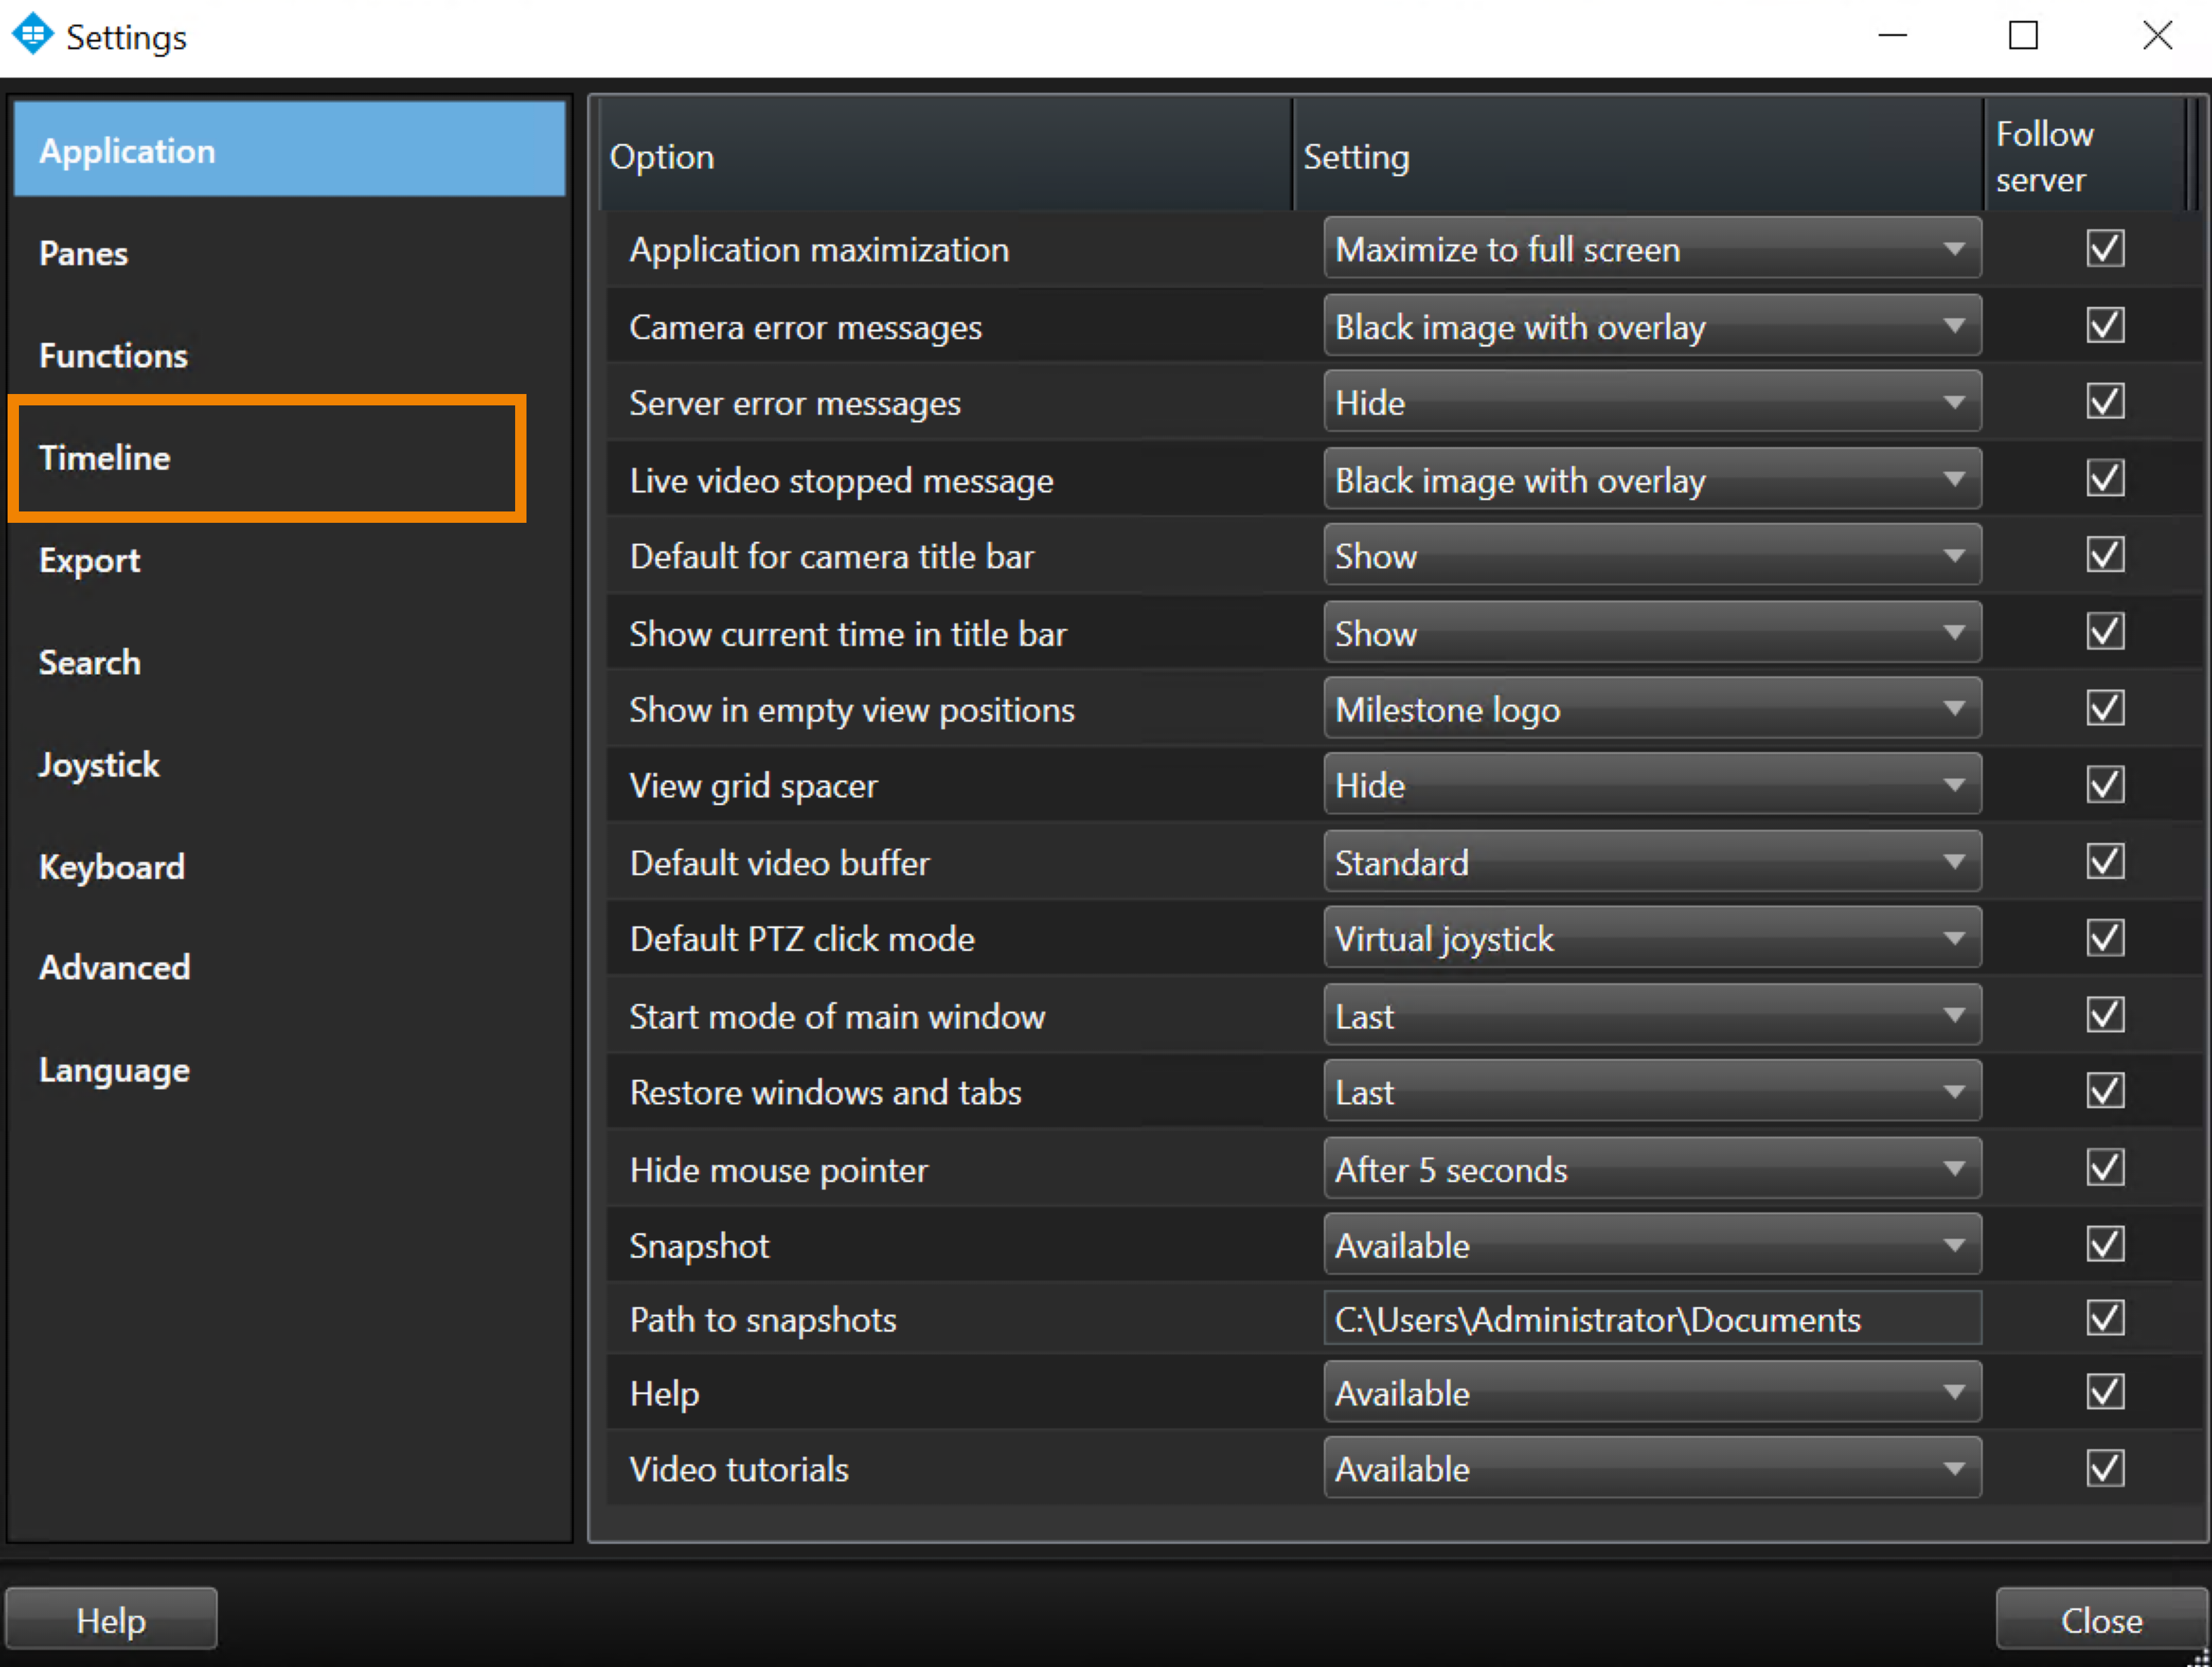
- Click Timeline.
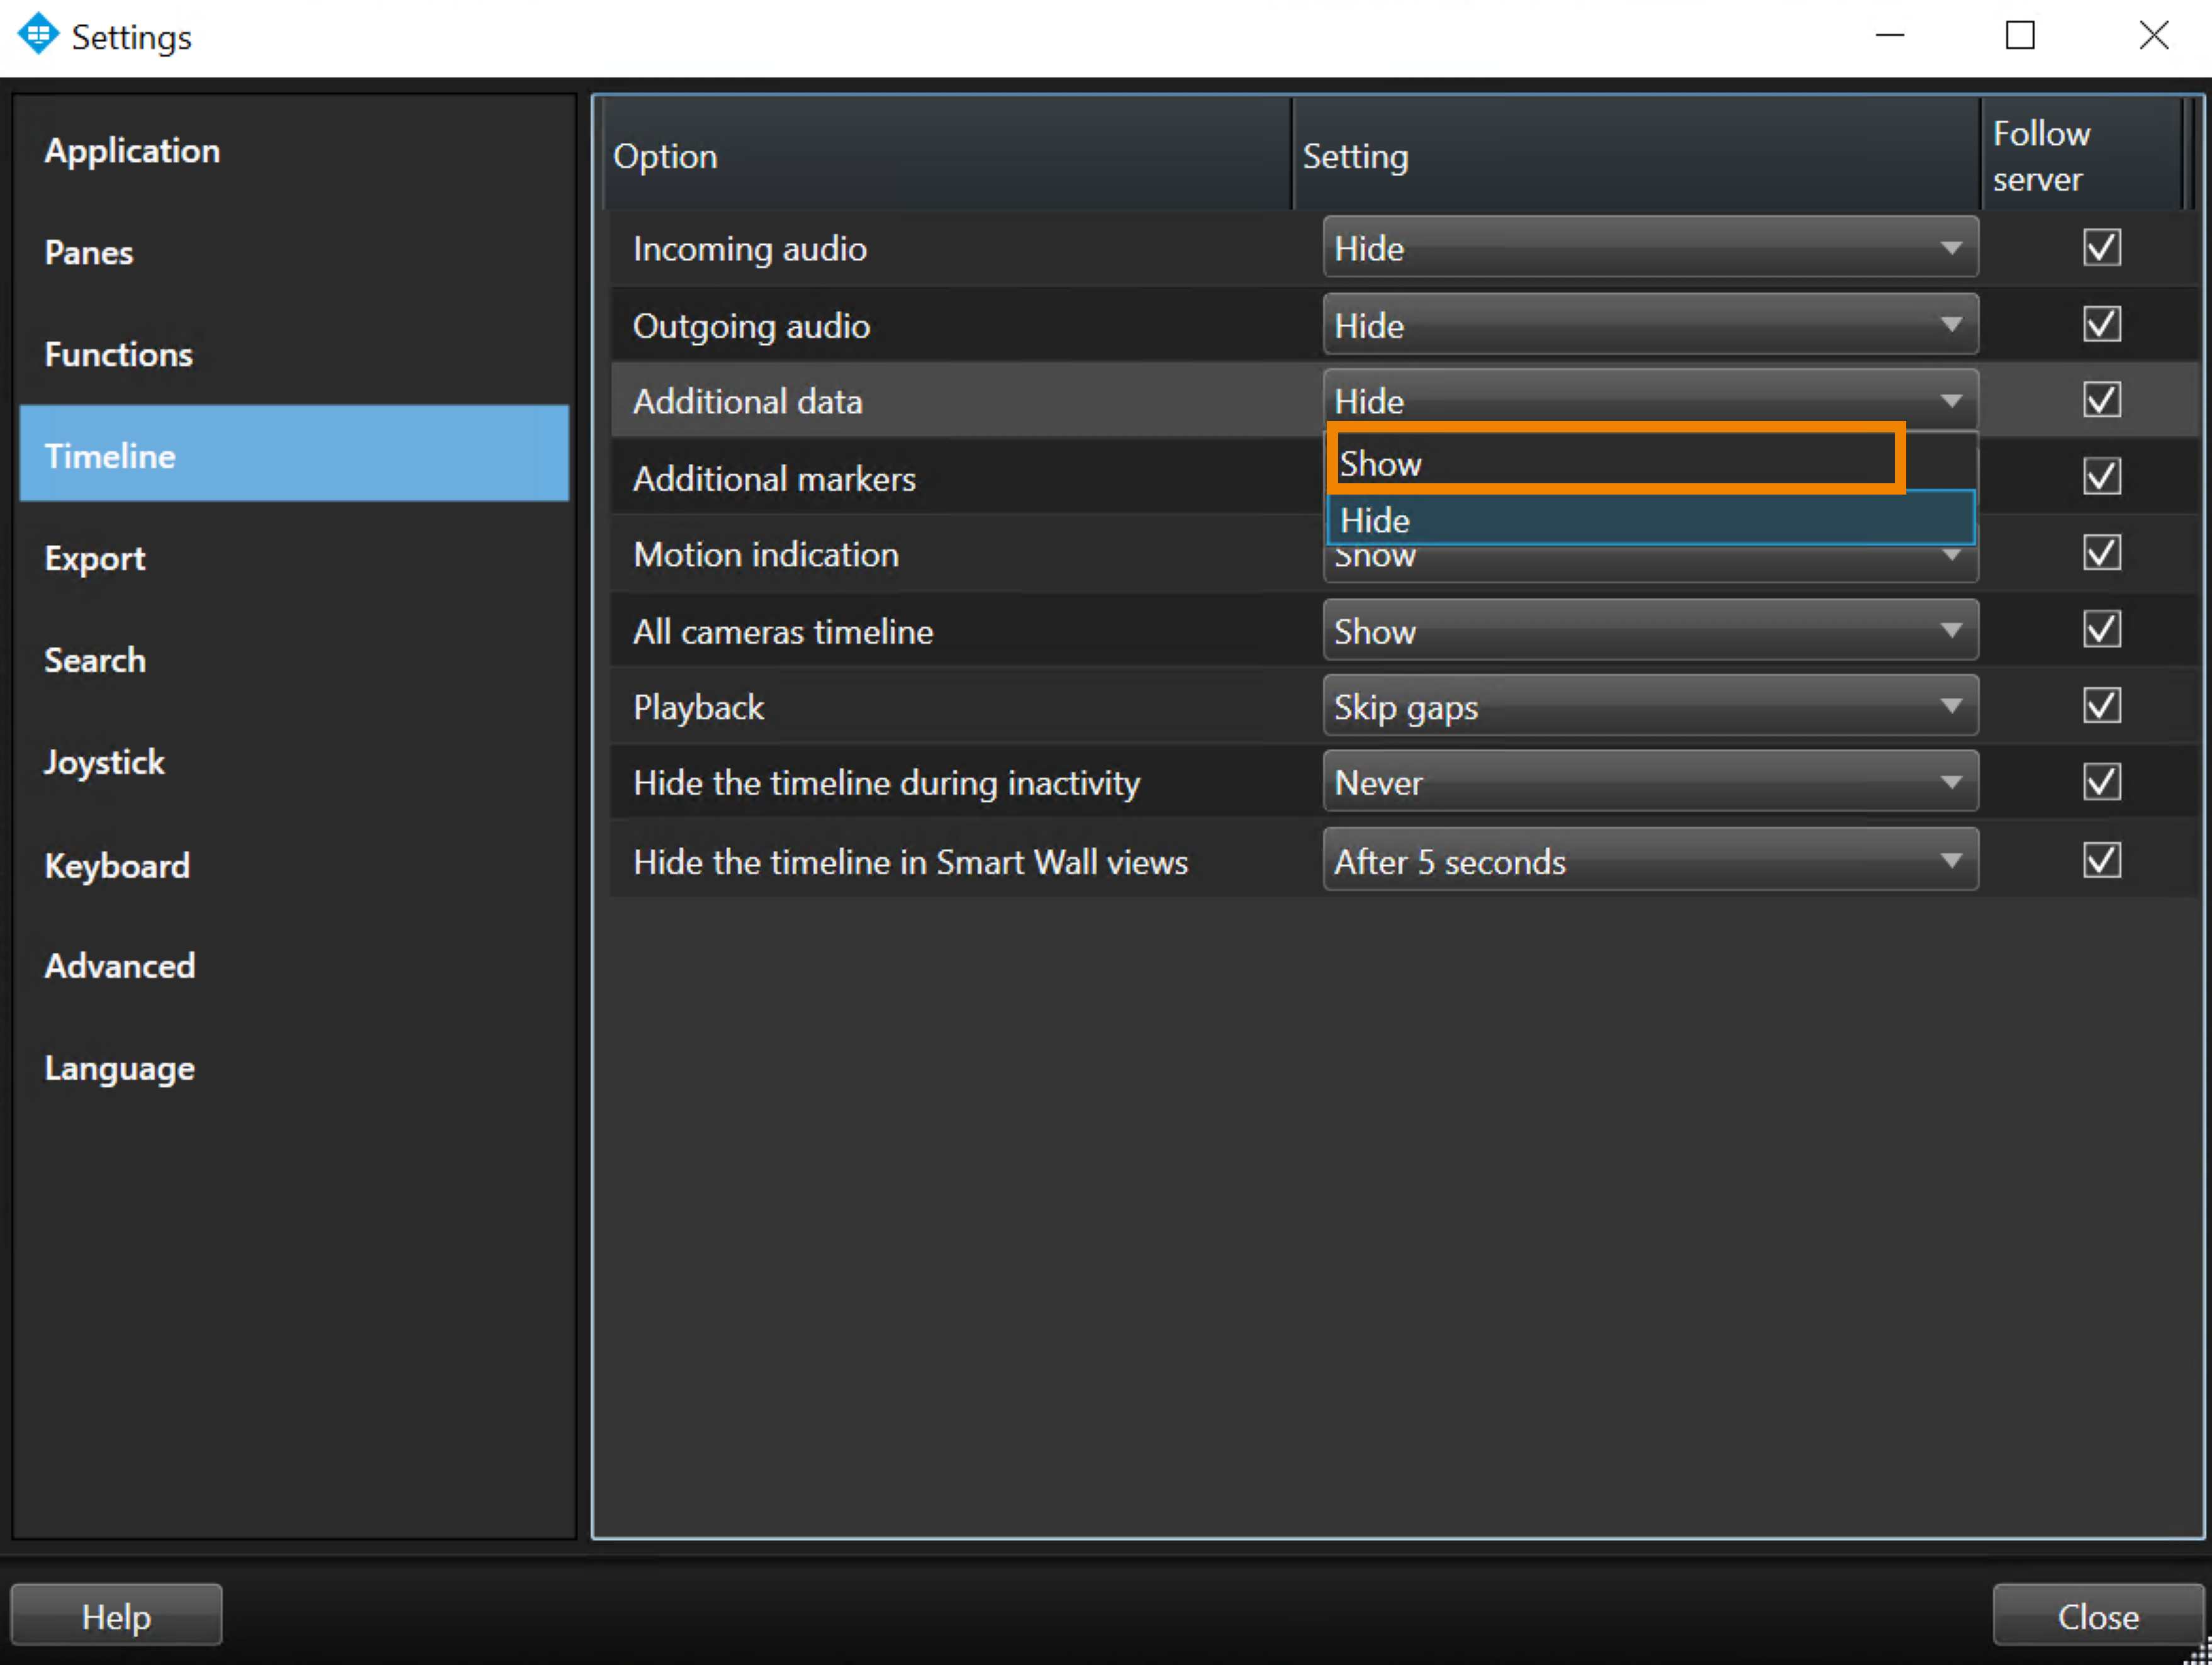
- Click the Additional data drop-down.
- Select Show.
- Click Close.
- Close and reopen the Smart Client application to refresh the settings.
- To navigate to the video timeline, click Playback. You will now see the color coded timeline that displays the location of the recordings.
.png)
- The Color codes legend provides detail on each color representation. To view the legend, click “?” in the lower right of the timeline.

Wasabi Surveillance Cloud will display the following storage locations:
— Local (dark green): Camera data is on the local drive but not replicated to the cloud.
— Local - Replicated (green): Camera data is on the local drive AND replicated to the cloud.
— Reclaimed - Cloud (blue): Camera data is in the cloud and seamlessly accessible.
Automatic Timeline Restore
Be sure to note the following:
- Local - Replicated (green) camera data is always available for playback.
- Reclaimed - Cloud (blue) camera data will be automatically retrieved when selected or played on the timeline, unless Automatic Timeline Restore is disabled. In this case, camera data will not be automatically restored from the cloud and WSC will display a “Recording Nearline” frame.