How do I use Files.com with Wasabi?
Wasabi has been validated for use with Files.com. Files.com is a managed file transfer automation platform. They are a SaaS Managed File Transfer (MFT) platform that enables organizations to securely transfer or share files between users, teams, and organizations (B2B). Files.com is a unique solution that combines the base benefits of FTP software and the security and automation of managed file transfer (MFT) software.
Make sure to set up your account at https://www.files.com/.
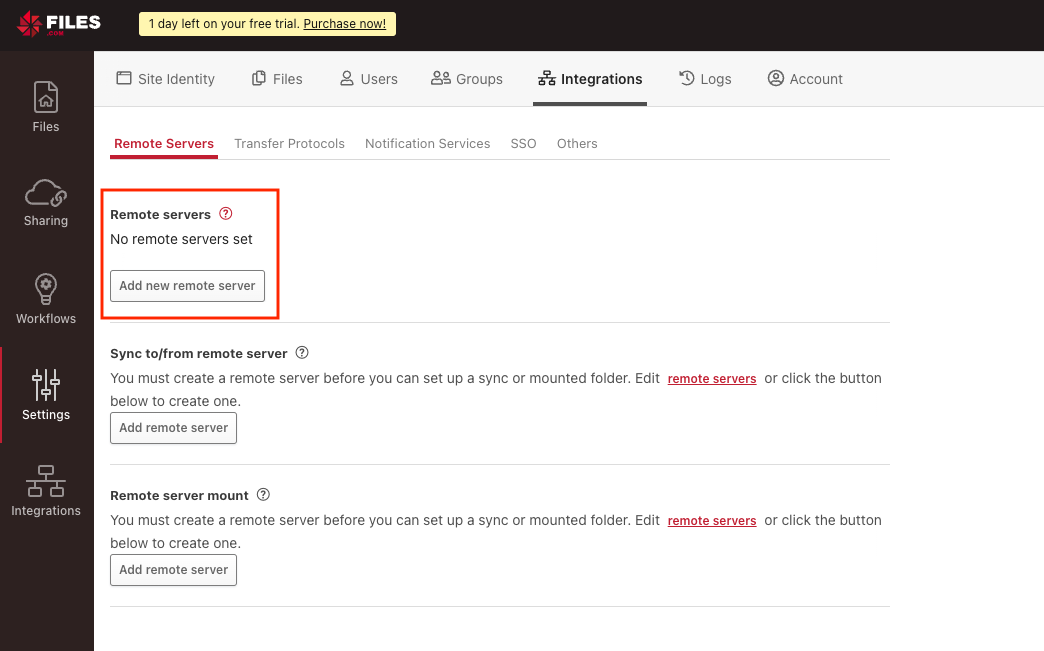
1. Add a Remote Server:
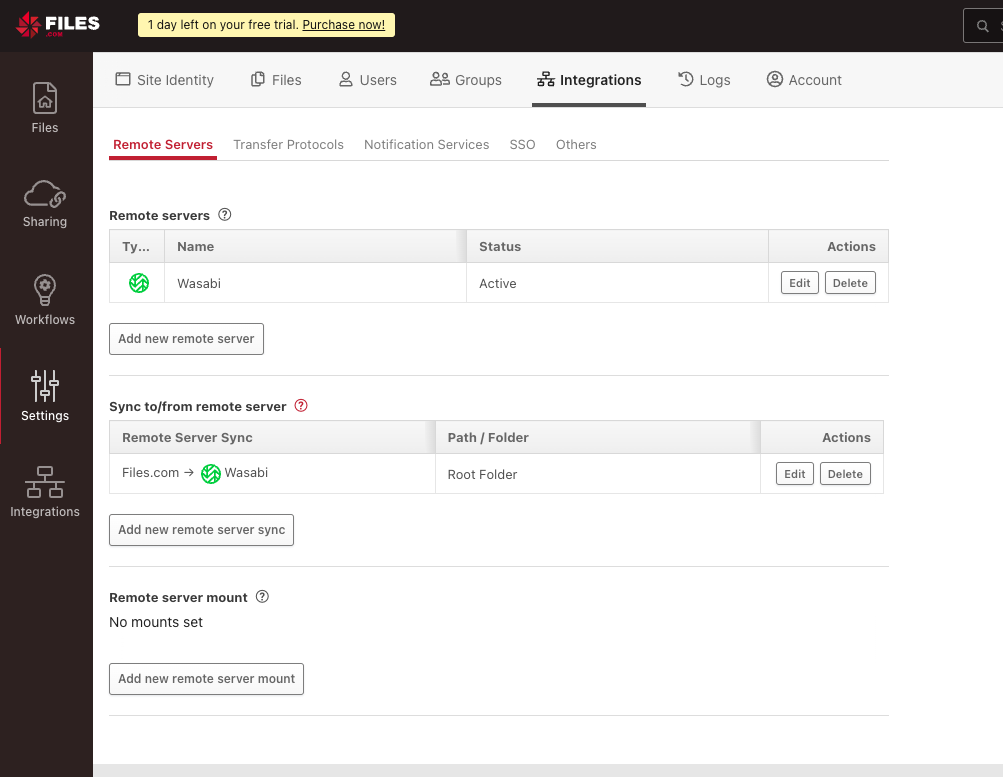
1.1 - Go to Settings > Integrations and scroll to Remote servers. If you do not see the remote server connection you wish to use listed, click the Add new remote server button and select Wasabi.
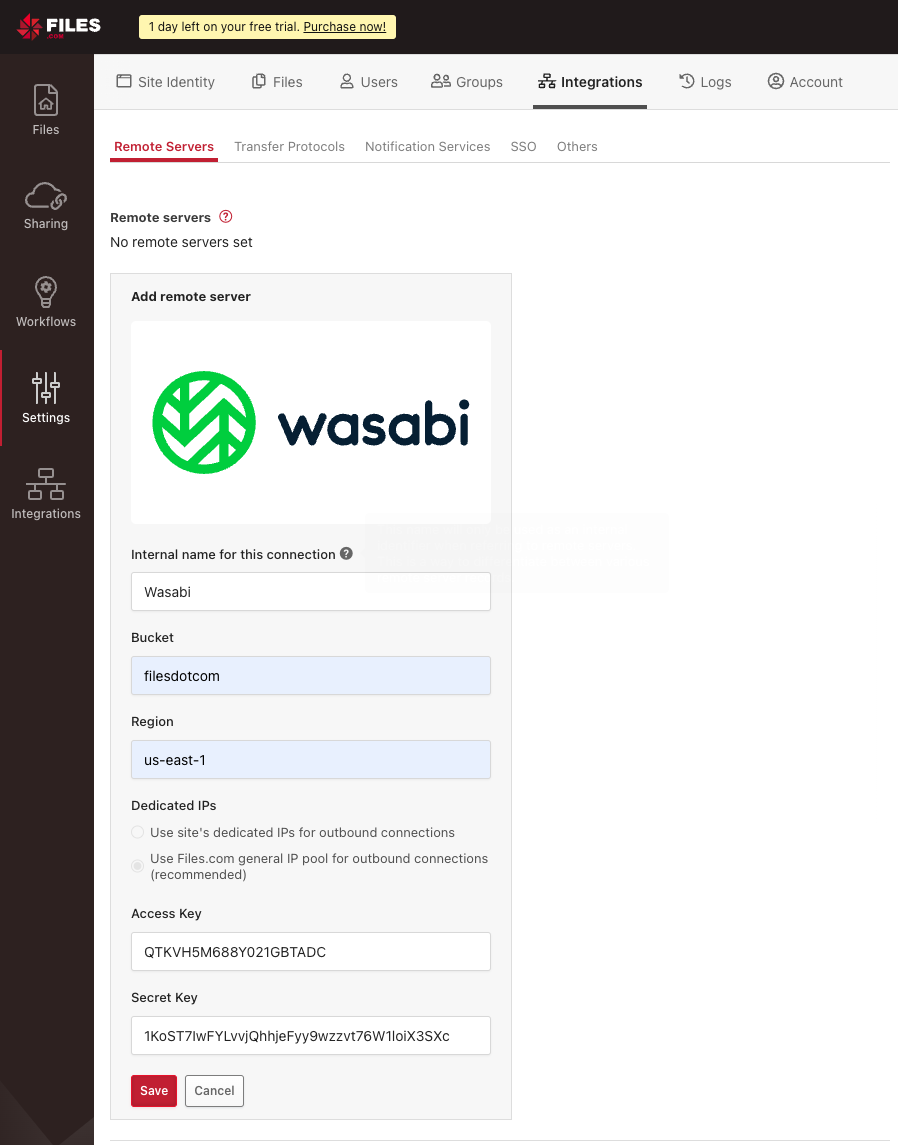
1.2 - Select Wasabi from the list.

1.3 - Enter a display name for the server.
1.4 - Enter a bucket name that already exists in your Wasabi account.
1.5 - Enter the Wasabi region that the bucket belongs to. You can find the region information in your Wasabi console next to the bucket name while on the Buckets tab. You can see in this scenario, we are using us-east-1.

1.6 - Enter the Access Key and Secret Key for your Wasabi account.
1.7 - Click Save.
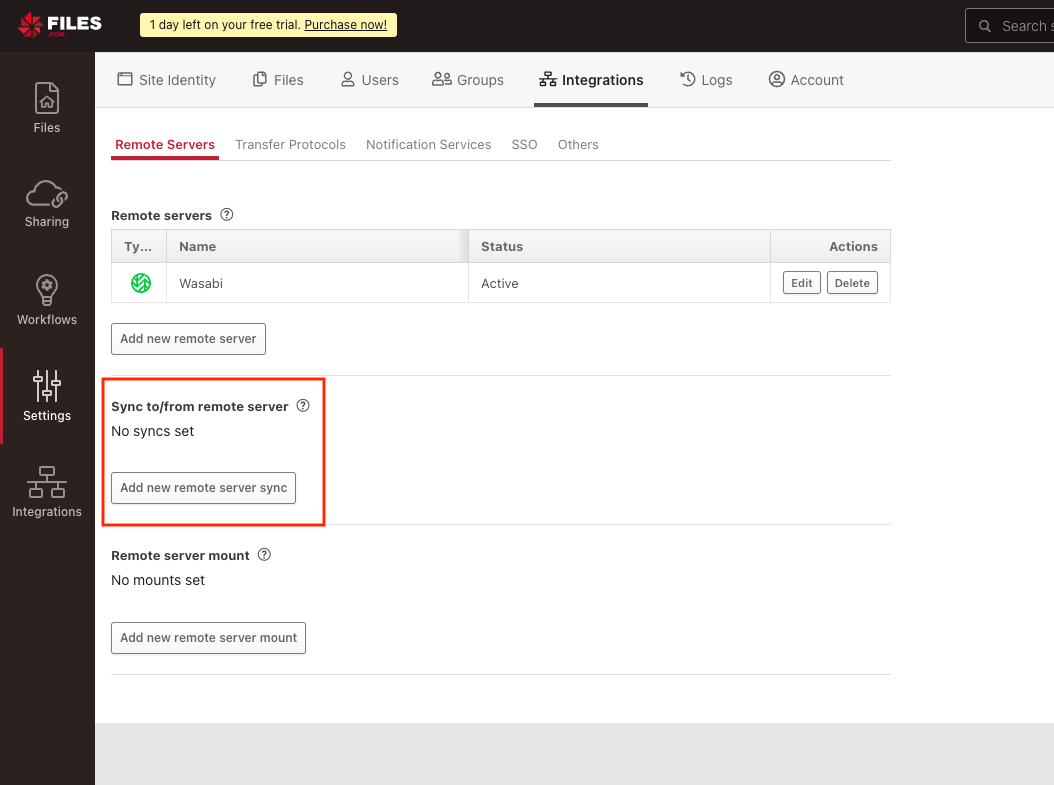
2. Add a Remote Server Sync
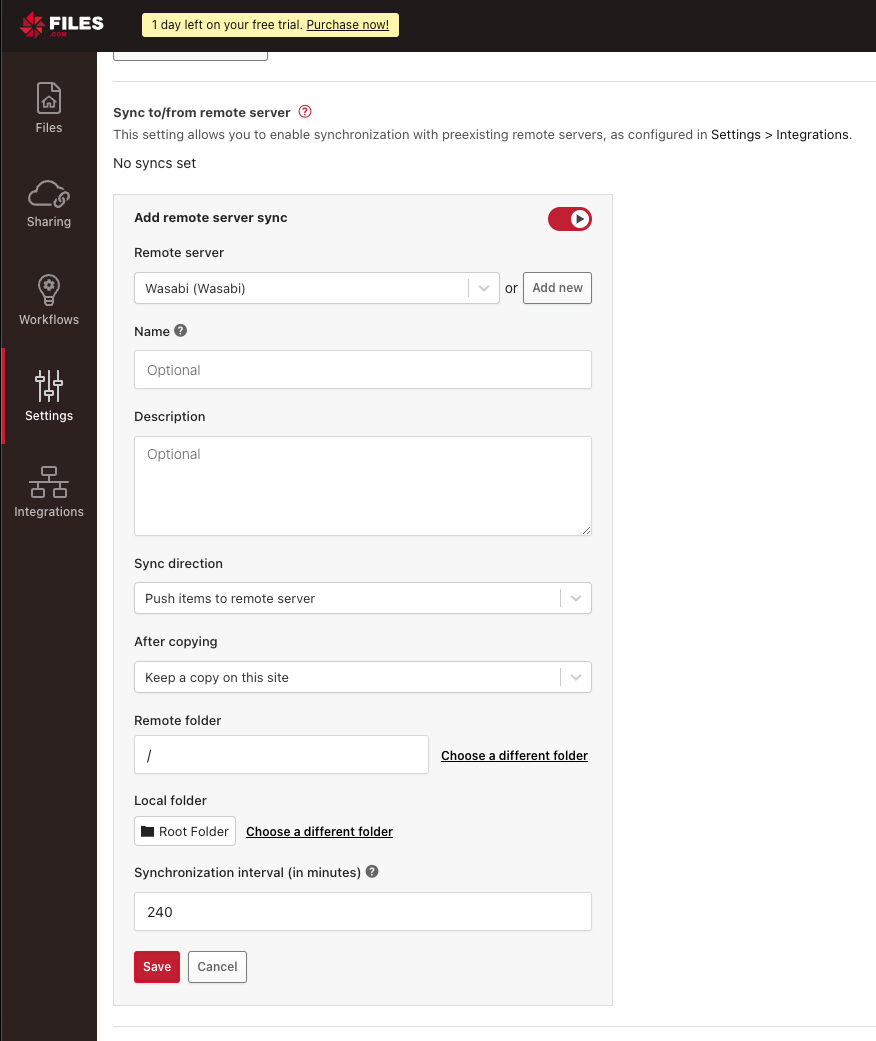
2.1 - To sync files directly through Files.com, click Add new remote server sync
2.2 - Under Remote Server Select the Wasabi server you previously set up.
2.3 - Under Local Folder, you can select Root Folder or you can specify any other folder you have created in the Files.com dashboard.
2.4 - Click Save.
You should now see both configurations saved under Settings > Integrations
3. Upload a file
3.1 - Navigate to the Files tab
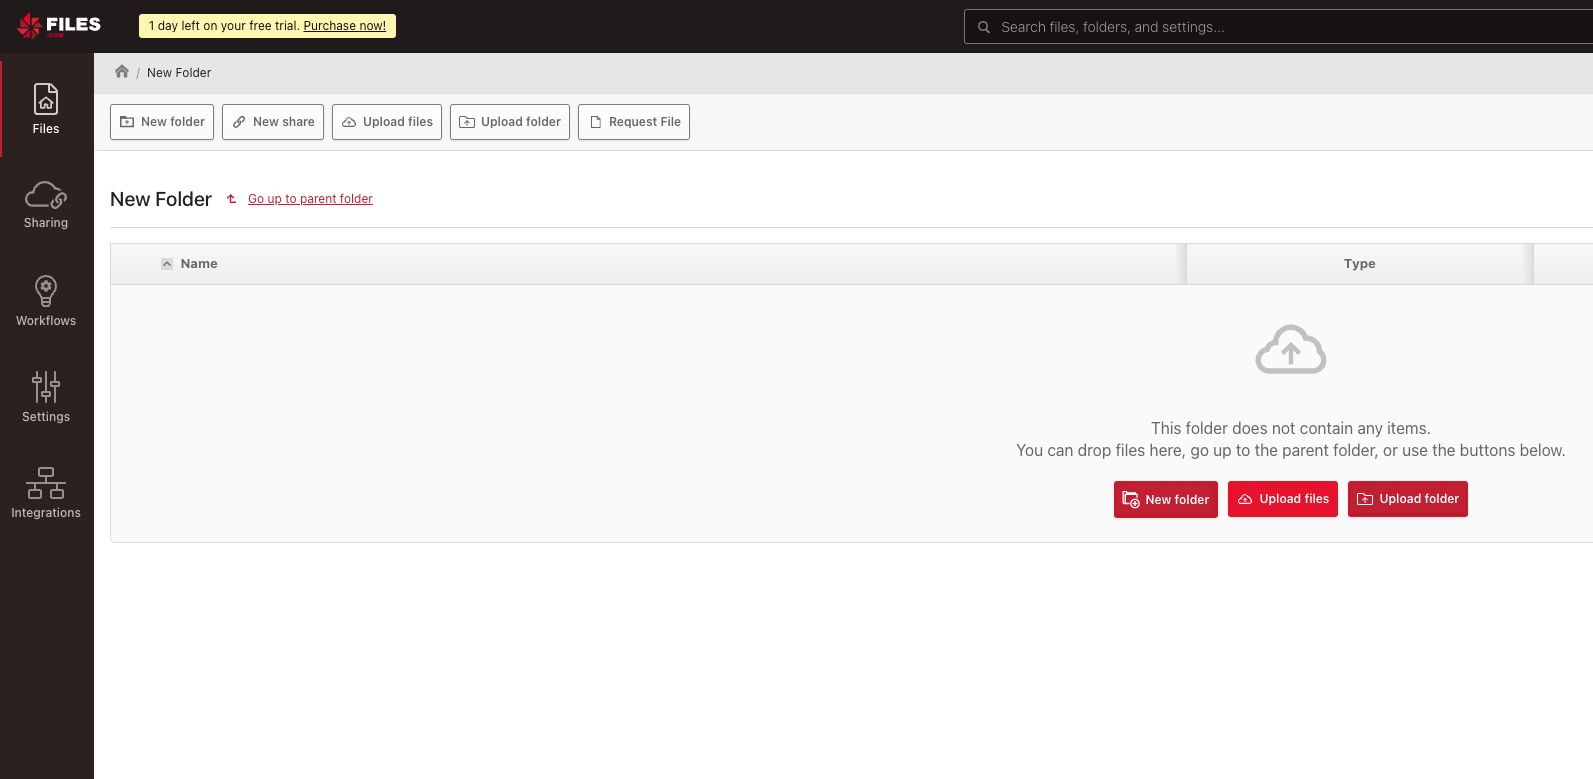
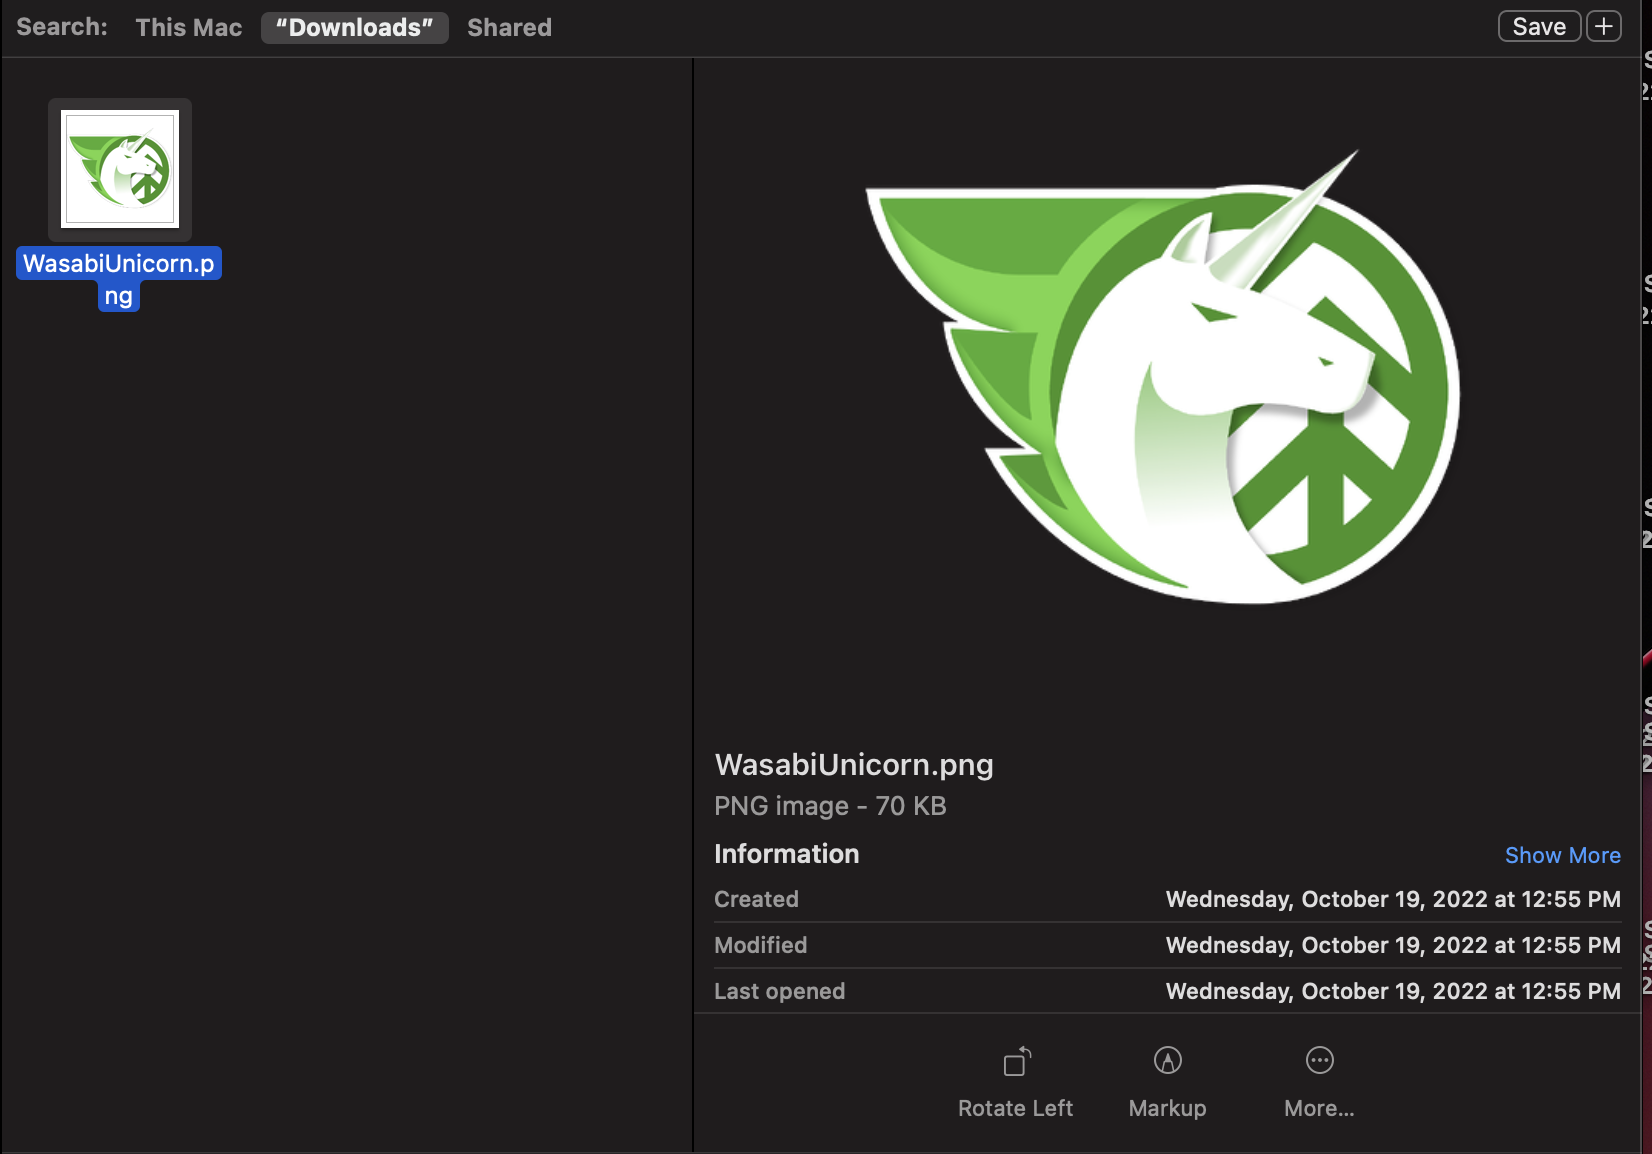
3.2 - Click Upload Files and select a file to upload
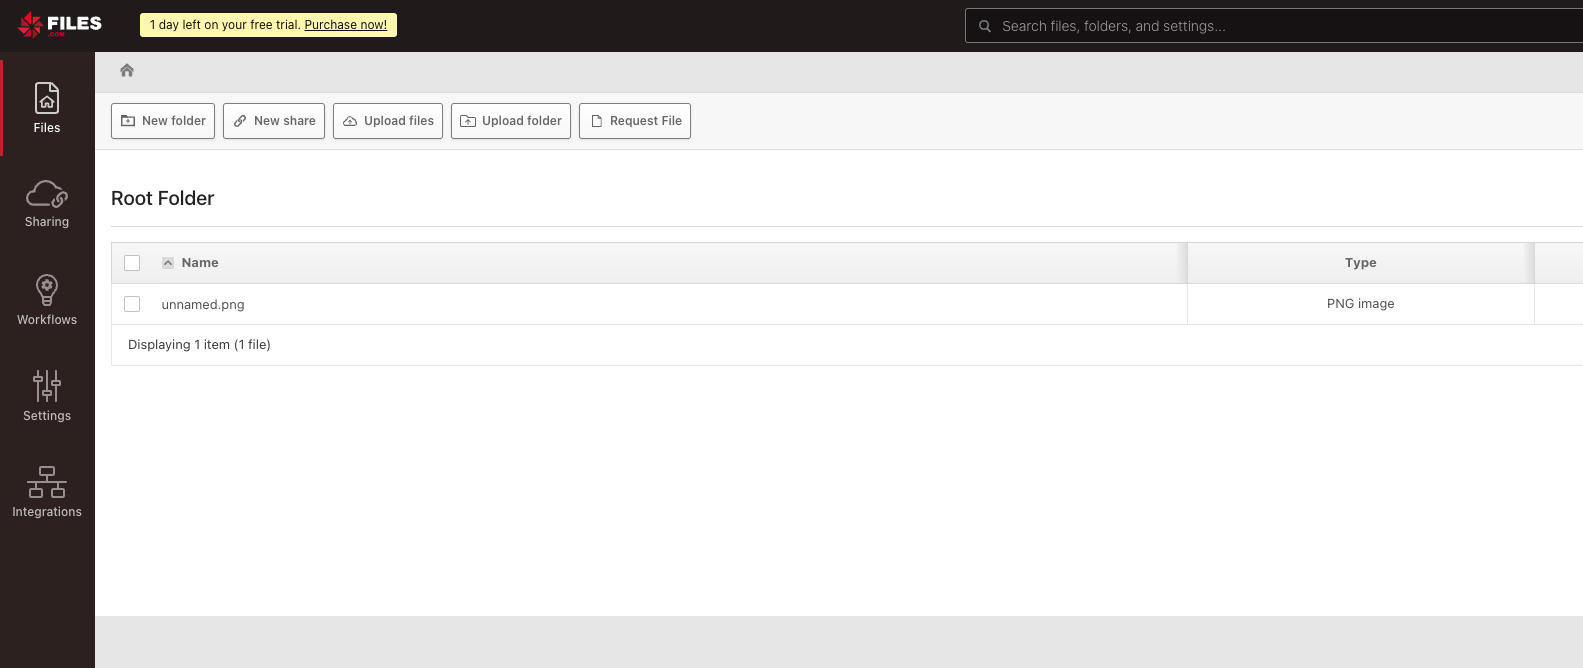
After clicking Open, you will see the file appear in the dashboard
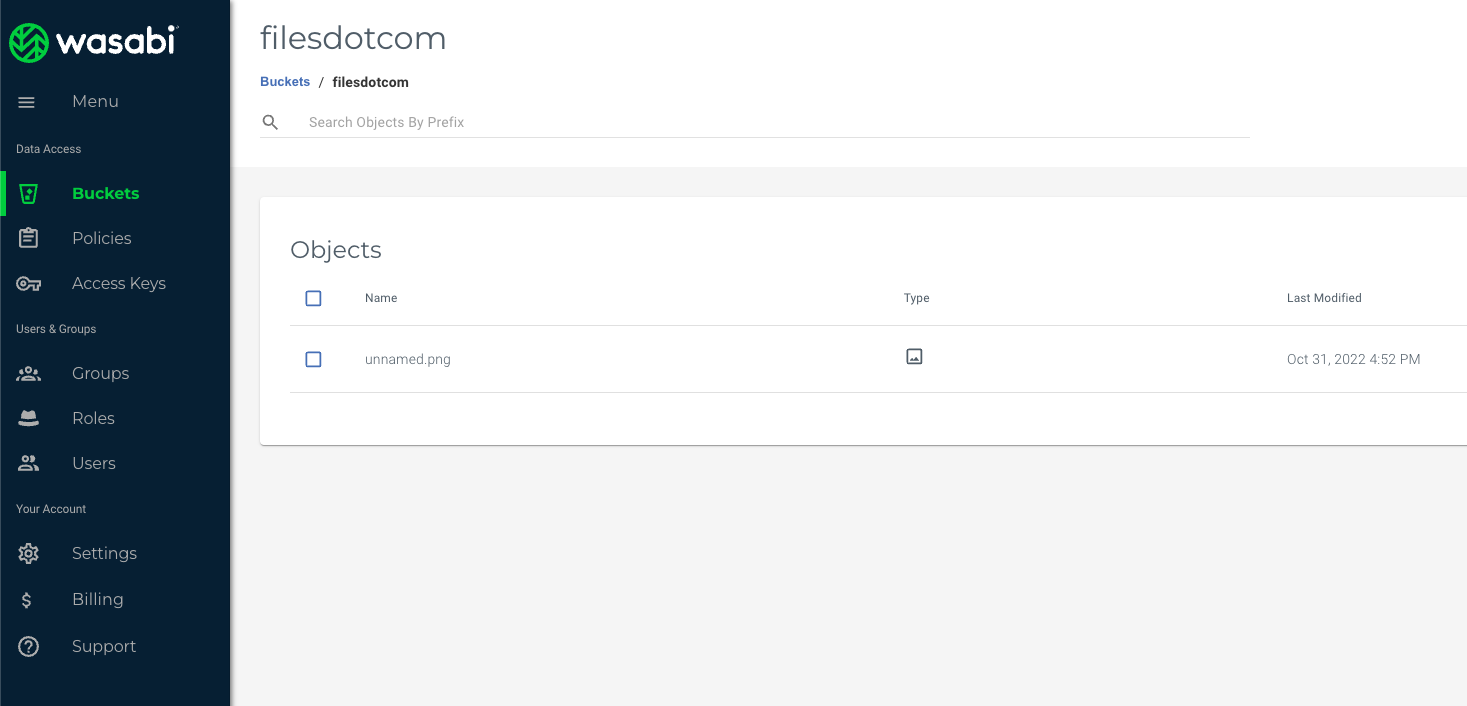
You can now navigate to your Wasabi console and confirm the file is there in the bucket you specified in the server setup.
Learn more about syncing files and folders as well as more advanced configuration settings at files.com.