Wasabi offers Single Sign On (SSO) functionality for Wasabi accounts using the Shibboleth IdP (Identity provider) system, based on SAML2 (Security Assertion Markup Language) integration.
This article provides configuration instructions for both the IdP administrator and the SSO user to properly configure and complete a Wasabi Console login using your organization's Shibboleth SSO service.
Prerequisites
The Shibboleth IdP admin must provide:
SSO / Log in URL (IdP endpoint)
x509 Signing Certificate
Configuring the SAML App in Shibboleth (IdP Side)
Log in to the Shibboleth portal with Administrator credentials.
Set the Assertion Consumer / Callback URL to (https://sso.wasabisys.com/login/callback).
Set the Audience / SP Entity ID to the Audience URL from the Wasabi SSO page (typically, the callback URL).
Configure SAML attributes:
Group / Role mapping attribute, Attribute Name—
http://schemas.auth0.com/https://sso.wasabisys.com/groupsGroup / Role mapping attribute, Attribute Value—the exact Wasabi Console Role Name you created previously, such as “WasabiAdminRole.”
Email attribute (required so the email shows in audit logs and as the user ID in the Wasabi Console)—Value should be the user’s email address in your IdP.
The Shibboleth role name must exactly match the Wasabi Console role name (case-sensitive, no extra spaces).
Ensure the user in Shibboleth is assigned to the group or attribute that maps to this role.
SAML Group Assertion Example
Mapping Attribute
Below is an example of the SAML Attribute Name and Attribute Value.
You can change the Attribute Value to the role name you wish to use. The role name must match the value used in the Wasabi Console.
saml:Attribute Name="http://schemas.auth0.com/https://sso.wasabisys.com/groups" NameFormat="urn:oasis:names:tc:SAML:2.0:attrname-format:uri">
        CHANGE_ME_FOR_WASABI_ROLE_NAME
Email Attribute
Below is an example of the SAML email attribute. This email address will appear in the audit logs and as the user’s identity in the Wasabi Console.
You must set the Attribute Value to the user's email address when logging in through the IdP.
http://www.w3.org/2001/XMLSchema-instance" xsi:type="xs:string">EMAILADDRESS
Configuring SAML Settings in Wasabi Console (SP / Client Side)
Sign in to Wasabi Console (https://console.wasabisys.com/login) using a Root account email.
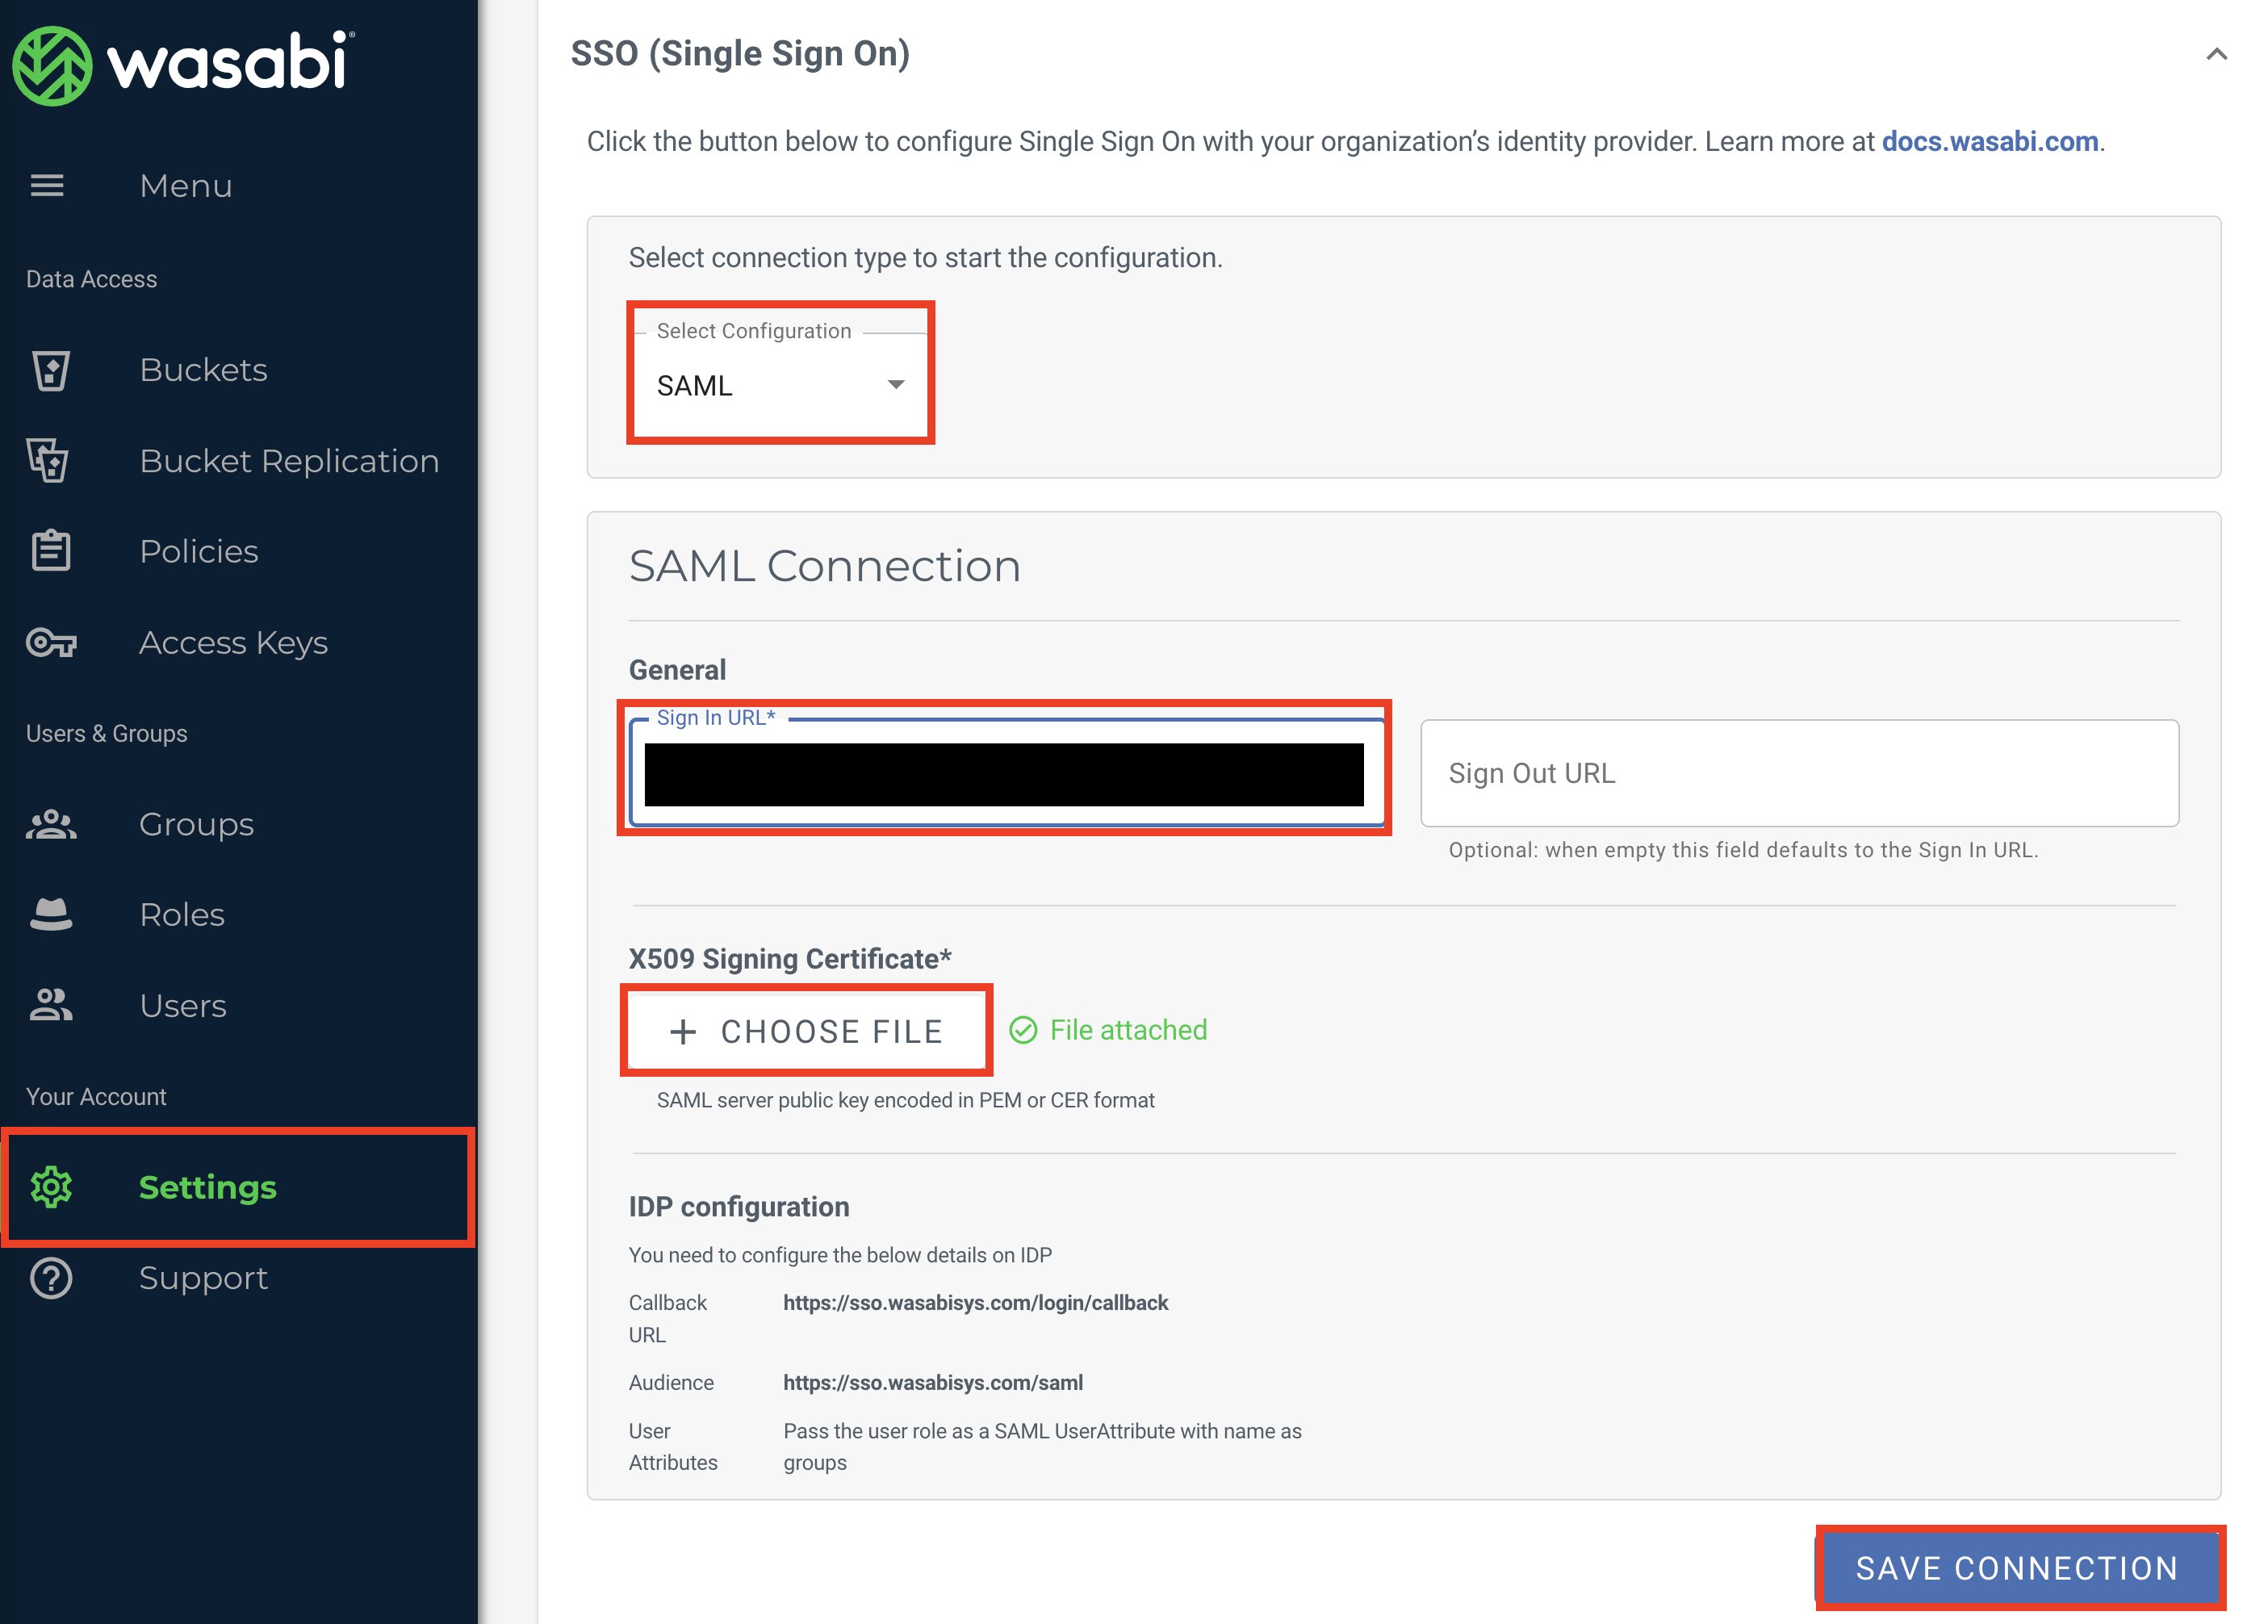
Click Settings in the left menu, then select the SSO (Single Sign On) tab.
If you do not see the SSO (Single Sign On) tab, then you are using a Wasabi Console trial account. This feature is only available to paid accounts.
In the Select Configuration drop-down, select SAML.
In the SAML Connection section General box, enter the Shibboleth IdP SSO endpoint (https://www.myshibboleth.com).
In the X509 Signing Certificate box, upload the Shibboleth certificate (.pem file).
Click Save Connection.
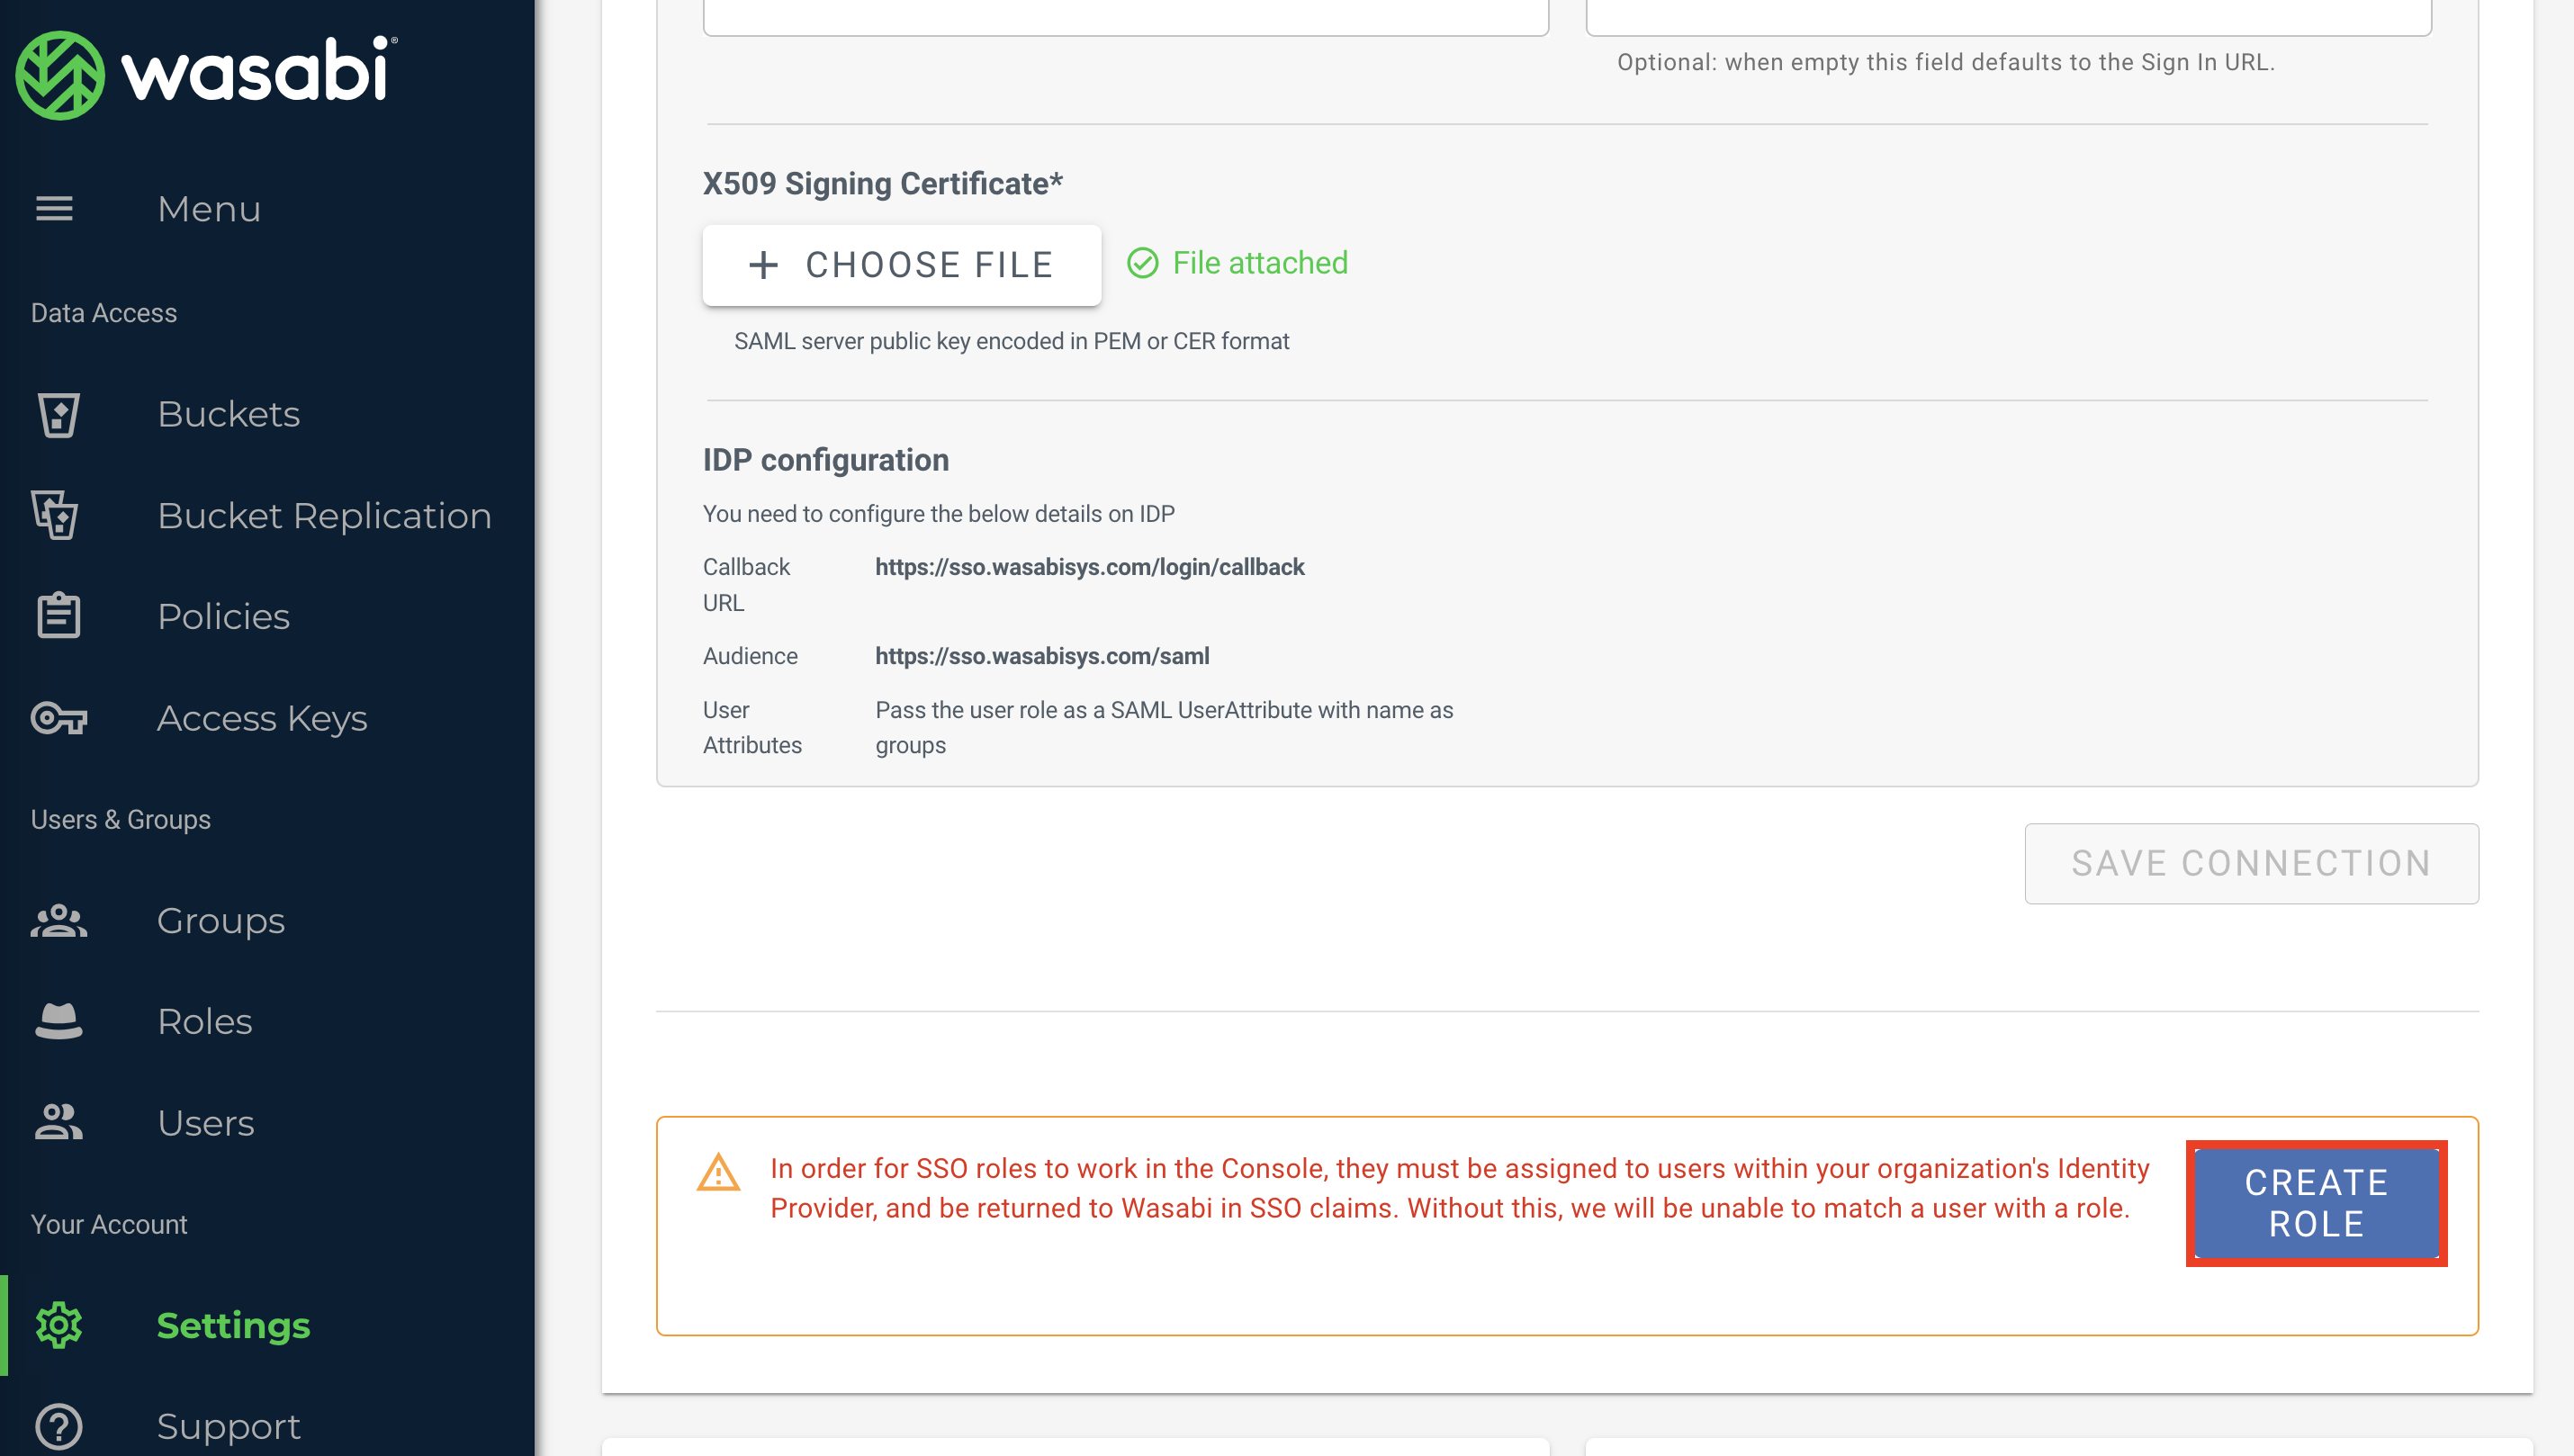
In the SSO tab, click Create Role to create an SSO role in the Wasabi Console. The SSO role must be assigned to users within your organization's Identity Provider and returned to Wasabi in SSO claims to match a user to a role.
Do not create the role through the Roles tab in the left menu. SSO roles must be created through the SSO tab in Settings.
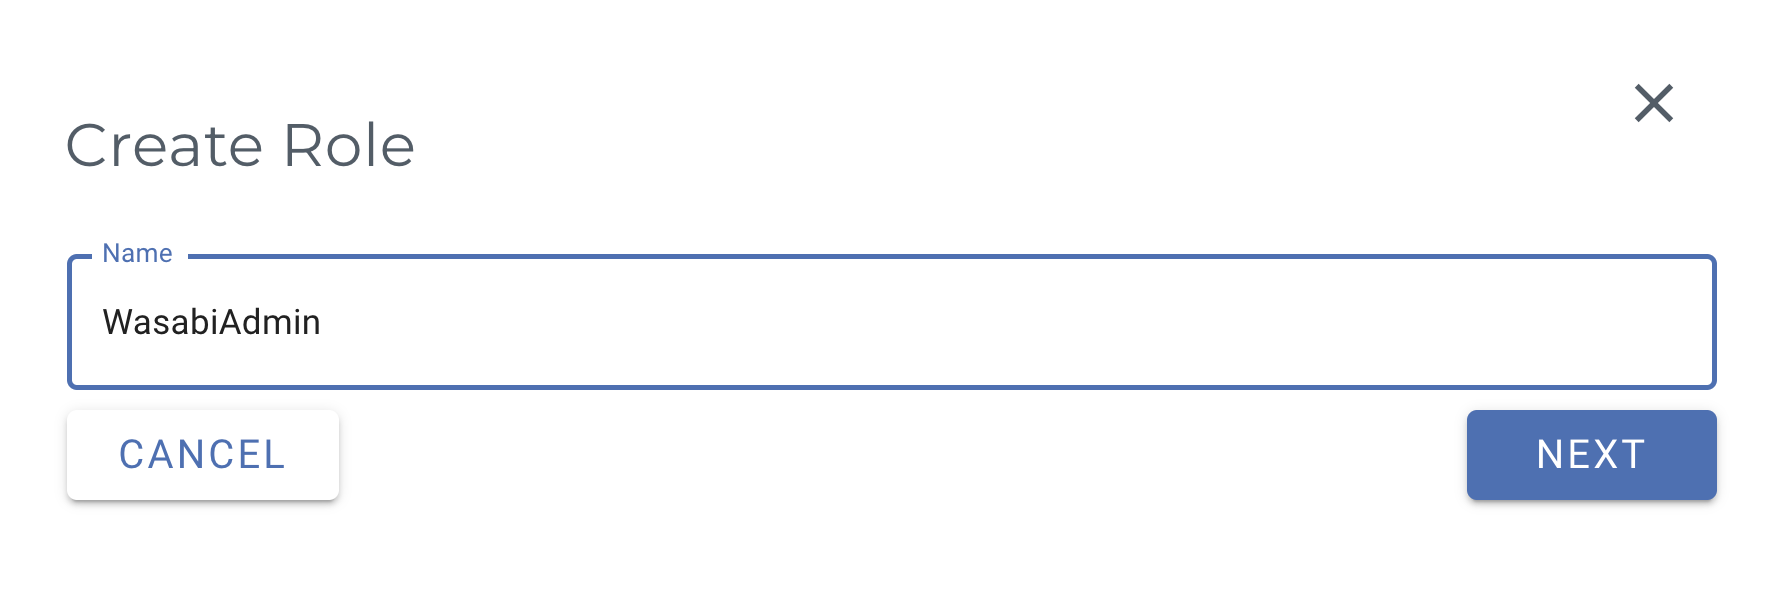
In the Create Role dialog, enter the name you created in the JumpCloud Details tab, for example, “WasabiAdmin.” Click Next.
In the Assign Role Policies panel, select one or more policies for this new role to provide user-specific access. Click Create Role.
For more information on default policies or creating your own IAM policies for the Wasabi Console, see Policies in the Wasabi Hot Cloud Storage.
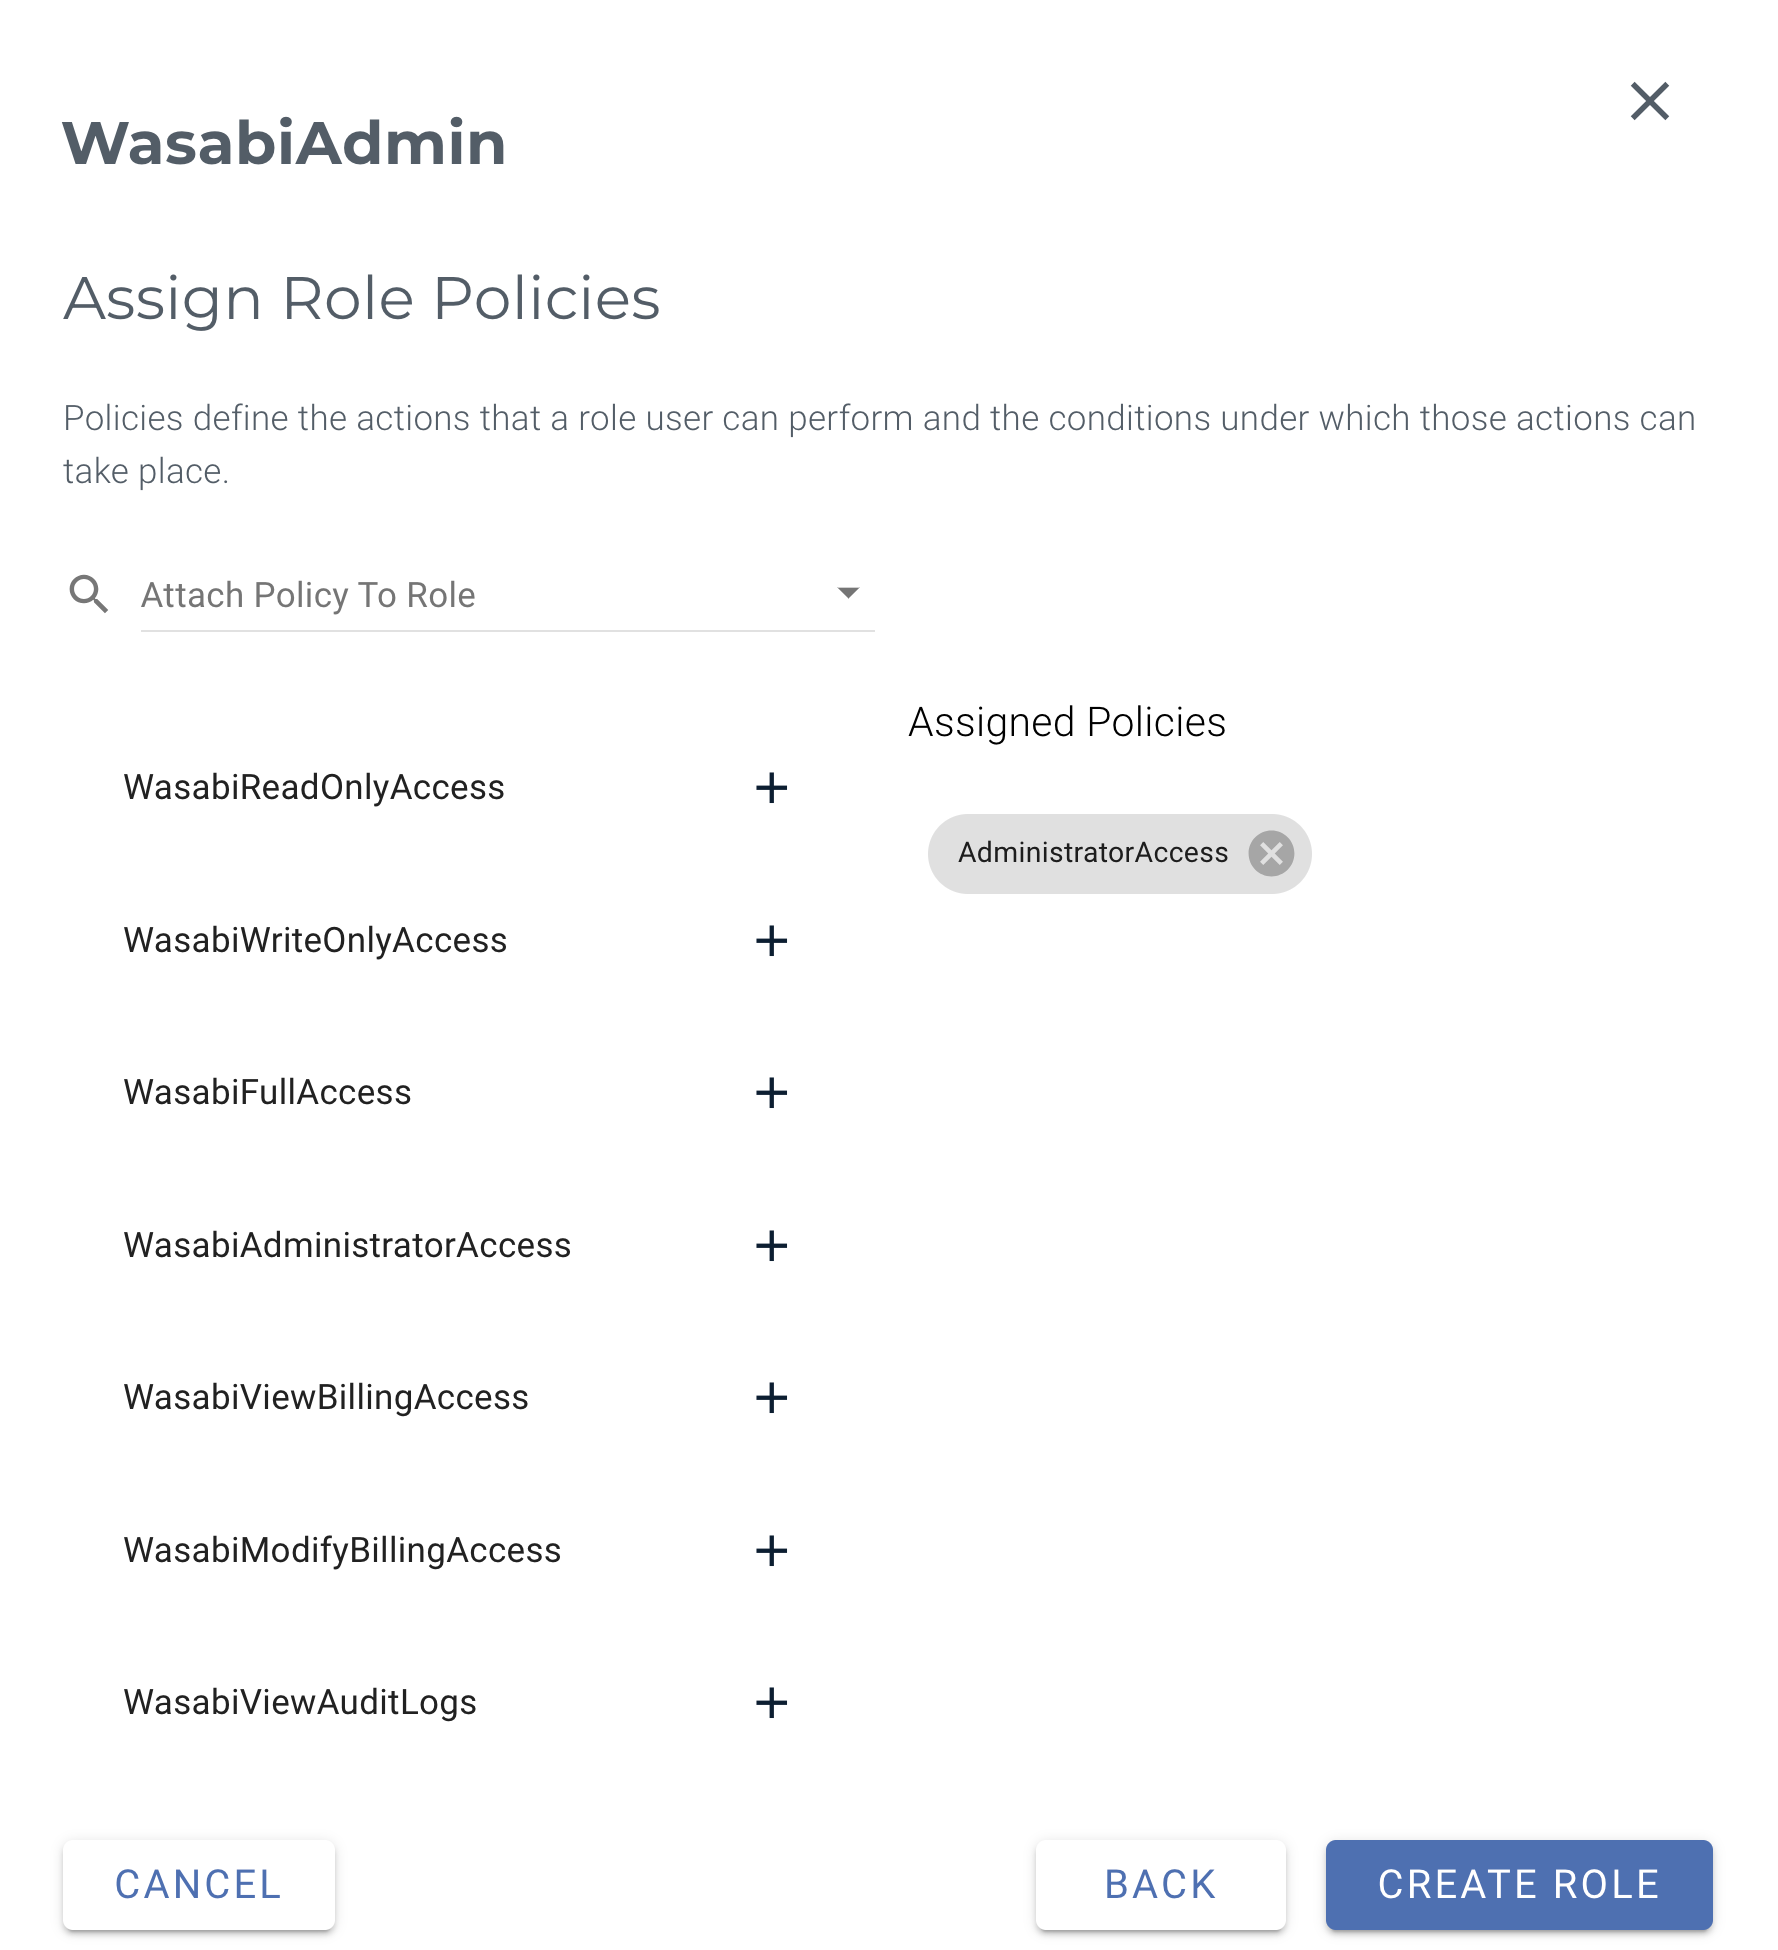
This example uses the AdministratorAccess policy. You may attach any Wasabi-managed policy/user-managed policy based on your requirements.
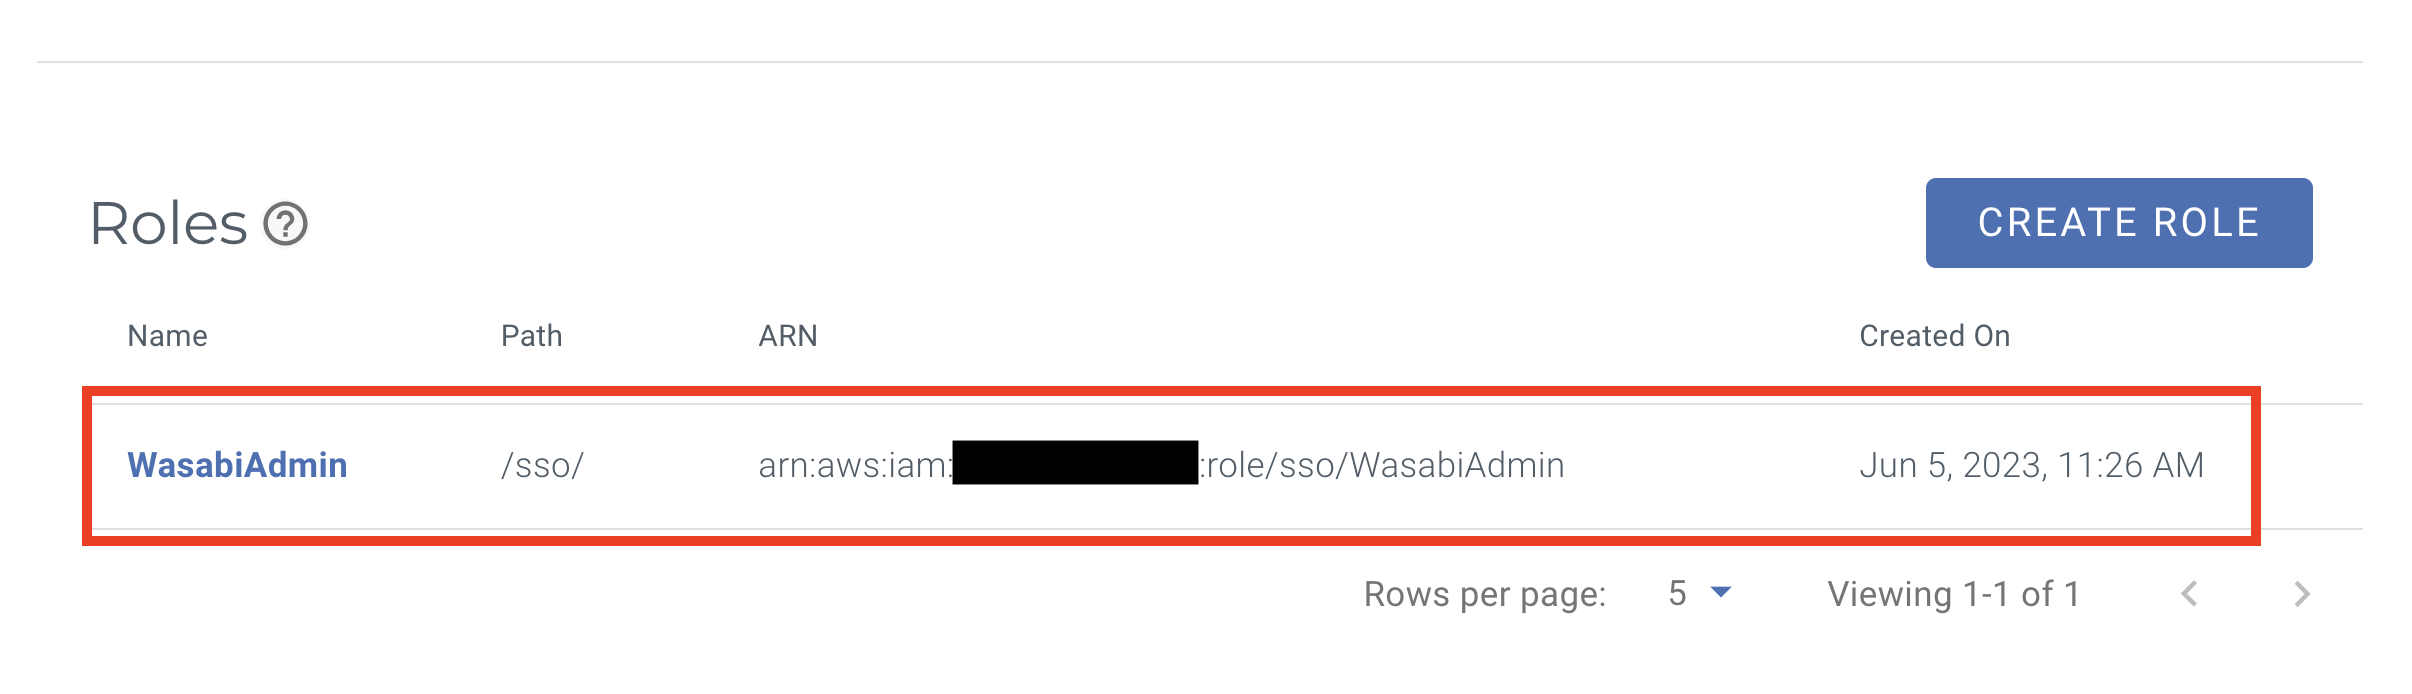
You should not see the Wasabi Role you created in the SSO tab in Settings.
Testing the Integration
Sign in to the Wasabi Console (https://console.wasabisys.com) to test the SO configuration.

Enter your Root user email address for the Wasabi Console.

You are redirected to your Shibbeloth login page where you will sign in as the user who:
has access to the Wasabi Console application created in Shibboleth
has SAML group attributes set to the Wasabi Console role created
On success, you will land in the Wasabi Console with permissions defined by that role’s policies.