Network Optix NX Witness VMS With Wasabi
- 03 Feb 2025
- 2 Minutes to read
- Print
- PDF
Network Optix NX Witness VMS With Wasabi
- Updated on 03 Feb 2025
- 2 Minutes to read
- Print
- PDF
Article summary
Did you find this summary helpful?
Thank you for your feedback
How do I use Network Optix Nx Witness VMS with the WSC?
Network Optix Nx Witness VMS is validated for use with Wasabi Surveillance Cloud. Network Optix works with companies to create full-stack (Desktop, Server, Mobile, and Cloud) intelligent IP Video software products like Nx Witness VMS.
Prerequisites
- Nx Witness VMS (or another Powered by Nx product).
- Active Wasabi Surveillance Cloud storage account
- Wasabi Bucket - See our Bucket Creation Guide.
- Access & Secret Key Pair - See our Access Keys Guide
Reference Architecture Diagram

Configuration
Note: The Configuration Wizard step explained in the installation article above will serve the same purpose as the steps listed below.
- Install, configure, and activate your Nx Witness VMS or other Powered by Nx software product.
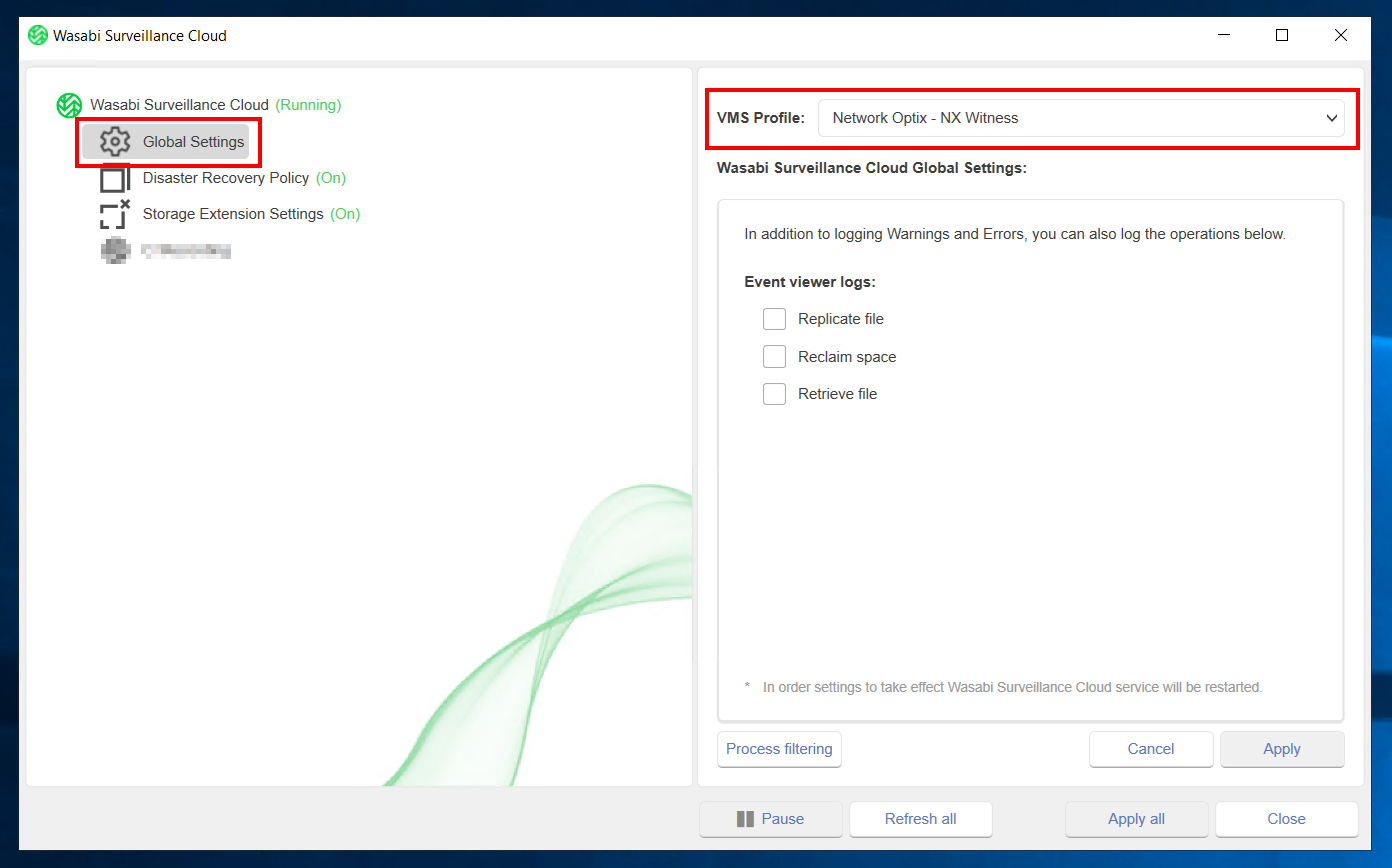
- Launch the WSC application, click on the Global Settings, and then select the "Network Optix - NX Witness" profile from the VMS Profile drop-down options as shown below.
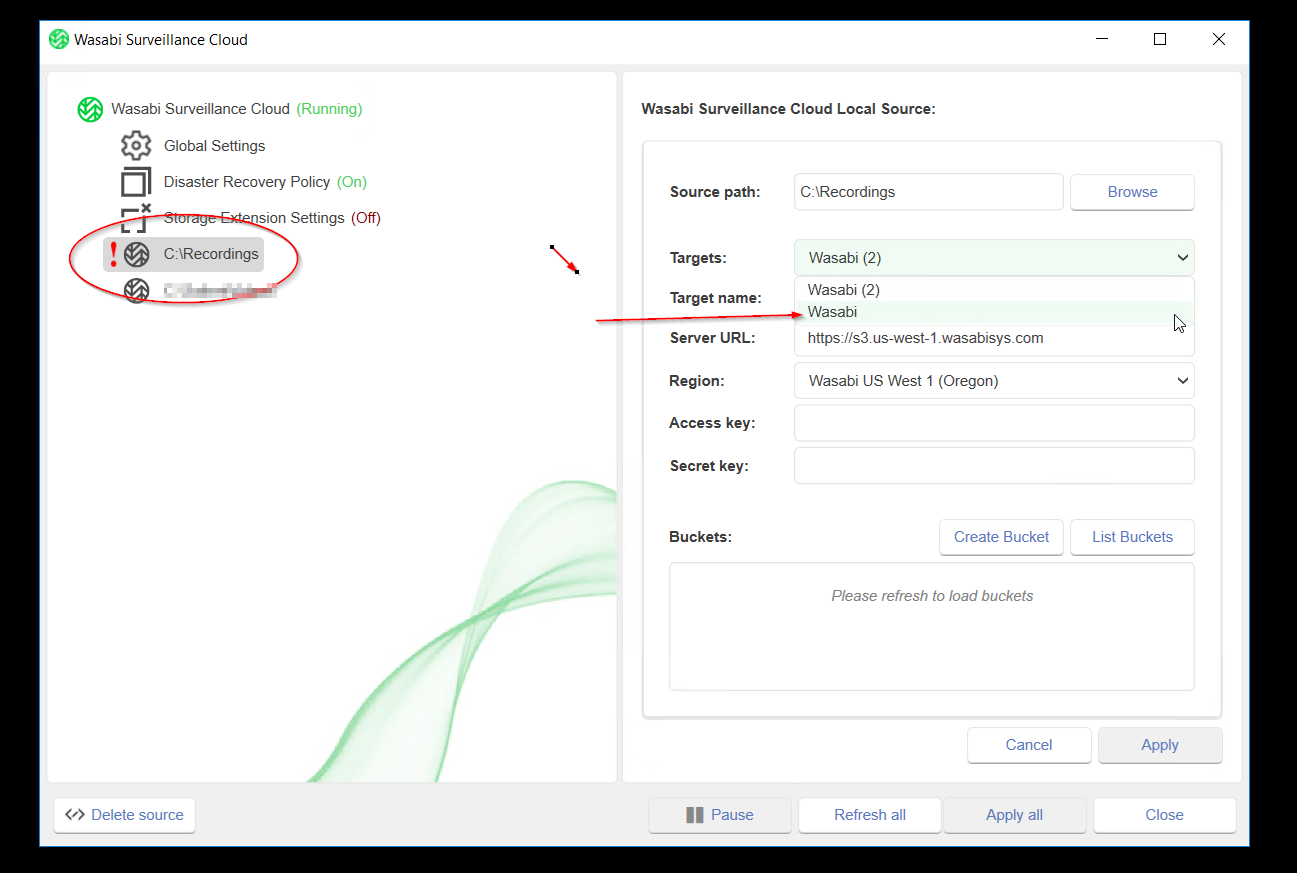
- Click on the WSC to expose the Add Source button. Using the Add Source button, select the drive/folder with the video recordings as the source to be replicated. Users can choose the entire archive, high-quality, low-quality, or even individual cameras as needed.

- Click on the down arrow next to Targets and select the existing 'Wasabi' profile, to auto-fill the access and secret keys. You can optionally enter the keys manually.
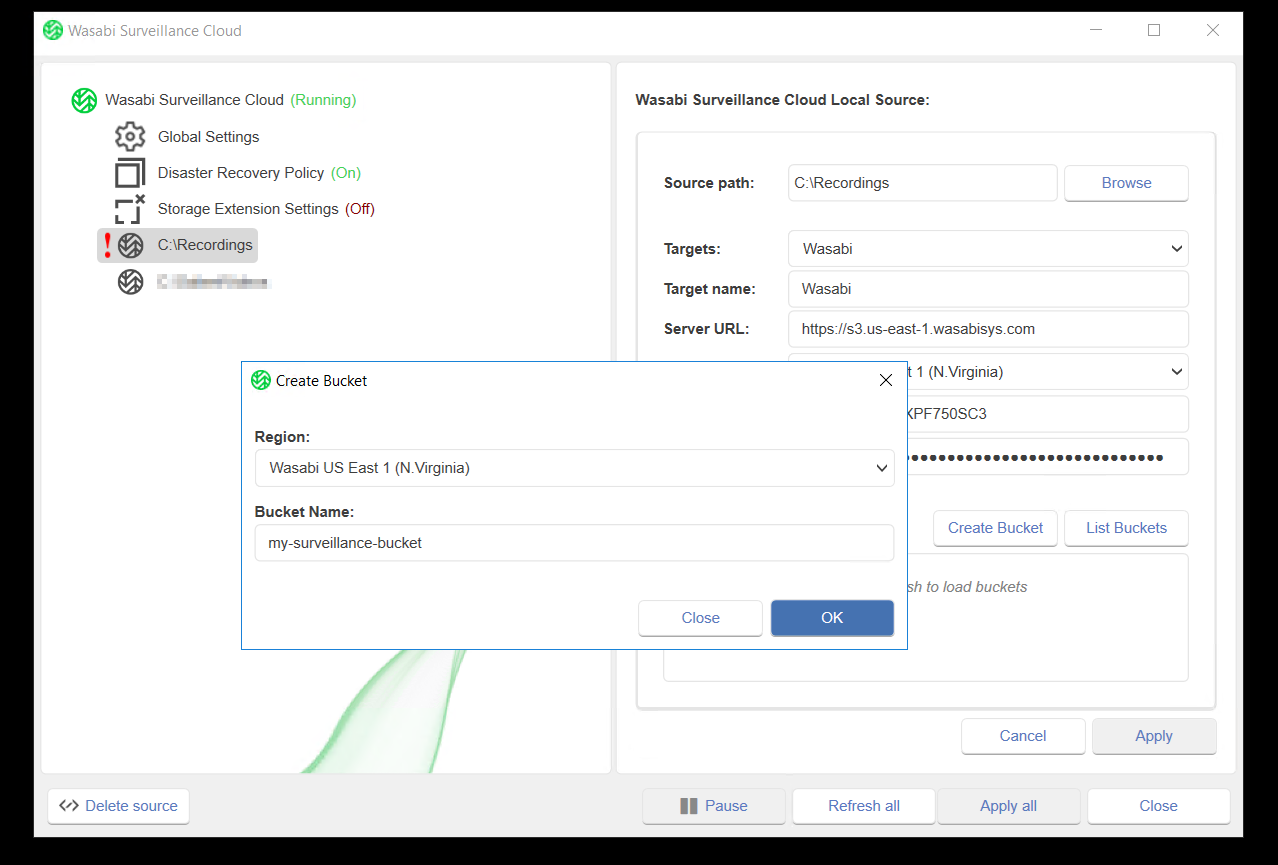
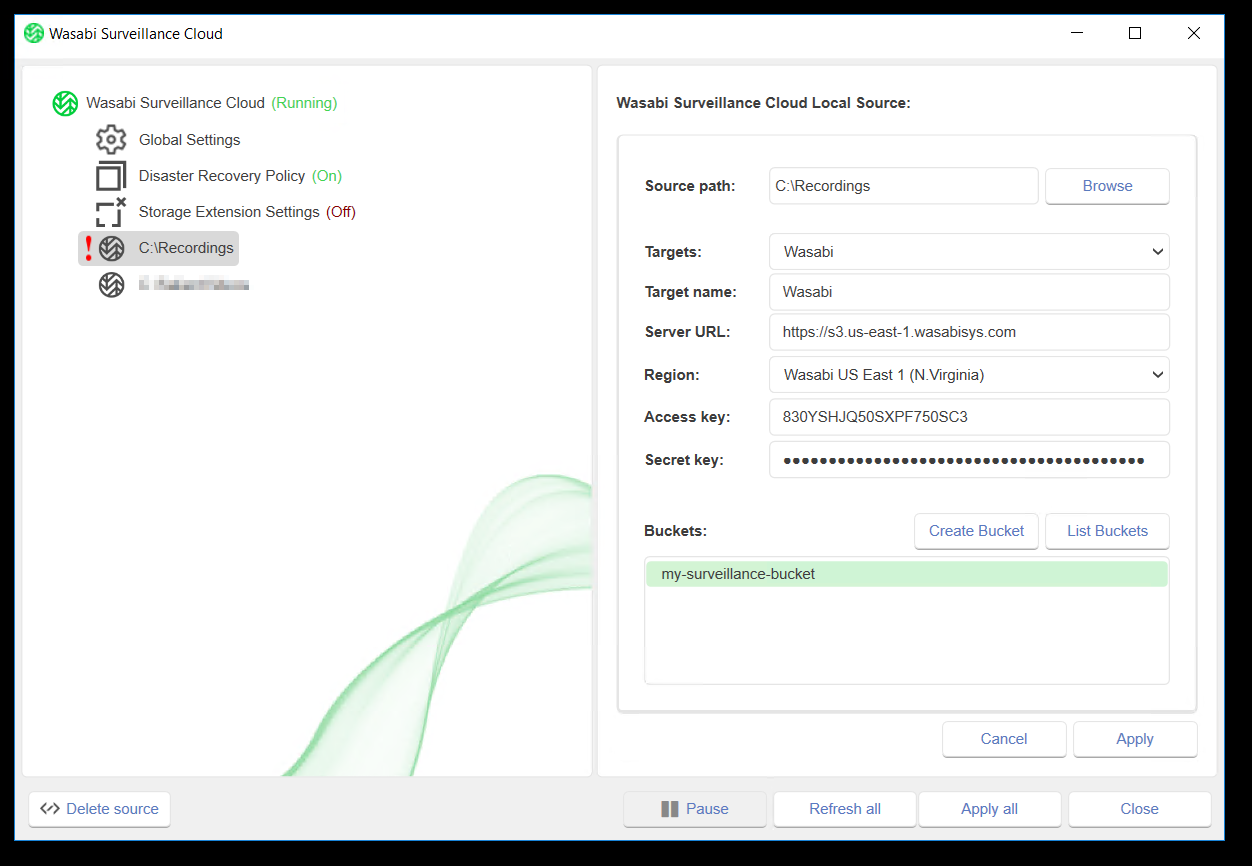
- Select the region where you want to store the video recordings. Click on the Create Bucket to create a new bucket in your WSC account. Use the bucket naming conventions specified here. Click OK when done.
- Click Apply to apply the configuration changes.
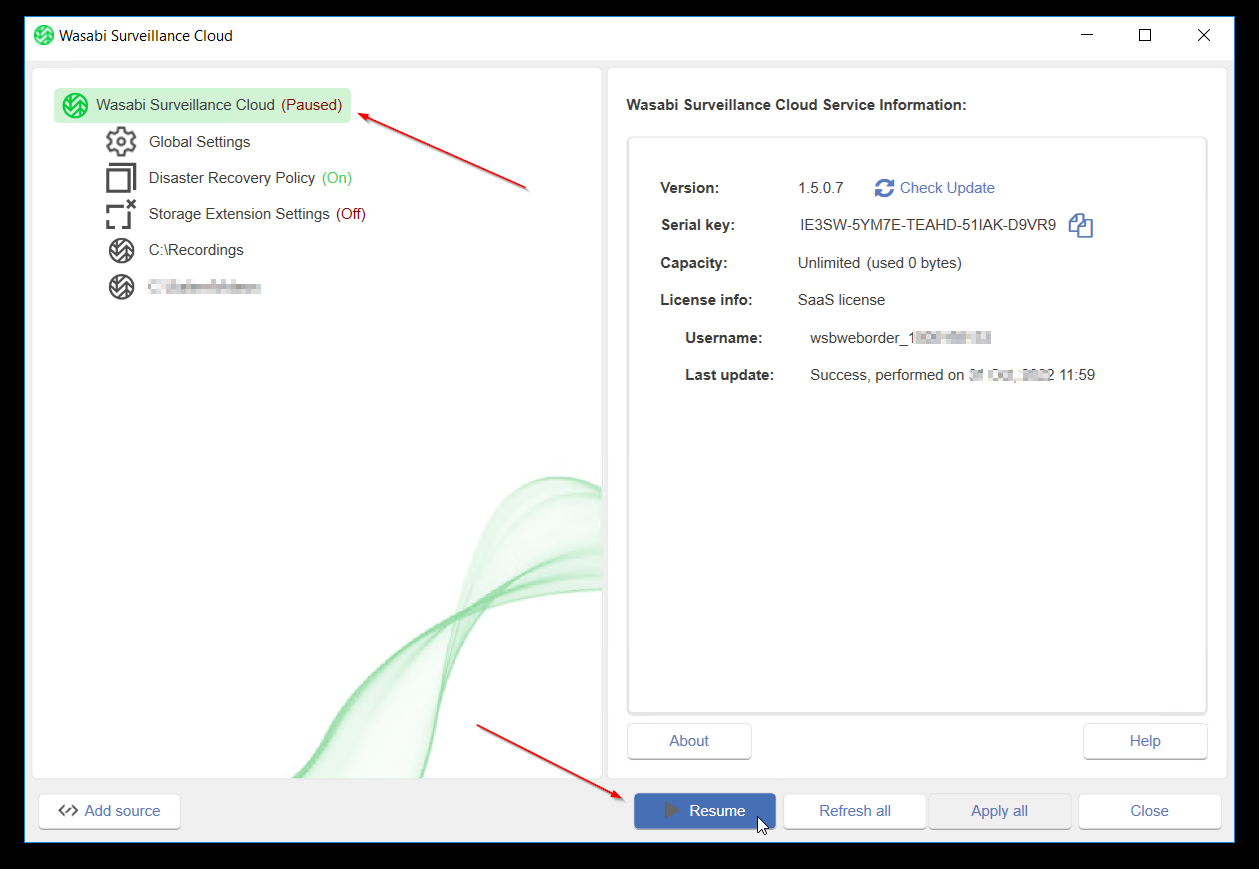
- The surveillance cloud software is now set to replicate the data from the source folder to the Wasabi bucket. To start the service, click on the resume button. Replication begins immediately once the service is resumed.
- Log on to the Wasabi console to confirm the data is written to the bucket with the same directory structure as the source folder.


Additional Configuration Information
DR Policy: Copies the customer data to the cloud from the local folders. Both data sets are identical (the one on-premise, and one in the cloud). The bridge makes a full copy of data from the local directory to the cloud for redundancy.
Storage Extension Settings: This setting extends the capability of local storage to the cloud. The older data is in the cloud, while the newest data sits locally. After X number of days, the data is deleted from the local drive to free up on-premise capacity, but data is still in the cloud and accessible anytime it is needed.
DR + Storage Extension: If both options are enabled, data gets replicated to the cloud when the data is added to the disk. Data is only deleted from the local drive based on the specified retention period. Data won't be available on the local drive but can still be retrieved instantly from the cloud.