Wasabi Stats API customers can manage and rotate their Stats API access keys using the Wasabi Management Console. Rotating keys helps keep your applications that use the Wasabi Stats API running smoothly and securely. With this console feature, you can generate up to two keys at a time and rotate them as needed.
Generating Access Keys Using the Console
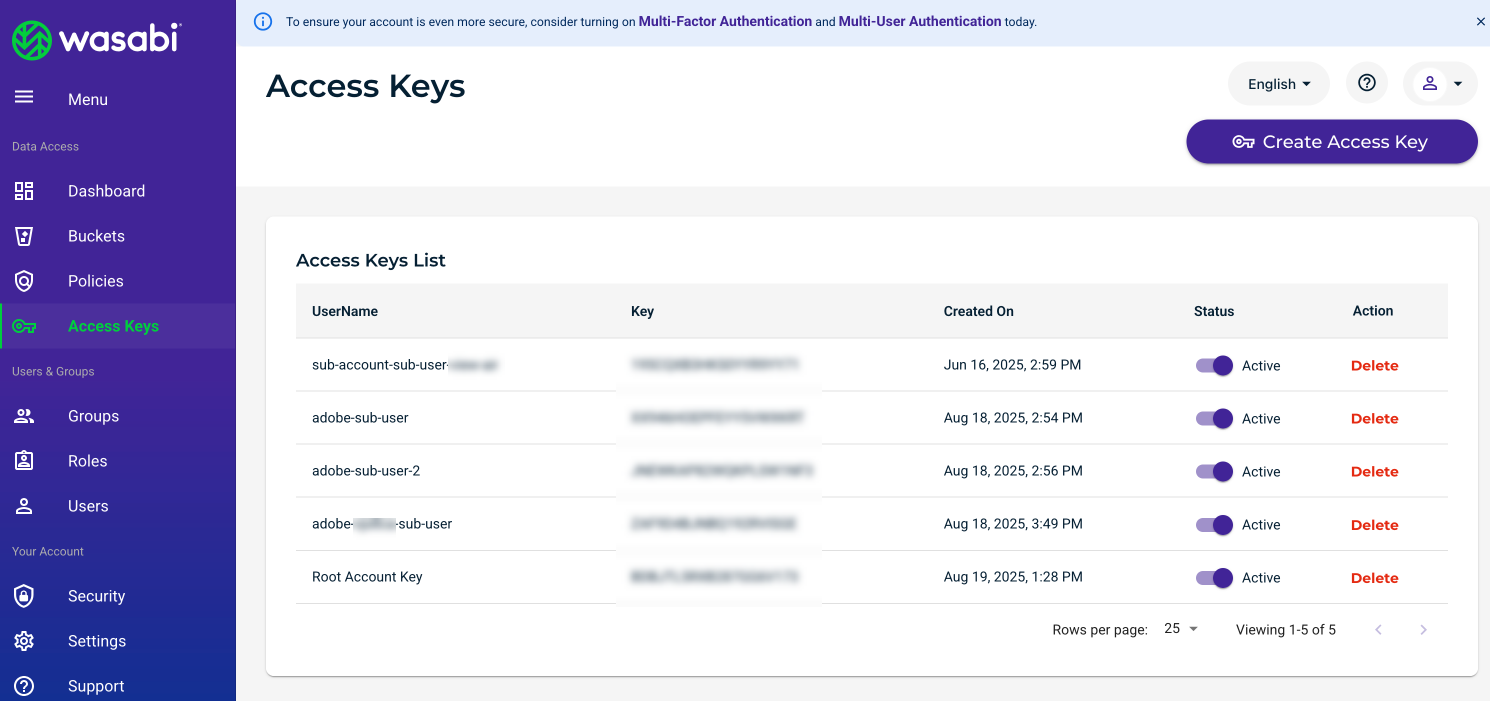
To generate access keys in the Wasabi Management Console:
Log in to the Wasabi Console (https://console.wasabisys.com).
Click Access Keys in the Wasabi menu on the left of the screen. The Access Keys List is displayed.
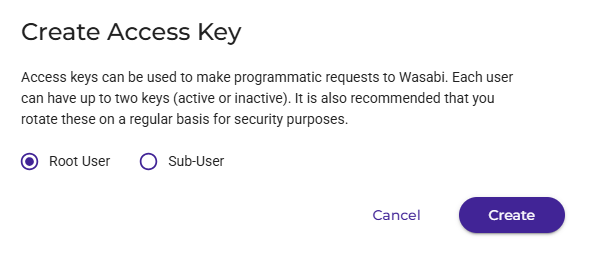
Click Create Access Key. The Create Access Key dialog is displayed. Select access keys for either a Root account user or a Sub-User. If you select Sub-User, you must have the correct policies assigned to access the Stats API endpoints.
Click Create. The access key and secret key are displayed.
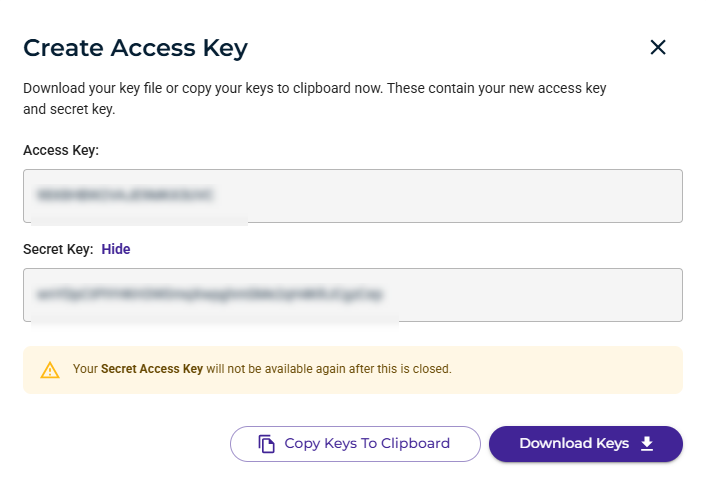
Download or copy the keys to the clipboard. For your protection, you should never share your secret keys with anyone. Additionally, industry best practices recommend frequent key rotation.
Assigning Policies for Stats API Endpoints
To assign policies required to access Stats API endpoints:
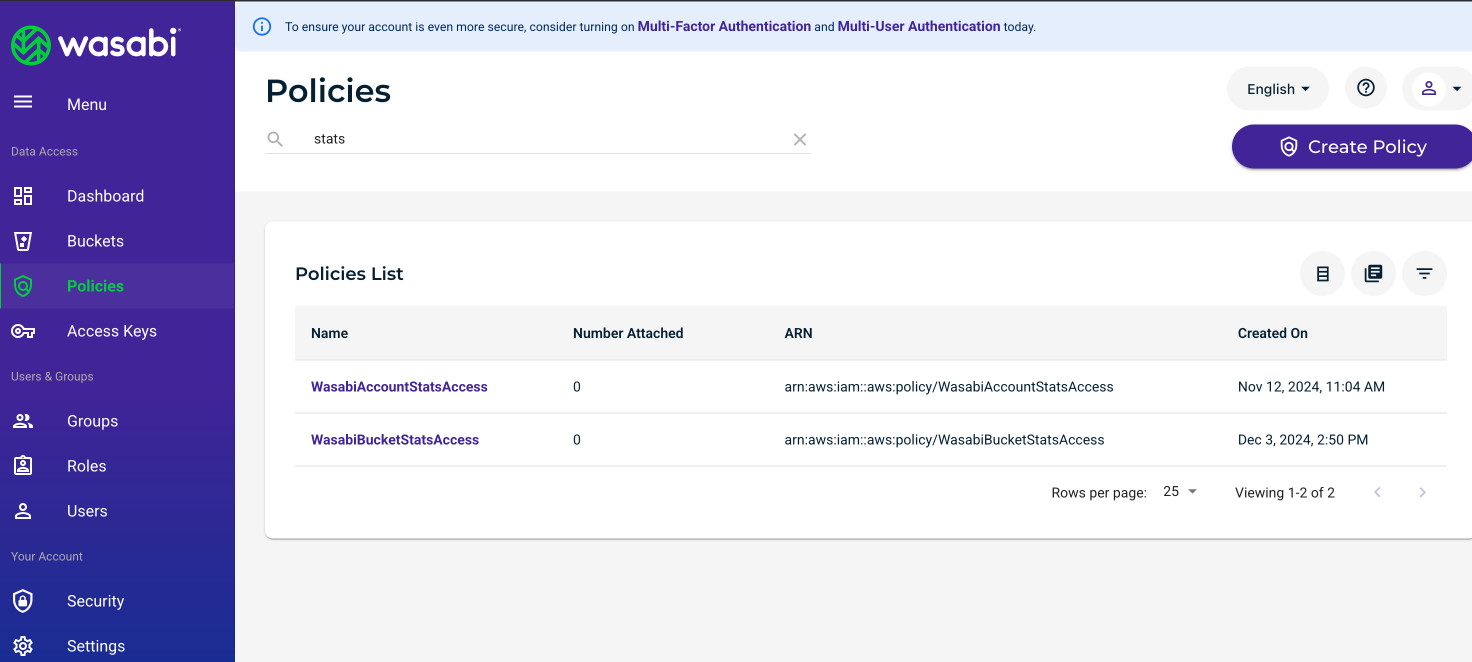
Click Policies in the Wasabi menu on the left of the screen. The Policies List is displayed. Wasabi provides the following policies for Stats API access:
WasabiAccountStatsAccess (account-level stats)
WasabiBucketStatsAccess (bucket-level stats)
Select a policy name from the Policies List to display policy details. To review and edit the details of a policy, refer to Reviewing Details and Editing an Existing Policy.
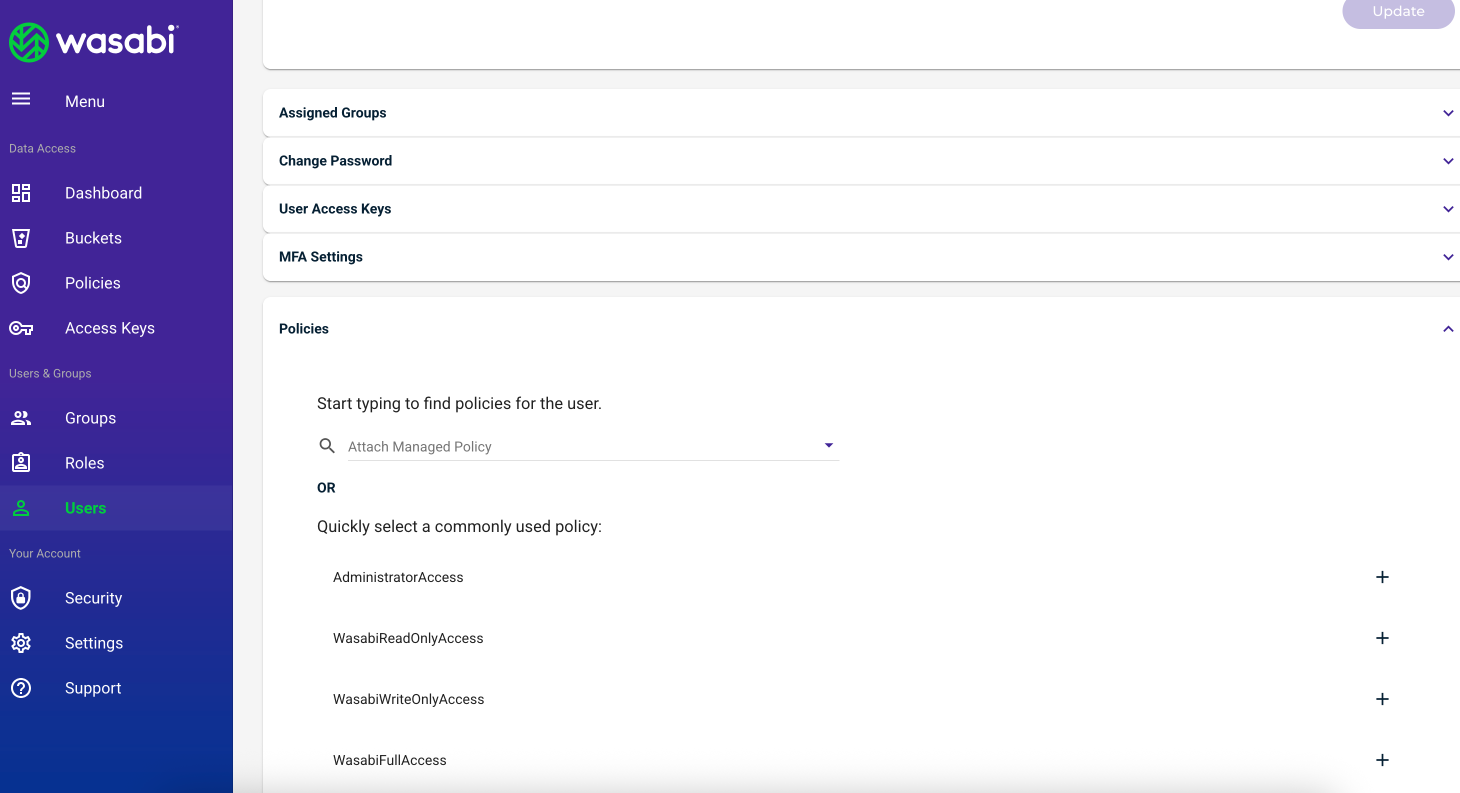
Assigning Policies to a Sub-User
A sub-user must have the correct policies assigned to access the Stats API endpoints. You can assign policies to a sub-user during creation or through the Users link in the Wasabi menu. To assign policies from the Users link:
Click Users in the Wasabi menu on the left side of the screen. The user’s options are displayed.
Scroll down to Policies and select one or more policies from the list. A policy is saved once it is selected.