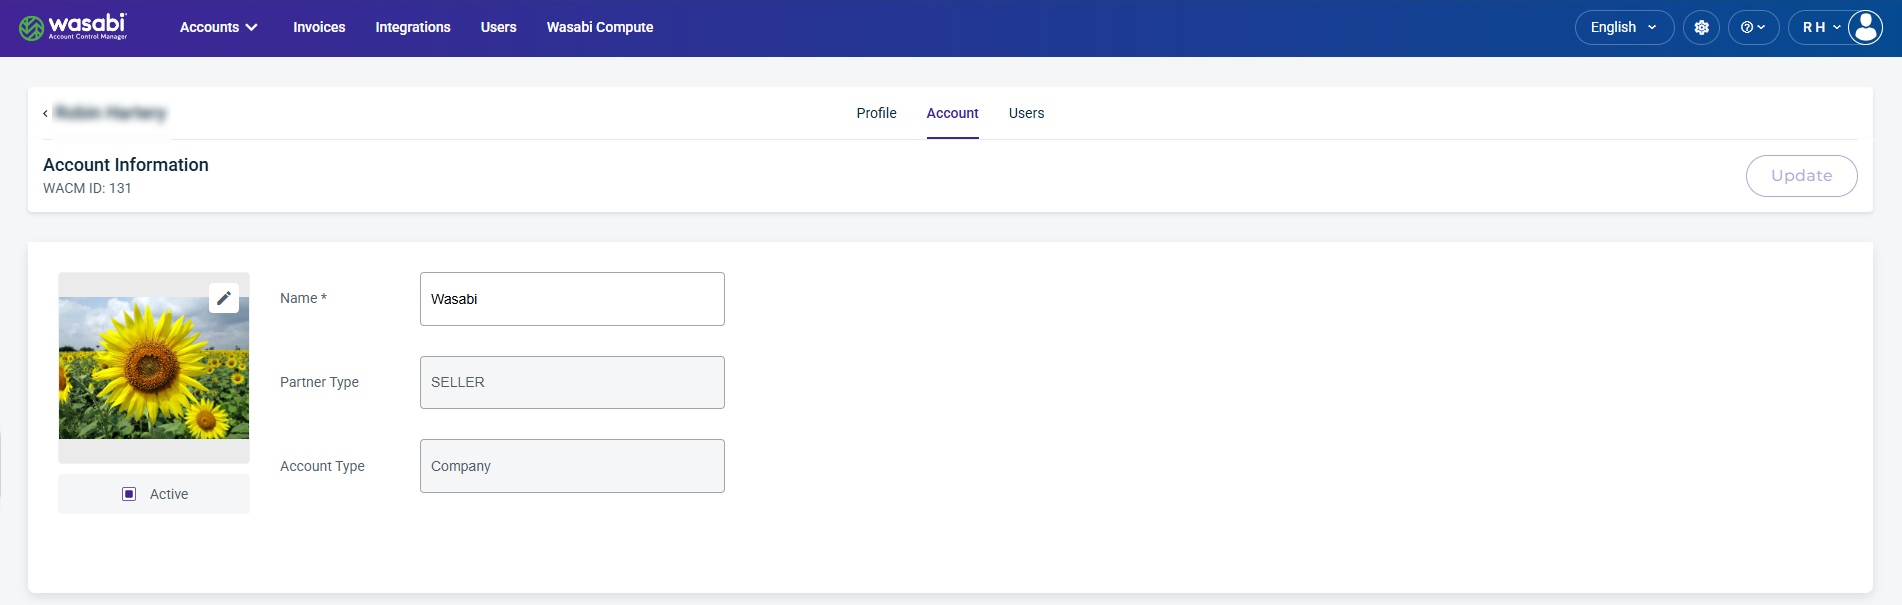
The Account page provides a centralized view of your account settings and configuration. From here, you can view account details, generate WACM Connect API keys, and enable SSO and configure SCIM tokens.
The Account page displays the following information for each user:
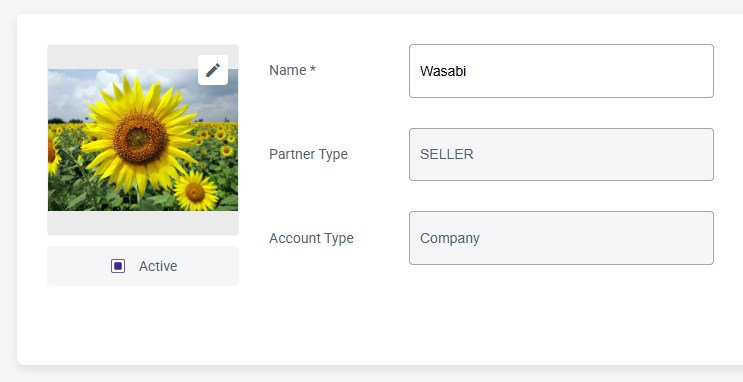
Account Details—The account status, account name, partner type, and account type.
WACM Connect API Key—Allows you to generate an API key for accessing the WACM Connect API.
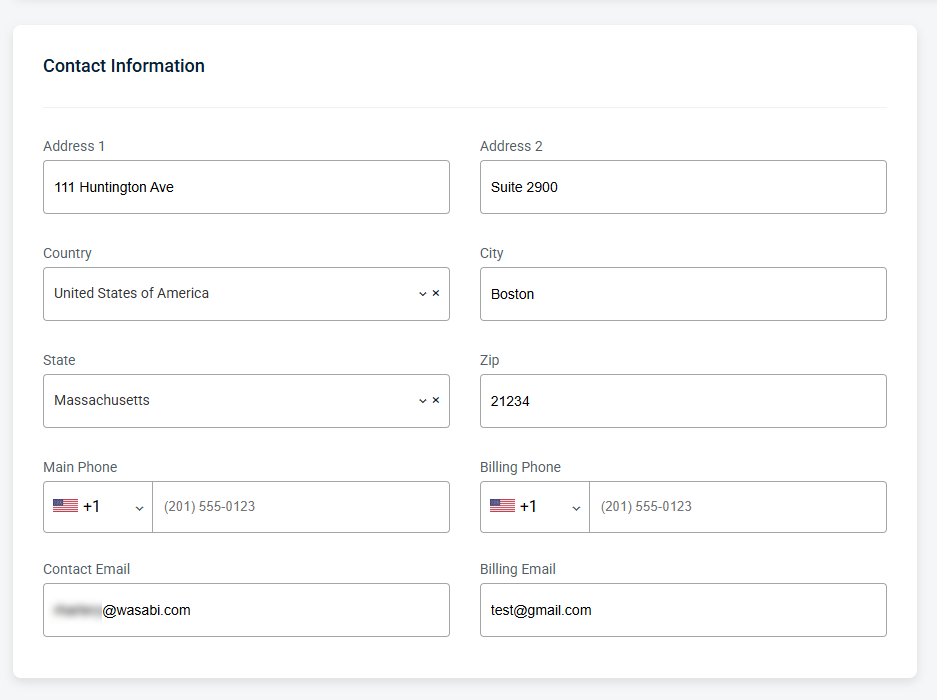
Contact Information—The address and contact information for the account.
Business Information—The tax information for the company.
SSO (Single Sign On)—Allows you to enable authentication for this account.
SCIM Token—Allows you to generate a unique bearer token for an Identity Provider (IdP).
Be sure to click Update (in the upper-right corner) to apply any changes made on this page.
Account Details
Account details include account status, name, partner, and account type. In this section, you can only update the name.
WACM Connect API Key
The WACM Connect API key lets you access WACM data for automation and can be rotated or deleted as needed to maintain security.

Contact Information
Provides editable fields for the user’s contact details, including the email address and other associated contact information.
Business Information
Provides editable fields with your organization’s registered business details, including business number, tax ID, fiscal number, VAT number, and company website. This information is used for billing, compliance, and official account records.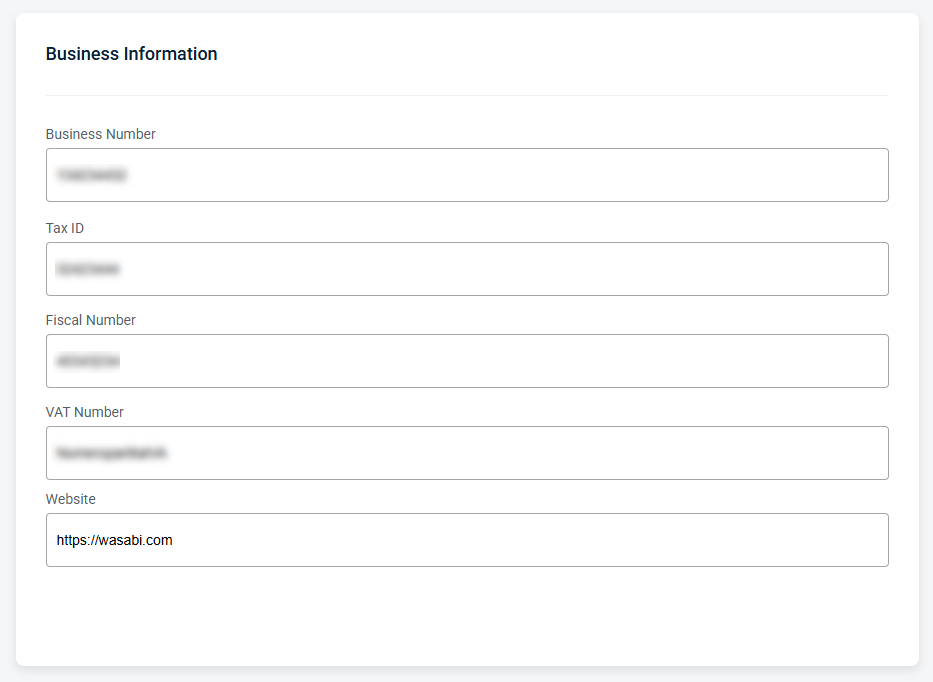
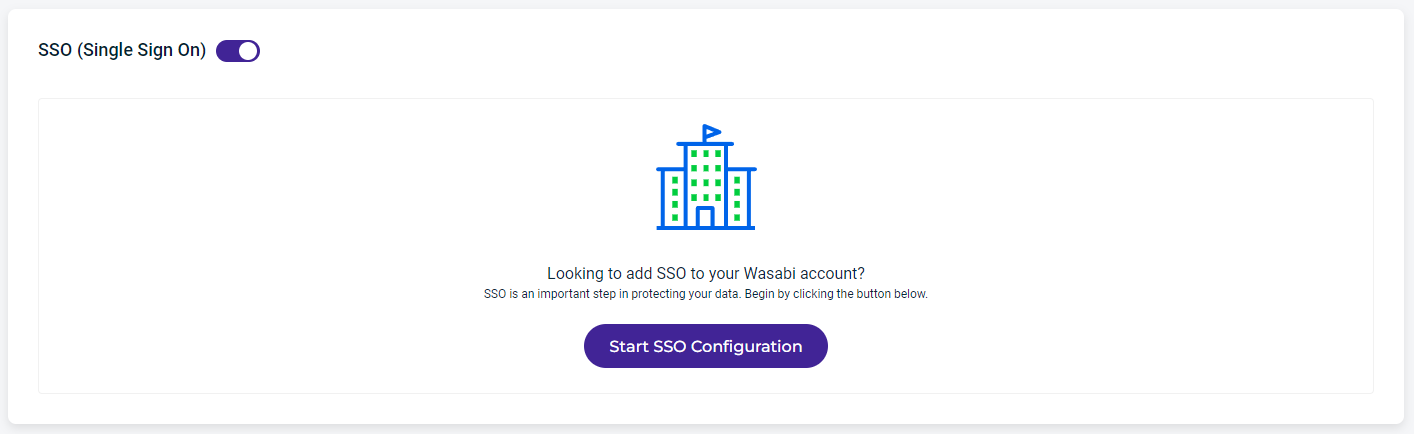
Single Sign On (SSO)
Click Start SSO Configuration.
Enter your organization name, which is a unique identifier that you and your users will use when signing in to Wasabi using SSO.
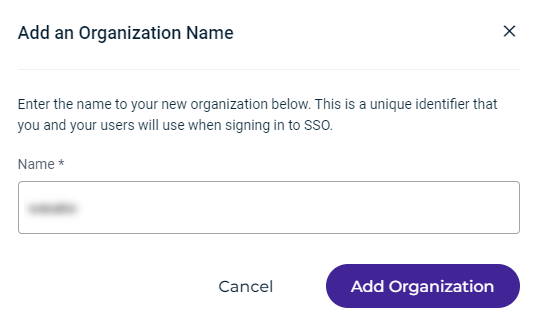
Click Add Organization. The organization name is displayed along with a drop-down menu to select the SSO connection:
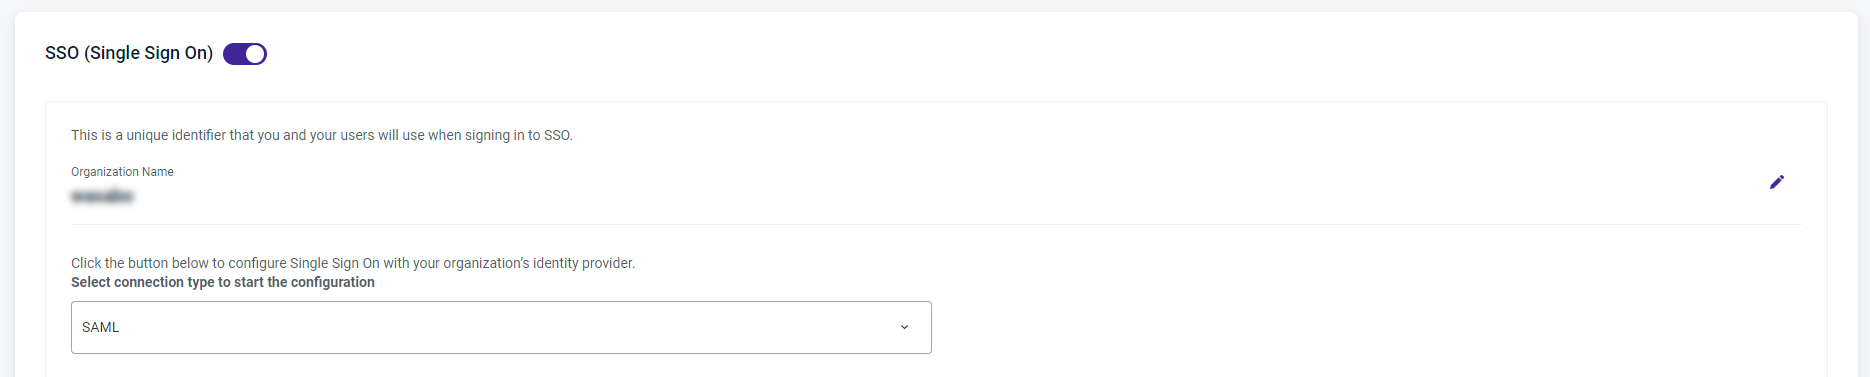
Click the SSO Connection drop-down to select the connection type. You can select one of these protocols:
SAML
OPEN ID
SAML Connection
If you select SAML, a screen similar to the one shown below is displayed. Work through the instructions on the screen.
Enter the Sign In URL (Callback URL) and Sign Out URL (optional). Then click Browse File and select the X509 Signing Certificate.pem file.
Complete the IDP configuration.
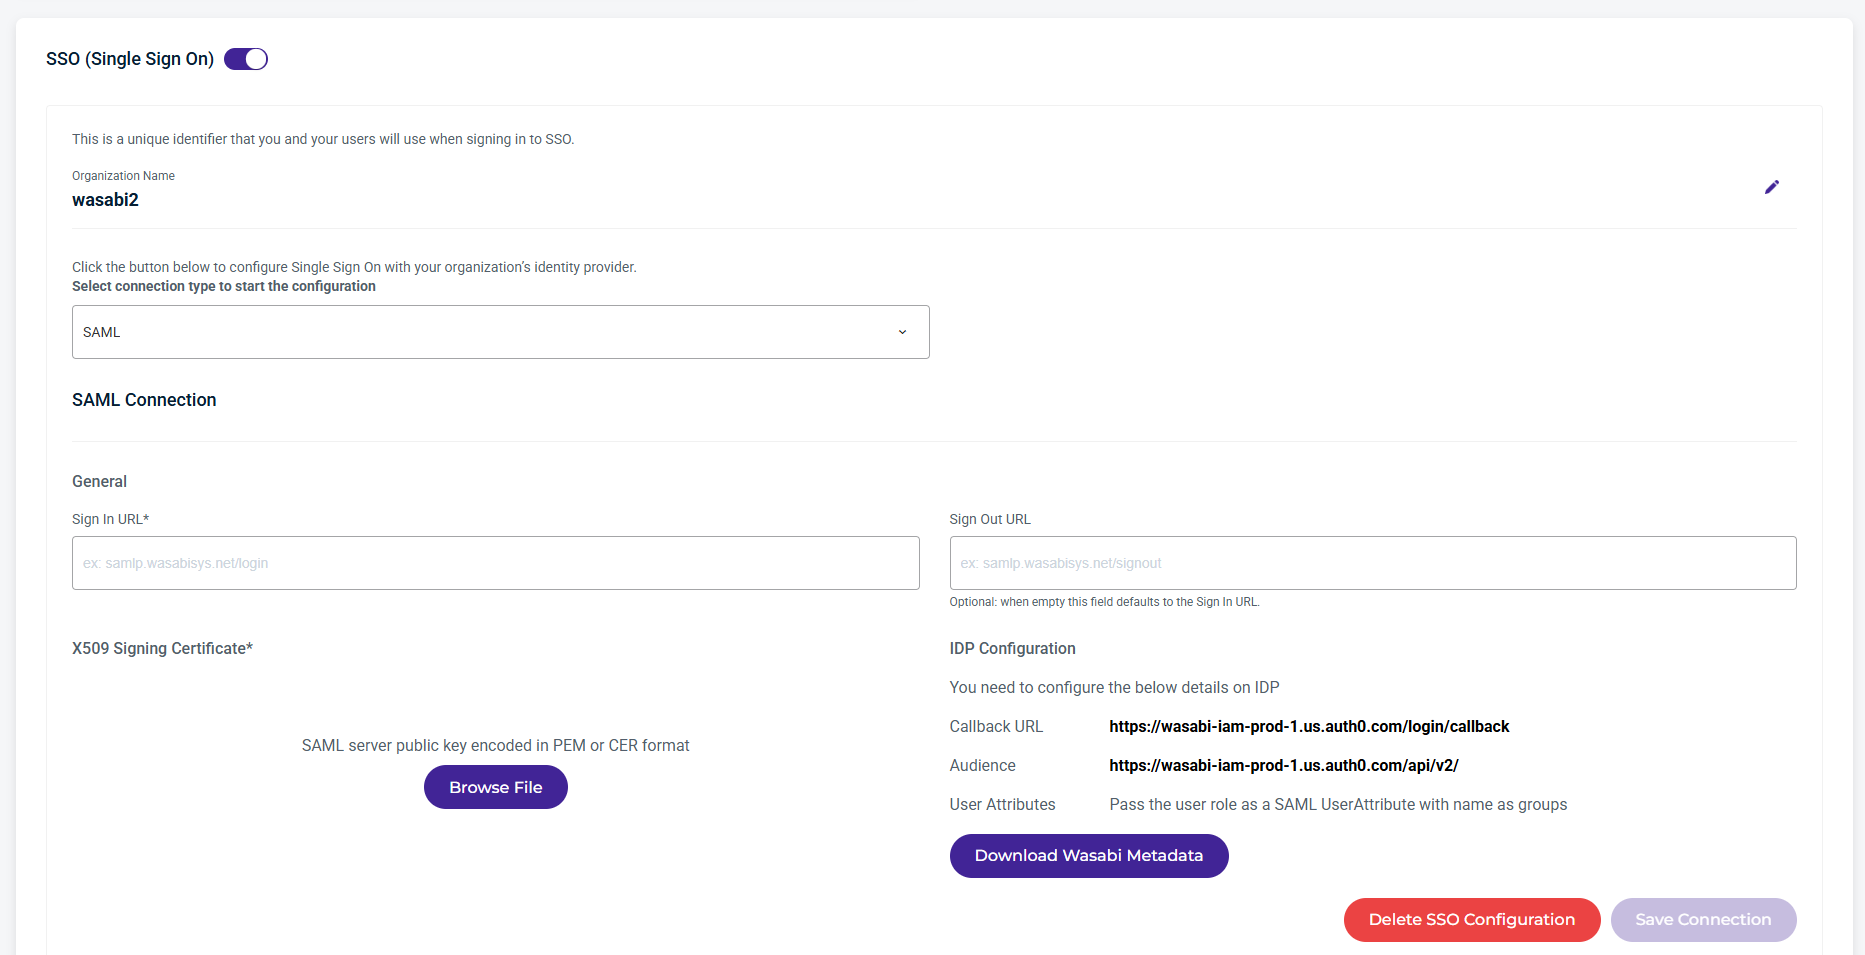
Click Save Connection.
Open ID Connection
If you select OPEN ID, a screen similar to the one shown below is displayed. Work through the instructions on the screen.
Enter the Discovery Endpoint and Client ID information.
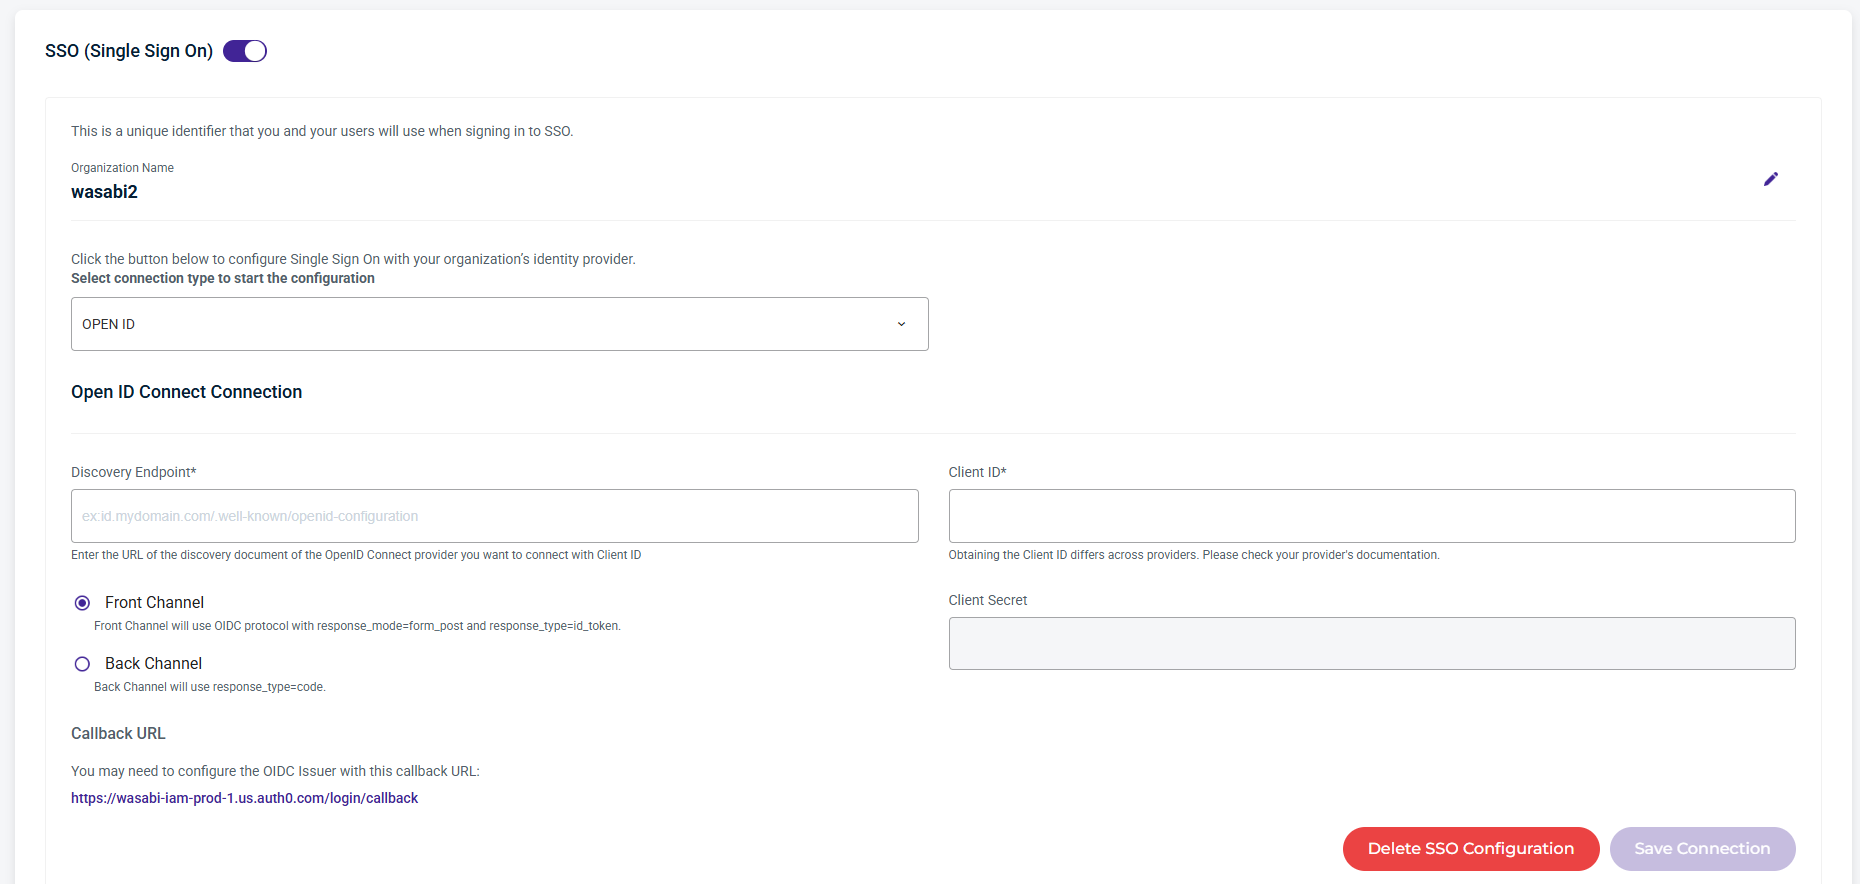
Click Save Connection.
Sign In With SSO
When SSO is configured, a user can sign in with SSO on the Welcome screen:
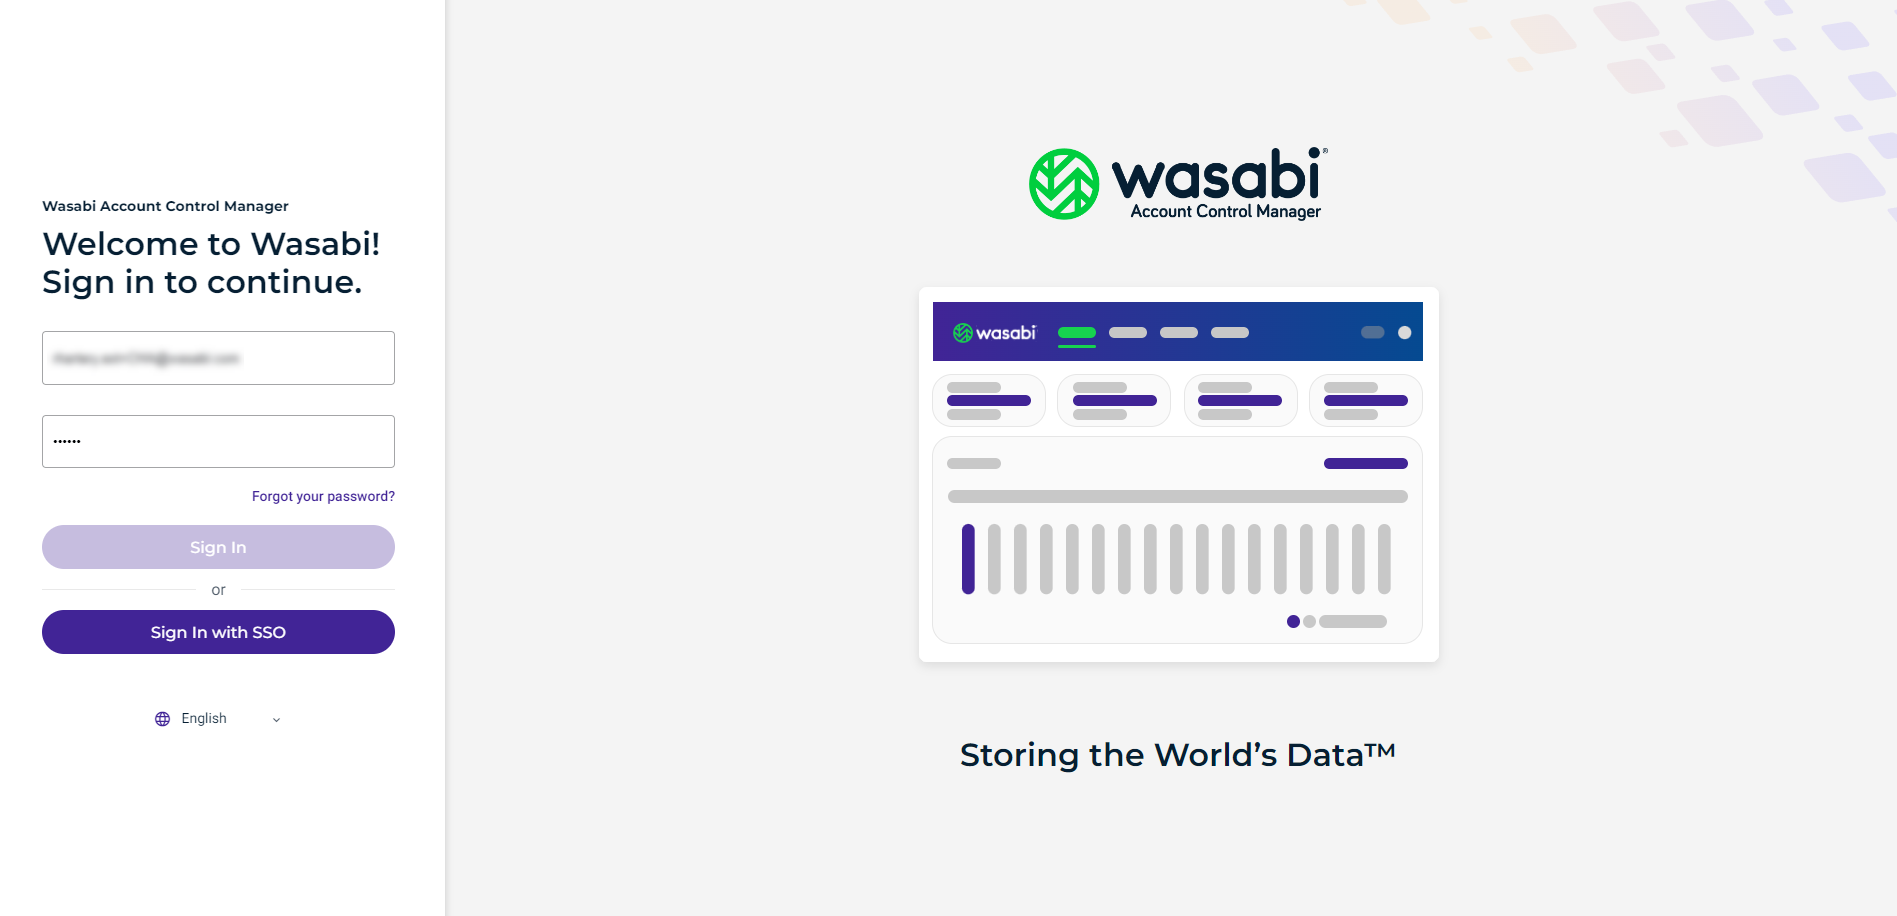
SCIM Token
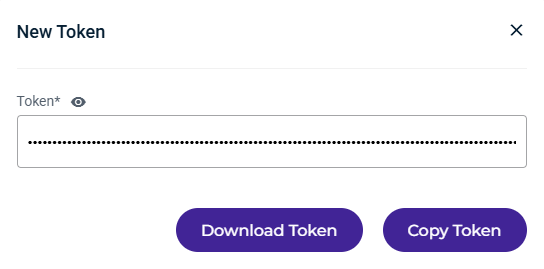
When configuring SCIM, you will need a token to enable SCIM provisioning.
Click Generate Token.

Click Download Token or Copy Token to the clipboard.