The following instructions apply to newly created sub-accounts. To add members to sub-accounts that were previously created in WACM, refer to Onboarding an Existing Sub-Account to Custom Cloud Console.
To create a member for a newly created sub-account, follow these steps:
Click the Sub-Accounts tab.
Select the new sub-account from the list of sub-accounts.

The sub-account Usage page is displayed.
Click the Members tab, then click Create.

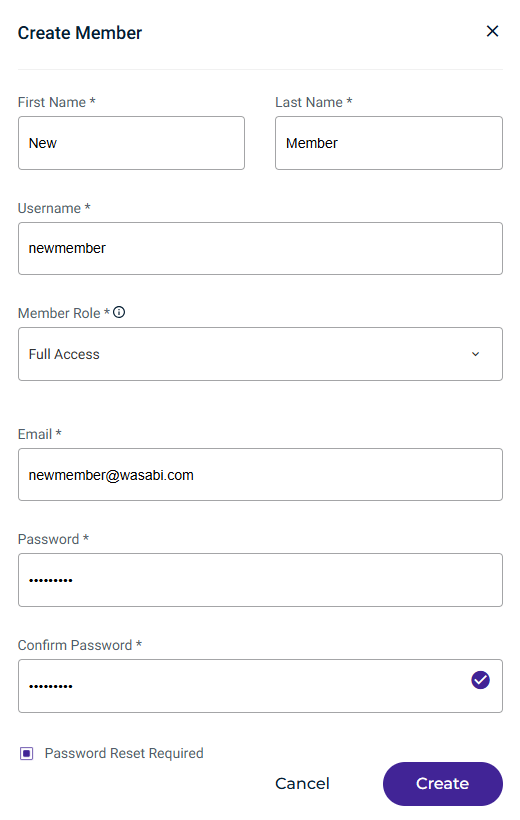
The Create Member form is displayed.

Complete the information for the member being created.
For the Member Role drop-down, select from the following roles:Root—can perform all actions in the Custom Cloud Console including managing Root access keys as well as account members.
Administrator—can perform all actions in the Custom Cloud Console including managing account members. An Administrator cannot view Root access keys.
Full Access—can perform all S3 actions but cannot view members or Root access keys.
Full Access Limited—has the same functionality as Full Access but cannot perform S3 delete actions.
Download Only—can view all S3 action including the ability to download a file.
Read Only—can view all S3 actions but cannot download a file.
If you select Password Reset Required, the member must change their password upon logging in for the first time.
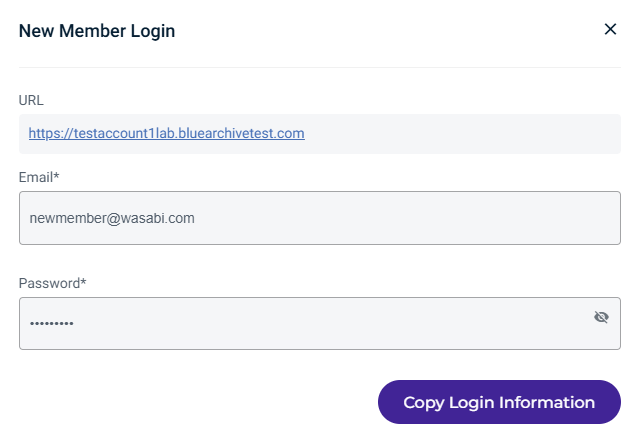
Once you click Create, a panel will display the login information to share with the new member. You can click Copy Login Information to the clipboard and then send it to the new member.
