If you worked through the three steps in Getting Started, you created a new access key after defining a user account in Step 3: Assigning an Access Key. The following instructions create an access key directly from the Wasabi menu.
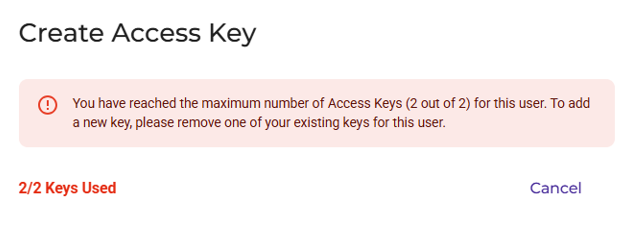
An account can have only two access keys per user (two per root account and two per sub-user). If you attempt to add more than two access keys, the following message is displayed. If two keys are defined and you want to create another, you must delete one of the existing keys for that user. Refer to Deleting an Access Key.
Click Access Keys in the Wasabi menu on the left of the screen.
Click Create Access Key.
Indicate the type of user for which you want to create the key: Root User or Sub-User.
Click Create.

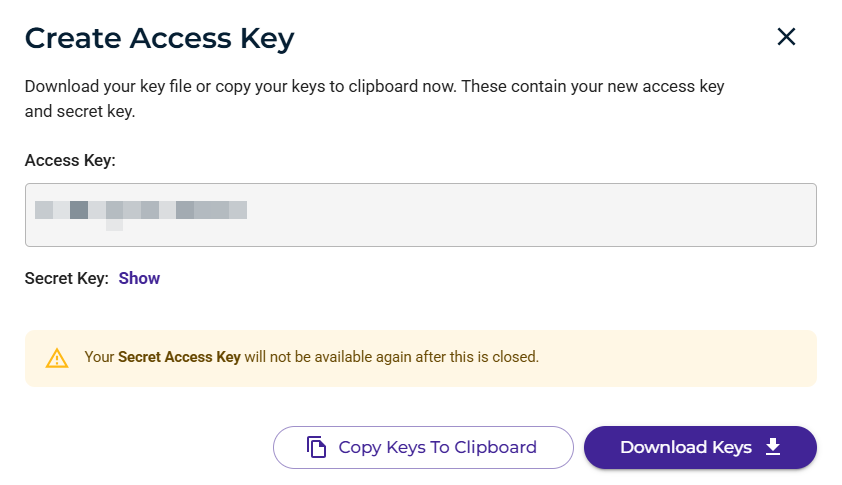
A unique access key for the user is displayed. For example (the access key is blurred for security):

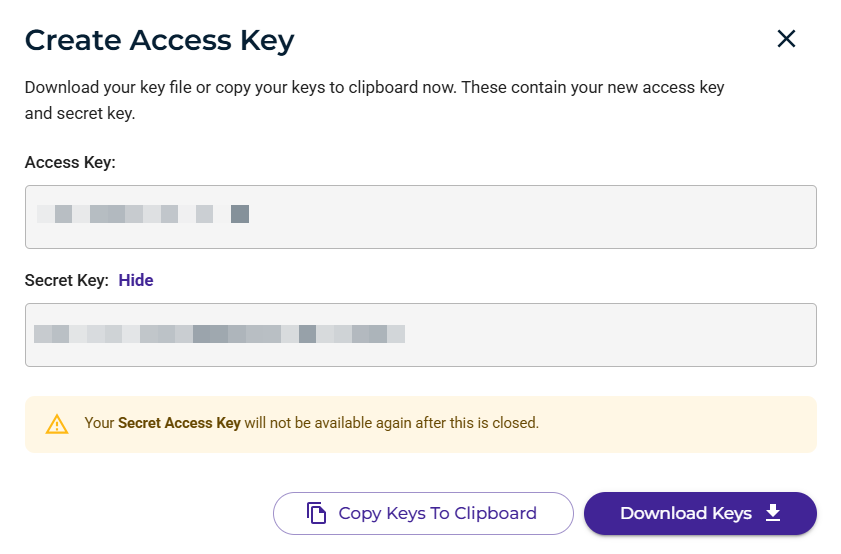
To reveal the Secret Key, click the Show link. For example (both keys are blurred for security):

Be sure to download or copy these keys and store them in a safe place. Notice that two buttons are provided to conveniently download the keys in a CSV file or copy them to the clipboard (and then paste them into a file to save).
If you do not download or copy and save these keys now, you will not be able to retrieve them later. When using the access keys for API access to the Wasabi service, the service endpoint address is s3.wasabisys.com.
After saving the keys, click X. The access key is displayed. For example:

