Objectives
1—Sign up for Wasabi and sign in.
2—Work with buckets and objects.
3—Create a user account and access key.
It is not a good practice to use your Root account for general access to buckets. Creating a group of sub-users for this activity is recommended. Also, if you have other users who need access to the buckets but you do not want to share the Root access/secret key pair, you can create sub-users with a separate access/secret key pair for each sub-user. The keys will grant the sub-users access to Wasabi Console.
A user (or sub-user) is an individual for whom you create Wasabi authentication, giving that person permission to perform actions in Wasabi.
A group is a set of users that you can manage collectively.
Each user and group can be associated with one or more policies to define the actions that a user or group member can perform and the conditions under which those actions can take place.
Because you assign a user to a group when you create a user account, you will begin the instructions below by defining a group. Then, you will work through an instruction for creating a user, during which you will assign the user to the group and attach a policy. Finally, you will assign an access key to a user. An access key is for use with third-party applications.
Creating a Group
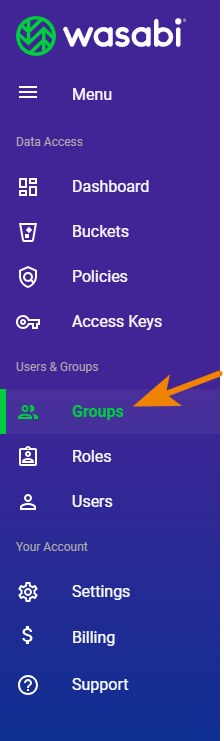
Click Groups in the Wasabi menu on the left of the screen.
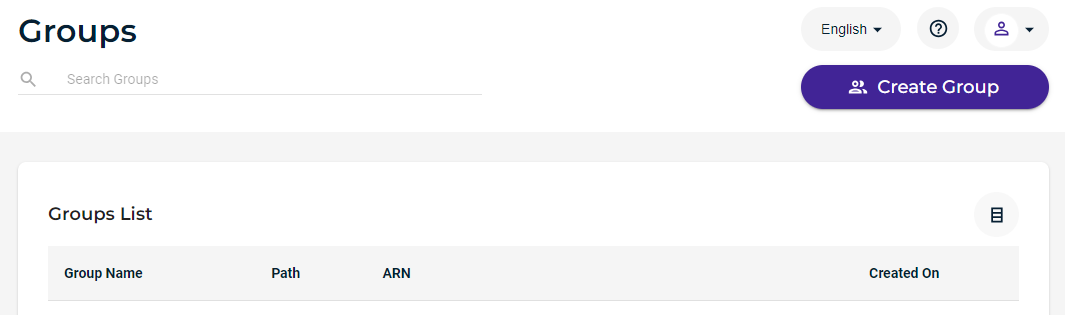
Click Create Group.
Enter a name for the new group (such as “test-engineers” in the example below).
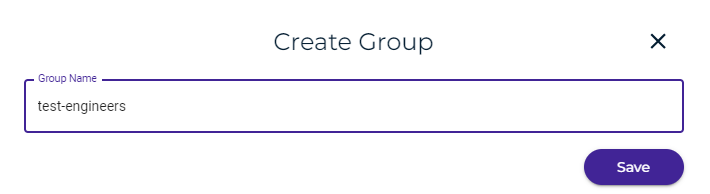
Click Save. The new group is displayed in the Groups List. For example:
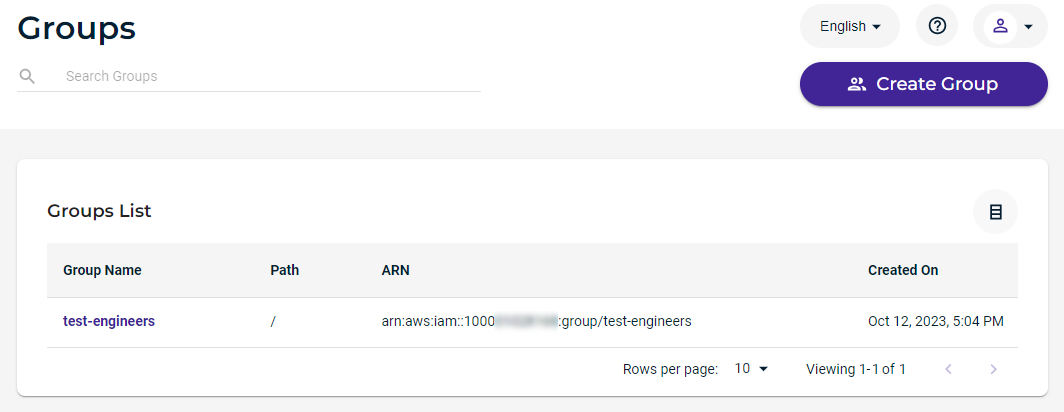
The group is displayed with this information:
Group name
Path for the group
An Amazon Resource Name (ARN) for the group
Date and time when the group was created
You can click on a group name and then add users or permissions (policies) to the group. But, for this exercise, you will continue by creating a user (below). Groups are described in detail in the Wasabi Cloud Storage Product Guide.
Creating a User
When you first created a Wasabi account, you created a “Root User.” But, the Root User should be reserved for specific account and service management tasks. It is not good practice for the Root User to perform routine tasks. Instead, it is best to create a new user for each person, even for those who require administrative access.
To create a user:
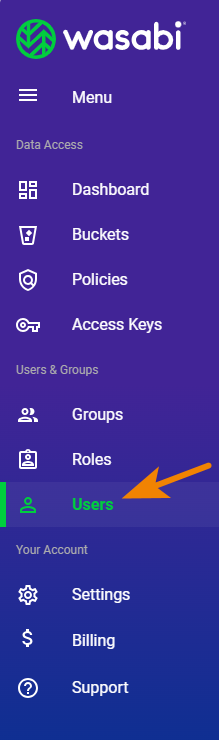
Click Users in the Wasabi menu on the left of the screen.
Click Create User.

Enter a name for the user. It can contain only alphanumeric characters and the following special characters: plus sign (+), equal sign (=), period (.), ampersand (@), dash (-), underscore (_). In the example below, Arthur is entered as the user name.
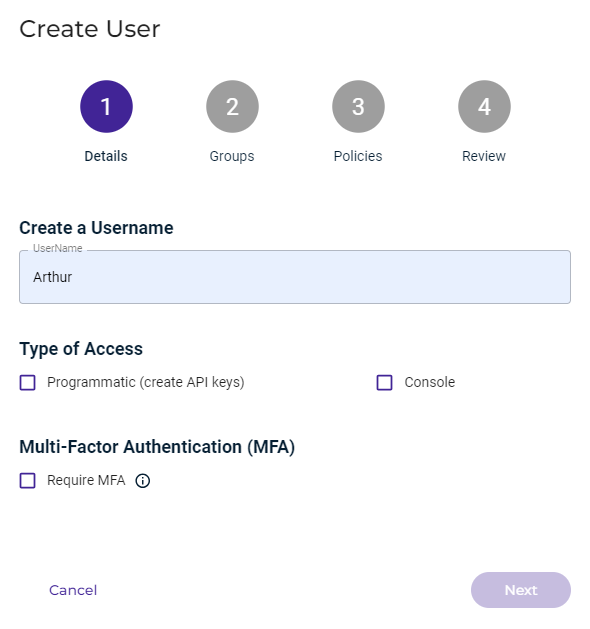
Specify user access as:
Programmatic (the user can create an API key)
AND/OR
Wasabi Management Console accessBy enabling programmatic access, the user gets an access key and a secret key at the end of the instructions to create a user. The access key and secret key are used to access the two resources (IAM and Storage, based on the policies assigned to the user) via means other than the Wasabi Console (such as AWS CLI, CloudBerry, Cyberduck, or any other S3 application).
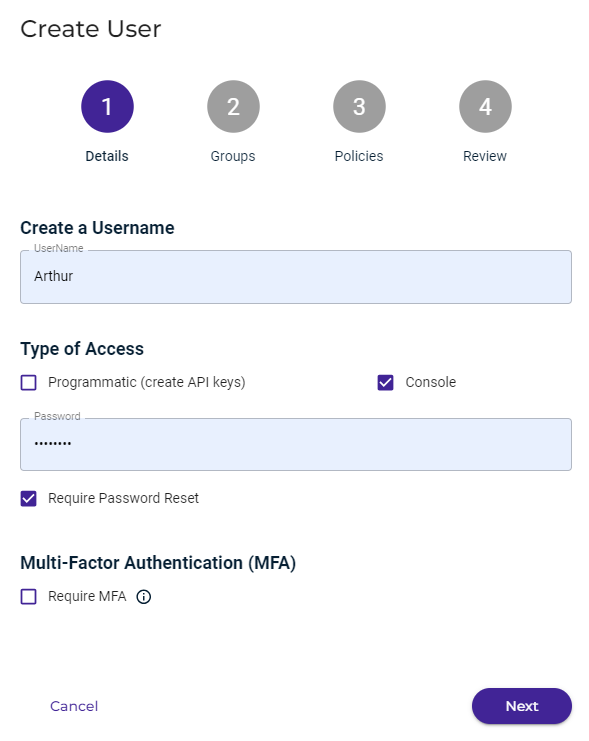
When you select the Console option, you must enter a password (at least 8 characters) with which the user must sign in to Wasabi. (For an experienced user, note that this password should follow the password policy settings.)
Optionally, you can select Require Password Reset, which indicates the user must reset this credential, and the user will be prompted for a new password the first time the user signs in to Wasabi.
You can require that the user enable multi-factor authentication (MFA) when they enter the Console or authenticate a CLI session for the first time. This encourages users to adopt safer online practices.
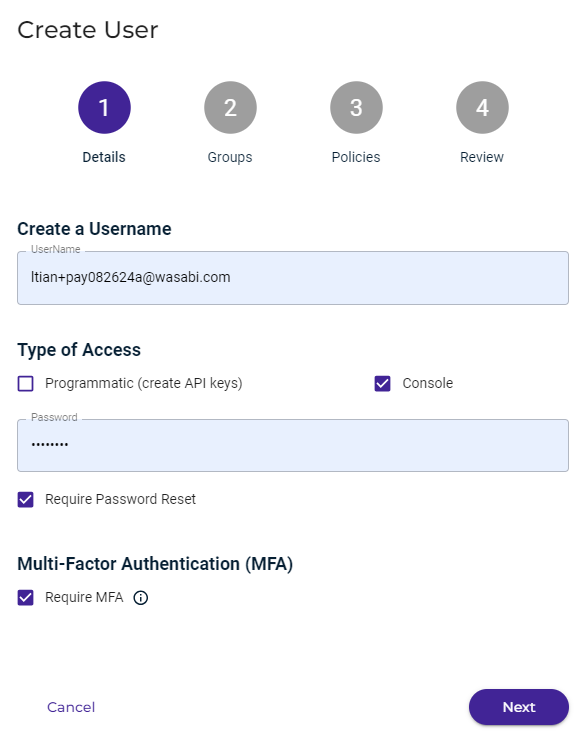
Click Next.
It is best practice to assign the user to a group. You can do so in two ways:
Creating a new group by clicking Create Group (as described in Creating a Group above)
OR
Assigning the user to a group, as described in this step.Click in the Add User To Group area. A list of groups is displayed. For example:
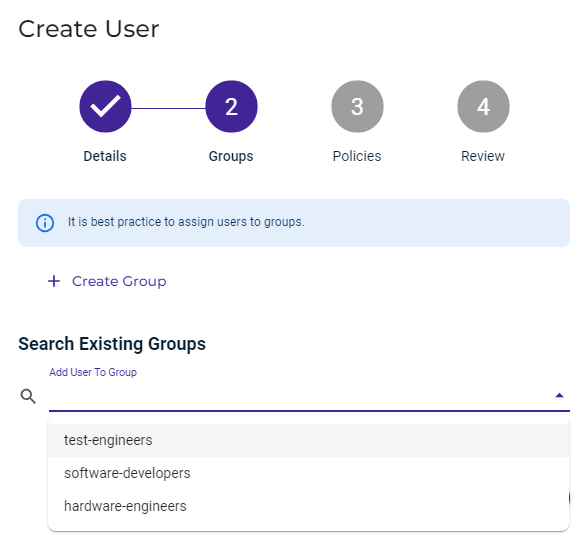
Select test-engineers for this exercise. If the list is long, you can start typing to find the group in which to add the user.
Notice that the selected group is displayed in gray. You can add multiple groups, and each will be displayed in this area.
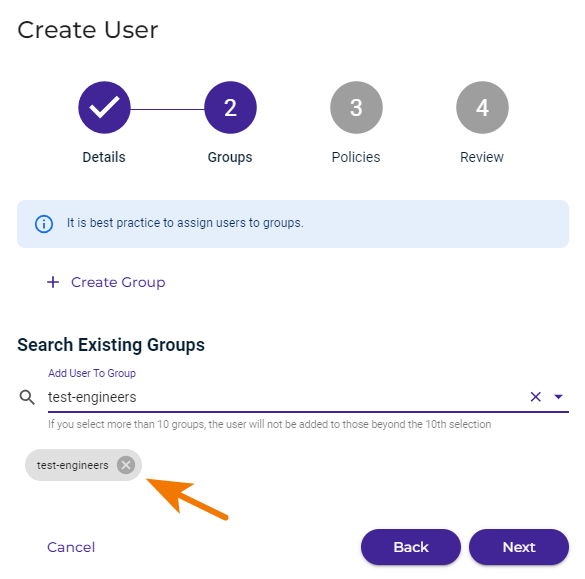
You can remove a group by clicking
 .
.Click Next.
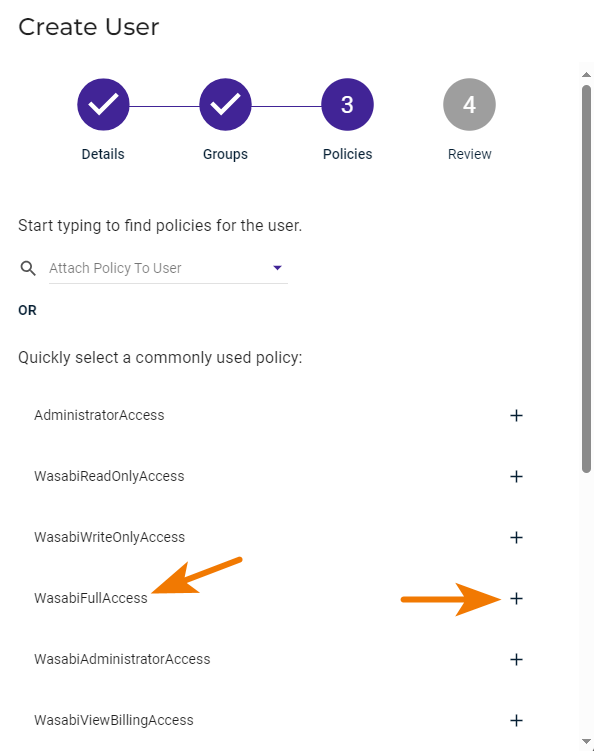
Now you are ready to associate a policy with the user. You can do so in two ways:
Select one of the predefined policies listed. Simply click on + to the right of the policy name. (Refer to Policies for a description of each policy.)
OR
(Experienced Users) Click in the Attach Policy To User area and attach an existing policy defined for your account. You can enter text to find a specific policy.For this example, click + to select the WasabiFullAccess policy.
You can add additional policies (up to 10 per user) but, for this exercise, scroll down to see that WasabiFullAccess appears in gray as a policy that will be attached.
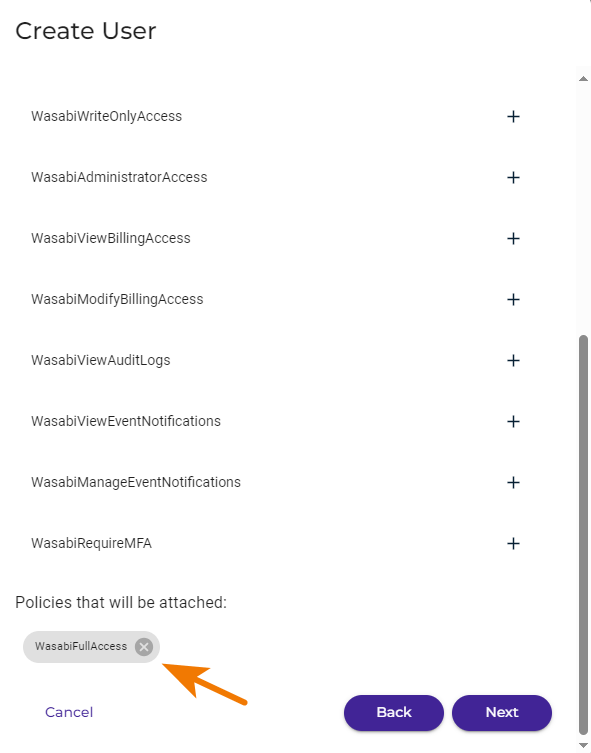
You can remove a policy by clicking
.Click Next.
Review the settings for the new user. For example:

Click Create User to continue. A checklist indicates that Arthur has been successfully added as a new user.
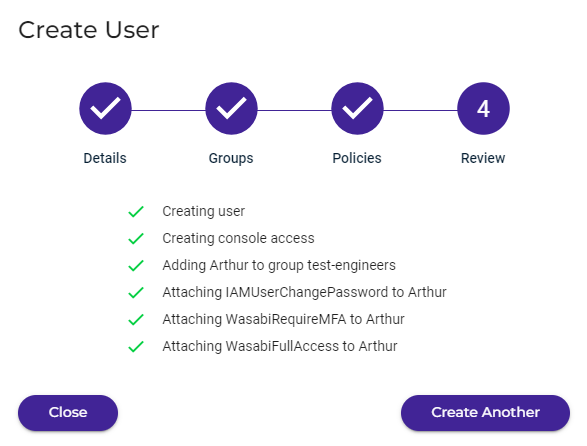
You could add another user at this time. But, for this exercise, click Close.
When you return to the Users panel, the new user (Arthur) is displayed. For example: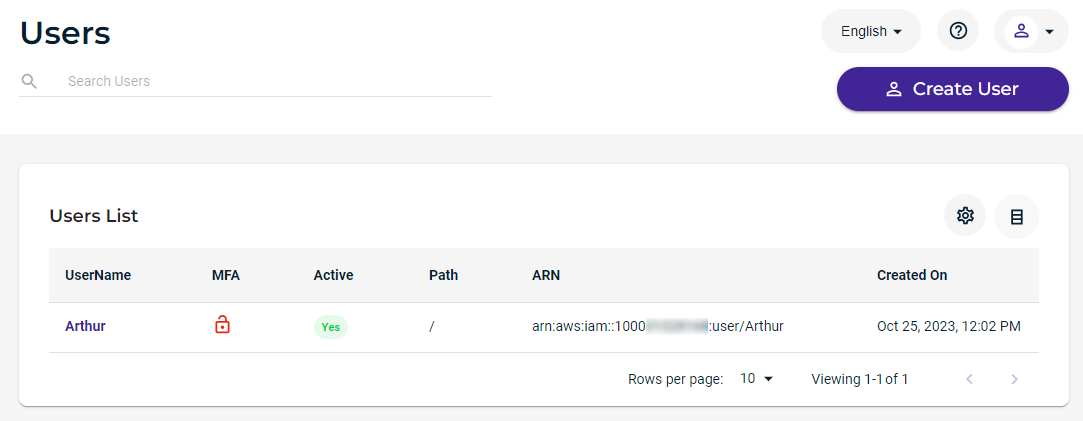
Users are described in detail in the Wasabi Cloud Storage Product Guide.
After creating a user, you might want to assign an access key to the user, as described below.
Assigning an Access Key
An access key is used to make programmatic calls to AWS API actions. When using the S3 API, you must have an API access key set to exchange storage files between your application and the Wasabi service. There are two types of access keys:
Access Key ID
Secret Access Key
Each key is a text string that you will cut/paste into your storage application. For your protection, you should never share your secret keys with anyone. In addition, industry best practice recommends frequent key rotation.
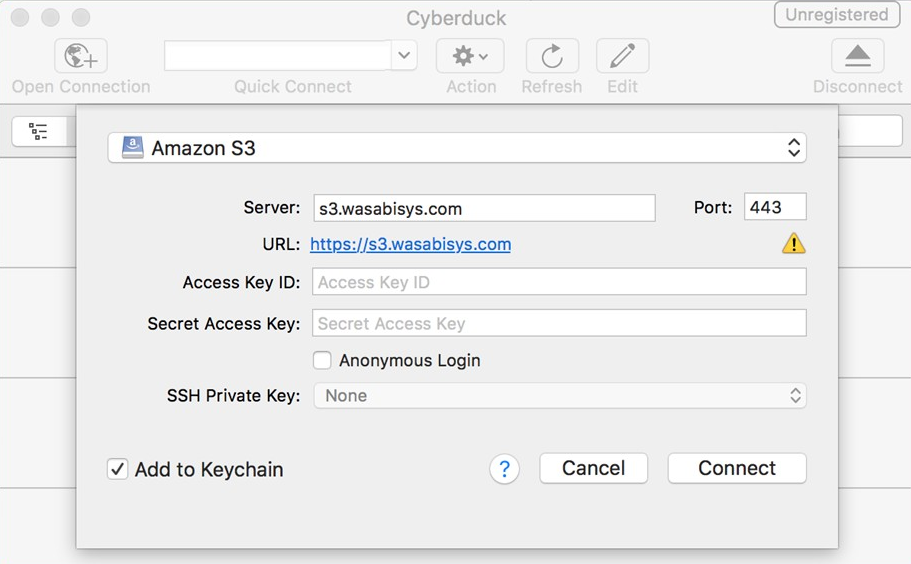
Access keys are used to make secure REST or Query protocol requests to the Wasabi service API. The Wasabi S3 endpoint is s3.wasabisys.com. (See also the Wasabi Knowledge Base for service URLs for different regions.) If using Cyberduck, for example, as shown below, you would need to enter the appropriate keys in the “Access Key ID” and “Secret Access Key” fields. This is an example of one of many applications that can connect to the Wasabi endpoint.
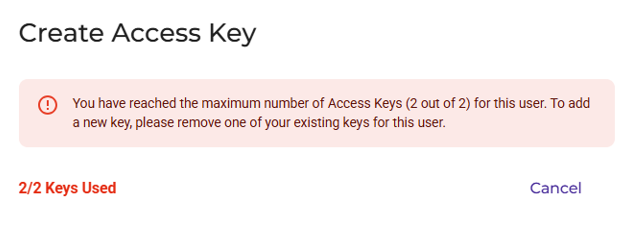
You can create an access key directly from the Wasabi menu. Note that:
An account can have only two access keys per user (two per root account and two per sub-user). If you attempt to add more than two access keys, the following message is displayed:
If two keys are defined and you want to create another, you must delete one of the existing keys for that user. Refer to Deleting an Access Key.
Objectives Met!
1—Sign up for Wasabi and sign in.
2—Work with buckets and objects.
3—Create a user account and access key.