Objectives
| 1 | Sign up for Wasabi AiR and sign in. |
| 2 | Work with assets and storage. |
| 3 | Create a user account. |
A user is an individual for whom you create Wasabi authentication and give permission to perform actions in Wasabi AiR.
A group is a collection of users, defined by an administrator, and managed collectively. For additional security, groups are commonly used to enable or disable access to certain storage locations and assets.
A role is a set of parameters assigned to a user or group to define the actions that a user or group member may perform within Wasabi AiR. By default, there are two role types:
- Superuser enables access to all system features, functions, and data.
- User enables viewing, editing, and downloading content on enabled storage locations.
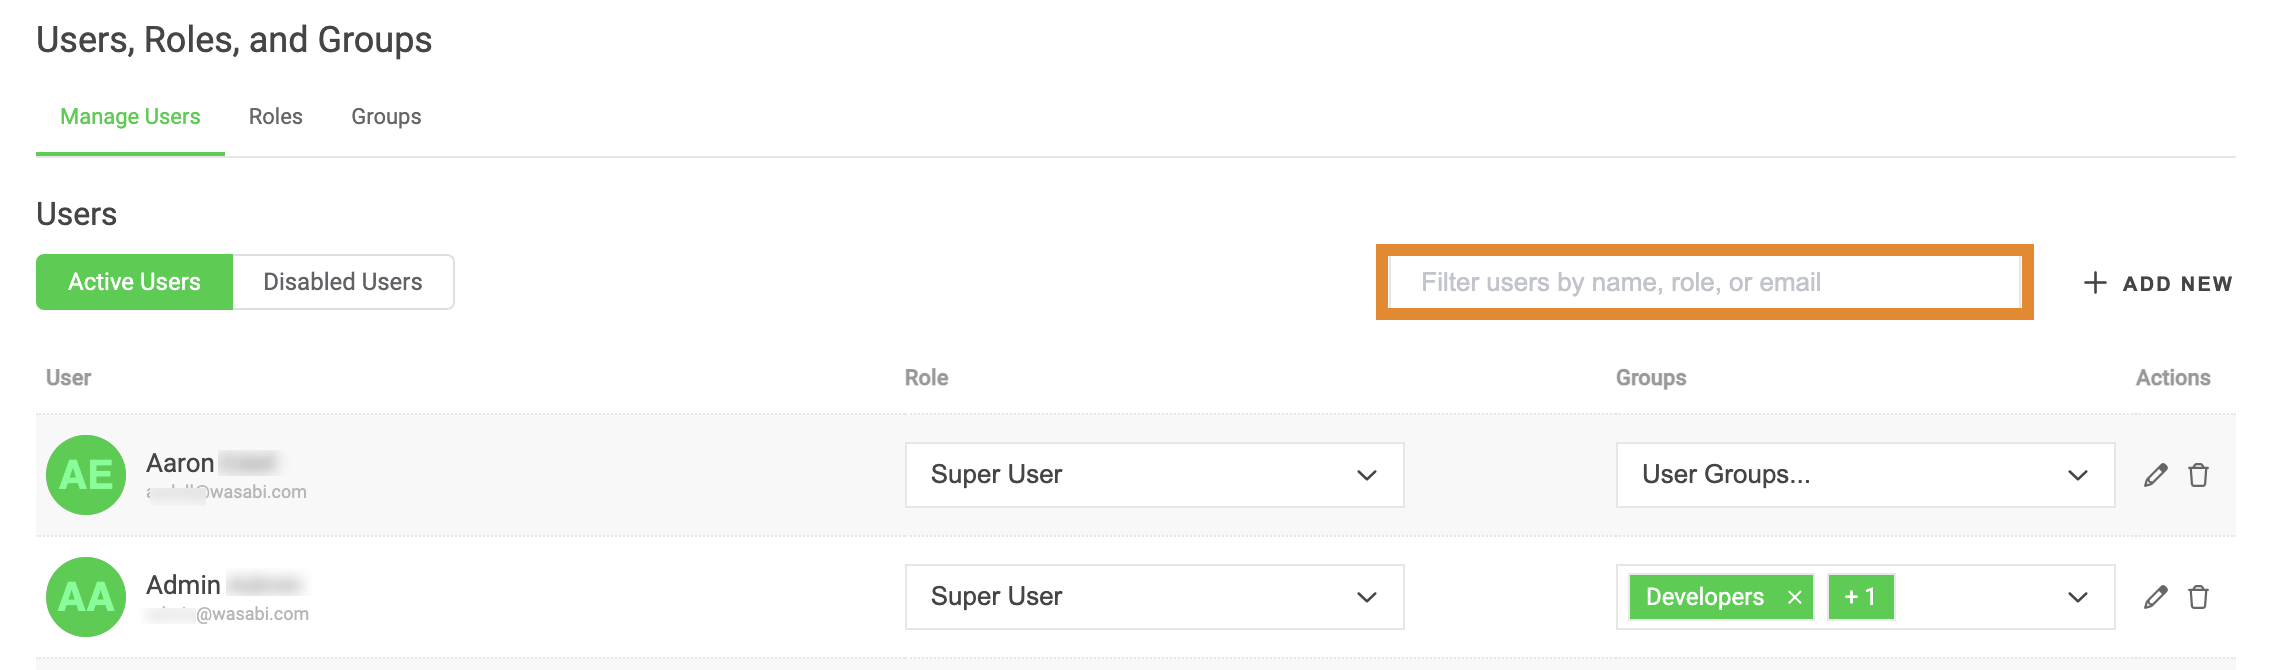
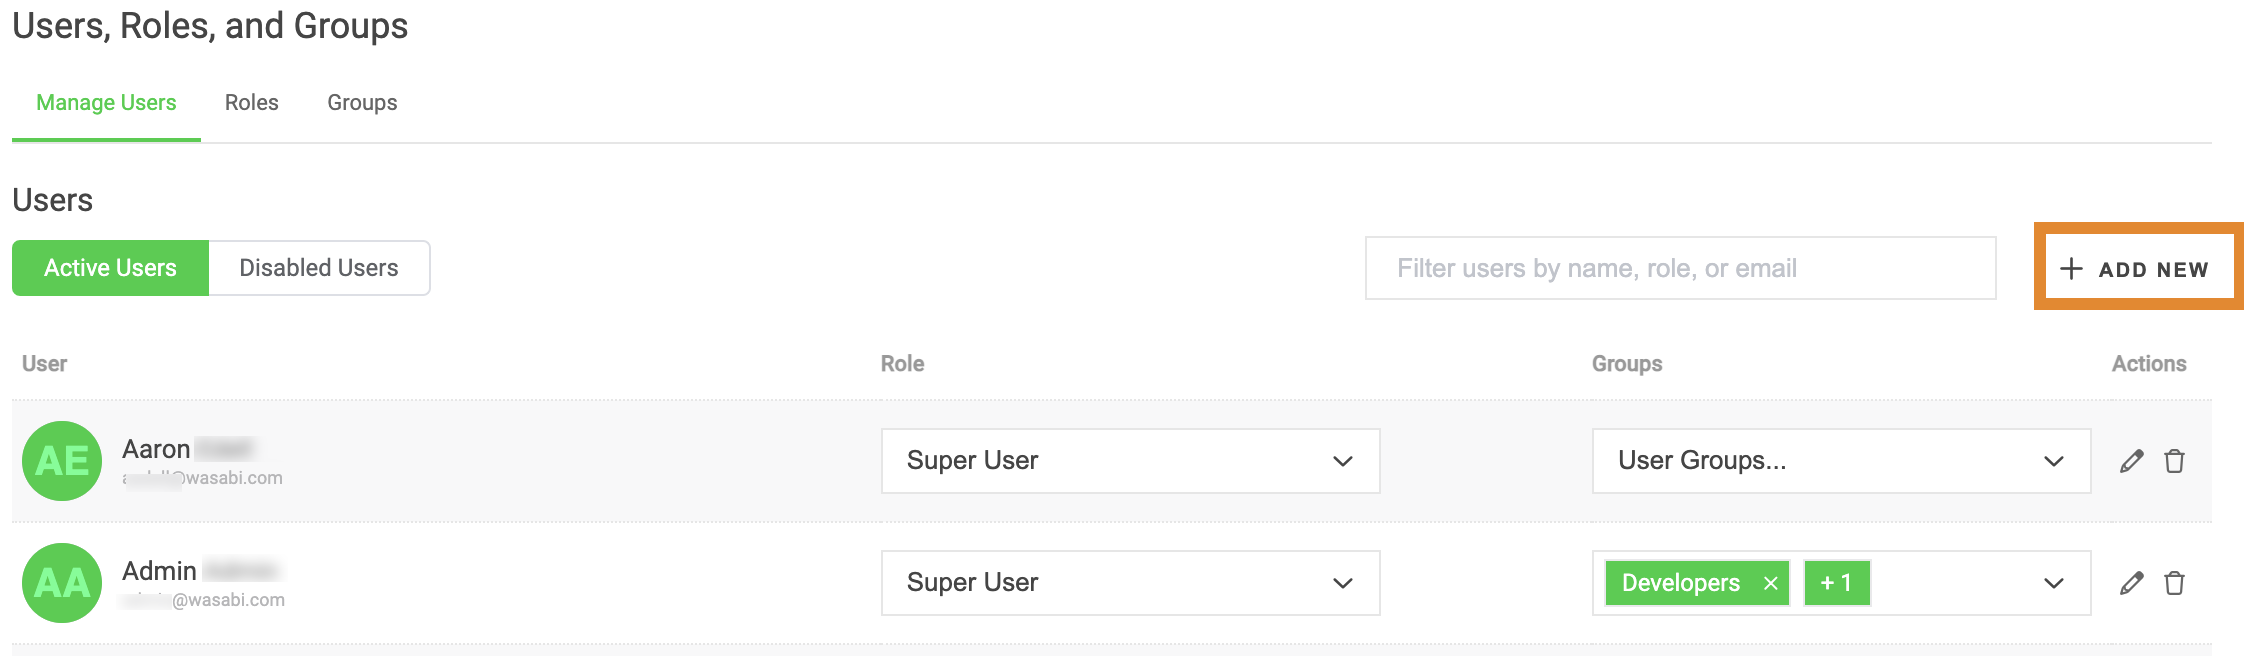
From the Users, Roles, and Groups page, administrators can add or delete users, reactivate a disabled user, edit user details, and create new groups. The Users, Roles, and Groups page has quick links and filters, located at the top of the page, that enable administrators to quickly access the Roles or Groups section of the page.
The Manage Users, Roles, and Groups tabs each have filter options that enable administrators to:
- Quickly find the user(s) to be managed. To find a user, enter their name, email address, or role and press the Return key.
- Filter roles by their name or description.
- Filter groups by their name or description.
Because you assign a group and role to a user when you create the user account, the instructions below begin with creating a group. Once a group is created, proceed to defining a role. Finally, create a user.
Requirements
To add, edit, and manage users, roles, and groups, you must have one of the following user types.
- Administrative (Superuser)
- User with administrative permissions (this notation is for future reference; creating a user is described below)
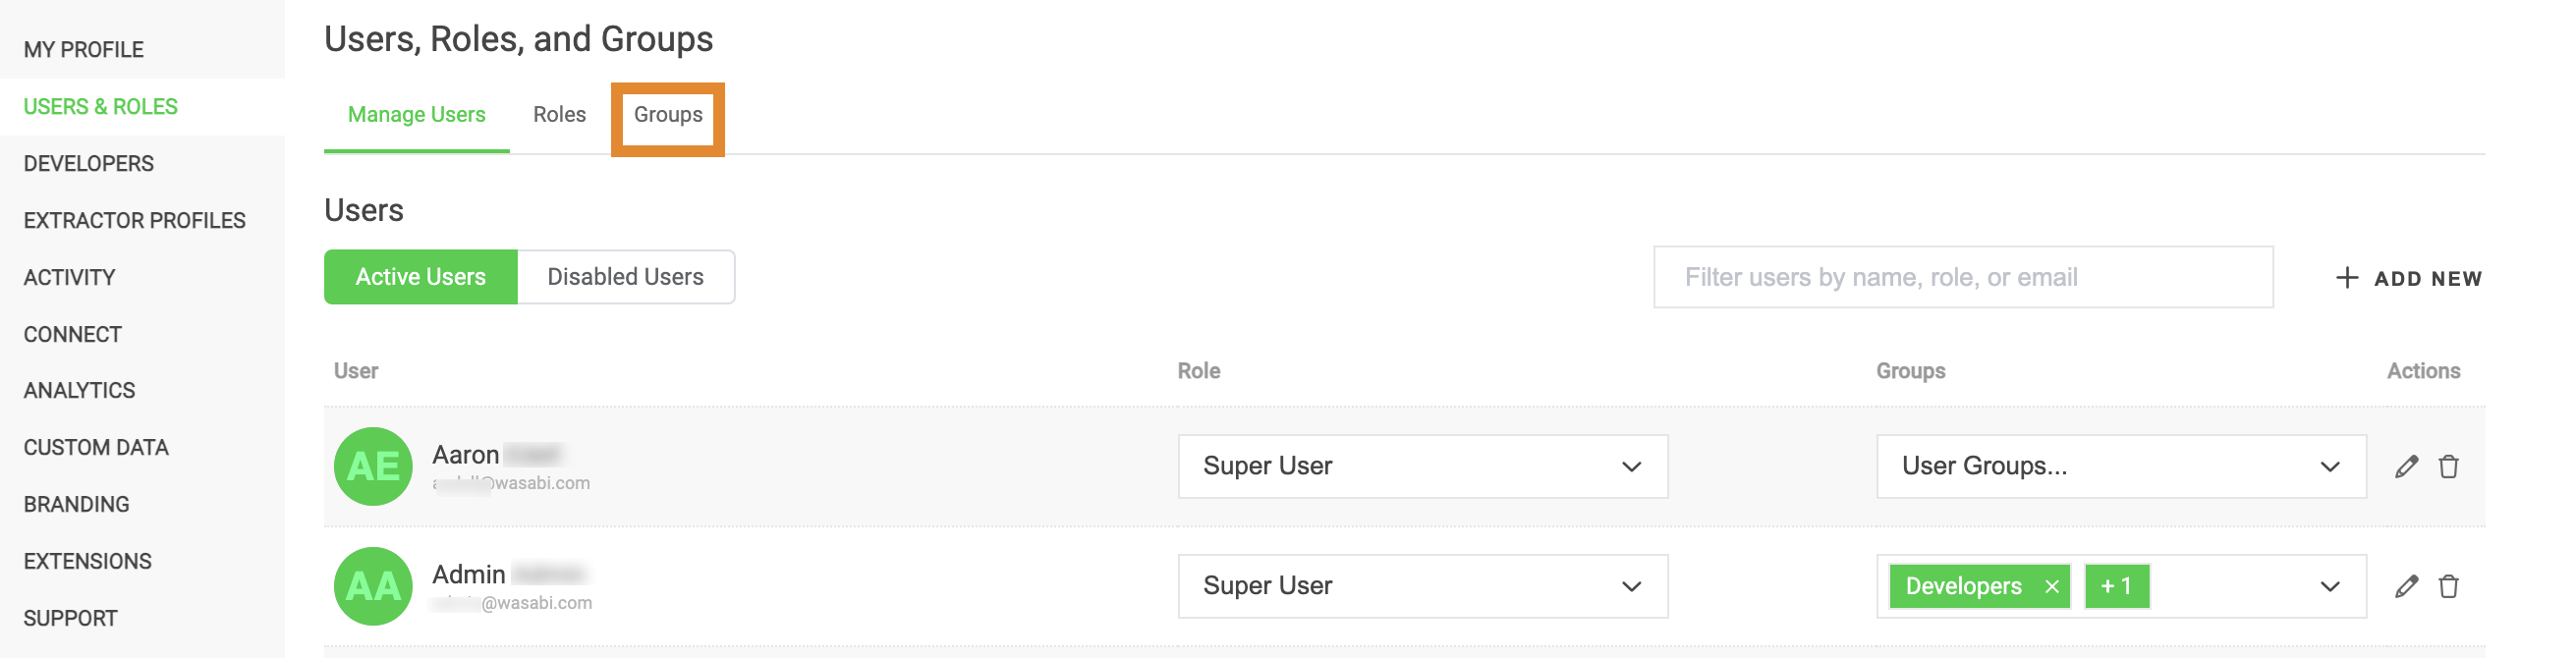
Creating a Group
- Click the
 Administration tool.
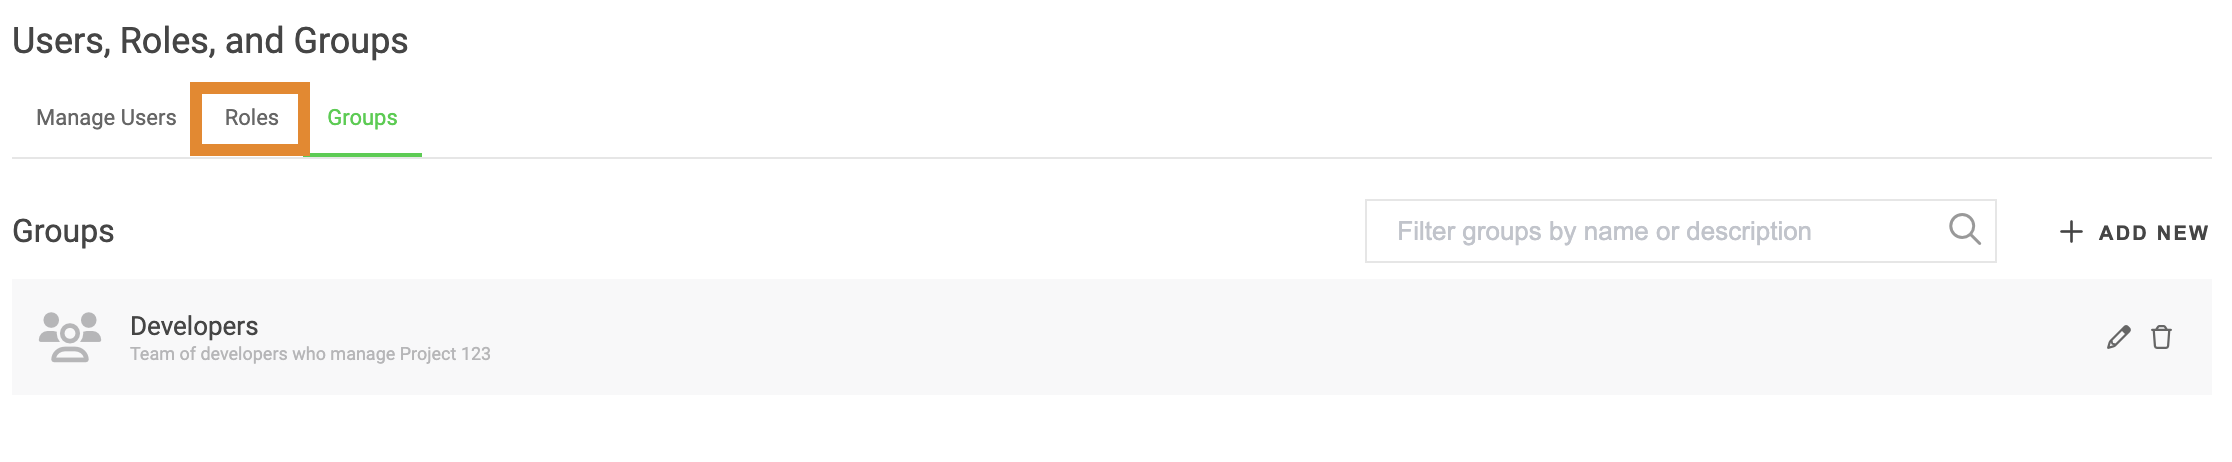
 - On the Users, Roles, and Groups page, select the Groups tab.
- Click + ADD NEW.

- Provide a name.
- Optionally, provide a description.
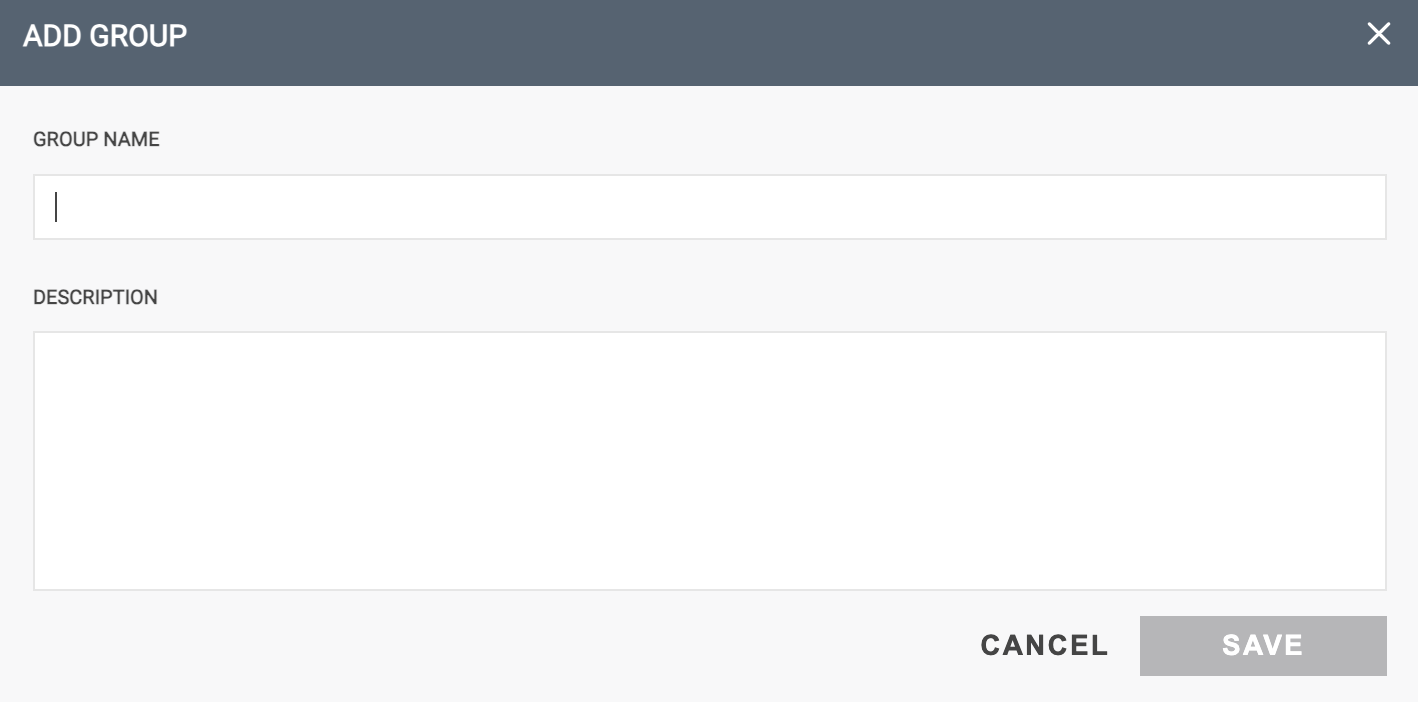
- When complete, click SAVE.
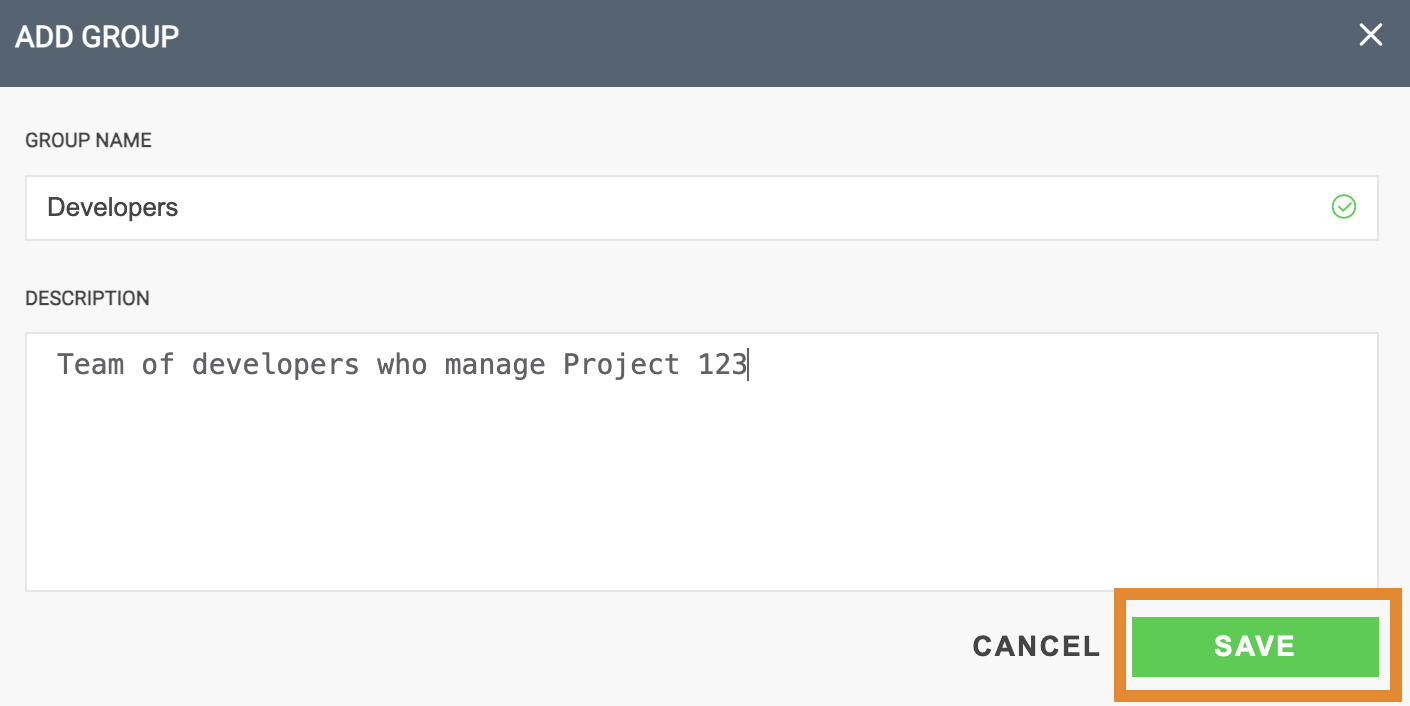 A message will confirm that the Group was successfully created.
Creating a Role
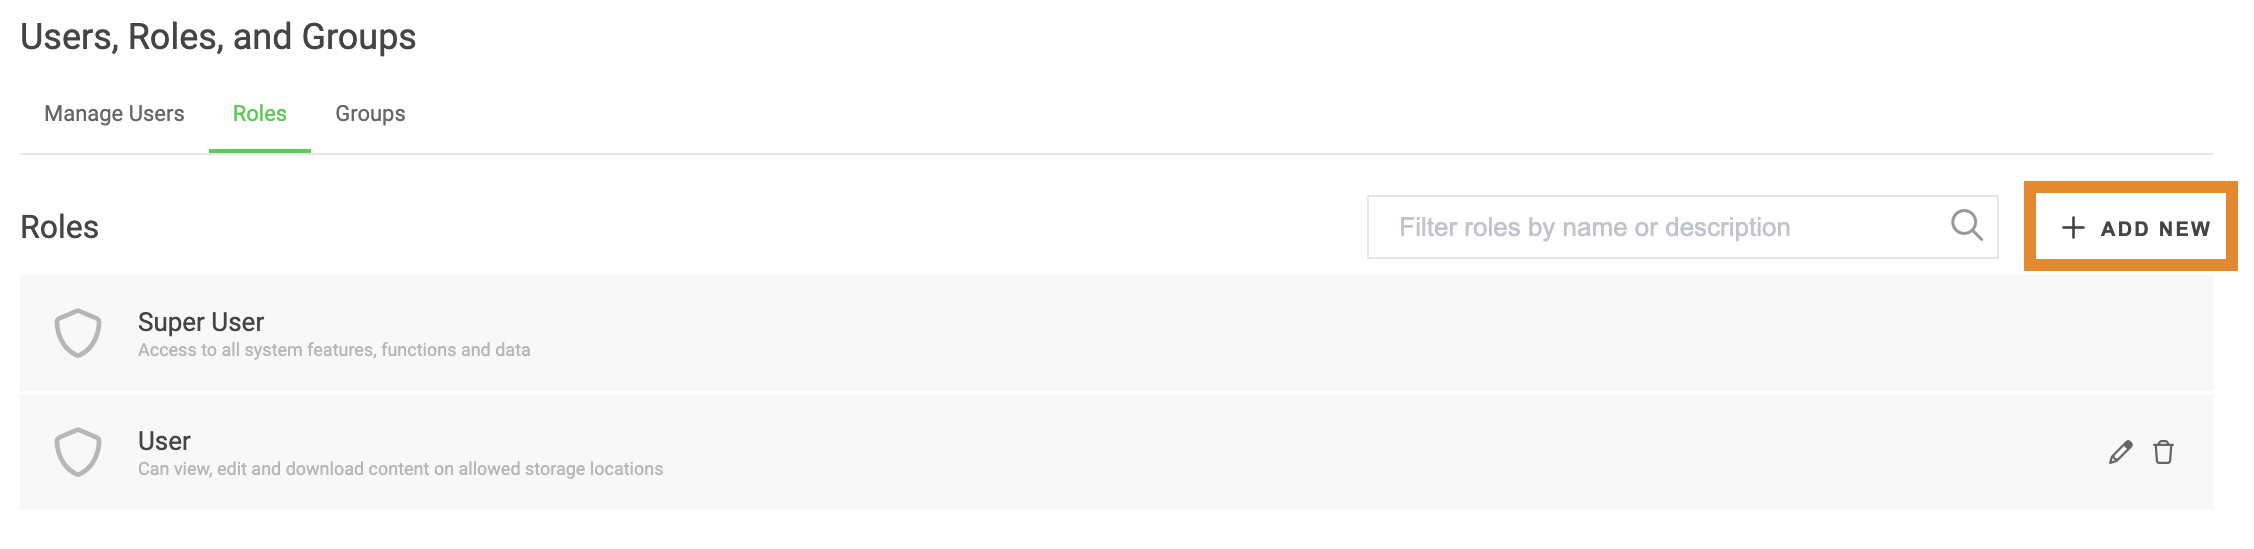
- On the Users, Roles, and Groups page, select the Roles tab.
- Click + ADD NEW.
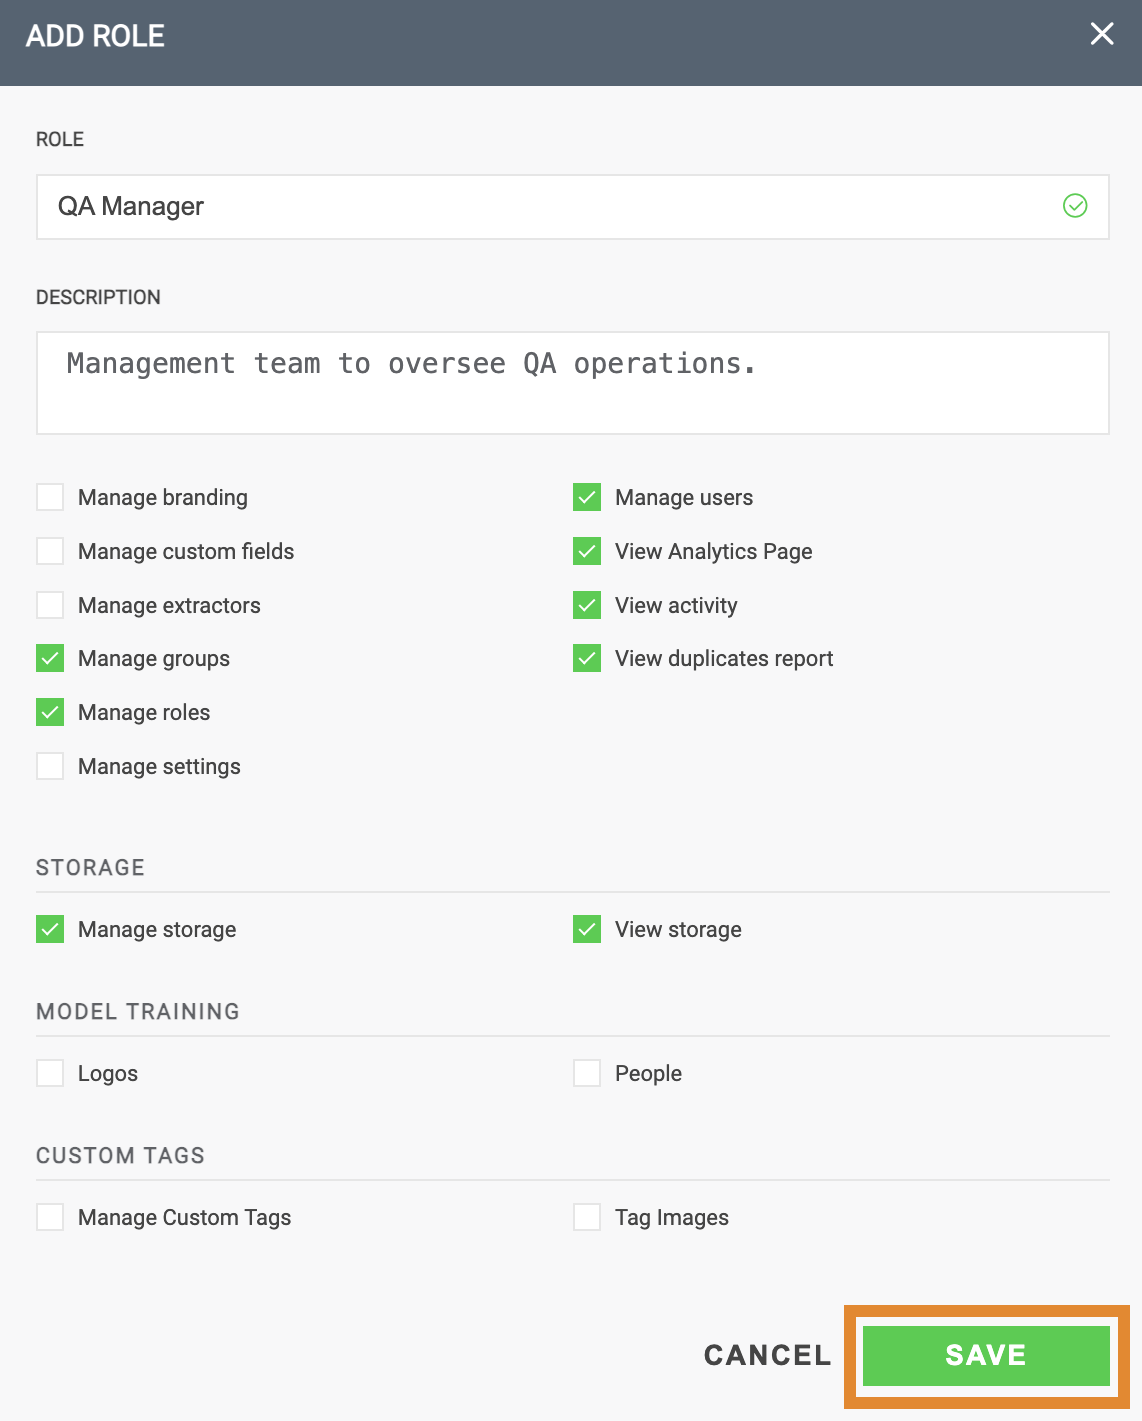
- In the ROLE field, enter a name for the role.
- Optionally, enter a description.
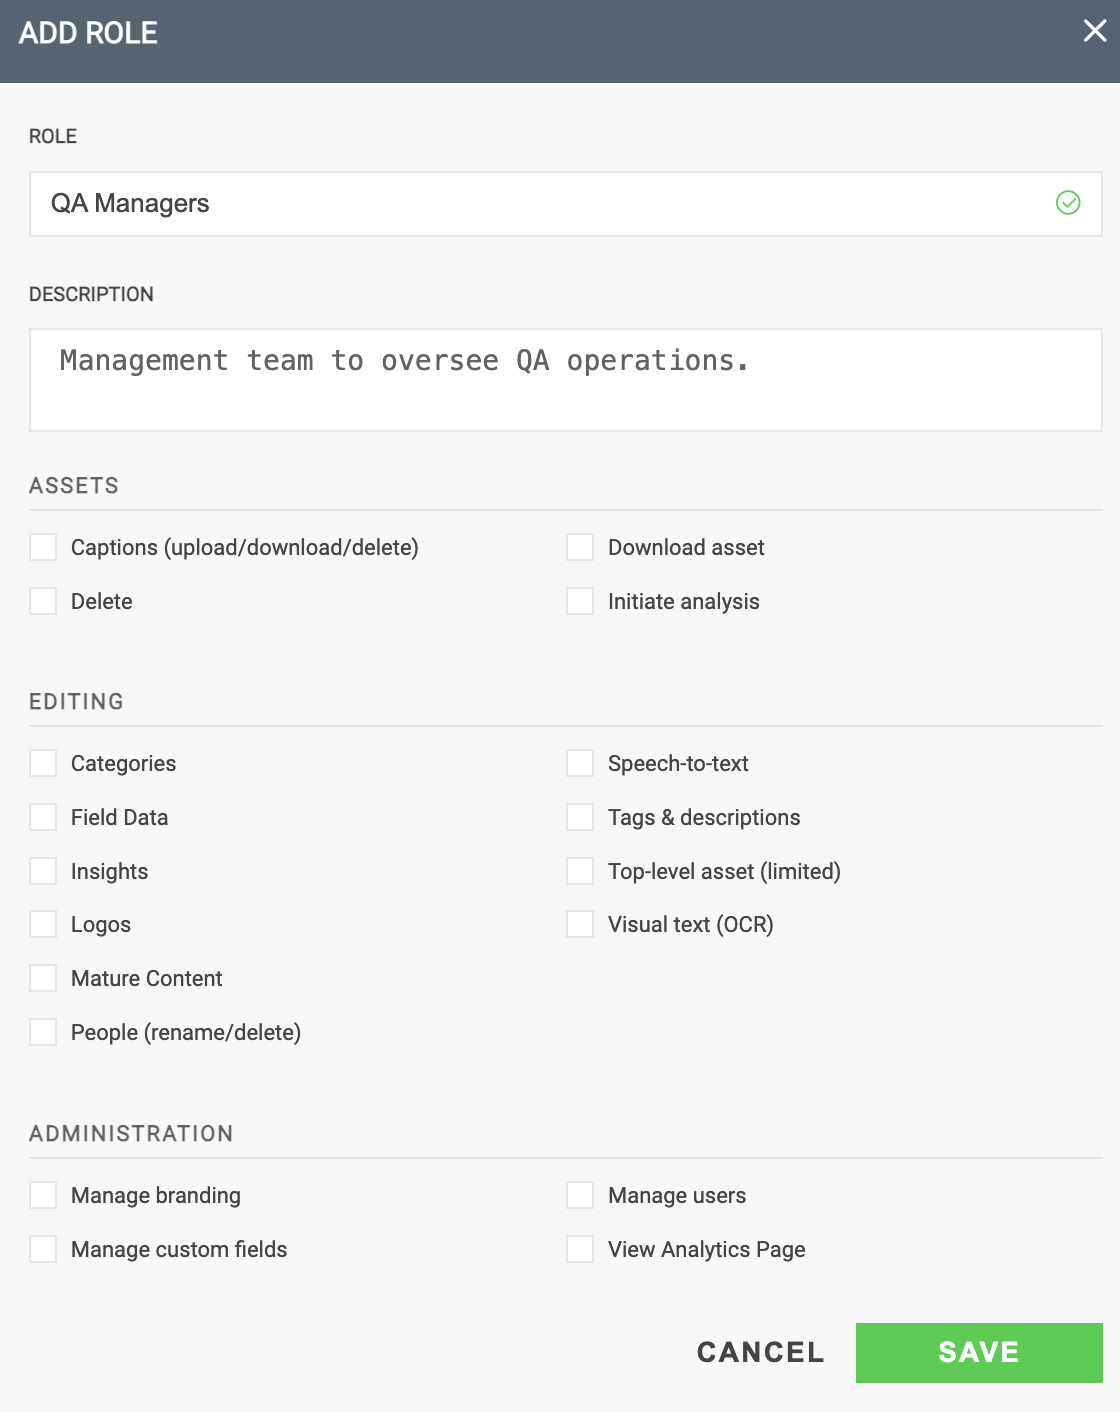
- Check a box(es) to select any and all privileges to define the role permissions.

- Click SAVE.
A message will confirm that the Role was added.
Creating a User
- On the Users, Roles, and Groups page, select the Manage Users tab.

- Click + ADD NEW.
- Enter the following information:
- First name — (Required)
- Last name— (Required)
- Email— (Required) Provide the email that the user will use to sign in.
- Password— (Required) Create a password that the user will use to sign in.Once an administrator can create a password for a new user, the administrator cannot change the password for the user.
- Role - (Required)
- Group - (Optional) It is best practice to assign a new user to a group. To create a group, see Creating a Group.
.png)
- When complete, click SAVE.
A message will confirm that the user was successfully created. The newly created user will receive an automated email from Wasabi with instructions for signing in.
To log in as a newly created user, refer to Signing In.
Objectives Met!
| 1 | Sign up for Wasabi AiR and sign in. |
| 2 | Work with assets and storage. |
| 3 | Create a user account. |
You are ready to explore features in the Product Guide for Wasabi AiR.