You can use the Custom Domain feature to add a custom domain for S3 endpoints, such as for white-label functionality and SSL certificate management. This feature is available only for resellers and control accounts.
To use the virtual-style path, the custom domain must be in the format:
s3.<region>.<domain>
You can have only one domain per region and per account (meaning it is not possible to have two domains per region).
Adding a Domain
Click Settings on the Wasabi menu. Or, open the account sign-in
 drop-down and click Settings.
Open the Custom Domain drop-down.
Click Add Domain.
Select a region for the domain.
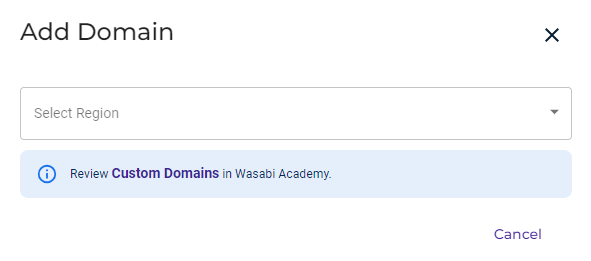
The selected region is displayed.
In the next field, enter the custom Domain name.
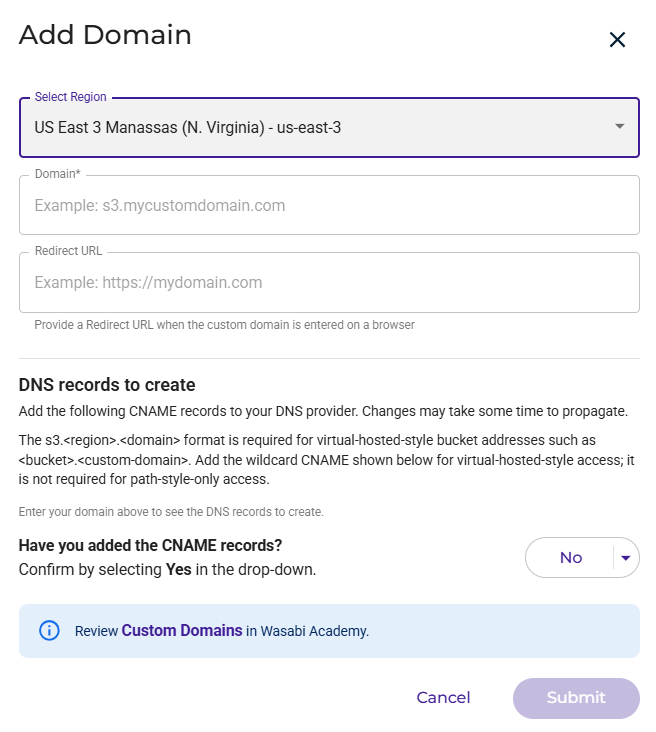
Once you enter a domain, the DNS records to create are displayed. You can click
 to copy a record.
Add the CNAME records to your DNS provider.
The s3.<region>.<domain> format is required for virtual-hosted-style bucket addresses such as <bucket>.<custom-domain>. Add the wildcard CNAME shown in the panel for virtual-hosted-style access. (It is not required for path-style-only access.)
Note that changes may take some time.
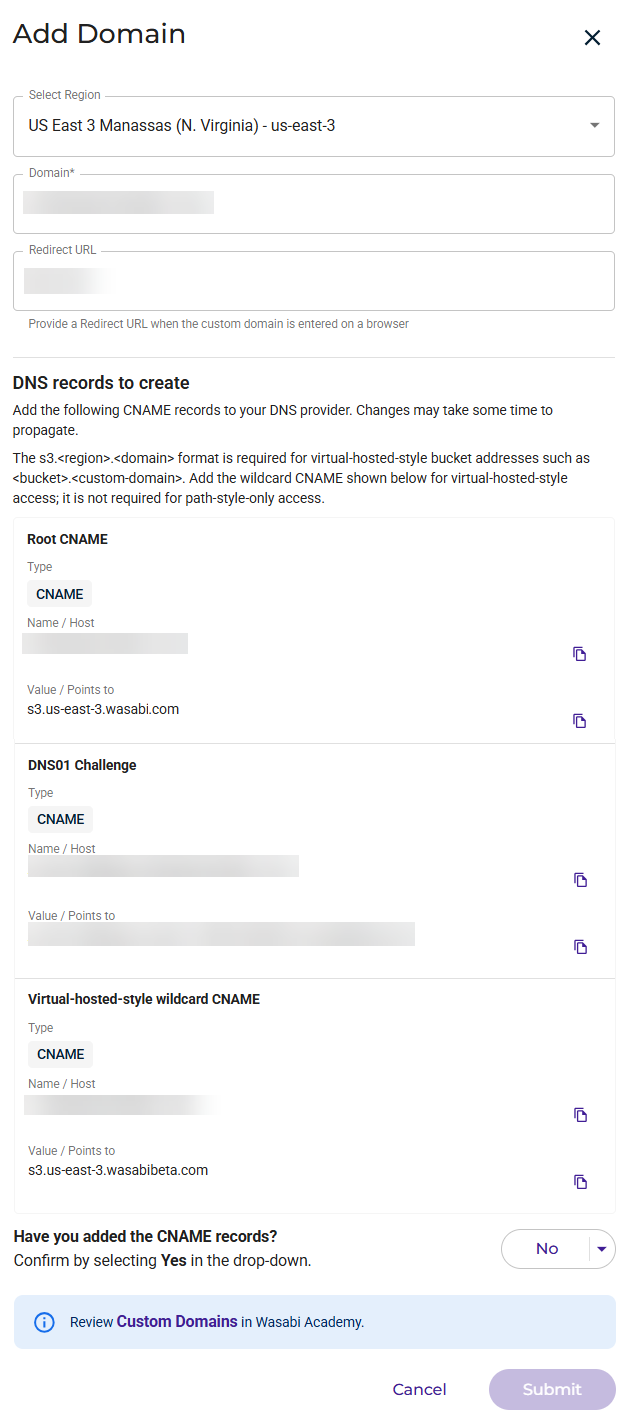
You can provide a redirect URL to use when the custom domain is entered in a browser. To do so, enter a URL in the Redirect URL field.
Once you have created a CNAME record, confirm by clicking the drop-down and selecting Yes.
Click Submit. The domain will move into a pending state and, after about 5-10 minutes, you should receive an email indicating your domain setup completed successfully (or failed).
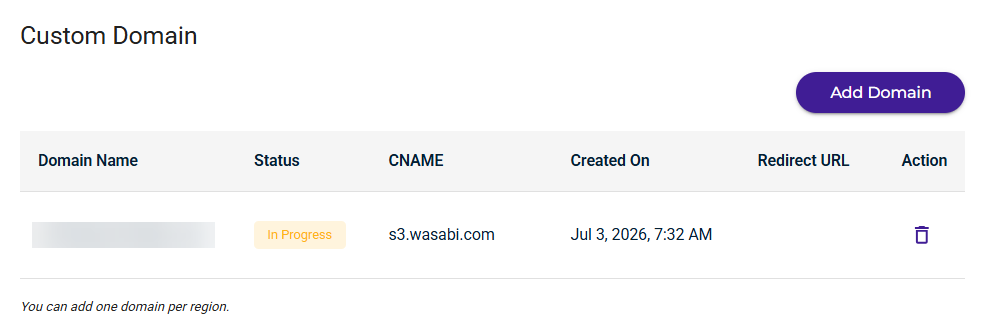
The new domain information is displayed. For example:
Example of Setting Up Your Custom Domain
The following example will walk you through configuring DNS records for your custom domain to work with Wasabi storage. (Note that the URLs used in the example do not match those in the screens shown above.)
What You Will Need
For this example, you will set up the domain:
s3.us-west-1.my-domain-name.com
You will need to create three DNS records in your domain's DNS settings:
1 CNAME record for ACME challenge (for SSL certificate verification)
1 CNAME record for the root domain
1 CNAME wildcard record
Step 1: Configure Your DNS Records
Log in to your DNS provider and add the following three CNAME records.
Replace us-west-1 with your preferred Wasabi region (such as us-east-1 , eu-central-1 , or ap-southeast-1 ).
Record 1: ACME Challenge (for SSL verification)
Type: CNAME
Name: _acme-challenge.s3.us-west-1.my-domain-name.com
Value: _acme-challenge.verify.wasabisys.com
Record 2: Root Domain (for path-based access)
Type: CNAME
Name: s3.us-west-1.my-domain-name.com
Value: s3.us-west-1.wasabisys.com
Record 3: Wildcard (for virtual host-based access)
Type: CNAME
Name: *.s3.us-west-1.my-domain-name.com
Value: s3.us-west-1.wasabisys.com
Step 2: Add Your Domain
After setting up your DNS records, you can add the domain through the Wasabi Console:
Follow the instructions in the Adding a Domain section above.
In Step 5, enter your custom URL: s3.us-west-1.my-domain-name.com
Optionally, in Step 6, you can add a redirect URL to point to your main website (such as https://my-domain-name.co).
DNS Propagation
Note that DNS changes can take anywhere from a few minutes to 48 hours to fully propagate across the internet.
Deleting a Custom Domain
On the Custom Domain list, click
 for the domain you want to delete.
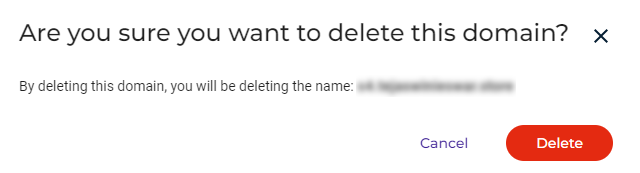
Confirm by clicking Delete.