You can now give sub-users the ability to view or even update billing information. To do this, just associate the template policies for either WasabiViewBillingAccess or WasabiModifyBillingAccess.
Here is the process, including creating a new user.
First, you'll want to Allow IAM Users and Roles to access the Billing Portal. Go to theSettings option on the left frame and select that from the menu. Move the slider to the right to enable this.

Now, from the Wasabi Management Console at https://console.wasabisys.com/, log in as your ROOT user.
From the Left Frame, choose the Users Icon

From the Users Menu, choose the CREATE USER button

Give your user a name and select the Console box to allow them to log into the console.
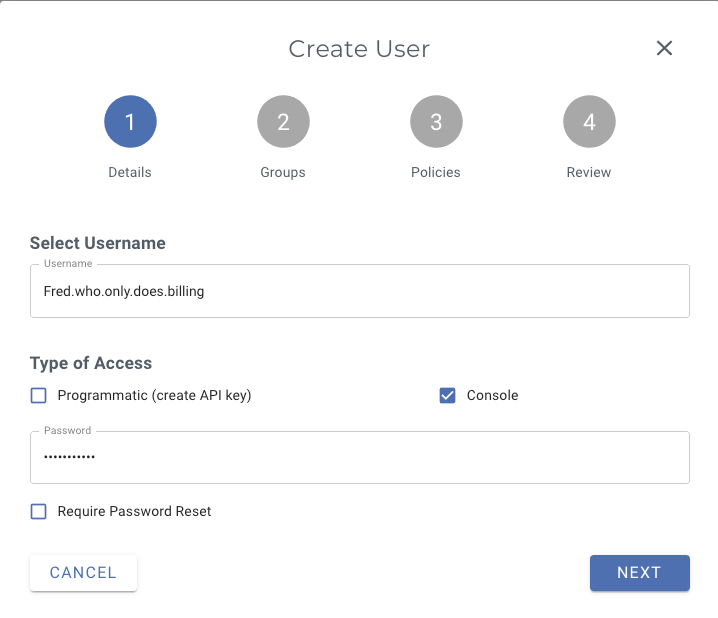
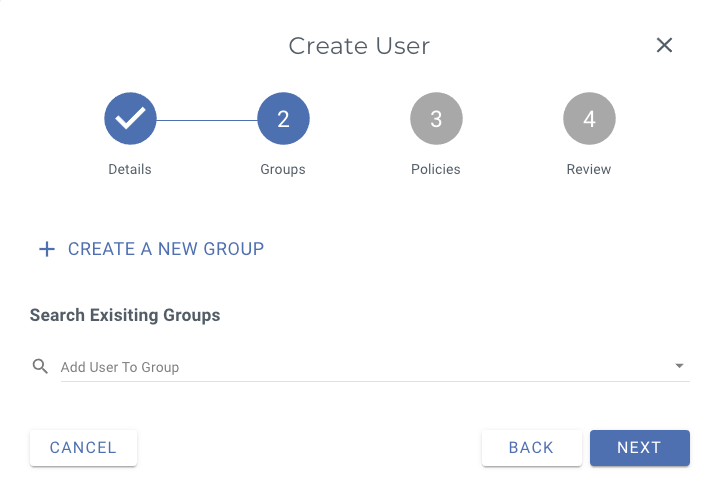
(you can give them API access too for IAM based billing calls, but if you are doing that, you probably already know enough that you don't need to be reading this KB document)When prompted you can add this user to a Group (if you intend to set up others with similar privileges, for instance), or you can skip this. You may always go back and create and assign groups later. We will skip this for now, just hit NEXT to continue.
Next you will select one of the preconfigured Policies for this user. You can select either the WasabiViewBillingAccess policy if you only want them to VIEW the invoices, or WasabiModifyBillingAccess policy if you'd like them to be able to update the payment information for this account. The policies look like this:
WasabiViewBillingAccess
WasabiModifyBillingAccess
{
  "Version": "2012-10-17",
  "Statement": [
    {
      "Effect": "Allow",
      "Action": "aws-portal:ViewBilling",
      "Resource": "*"
    }
  ]
}
{ "Version": "2012-10-17", "Statement": [ { "Effect": "Allow", "Action": "aws-portal:ModifyBilling", "Resource": "*" } ] }
We'll choose View Only here: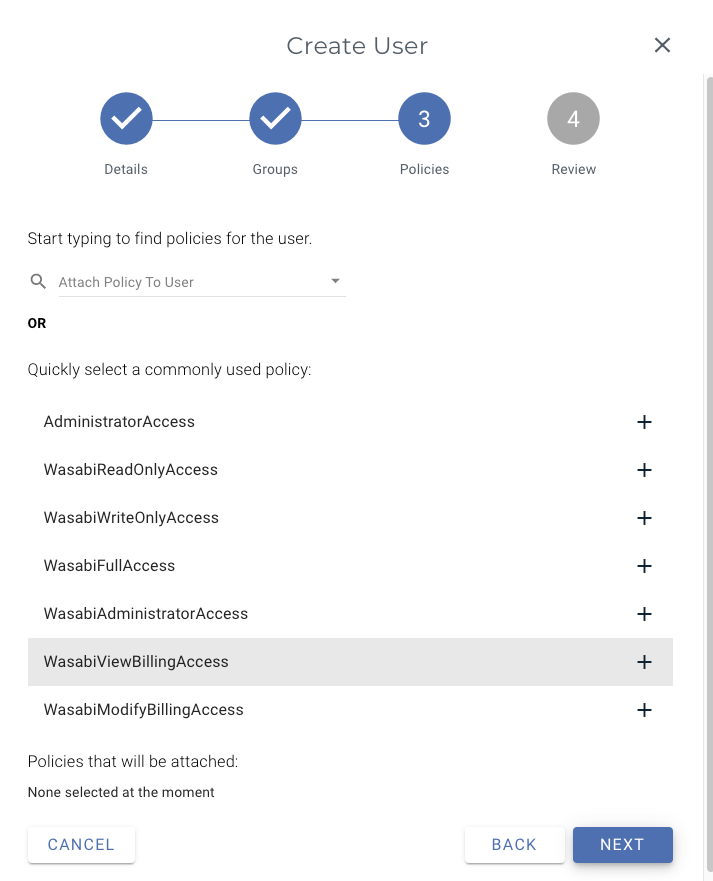
When you are ready, you should see the user along with the Groups and the Policies that are associated with that account:
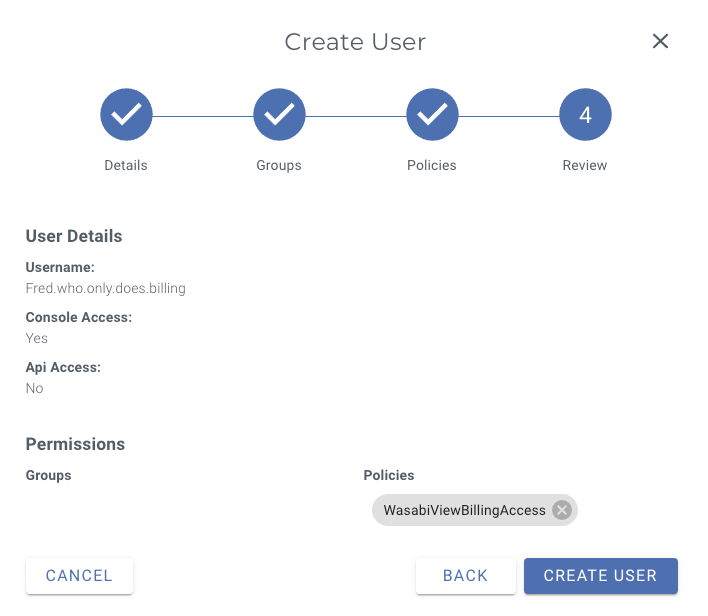
Click the CREATE USER button to continue.When complete, you'll see a box that looks like this:
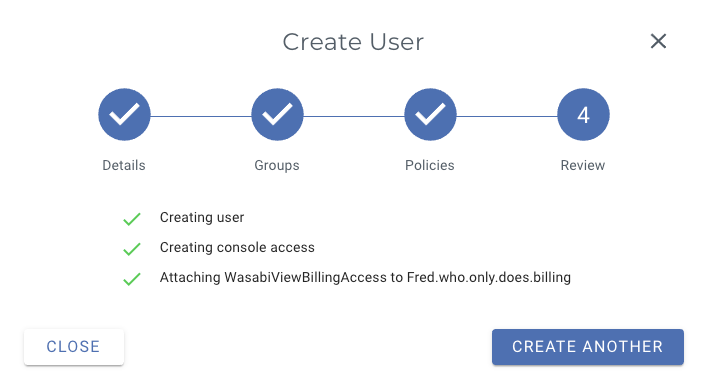
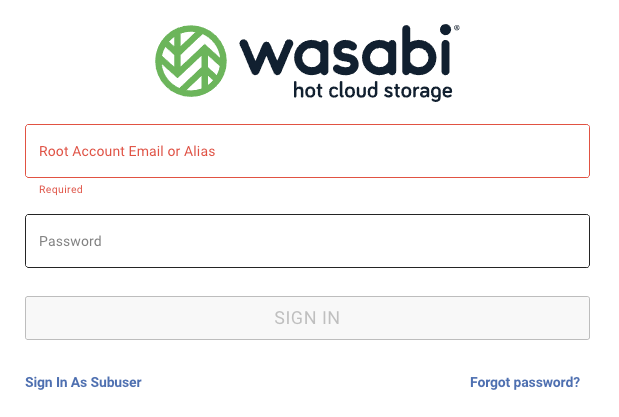
Now, the user will go to the same https://console.wasabisys.com to log in. Be sure that they select Sign in as a sub-user:
First, they may see a quick notification screen flash. The message reads:

That’s expected as the first thing the system attempts to do is show a list of all the Buckets. The policy is applied, and the system then defaults to showing the Billing System info:
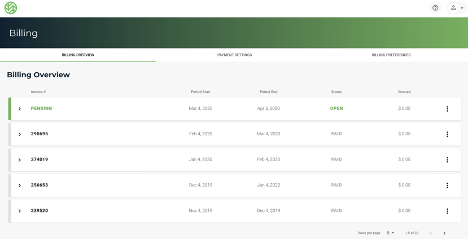 (note that in this example, the invoices shown are all intentionally $0.00. Yours will probably not be :-) )
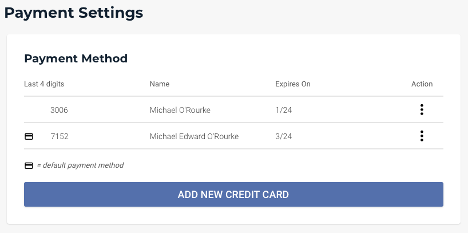
Users with View Only access can open any of these invoices to view the details, download a PDF copy Now, If you had assigned MODIFY privileges, you would see in the Payment Settings tab on the Billing page the option to ADD NEW CREDIT CARD.
That should provide the steps needed to create a new sub-user who may then log in to retrieve invoices