Open the Signiant console, and log in with your Signiant account.
.png)
In the Signiant console, select the Jobs link in the navigation menu.
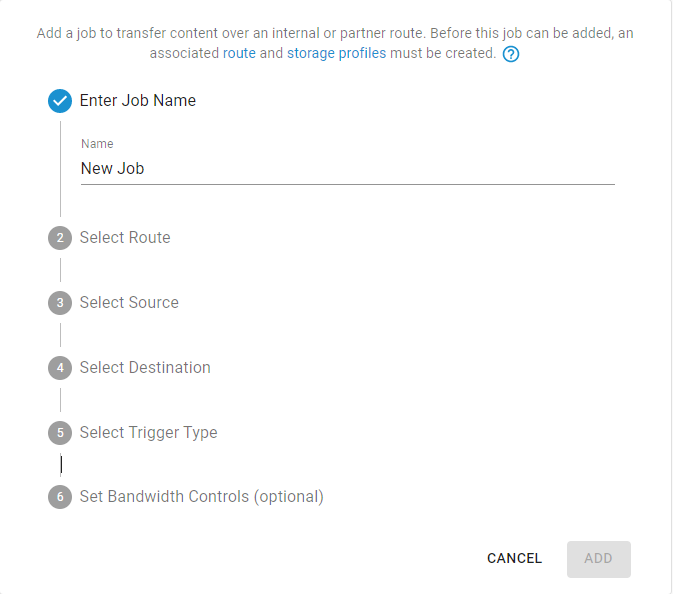
Create a new job by pressing the blue plus symbol located next to the navigation menu.
Give the new job a unique job name.
Select the route for the endpoints the new job will support.
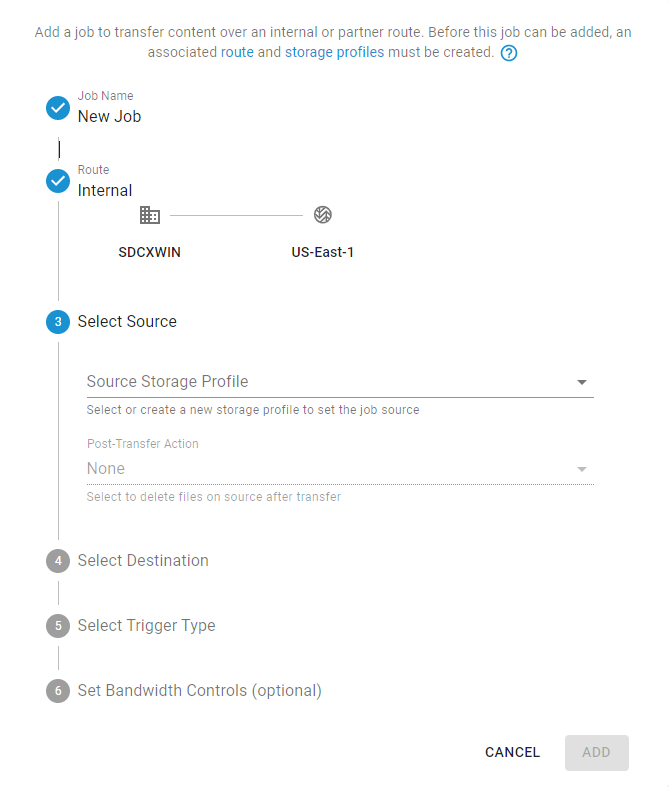
Choose the source storage profile, and the post-transfer action.
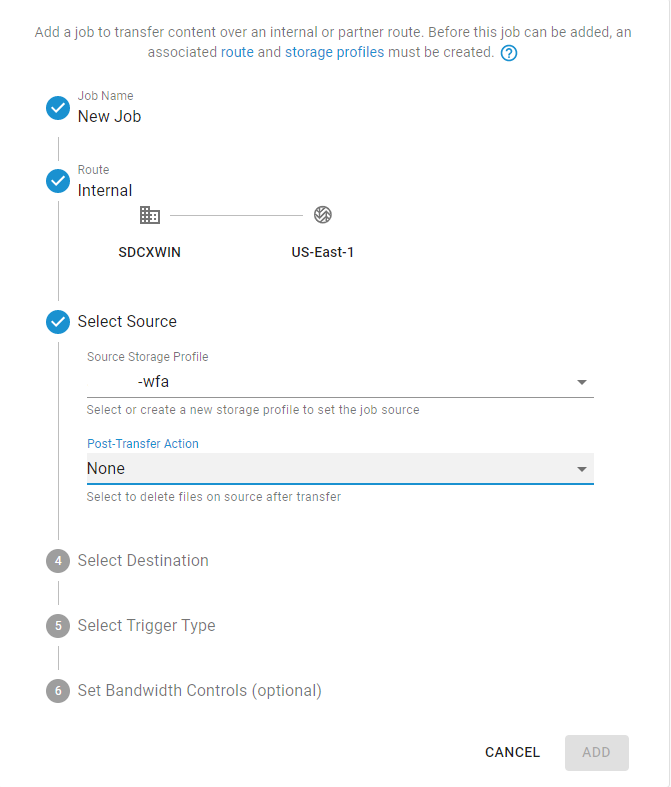
NOTE: The "Post-Transfer Action" has two options: "None" and "Delete After Transfer". The default action is "None", which will perform no action after the source data is transferred. The "Delete After Transfer" action will delete the local source data once it is confirmed transferred to the destination.
Choose the destination storage profile.
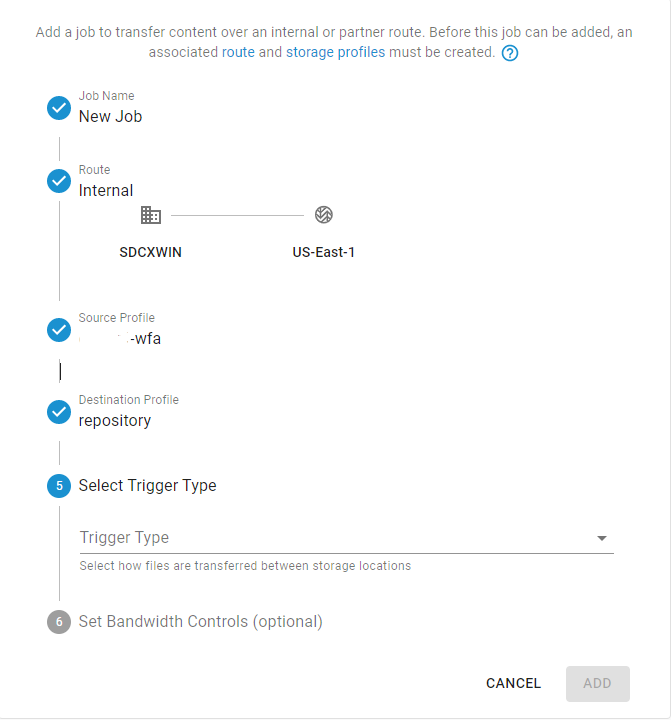
Select the job trigger type.
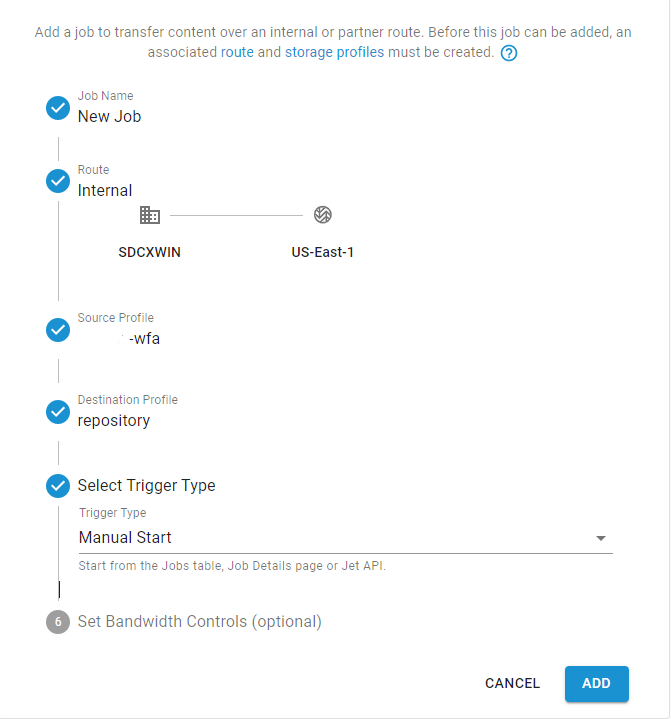
NOTE: When selecting the job trigger type, some options may not be available depending on the type of repository the source data is transferring from.
Local (on-premises) storage repositories support "Hot File", "Manual Start", and "Schedule" options.
Wasabi Hot Cloud Storage repositories only support "Manual Start" and "Schedule".
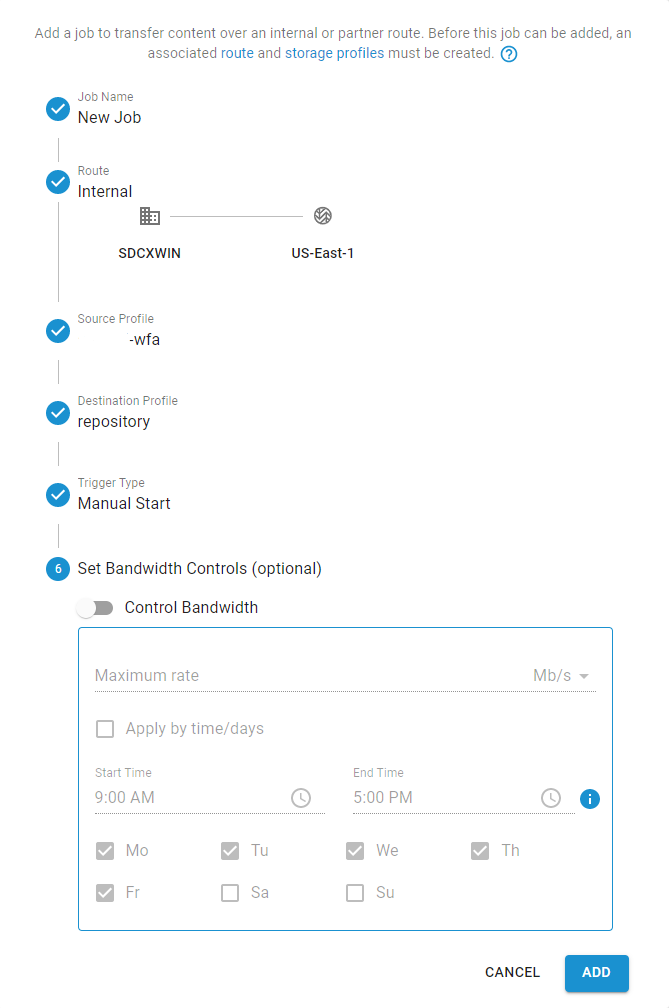
If you would like to control the amount of bandwidth used during data transfers, you may set the bandwidth controls as an option for the job. The default configuration disables bandwidth control.
Once the job is added, it will show up in the jobs list.