BackupAssist ER has been validated for use with Wasabi. For more information on how BackupAssist ER works with Wasabi, review BackupAssist. Follow the steps outlined below to configure Wasabi as a backup destination.
Requirements
Active Wasabi Cloud Storage Account.
Wasabi bucket. For more information, review Working With Buckets and Objects.
Access & Secret Key Pair. For more information, review Creating a User Account and Access Key.
BackupAssist ER v1.4.2 or higher.
Configuration
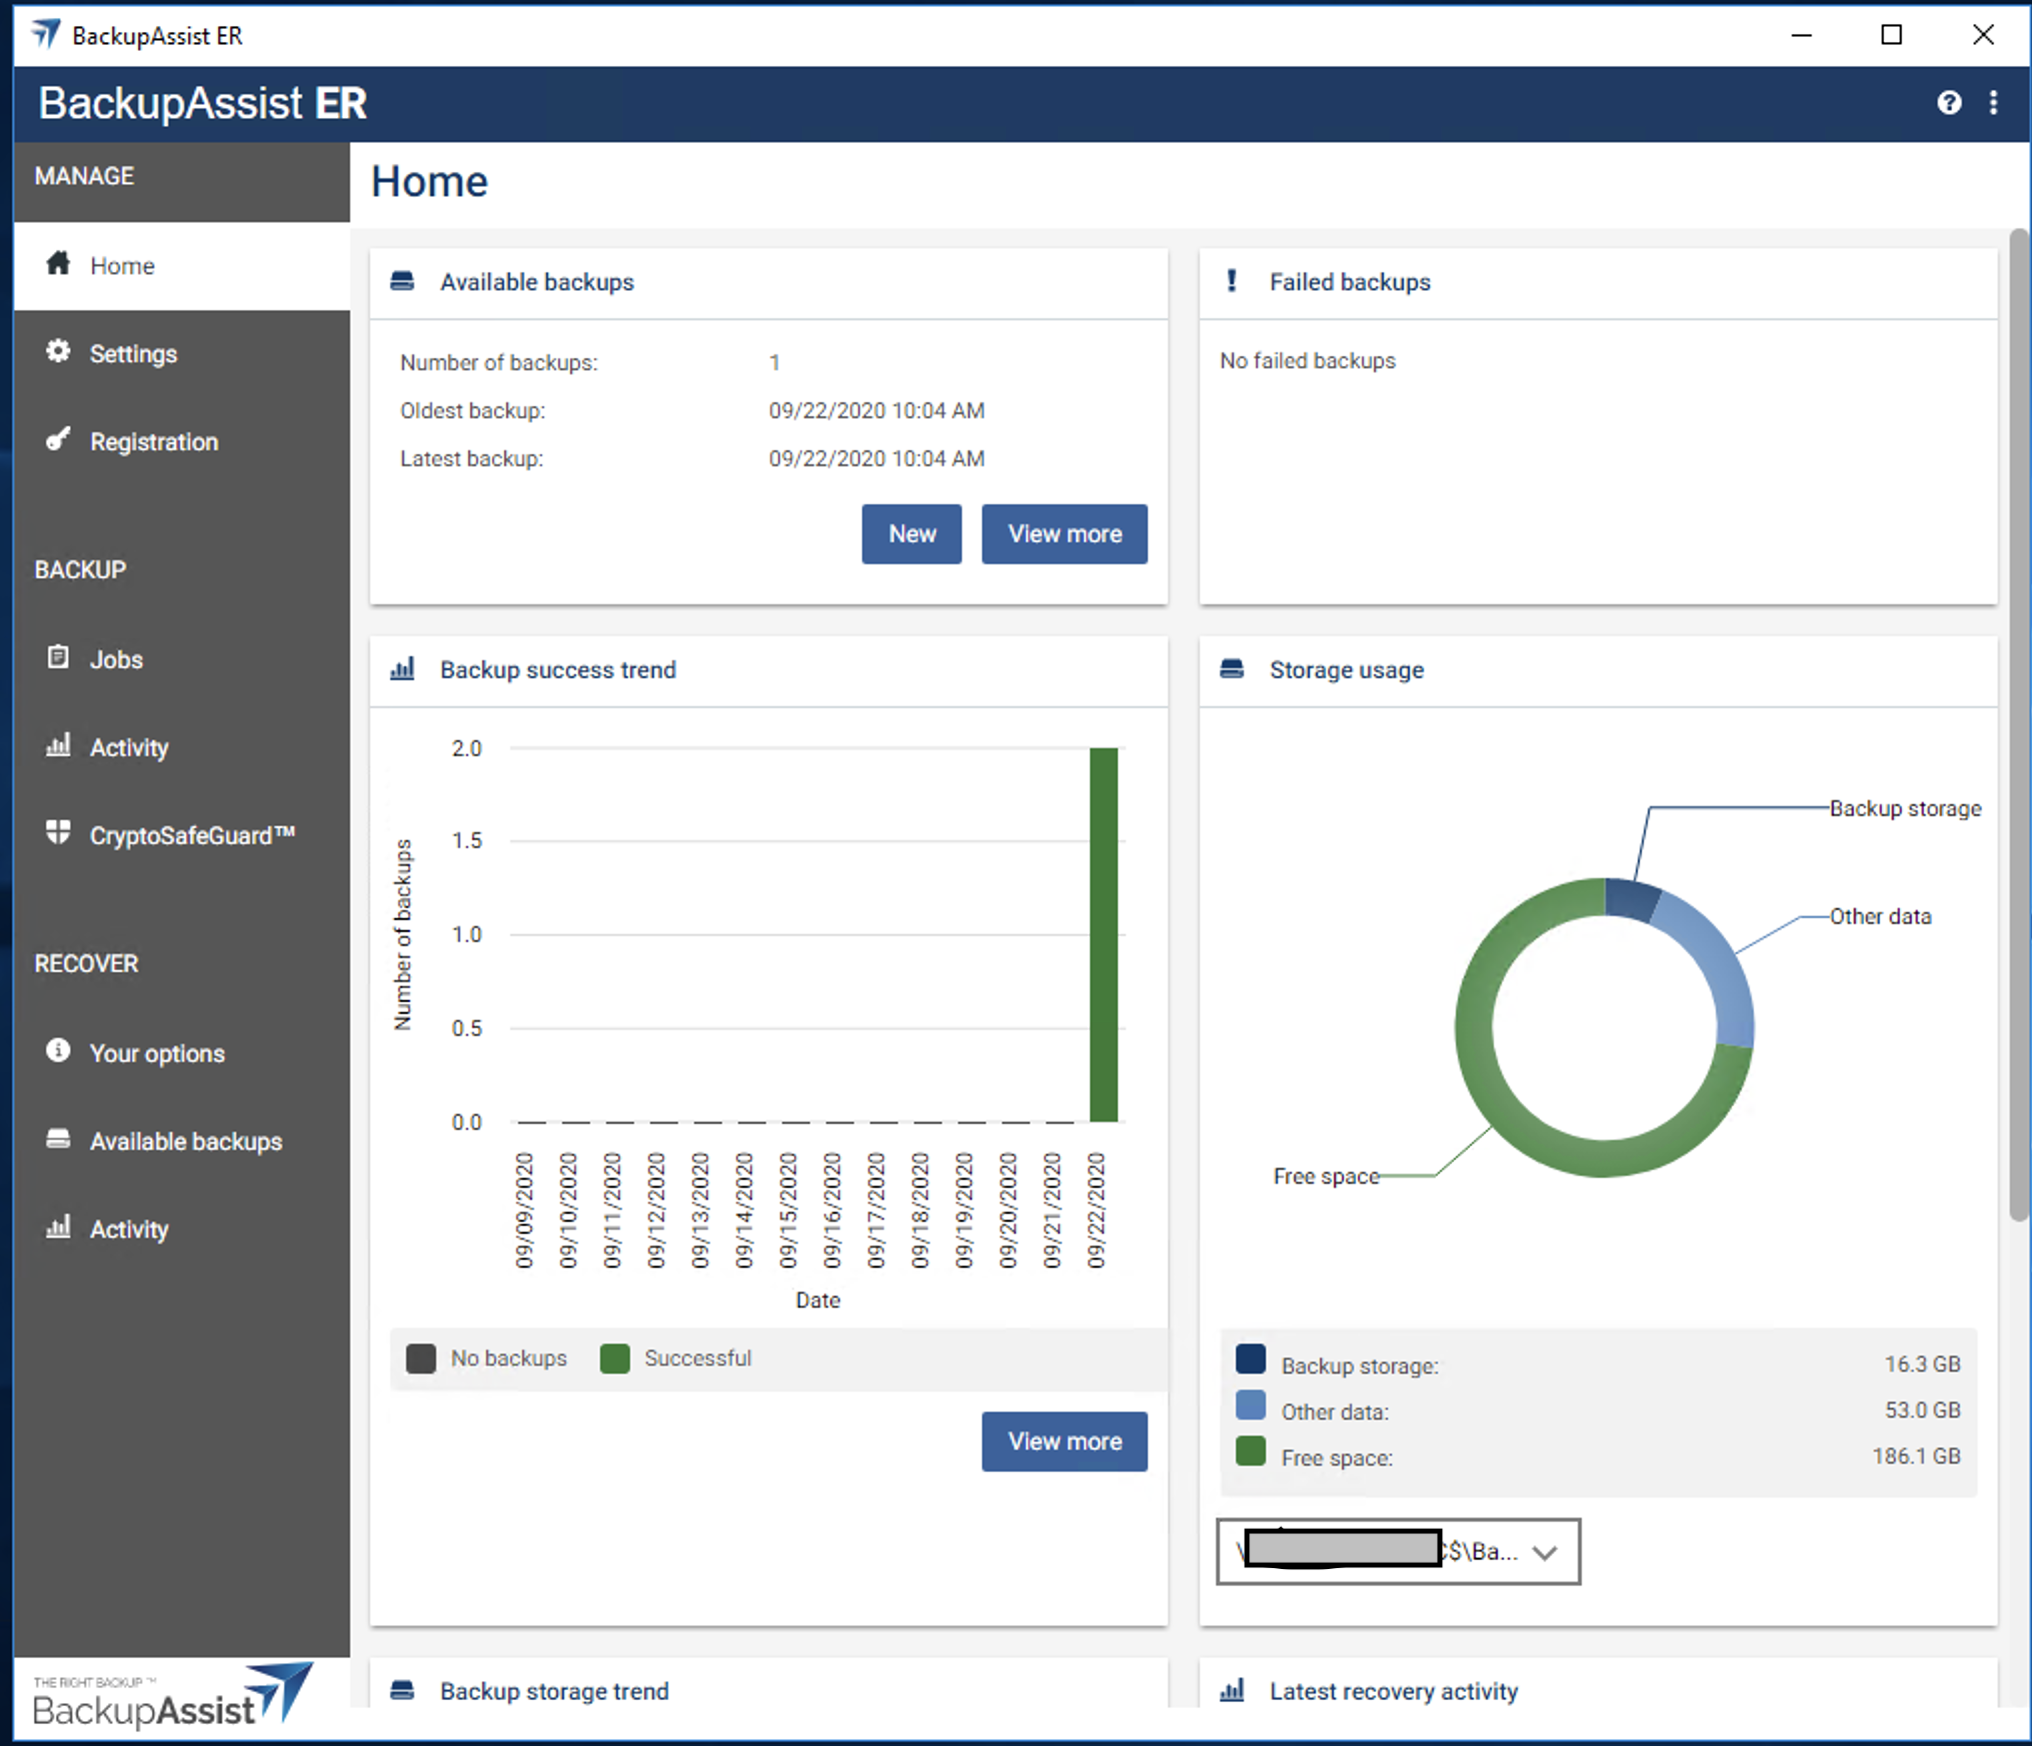
Launch BackupAssist ER.
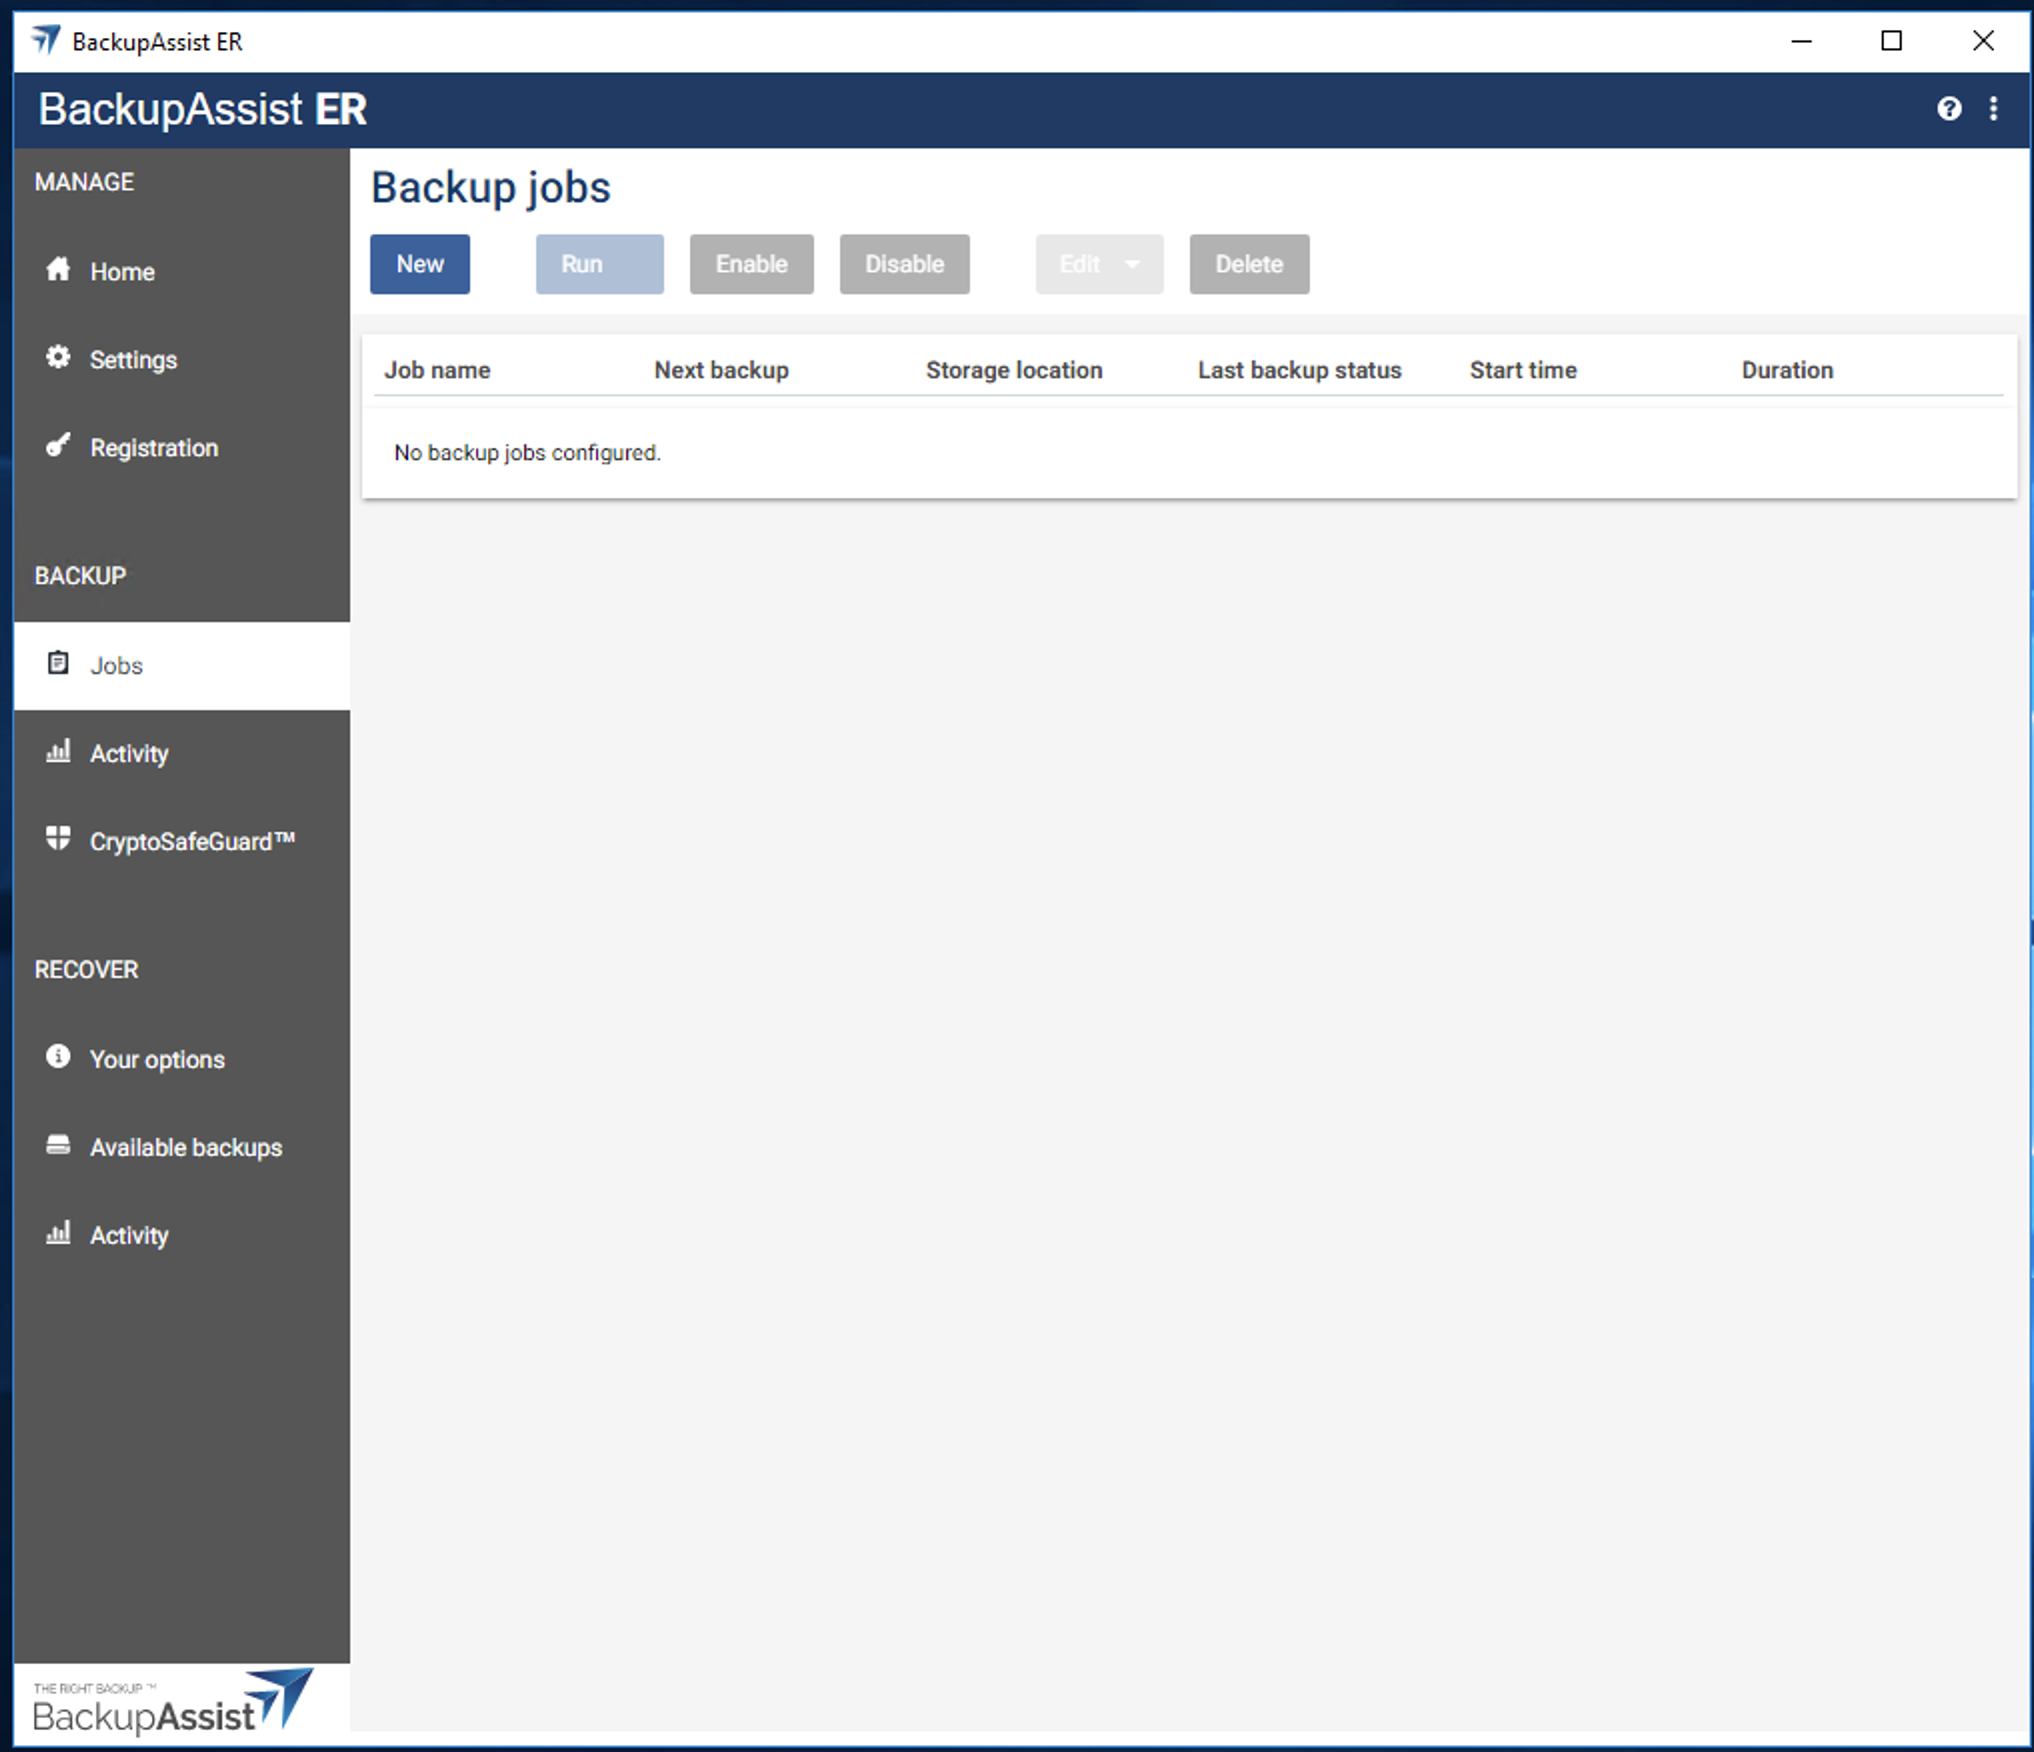
Click Jobs. Click New.
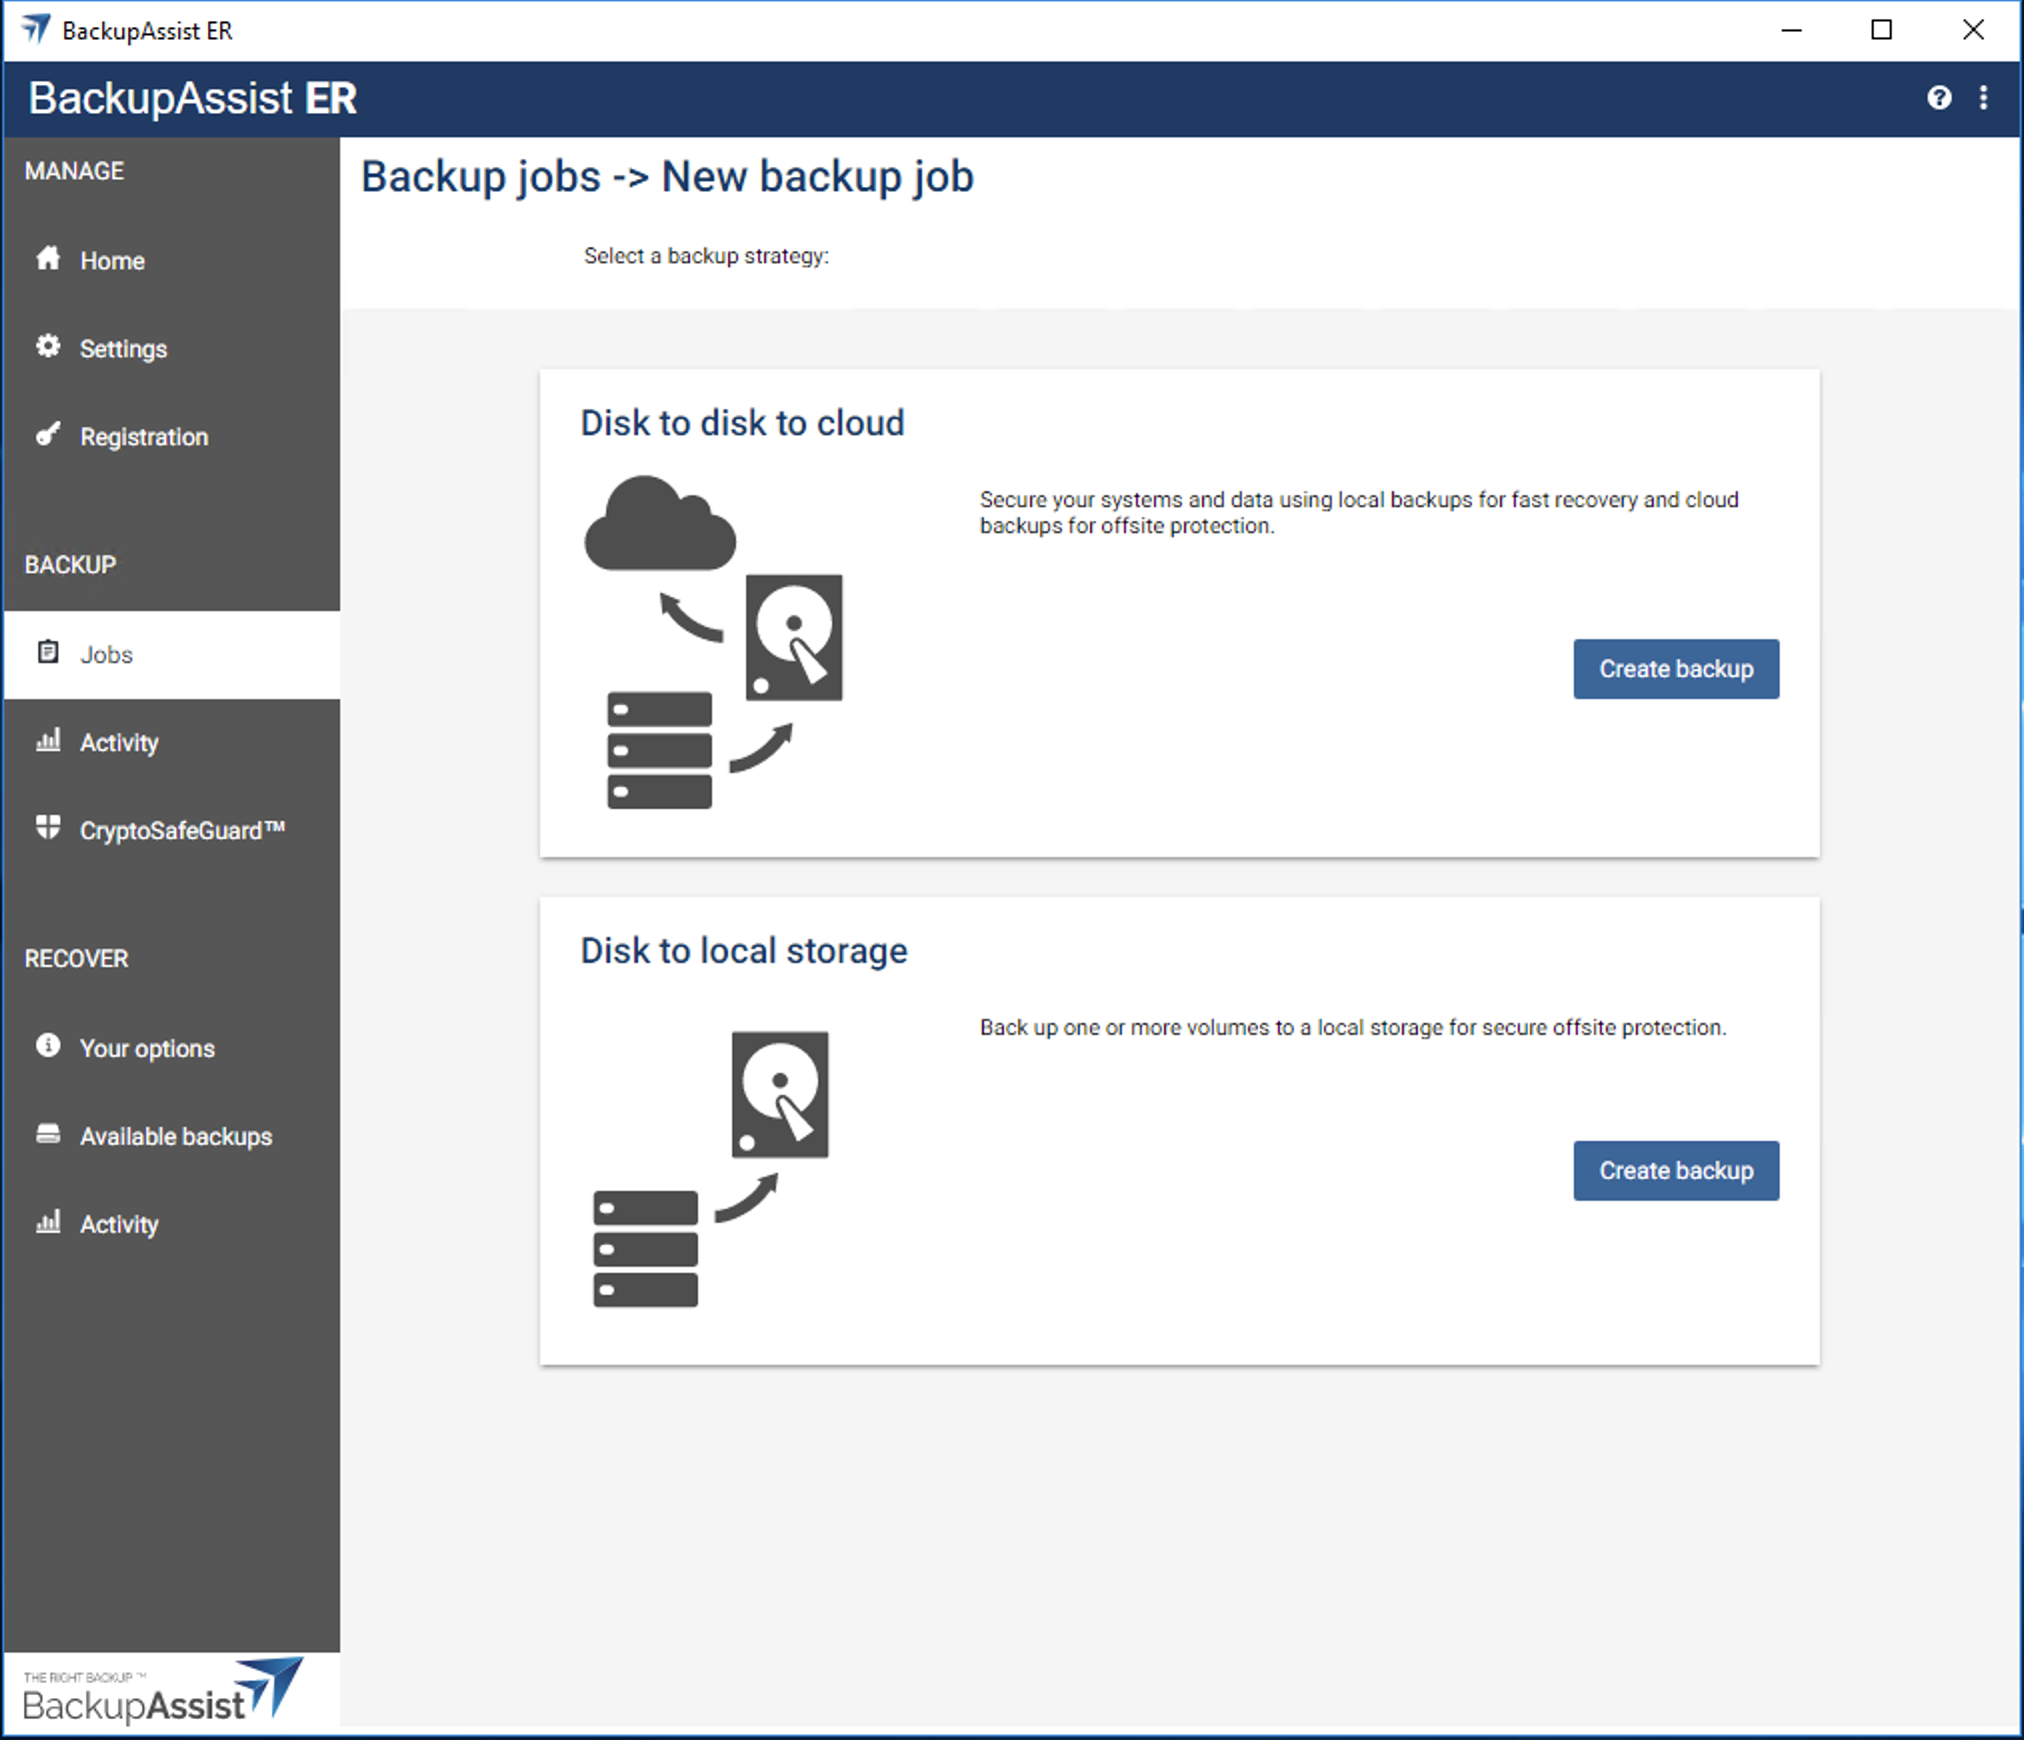
Under the Disk to disk to cloud section, click Create Backup.
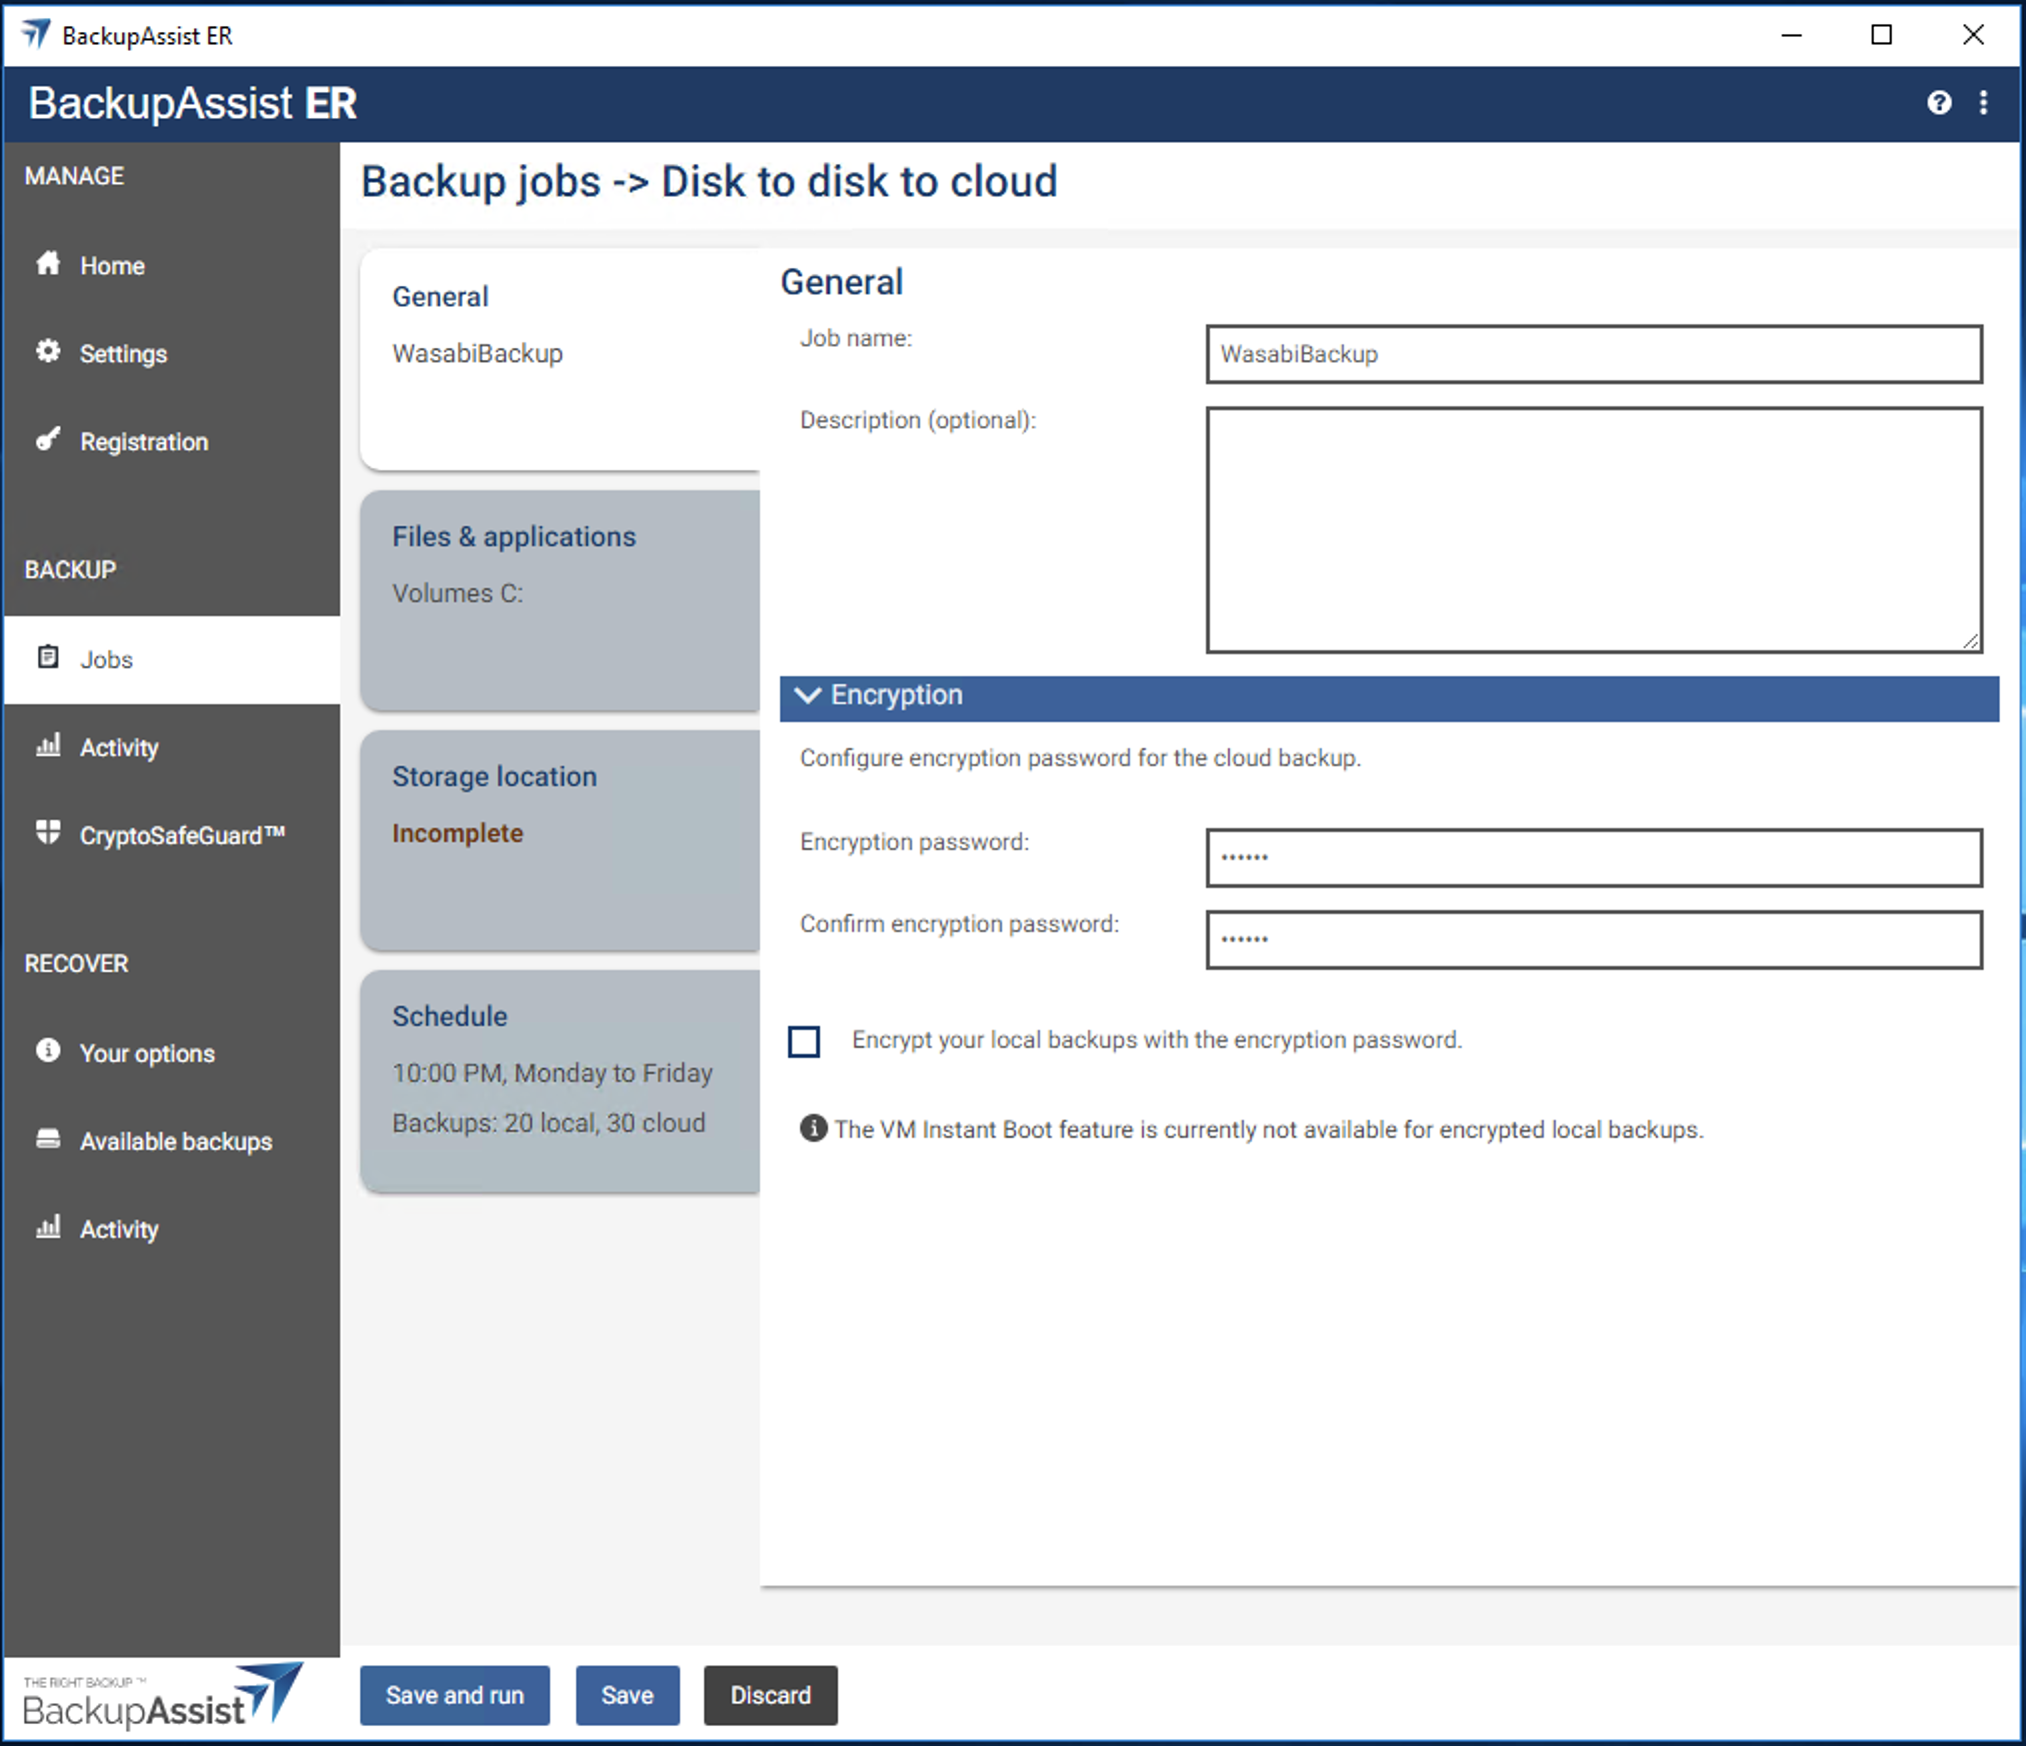
Select the General tab. Under the General section, provide a name and description for the backup job.
Under the Encryption section, enter a password in the Encryption password type field. This password will be used to encrypt the backup sent to Wasabi. Check the box to Encrypt your local backups with the encryption password.
Select the Files & applications tile.
In the Files & applications tab, select the volumes in which to backup.
Select the Storage Location tab.

In the Storage Location tab, provide a destination for both local and cloud storage.
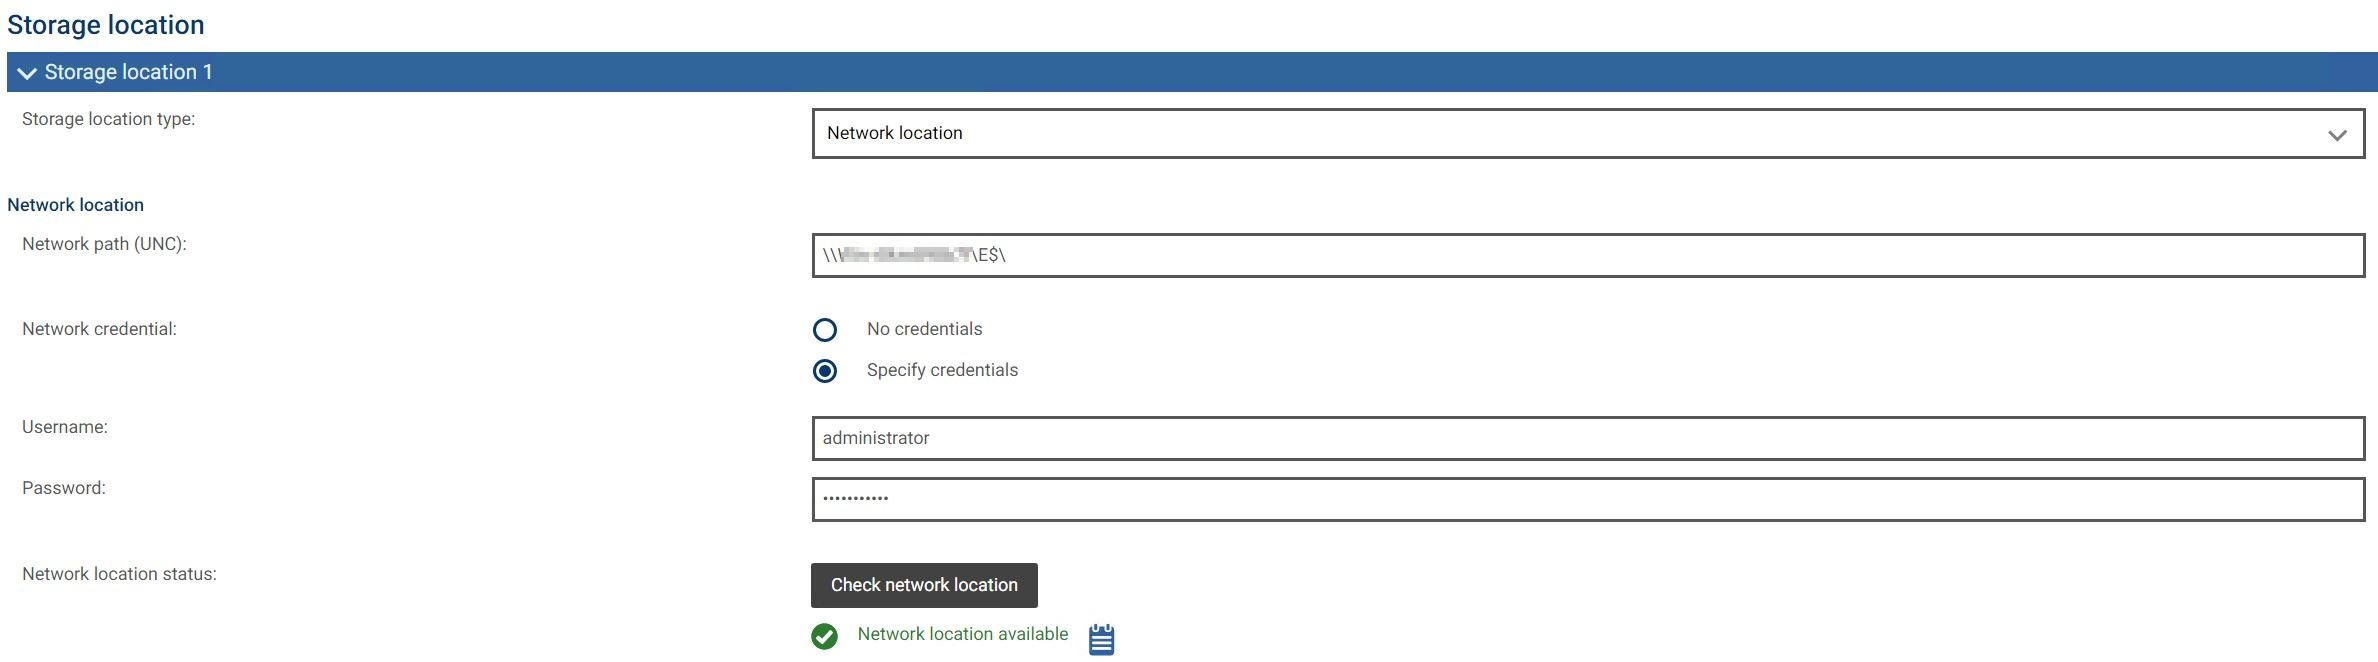
Under the Storage Location 1 section, select either Local disk or Network Location as the Storage Location type.
Provide the appropriate information for each selected location type. Click either Check Disk or Check Network Location to confirm the storage destination is accessible.

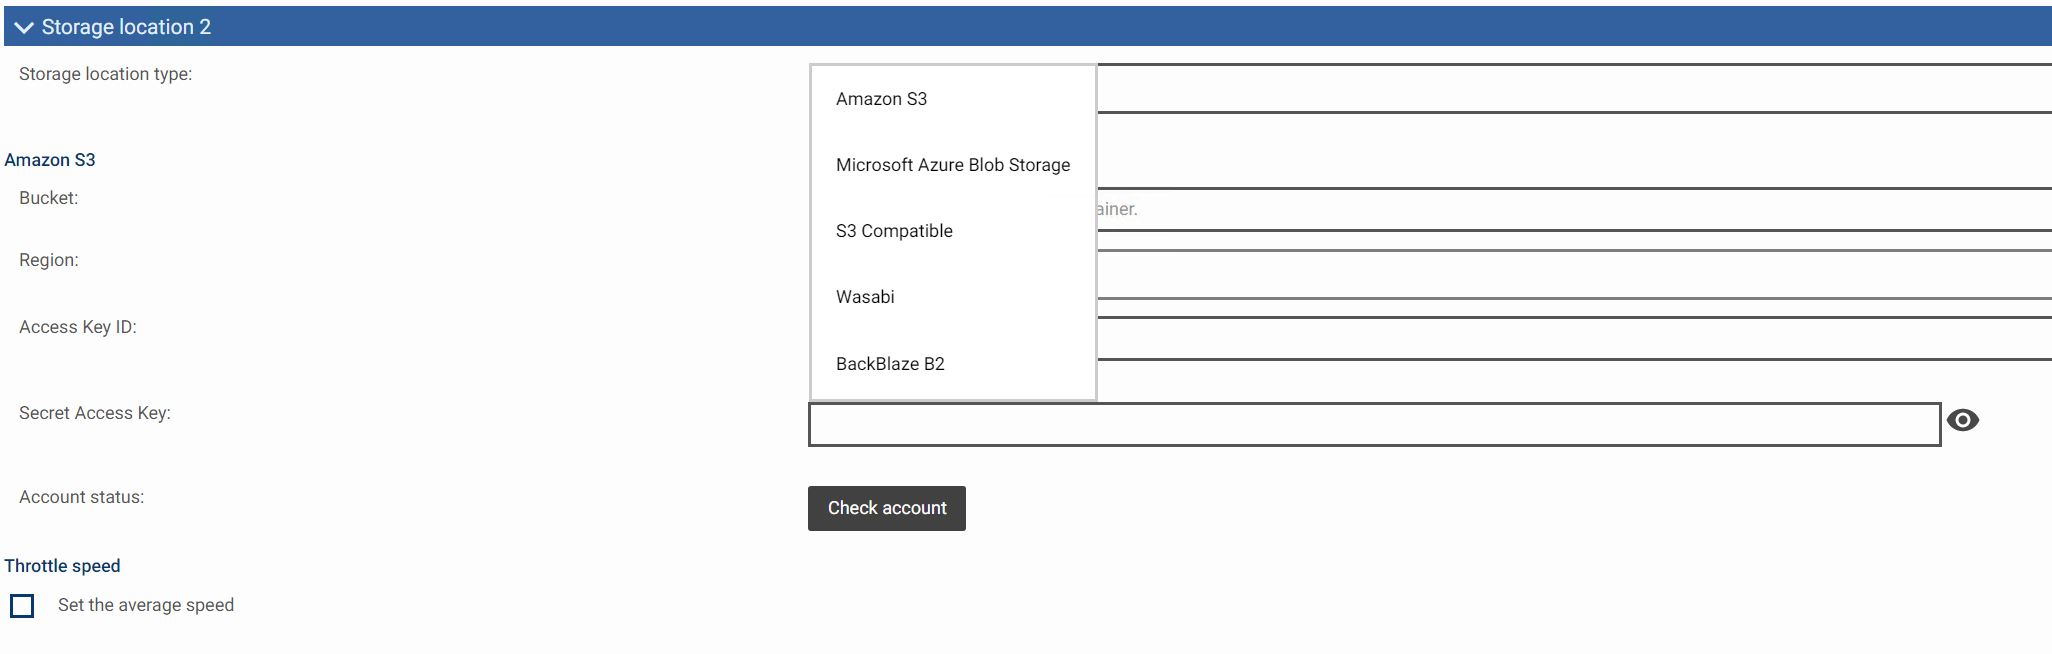
Under Storage Location 2, click the drop-down menu for Storage Location type and select Wasabi.
Provide the following Information:
Bucket — Provide a globally unique name. BackupAssist ER will create a bucket using this name in your Wasabi account.
URL — The service URL for the Wasabi region (prefix the URL with https:// is required).
Access Key
Secret Access Key
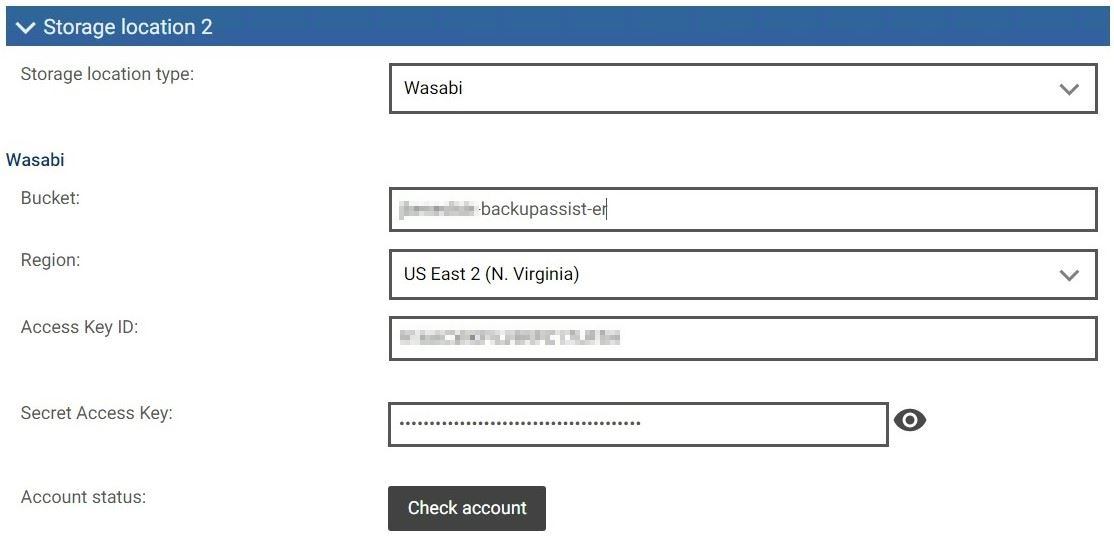
This configuration example discusses the use of Wasabi's us-east-2 storage region. To use other Wasabi storage regions, use the appropriate Wasabi service URL as described in Service URLs for Wasabi's Storage Regions.
Click Check account. BackupAssist will access your Wasabi account using the security keys and create a storage bucket with the name provided.

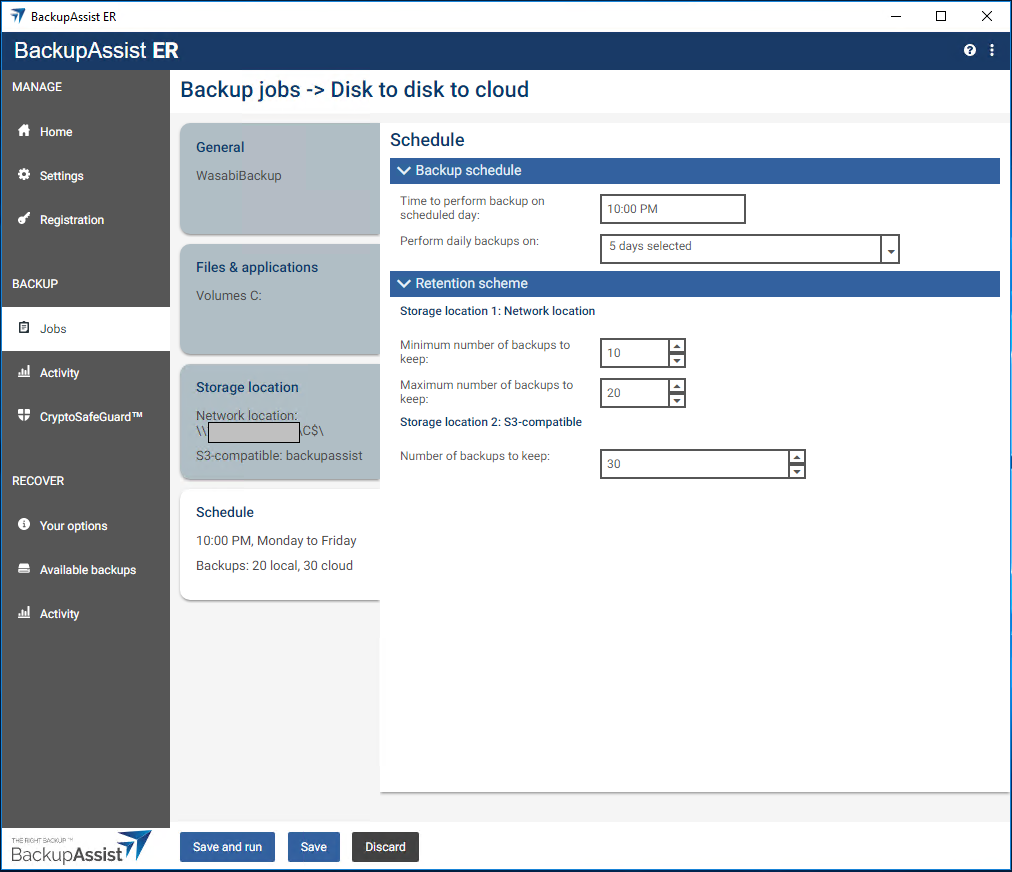
Select the Schedule tab. Set the Backup schedule and Retention scheme, as needed. Click Save.
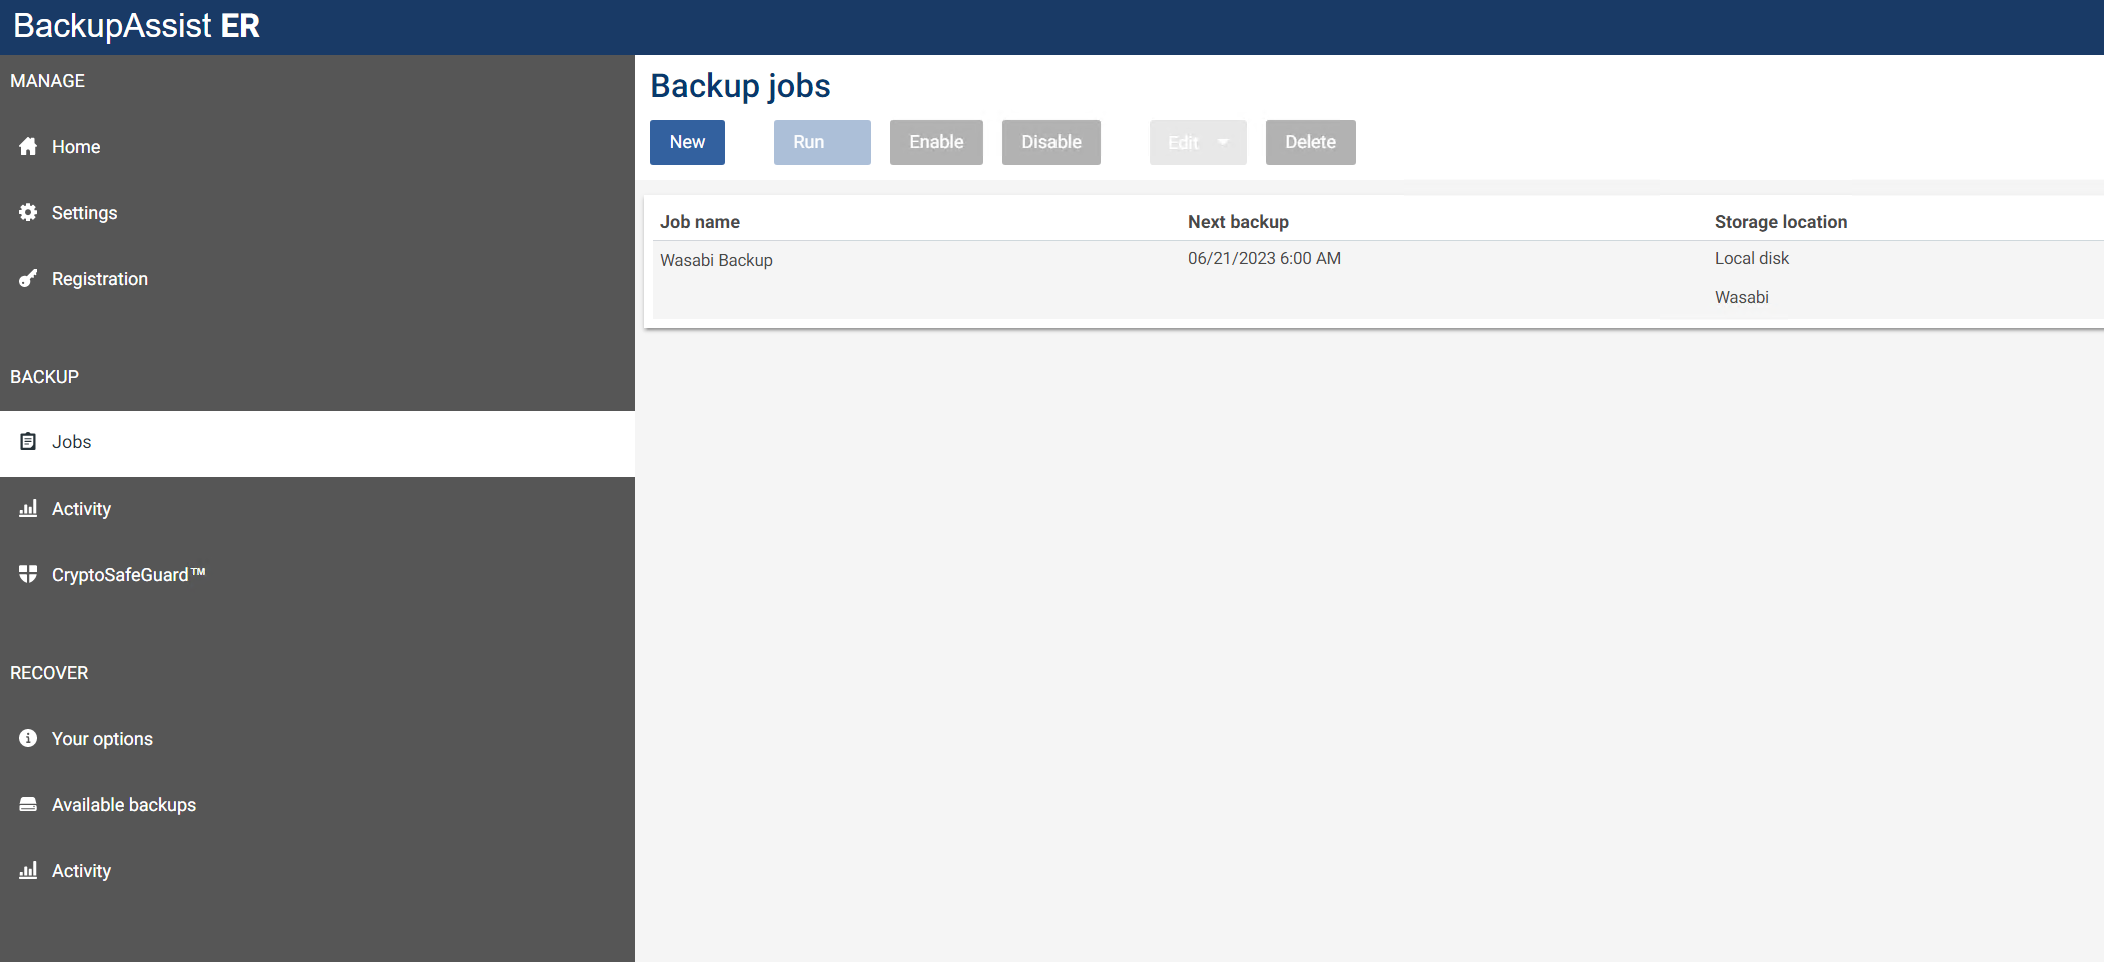
The backup job is now configured and displayed in the Backup jobs section.
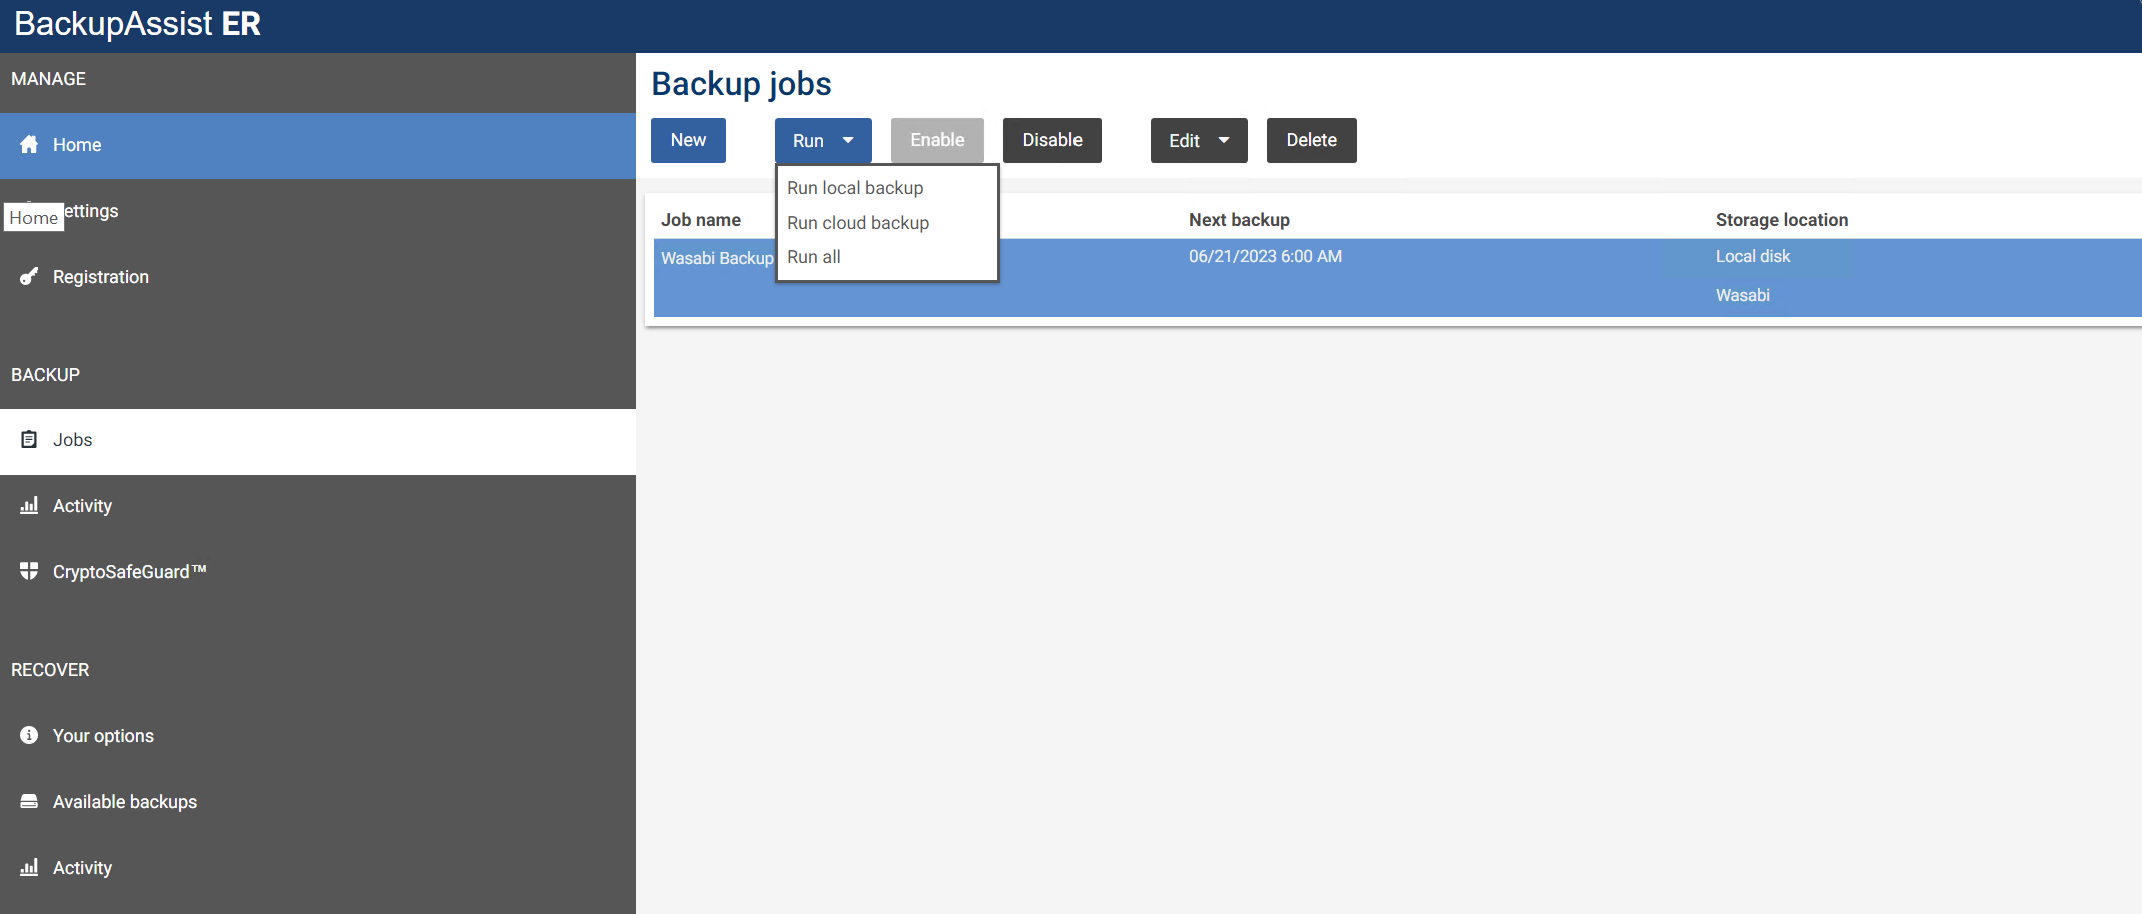
To run the Cloud backup, select the job and select Run cloud backup from the Run drop-down menu.
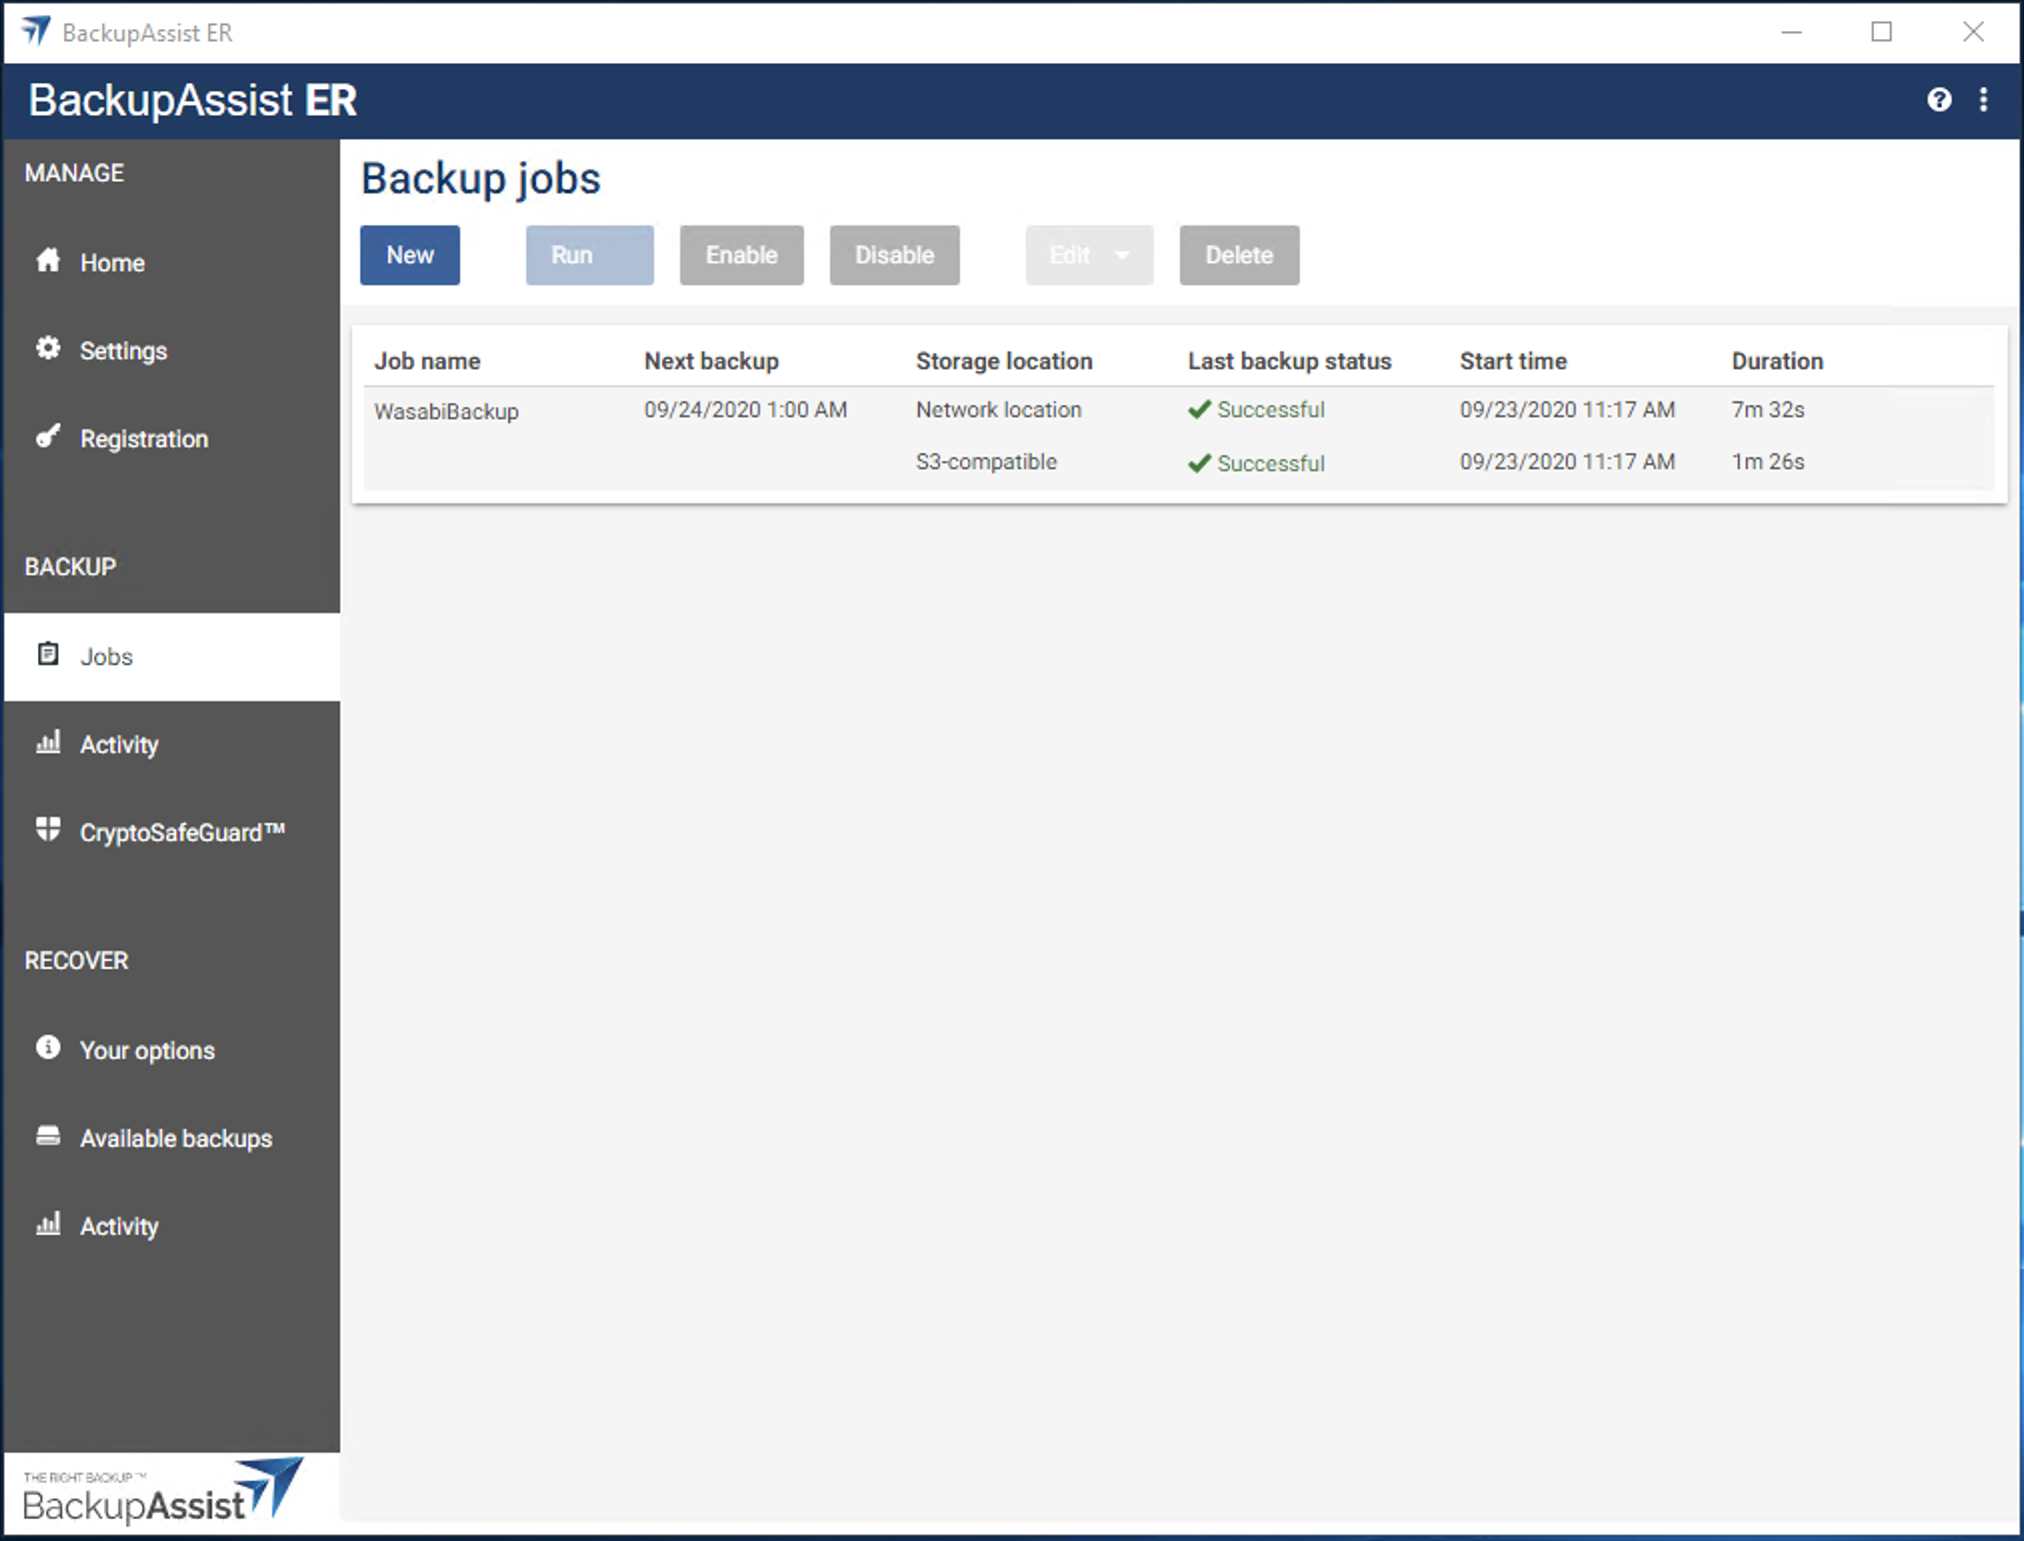
Once the job completes, the status will show Successful.
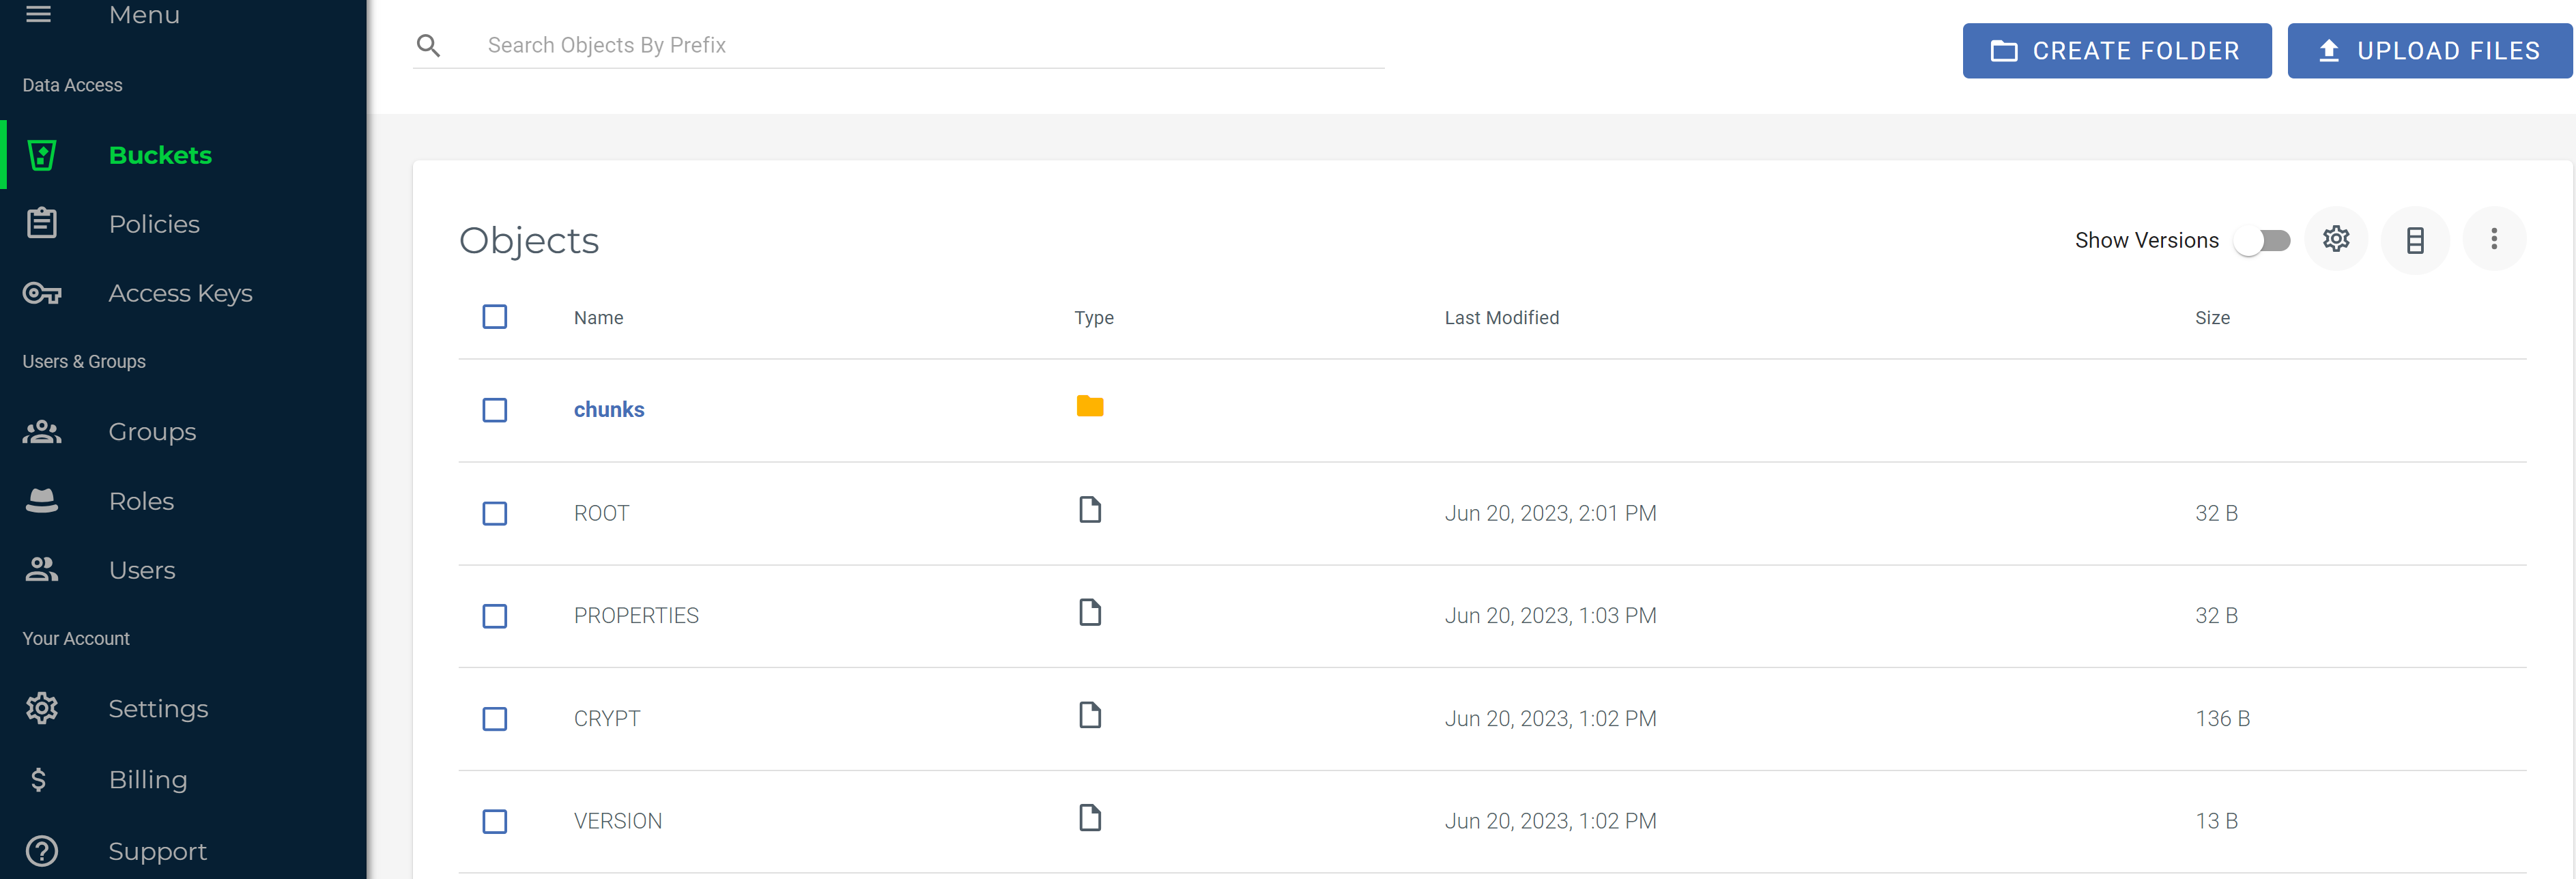
The backup will now be visible in the backup assist folder in your Wasabi account.