Buffalo TeraStation NAS products are validated for use with Wasabi. Follow the instructions below to configure the TeraStation NAS with your Wasabi cloud storage account.
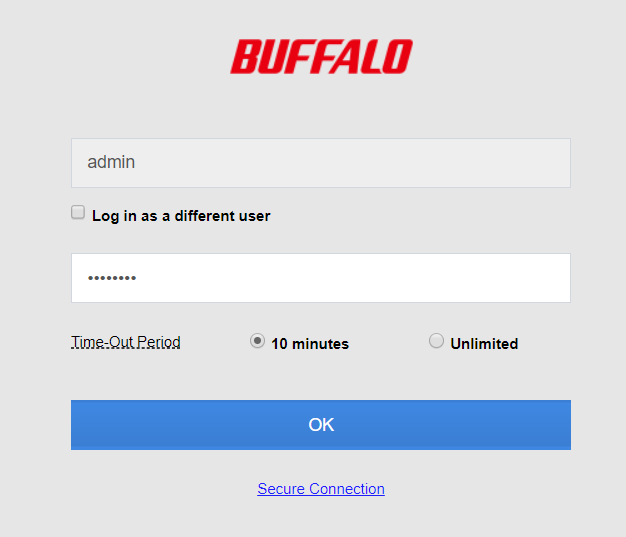
Log in to the Buffalo TeraStation web interface as an admin user.
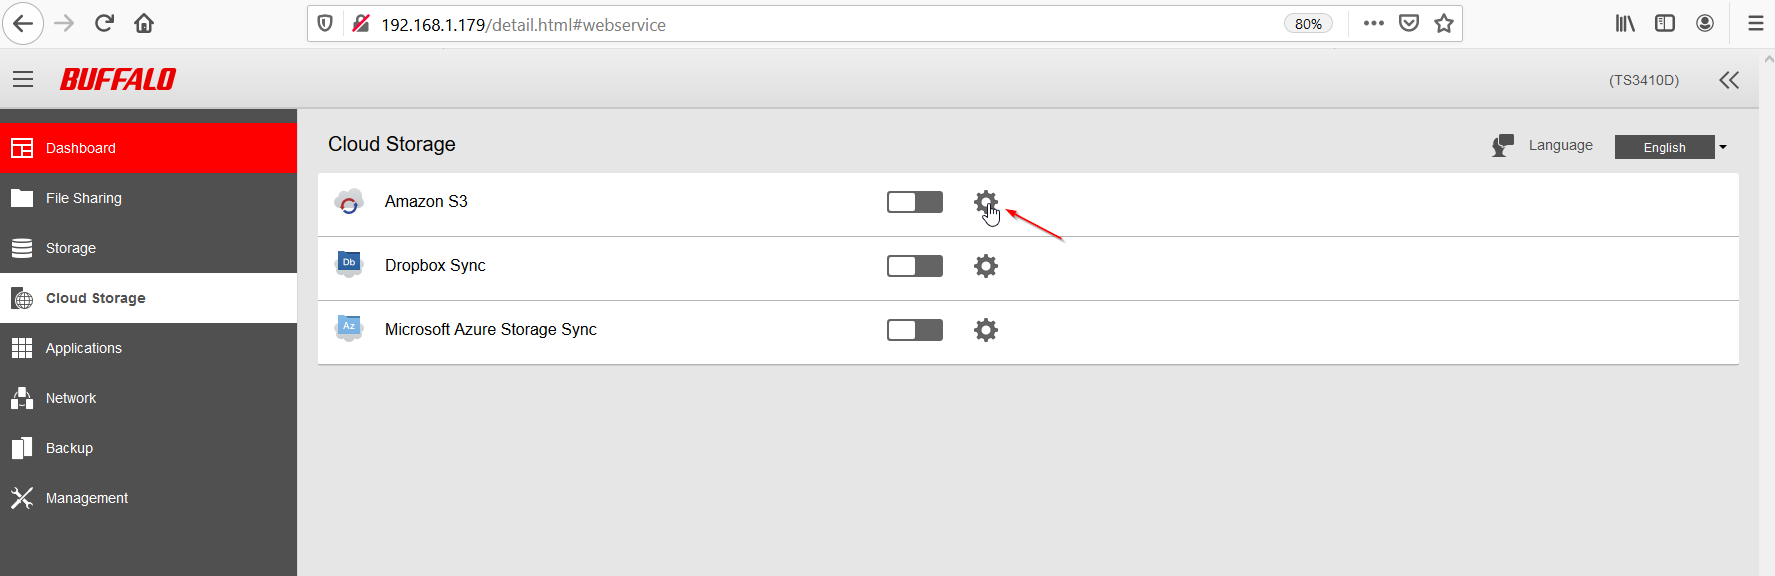
Click Cloud Storage and then click the gear icon next to Amazon S3.
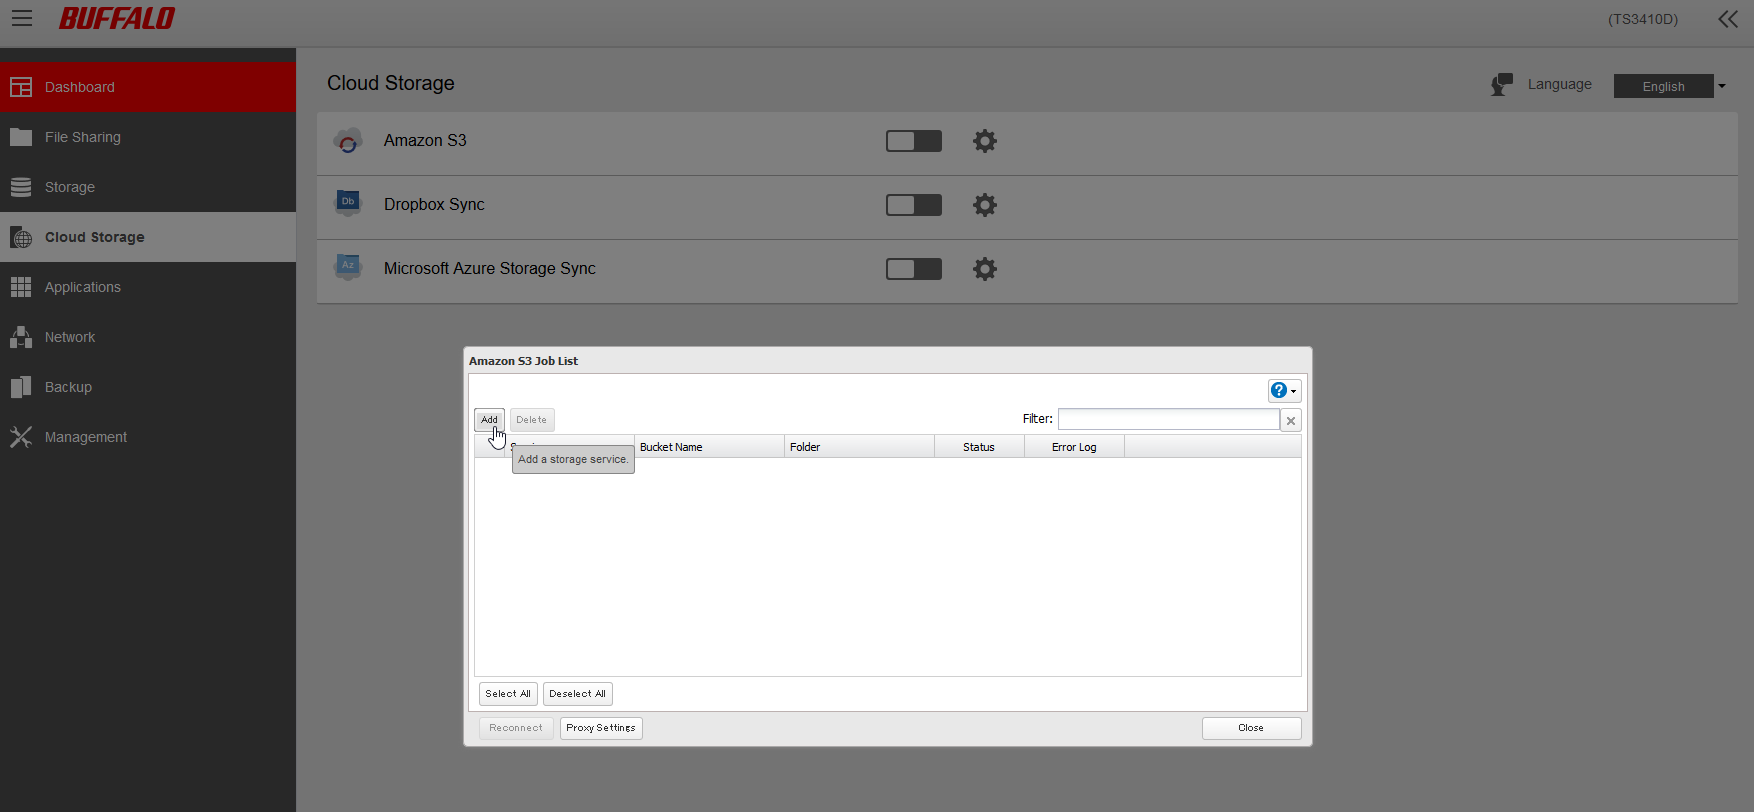
This will open a pop-up window where you can configure your Cloud storage. Click Add.
Select Other Amazon S3 API compatible service from the Service drop-down box. Enter the remaining configuration, as shown below. Click OK.
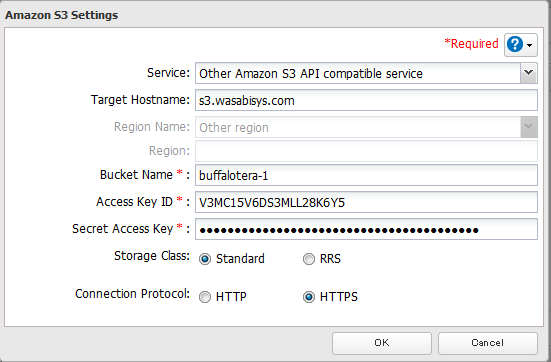
Note that this configuration example uses Wasabi's us-east-1 storage region. To use other Wasabi storage regions, use the appropriate Wasabi service URL as described in Service URLs for Wasabi's Storage Regions.
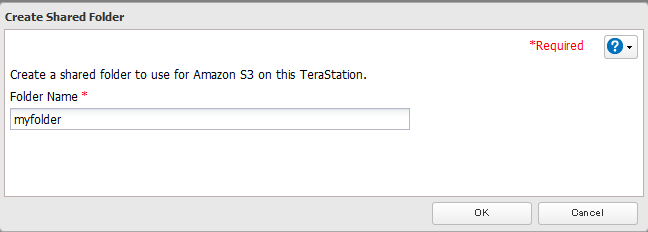
Enter an appropriate folder name in the next pop-up window. Click OK.
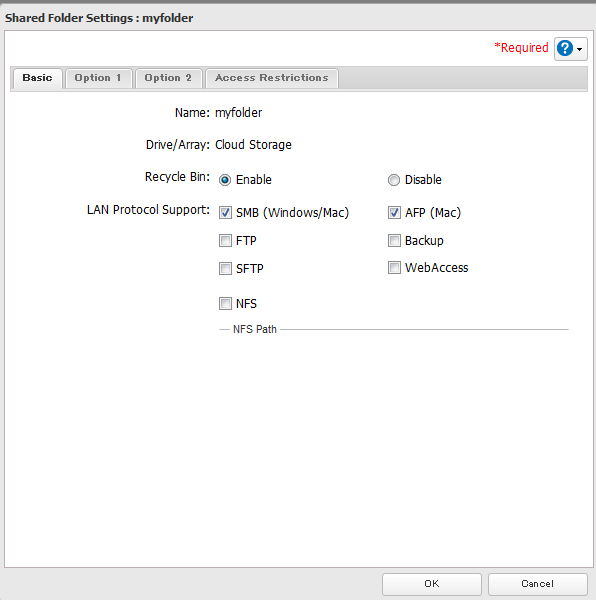
Add the appropriate protocols and access settings. Click OK.
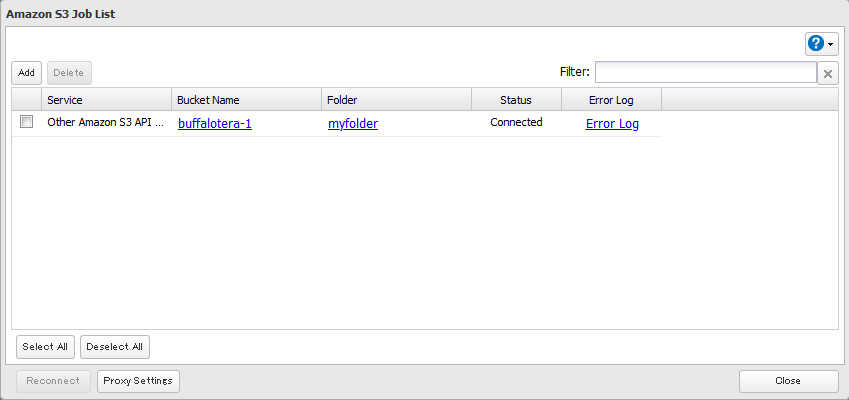
You can now close the open windows. The Status for the cloud storage should show Connected, indicating successful connectivity.
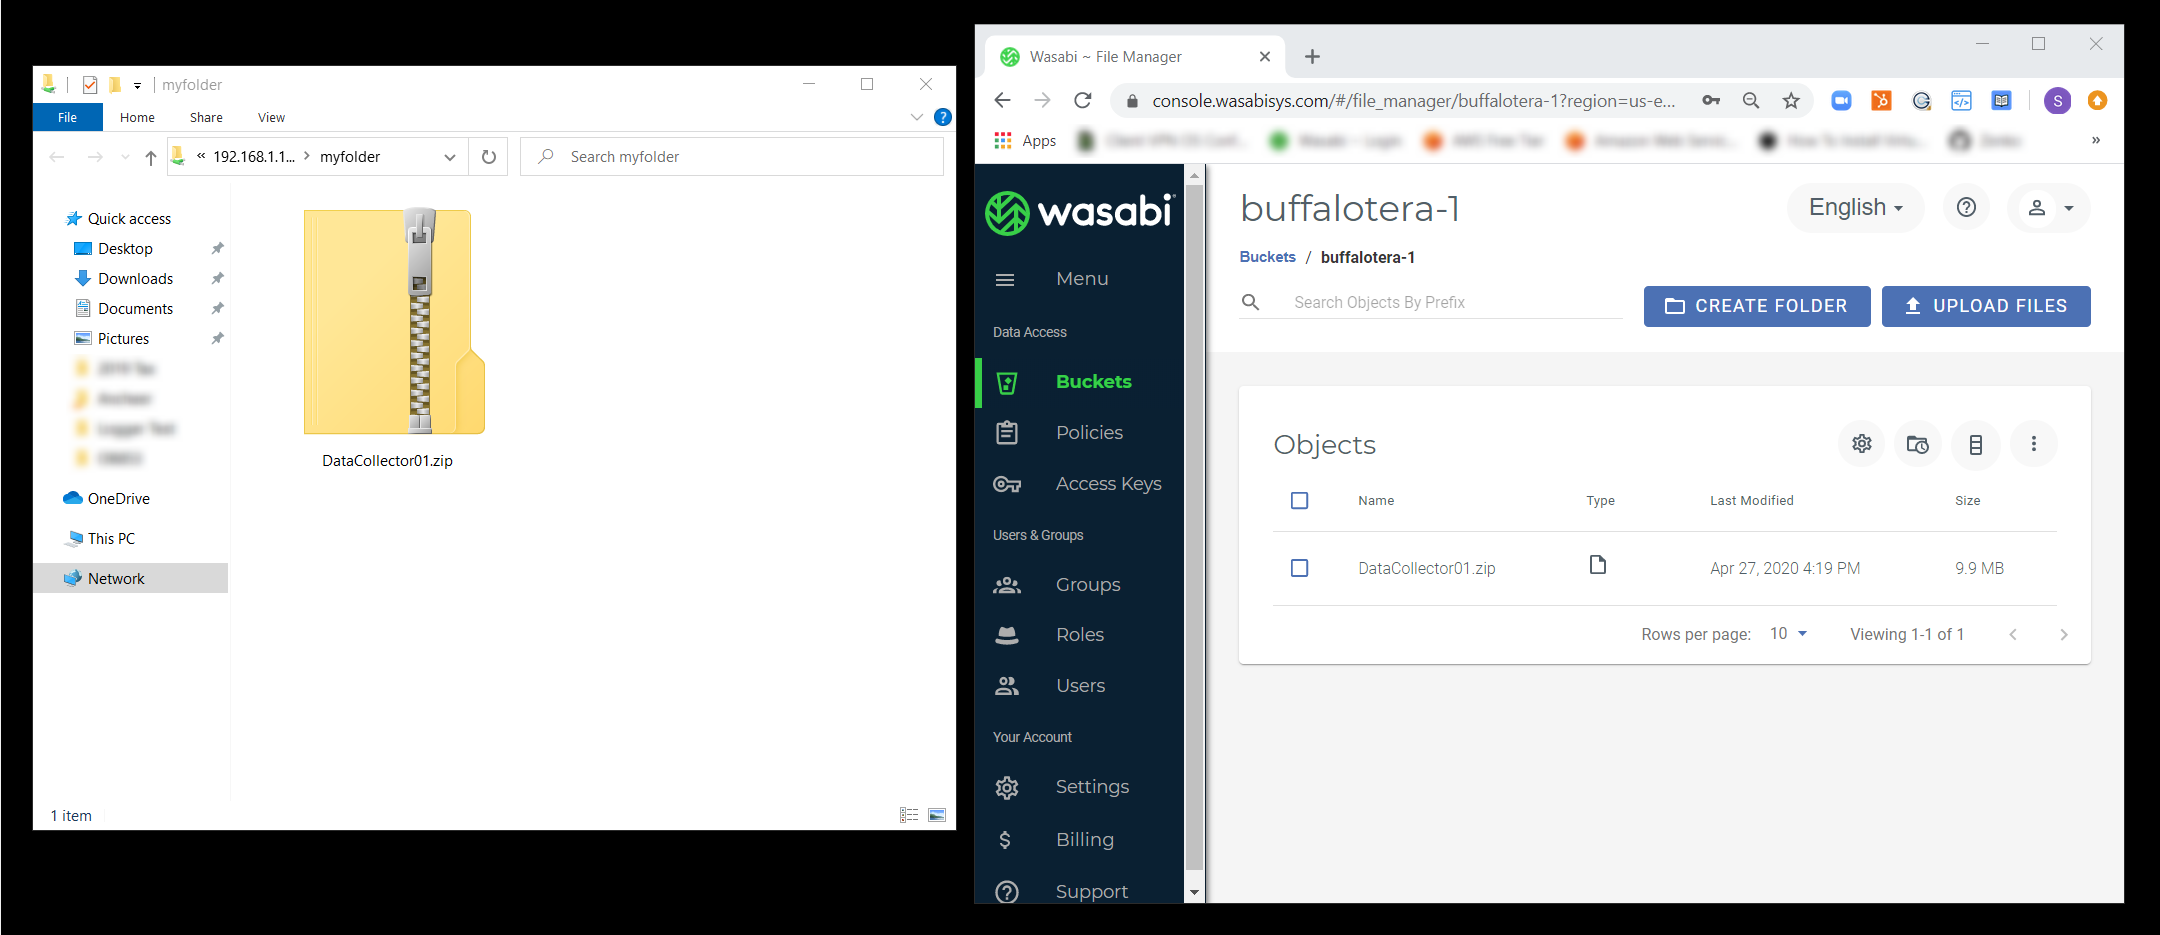
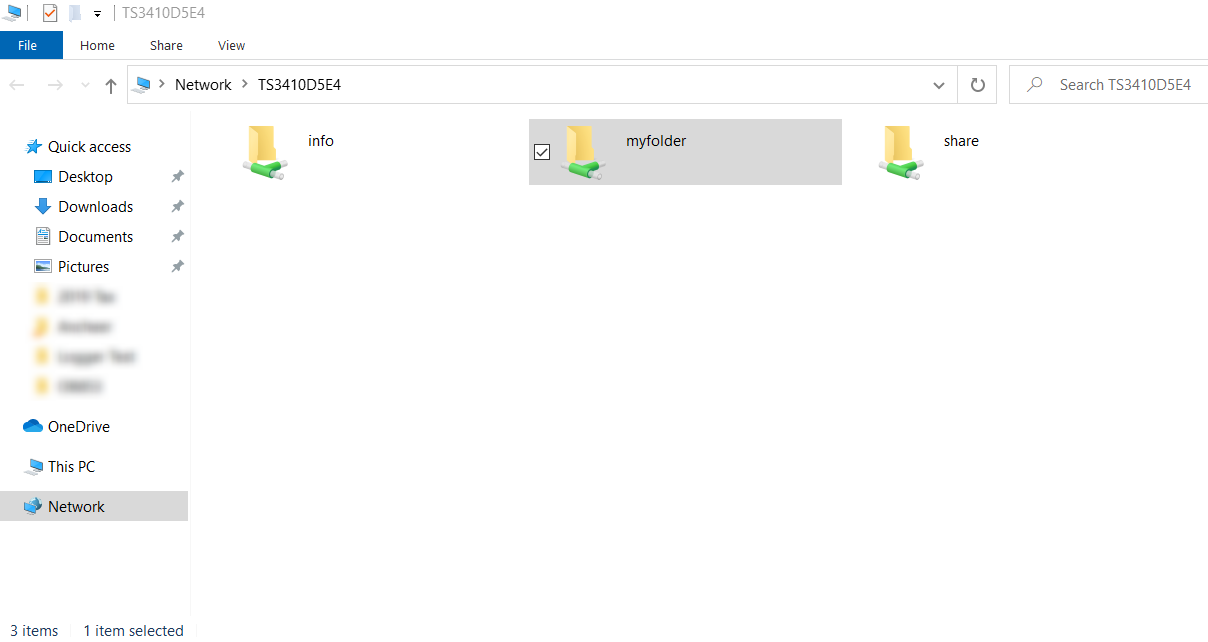
Browse your NAS network share and upload files to the folder created above. Those files will be transferred to your bucket automatically.
Log into the Wasabi Console and verify the contents of your bucket.