How do I use Cloud IBR (Instant Backup Recovery) with Wasabi?
Wasabi has been validated for use with Cloud IBR (Instant Backup Recovery). Cloud IBR is a simple, cost-effective, and fully-automated Disaster Recovery SaaS platform for your Veeam backups stored in Wasabi Object Storage, with on-demand, automation-driven Bare Metal Cloud server and storage infrastructure.
Cloud IBR provides an affordable Disaster Recovery solution with an easy-to-use interface, ideal for small and medium-sized enterprises to quickly recover from ransomware attacks and natural disasters using their Veeam backups in Wasabi. Most SMB’s recoveries are completed in less than a few hours.
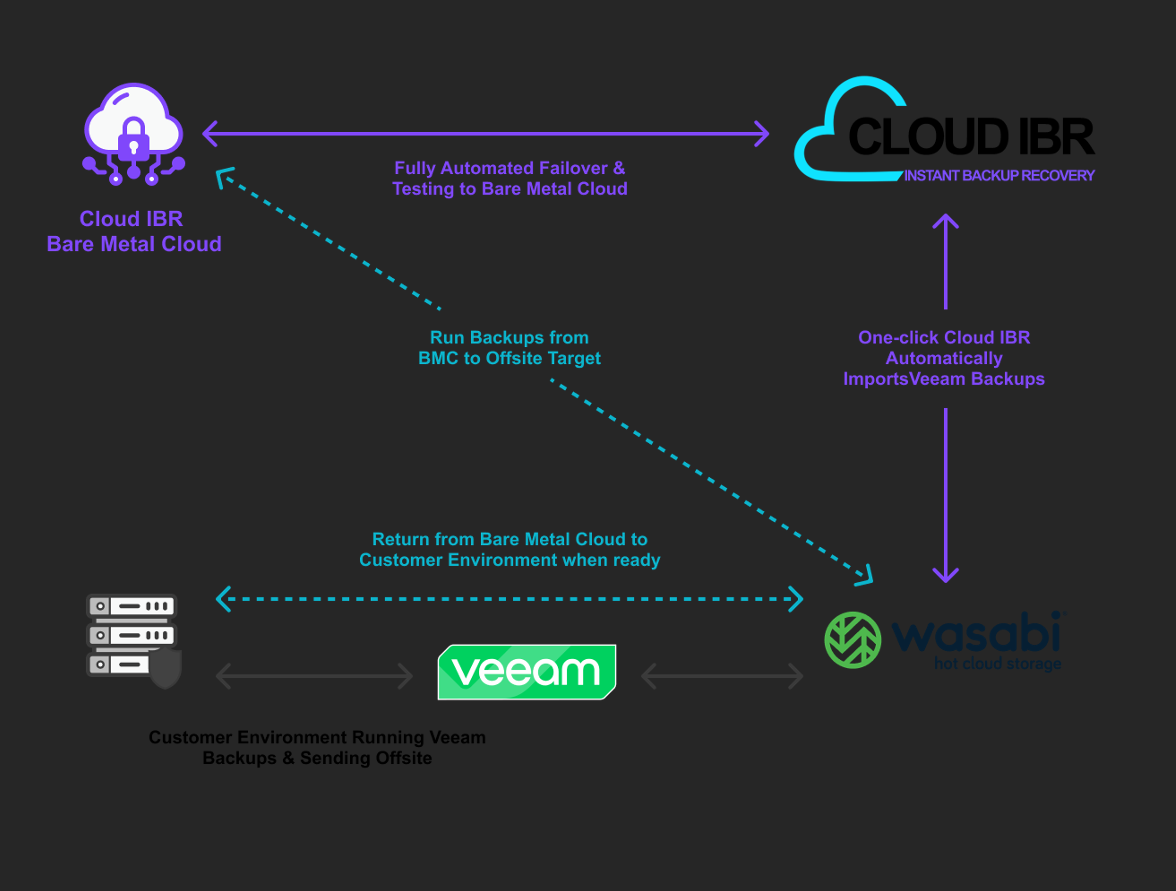
The Cloud IBR SaaS platform automatically deploys Bare Metal Cloud servers in minutes, at locations across the United States, imports your Veeam backups stored in Wasabi Hot Cloud Storage, and immediately begins recovering your servers.
Every recovery test you run with Cloud IBR provides a full report of your disaster recovery test, offering proof of recovery for an auditor, insurance carrier, customer, and so on.
Reference Architecture
Prerequisites
- Customers must have a fully licensed Veeam deployment v10 or later.
- Veeam backups stored in a Wasabi bucket.
- An active Cloud IBR subscription.
- An active Wasabi account.
- Wasabi bucket. For more information, review 2—Working With Buckets and Objects.
- Access and Secret Key pair . For more information, review 3—Creating a User Account and Access Key.
Configuration
- Navigate to Cloud IBRto create your free demo account or join the Partner Program. Once logged in, click the link in the yellow information bar to purchase your monthly or annual membership. Once you have purchased your membership, you will be ready to onboard.
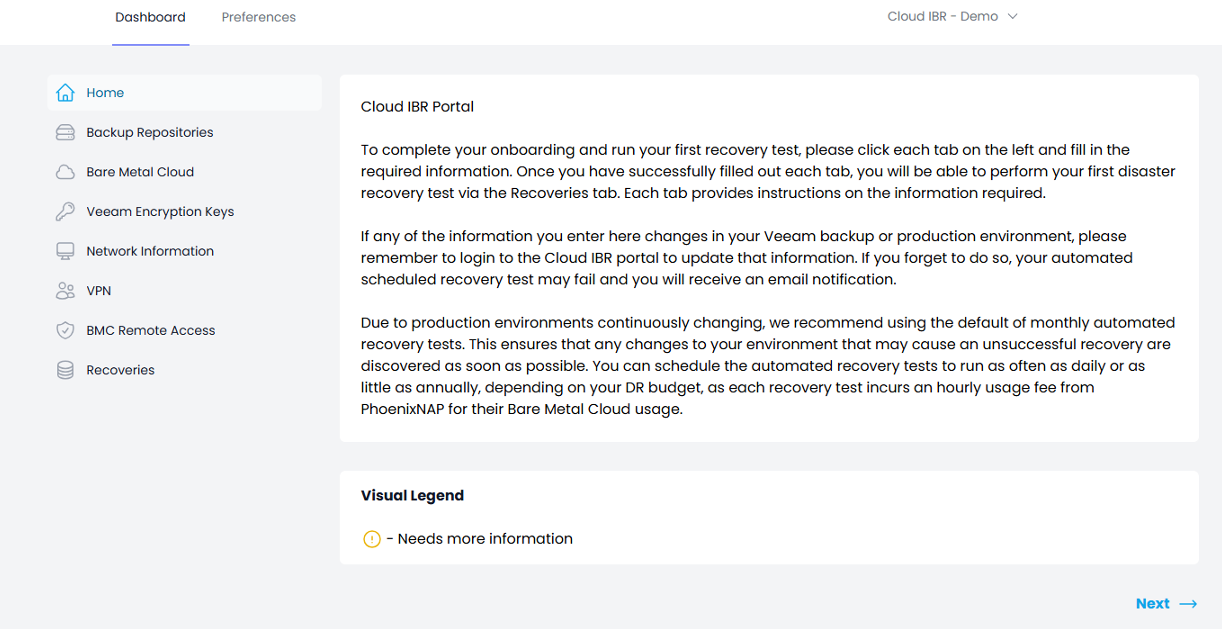
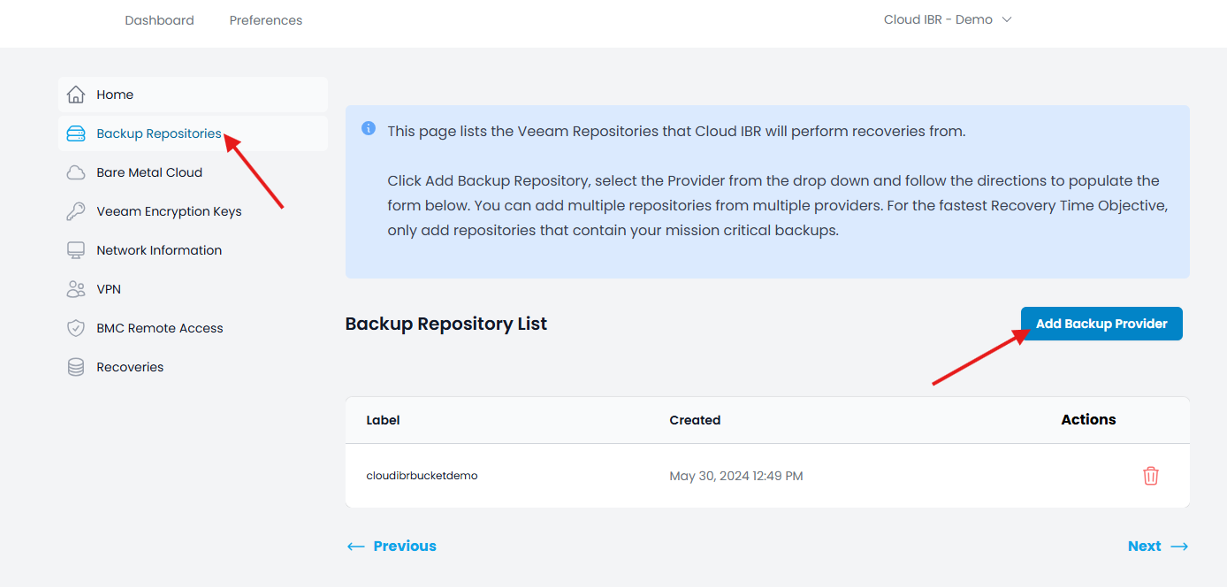
- Select the Backup Repositories tab. Click Add Backup Provider.
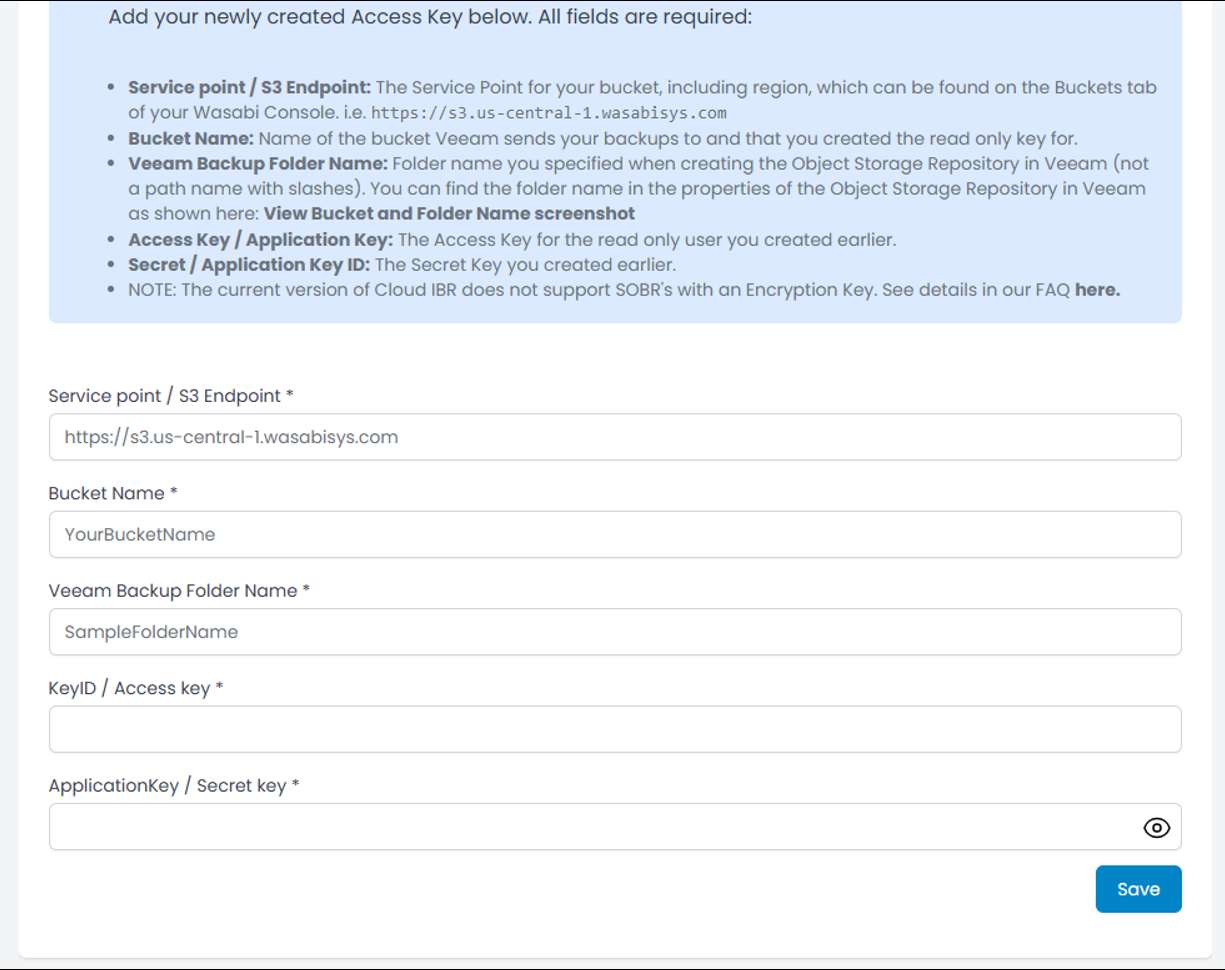
- Select Wasabi as the S3 Provider.

- Follow the instructions onscreen to create a Read Only key at Wasabi and add your S3 bucket to Cloud IBR.This configuration example discusses the use of Wasabi's us-central-1 storage region. To use other Wasabi storage regions, use the appropriate Wasabi service URL, as described in Service URLs for Wasabi's Storage Regions.
- Select the Bare Metal Cloud tab.
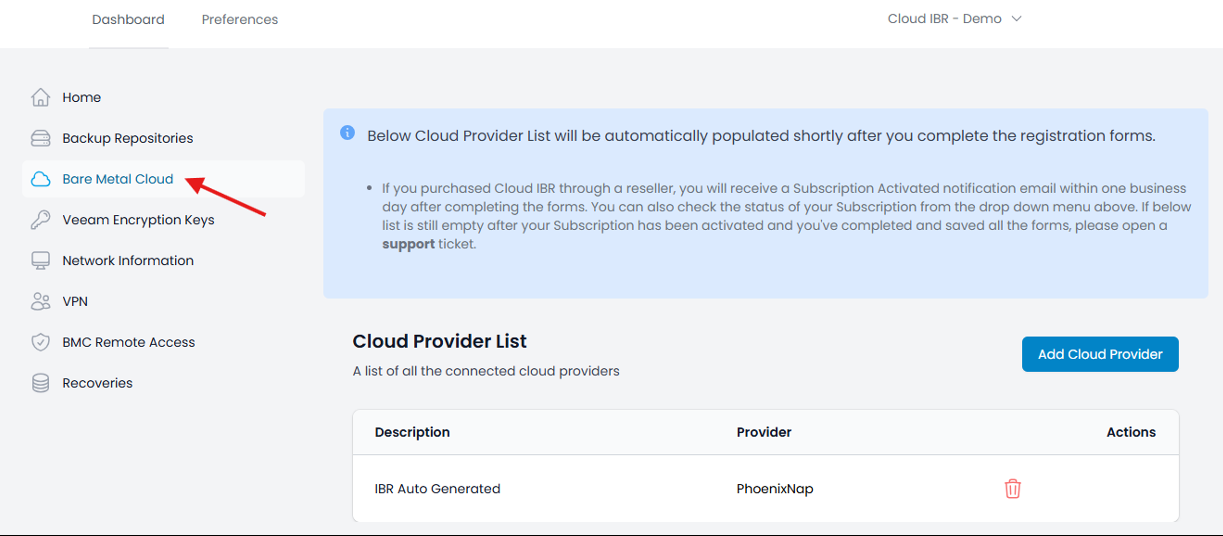
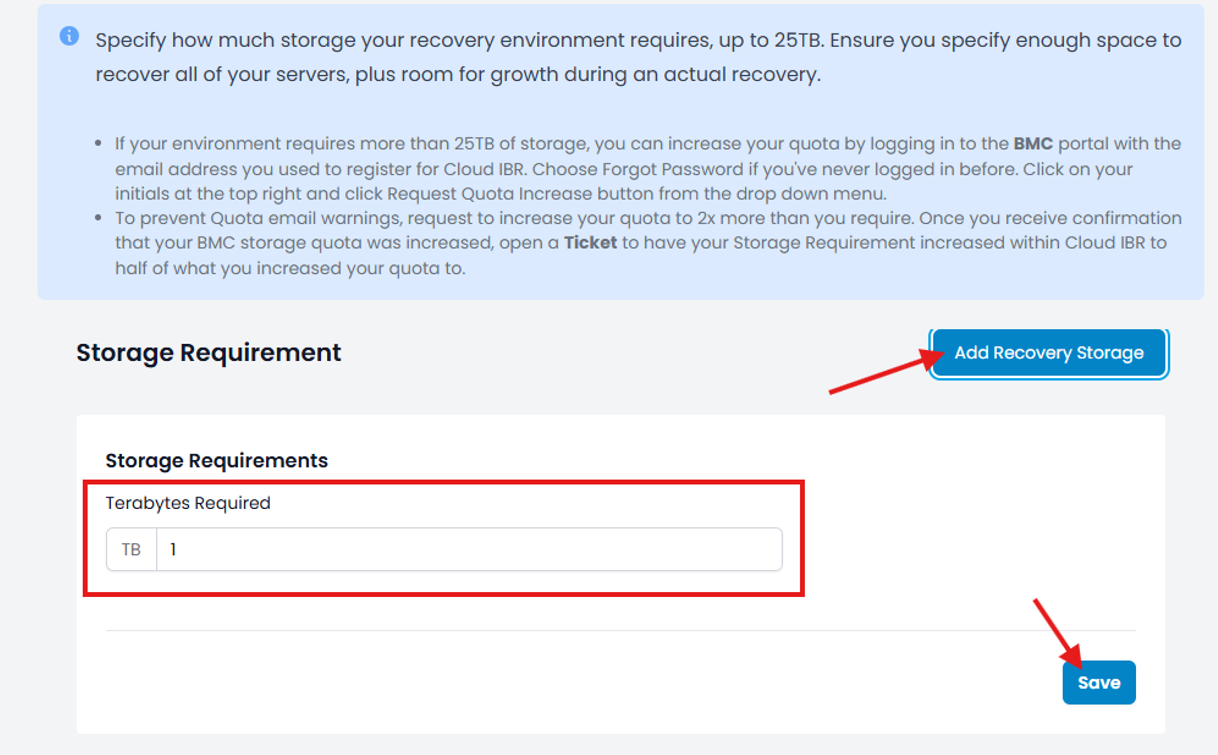
- Under Storage Requirement, specify the storage required to recover the environment. Click Add Recovery storage and enter the quantity of TB required for your recovery infrastructure. Click Save. Click Add Desired Memory and select the amount of RAM needed for your recovery infrastructure. (For detail about how much RAM you can request within each subscription level, refer to Cloud IBR.)
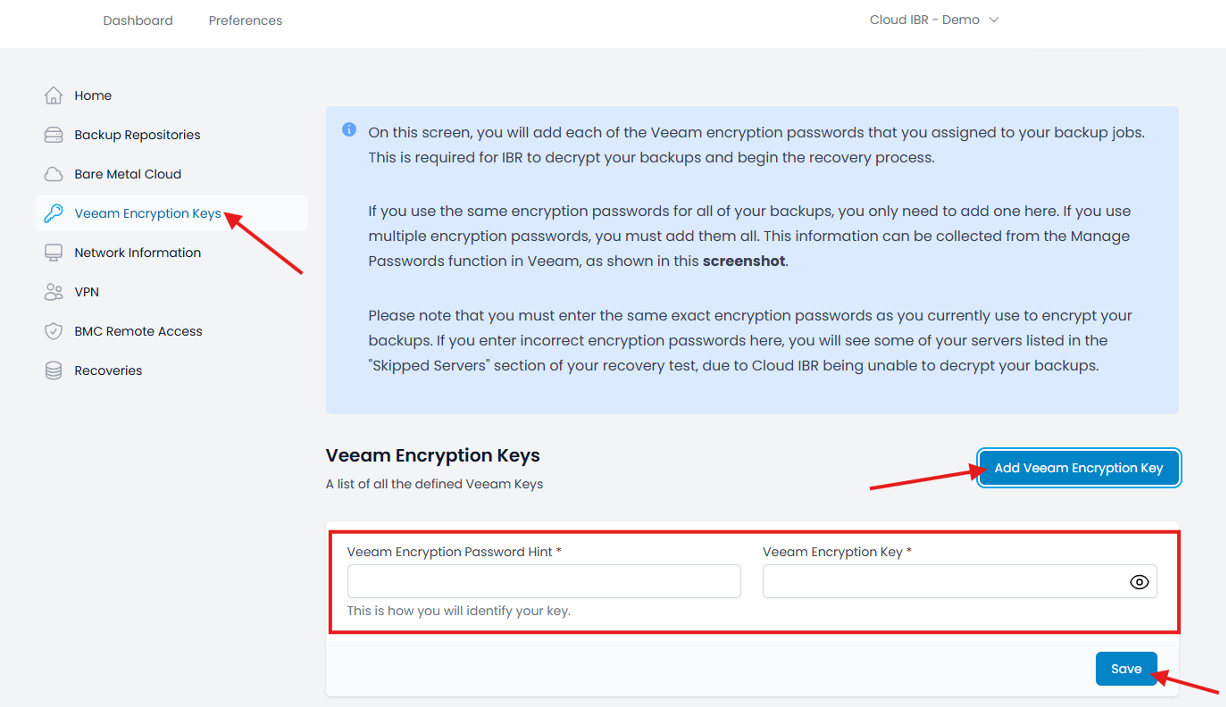
- Navigate to the Veeam Encryption Keys tab. Click Add Veeam Encryption Key and add all of the encryption keys you use within Veeam to encrypt backups that you send to Wasabi. Click Save.
- Navigate to the Network information tab and follow the steps below to add the Gateways and Port Mapping information.
- Click Add Gateway and enter each of the gateways from your production network that your recovery environment will require. For example, 192.168.1.1, 192.168.2.1, 10.1.1.1. These IP addresses will be added to the firewall that is created for each of your recovery tests.
- Click Add Port Mapping and add each port mapping that you require for public inbound access to your recovery environment. If your web server runs on IP address 192.168.1.25 and uses port 443, you will enter those two numbers then click Save. Repeat this step for each port mapping that is required.
- Select the Whitelist tab. Click Add Whitelist Host and/or Add Whitelist Network to add as many IPs and Networks, as needed. These IP addresses will have full access to your Veeam and ESXi recovery infrastructure.
- Select the VPN Users tab. Click Add DR Testing User and Add End User to add as many accounts as needed.
DR Testing Users will have VPN access to your recovery environment every time you run a recovery. End Users will only have VPN access when you opt to include them in the test and when you run an actual recovery. In the two scenarios above, the specified users will receive an encrypted email with their VPN credentials and a link to download the OpenVPN software and client configuration file.
The onboarding process is now complete and you can proceed to do a recovery.
Recovery
To initiate a recovery, follow the steps outlined below.
- Select the Recoveries tab and click Start New Recovery.

- Click the drop-down to select a Recovery Duration. Click the drop-down to select the desired period under "Restore latest recovery point from within last:". Click Initiate Recovery.

You can now monitor the recovery process, as shown below. You will receive an email from Cloud IBR once the recovery is complete.
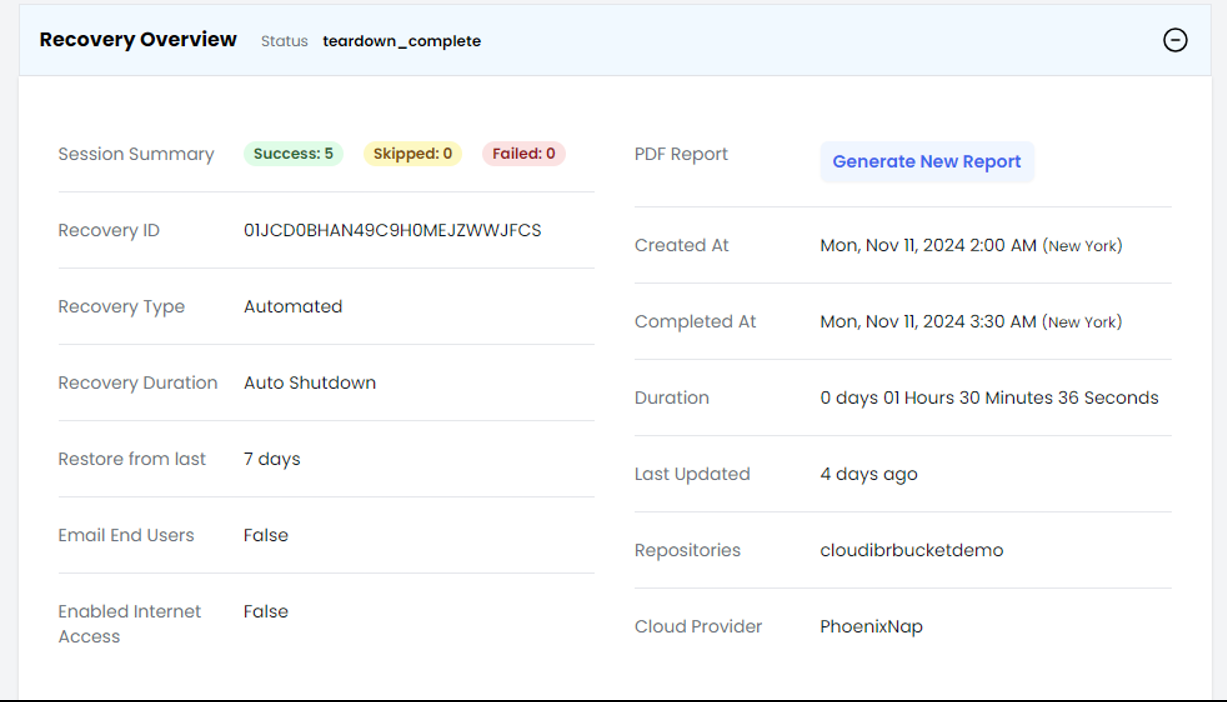
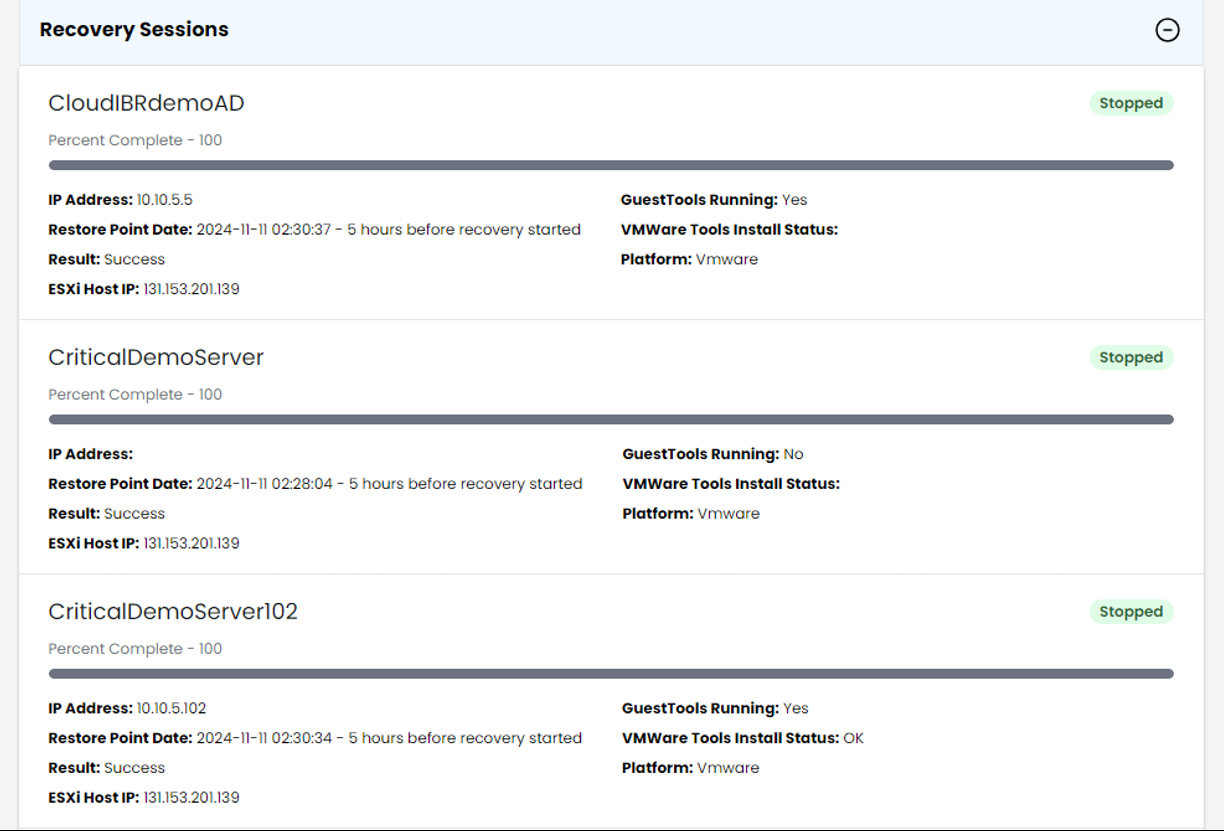
Once complete, Cloud IBR will also present you with the WAN IP addresses and credentials for your Veeam and ESXi hosts, should you want to connect to them directly from one of your whitelisted IP addresses. The Cloud IBR console will also indicate if any older backups were excluded from the recovery or if there were any backup jobs that could not be decrypted.
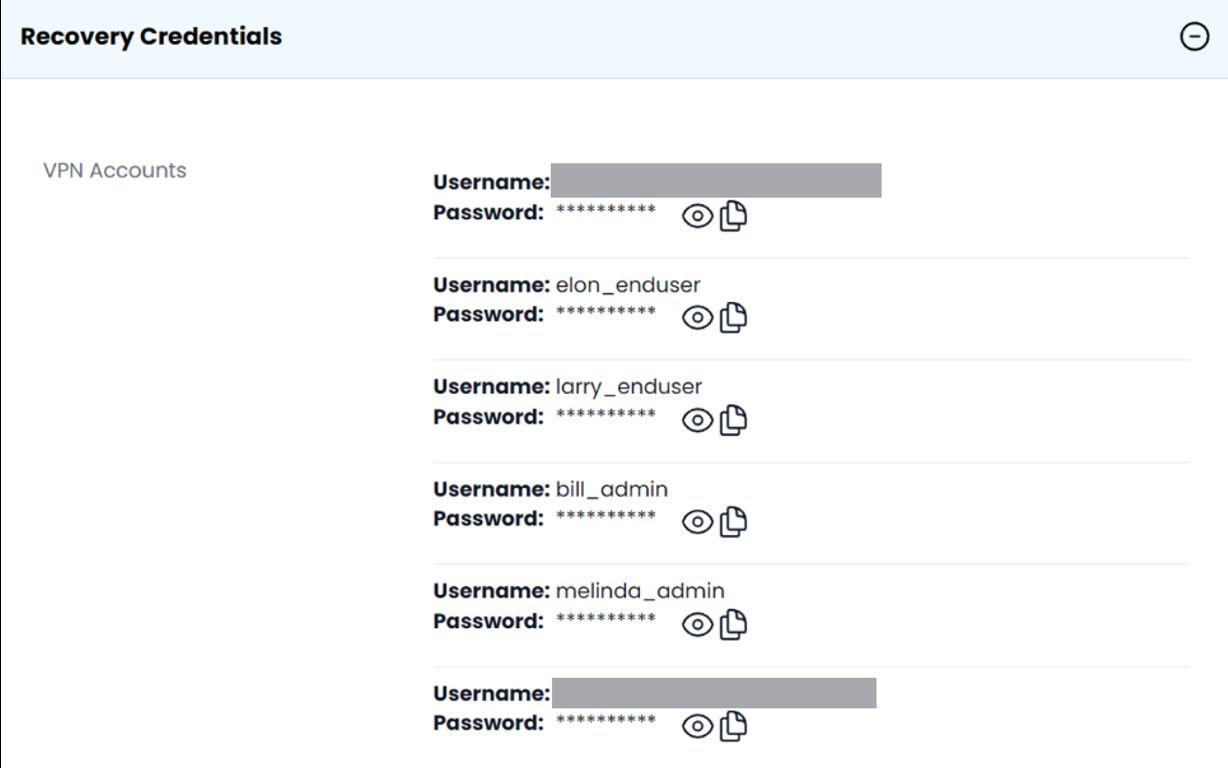
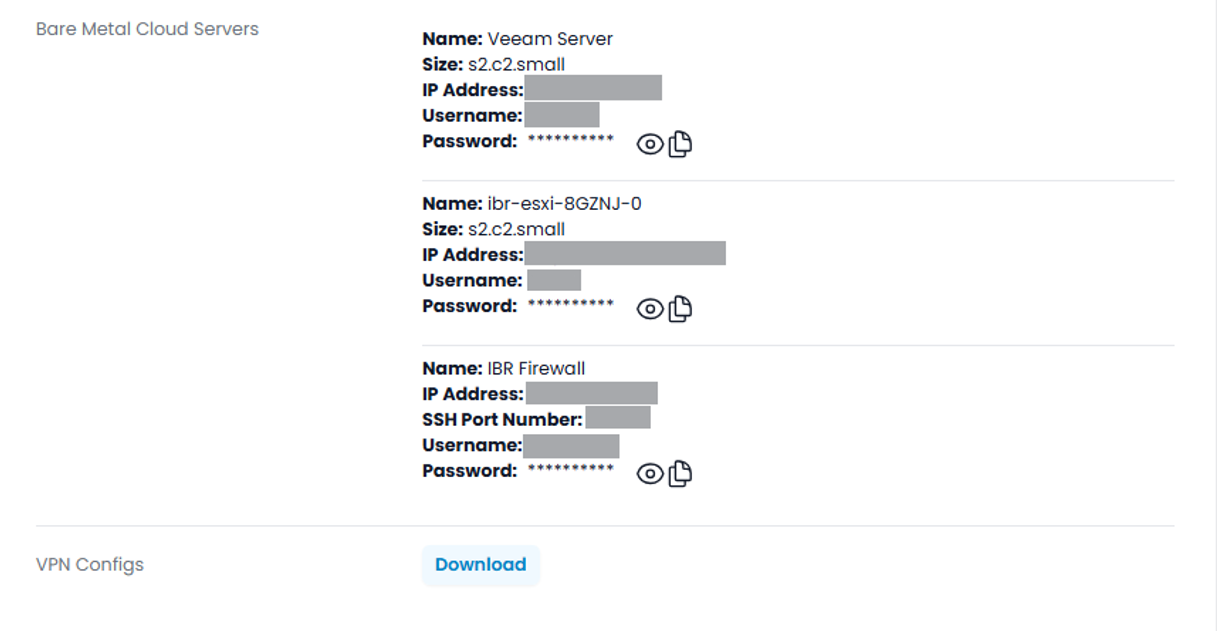
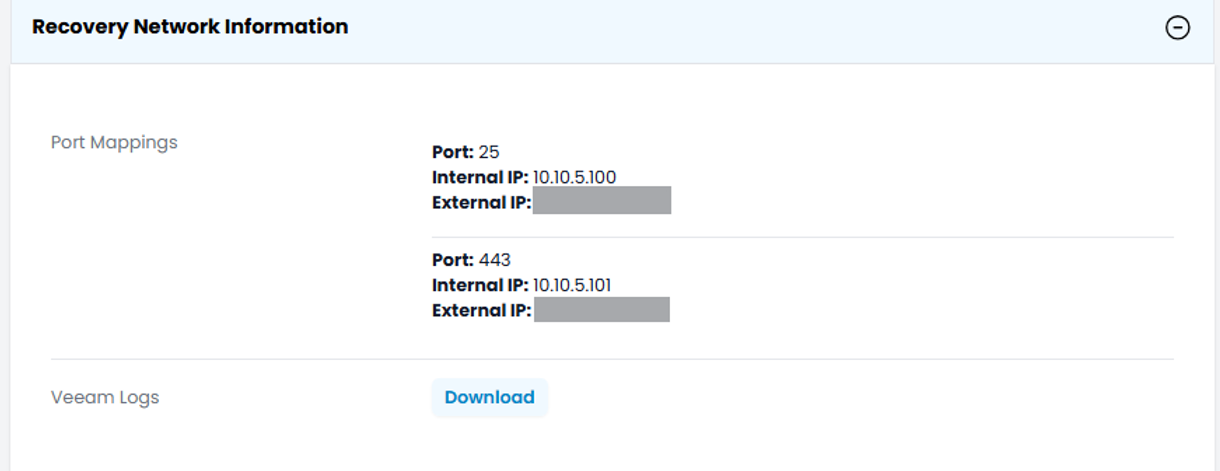
- Once the recovery is complete, test the connectivity to each of your Port Mappings. To connect directly to your recovered servers, follow the directions in the encrypted email you receive to install the OpenVPN software and configuration file.
For FAQs on Wasabi and Cloud IBR connectivity, refer to Cloud IBR FAQ.