Wasabi has been validated for use with Cydex from Caton Technology. Cydex is an enterprise-class file transfer management platform providing best-in-class optimization of data links for point-to-point and point-to-multipoint regardless of file size or bandwidth, overcoming limitations resulting from high network latency and packet loss.
1. Requirements
Cydex server installed v 3.4.1 (installed with archive mode enabled) and licensed
An active Wasabi account
Wasabi Bucket - See our Bucket Creation Guide
Access & Secret Key Pair - See our Access Keys Guide
2. Configure Wasabi as an archival location
To configure Wasabi as an archive target, we need to install the Cydex server in archive mode and configure the archival target during the installation process.
2.1. Navigate to the root folder of your CentOS server where the installer file is downloaded and unzip the file.
$ tar -xvzf 2.2. Go to the extracted folder
$ cd2.3. To install with archive function, run the following command and enter "y" at the prompt.
$ sh install_archive.sh
2.4. If this is the first installation, you may need to specify the directory paths during installation.
On configuring the node service, you must input the Nearline Storage directory path and retrieve the temporary path if archive mode is enabled.

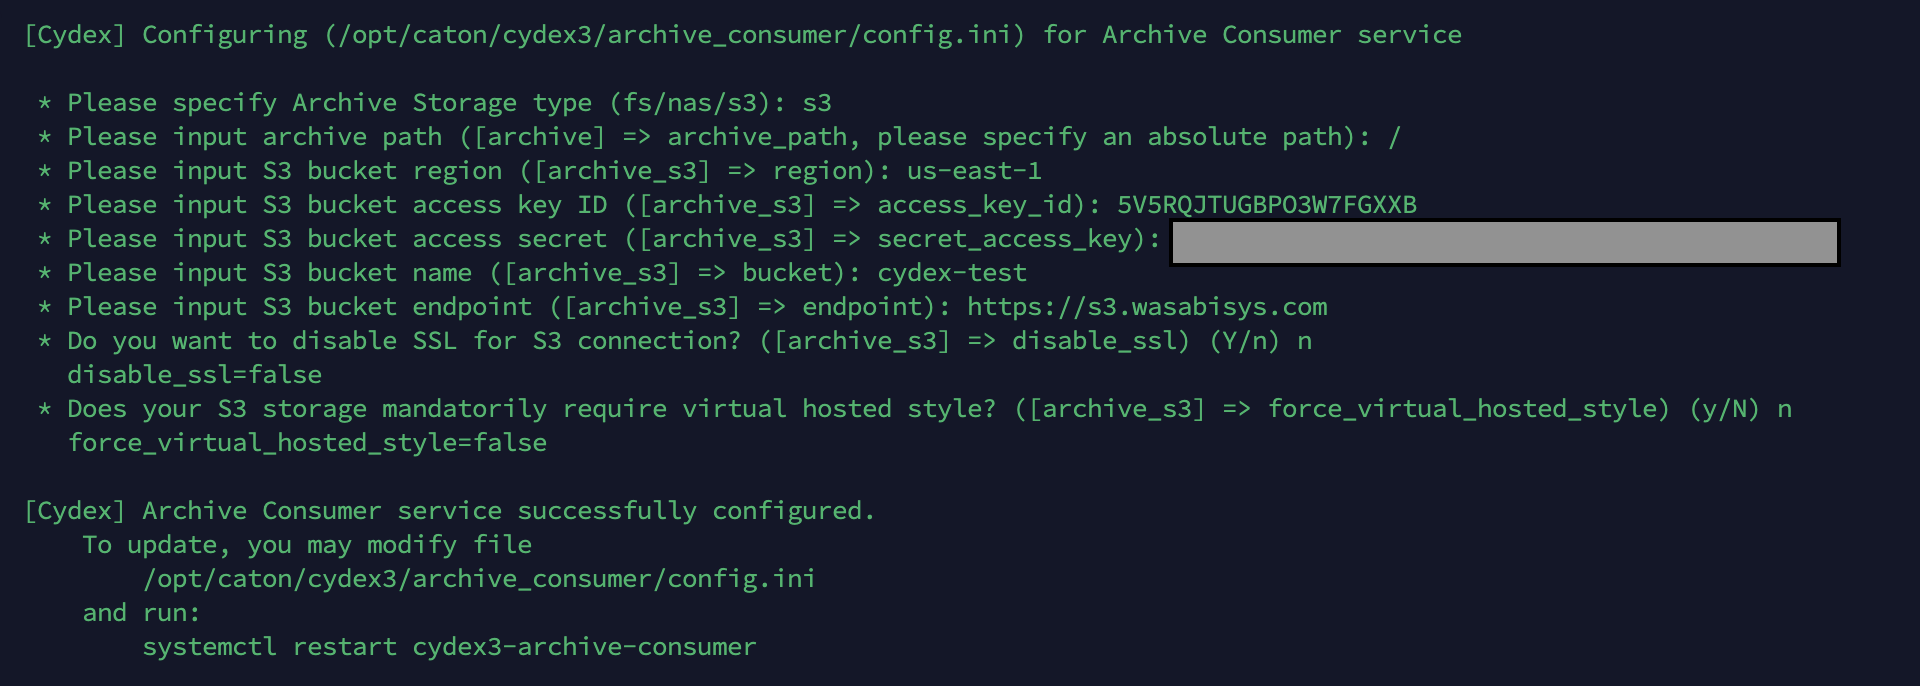
2.5. When archive mode is enabled, you need to configure the archive consumer service. Provide the required information when prompted.
Archive Storage type - enter s3
archive path - provide the folder path
S3 bucket region - region where the bucket is located (in our example, it is us-east-1)
S3 bucket access key ID - Wasabi access key
S3 bucket access secret - Wasabi secret key
S3 bucket name - Wasabi bucket name
S3 bucket endpoint - endpoint URL of the region where the bucket is located
Note: This config example discusses the use of Wasabi's us-east-1 storage region. To use other Wasabi storage regions, please use the appropriate Wasabi service URL as described in this article.
2.6. When the installation completes, the message - "Cydex is installed successfully" is displayed.
The Cydex server is now installed with Wasabi as the archival location.
3. Create Workspaces
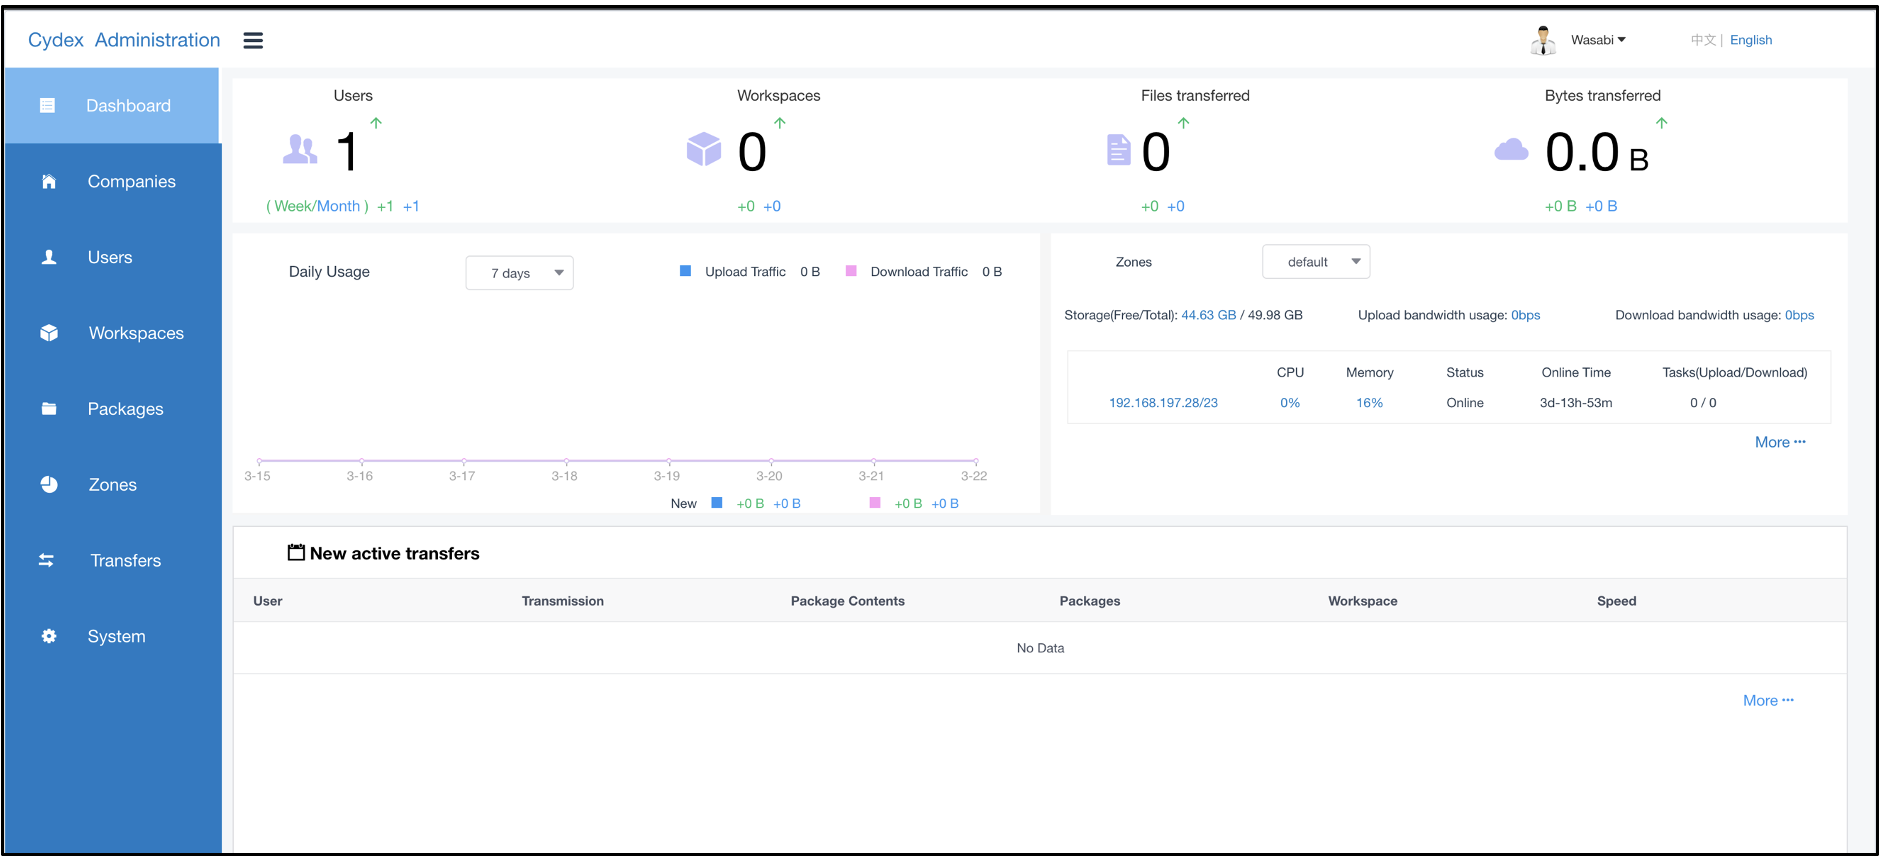
3.1. Log in to the Cydex server admin portal at https://[IP address of the server]:8443.
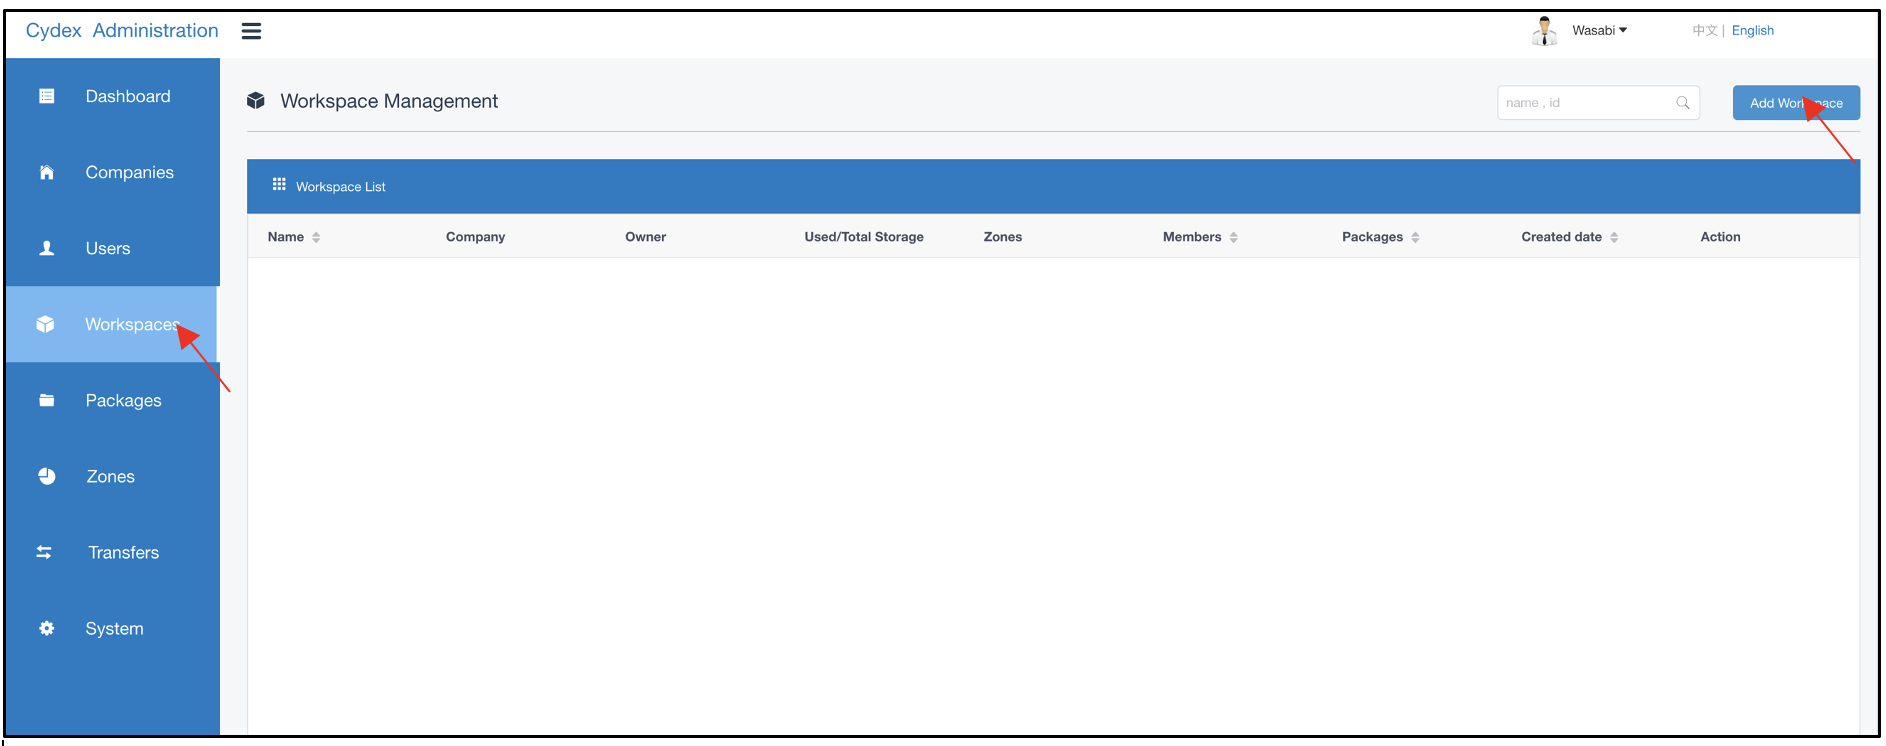
3.2. Navigate to Workspaces and click Add Workspace.
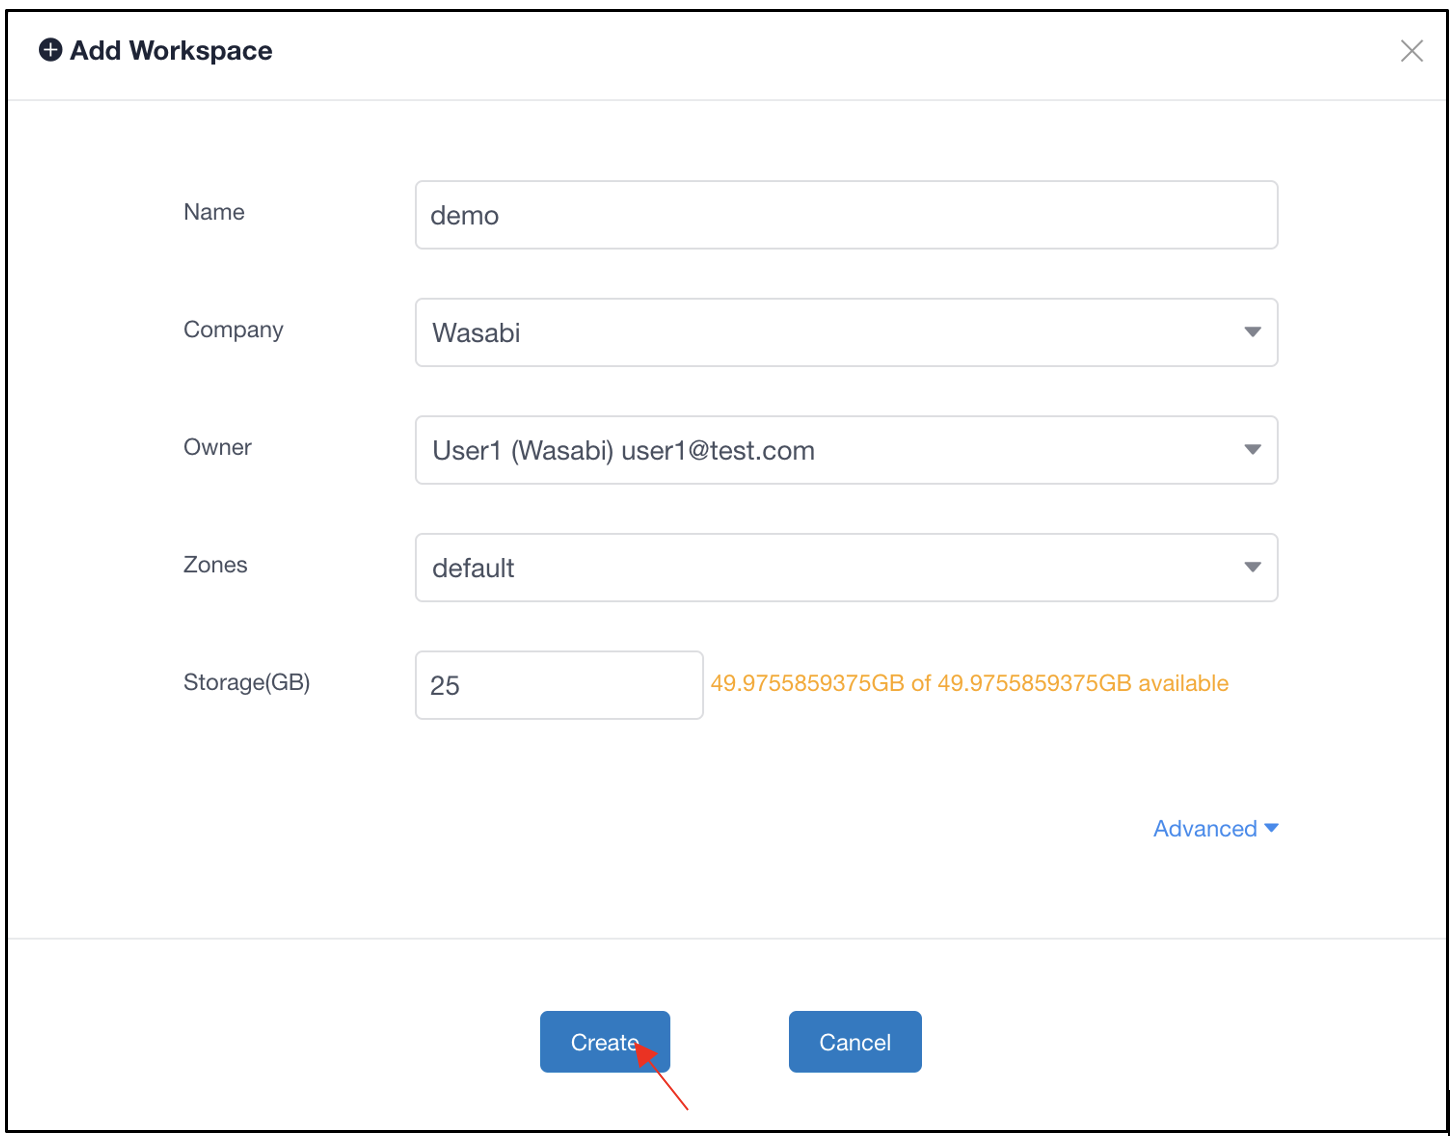
3.3. In the Add Workspace dialog box, provide the details below and click Create.
Name - provide a name for the workspace
Company - select a company from the dropdown
Owner - select the owner of the workspace
Zones - configure the desired Zone
Storage - assign a storage quota to the workspace
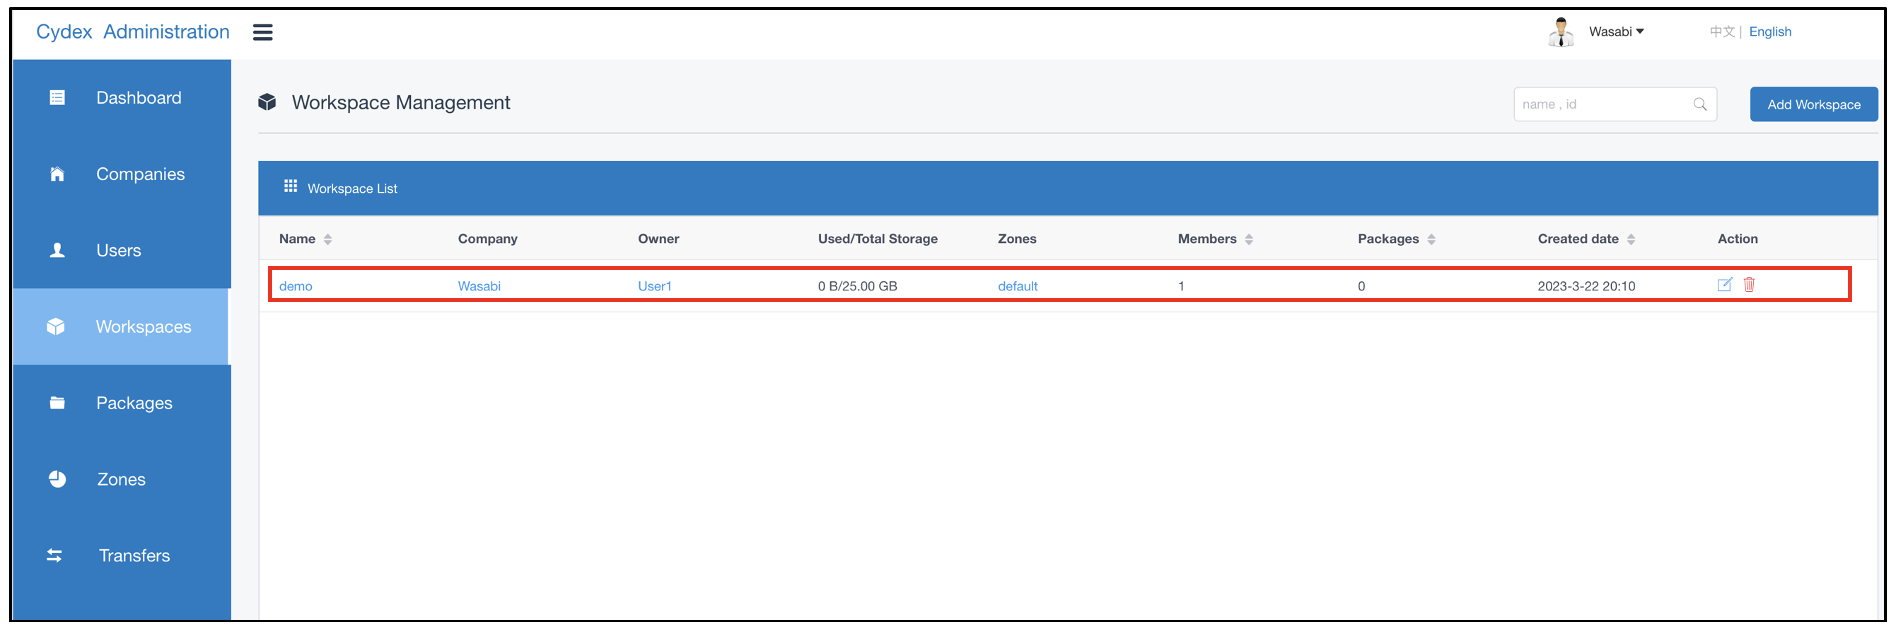
3.4. The new workspace created now has Wasabi as the archival target and is listed in the Workspaces tab.
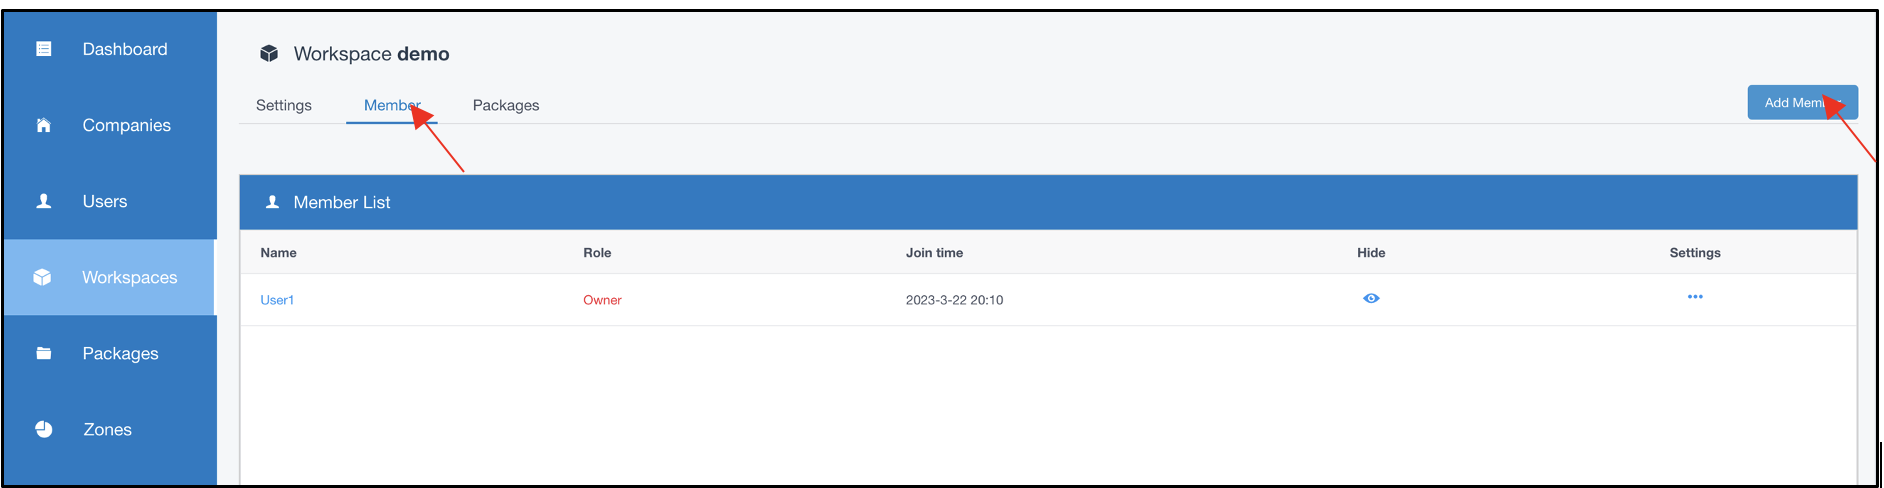
3.5. To add additional members to the workspace, click on the workspace. Navigate to the Members tab and click Add Member.
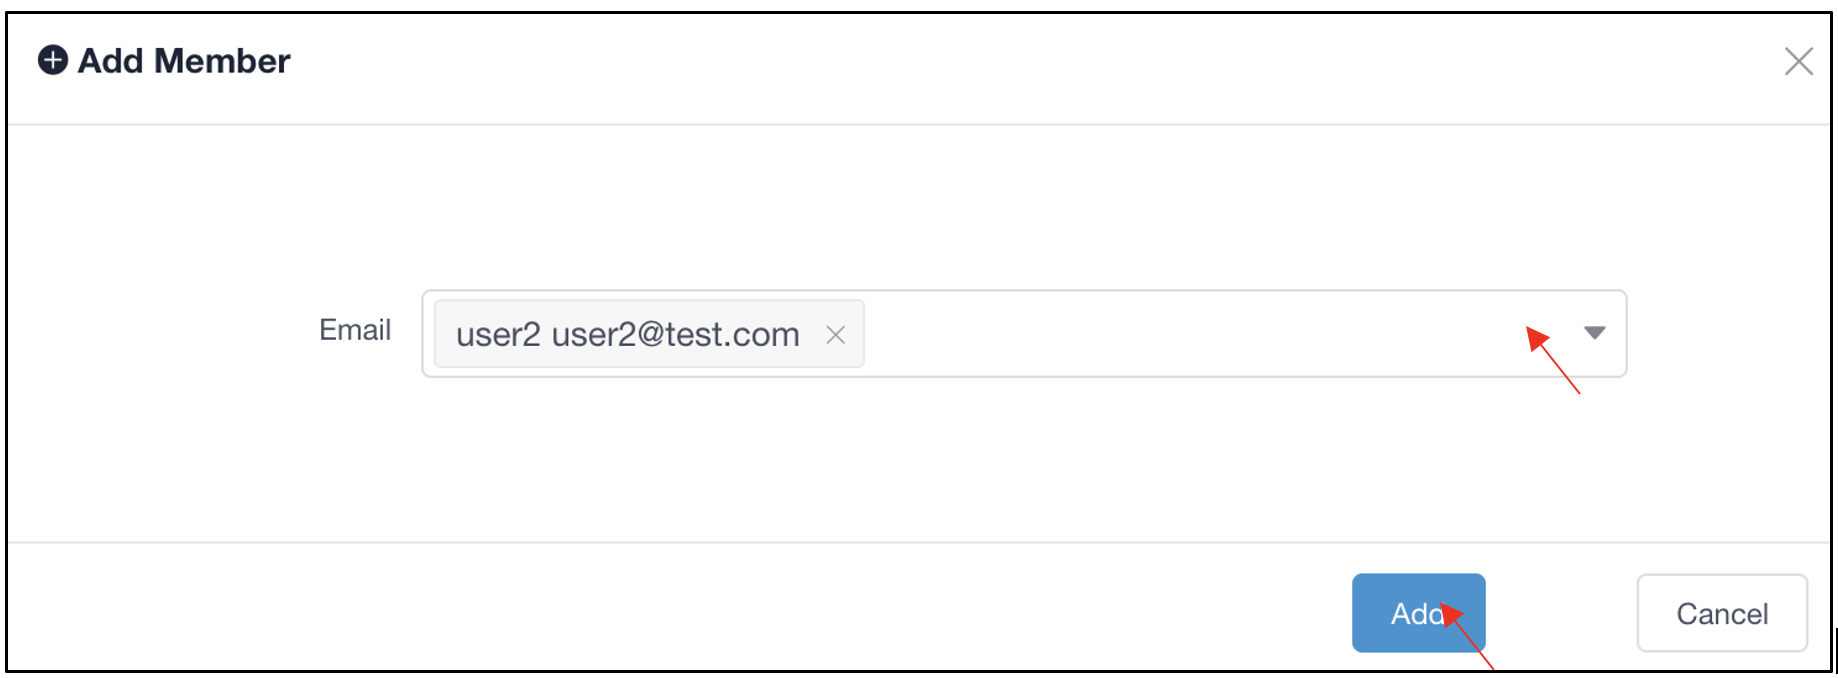
3.6. Select the desired users from the dropdown and click Add.
4. Using the Workspace
4.1. To access the workspace, go to https://[IP address of the server]/app/login.
Note: Users can only access those workspaces to which they have been added as members.
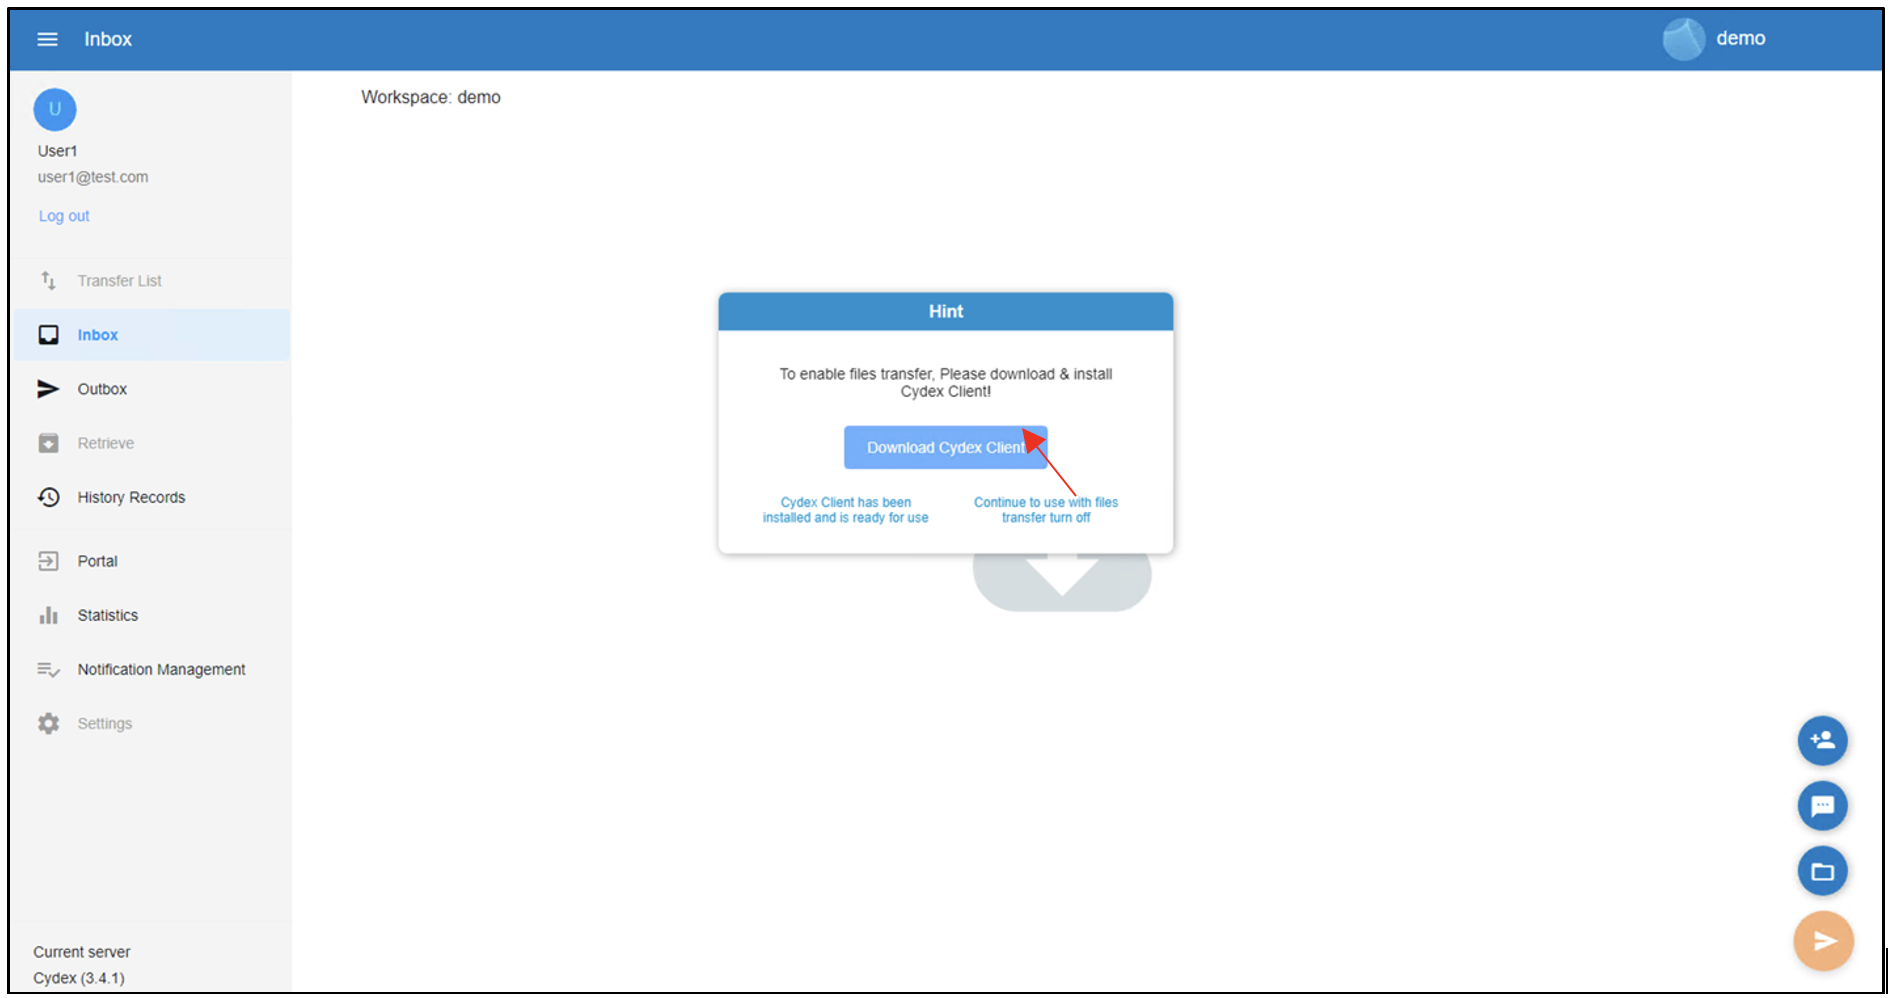
4.2. If this is the first time you are logging into a Cydex workspace, you will be prompted to download the Cydex client app. Click Download Cydex Client and install the client when the download completes.
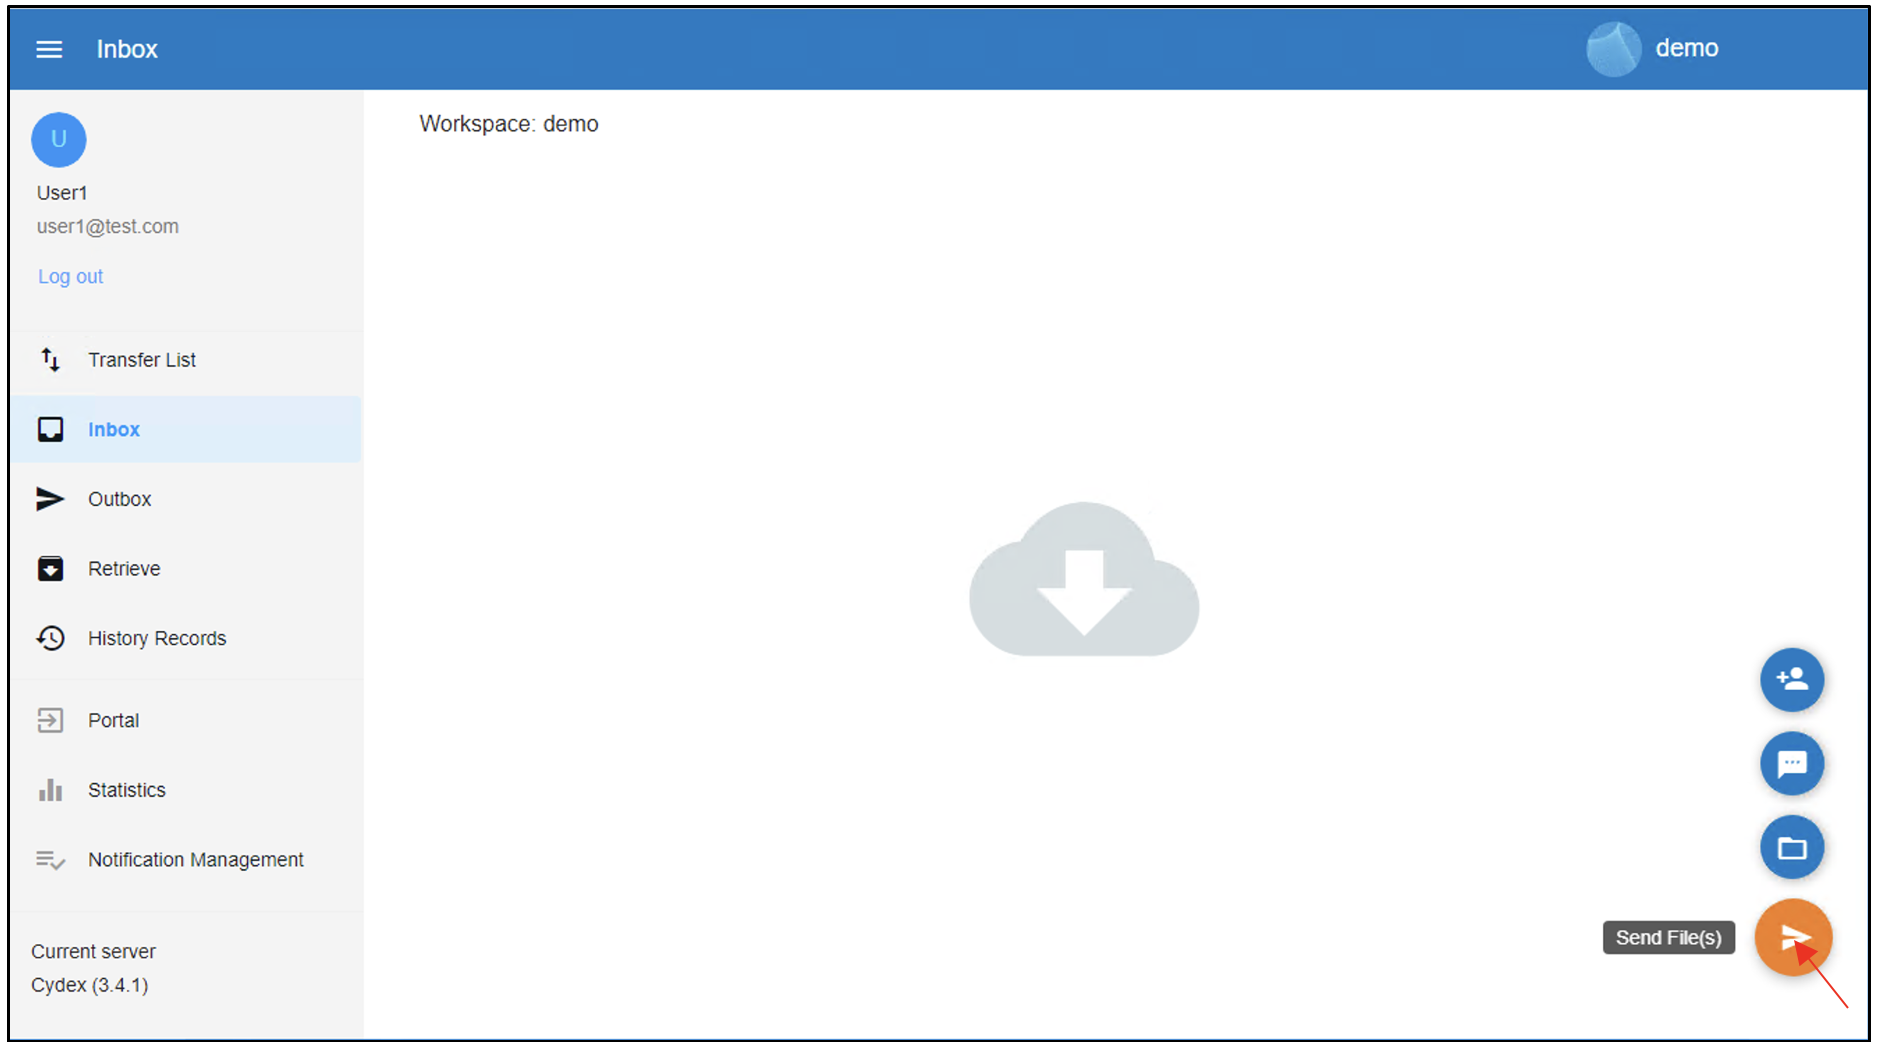
4.3. To upload a file, click the orange arrow at the bottom right corner of the page.
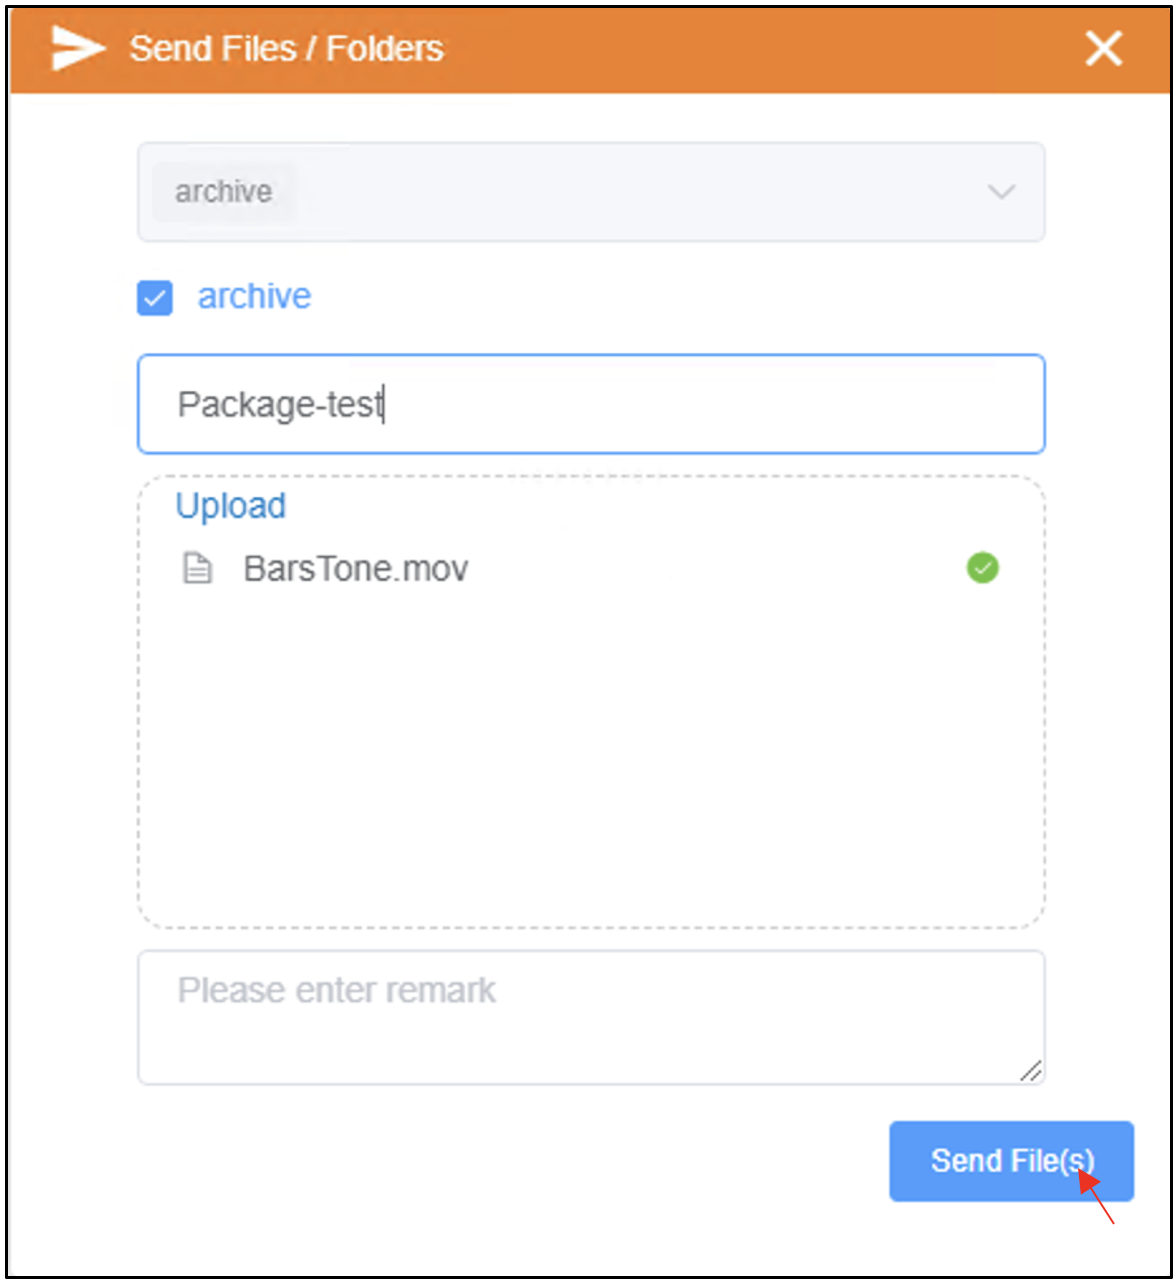
4.4. In the Send Files/Folders dialog box, select the checkbox named archive.
Provide a name for the package. Click on Upload and click on the desired option - Choose Files
or Choose Folder and select the required files.

4.5. Provide any remarks (optional). Click Send File(s).
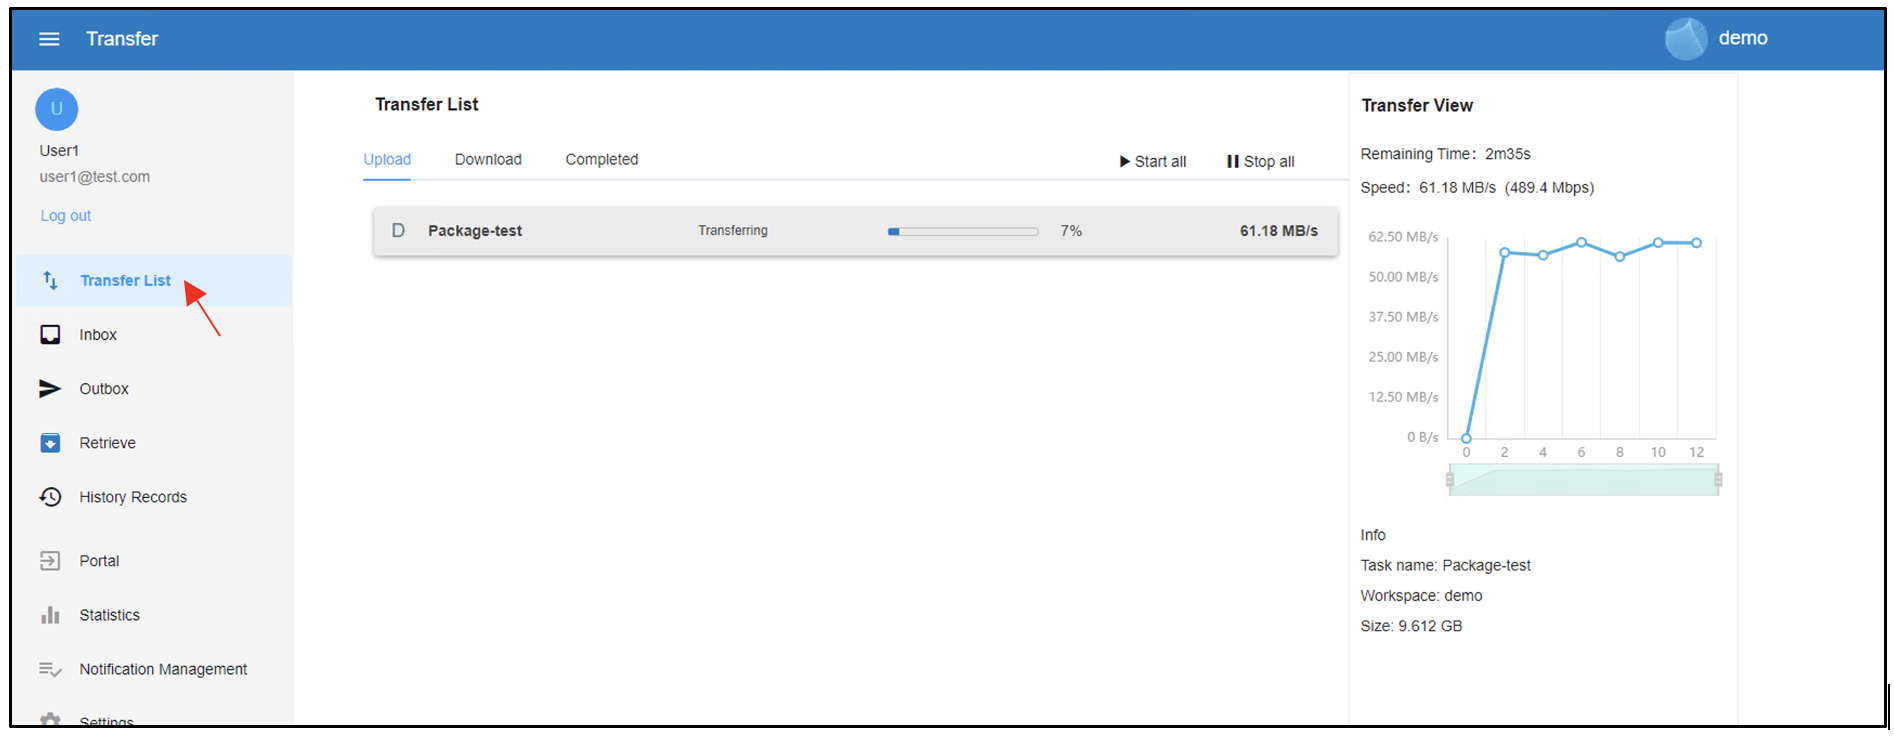
4.6. The Transfer List tab provides the progress of the transfer.
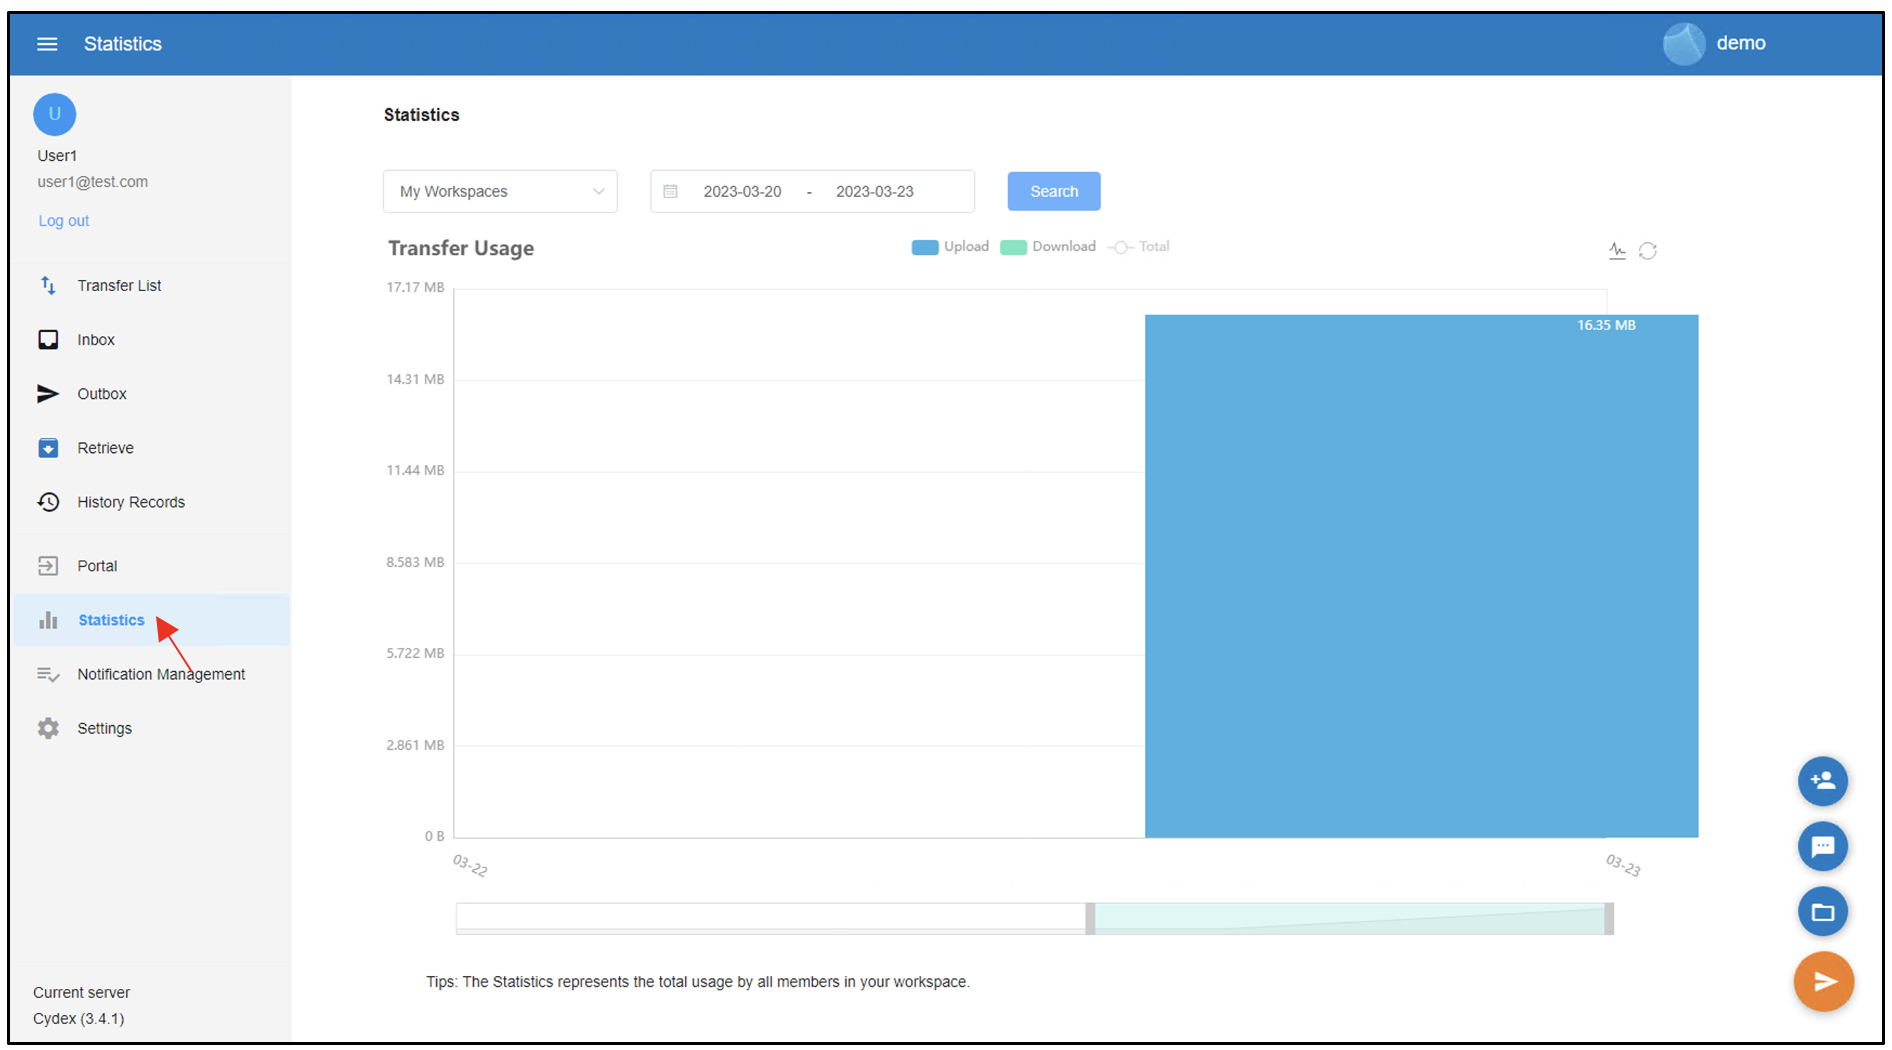
4.7. The Statistics tab provides information related to the transfers as well.
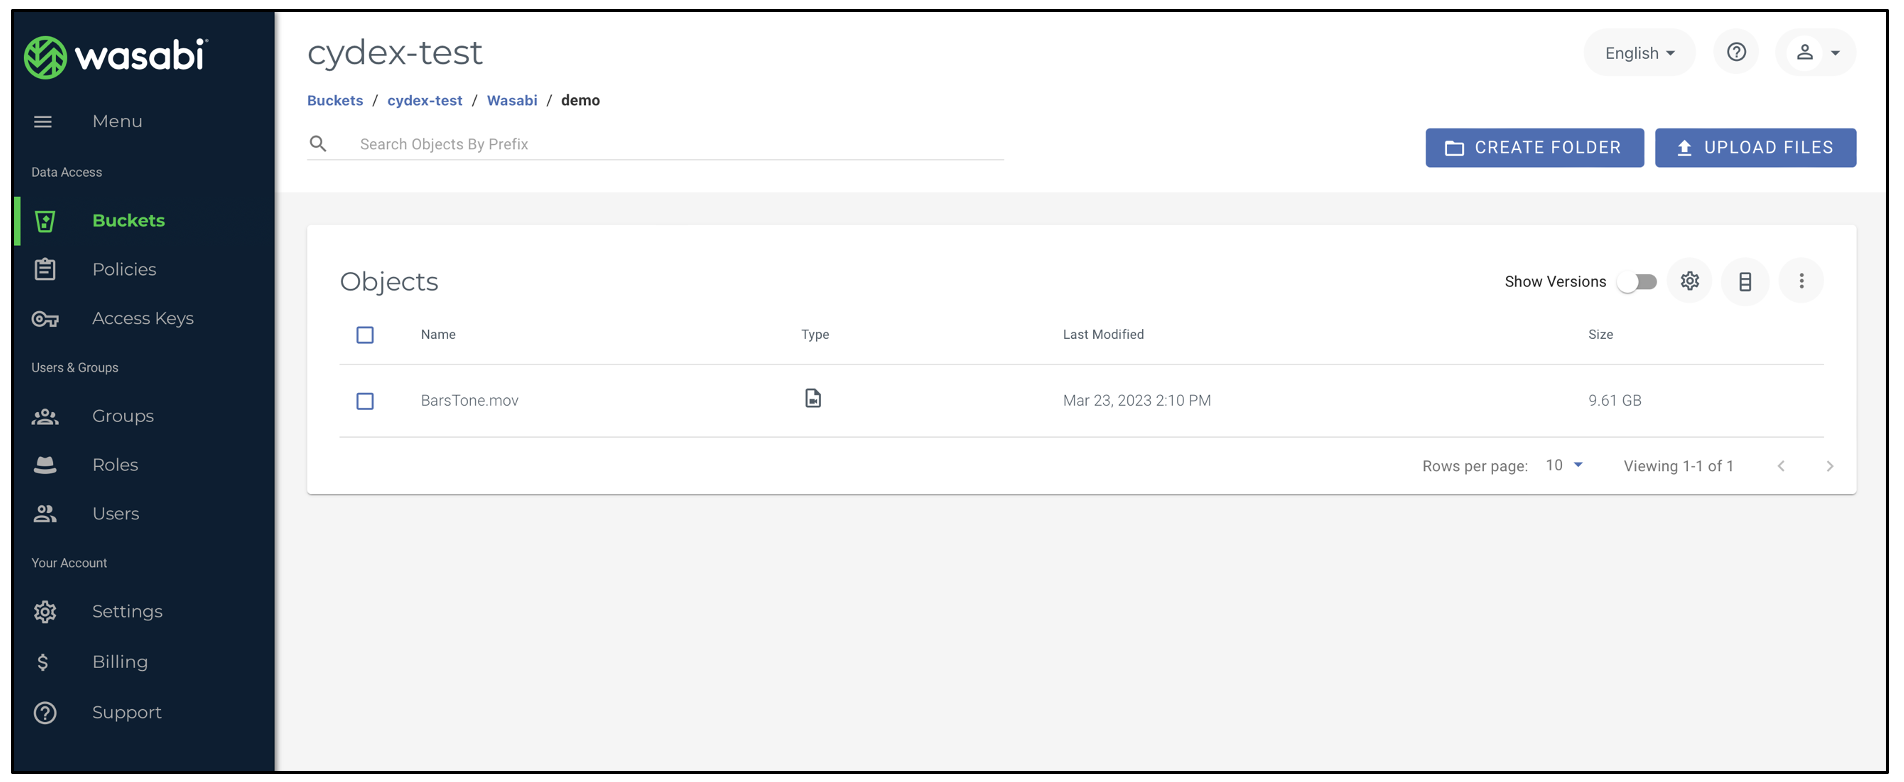
4.8. Finally, you can verify that the data is stored on your Wasabi bucket through the Wasabi console.