Wasabi has been validated with DataLakeHouse.io which is a leading cloud data synchronization and business intelligence orchestration platform that enables data teams to build single source of truth repositories and data models with fast time to value solutions.
1. Prerequisites
Active Wasabi Cloud Storage Account
Wasabi Bucket - See our Bucket Creation Guide
Access & Secret Key Pair - See our Access Keys Guide
DataLakeHouse.io Latest Release (>=v0.1)
DataLakeHouse.io Enterprise Edition
2. Reference Architecture
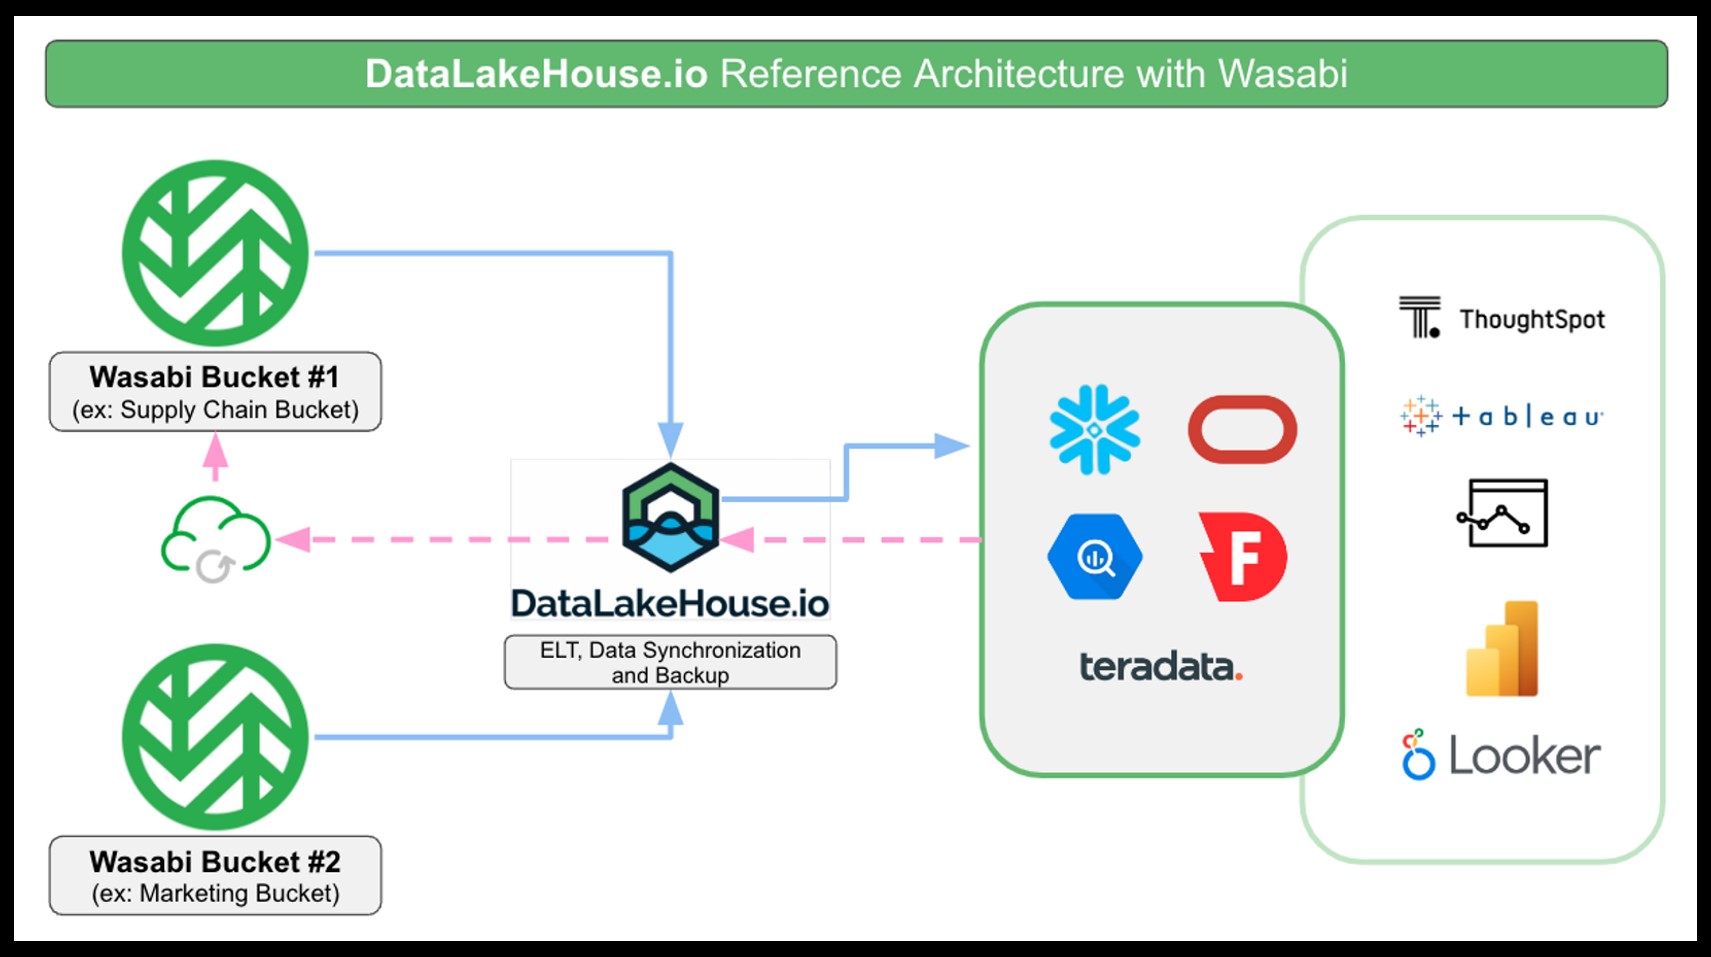
3. Configuration
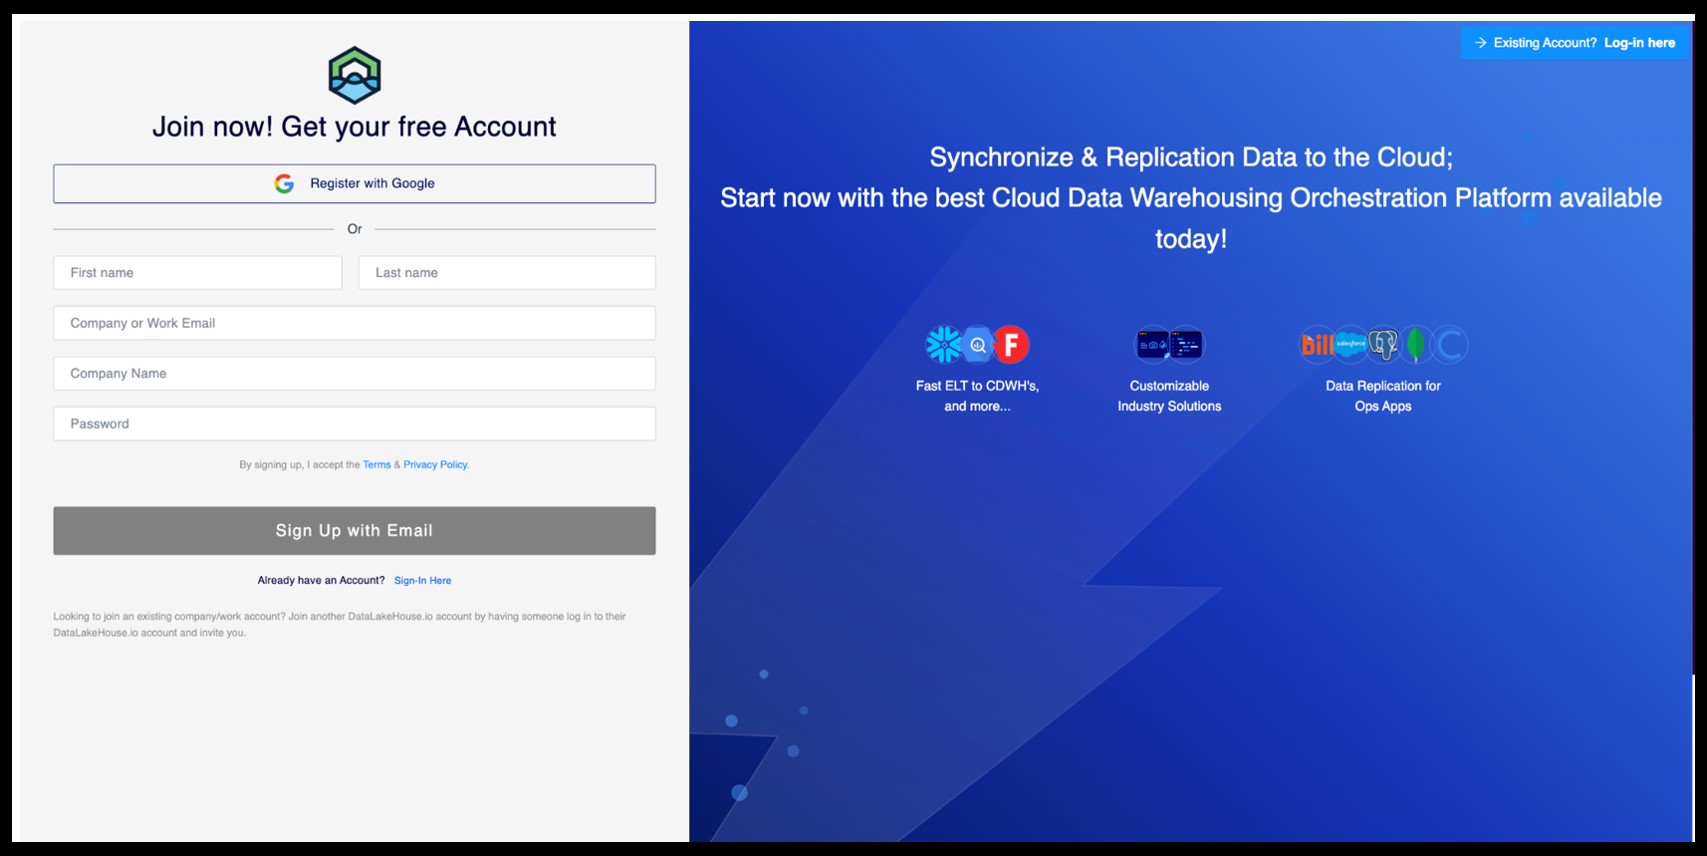
3.1 Create an account at DataLakeHouse.io and make sure to verify your email address to activate your account.
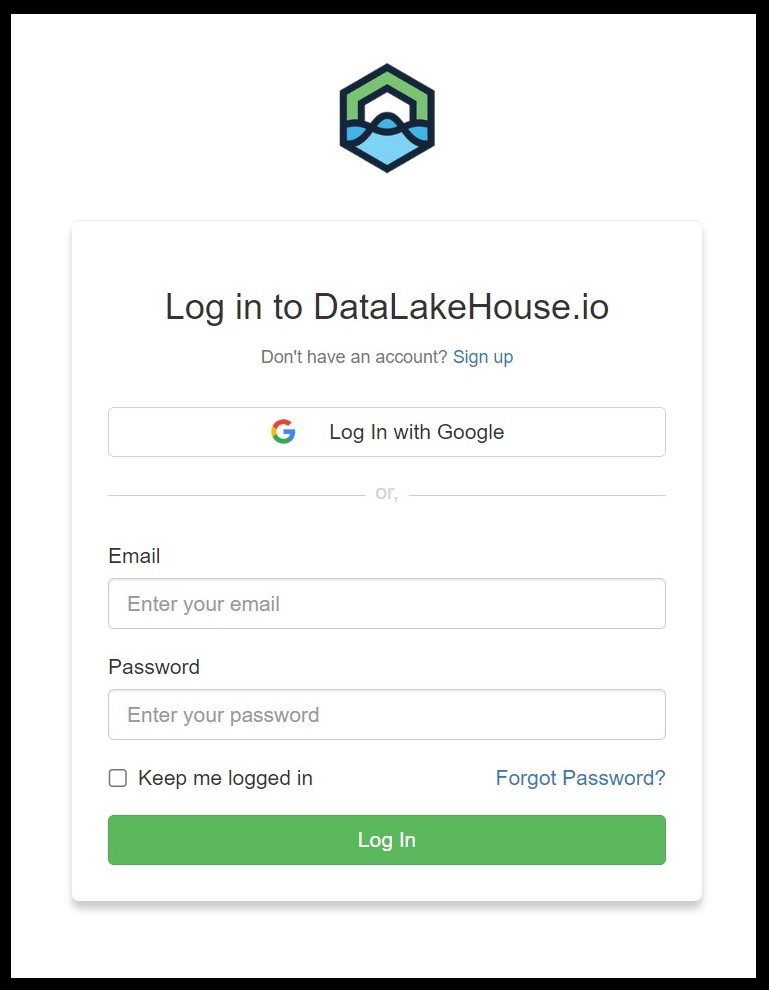
3.2 Log in to your DataLakeHouse.io account at the portal login.
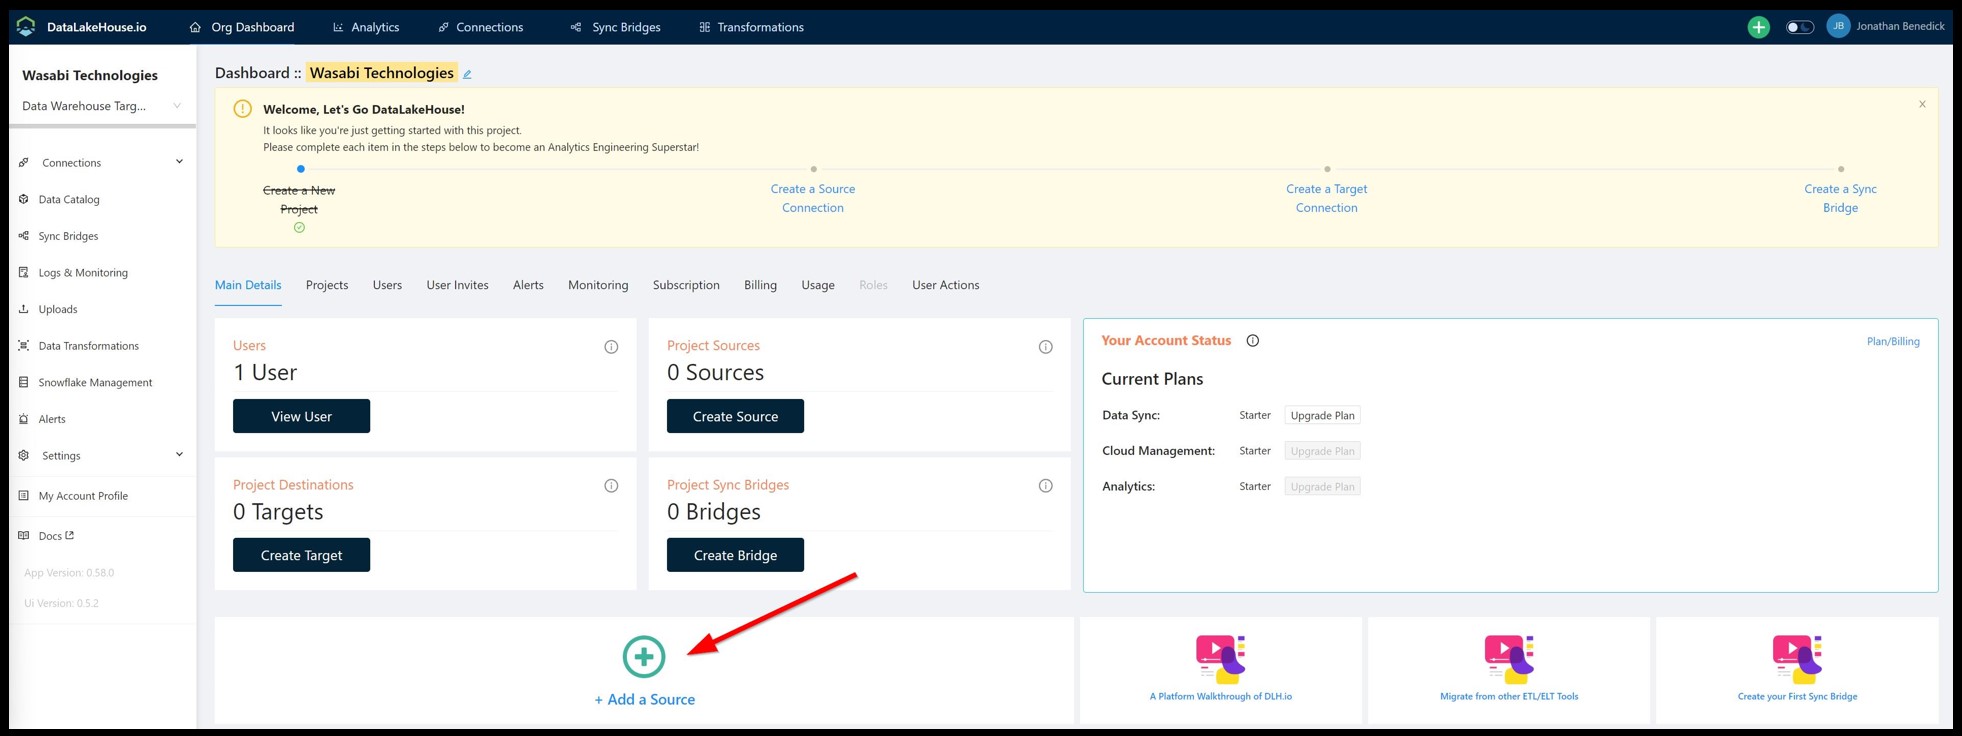
3.3 On the Dashboard click + Add a Source.
3.4 Search for Wasabi and then click Add New Source.

3.5 Follow the instructions and enter the required information about your Wasabi Connection:
Name - Alias for this connection unique from any other connections you created or will create
Target Schema Prefix - Prefix for the schema at the target you will sync to
Bucket - Enter the bucket name where your files are stored
Region - Select the region where your bucket is stored
Folder Path - is a path on the root bucket from where desired files will be retrieved
Access Key - Enter your Wasabi Access Key credentials
Secret Key - Enter your Wasabi Secret Key credentials
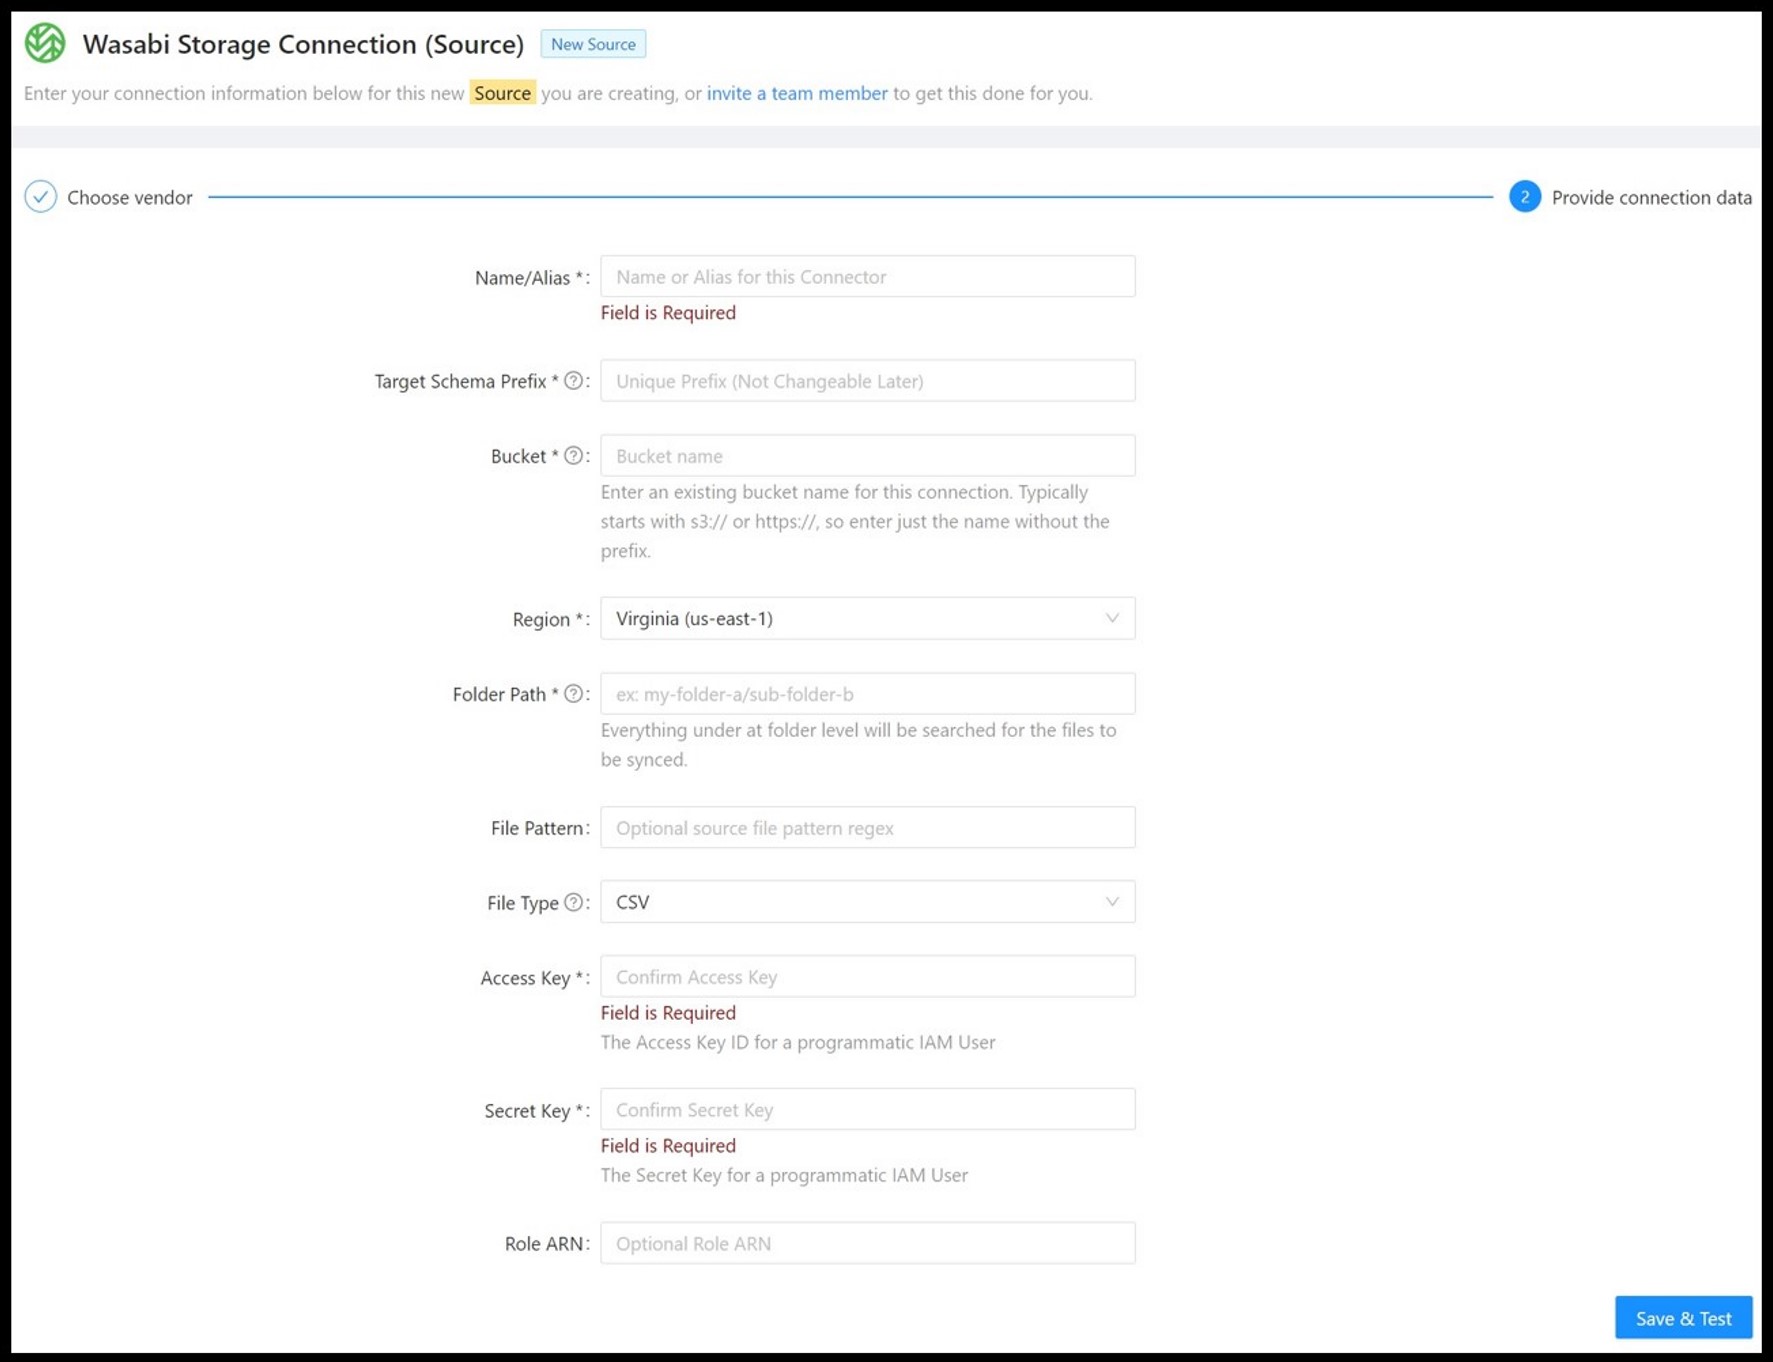
3.6 Click the Save & Test button once all the data has been entered.
3.7 Next you will create a Cloud Data Warehouse Target. Click Targets under Connections in the left hand pane.

3.8 Click + Add New Target under the desired Data Warehouse vendor.
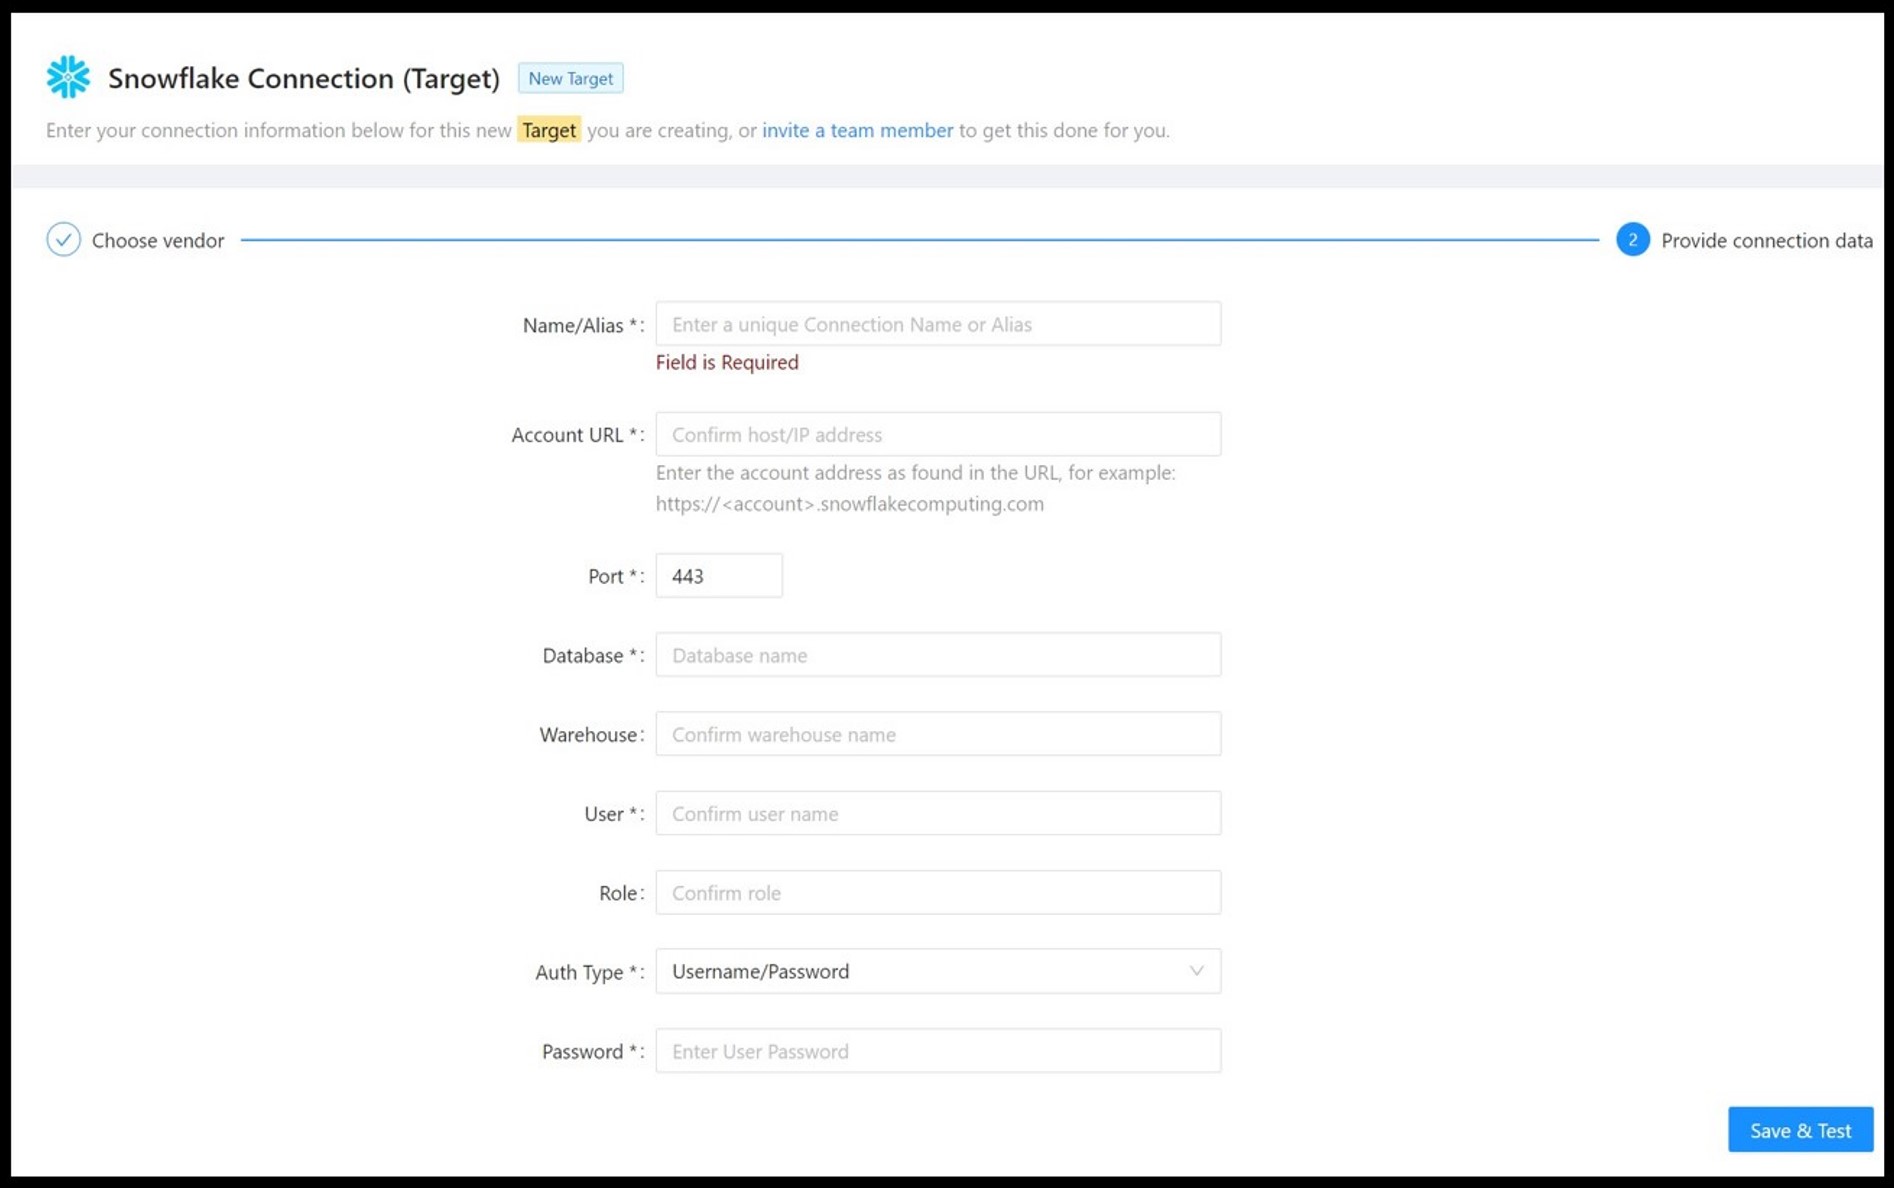
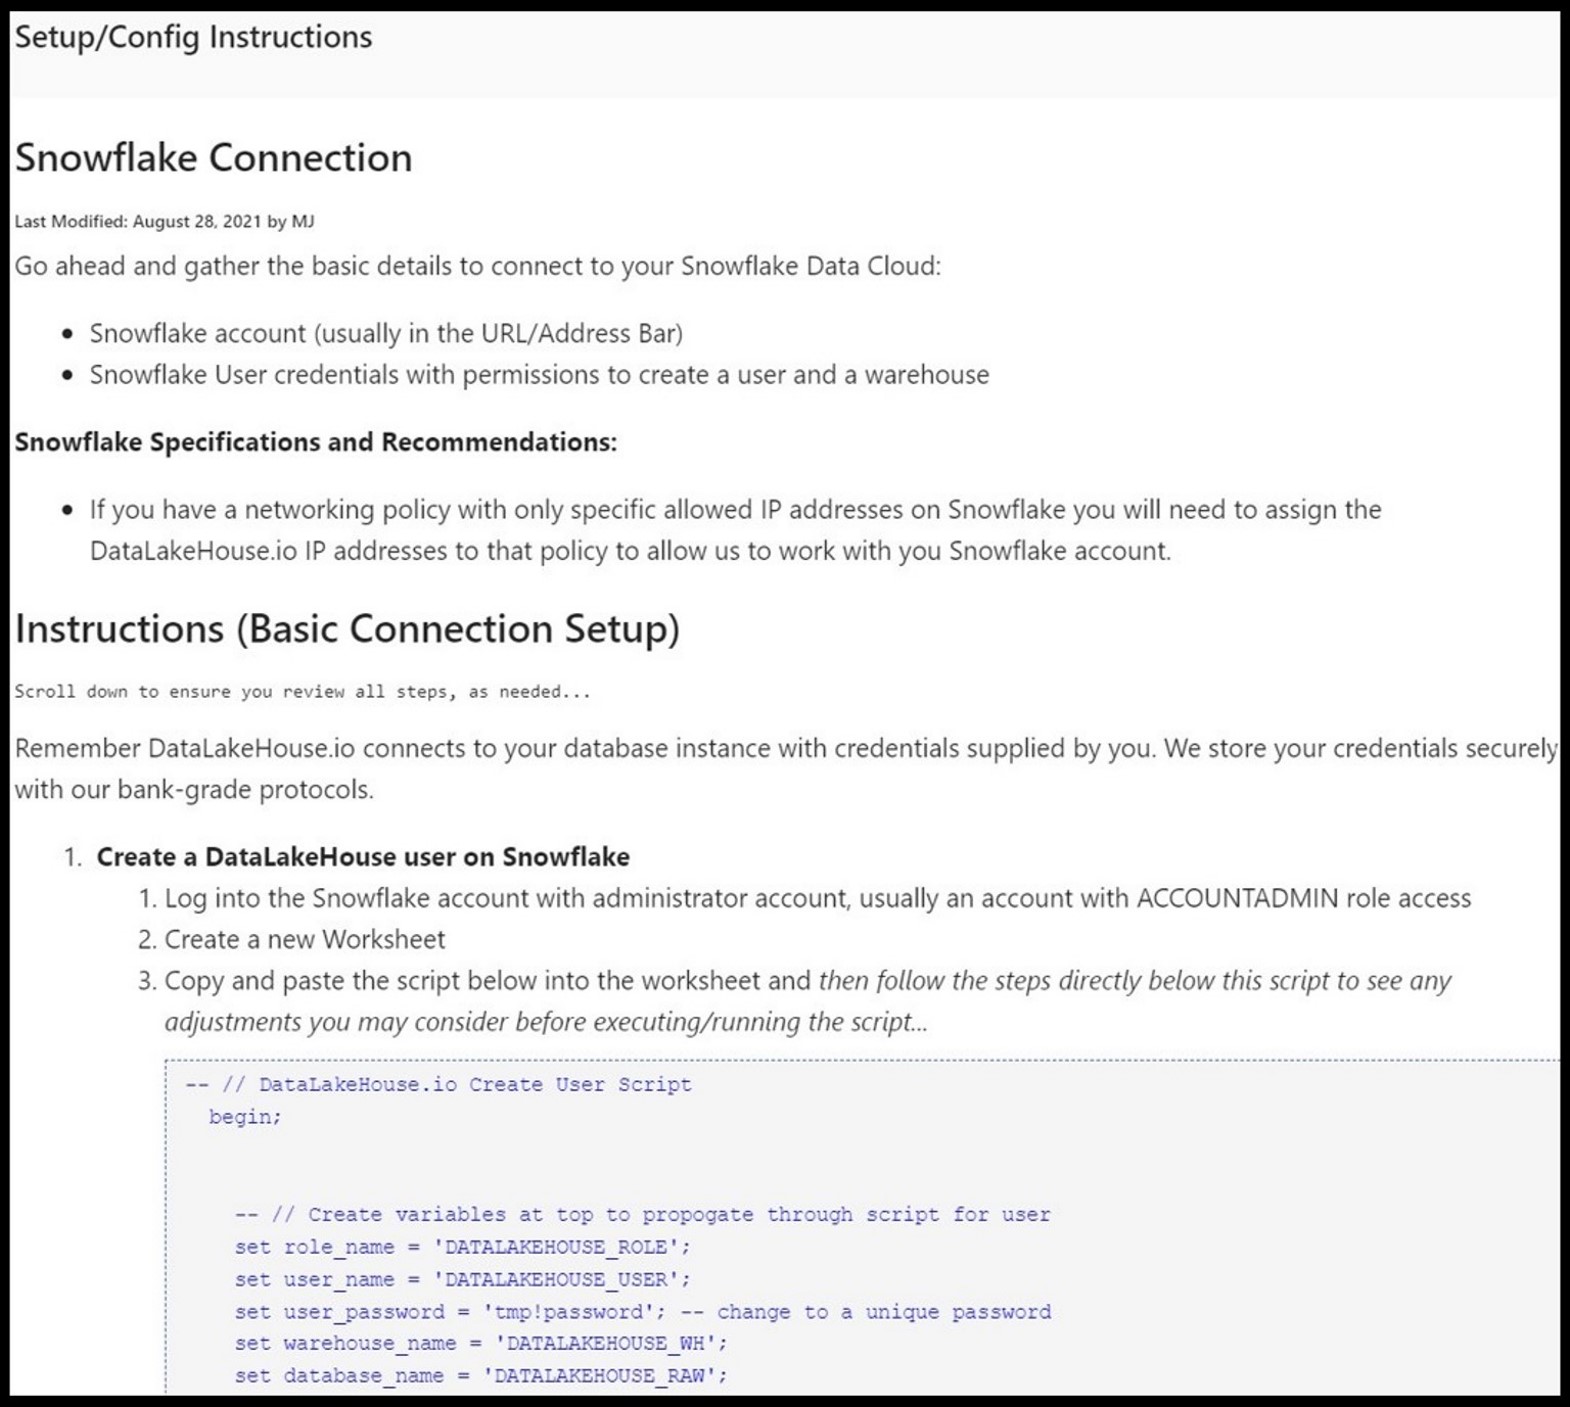
Note - Snowflake Setup/Config Instructions below:
3.9 Click Save & Test button after inputting all the required information.
3.10 Click Sync Bridges in either the left hand pane or the top ribbon.
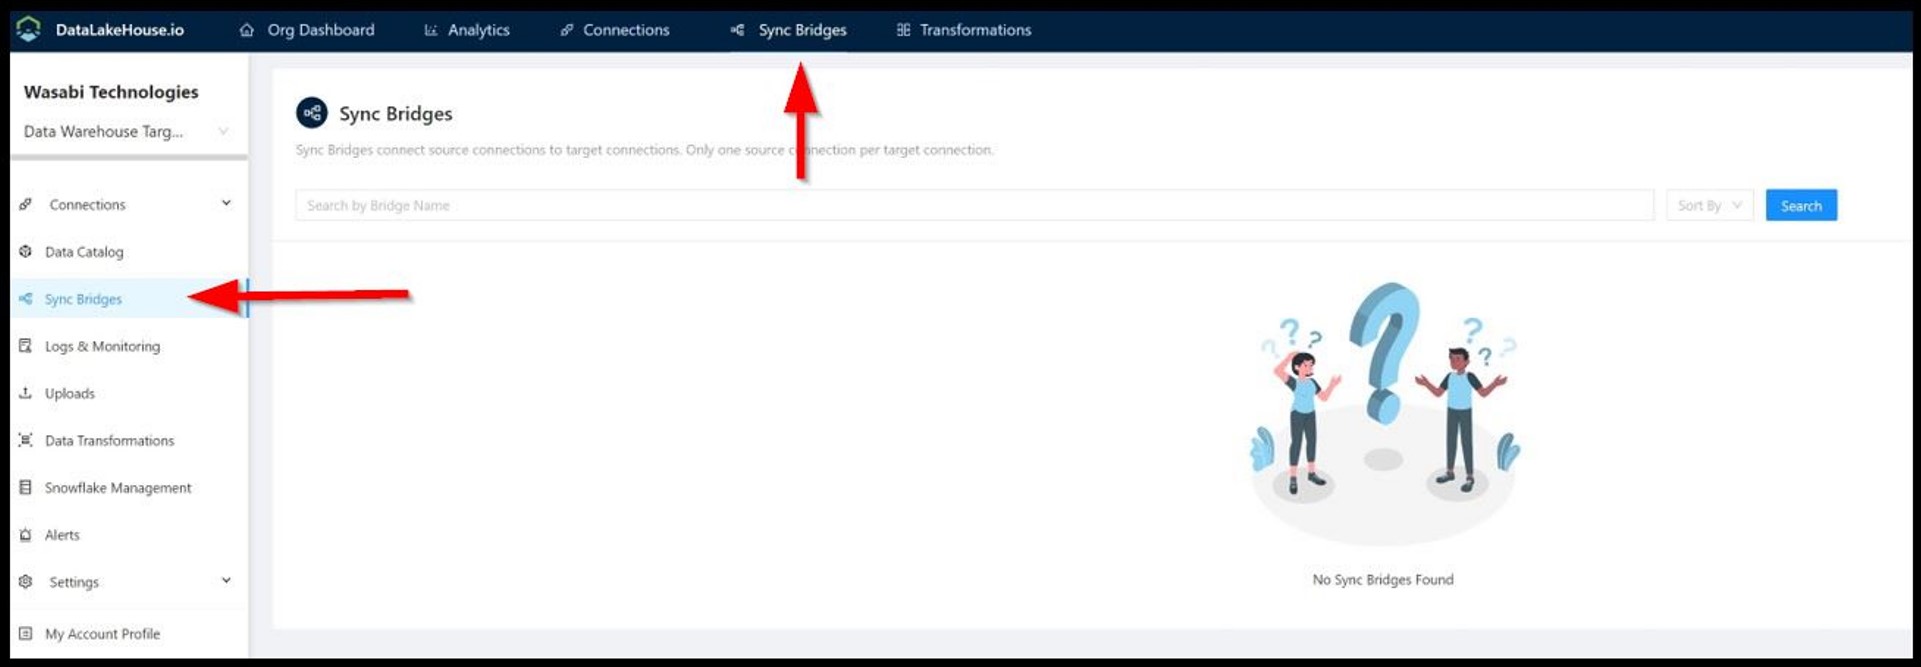
3.11 Click + New Sync Bridge.

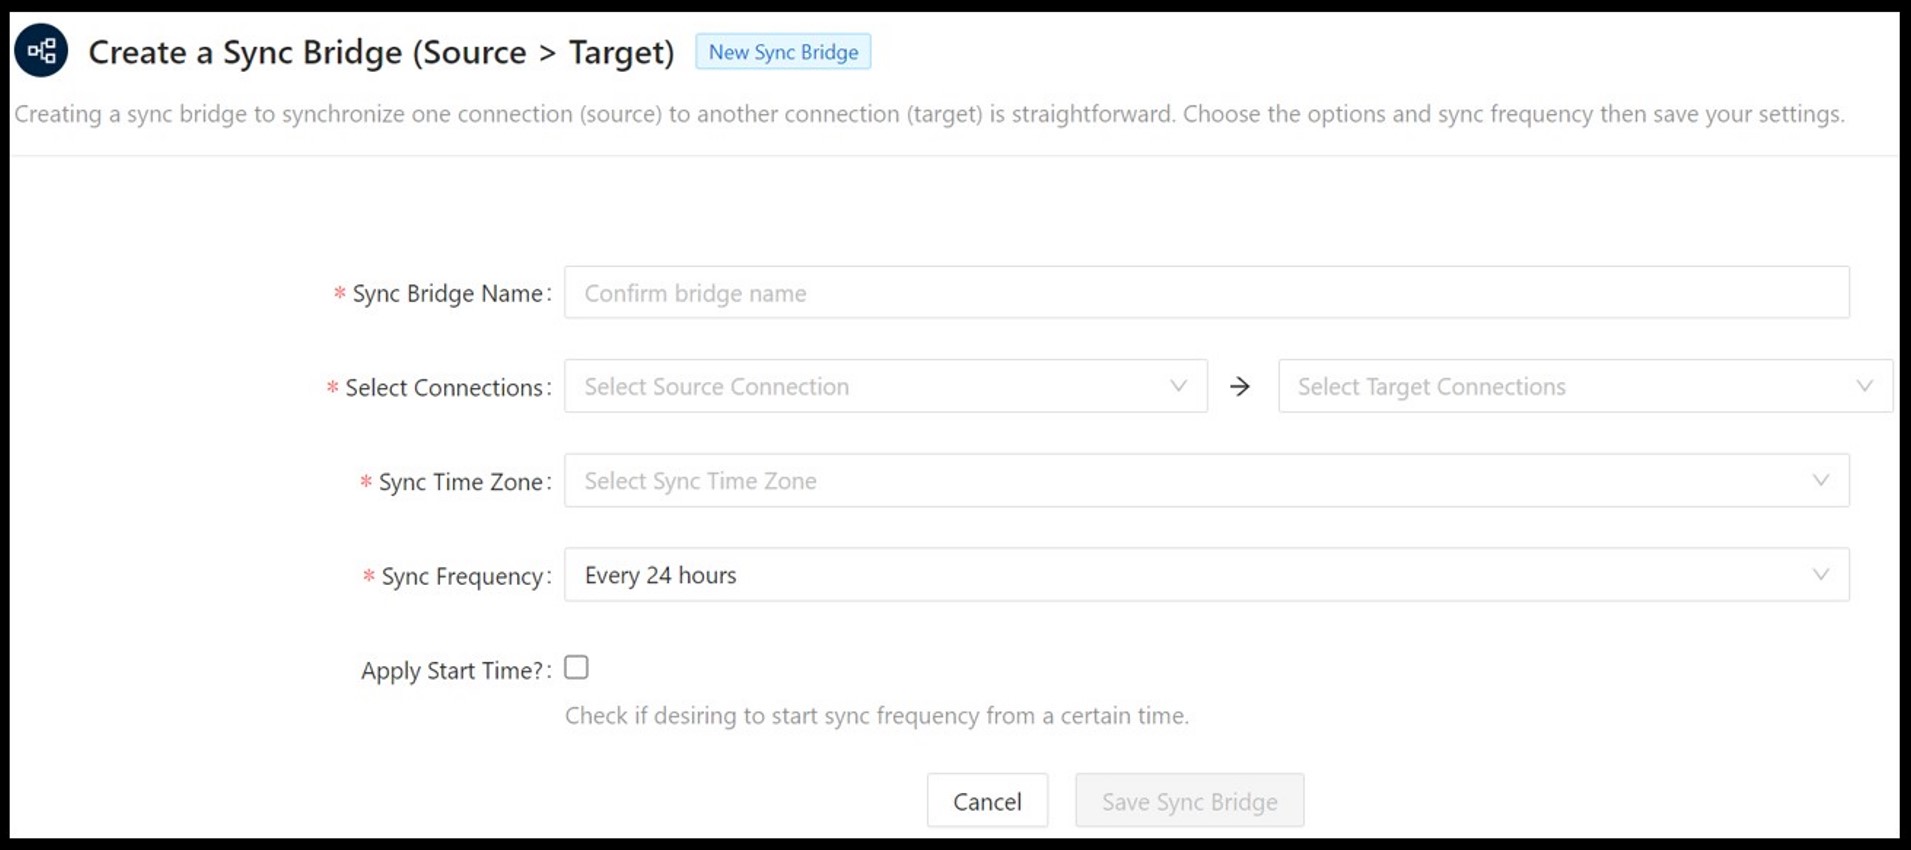
3.12 Input the required information for your Sync Bridge Settings:
Sync Bridge Name - Enter a unique name for your Sync Bridge
Select Connections - Select your Source and Target Connections that you created from each Dropdown
Sync Time Zone - Reflects when your data should load. All times are ultimately converted to UTC.
Sync Frequency - Select a Sync Frequency at which your data will synchronize. Lowest frequency for non-Enterprise Plan customers is 15 min depending on the amount of data needing to be replicated which is source dependent. By selecting 12 or 24 hours you will be prompted with the option to set the start time of the sync, but this is optional.
If the Apply Start Time? appears (optional), by checking the checkbox you will be able to see a Sync Start Time dropdown
If a Manual Sync option is available for your plan, the data will still be synchronized on a 24-hour period from when you save the Sync Bridge.
3.13 Click Save Sync Bridge and the Sync will start at the next scheduled time.
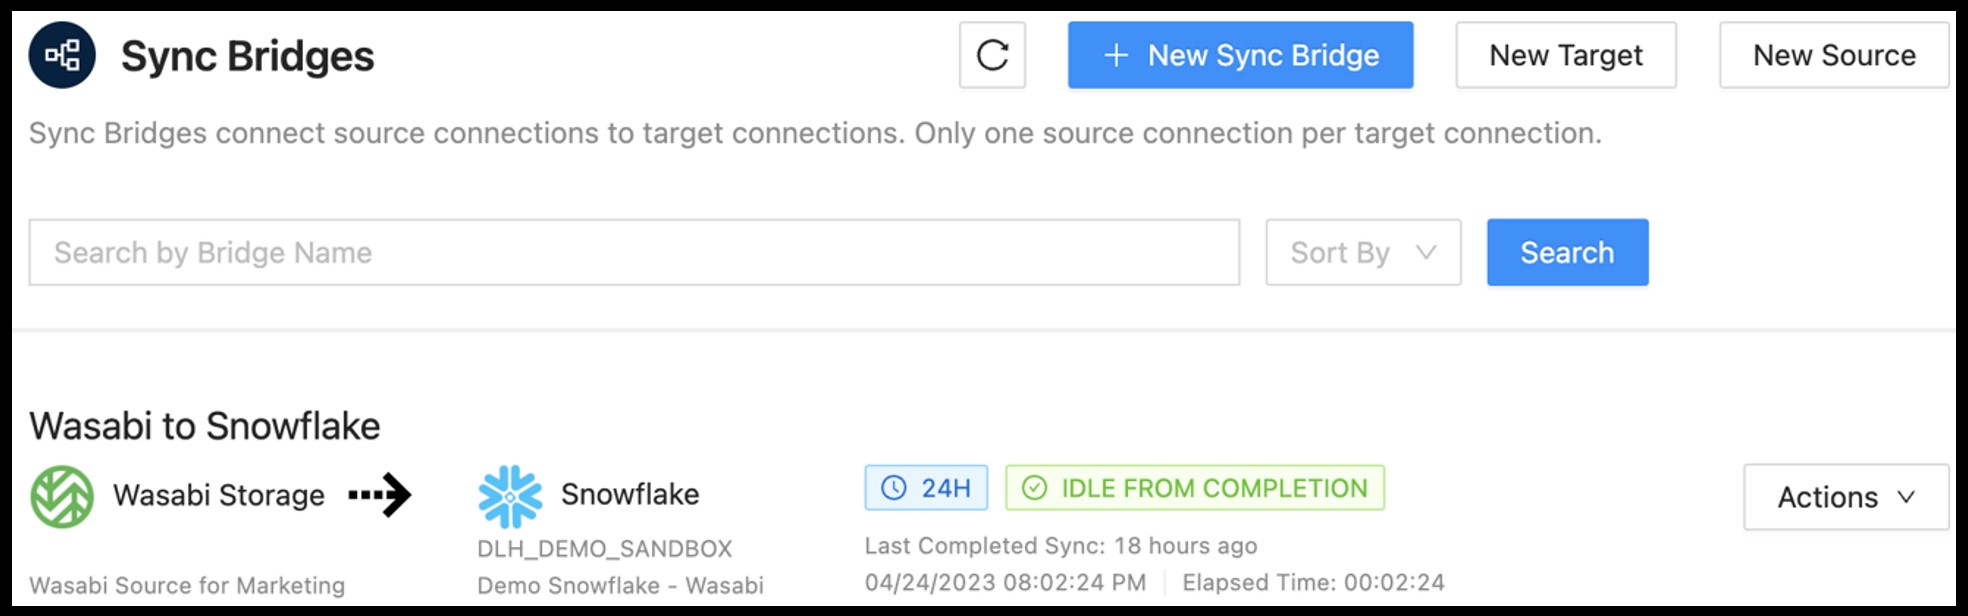
3.14 Your Sync Bridges page will now reflect your newly created Bridge and should look similar to the following.
3.15 While in the Sync Bridges page click Actions menu to the right of where your Sync Bridge listing appears. Click Run Sync Bridge Right Now.
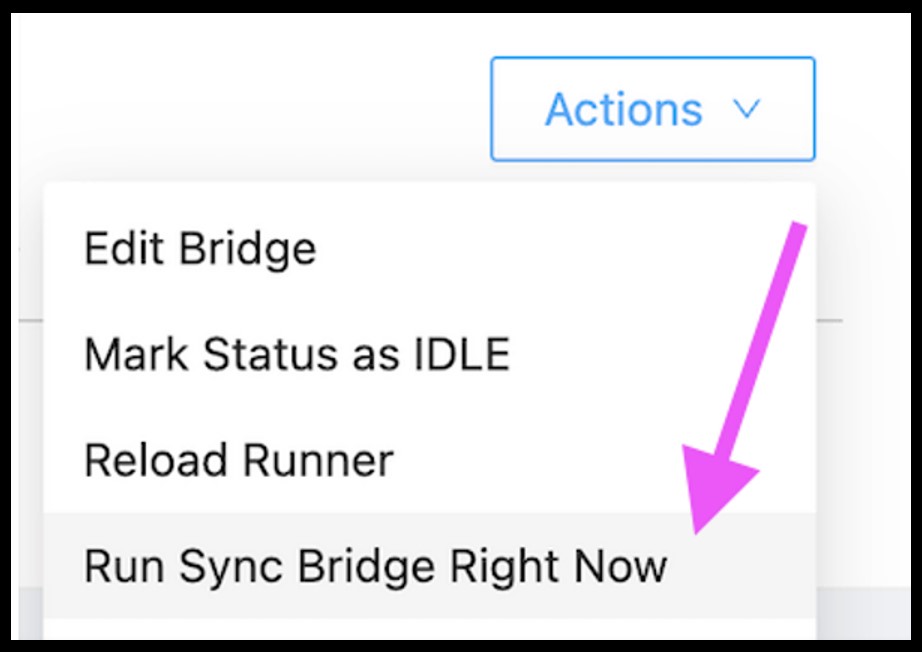
Note - This will start the process to synchronize your Wasabi bucket files into the cloud data warehouse connection
3.16 Once the Sync Bridge process is complete you can visit your Cloud Data Warehouse Database to see your data in the respective database tables ready for consumption.